
Easy 2×4 Bench or Stool Made From Scrap Wood
As an Amazon Associate, I earn from qualifying purchases.
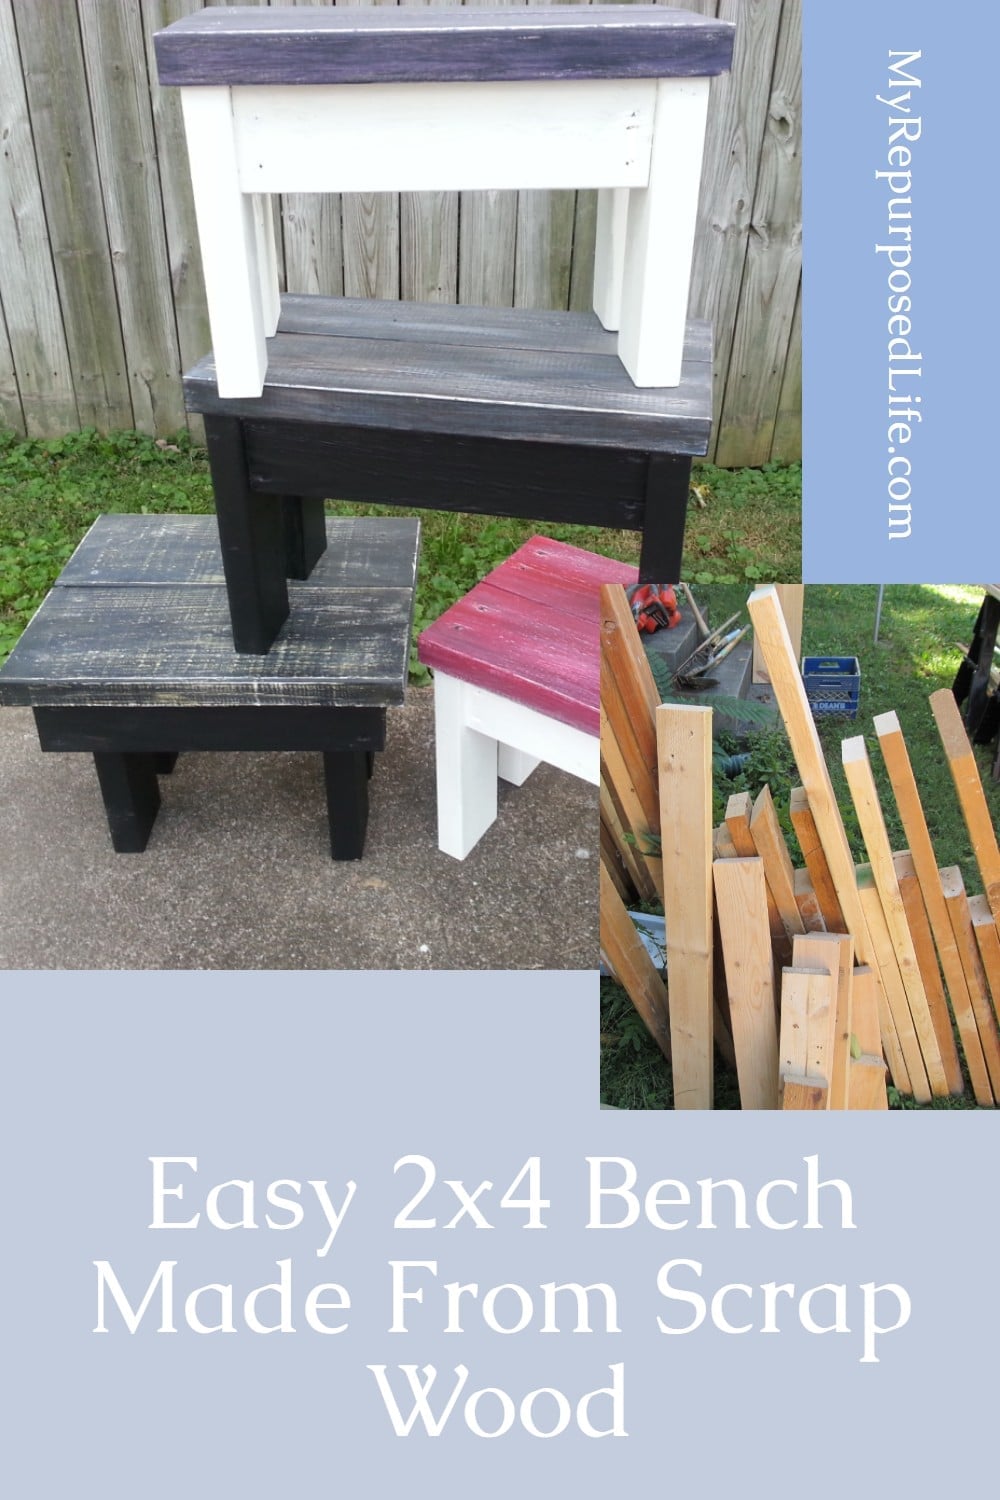
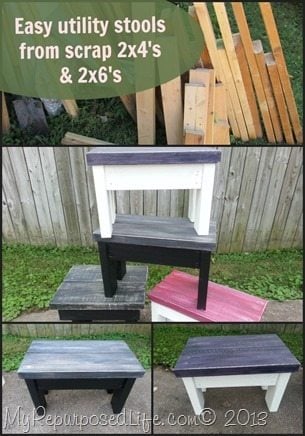
Small piles of leftover lumber have a way of taking over the workshop. Instead of tossing these short 2×4 pieces, I used them to build a collection of small benches and stools.
This is an easy scrap wood project that can be adjusted to fit the lumber you already have. Each bench can be a slightly different size, depending on the length and width of your seat boards.
Use the finished bench as a footstool, plant stand, display riser, child-size seat, or decorative accent. I originally made several of these for Glendale and had fun giving each one a different painted finish.
Supplies Needed
- 2×4 lumber scraps
- A 2×6 board or other scrap lumber for the seat
- Wood glue
- Wood screws
- Wood filler
- Sandpaper
- Primer and paint, stain, or another finish
- Clear protective finish, if needed
For an outdoor bench, choose exterior-grade screws, exterior wood glue, and a finish rated for outdoor use.
Tools
- Tape measure
- Pencil
- Carpenter’s square
- Miter saw, or circular saw
- Drill and driver
- Drill bit for pilot holes
- Clamps
- Orbital sander or sanding block
- Eye and hearing protection
Decide the Size of Your 2×4 Bench
Because I made these benches from leftover lumber, they were not all exactly the same size. That is one of the advantages of this project. You can work with the pieces you have instead of buying lumber to match a specific plan.
Begin by choosing the boards you want to use for the seat. Lay them side by side and decide how much overhang you would like around the base. Once you know the seat size, you can determine the length and width of the box frame underneath it.
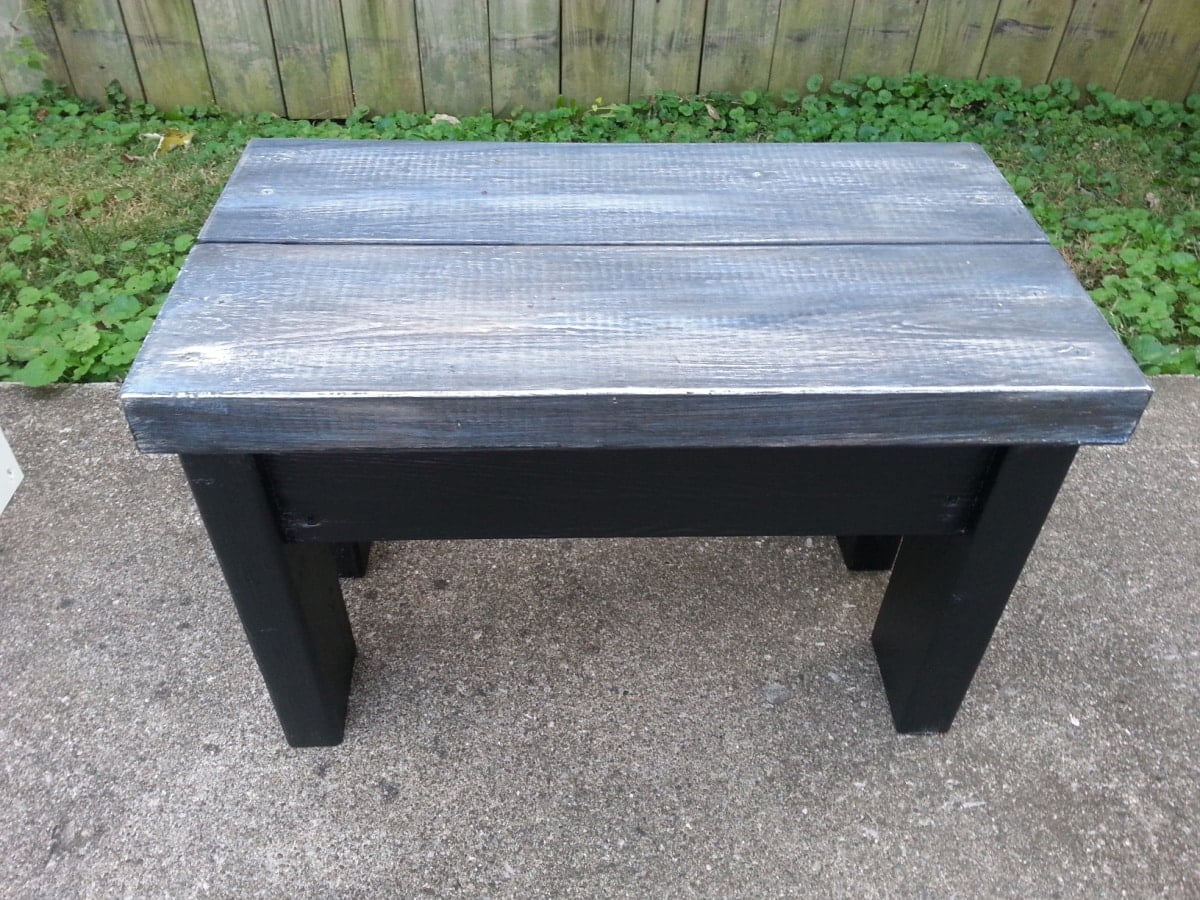
For the bench shown in this updated tutorial, the finished measurements are:
- Length: 18″
- Width: 11″
- Height: 12.5″
Cut List
Your measurements may vary, but you will need:
- Two long boards for the box frame: 14″
- Two short boards for the box frame: 7″
- Four legs: 11″
- Two seat boards: 18″
Labeling the pieces after cutting them will make assembly much easier.
Inspect and Prepare the Scrap Wood
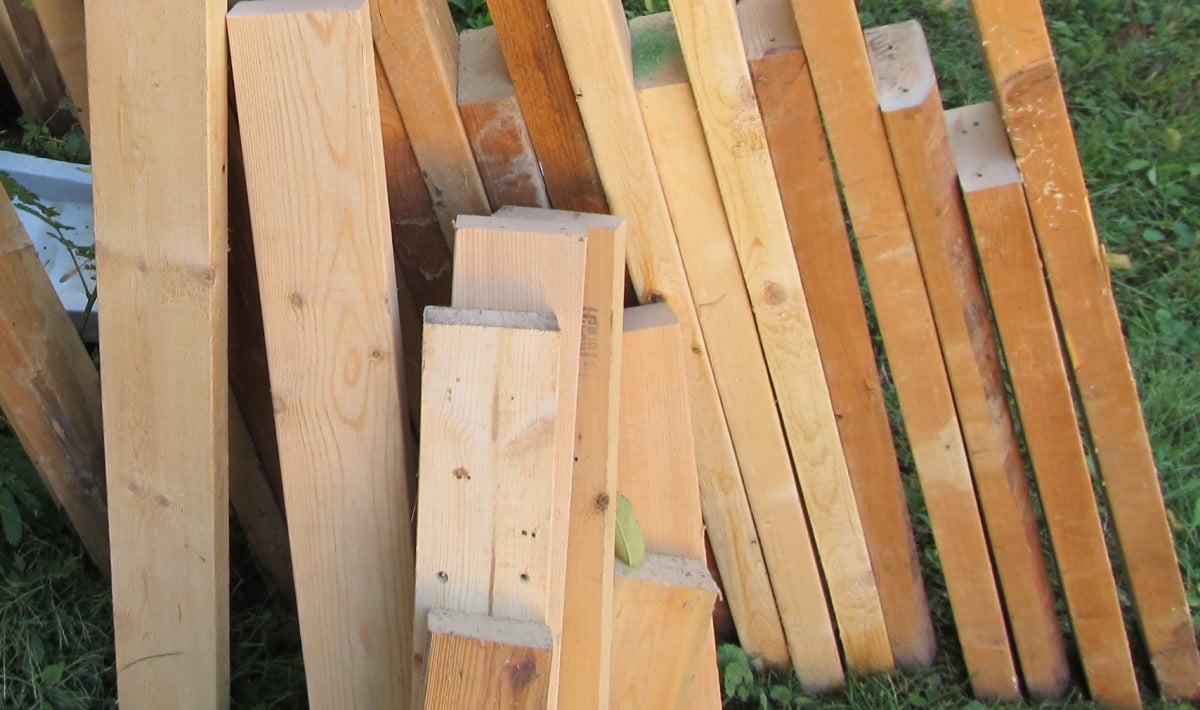
My friend Becky at Beyond The Picket Fence is a whiz at building small benches/stools out of 2×4 scraps. So I decided to use up these extra pieces to make these easy projects for my yearly craft show in Glendale, Kentucky.
Check reclaimed or leftover lumber carefully before cutting it. Remove any nails, screws, staples, or other hardware that could damage your saw blade.
Trim away damaged ends and make sure each cut is square. Lightly sand rough areas and sharp splinters before assembling the bench.
It is much easier to sand individual pieces now than it will be after the bench is put together.
More 2×4 Benches and a Table
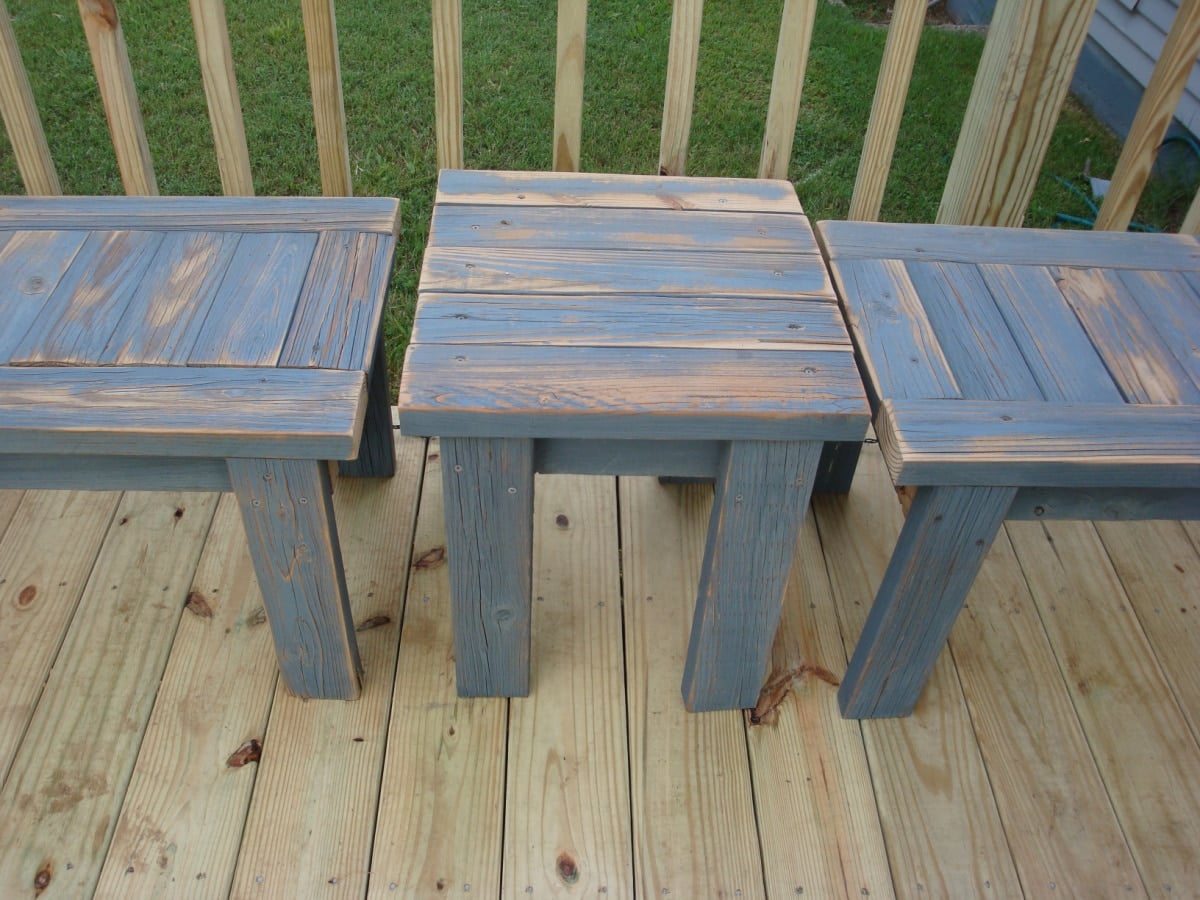
I made some simple 2×4 benches years ago that were a little different from Jamie’s old deck wood.
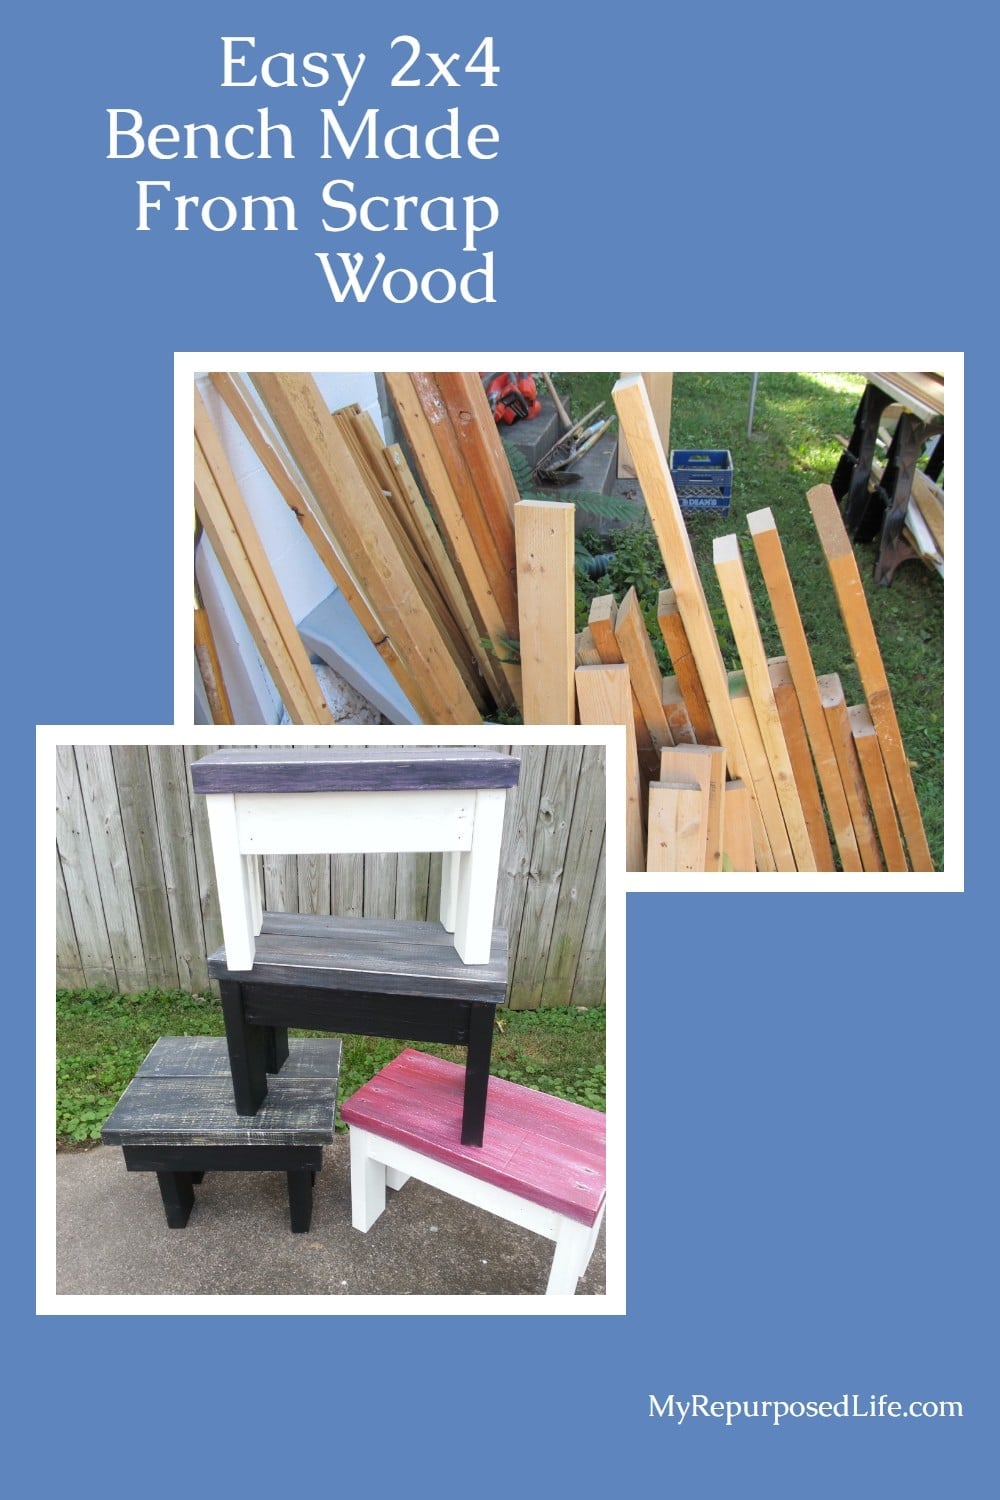
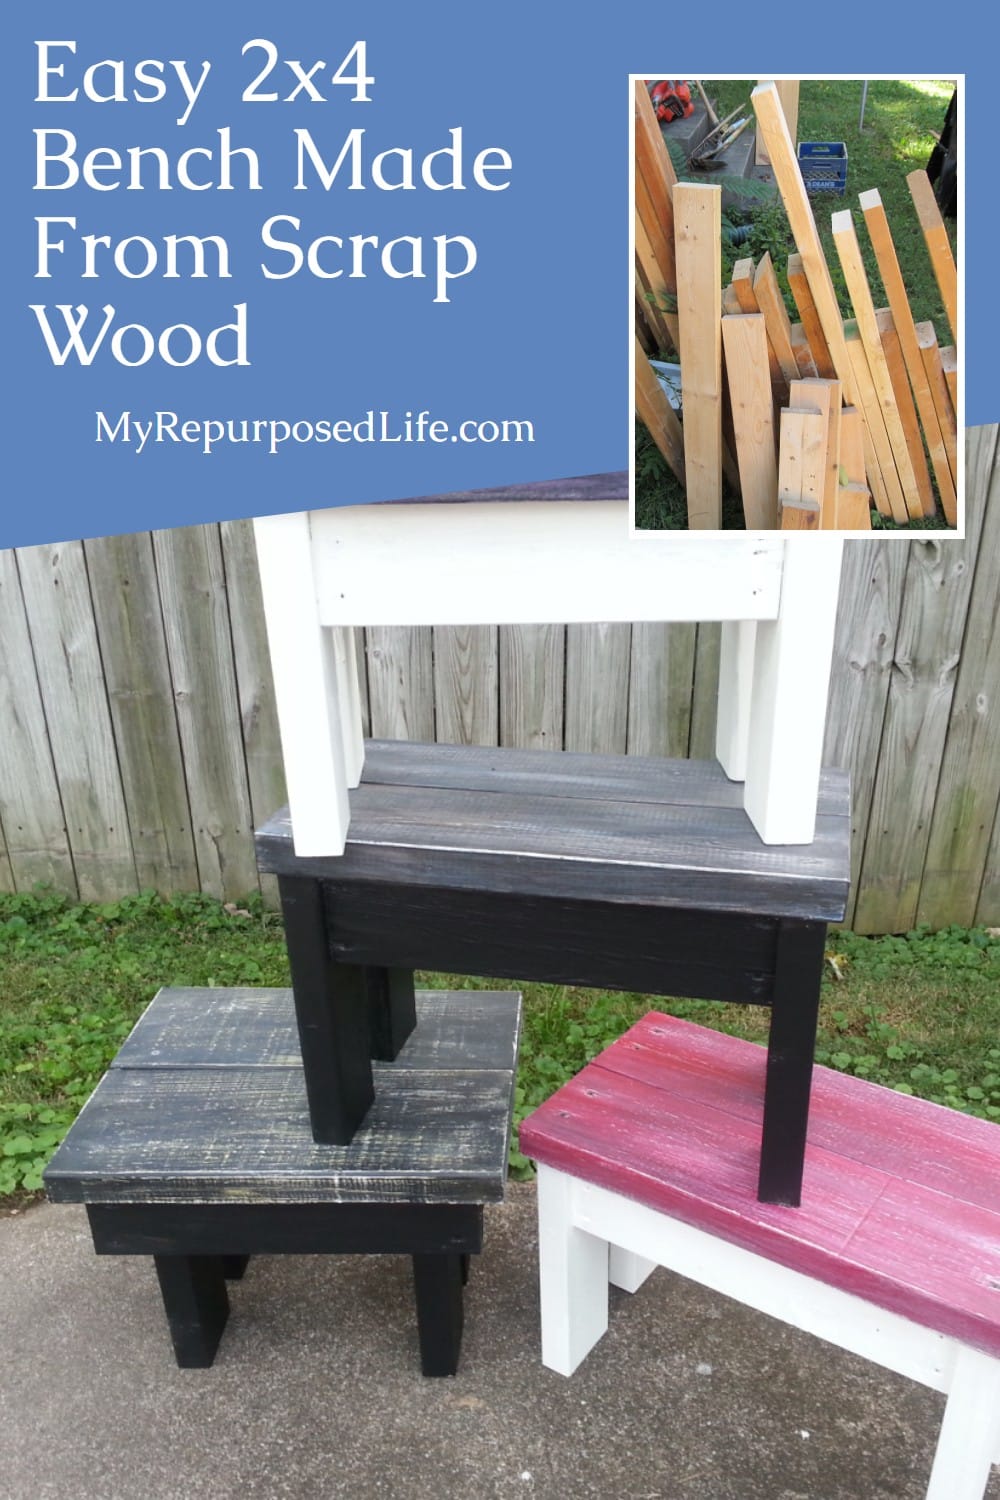
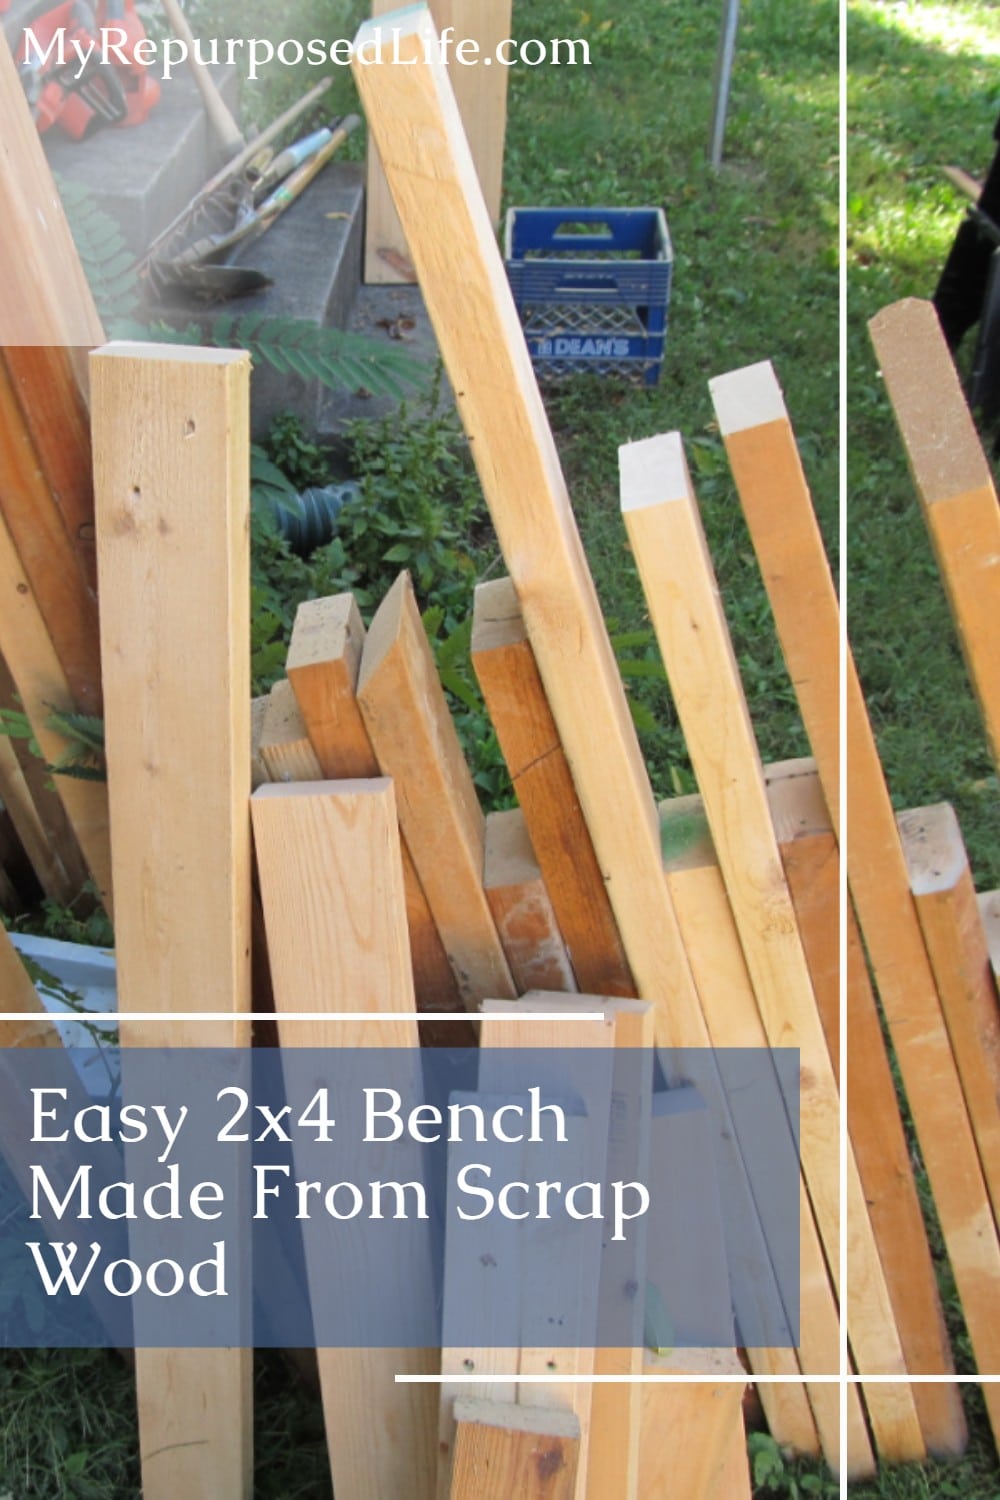
Lumber Storage (scraps)
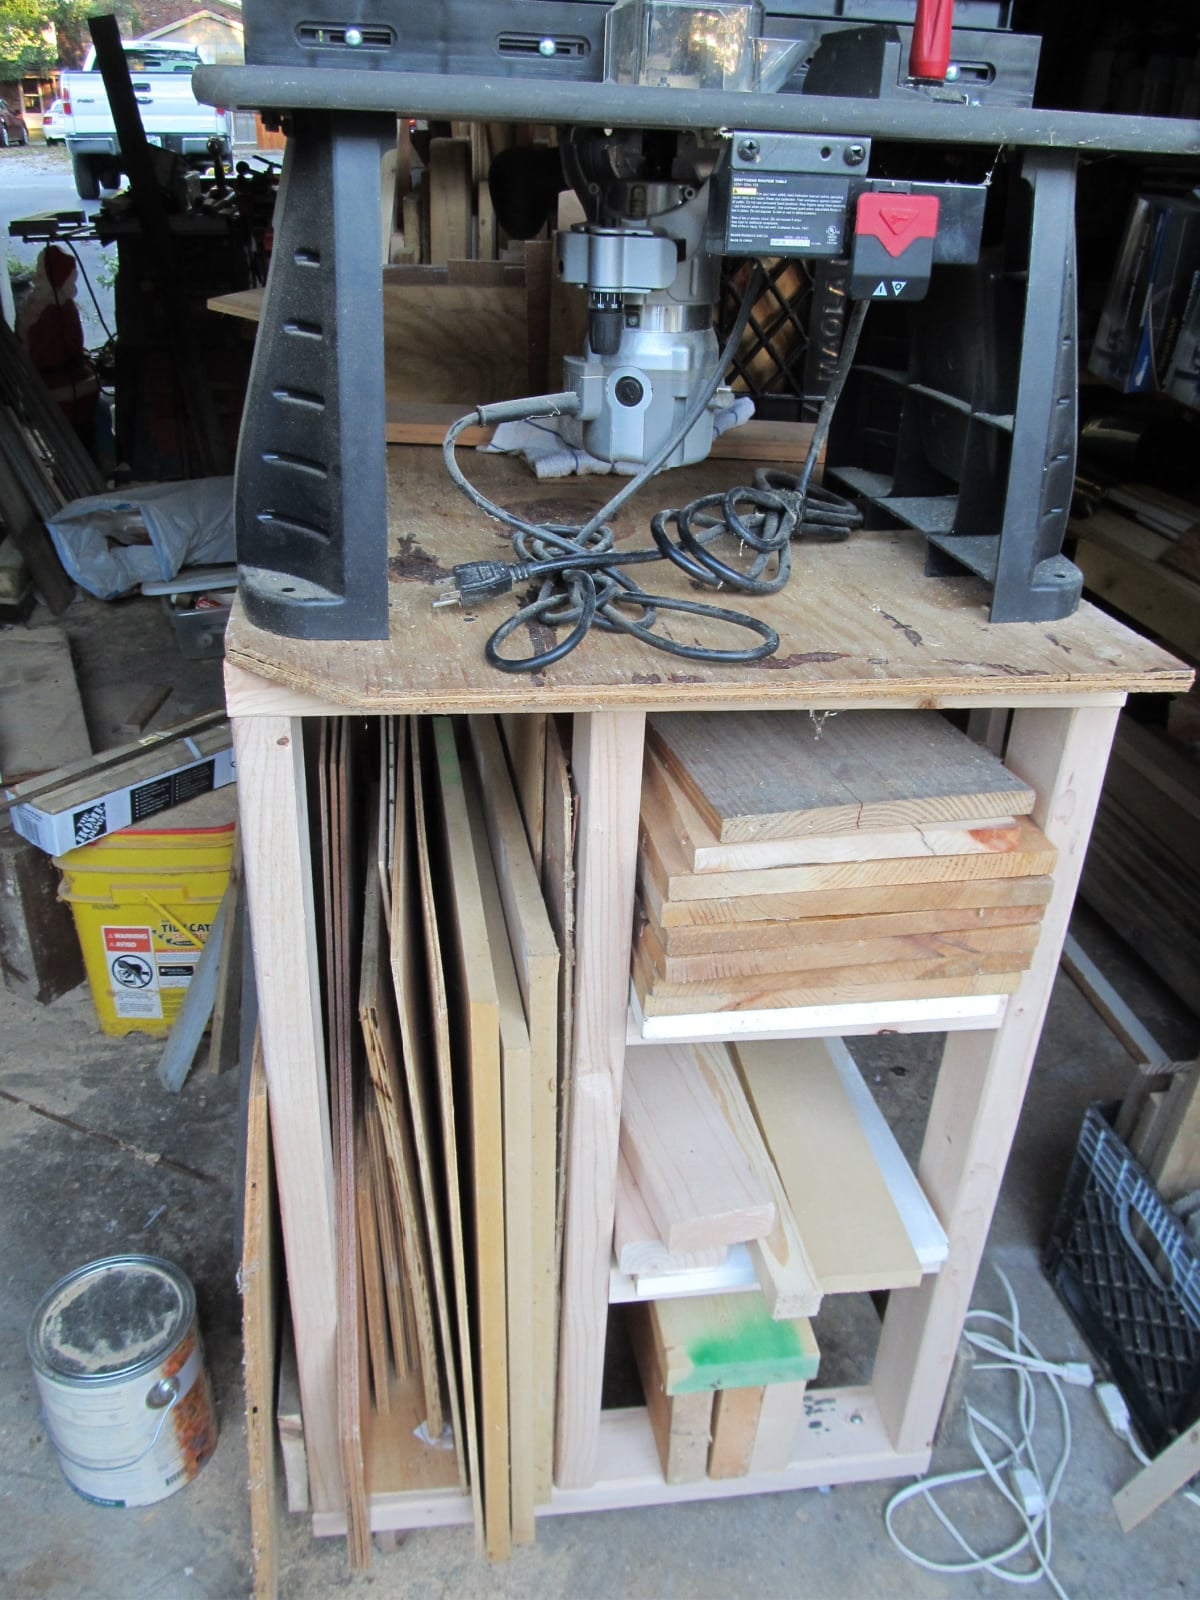
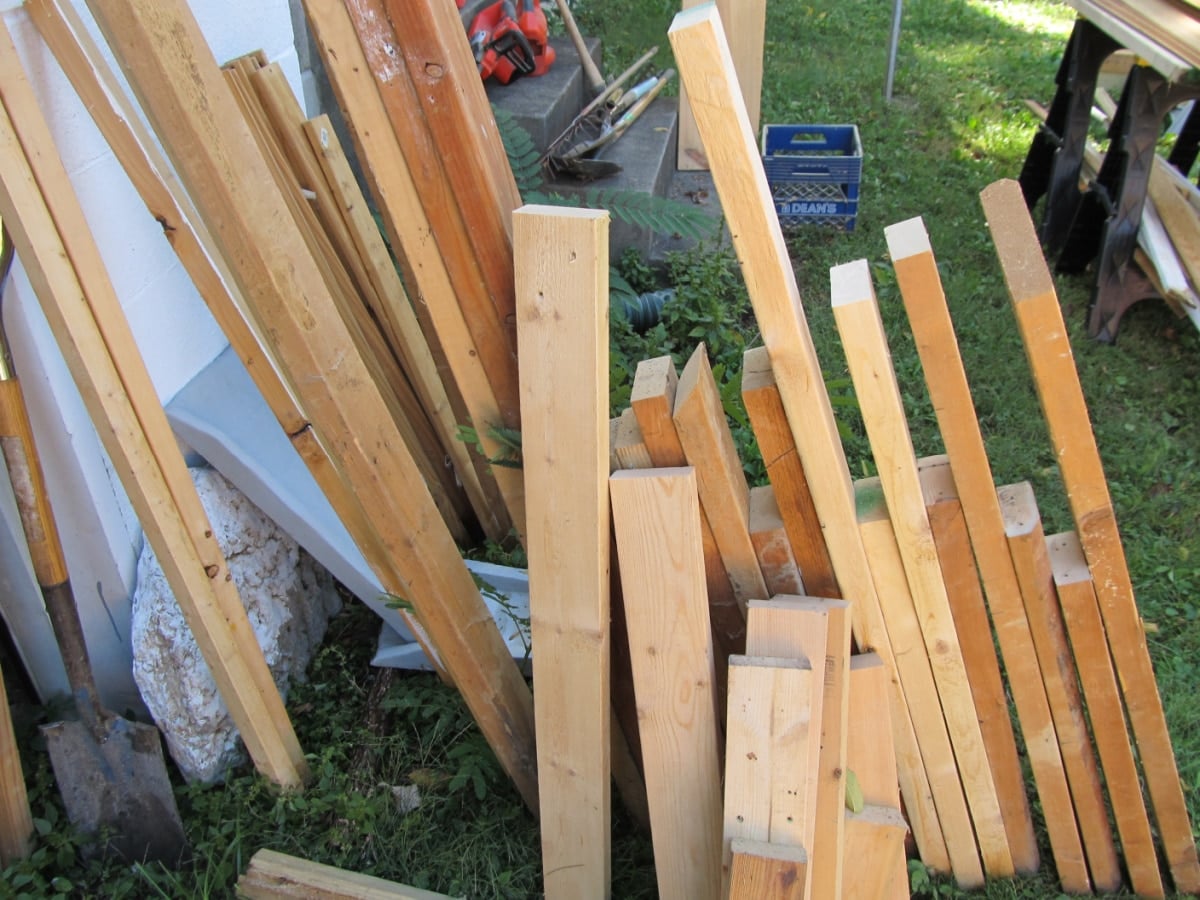
I also had quite a few 2x6s lying around.
Build the 2×4 Box Frame
Arrange the two long frame boards and two short frame boards to form a rectangle. Place the short boards between the longer boards.
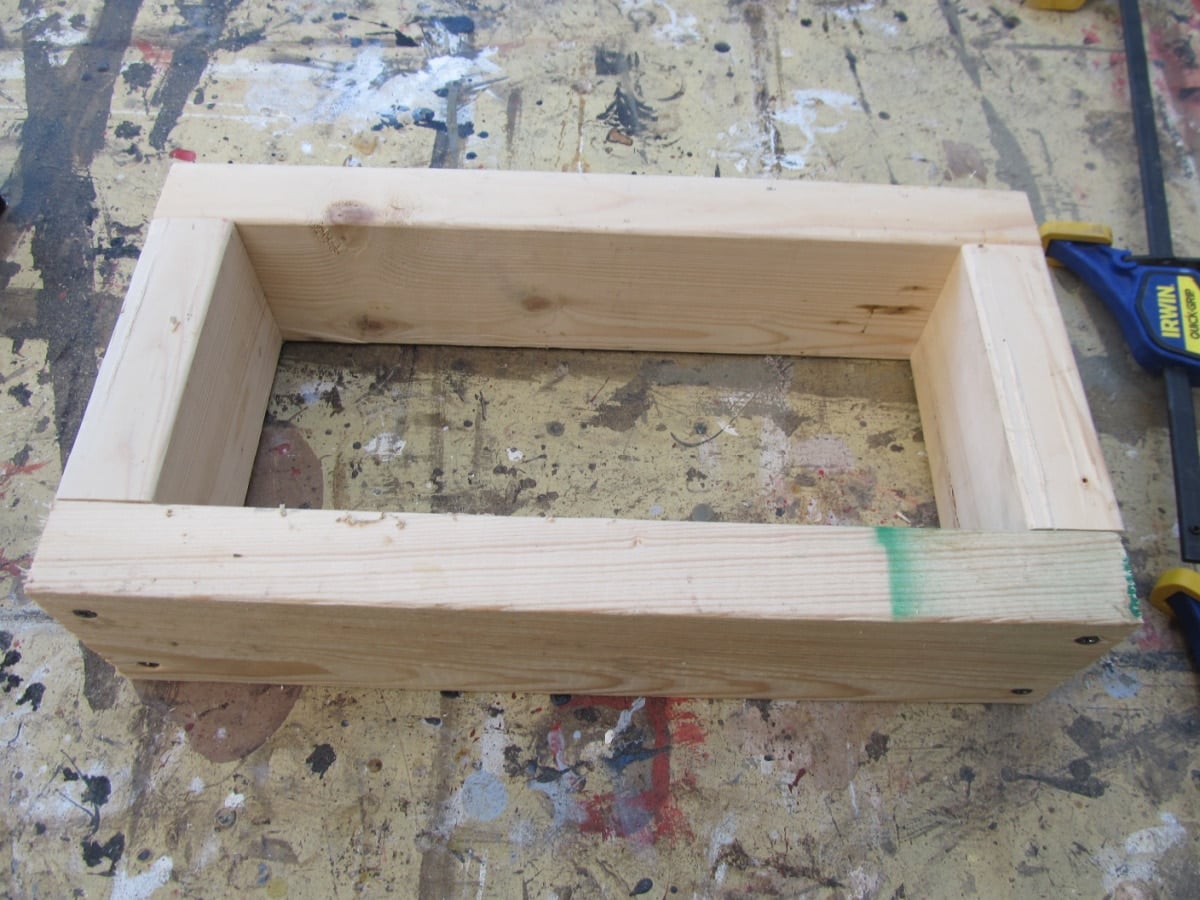
Apply wood glue to each joint. Clamp the pieces together and use a carpenter’s square to make sure the frame is square.
Drill pilot holes before driving the screws. Pilot holes help prevent the lumber from splitting, especially when working close to the end of a board.
Secure each corner with wood screws.
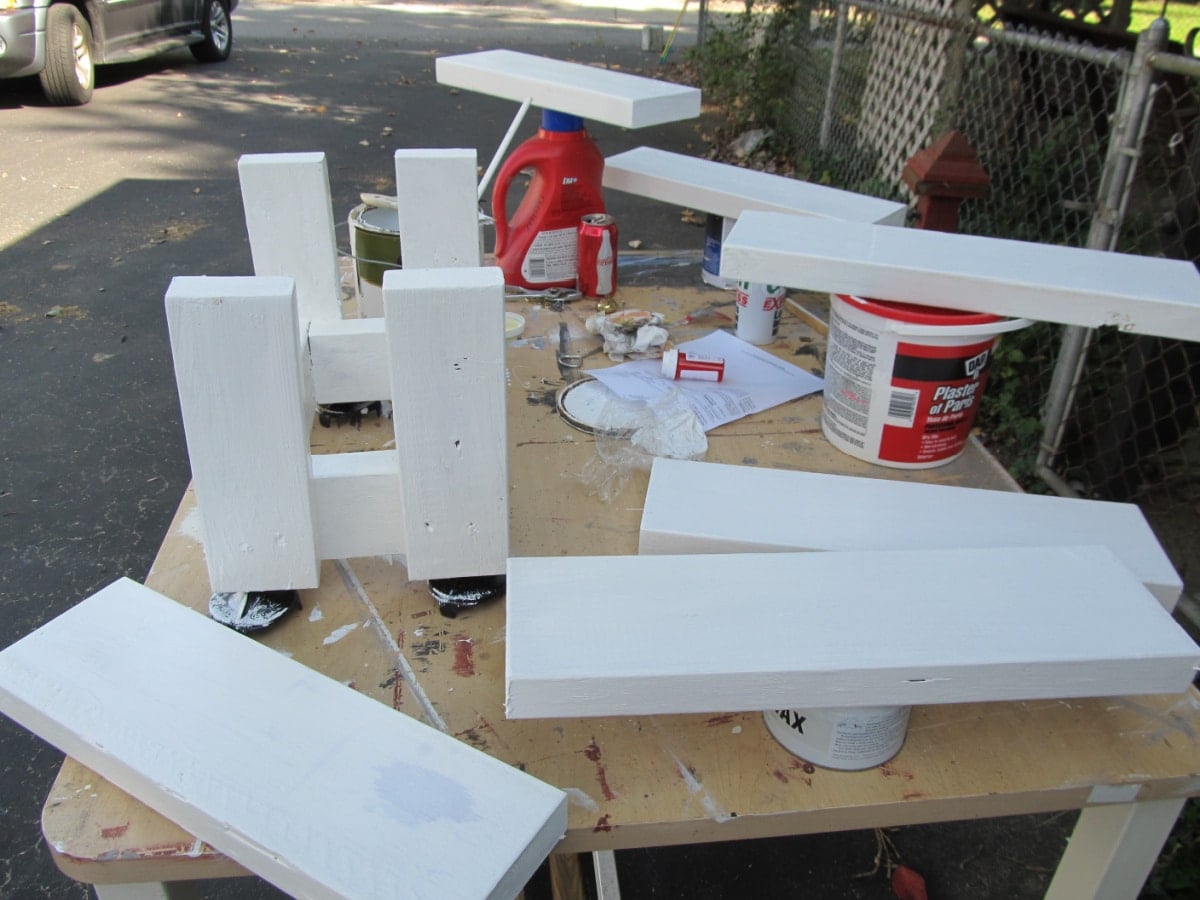
I was having so much fun making and painting the benches that I didn’t take enough in-progress photos. I hope the pictures of the finished project don’t confuse you.
Attach the Bench Legs
Position one leg at each corner of the box frame. Make sure the upper end of each leg is flush with the top of the frame.
Clamp the first leg in place. Check it with the square before drilling pilot holes through the frame and into the leg.
Add wood glue and secure the leg with screws. Repeat this process with the remaining three legs.
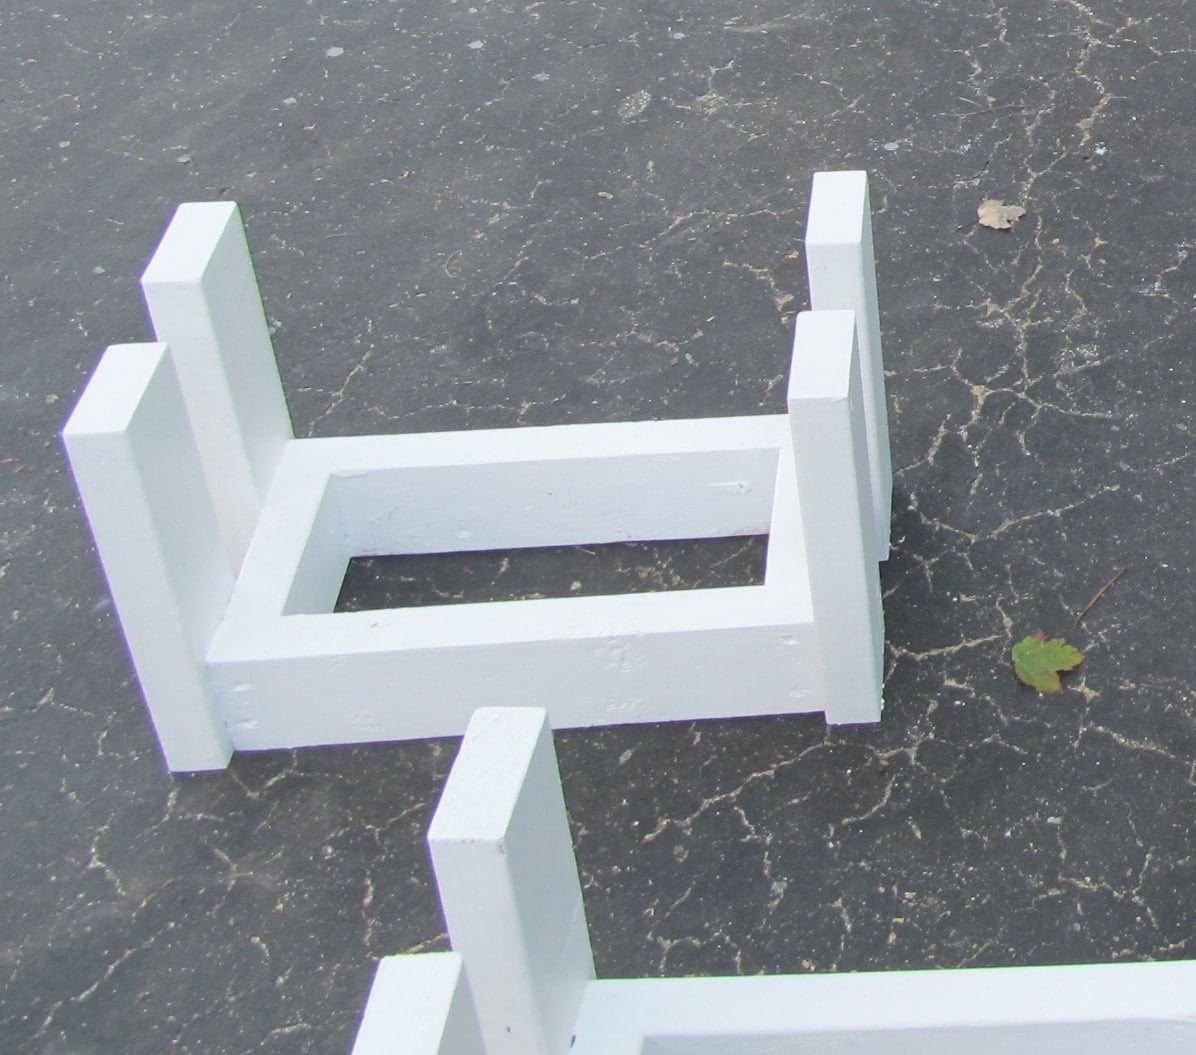
Before continuing, set the base upright on a level surface and check for wobbling. It is easier to correct an uneven leg before attaching the seat.
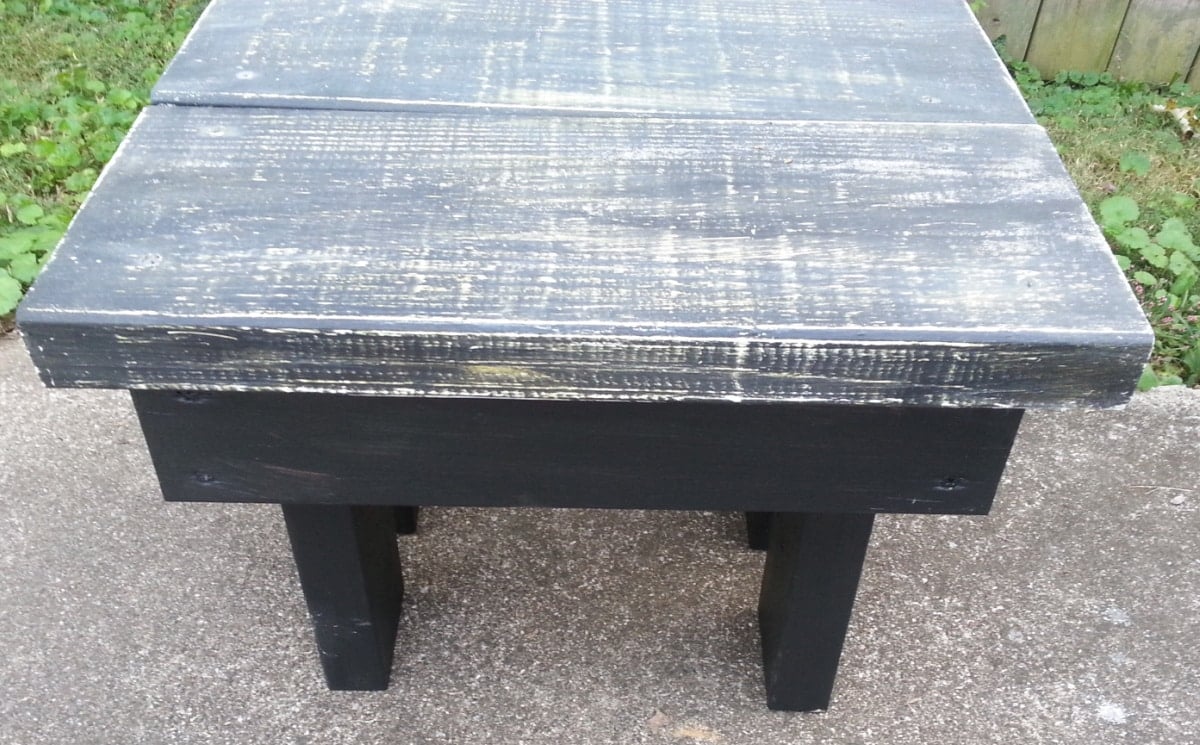
A close-up so you can see how I attached my legs. Most of these benches depended on the size 2x6s I had. I cut them in half lengthwise to make the two parts of the seat.
Make the Wood Seat
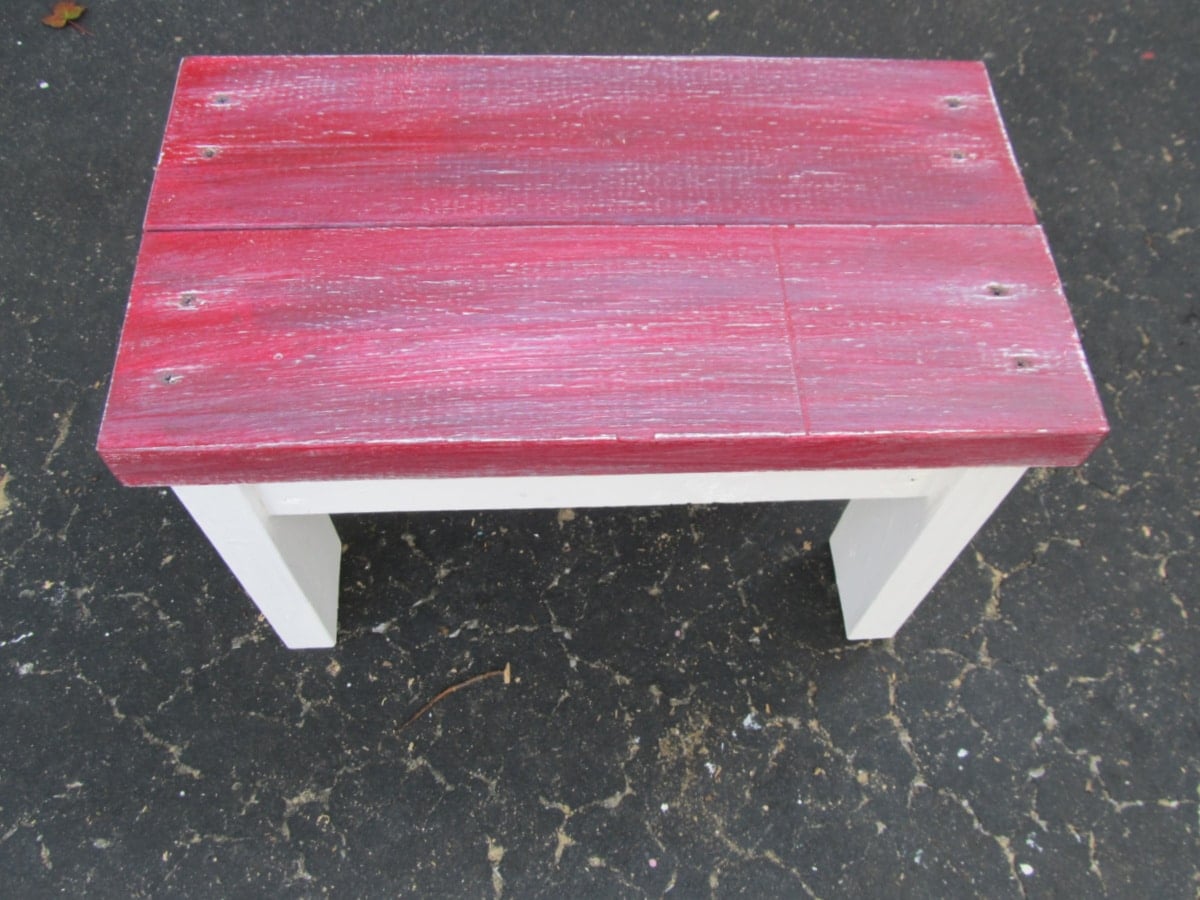
I used leftover 2×6 lumber for the seats on these little benches. Some of the boards were ripped lengthwise to create narrower seat pieces.
Dry fit the seat boards on top of the base. Adjust them until the overhang is even on the front, back, and ends. I prefer a half-inch overhang, give or take.
Mark the position of each board before removing it.
Apply wood glue along the top of the frame and legs. Return the seat boards to their marked positions and clamp them in place.
Drill pilot holes and secure the seat with screws. Countersink the screw heads slightly if you plan to cover them with wood filler.
Fill the Holes and Sand the Bench
Fill the screw holes and any unwanted cracks with wood filler. Allow the filler to dry according to the package directions.
Sand the entire bench, beginning with medium-grit sandpaper. Follow with a finer grit for a smoother surface.
Pay close attention to the edges and corners. Slightly softening the sharp edges gives the finished bench a more comfortable, worn-in appearance.
Remove all sanding dust before painting or staining.
Paint or Stain the 2×4 Bench
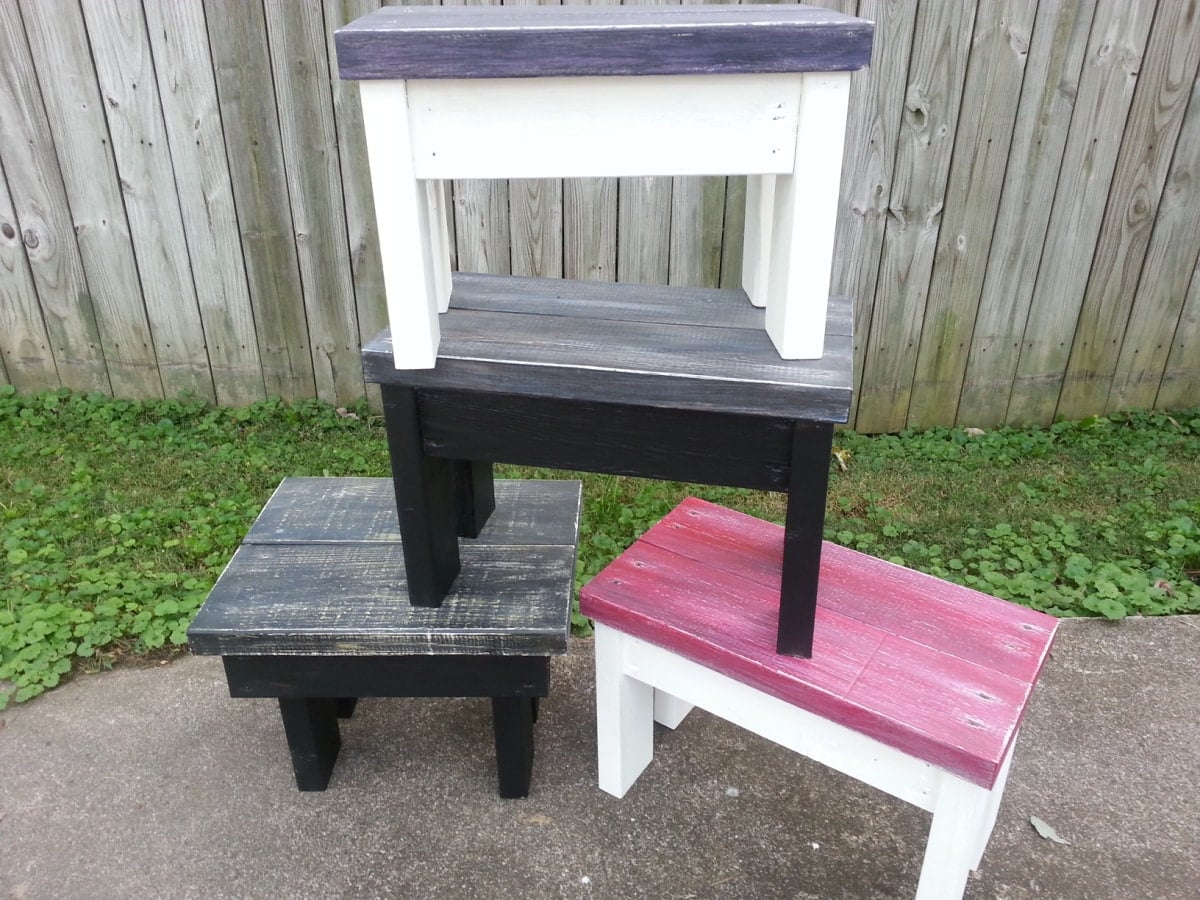
One of my favorite parts of this project was trying different paint colors and finishes. Since these benches were made from scraps, they were perfect for experimenting with leftover paint.
Prime bare wood when needed, then apply two light coats of paint. Allow each coat to dry before adding the next one.
You can paint the entire bench one color or use contrasting colors on the seat and base. Distressing the edges will give the bench a timeworn look.
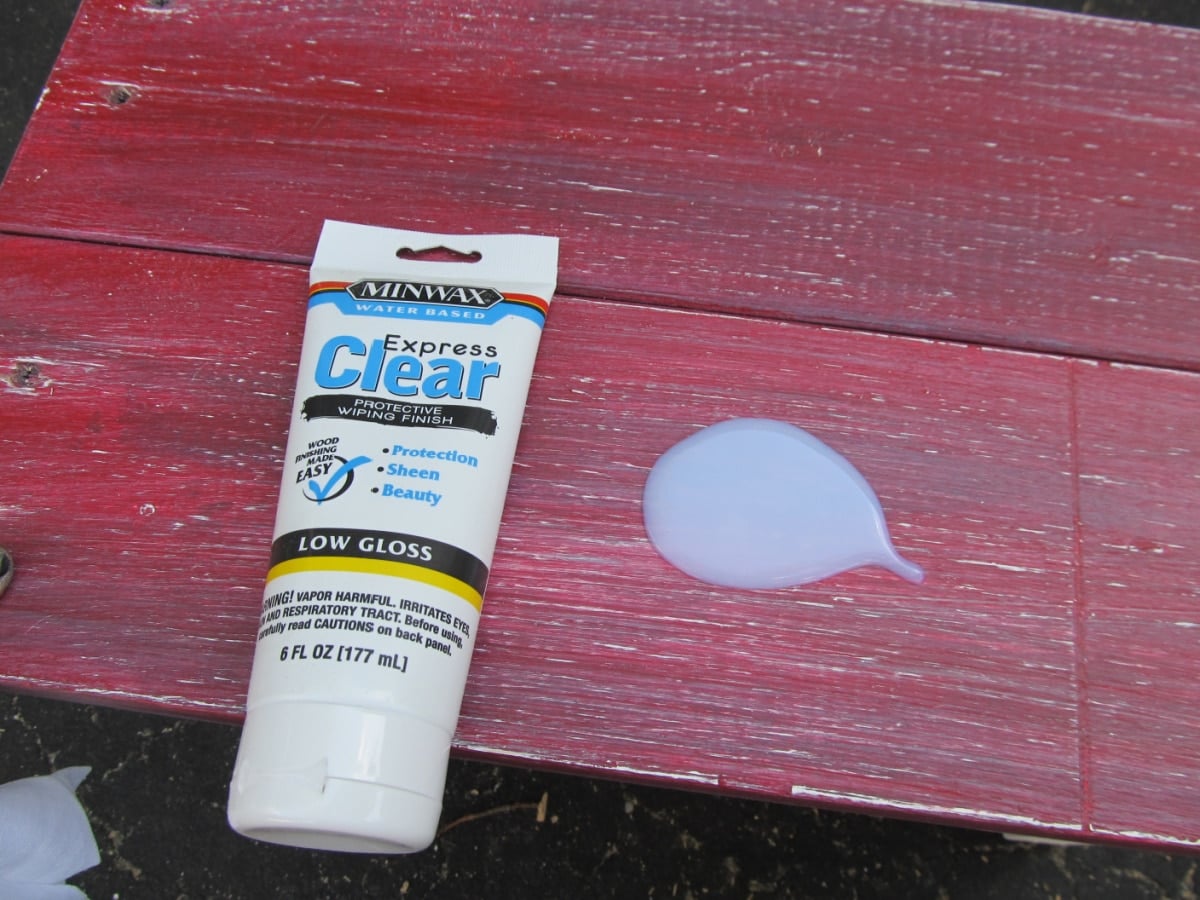
If the paint appears too flat or needs extra protection, add a clear topcoat after the paint has cured. The paint I used was a little too “flat” to suit me, so I grabbed some Minwax Express Clear to give it a little protection and some sheen. EASY peasy!
Fun Paint Colors

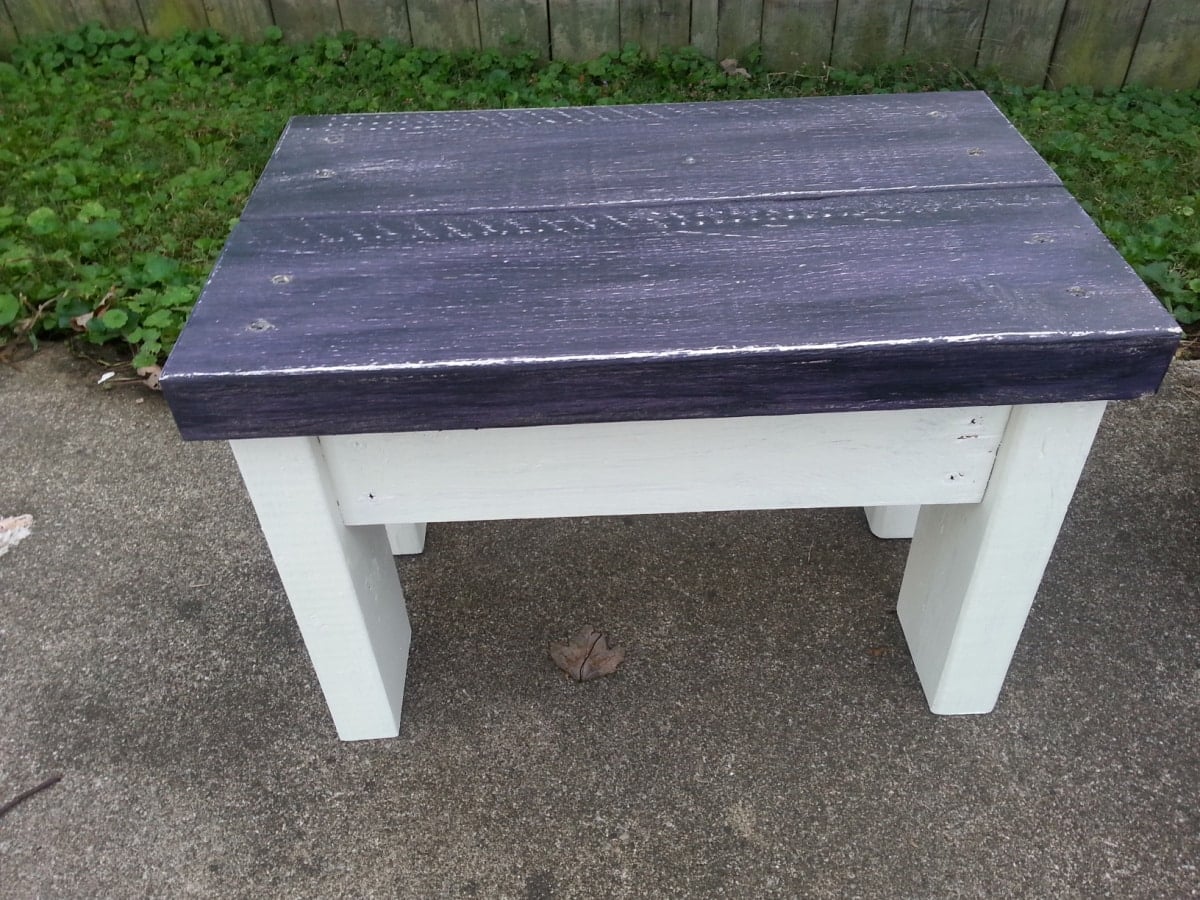
You can see I was a painting fool this day! I was slapping paint on right and left! So, I tried to mimic Becky’s paint technique—which I’ve always LOVED! I think I did pretty good for my first try. But I didn’t distress the white bottoms as Becky does… I tried using some stain as she does, but I couldn’t pull it off.
Easy 2×4 Scraps Benches & Stools
Ways to Use a Small Wood Bench
A small 2×4 bench can be useful in many places around the house. Depending on its finished size, use it as:
- A footstool
- A plant stand
- A child-size bench
- A decorative display riser
- A place to hold a basket
- A small porch accent
- A display piece for a craft fair or vendor booth
These low benches should not be used as a substitute for a ladder. If you plan to use one for seating, check the joints regularly and make sure it sits firmly on the floor.
Helpful Building Tips
Start with the seat
When using random scraps, choosing the seat boards first makes it easier to determine the size of the base.
Drill pilot holes
Older, dry lumber may split when screws are driven near the ends. Pilot holes reduce that risk.
Check for square frequently
Check the frame after clamping it and again after adding the screws. A square frame makes it much easier to install four even legs.
Test for wobbling
Place the unfinished base on a level surface before adding the seat. Check that all four legs make contact with the floor.
Use what you have
The boards do not have to match perfectly. Small differences, old nail holes, and worn edges add character to a scrap wood project.
Frequently Asked Questions
Can I make this bench with new 2×4 lumber?
Yes. Although I built mine from scraps, new lumber will work just as well. Look for straight boards without large cracks or loose knots.
Do I need a pocket hole jig?
No. This bench can be assembled with ordinary wood screws and properly drilled pilot holes.
Can the bench be used outdoors?
It can be used outdoors when it is assembled with exterior-grade products and protected with an exterior finish. Keep in mind that untreated construction lumber may eventually move, crack, or weather when exposed to moisture.
Why does my bench wobble?
First, move it to a level surface to make sure the floor is not the problem. If one leg is slightly longer, mark it and carefully sand or trim it until all four legs sit evenly.
Can I change the dimensions?
Absolutely. This project is meant to be adaptable. Make it longer for a small bench or shorten it to create a compact stool or plant stand.
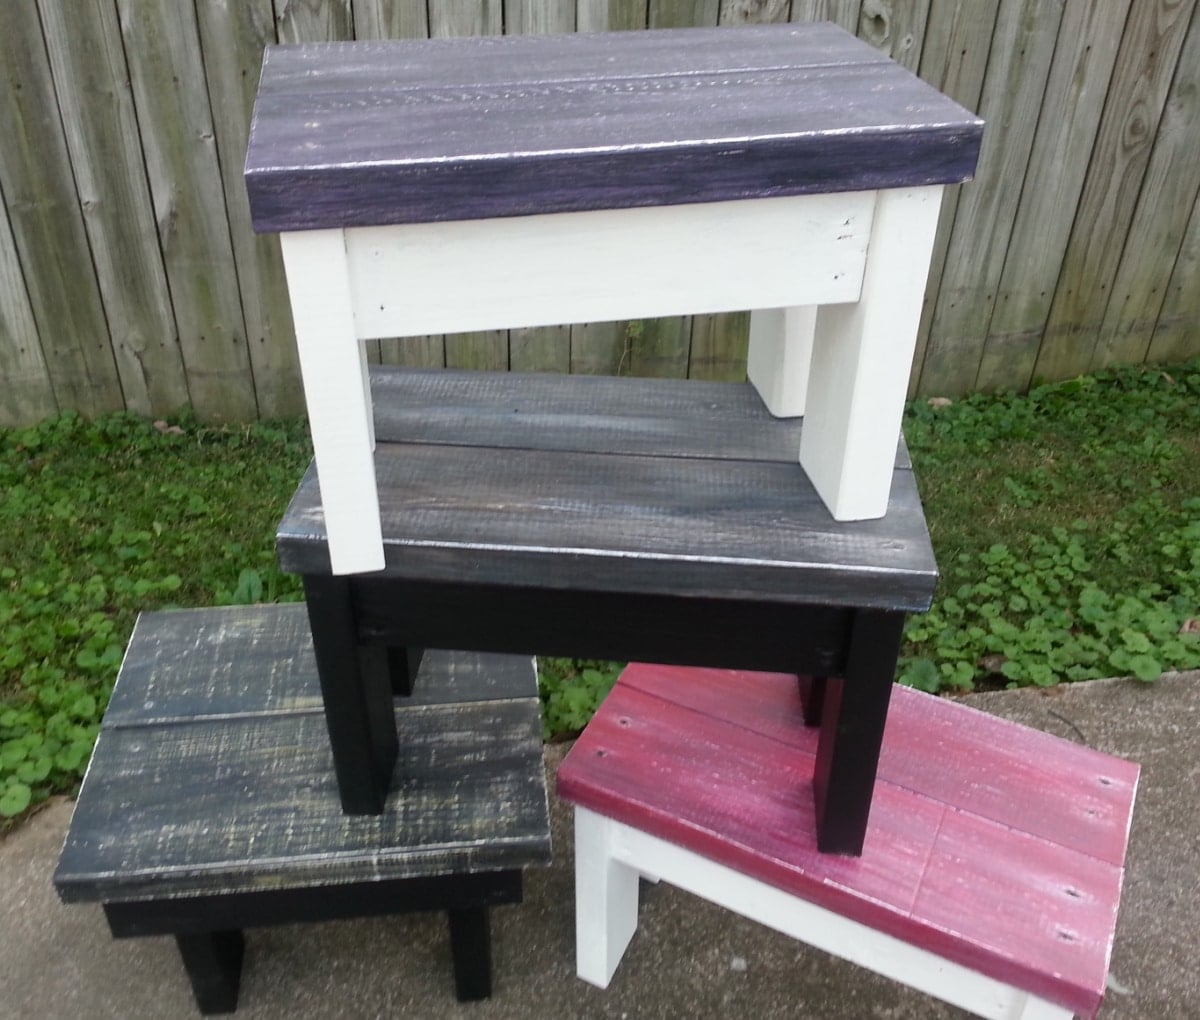
This easy 2×4 bench is proof that even a small pile of lumber scraps can become something useful. The basic construction is beginner-friendly, and changing the dimensions or paint colors gives each bench its own personality.
I enjoyed making several of these at once and experimenting with the finishes. The hardest part may be deciding which color to use first.
Do you save short pieces of 2×4 lumber, or do they tend to take over your workshop like mine?
gail
Related Content:
These are great and what a good way to use up your scraps. I’m looking for a little project for the “retired hubby” to do and this might be it. But I would need to sell them, can’t add anymore stuff to our house. What do you think they would sell for and would advise just sticking with white? Is that the best for resale? Keep up the good work, I love your inspiration!
Carol,
What color is the age-old question. I like to mix things up, but when I put them for sale, black or white seem to sell best. Chippy Farmhouse is so cute, but not in my area. I’ve made some adorable things, but they just aren’t very popular.
As for the price, I believe I sold these stools cheap . . . $12-$15
gail
These are really cute. What are the dimensions?
Lena,
That’s the beauty of this project, you can make these any size you need. My guess is most of them are about 10-12″ high.
Hope that helps!
gail
Gail, I made one over the weekend. I don’t have scrap 2x4s (I envy your “stash”) so I bought some and my first bench turned out so cute. Thank you for the idea. My husband didn’t understand why I was making it but I just had to try to build something all by myself and this was the perfect project for me. He’s so good at building that I usually just let him do it so it was confidence building to try this one on my own.
Lena,
I’m so happy you made a bench (it looks great by the way) That is exactly why I’m here-to empower women (particularly) over the age of 50 to stop procrastinating, pick up some power tools and get busy with some DIY!
yay!
gail
They are so so cute!! I really like them all but I think I like the legs on the sides better! I hope you are feeling ok, take care!
I like the different one …of course!
The little grey and black one on the bottom. I saw this on google+ and liked that one right away!
Patricia
Great stools…yes bottom left is different. But mostly I gotta say I am SO glad you went to the hospital when you did! And I am glad to hear you are feeling much better. Take care!!
So great to see you back to building your wonderful furniture. Those benches are so stinkin’ cute, just be sure to rest!!
I love this!
Good to see you ‘back’! After being out of commission for a while it’s easy to over-do….so take it easy! LOVE the little benches……now if I can just convince hubby that I need another one…..
I love these little benches/stools. What a great thing to use the 2 X 4’s for! Feel Better 🙂 !
Oh, I love these and will have to make some…..I am terrible at building, I even broke my pocket hole tool, but I think I can do these!!!!!