Easy Mirror Frame
As an Amazon Associate, I earn from qualifying purchases.
I’ve had some mirrors for a while, okay maybe a year or 18 months? My friend Cathy gave me three of them—they came out of this repurposed medicine cabinet into a pegboard craft station. She gave them to me with the condition that I got to keep the two smaller ones for myself if I made her a frame for the larger one. Sometimes I tend to procrastinate about the smaller projects.
Then I saw a fabulous tutorial for an easy frame from my friend Jamie at That’s My Letter. That was a light bulb moment for me. For some reason, “attaching” the mirror without some sort of adhesive on a backing had me stumped.
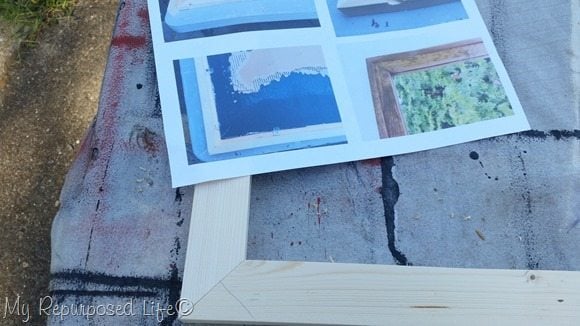 I usually just sort of wing it after reading a tutorial, or looking at pictures, but I wanted to make sure I got this right. I printed out a collage of the pertinent photos from Jaime’s tutorial.
Of course I had to cut my boards differently because my mirror was a different size than hers. I didn’t have any 1×2’s, so I ripped some 1×4’s down to a smaller size. Although I think my boards are a little wider than Jaime’s were.
You can see that little line I drew. It’s to help me wrap my brain around how to drill the pocket hole.
Pocket Hole Joints
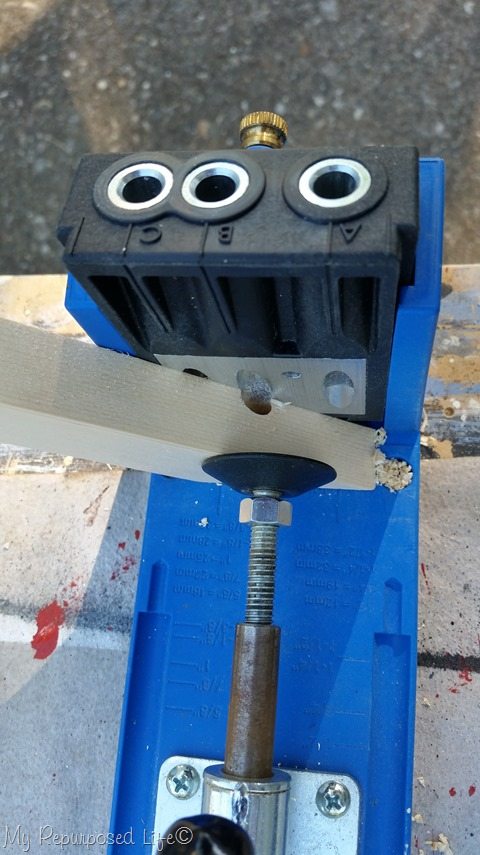 I swapped out the regular blue K-4 insert for the smaller Micro Jig insert so I could use smaller screws. You can see from this picture how I drilled on an angle by placing the board on the slanted end. I could say I’m using laymen’s terms so you can understand me, but who are we kidding? I don’t know the technical terms to use.
Need more details on using a Kreg Jig? See my article How to use a Kreg Jig Pocket Hole System
Clamp your wood
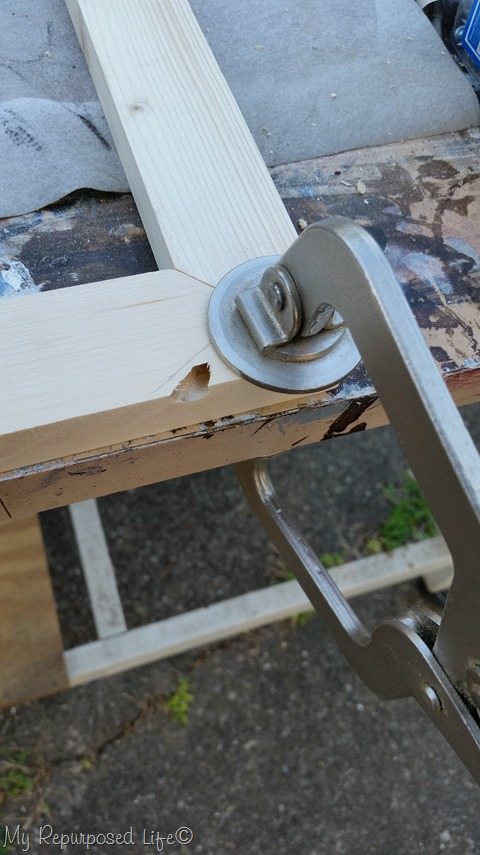 You will notice I didn’t drill on the line, that wasn’t my intent. I use lines solely to help me know on which board to drill.
I used a Kreg Face clamp to hold the joint together while I secured the screw.
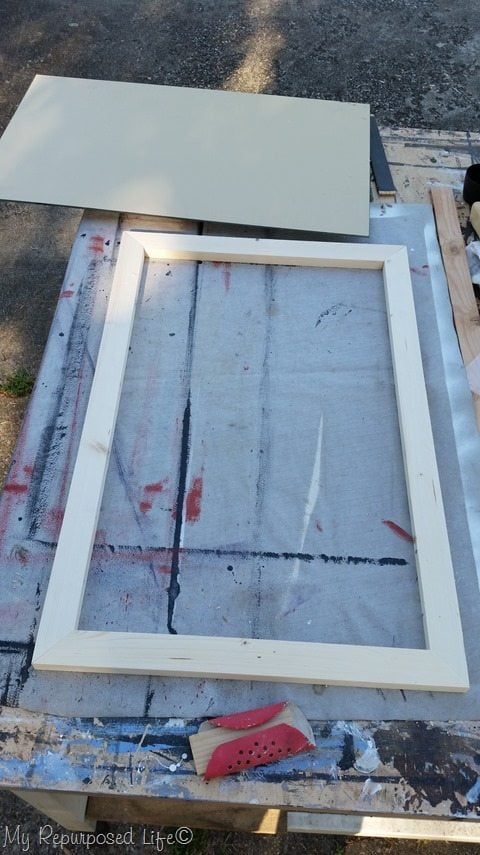 You can see the frame (and the mirror) in the picture. This is only the first step for the easy mirror frame. This next step is where the magic happens.
Make an outer frame
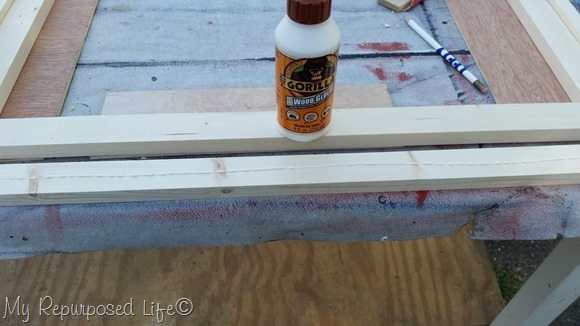 Jaime’s brilliant tip was to use some 1/4” plywood to give a small “lip” on the front of the frame to give it great detail. I measured and cut more boards to make the outer frame. I secured it with wood glue and . . .
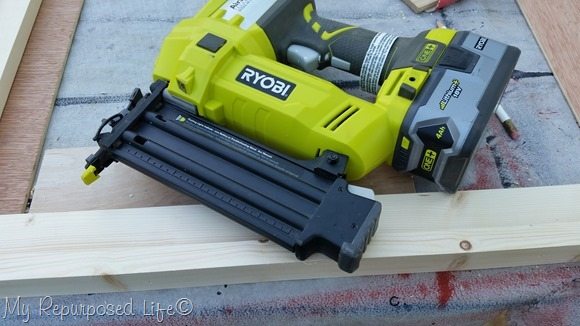 . . . my Ryobi nail gun from Home Depot.
I love the look of this frame now
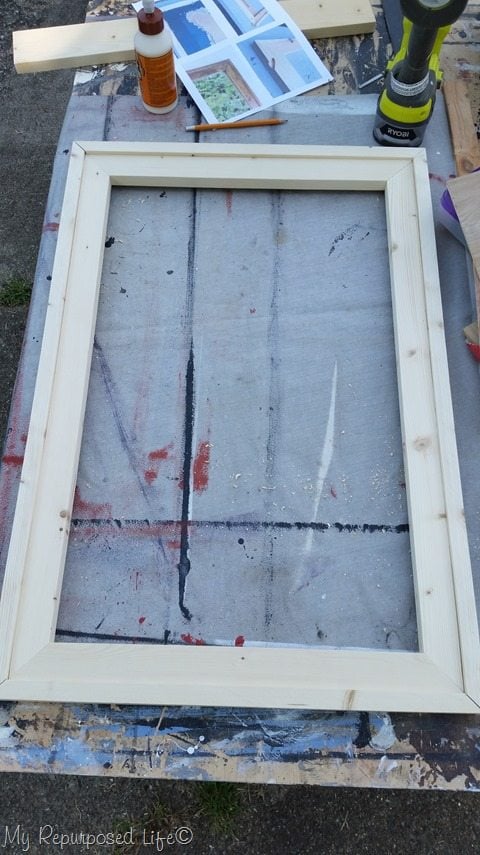 Voila! Here is the finished easy mirror frame! See how nice the small lip on the front side looks?
Paint multiple projects at one time
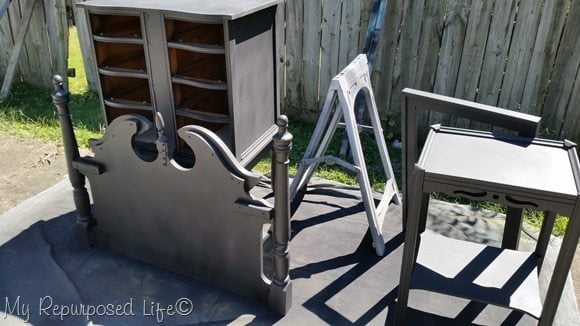 I painted it black during my Finish Max paint marathon.
Headboard Shelf Desk Into Chest
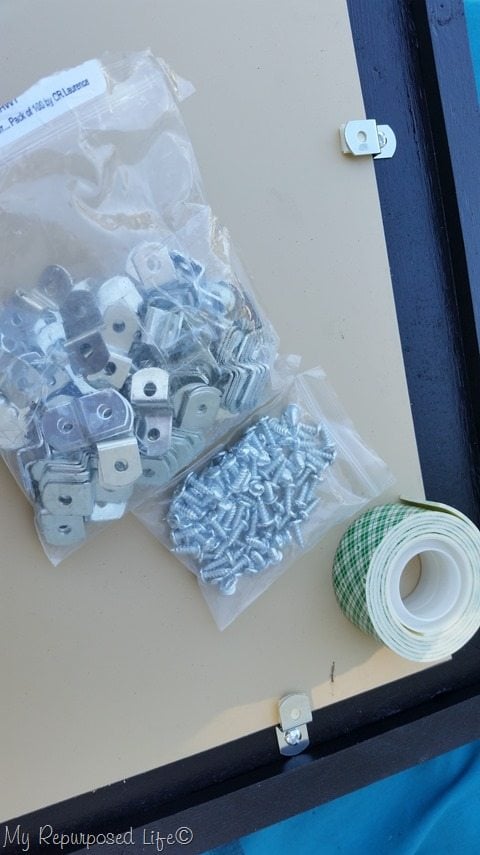 Jaime used some decorative mirror clips, but I decided to order by bulk from Amazon. So, I ordered 1/4’ clips, but it ended up being too much clearance. Then I used some double sided foam tape to make up the difference between the clip and the back of the mirror. I have since ordered some 1/8” clips on Amazon to keep on hand for other projects.
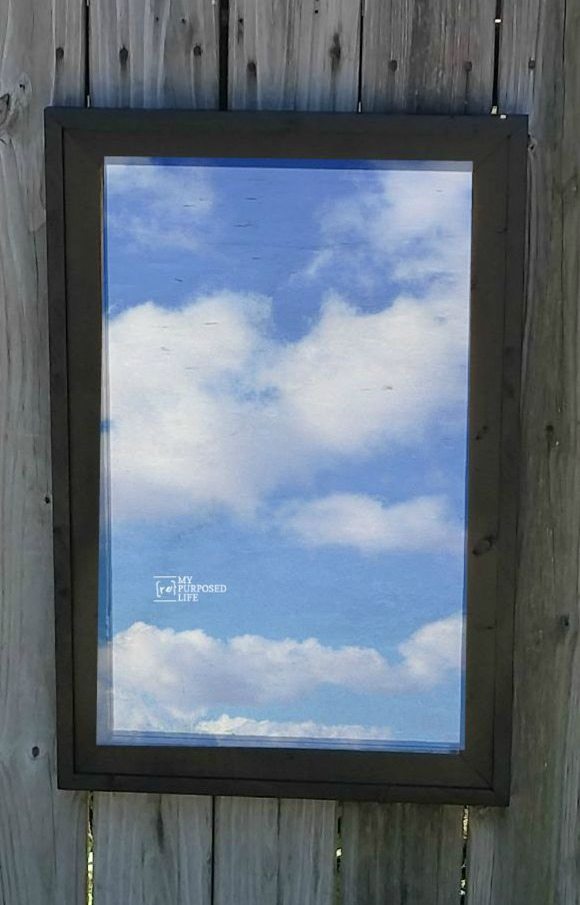
I hung it on the fence to take a picture. It’s soooo difficult to take a picture of a mirror! This framed mirror was so quick and easy! I get to check a project off my to-do list!
So, go take a look at Jaime’s mirror, she didn’t paint her frame. Thank you Jaime for inspiring me to finally get off my duff and get this project completed!
Are YOU inspired to do something similar? I have a few more projects that will be using this easy frame method.
gail
Related Content: Picture Frame Ideas For Home Decor and More


Ok must be dense. But how do you get the print on the mirror and it still be a mirror??
I’m going to pin this because, I made that chalk board for bree last year and still have the mirror that came out of the frame! I need to make a frame for it!
This is good information. 😉
If you aren’t the darndest!!!
Gail the black is stunning. Thank you for the shout out and link back, so kind of you. Glad you found it helpful and made it work for your supplies. Getting that picture WITHOUT yourself or the camera in the picture is next to impossible right?!! Check that project off the list.
I love the way you adjusted your mirror clips to fit, cleaver cleaver! The frame looks awesome!