
Easy DIY Shadow Box from a Picture Frame
As an Amazon Associate, I earn from qualifying purchases.
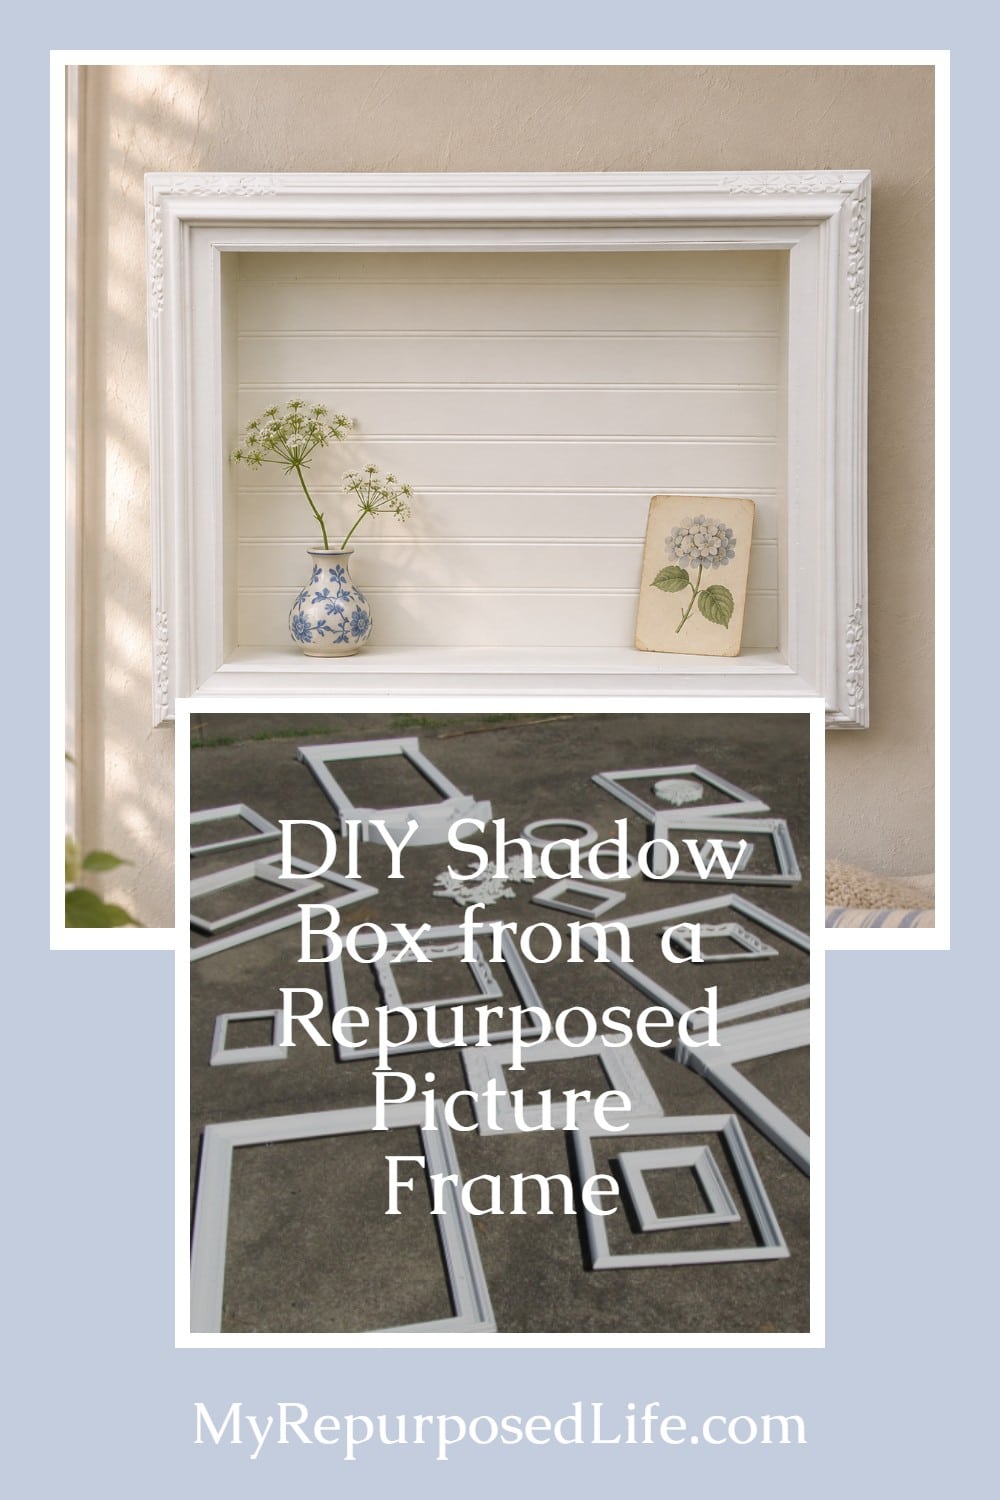
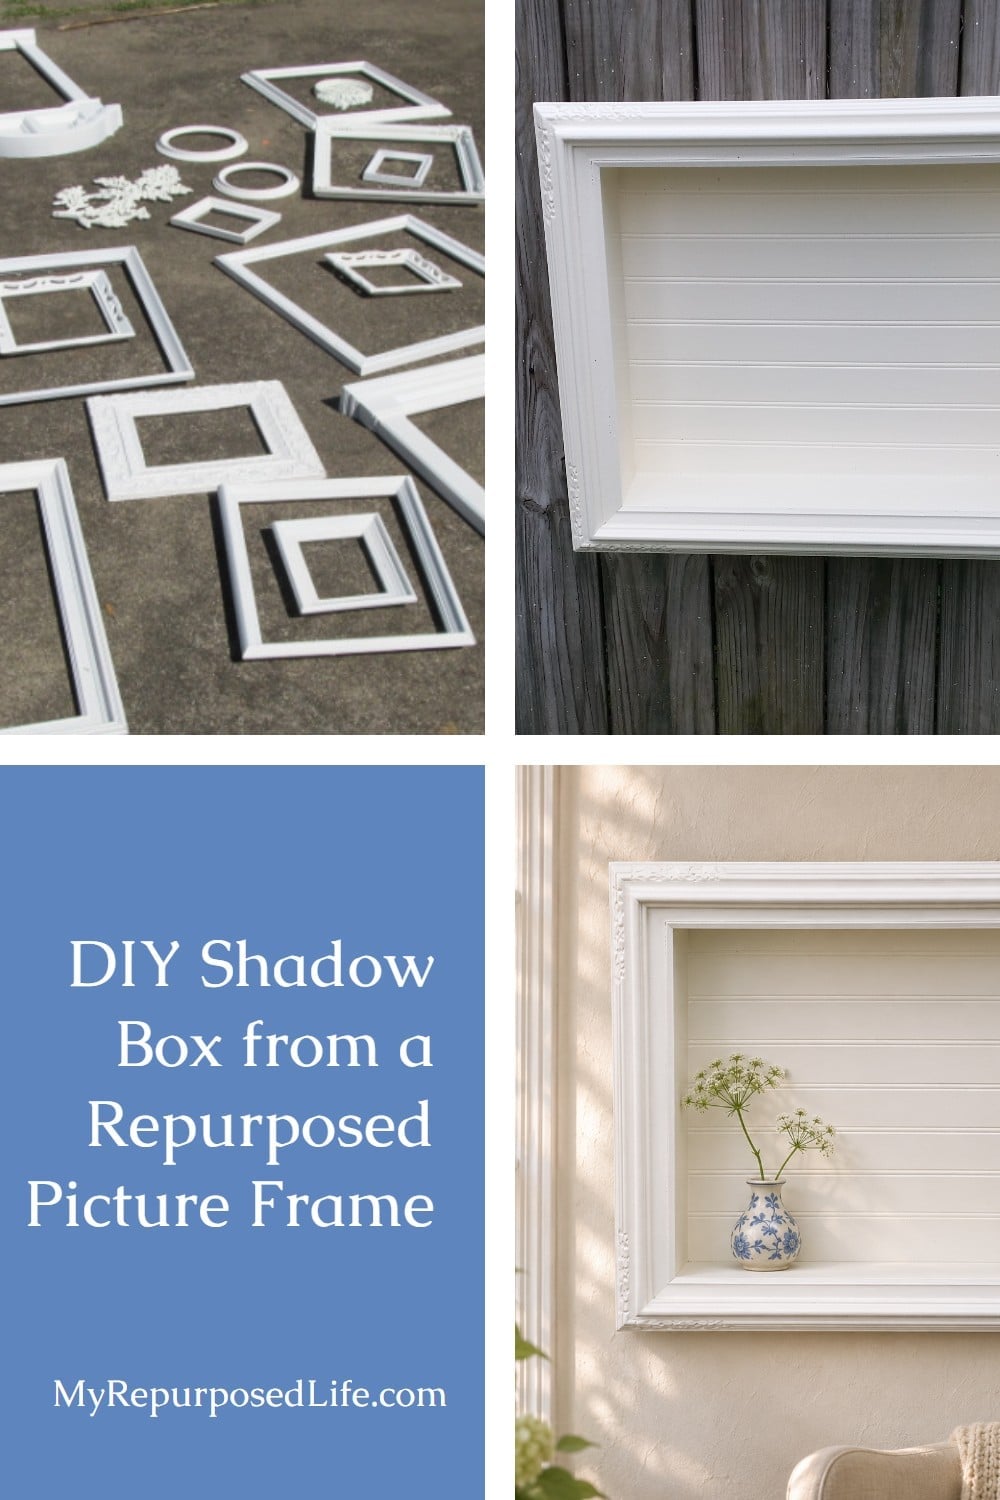
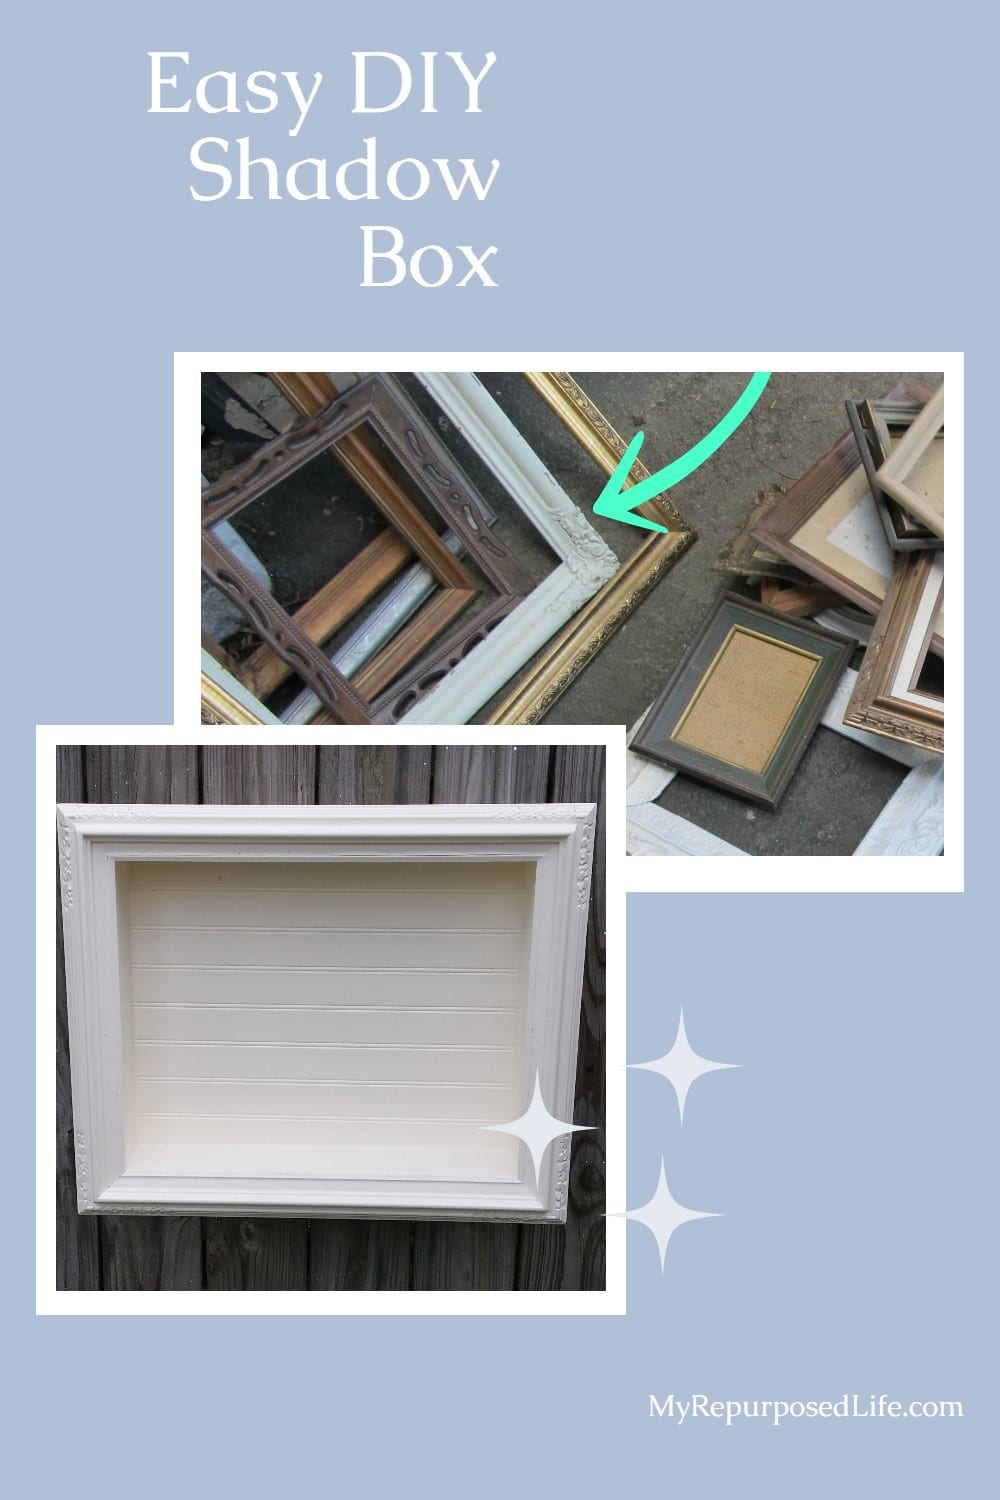
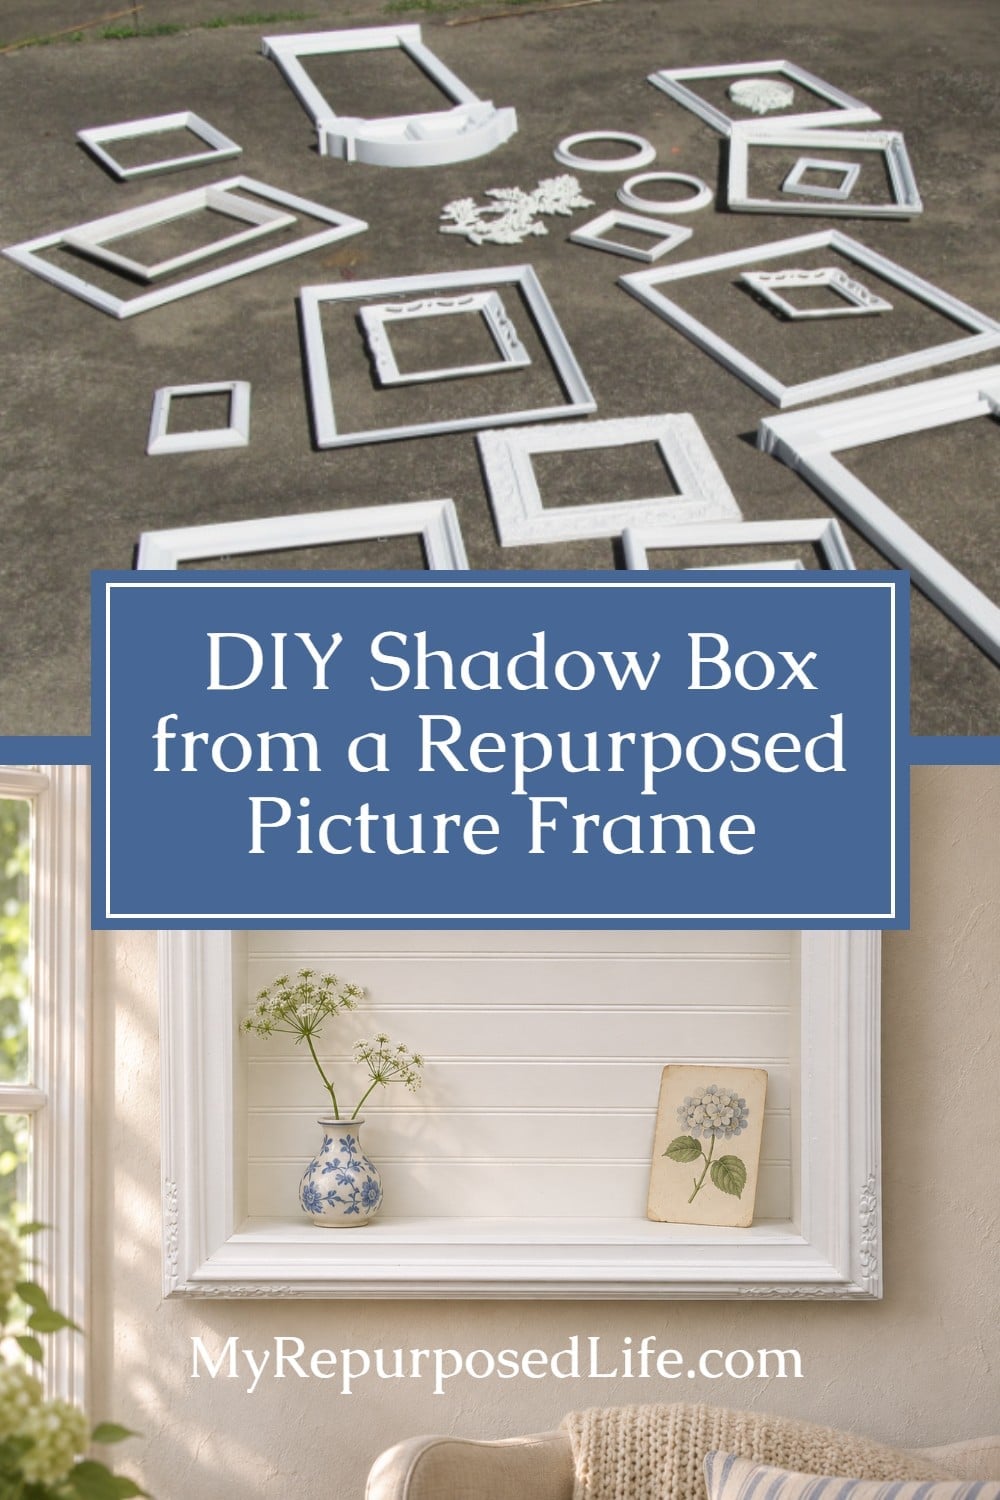
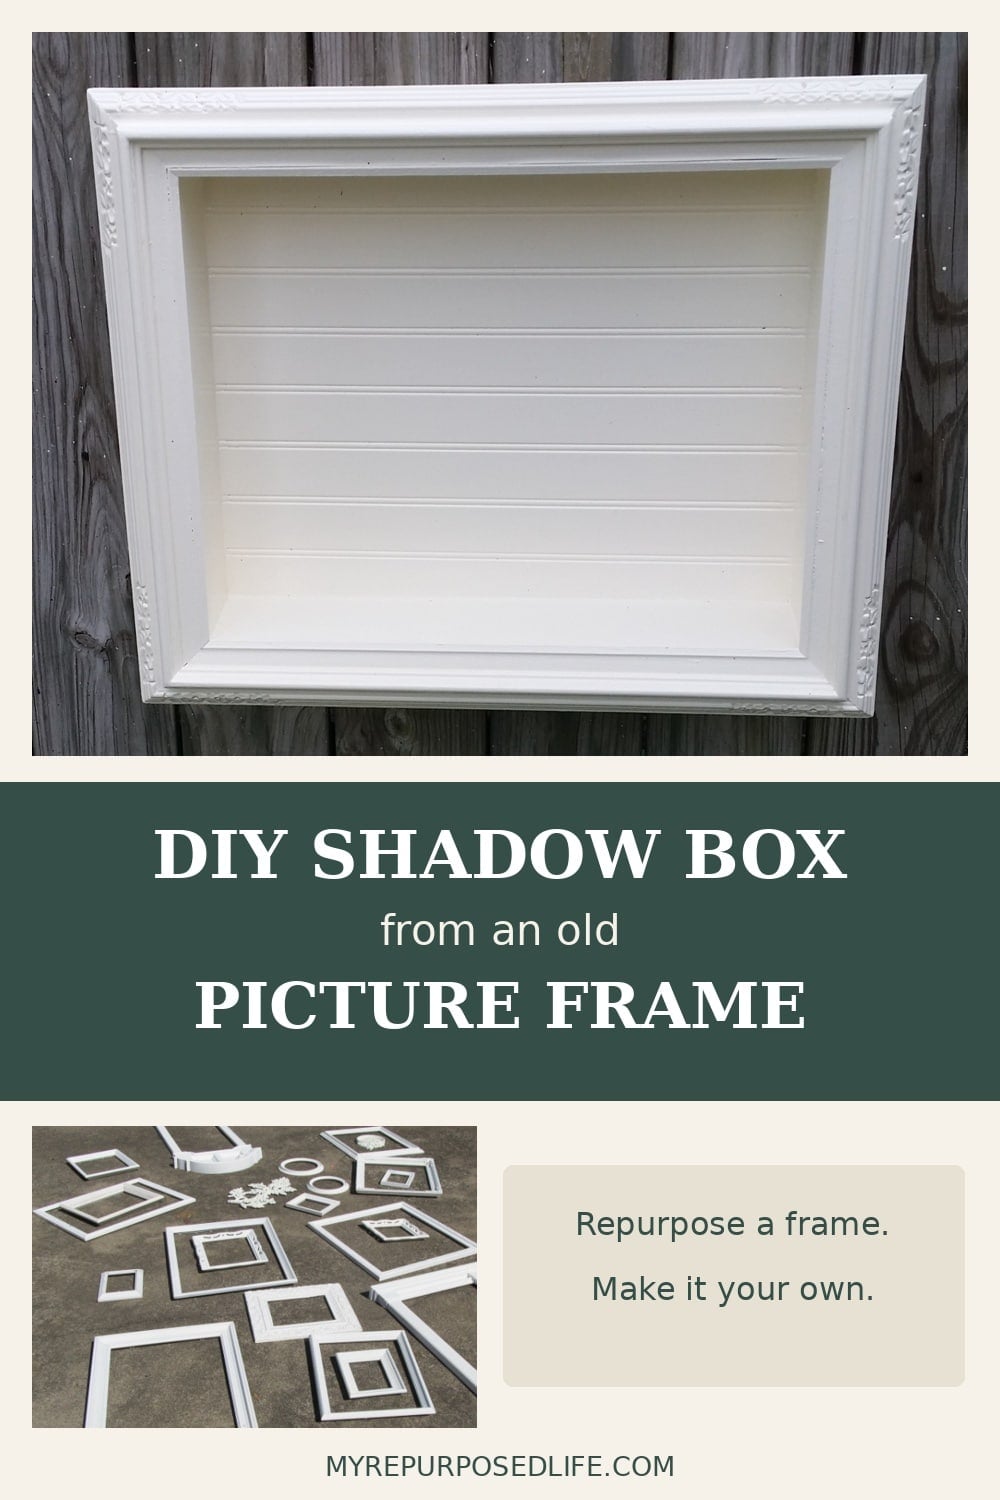
Have an old picture frame tucked away? Turn it into a shadow box for your favorite little finds. I used thin plywood and a scrap of beadboard to add depth. The front stays open, so you can easily change the display whenever the mood strikes.
Picture frames are everywhere at thrift stores, and they give your project a finished look right away. Adding depth creates space for memories, not just photos. It’s an inexpensive way to turn everyday items into personal décor that people actually notice.
Choose a Frame for Your DIY Shadow Box
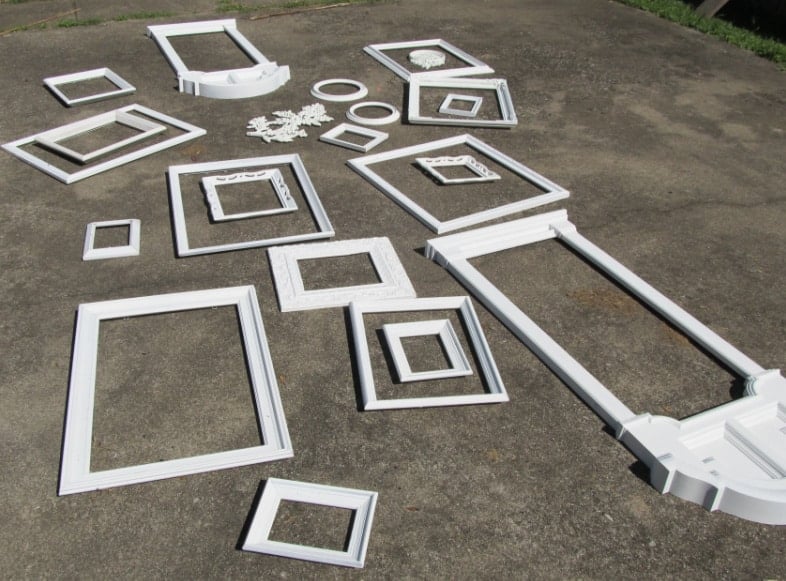
You may not know this, but picture frames are among my top 5 items to look for while junking! Painting a lot of picture frames at once is so satisfying. The frame I’m using for this project is in the upper right corner, with a smaller frame resting inside it.
Helpful Materials and Supplies to Make an Easy Shadow Box
- A thrift store wooden frame
- Thin plywood, reclaimed
- Wood glue
- Clamps or painter’s tape
- Paint
Cut Thin Plywood for the Sides
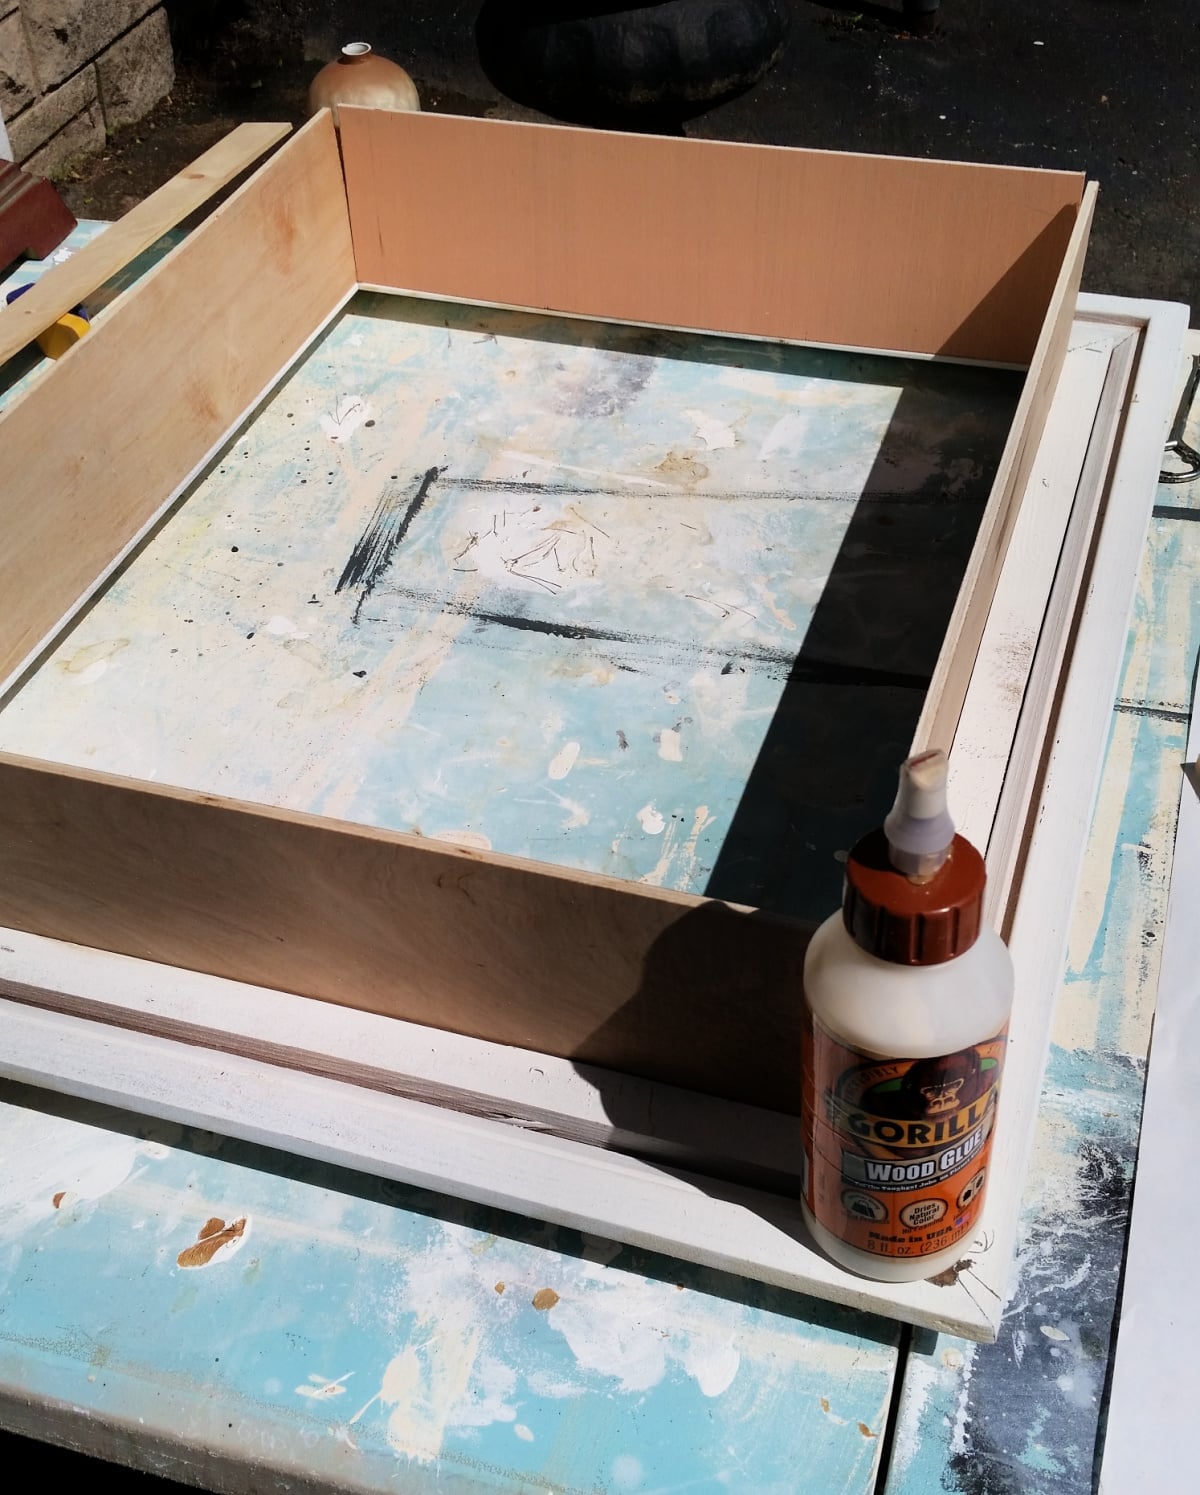
I grabbed a large frame from my stash of thrifted frames and cut some thin plywood to size. On large frames like this, a lip around offers the perfect ledge to hold the thin plywood. The easy shadow box is already on its way!
It’s difficult to give you exact measurements because your frame will be a different size. When building a wooden box, which is basically what you will be doing, have the top and bottom boards rest inside the side panels.
Unwanted drawers are perfect for collecting wood panels for a project like this Open Concept Shadow Box.
Related content: Using reclaimed wood from drawers.
Visit the My Repurposed Life Amazon Store to shop my favorite items.
Glue the Sides to the Picture Frame
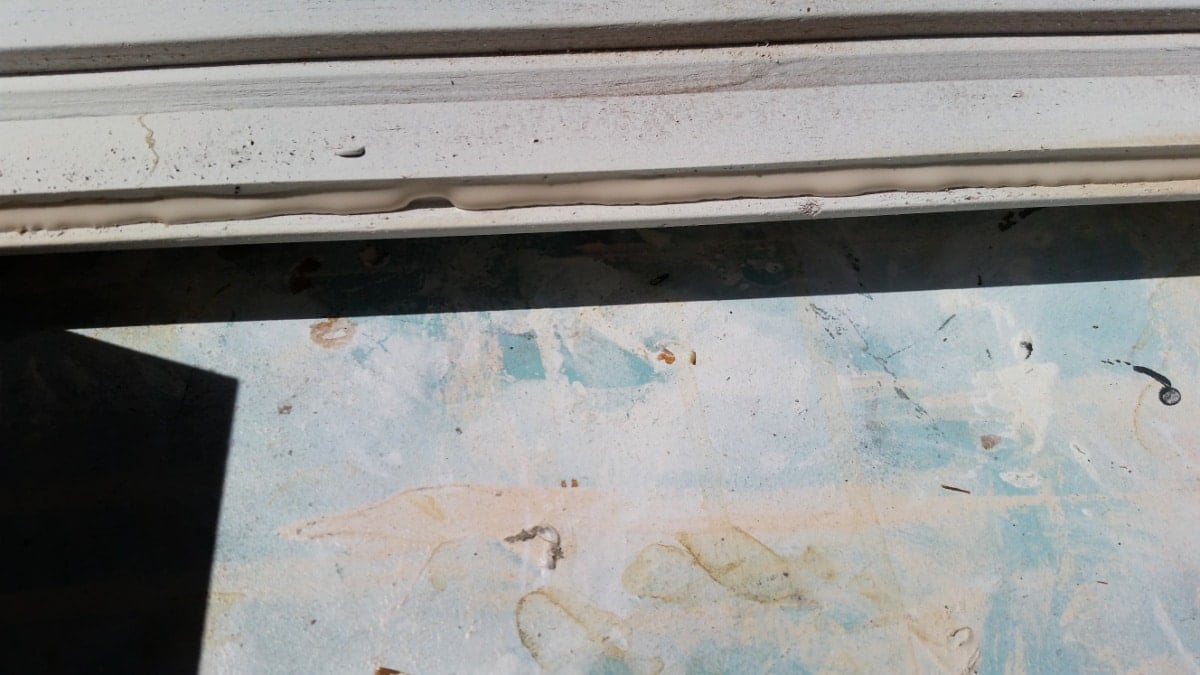
To make the display case, I added Gorilla Wood Glue around all the edges (lip) of the frame. Baby wipes come in real handy for any wood glue mishaps you may have while woodworking.
Related Content: More Shadow Box Ideas
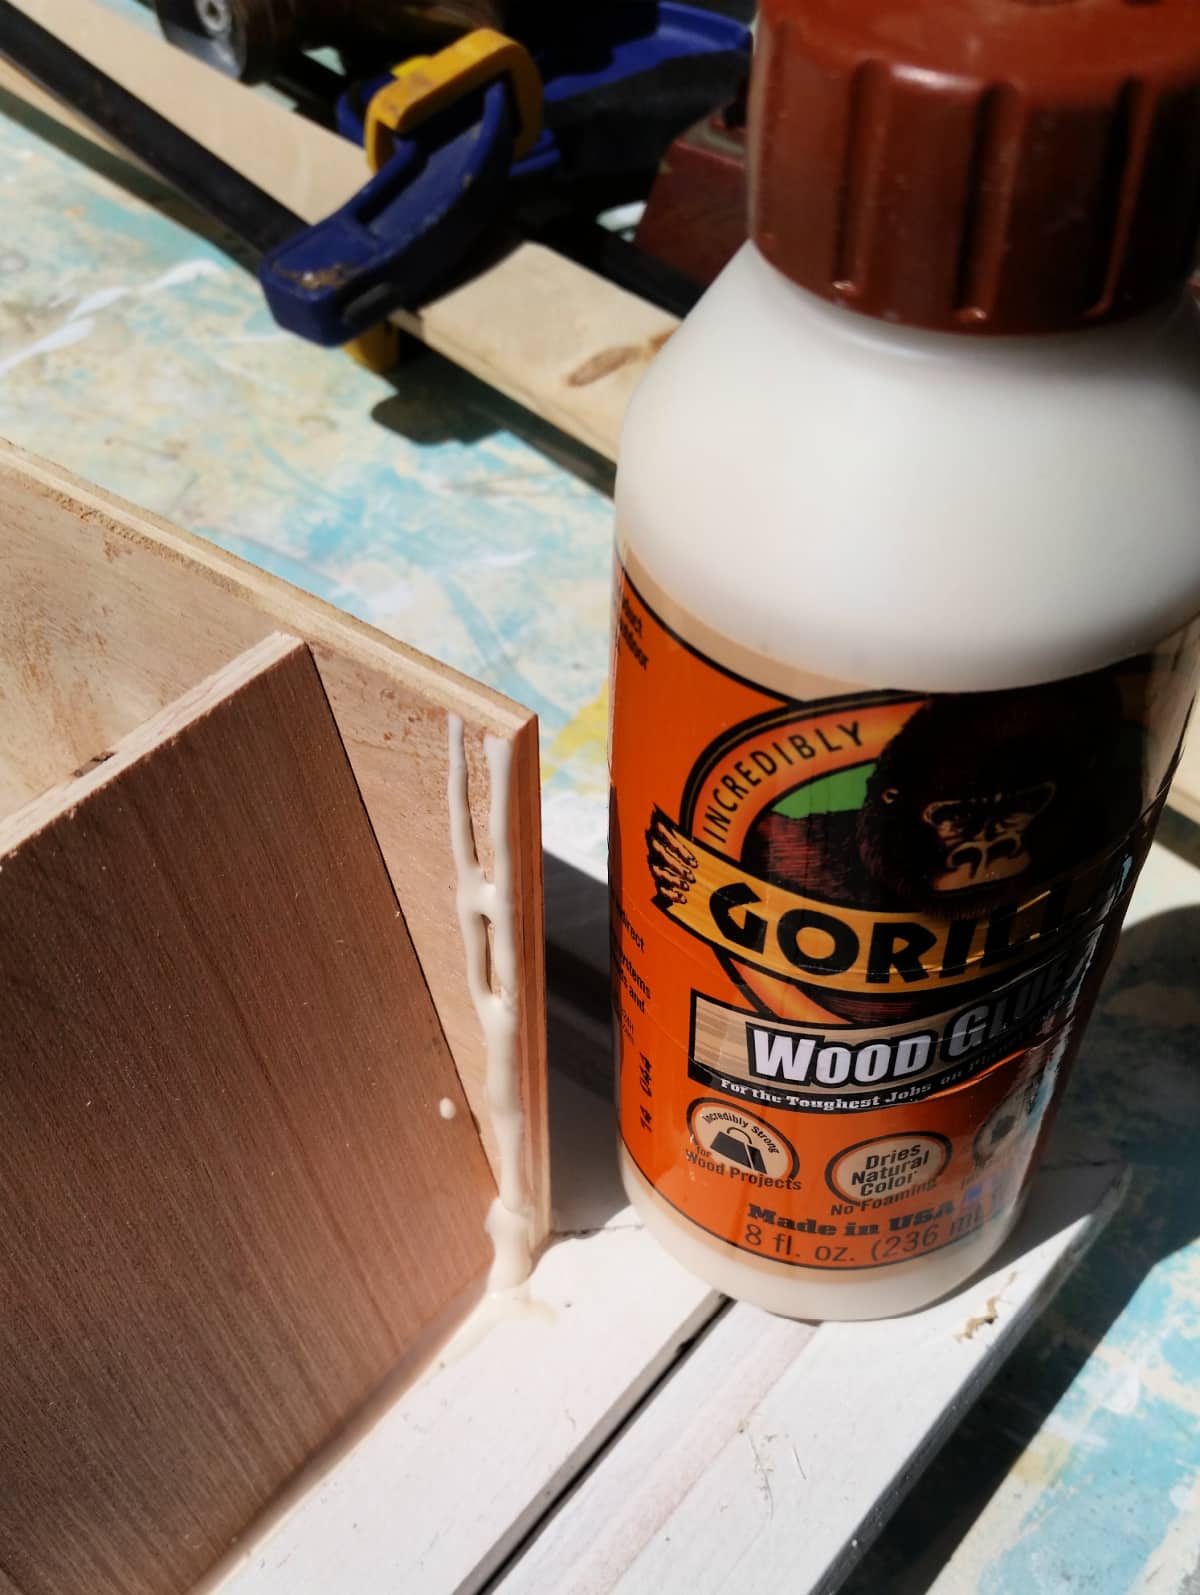
Then, I added the wood glue to the edges where the thin plywood meets.
Clamp the Shadow Box While the Glue Dries
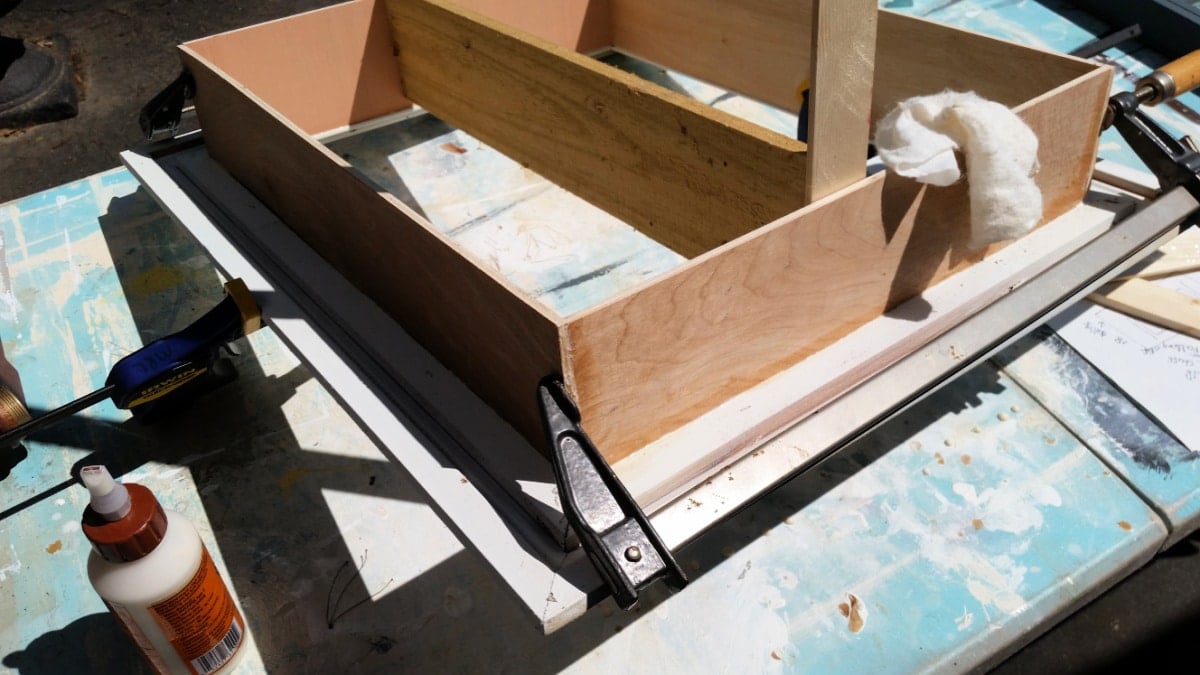
I clamped and braced the boards until the wood glue had time to set up on the easy shadow box. This is a good time to wipe away any messy glue drips.
The boards in the middle of the “box” are placeholders to keep everything squared while the glue sets.
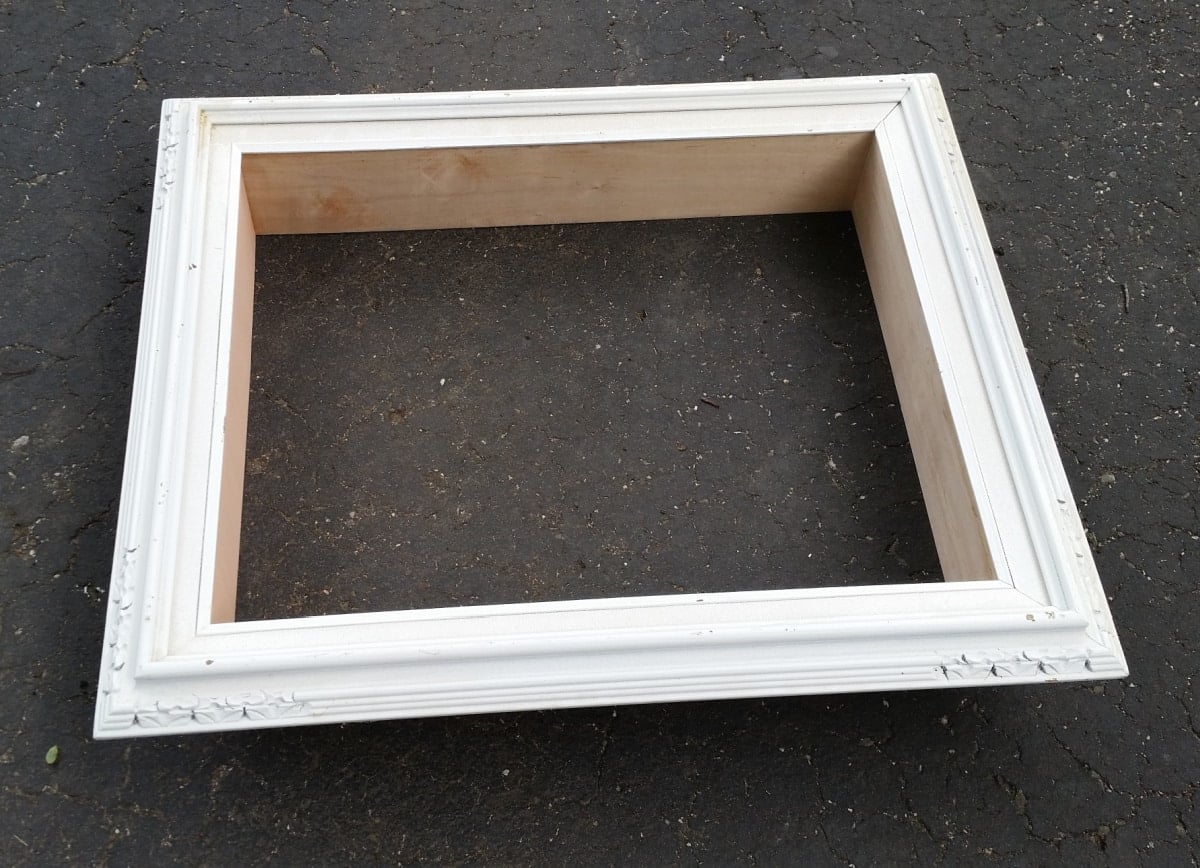
The thin plywood looks much nicer in the frame’s little lip than a thicker piece of wood, such as a 1×4 or 1×6.
Add a Beadboard Back
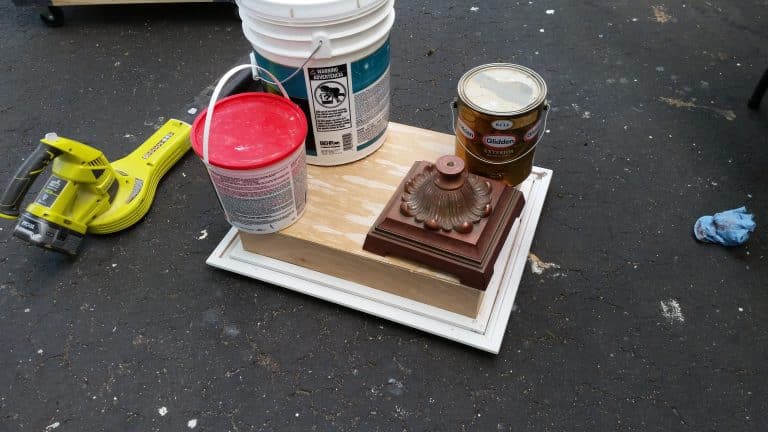
I used a scrap piece of beadboard for the shadow box back. Of course, I used more Gorilla Wood Glue and weighted the back until the glue was set.
Securing the back makes the entire project stronger.
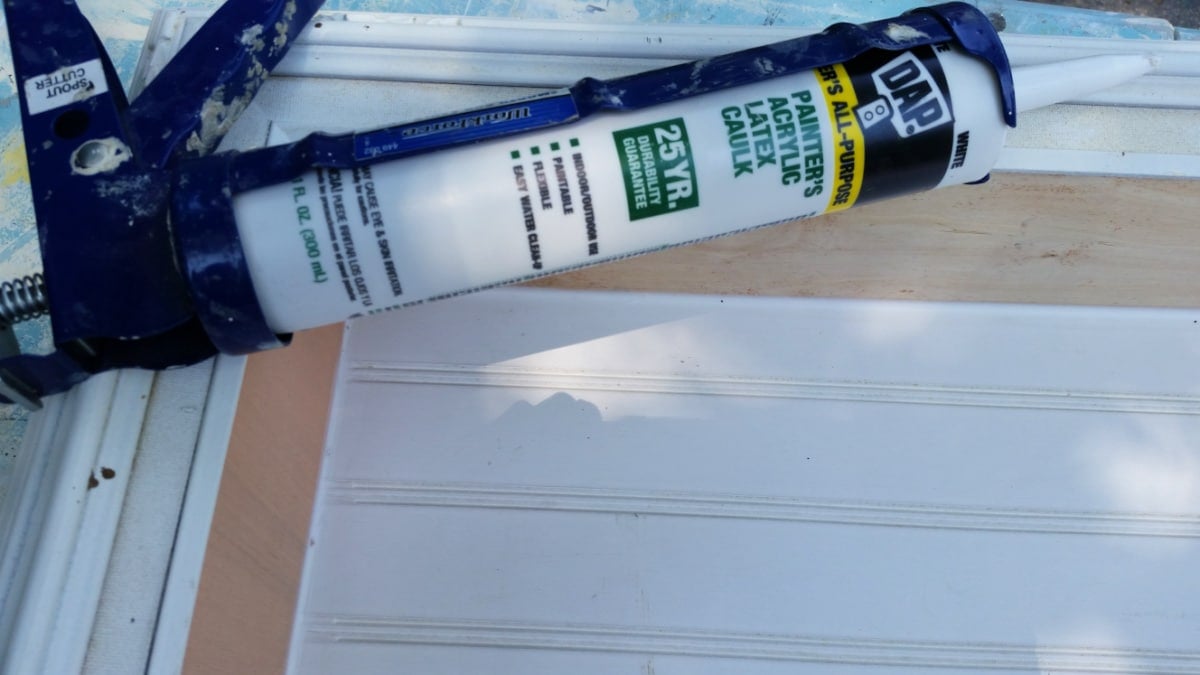
To give the project a clean finish, I applied painter’s caulk around the seams.
Add Wood Supports for Hanging Hardware
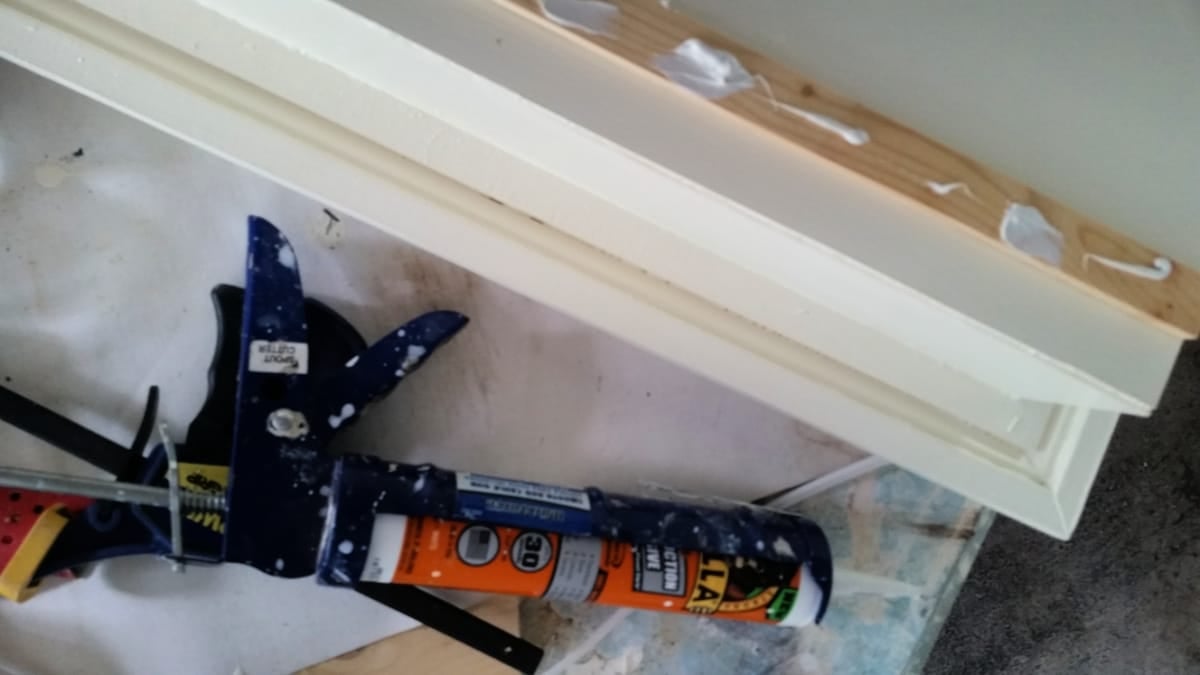
Because the plywood is very thin, I didn’t have enough thickness to attach my favorite D-rings for hanging. I used scrap wood and Gorilla Glue Construction Adhesive to secure two thin pieces of wood to the back of the plywood. The top piece provides a thicker surface for attaching the D-rings. The bottom piece acts as a spacer, helping the shadow box hang evenly against the wall.
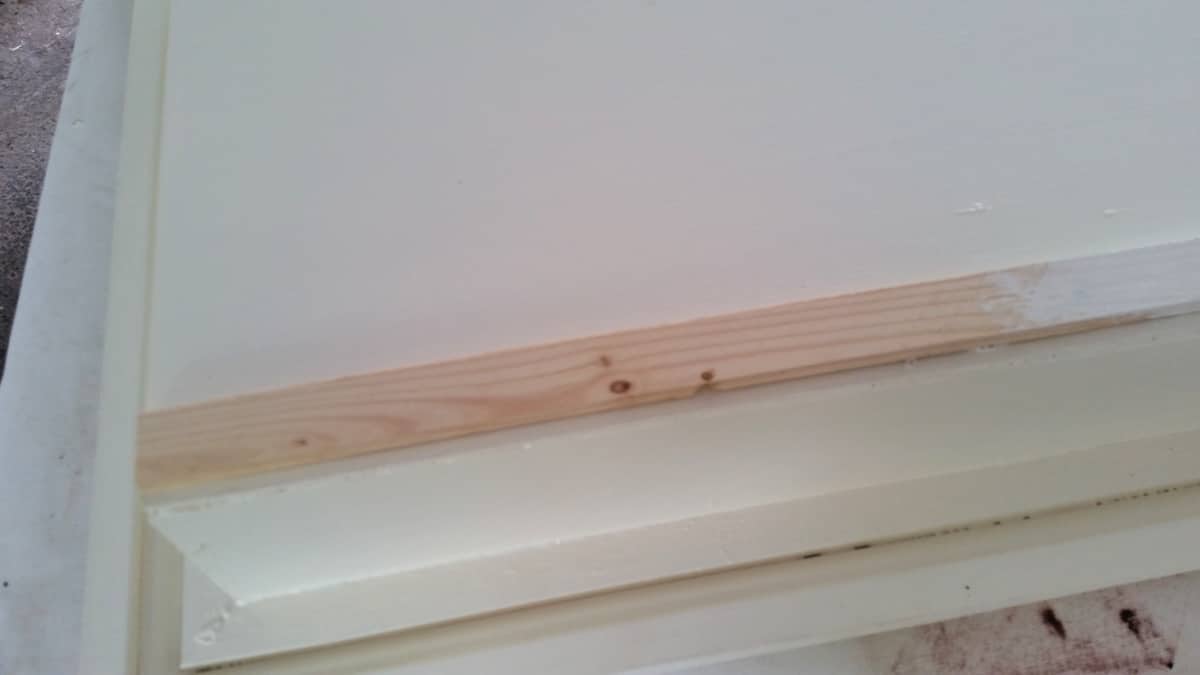
In this image, you can see I started painting one of the spacers before I remembered to take the picture.
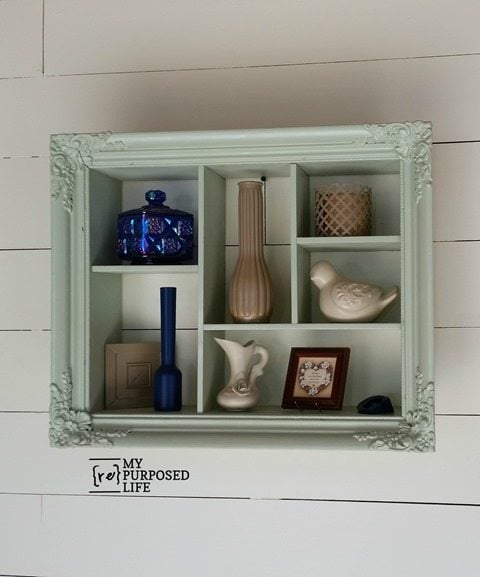
Finished Shadow Box: DIY Wall Art
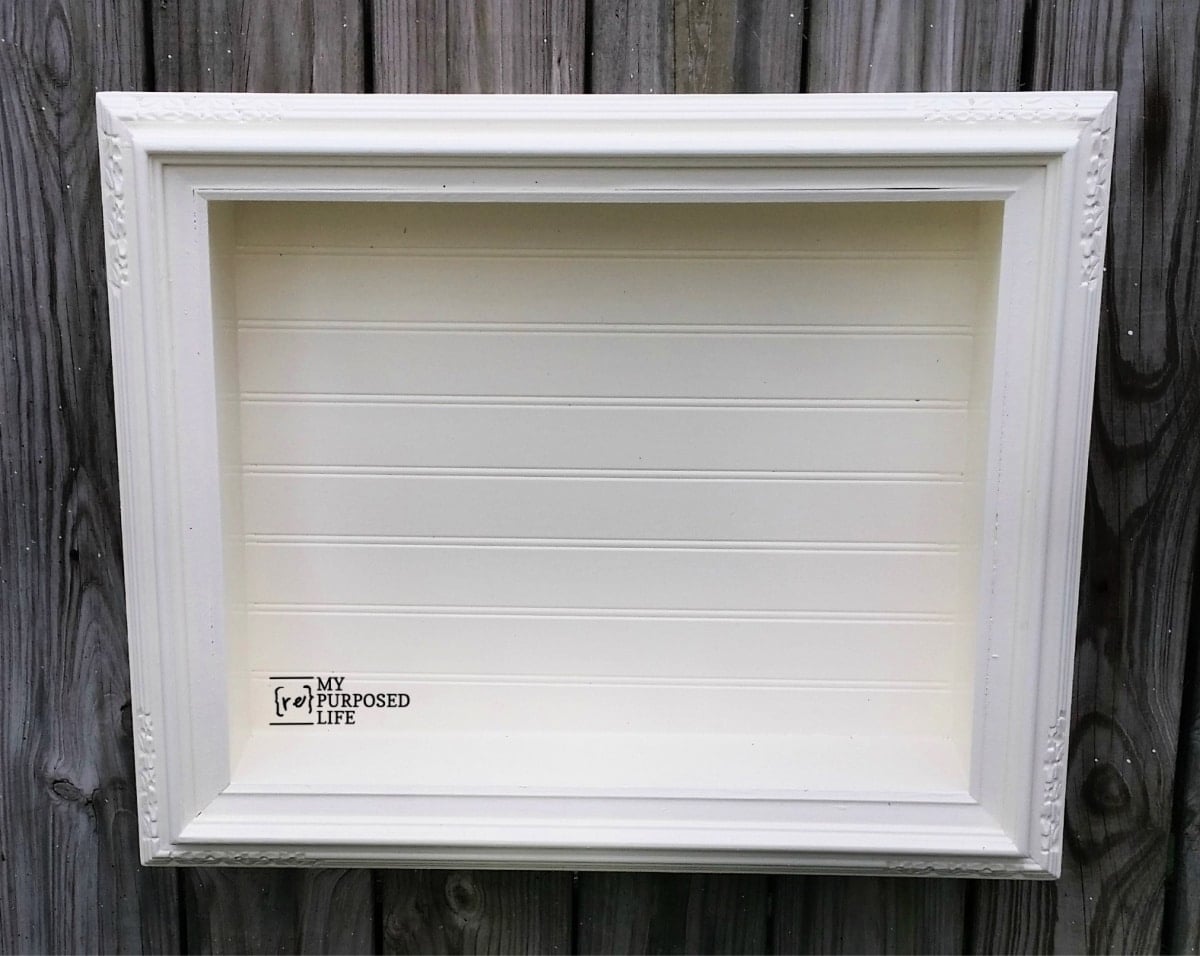
What would you put inside yours? A small collection would be right at home here, or you could change it with the seasons. Try arranging your pieces before hanging the box so you can see what fits.
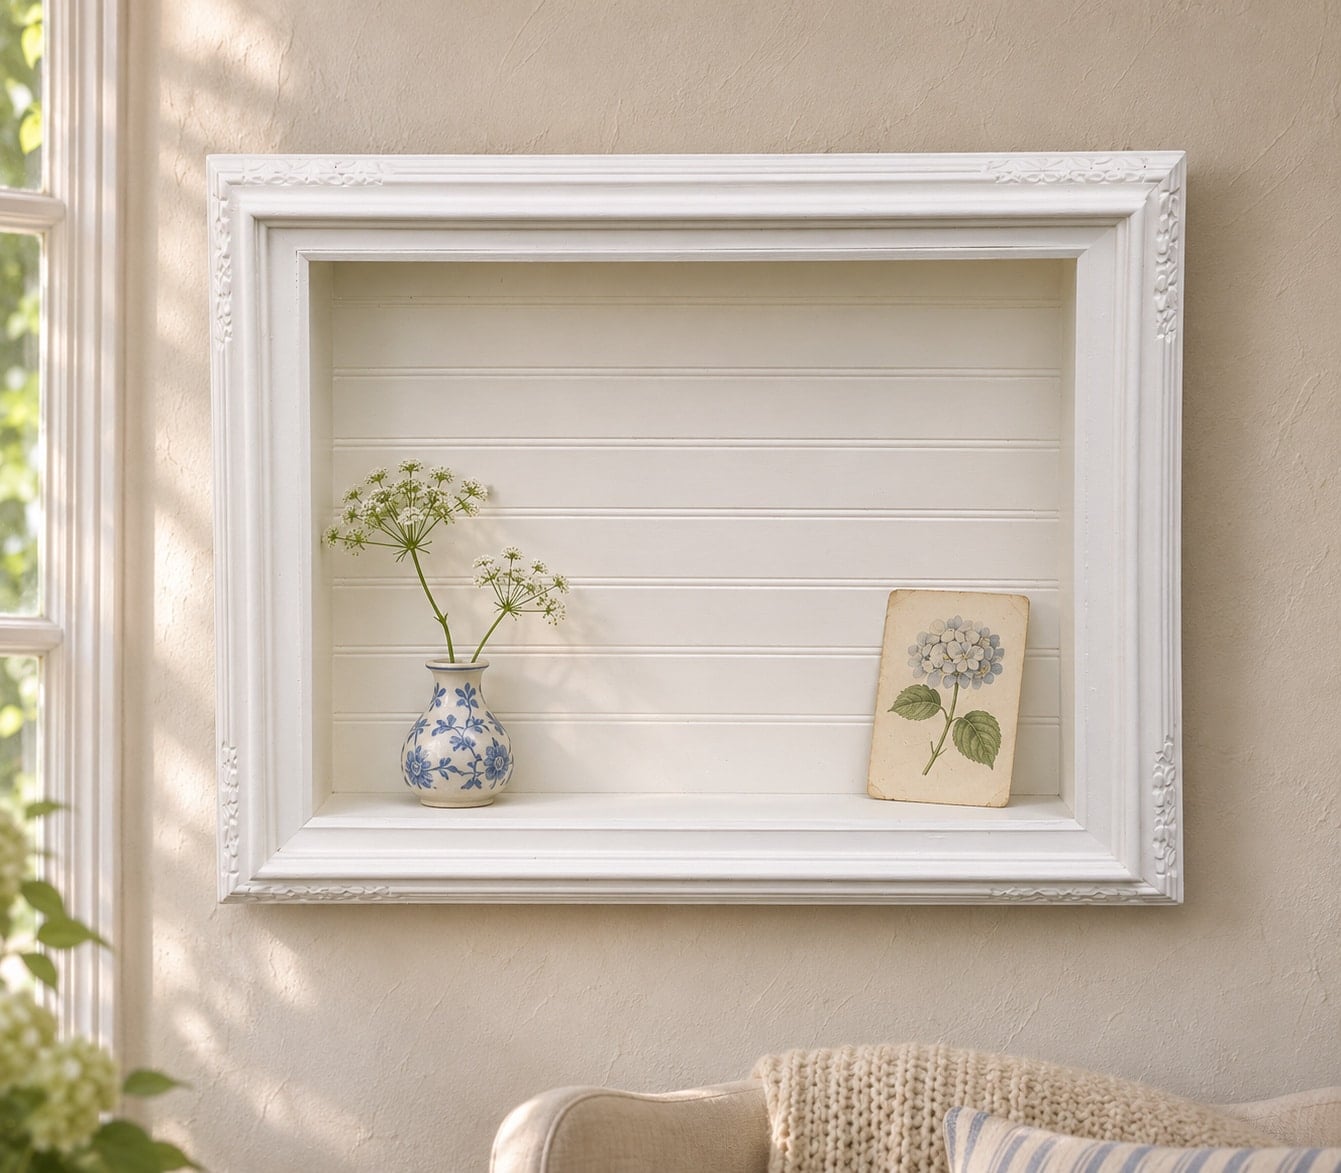
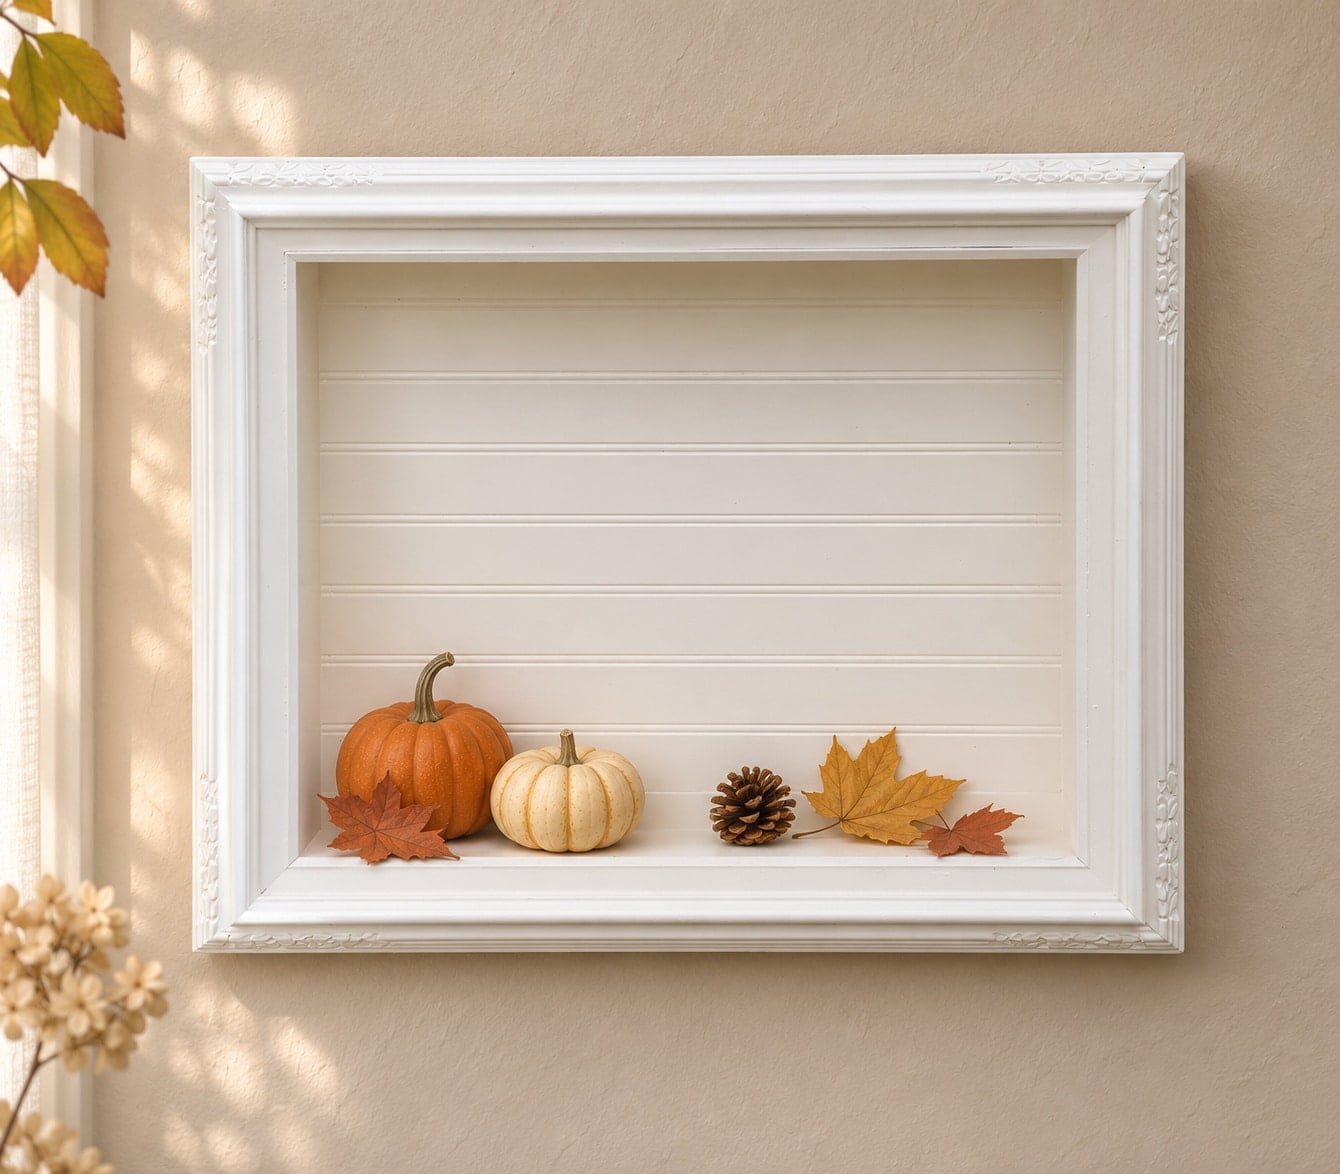
This shadow box has an open front with no glass, so you can easily arrange your favorite finds and swap them out for the seasons.
An old frame adds a decorative edge without having to build one from scratch. Choose a frame you love, then let the items inside make it your own.
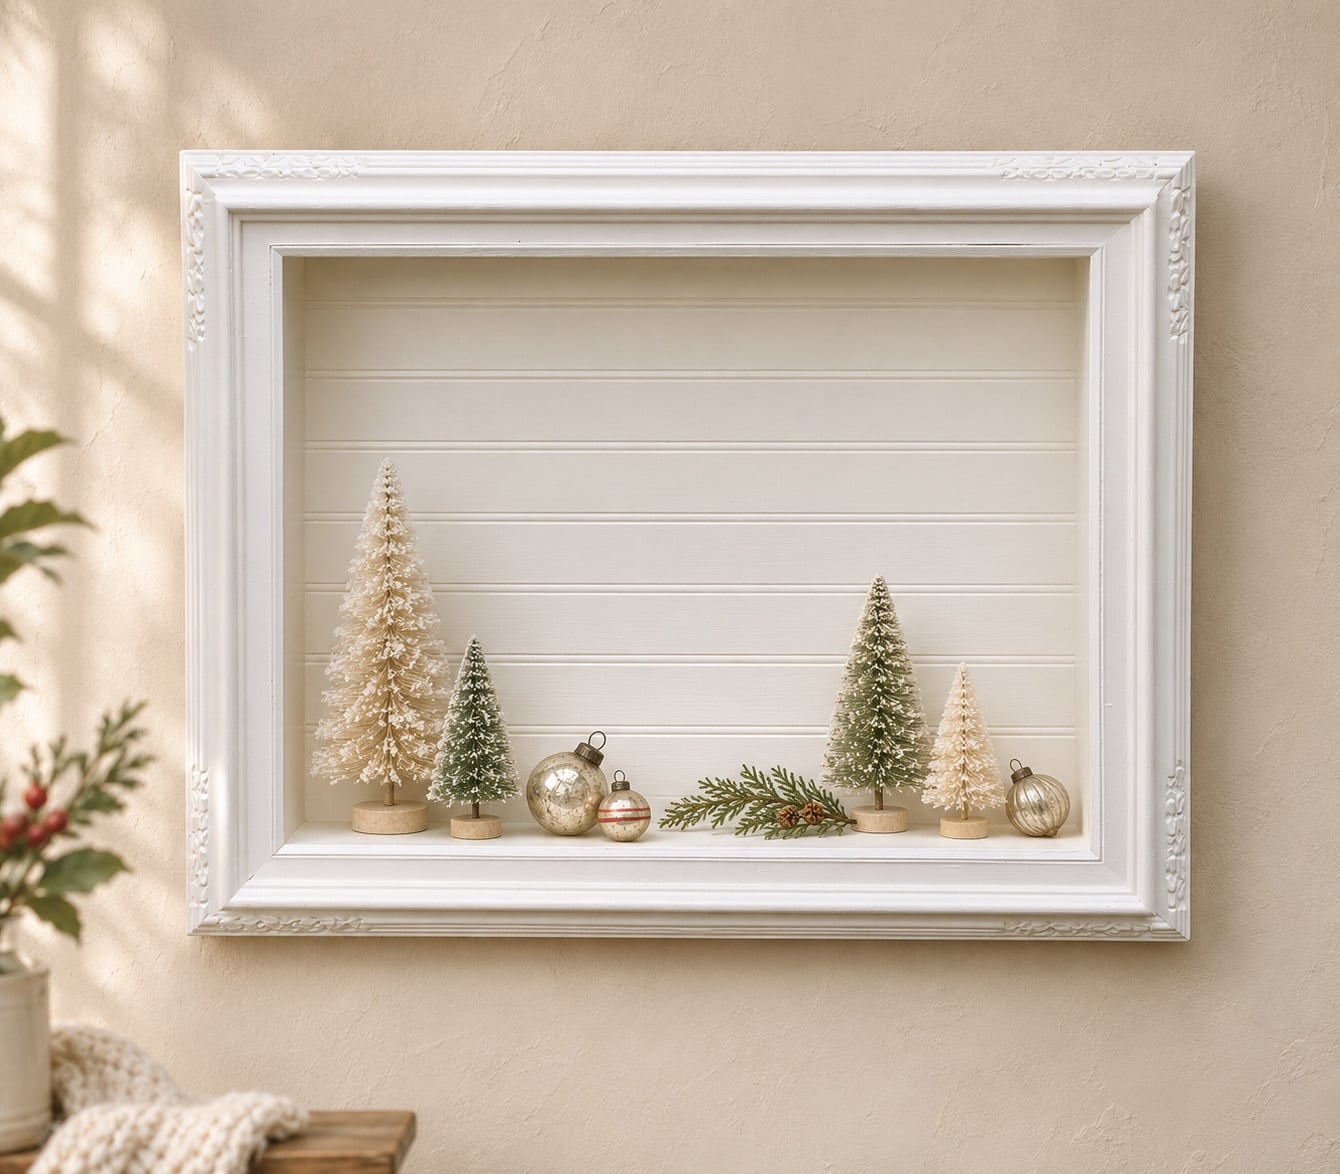
I love projects like this because they remind me that creativity doesn’t have to be complicated. With just a frame and a few scraps of wood, you can create a display piece that tells your story. If you try this shadow box, I hope it inspires you to look at old frames in a whole new way.
Now I’m wondering what’s hiding in your frame stash! Would you keep your shadow box the same year-round or switch it out for the seasons? Tell me what you would display in the comments.
For more projects, browse my repurposed picture frame ideas. You might already have what you need.
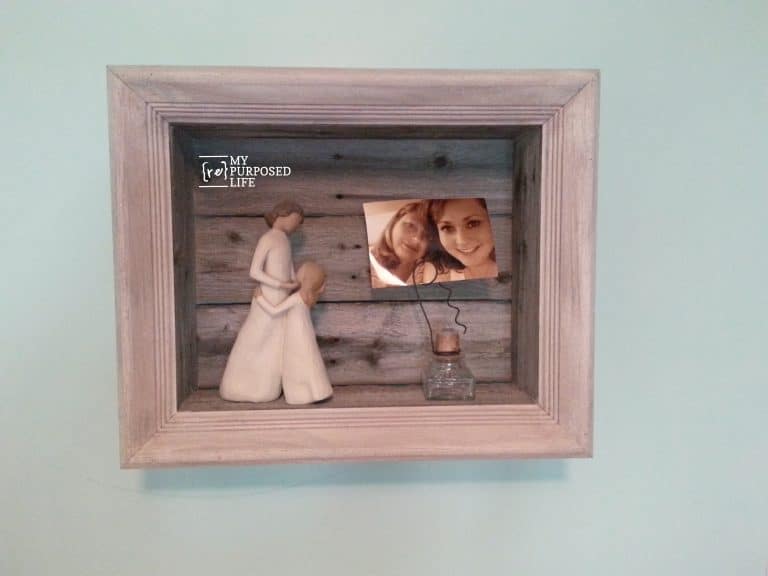
Related Content: Picture Frame Ideas For Home Decor and More More Shadow Box Ideas
Easy Reclaimed Wood Beachy Frame
Read more about Gail Wilson | My Repurposed Life
Looking forward to giving this a try. Question.. I’m assuming the glass from the original frame will still fit?
Thanks for your ideas and help!
Kathy
Kathy,
Nope, no glass involved. The way I built it, there was no way to use a piece of glass, no way to hold it in place. It’s basically an “open” shelf.
good luck, have fun!
gail
Hi, I have a question about the back of the shadow box. It looks like you glued the bead board before you put anything in it. If you glue it down first, how do you get anything in the box? I want to make one, so want to make sure I understand all the steps first.
Heather,
I’m sorry to have confused you. There is no glass involved in the making of this shadow box. The front is open where you can freely add whatever you want or change it out.
Thanks so much for stopping by, I hope you have fun making your own shadow box.
gail
Good job. I also collect frames.
Thank you Suzann! I love making shadow boxes out of old picture frames.
gail
Hi Gail, Your shadow boxes are beautiful! And now I want to try to make one too. I’m just unsure how you finished the back. It shows you added scrap wood at the top and bottom. Is that so you could add the D rings to the scrap wood? And approximately how much weight do you think these shadow boxes could hold? Thanks for the inspiration!
Thank you so much Julie.
The one at the top was for hanging d rings, and the one a the bottom is so that it would hang correctly on the wall.
As for the weight, if you had heavy duty d rings and install on studs, or use wall anchors, I’m sure it could hold almost anything that would fit on the shelf.
I can’t wait to hear about your project!
gail
I love the shadow boxes. Wondering about how much do you sell them for? And have you ever thouht about making one for a coffee table?
Deann,
I sell most of my items for around 40-60 dollars. Never going to get rich doing what I do, but I sure do love sharing HOW to do it with other people. I’ve often seen other people make shadow box coffee tables with windows, but I’ve always felt that’s just an accident looking for a place to happen.
gail
Gail, I love the green ( last in line) shadow box. I live alone & have no power tools but if I did, I’d sure make one of these. I so enjoy looking at your projects. You are very creative!
Thank you so much Lisa. Some are more challenging than others, but I do love what I get to do!!
gail
These are super cute. I especially like the white with bead board and light sage green one with ornate molding. I’m always a sucker for ornate frames and mirrors. Years ago, my style was strictly modern — what happened to me? Lol.
Lizzy,
hahahah we change a lot over the years! Although, I don’t think I’ve ever had much MODERN decor in my home. But a lot of other stuff off and on over the years.
Thanks for stopping by to let me know which were your favorites.
gail
Very nice, Gail!
This is adorable! I never pass up old picture frames at the thrift store! 🙂 They are so versatile!
I have a problem with a few things, and picture frames are one of them! They are so cheap at thrift stores!!
gail
I’ve built 2 of these, but left the glass in the frame. One to make a rhinestone jewelry Christmas tree in, and 1 to make a rhinestone jewelry wreath in. I thought they’d add a little sparkle to the room with a 9’ Christmas tree with only soft ornaments on it. I need to keep it baby and 2 1/2 year old grand babies friendly. This year I’ve bought a tall tree (artificial of course), so that maybe, I can put some special ornaments on the top.
Awesome idea Jennie!! Good luck with the new tree and special ornaments idea….
gail
I always like your shadow boxes from frames. Have yet to make one myself though!
It is so cute Gail! I have been wanting to make one ever since I saw the rustic looking one you did! It is such a great way to use your frames!
Thank you Mindi!
That rustic frame is one of my favs, I sold it last year at Glendale, it was one of the very first items to sell.
gail