Easy Spray Paint Welcome Mat
As an Amazon Associate, I earn from qualifying purchases.
Give your front porch an updated look without spending much money or time. This welcome mat makeover uses simple supplies like an inexpensive rug, spray paint, and painter’s tape to create a custom design you’ll be proud to show off. With easy steps and creative freedom, it’s one of those quick DIY ideas that feels like a total home refresh in just an afternoon.
How to Create a Border on a DIY Welcome Mat
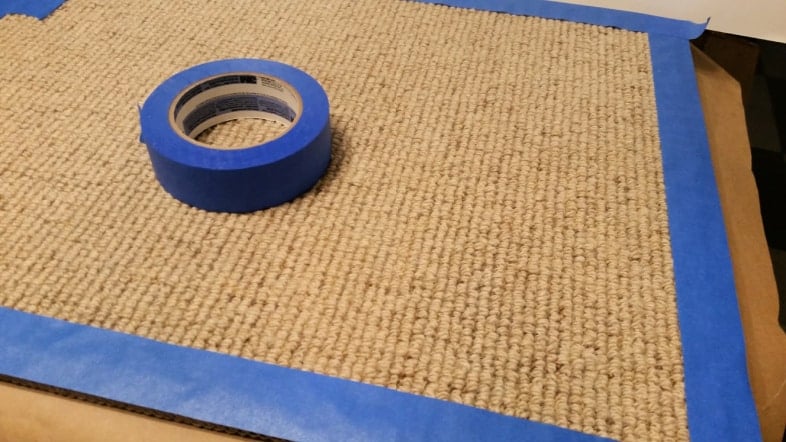
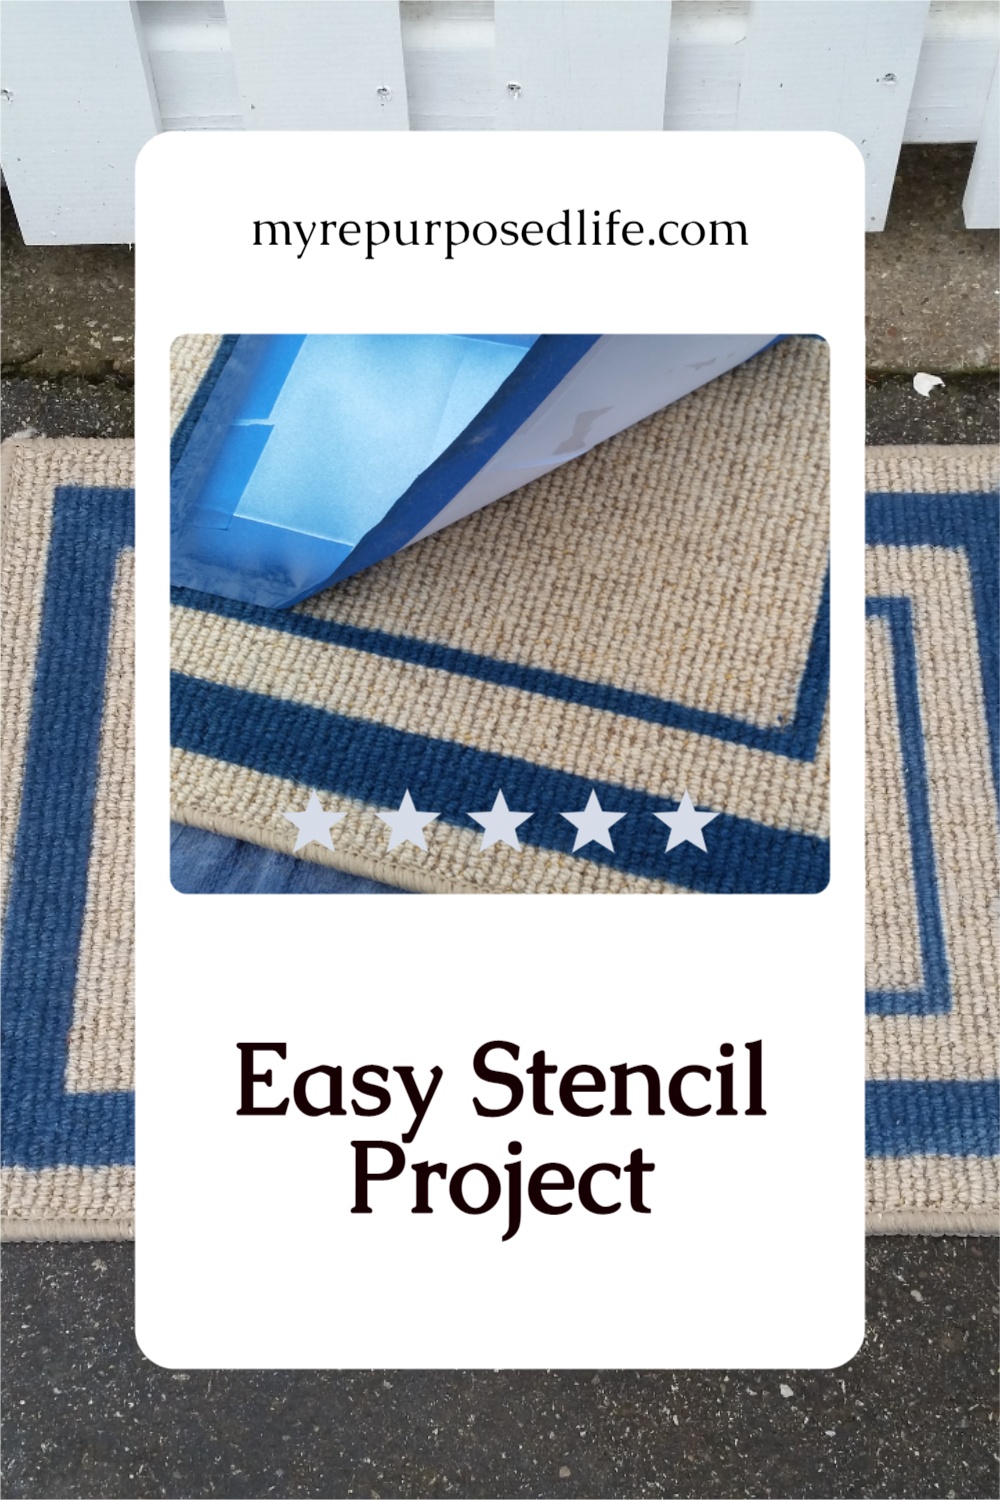
I applied the tape all around the perimeter of the rug. Mine is carpet fibers, but you could also use an inexpensive sisal rug.
RELATED Content: Spray Painted Outdoor Rug for Camper
TIP: Don’t Waste Tape
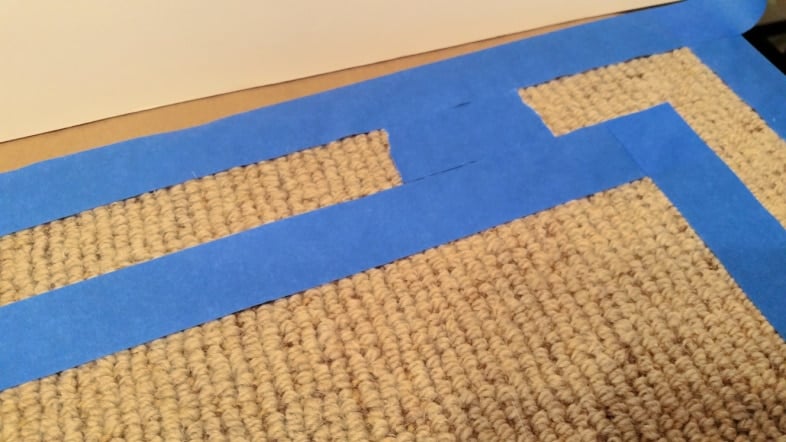
I wanted my outside border to be thick, so I made it as wide as the painter’s tape. Instead of wasting long pieces of tape, I used a couple of short pieces so I knew where to place the second section.
For the next section, I just eyeballed it.
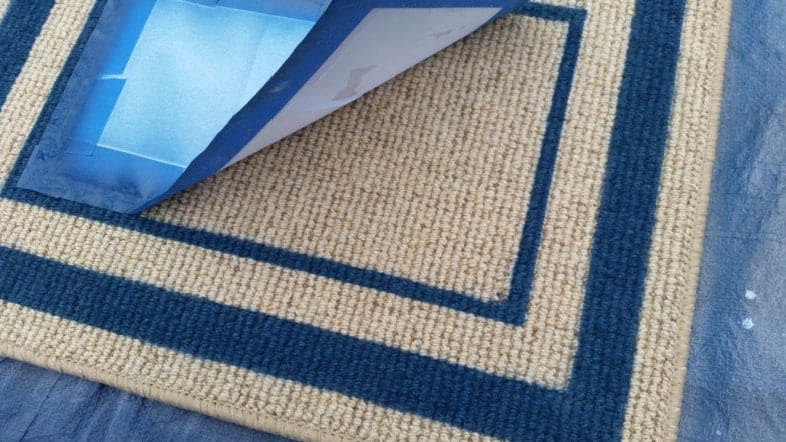
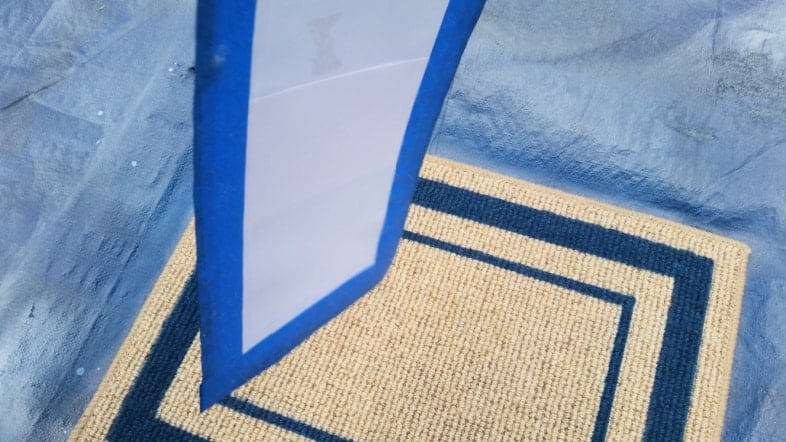
Use Paper to Protect Unpainted Areas
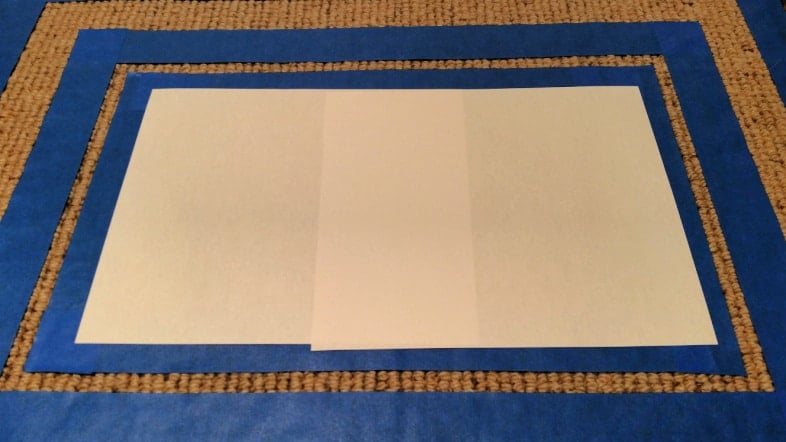
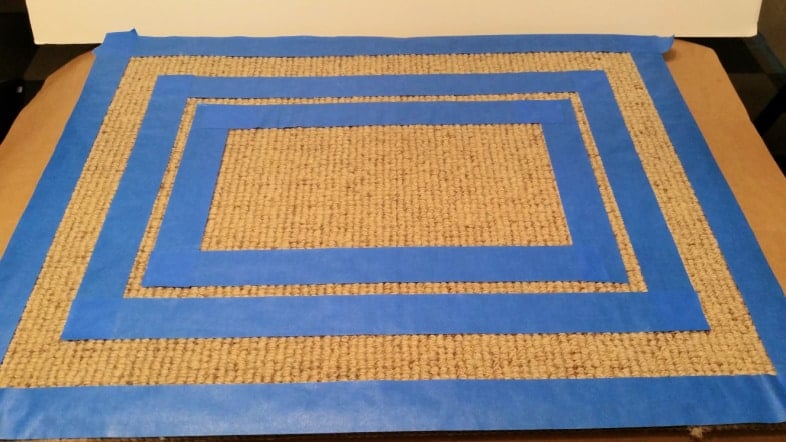
I used some printer paper to cover up the center of the rug. I reused those smaller pieces of tape that marked the outside border to hold the white paper in place.
Choose Your Favorite Spray Paint for the Welcome Mat
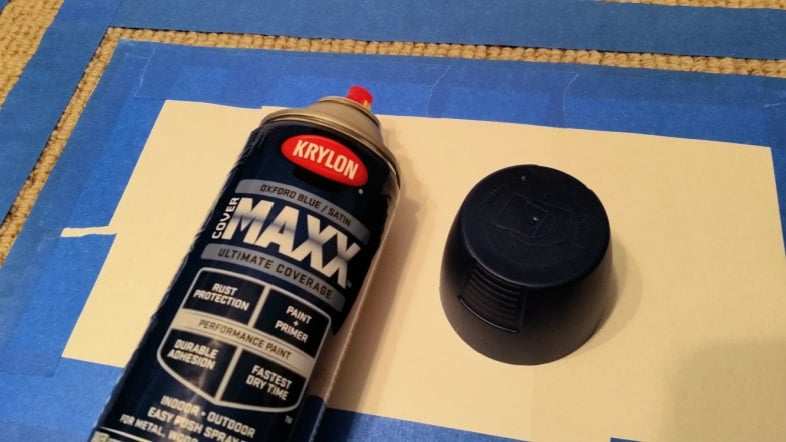
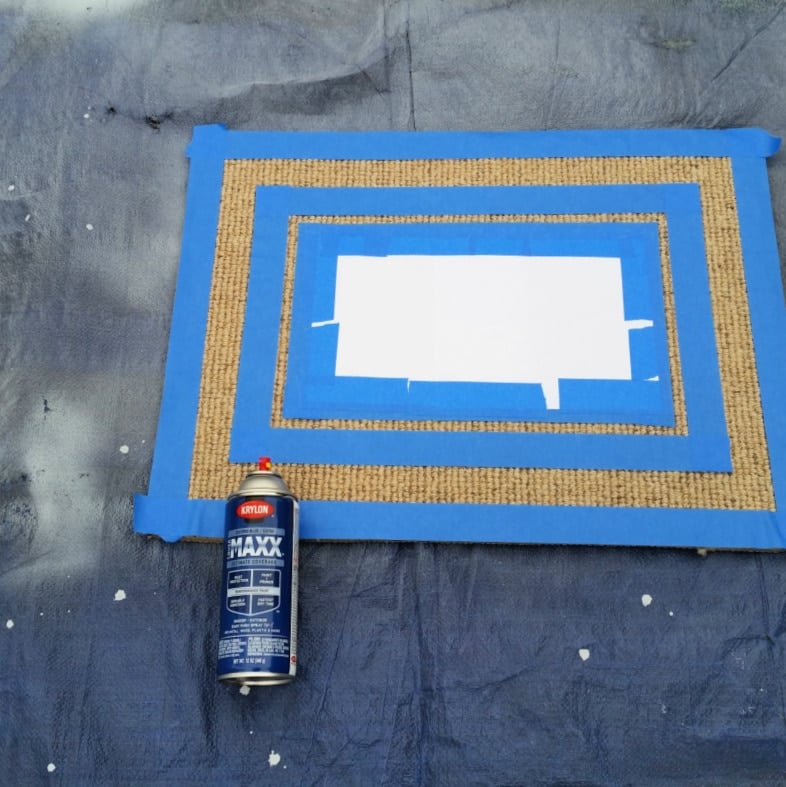
My first thought was to use black paint, but then I remembered I have this beautiful Oxford Blue (satin) from Krylon. It was cold outside, so I was working on this part of the project indoors. The paint had been stored indoors as well, so I decided that as long as the paint and the project were warm, I could get away with spray painting outdoors.
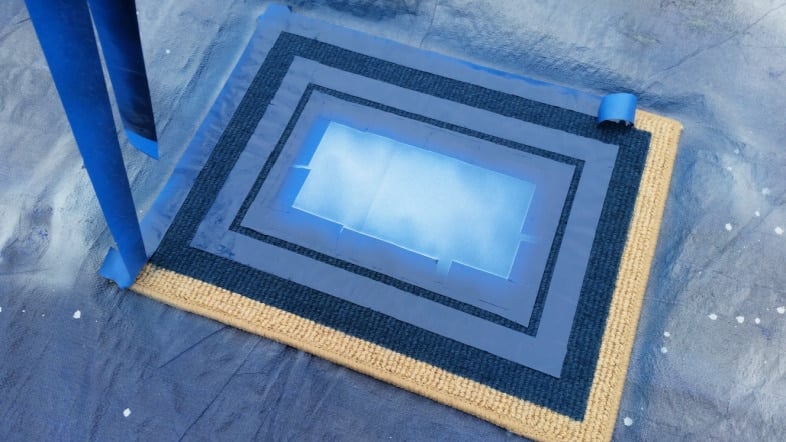
I rubbed the tape down as well as I could and laid the rug on the tarp. When spraying a project like this, it’s best to hold the can at a horizontal angle so the paint doesn’t accidentally spray under the tape.
Spray Light Coats Evenly
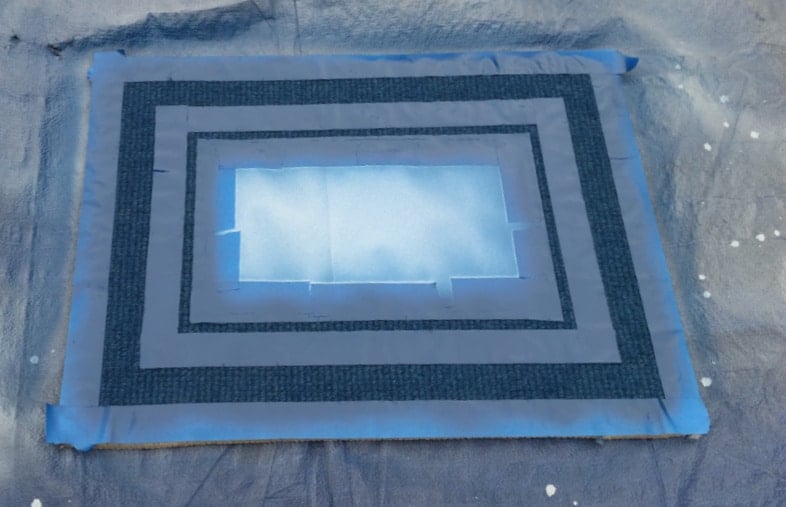
I sprayed a very light, quick coat all over, then applied a slightly heavier second coat. This is after those two coats.
Remove Tape Carefully
I removed all tape from the outside in, with the paper as the last to be removed.
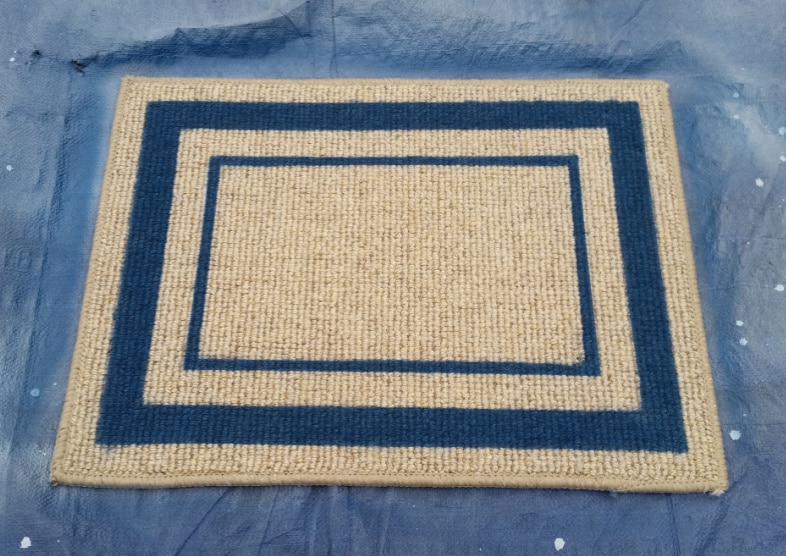
Ta-da! It’s done!
DIY Spray Painted Welcome Mat
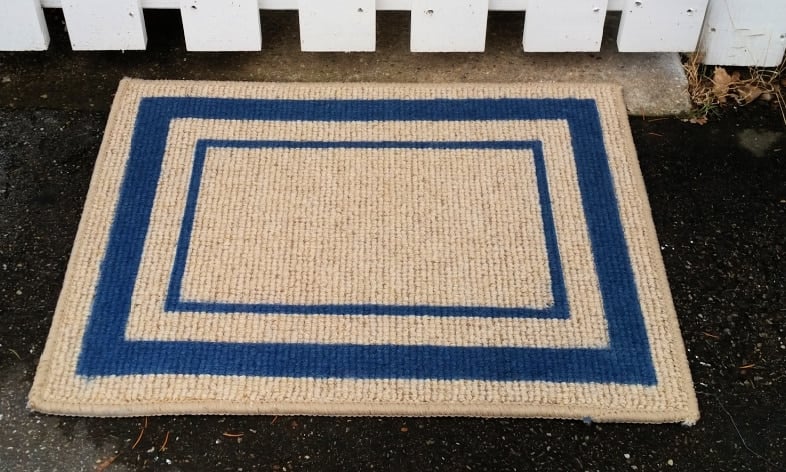
Here it is outside my diy picket fence gate! I love, love, love the dark blue spray paint. I’m so glad I didn’t paint it black.
Do you think it’s missing a little somethin’ somethin’? Me too!
How to Make a Monogram Stencil
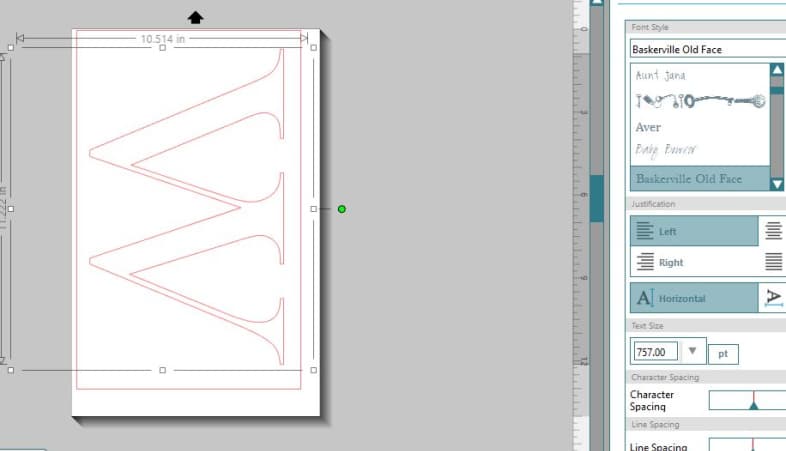
I designed a “W” in my Silhouette program and used my Silhouette Portrait to cut it from contact paper as a stencil. Monogram stencils like this are available at your local craft store or on Amazon.
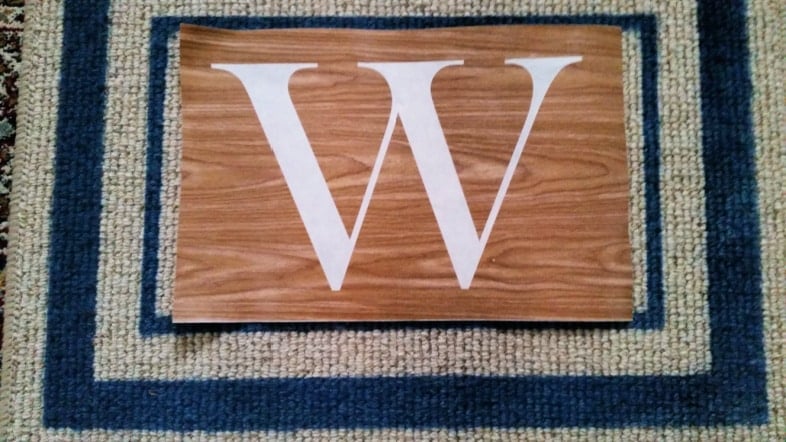
After weeding the monogram from the contact paper, I laid it on the small rug to decide where to place it. It fit perfectly in the center of the area I left.
I peeled the backing off and placed the contact paper stencil on the rug.
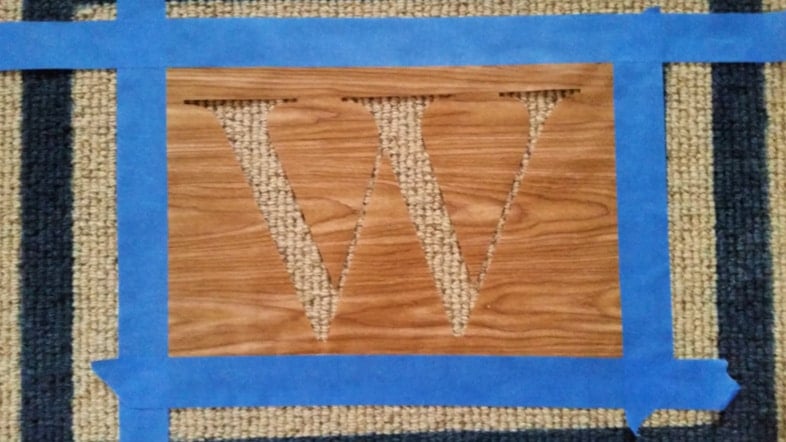
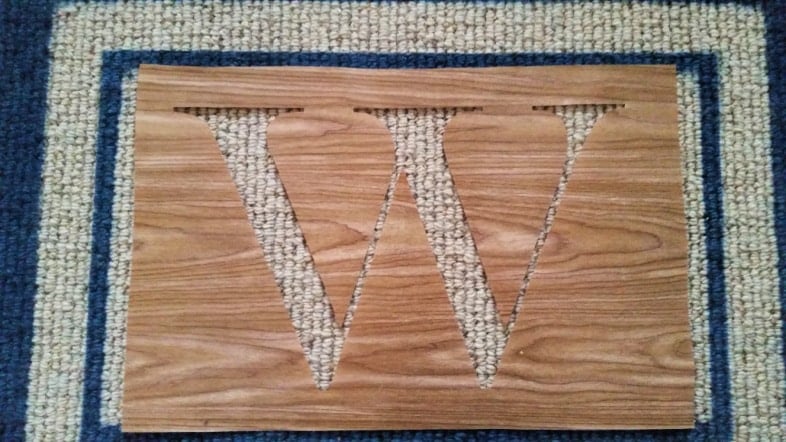
Painter’s tape helps hold the contact paper stencil in place.
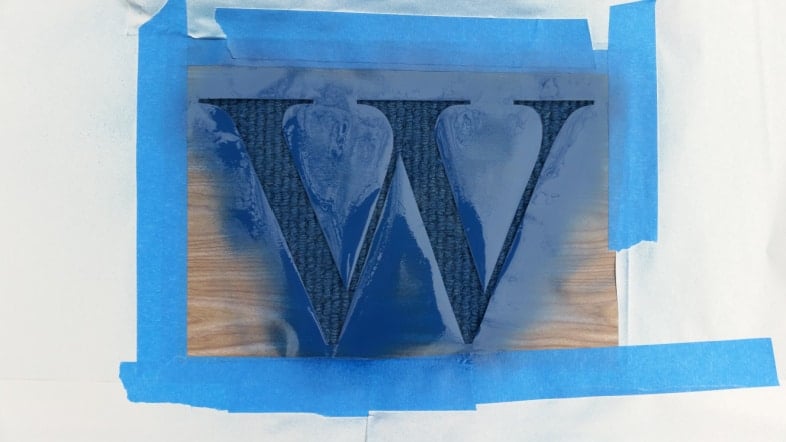
I used white craft paper to protect the rug’s outer edges from the spray paint.
Because the contact paper doesn’t fully adhere to the rug fibers, I had to spray straight down rather than at an angle.
DIY Stenciled Monogrammed Welcome Mat
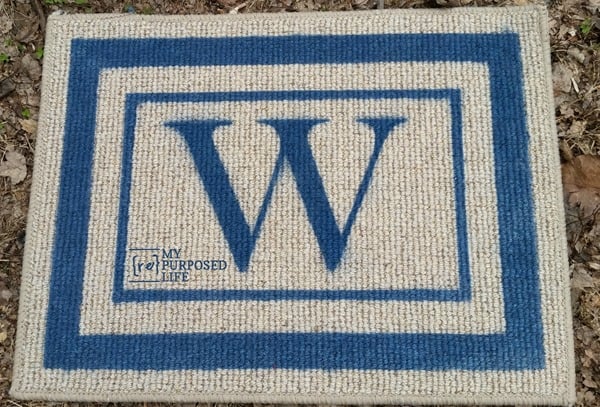
Perfect! I love, love, love how it turned out. This was such an easy project, it makes me wonder why I waited so long…. and I still have four more rugs left!
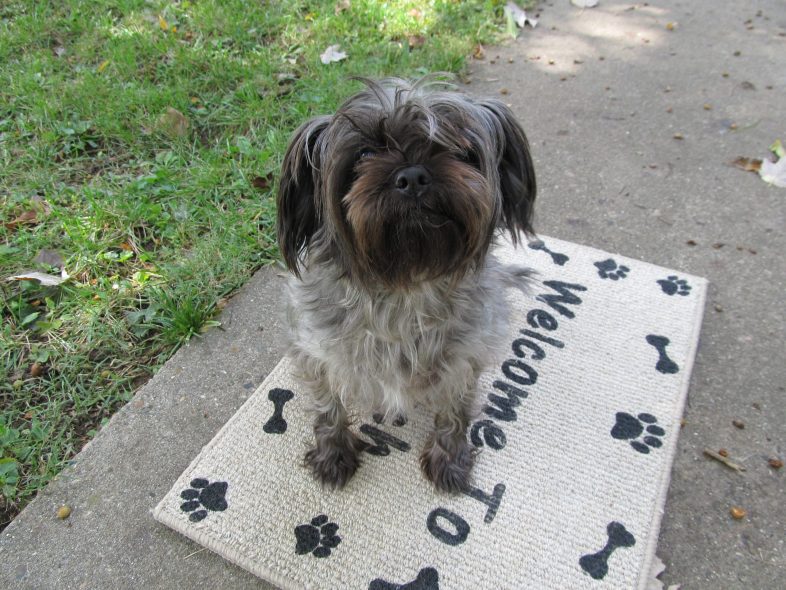
This is the Welcome Mat I made for the cousins. It says Welcome to Dogpatch! The pooch resting on the mat is my sweet Louie! Using contact paper stencils, there is no limit to creating your own custom welcome mat!
I would appreciate it if you could Pin it!
Whether you keep it bold and simple with a border or add a monogram for personality, this DIY welcome mat proves great style doesn’t need a big budget. Try out a few color combos or stencil designs the next time you’re refreshing your porch for the season. If you loved this project, share a photo on social or pin it to your DIY board so others can get inspired too!
Be sure to visit my friends to see the fabulous “after” of these thrift-store items.

Stenciled Wood Chest by Petticoat Junktion
Chalkboard Wall Art by Our Southern Home
Rattan Lamps by Domestically Speaking
Easy Spray Paint Welcome Mat by My Repurposed Life
Painted & Upholstered Stool Makeover by Uncommon Slice of Suburbia
Repurposed Farmhouse Tote by Refresh Restyle
It’s all about the thrill of the hunt for me! Do you love thrift shopping as much as we do?
gail
I love this spray paint welcome mat. You break it down for us so wonderfully. I am excited to try this. Thank you!
Awesome Alicia! Thanks for dropping a comment to let me know. I appreciate it.
gail
I really like the WELCOME mat. I make the most of the materials on hand and you sure did.
Thanks Jenni! Happy to know we’re like minded.
happy diy’ing!
gail
Super way to upstyle a plain rug. Love the color and of course, I’m loving the “W”! Sometimes we forget about the easy DIYs that pack such a big punch. Pinned so I can remember to do this too in the near future!
Thanks for pinning Wendi! I appreciate it. It was fun to do a quick and easy project.
gail
Where can I buy the rug at?
I think I got mine at Home Depot.
gail
Thank you so much for the stencil technique! I need to do more of this with my Silhouette. Great new look!!!
Love it Gail! You can send it to me, I need a “W” – send it to me when you get tired of it!! Pinning it so I can remember to make me one!!
Love it and the color you chose! The monogram definitely added to it!
Yes, I agree Cheryl. I love how the W fit perfectly in the middle. It really wasn’t planned. I was just going to do the painter’s tape pattern. 🙂
gail
You nailed it with that blue – just perfect!
Thanks for sharing that horizontal painting tip. I’m filing that away for the future. ????
I need a new door mat… I might have to copy you 😉
Feel free to copy Maryann! I know if you do one of these it will be fabulous!
gail
I love this idea and like how you added the letter in the middle, I’ll be on the lookout for a rug 🙂
Kristin,
I buy random things when they are sale cheap at the Home Depot…. rugs, drop cloths, paint…. 🙂 It’s a habit!
gail
I’ve always wanted to try this. Just have to find the perfect rug/mat. Love yours with the monogram.
Thank you Kathy! This was fun (and easy) gotta love spray paint!
gail