French Provincial Headboard Bench
As an Amazon Associate, I earn from qualifying purchases.
I have a lot of headboards in my stash, but one day while I was putting some stuff in my booth at Vendors’ Village, I picked up this fancy french provincial headboard for $7. I set about changing this fancy headboard into a headboard bench right away!
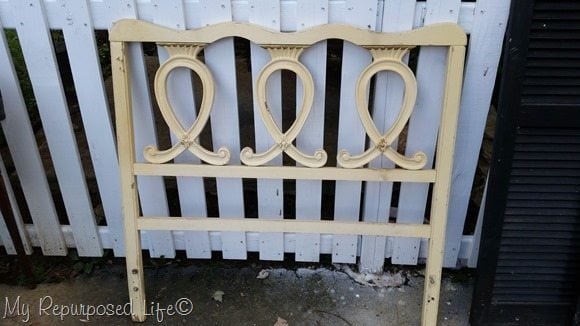 The frame is made of wood, but the little curly q’s are made of plastic.
*this post contains affiliate links*
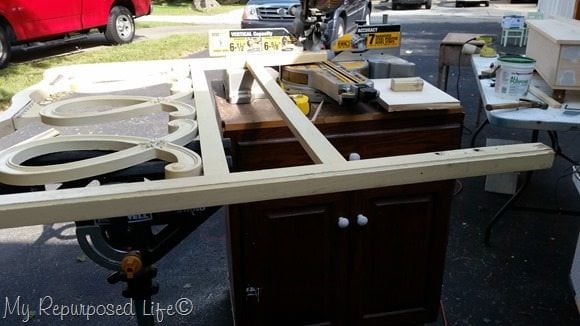 Because I wanted it to be a little on the smaller side, I trimmed a couple of inches off of each leg of the headboard using my Rockwell jaw stand to support the headboard.
The Very First STEP to building a headboard bench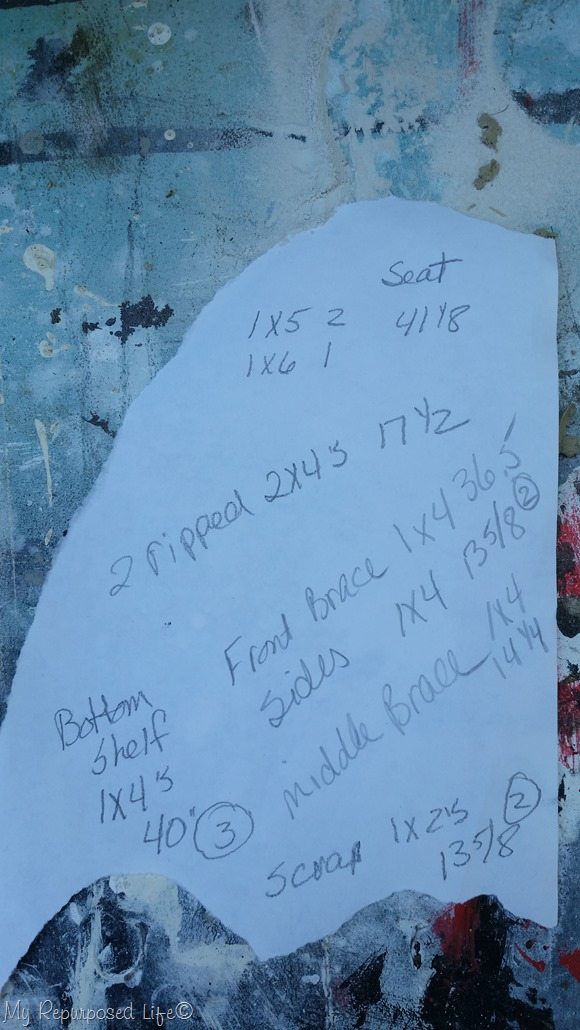
All headboards are different, but to give you an idea of the cuts I made I jotted everything down on a piece of paper for you. The very first step to building a headboard bench is to decide what legs you will be using for the front of your bench. Until you know how wide the legs are, you won’t know how long to cut your sides or front.
I was so excited that apparently I forgot to take in progress pictures, but it’s pretty much like the rest of my headboard benches.
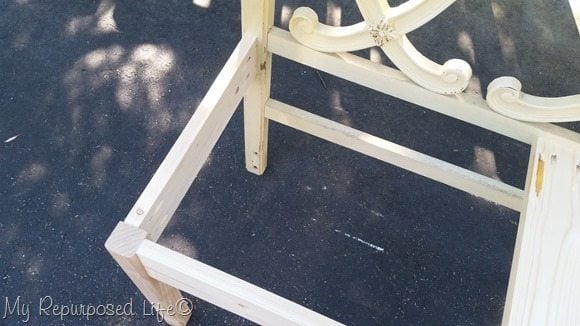 I cut one front support, and two side supports and joined them using pocket hole screws.
If you don’t have a pocket hole jig, you can use “L” brackets. However, if you do a lot of projects, I highly recommend you investing in one of these jigs. For more details see my post How To Use A Kreg Jig
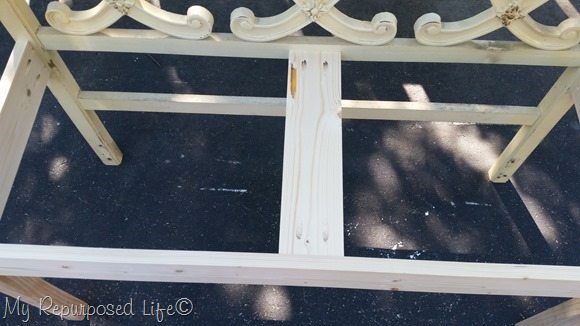 Then I decided that the seat planks would run lengthwise, so I needed a middle support cut out of a scrap 1×4 and attached with more pocket hole screws.
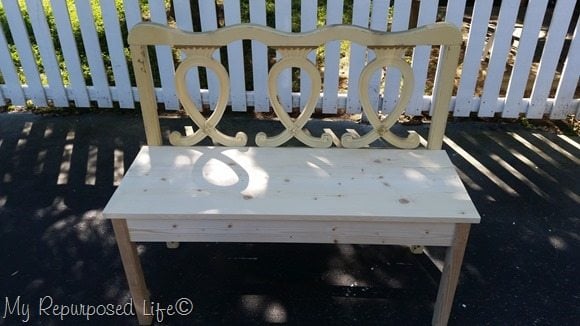 This is the dry fit of the seat. I was so surprised how quick this bench came together. As I was admiring it, I felt it needed a little somethin’ else.
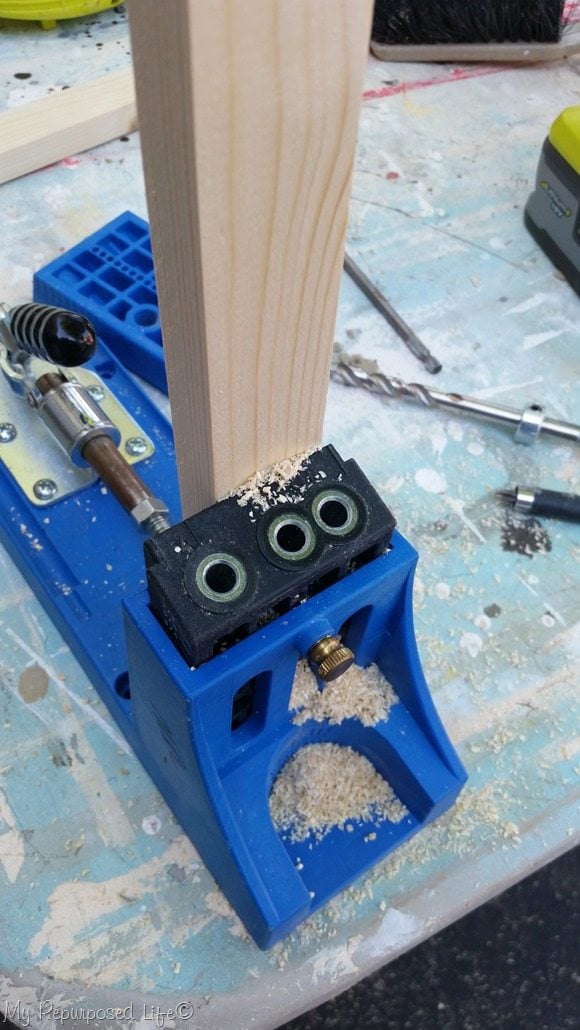 I grabbed a couple of scraps (1x’s), cut them to length, and used my Kreg Jig (micro) to drill smaller pocket holes.
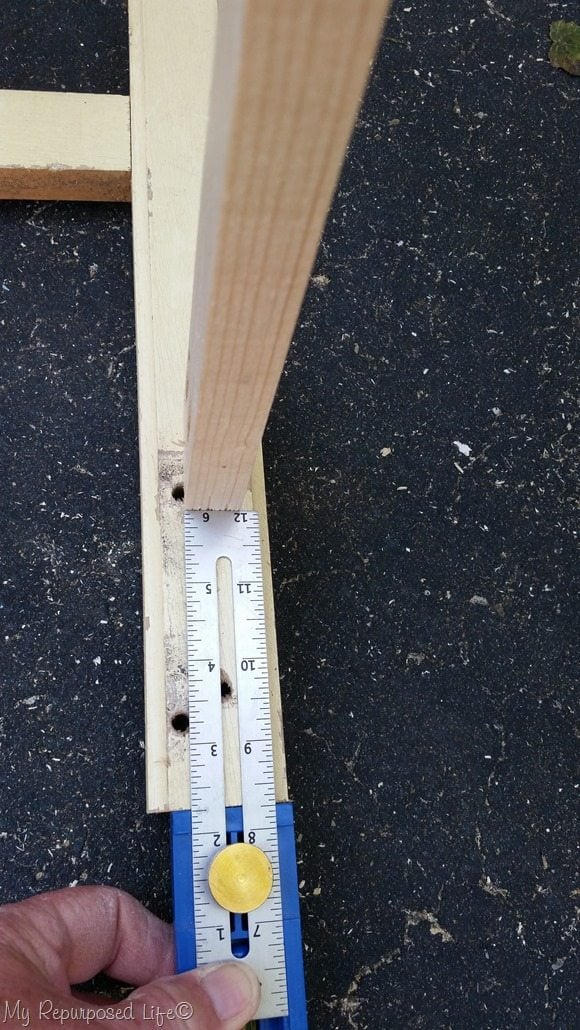 I used my handy Kreg multi-mark tool to make sure the brace was the same on each side. Hindsight 20/20, I should have placed the pocket holes toward the bottom, duh!
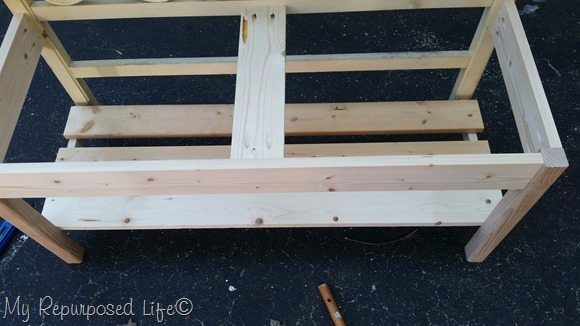 Because I have a lot of money tied up in lumber, I decided to space the lower shelf planks since mostly likely they will be holding baskets. That saved me a board.
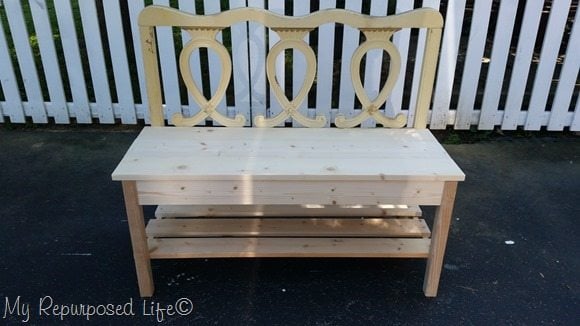 This is the final dry fit to make sure all is ready for painting.
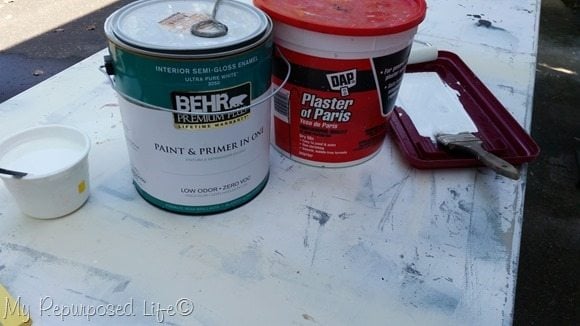 I mixed up some diy chalky paint primer with some plaster of paris and white semi-gloss paint.
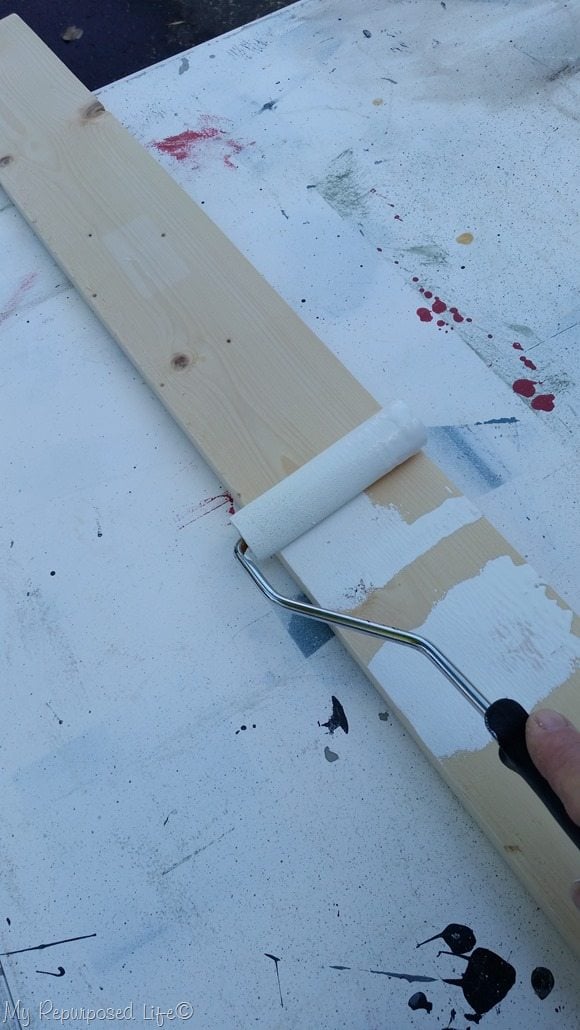 I rolled the planks while I was painting some boards for another project. Why did I roll them instead of using my paint sprayer?
 Because of Miss Lulu Mae! When I get out of her sight, she cries and cries. Doing the paint rolling was right on the other side of the fence.
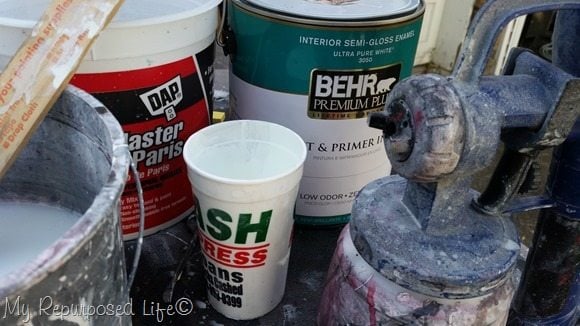 However, I did use some diy chalky paint primer in my Homeright Finish Max to paint the bench.
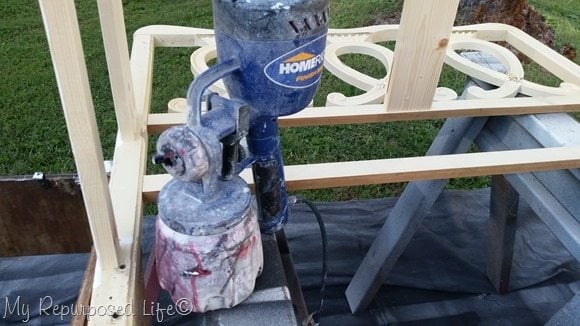 I rested the headboard bench frame up on my easy diy sawhorses to make it easier on my back.
 ![]()
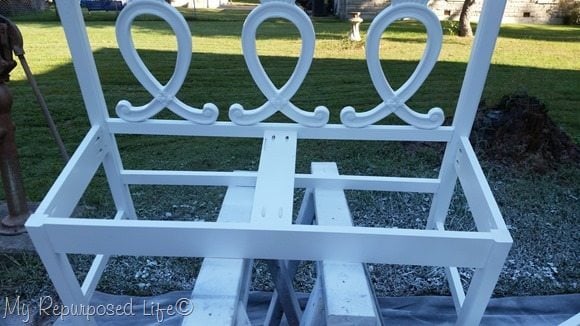 Notice the overspray on the grass? This is so unusual for my Finish Max, I think it was the paint. This is the first time I’ve used this gallon of paint. I’ve only had it happen once before on another brand of paint.
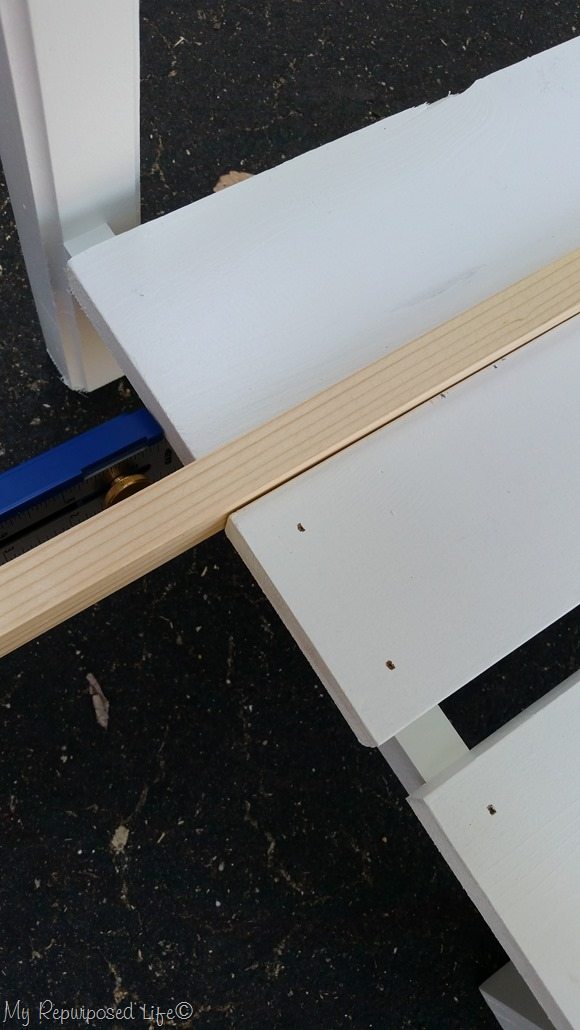 To space the lower shelf planks I used a scrap piece of wood and the multi-mark to make sure that each side matched.
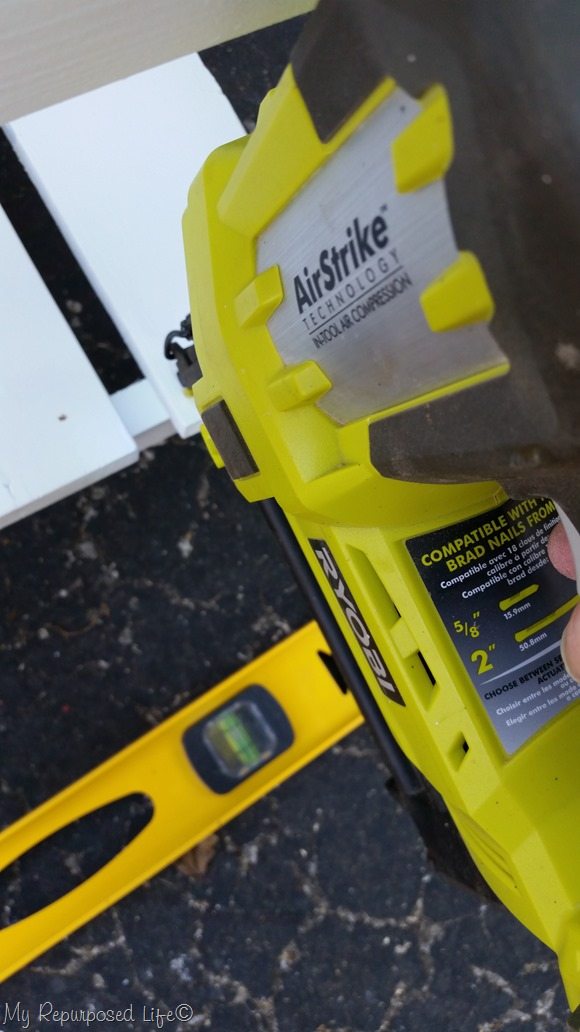 The Ryobi Airstrike is the perfect tool to attach these planks.
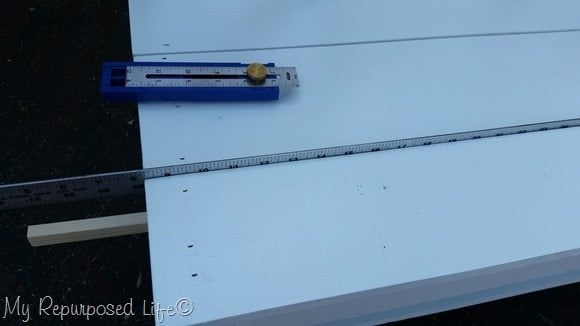 To give just a little space in between the seat planks I used a metal yardstick.
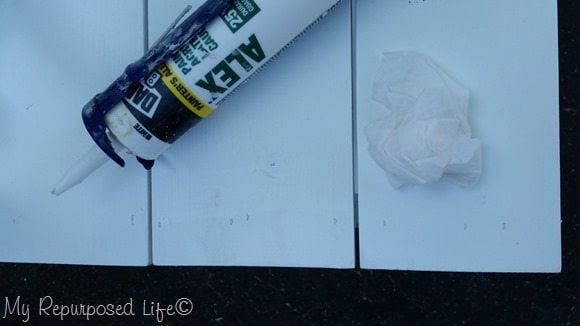 To patch the holes the nails made I used just a dab of painter’s caulk, and wiped it up with a baby wipe.
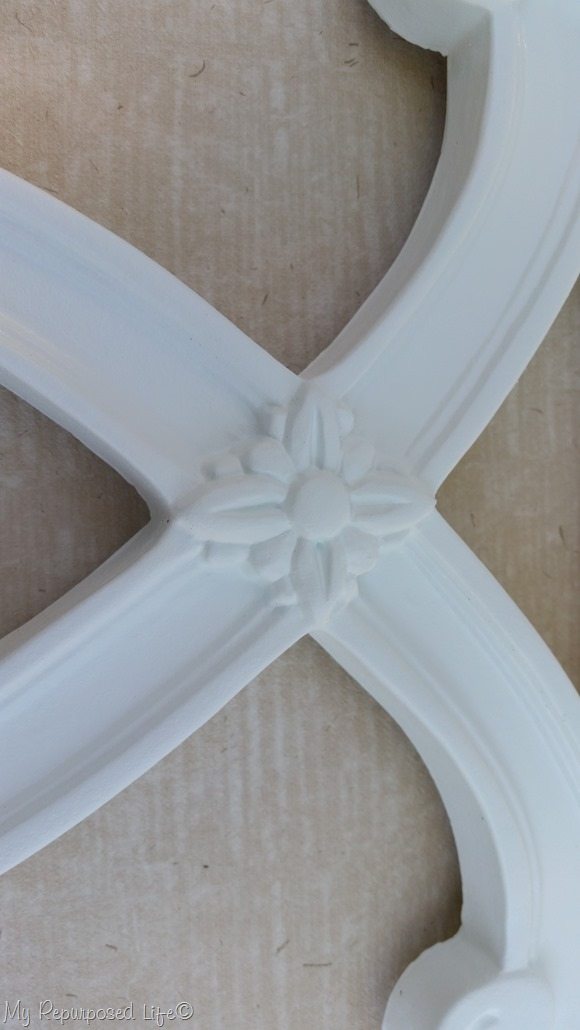 I used some turquoise rub-n-buff to give definition to this pretty detail.
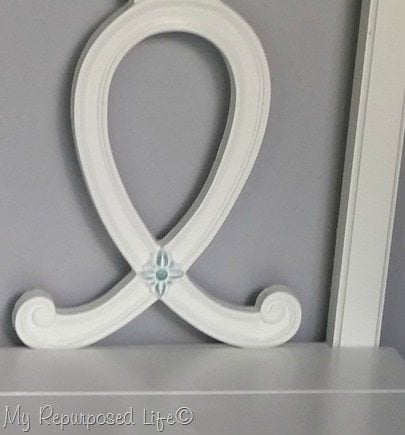 This is after just barely a drop of rub-n-buff.
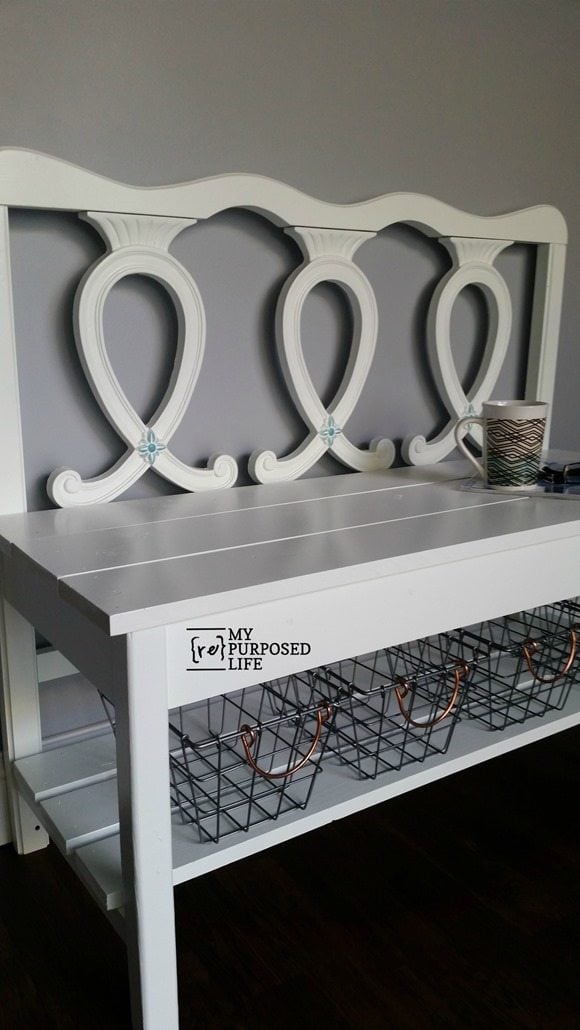 Although I have tons of headboards in my stash, I just had to start on this french provincial headboard bench the very day I brought home this headboard!
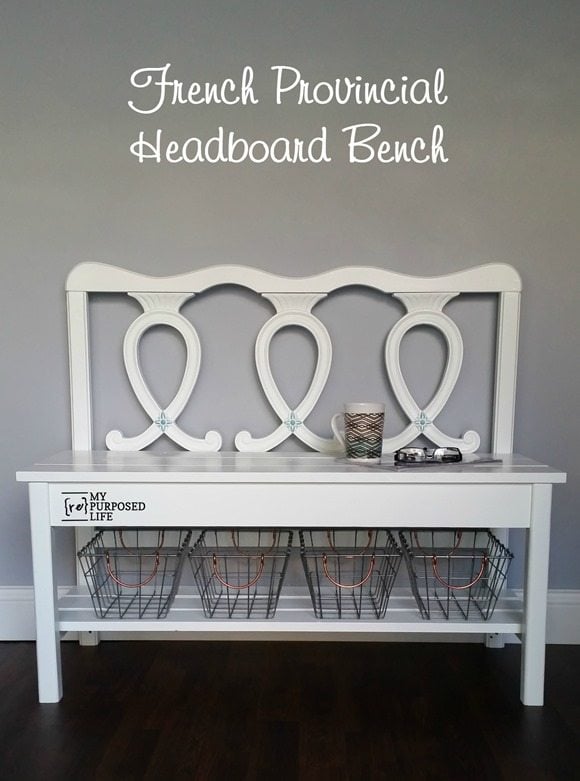 I love how it looks with the wire baskets, and the extra storage is so handy!
I hope you remember that the very first step in building a headboard bench is deciding what legs you will be using for the front.
gail
See my favorite Mission Style Headboard Bench with Storage-The Complete Tutorial
Related Content:


Great job. The shelve under for the baskets really add to the storage. Nice.
I absolutely love this Gail. It turned out so beautiful! The baskets under the seat are perfection.
I think this is perhaps the cutest bench you’ve ever done!
Thanks so much Kate! I was so excited to work on it, but alas, it still waits for it’s forever home.
gail
It turned out so well. I love the little blue accents, and the shoe storage is great.
Jennie,
I waited for years to do benches with storage, and now I wonder why I waited so long. Making headboard benches makes me so happy!
gail
as usual gail such a wonderful job, and I can see how the frame just spoke to you very different and made a gorgeous and unusual bench, love the storage space and those wire baskets, merry Christmas xx
I love this bench Gail, and the bling is my fave…but you already know that! 🙂 It is adorable!
the rub & buff adds just the right amount of bling to the bench! i really like how it turned out!
You really came up with a great look for this bench! It has a fresh, modern look to it!
Thank you Randi! It’s still looking for it’s forever home at my booth at my local Vendors’ Village antique mall. 🙂
gail
Gail you are truly talented, you have found your true calling in life. God Bless you and keep up all the good work. We love.
Ohhh, Sherry–thank you so much for your sweet comment. It really means a lot to me when my real life “family” stops by the blog and takes the time to leave a comment. When I say I read each and every one, it’s the truth.
This bed spoke to me and I couldn’t get to work on it fast enough when I brought it home.
thanks again!
gail
Its amazing how much difference that little bit of blue makes. It was lovely before, but beautiful now.
Thank you Jen! I love rub-n-buff for easy touchups and bling! 🙂
gail