
Glass Totem Tutorial for Garden Art
As an Amazon Associate, I earn from qualifying purchases.
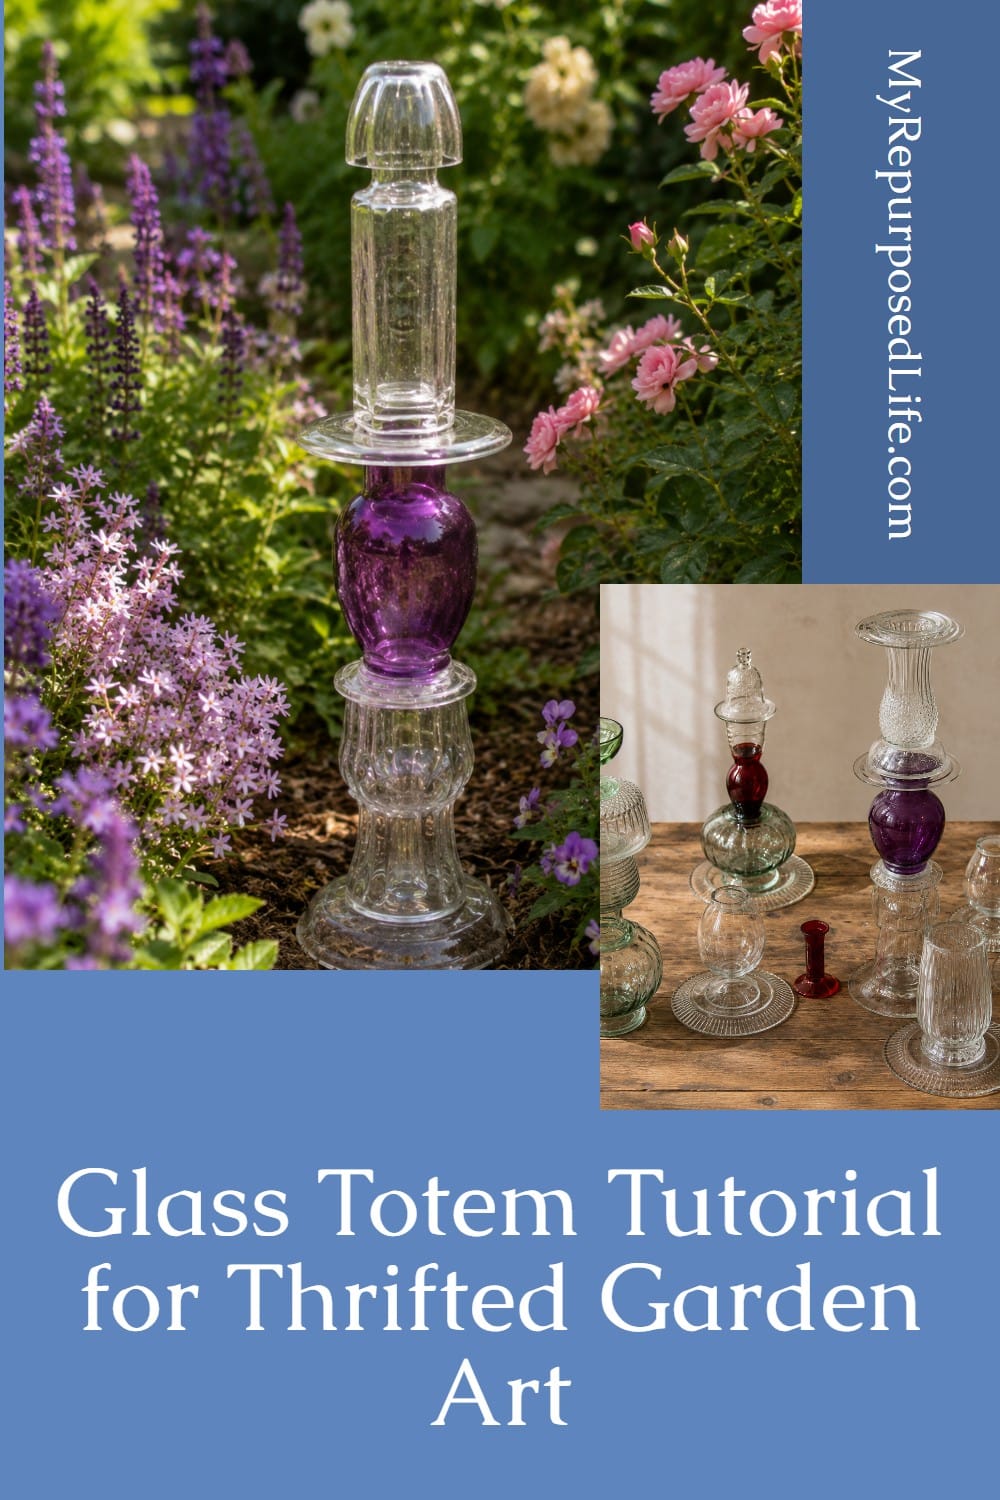
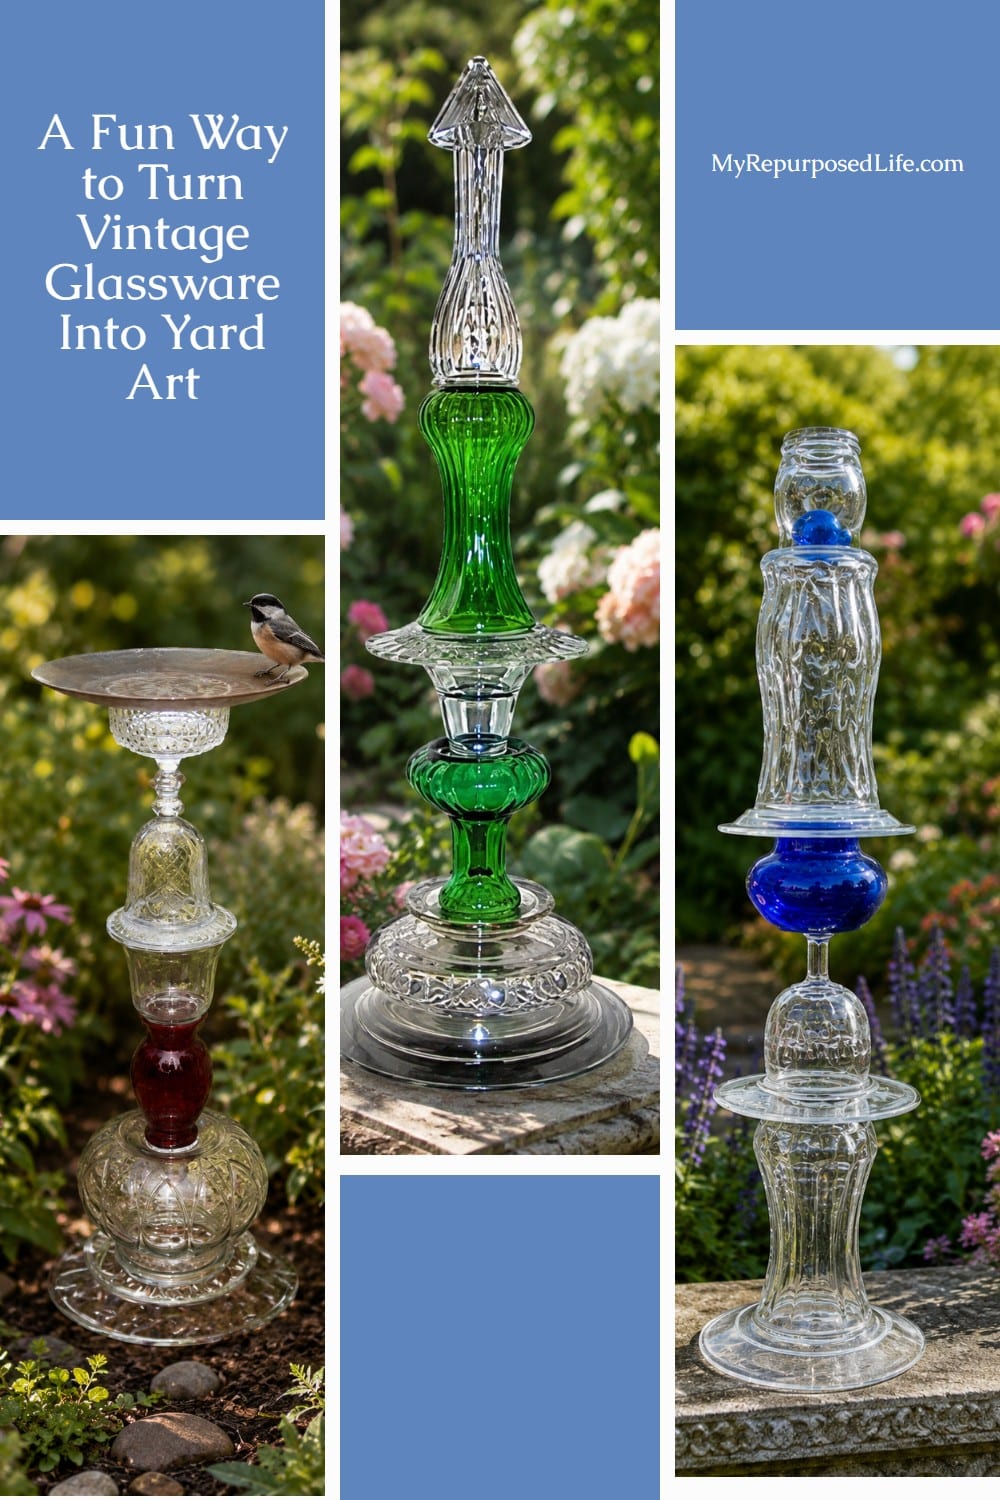
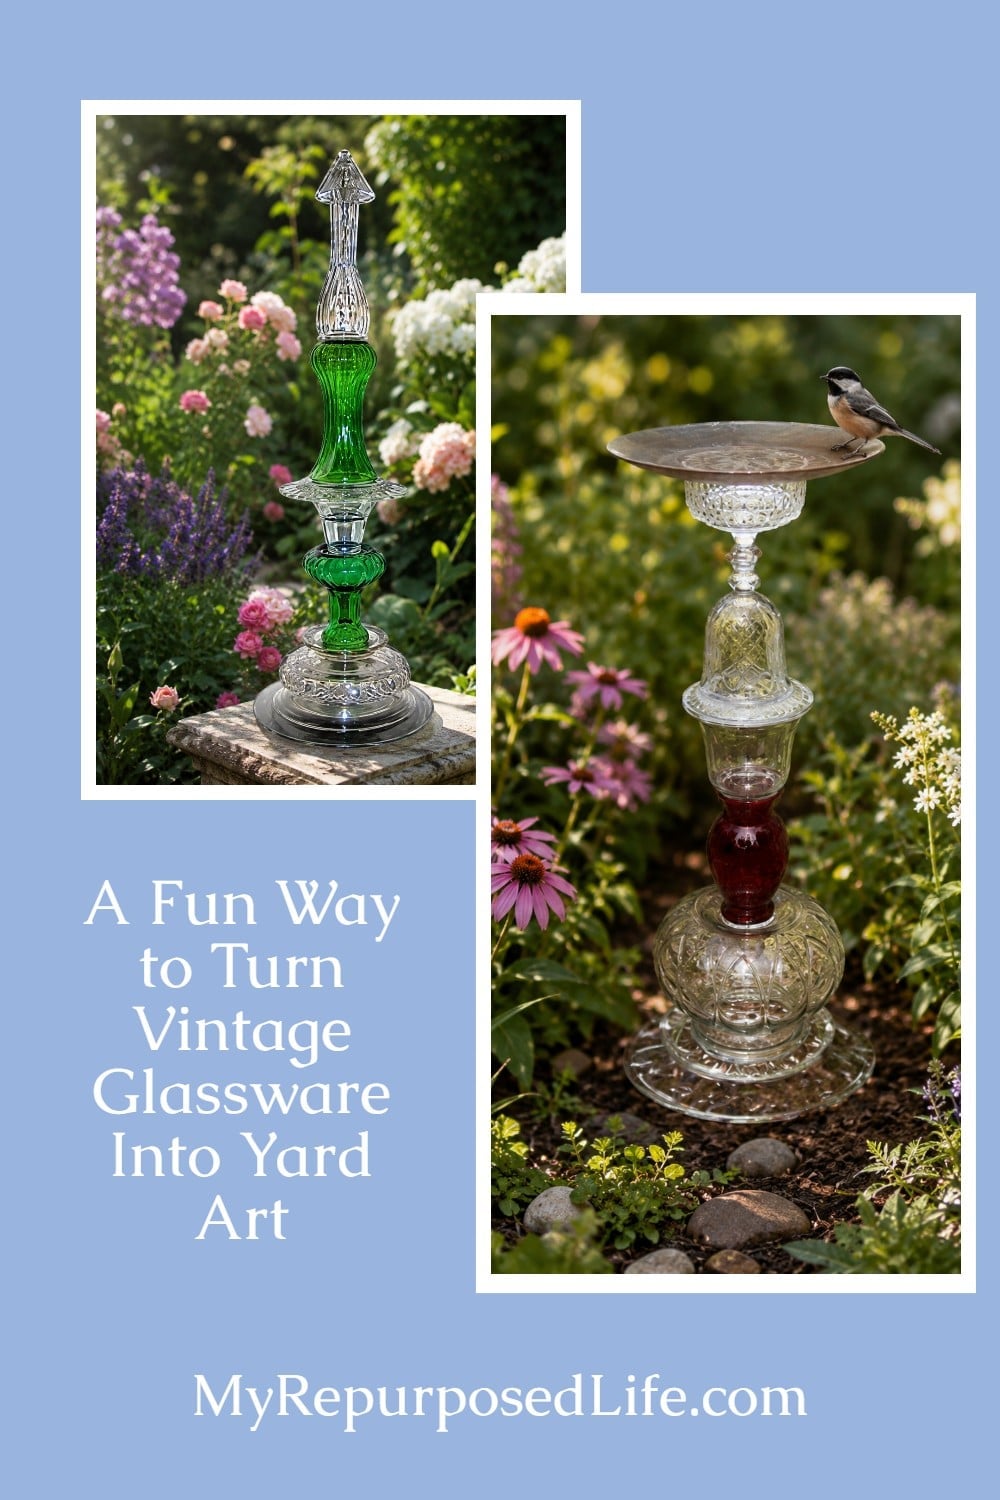
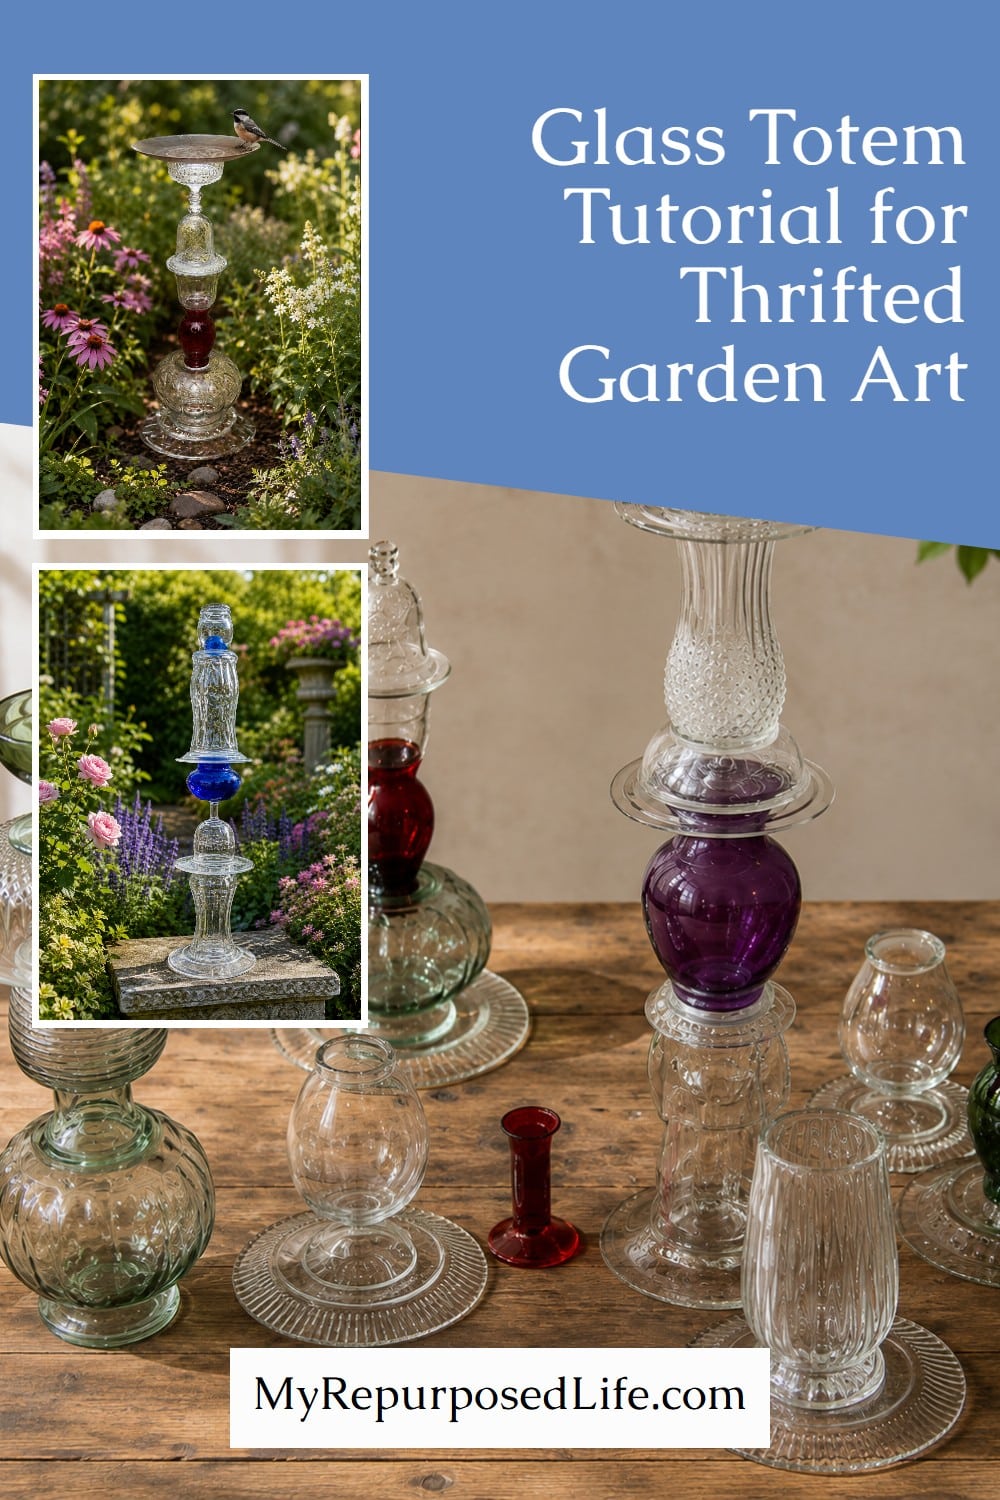
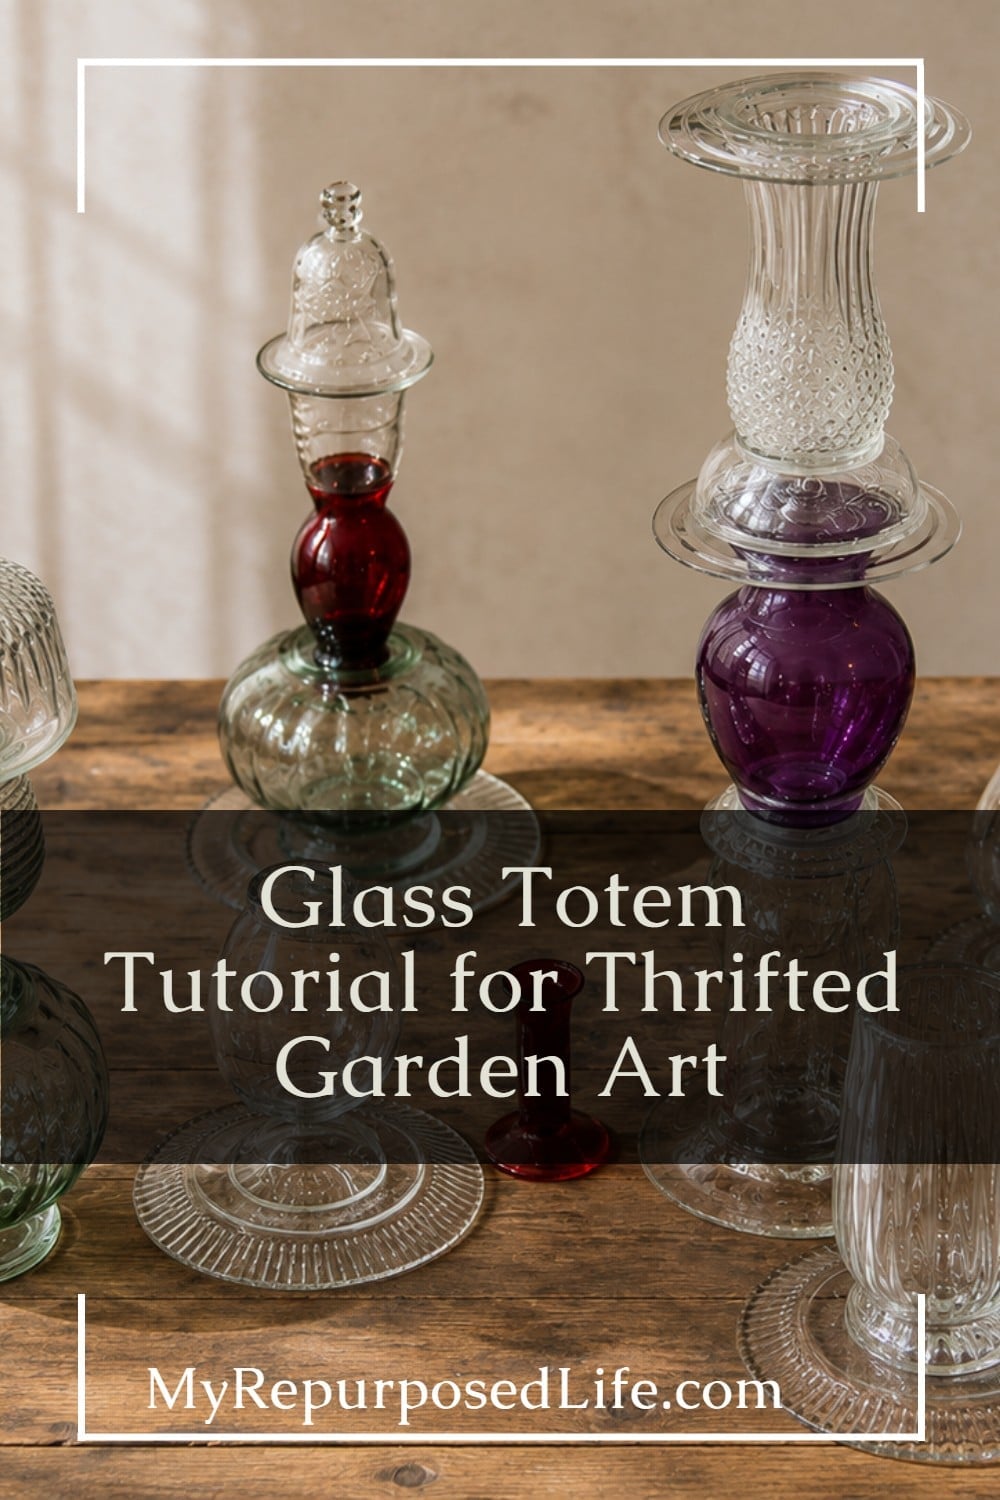
Do you have a stash of pretty glassware tucked away in a cabinet, closet, or garage? This glass totem tutorial is a fun way to turn thrifted vases, plates, bowls, candle holders, and other glass pieces into unique garden art. The best part is playing with different shapes and colors until the pieces look like they were meant to be together.
This EASY glass totem tutorial is just what you’ve been looking for. I have many tips at the bottom of this article- things I’ve learned from making countless glass totems!
Are you looking for a way to repurpose all that old, vintage glassware you have around the house?
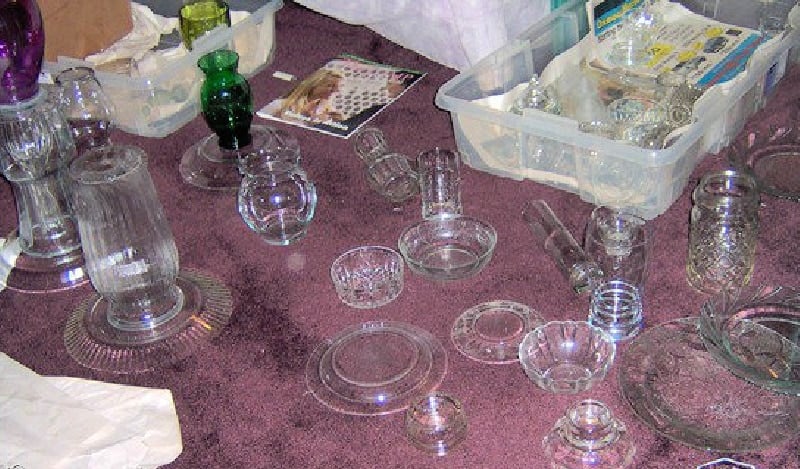
True trash-to-treasure people fall into 2 categories. Those of us who have never made a totem and those of us who have made tons of totems. They are sort of like potato chips… betcha can’t make just ONE! Over the winter, I shopped and shopped for glassware. I couldn’t stop! I tried really hard never to pay more than 50 cents for any one piece. My guest room became my totem workshop!
Vintage Glassware for Garden Totem
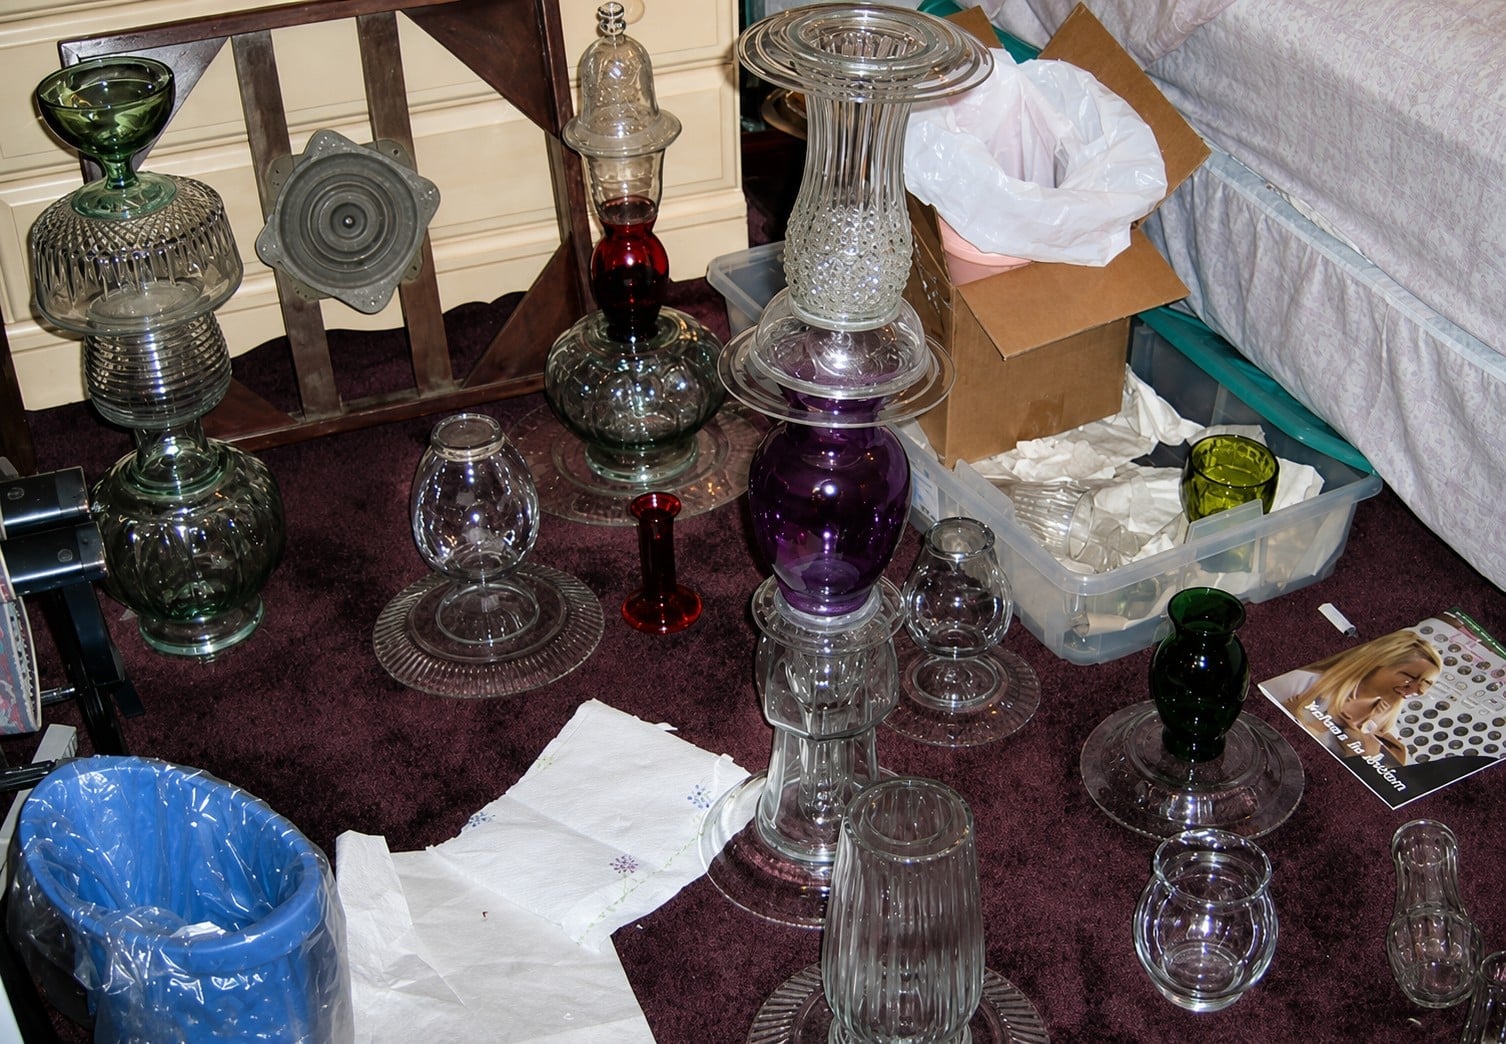
I think making these totems is the closest I’ve ever come to being artistic. Stacking the pieces and seeing what works well together is so much fun. I really like the colored glass pieces; however, they can be a little pricier.
Vary Colors in your Glass Totem
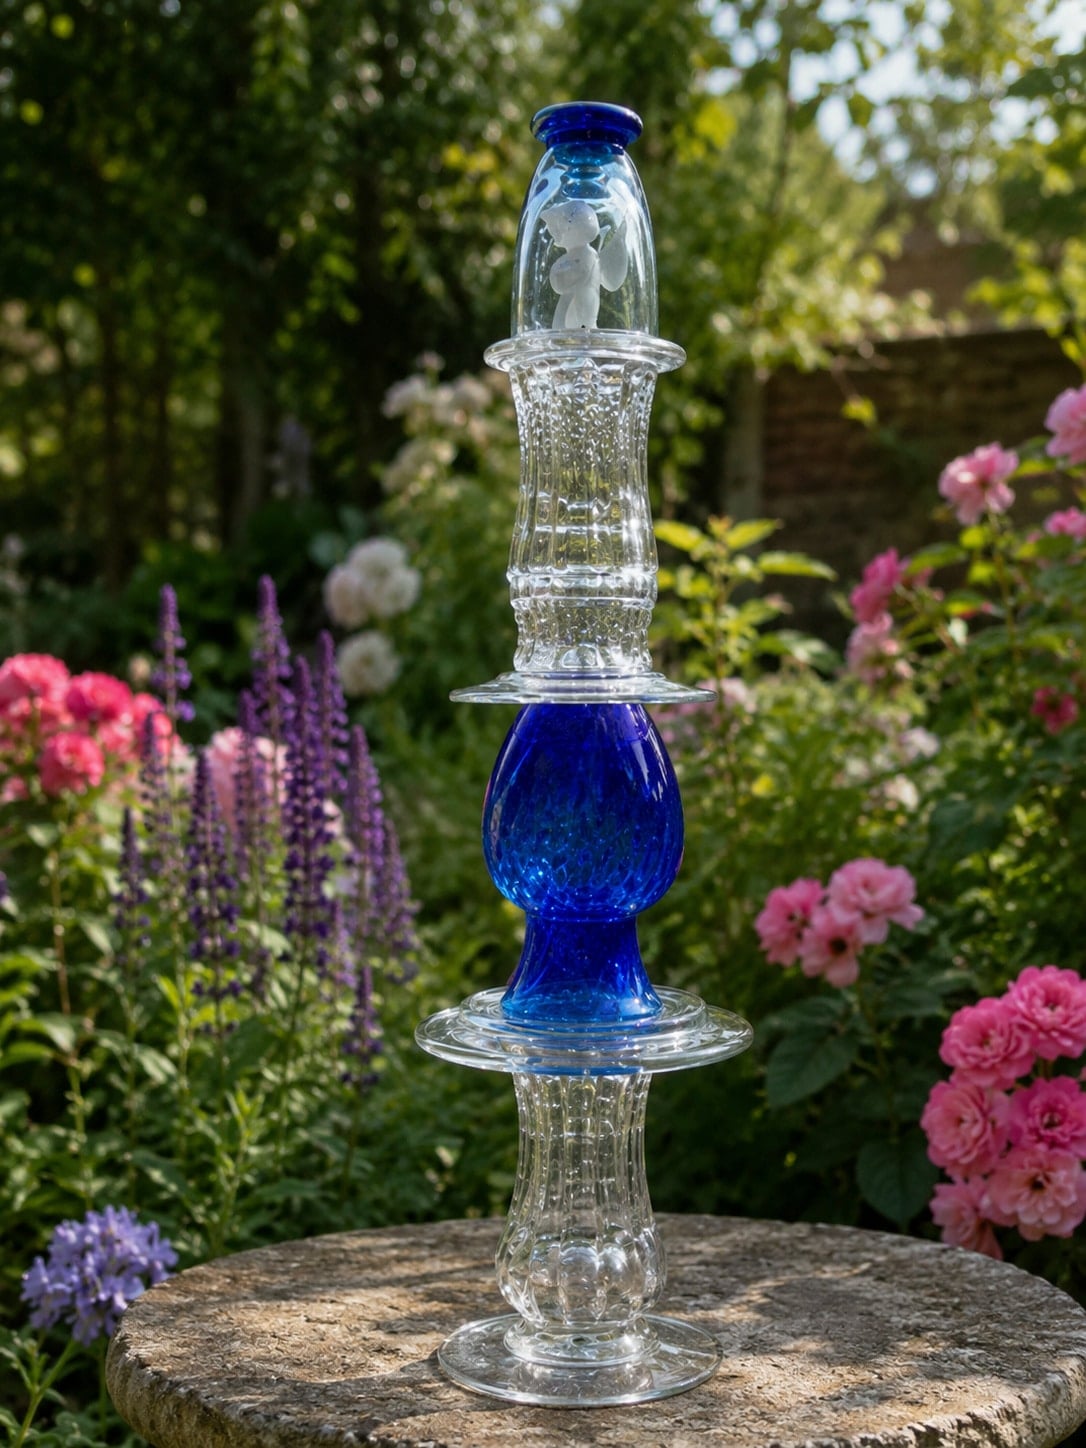
I really like tucking pieces inside of other pieces. On the top of this one is a cute little cherub. Blue is my favorite color, so I ended up with several shades of blue glassware when I started this marathon of craft sessions.
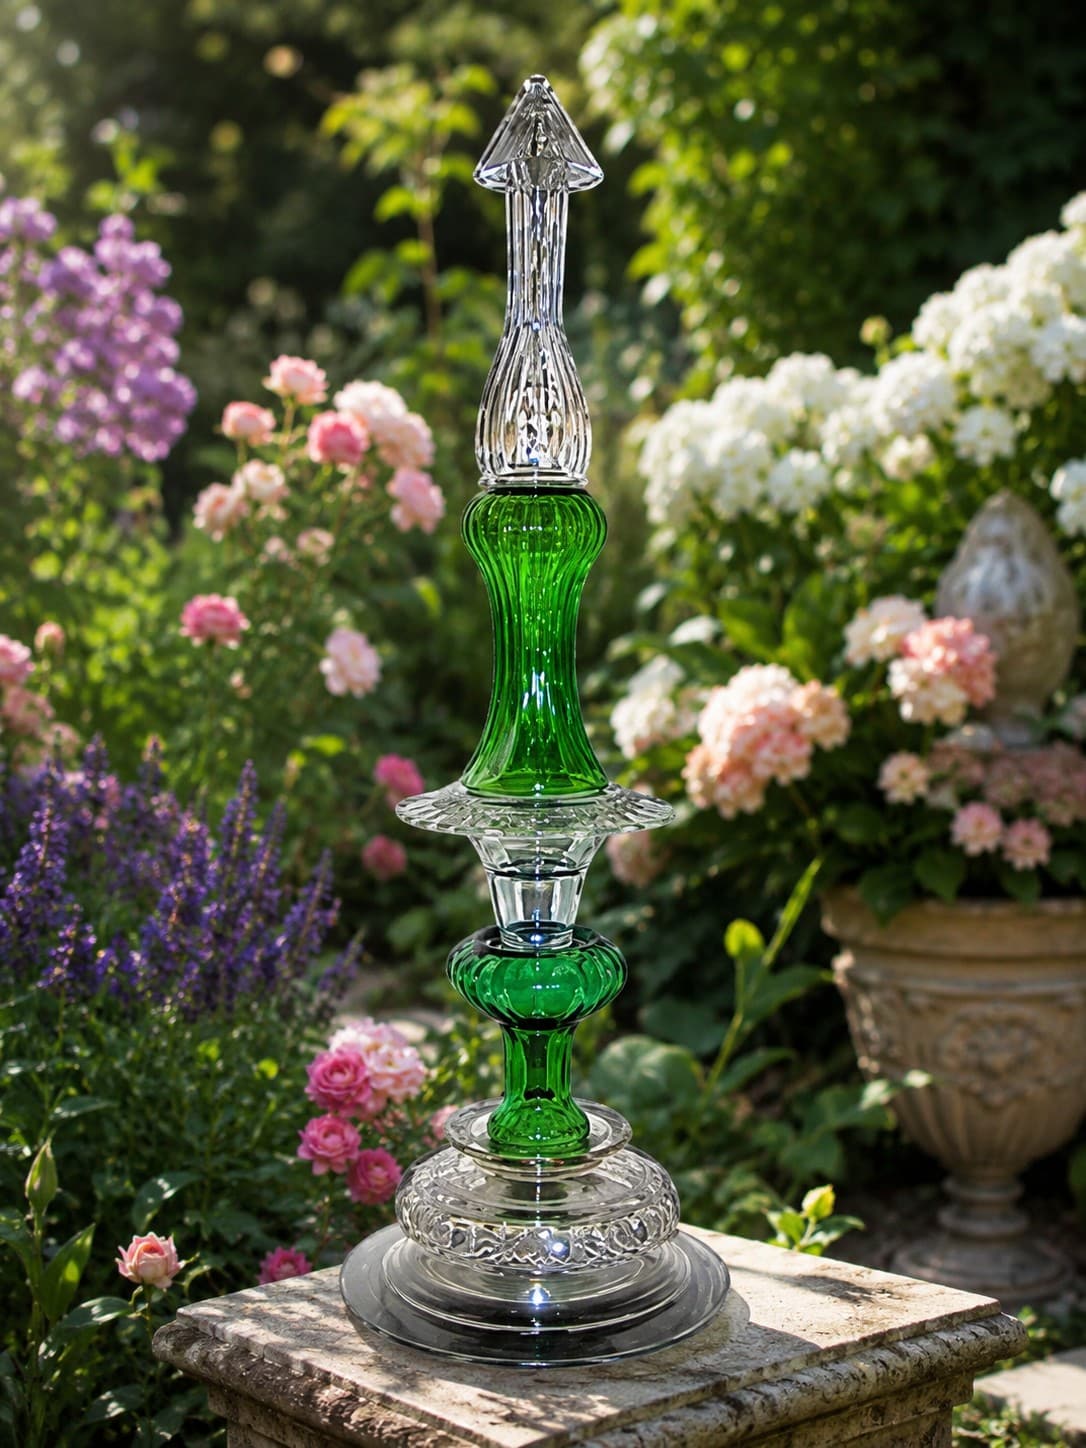
I love this green one. My friend Cathy has this one in her yard. As you are getting ready to craft your pretty topiaries, sorting like pieces together will help your projects be more cohesive.
Why this project works:
Glassware totems are budget-friendly, creative, and completely customizable. Each one looks different depending on the pieces you find, and the finished project adds instant charm to a flower bed, porch, or garden corner.
Glass Totem for Flower Garden
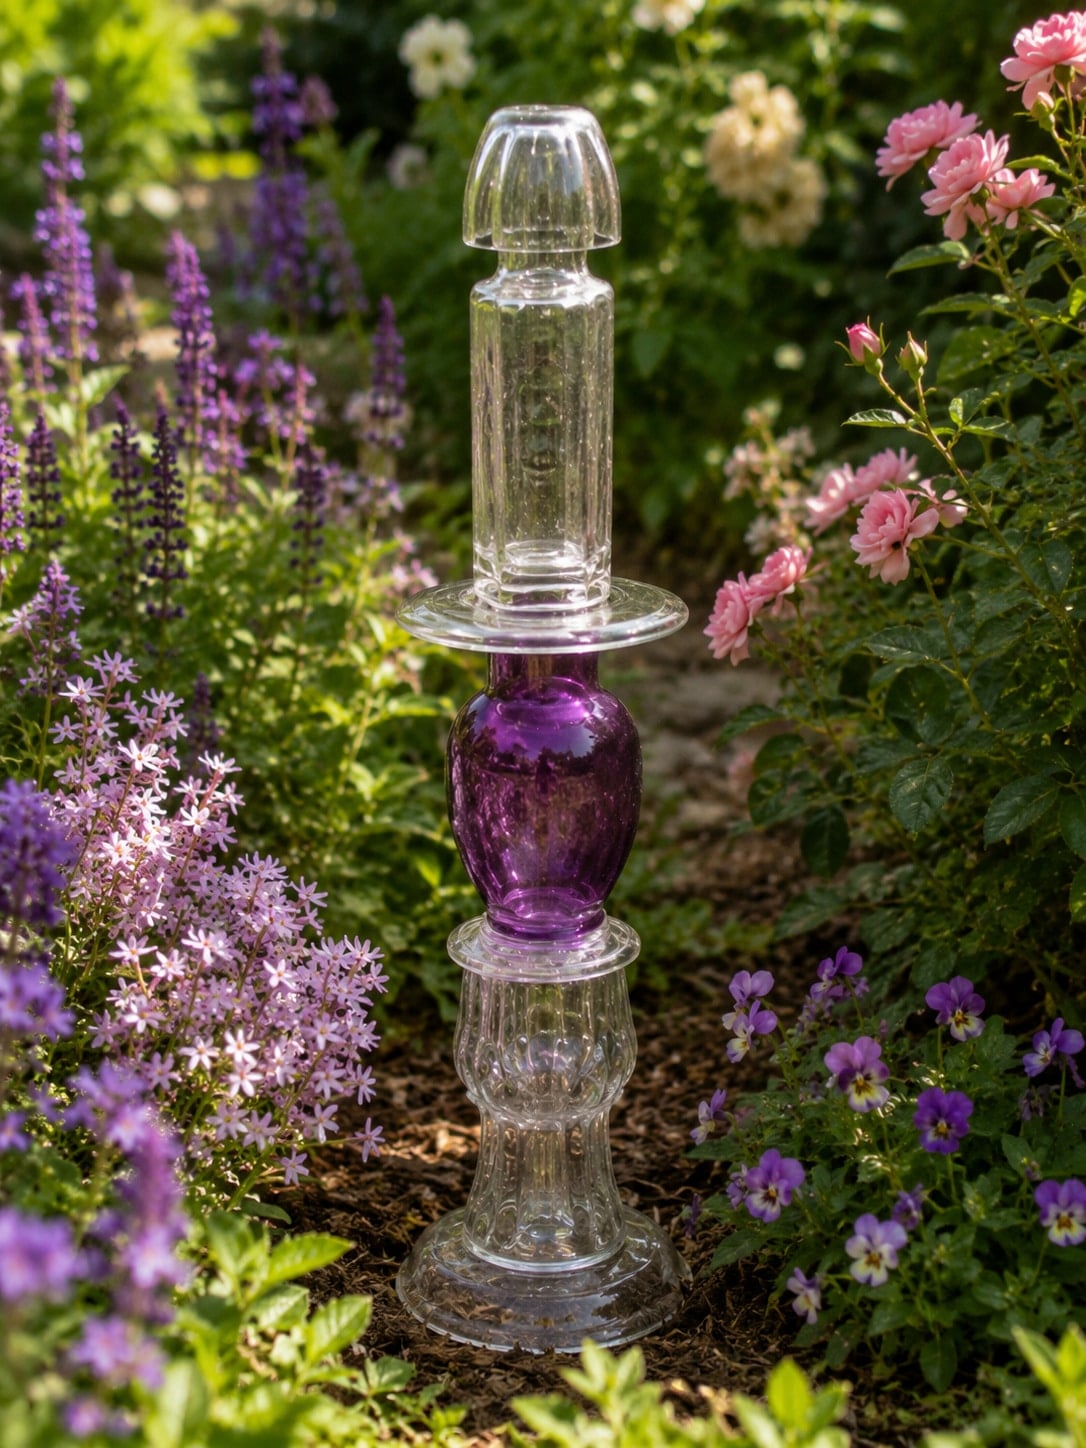
If you look closely, you can see that the bottom vase has another vase inside of it. If a plate has a curvature or a lip, be sure to flip it upside down so it won’t hold water.
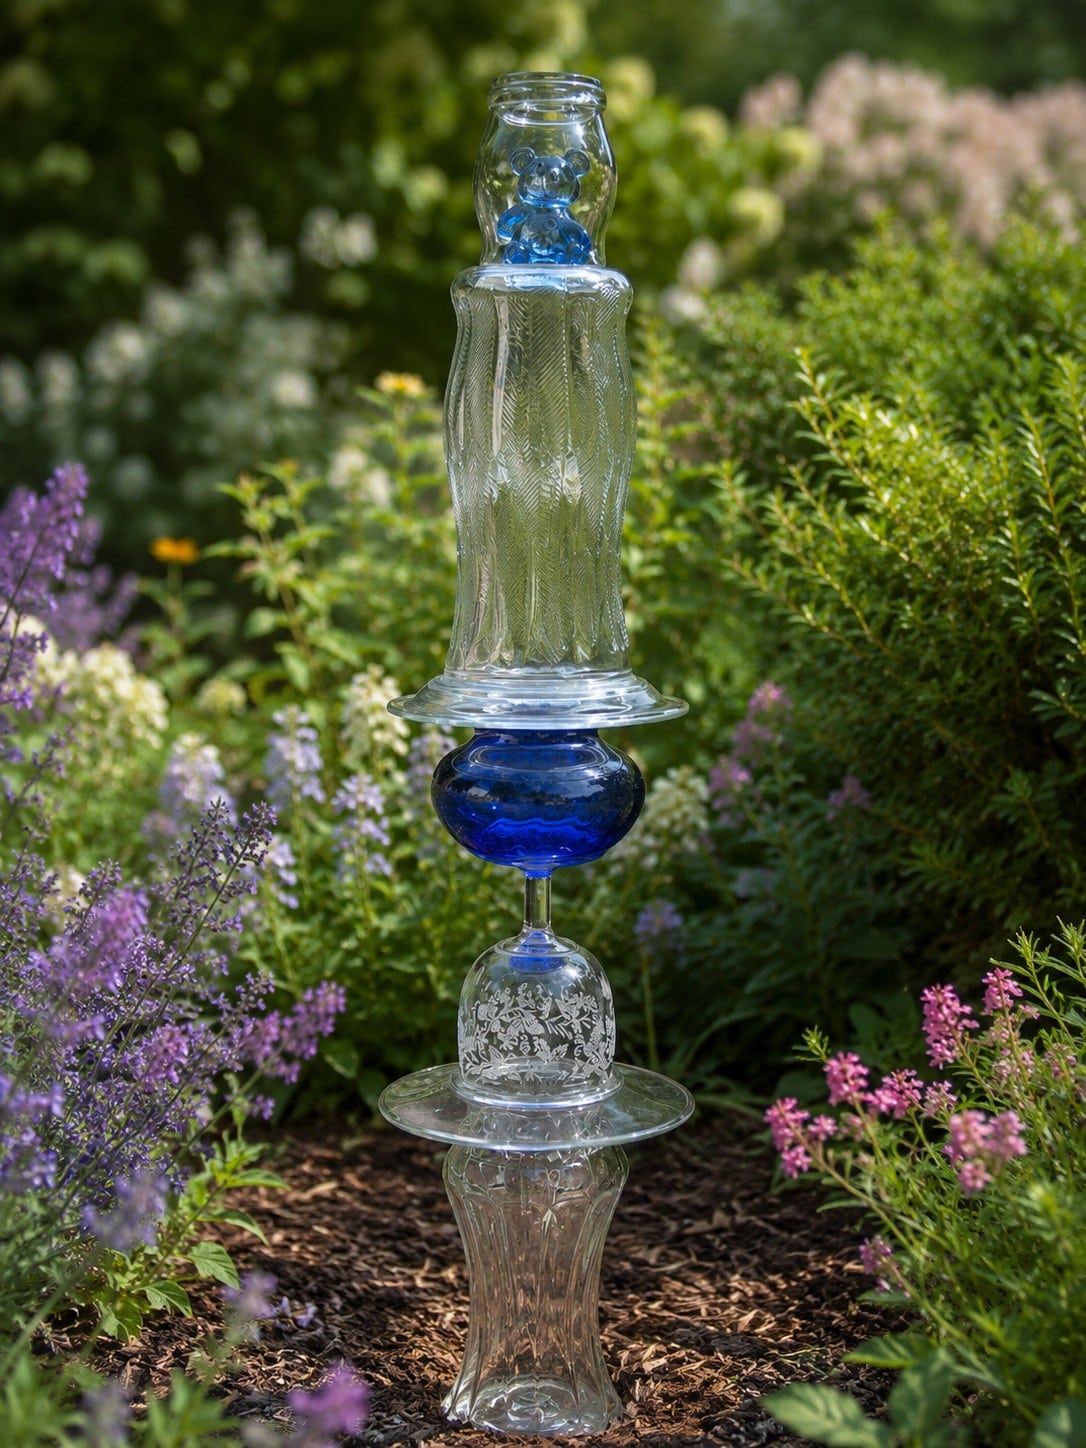
A sweet blue panda rests atop this glass garden totem inside a small glass.
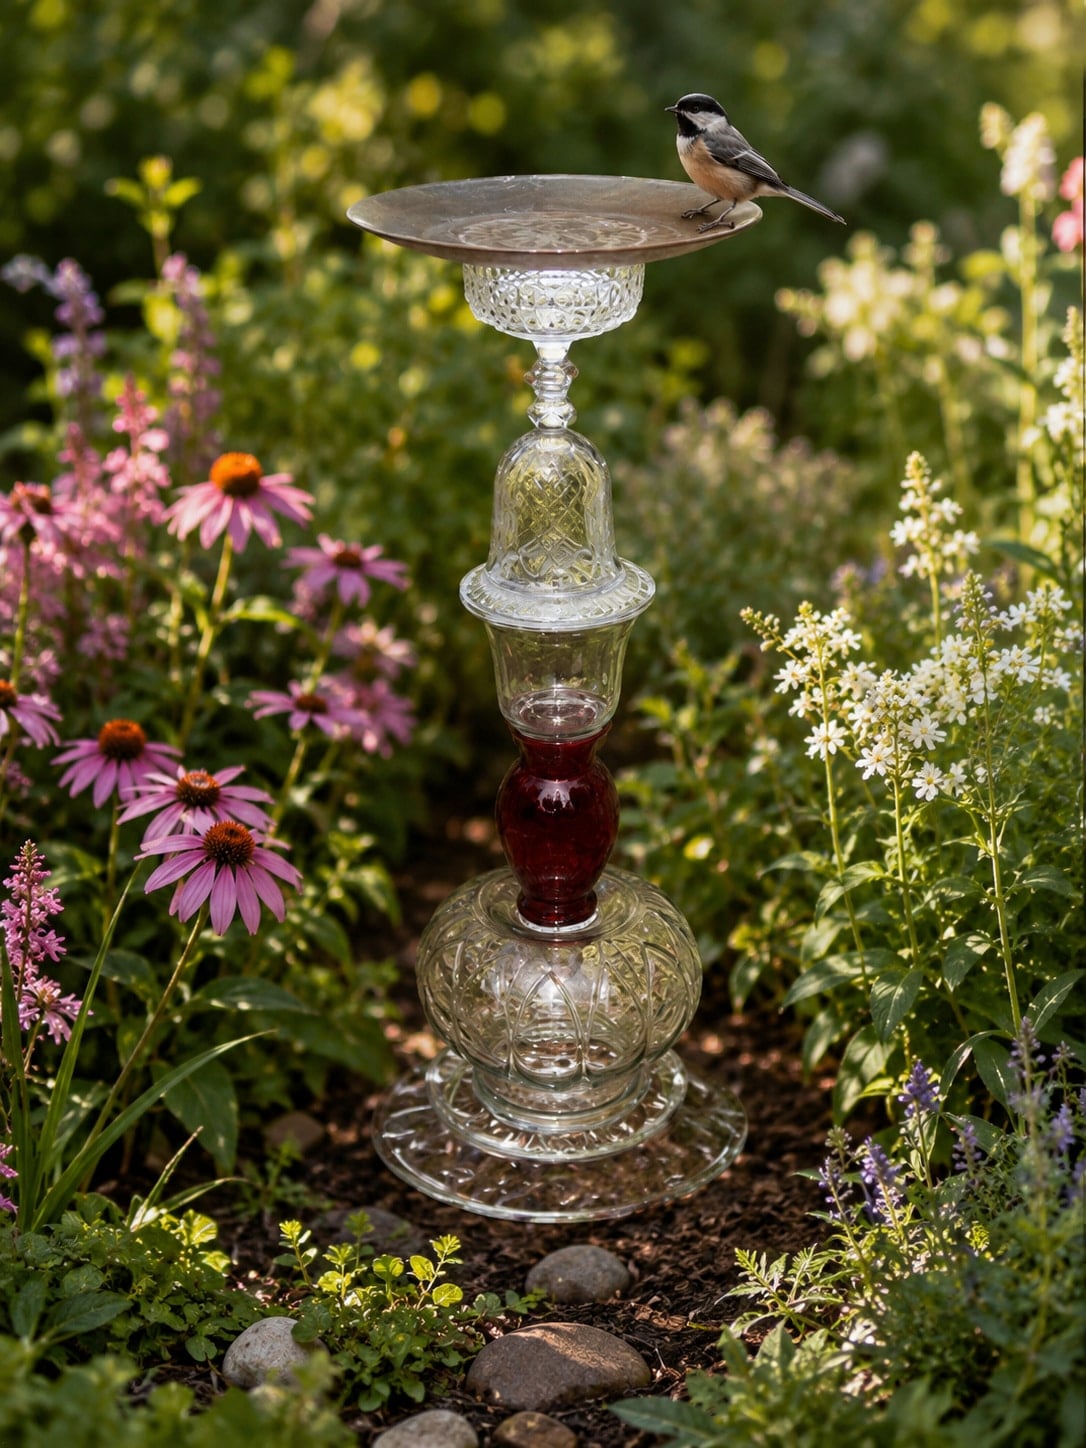
Yes, that is some sort of depression glass on top. I got it cheap, and I thought it looked pretty with the red vase. My friend Cathy also has this one in her yard.
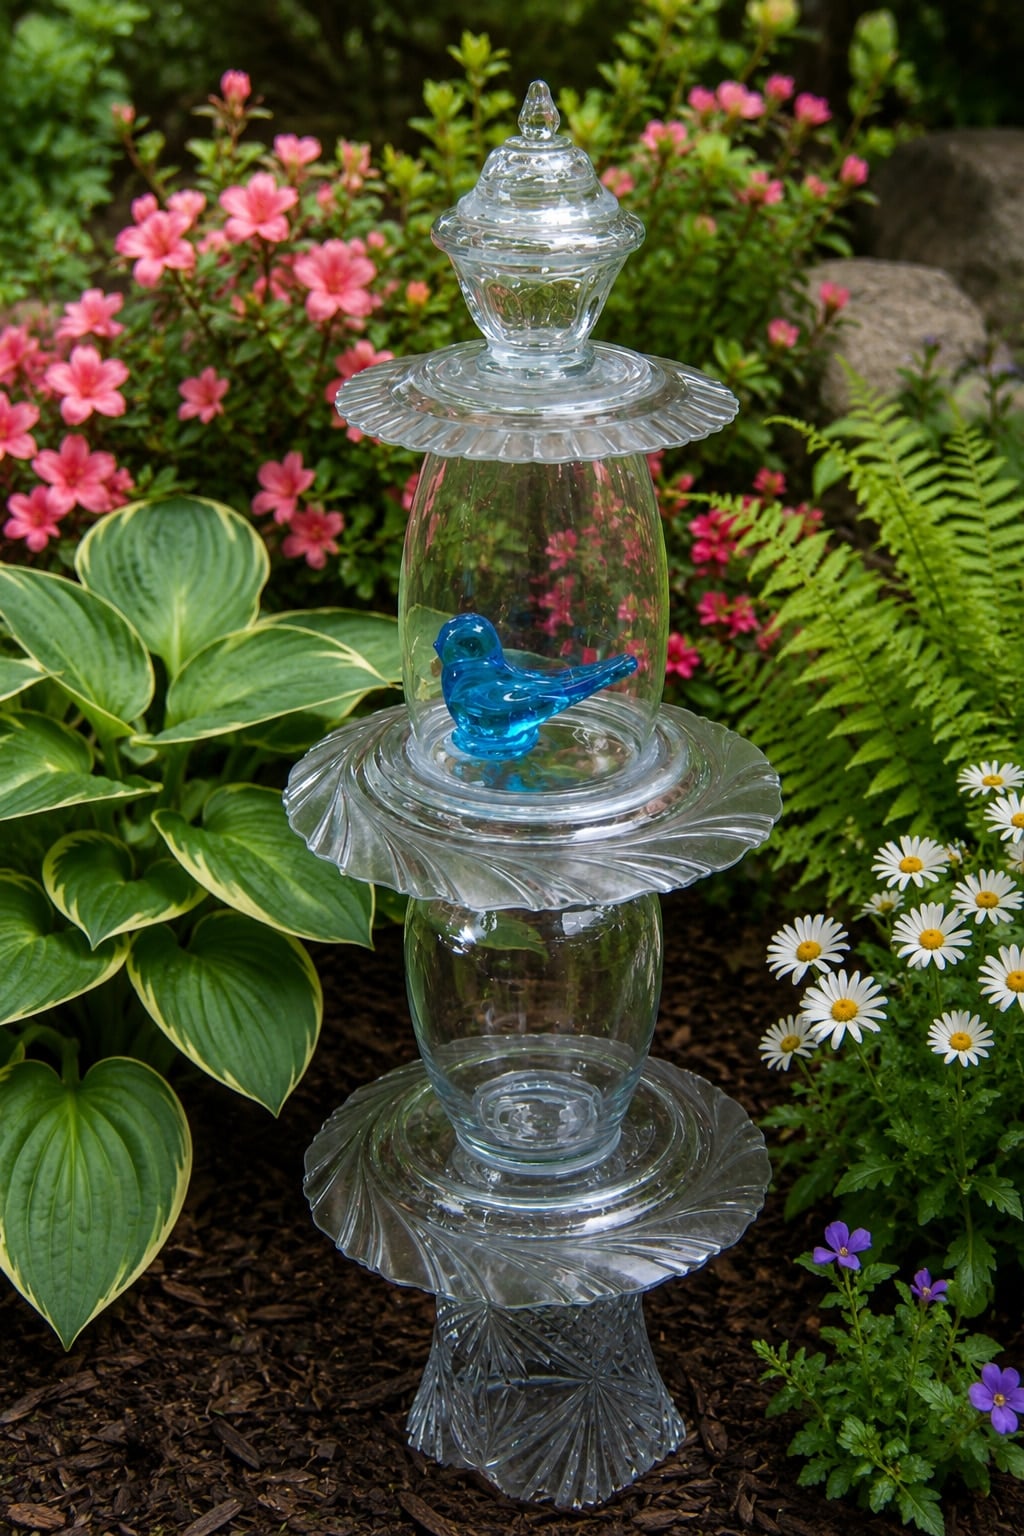
This is my “bluebird of happiness” totem. 🙂 The bottom vase of this piece is a beautiful candle holder that one of my former students gave me. Part of it got broken, but I held on to it because it was so pretty. When I started putting pieces together for my totem, I knew it belonged with these other pieces. The bottom of this is a heavy microwave turntable, but I have mulch covering it up, which helps steady the tall topiary.
Can you choose a favorite? This is just a sample of all of the garden topiaries I’ve made over the years.
Practical Tips for Making Glass Garden Totems
Choose sturdy glass pieces
Look for thick, heavier glassware that feels stable. Thin or delicate pieces may not hold up as well outdoors.
Start with a solid base
Use a wide plate, bowl, or heavy glass piece at the bottom. A wider base helps keep the totem from tipping.
Turn plates upside down
If you use plates or shallow bowls, place them upside down when possible. This keeps them from collecting rainwater.
Dry stack before gluing
Stack your pieces without glue first. Try different combinations until the shape, height, and balance look right.
Check the balance
Make sure each piece sits flat before adding the next one. A slightly crooked piece can make the whole totem lean.
Use the right adhesive
Use a clear outdoor adhesive made for glass, such as Silicone II. Make sure it is waterproof and suitable for outdoor use.
Glue in small sections
Instead of gluing the whole totem at once, work in sections. This makes it easier to keep everything straight and stable.
Use a level
A small level can help you make sure each section is straight before the adhesive sets.
Allow plenty of drying time
Let the adhesive cure completely before moving the totem outside. Rushing this step can weaken the bond.
Display it safely
Place the finished totem in a sheltered garden spot, flower bed, or near a porch. You can bury the bottom plate slightly in mulch or soil for extra support.
Bring it in during harsh weather
If you live in an area with strong winds, freezes, or storms, move the totem to a protected area when needed. Glass garden art is pretty, but it still needs a little care.
What will you make?
I hope you learned something from my glass totem tutorial tips!
Before you donate those extra glass pieces, try stacking a few together to see what happens. You might be surprised by how quickly a simple vase, plate, or candle holder turns into something special for the garden. Have you ever made a glass totem, or do you have a favorite piece of glassware you would use for one?
Once you make one glass totem, you may find yourself looking at every vase, plate, and candle holder a little differently. They are such a fun way to add color and personality to a flower bed, patio, or tucked-away garden corner. Start with sturdy pieces, take your time with the stacking, and enjoy creating something pretty from glassware that might have otherwise stayed hidden in a cabinet.
I have done some more totems-you can see them in my post Repurposed Glassware Totems & More.
Thanks!
gail
I make these a lot! and you are right, they are addictive. I use e-6000 for mine and they stay out all winter. The only problem I have is putting things insid eof other things. Even though I let them dry the item inside sometimes comes loose. Any thoughts?
Use try 2 types of glue. One to glue the center and one around the outside. I used liquid nail and E 6000 on an item that keept sliding.
Great tutorial i wish i had read this before i started. You are so correct about collecting more glass and the joy when your piece comes together. Thanks for sharing.
I’ve seen similar items on other sites and one of the things I’ve seen done is to use a small opening on a base piece turned upside down, then you can place the small opening over a dowel or copper pipe pushed into the yard to give the piece more stability, of course I’ve seen them with bud vases on the bottom upside down and then sitting on the copper pipe but the idea would work just as well for a piece you could place inside your larger base glass for more support.
Just found your blog and have to tell you I LOVE this idea, have never seen it before but cannot WAIT to try it for myself! I am so excited, I will be devouring the rest of your blog, thank you for sharing your talents and inspiring the rest of us!!
I may be two years behind…but I am SO into the idea of making some garden totems from the pottery that I got while thrifting last weekend! Can’t wait to get some done…and no, I don’t think I’ll be able to stop at just one!
Michael
Came across your blog through an internet search. My mom (and now me) has just gotten into doing this. You have some really cool stuff. And it’s done a little different that what my mom has been doing. She typically has a smaller vase on the bottom so she can display in on an iron rod. But sitting them right on the ground is a great idea. I’m going to have to share your way of doing it with her.
Hi Gail! I’ve put together a round up of great garden projects on Craft Gossip today and included your post. 🙂 You can see it here
http://homeandgarden.craftgossip.com/6-fresh-garden-ideas-for-spring/
Great tutorial, and some very helpful suggestions! I’ve been dying to make one of these; the original one I saw was on a pole, but the blogger didn’t give instructions, so I guess I’ll have to figure that part out. Thanks for the great tips!
My sister and I made some to put on poles of regard. Use a upside down bud vase for bottom. If the opening is to big insert a piece of garden hose into neck of vase to stabilize. I use a shorter length of debar so my totem sets on the ground.
Sorry but that should have read “rebar” poles.
Beautiful Gail! I’m happy to see that your blog is so wildly popular! You are amazing!! I hope you’re enjoying the summer!
Now I’m so bummed that I tossed a bunch of vases I never use to the Goodwill.
I wonder how I missed this post?
I like these little objects- they are so dreamy- fairy like,…mystical! I just saw it on the posts and comments for the week post (wow, that was a mouth full)
Anyway, I’d like to try one of these– but am afraid Honey might not go for it.
We’ll see.
when I was a kid (long time ago)we had a teacher that would make these for the kids, but then he covered them with paper mache then painted them and they were used as candle holders.