Glazing Furniture 101
As an Amazon Associate, I earn from qualifying purchases.
A few people have asked me about glazing furniture. I totally understand how it can be confusing. This time last year I had NO idea how to do this. When I first started seeing things pop up on blogs, I fell in love with the look. When I asked how to do it, bloggers were very nice to “try” to explain it. But, I didn’t get it. Most of them talked about Ralph Lauren something (smokey, maybe). I was unable to figure it all out. I have always watched a LOT of HGTV (Decorating Cents) and they were always using umber (burnt and or raw). I had some in my stash, but I didn’t use it when I first started glazing. At first I used wood stain (dark walnut). Because stain cleans up with mineral spirits and not water, I tired of trying to get it off my hands. My next phase was applying the diluted burnt umber with a paper towel, sort of putting it on and wiping it off all at the same time. That was pretty messy too. Although I think that technique works well for large pieces of furniture.
Fast forward to this summer. I have glazed several items lately and I really like the following technique best. If you ask 10 bloggers, you’ll probably get 10 different recommendations. I think that is why I was so confused when I first started doing this glazing thing! No one way is right or wrong. It’s totally a personal preference.
If you’ve wondered how to glaze, I hope this little demo helps. If you are a whiz at glazing and you have something to add, please leave your suggestion in a comment and I will include it in my Saturday feature “Recent comments & questions”. If something is unclear, please ask below in a comment and I will try to help clarify it in Saturday’s feature.
Now, on with the show!
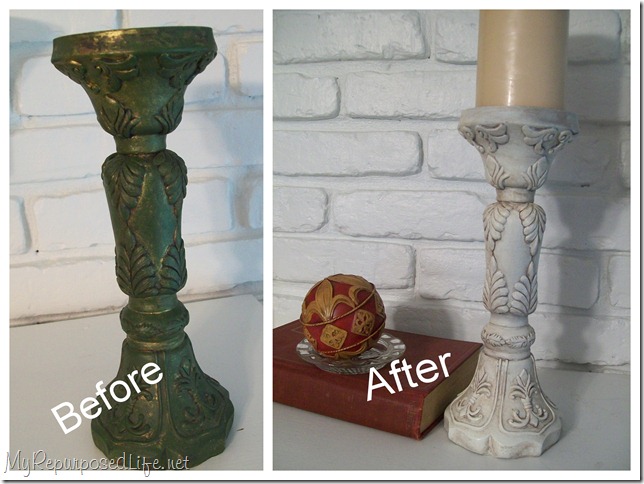
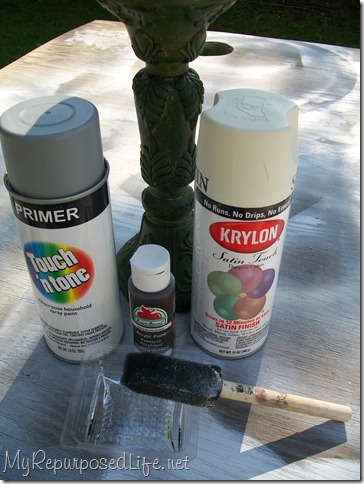
Supplies to gather:
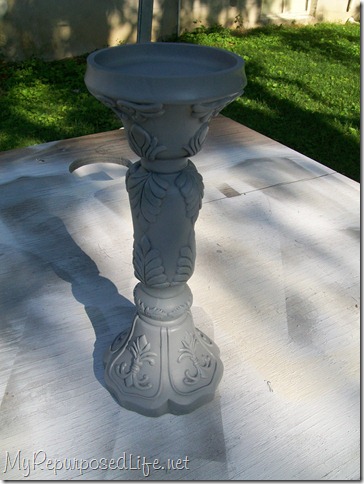
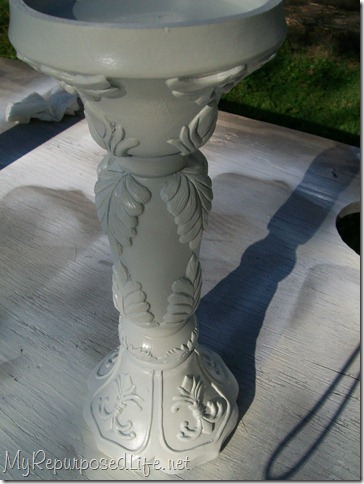
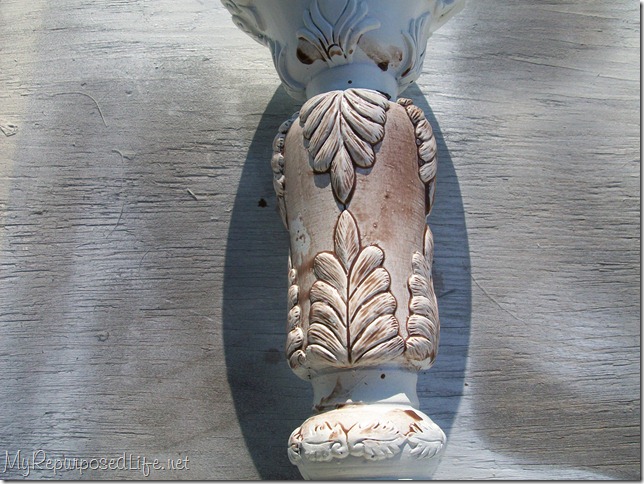
- Project piece
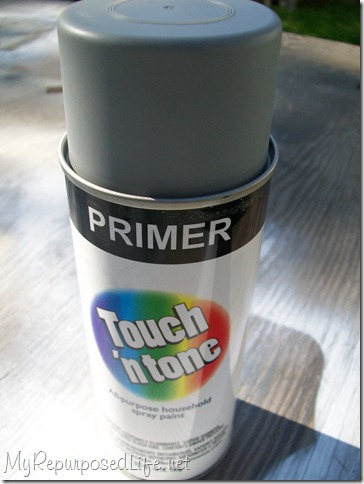
- Primer
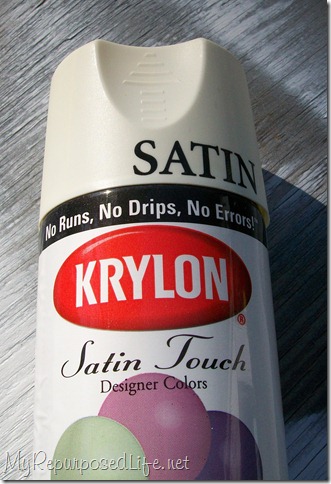
- Spray Paint
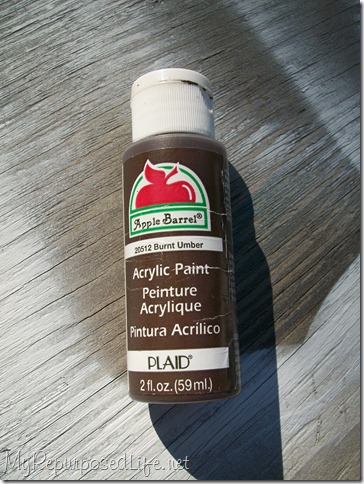
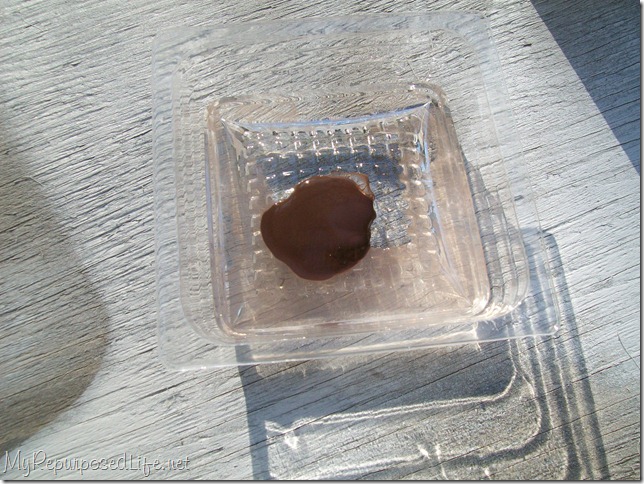
- Glaze (I used Burnt Umber)
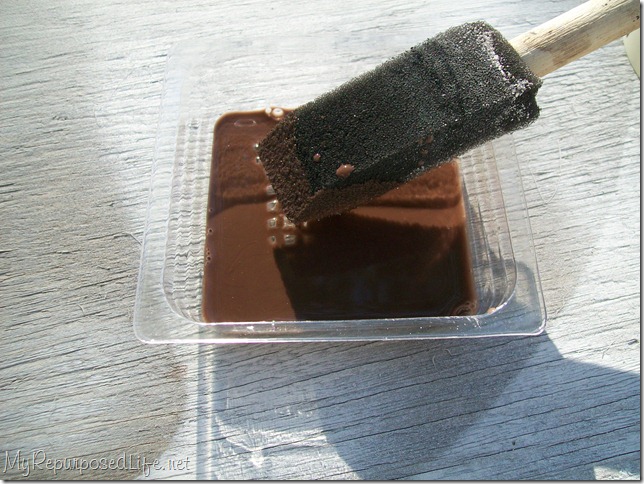
- Brush (I used small foam brush)
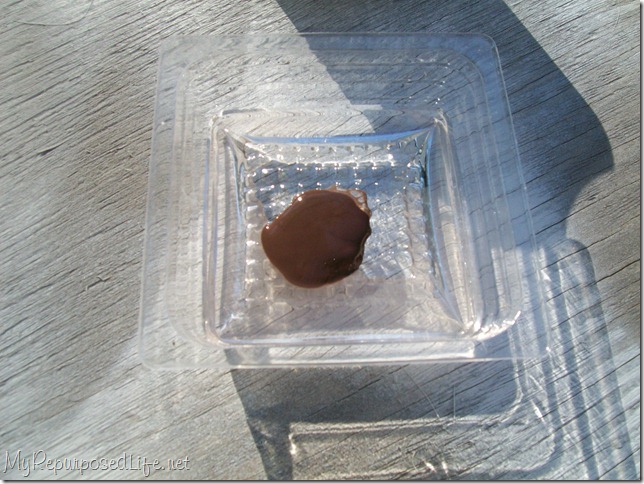
- Water and something to mix glaze and water in (I used small plastic tray)
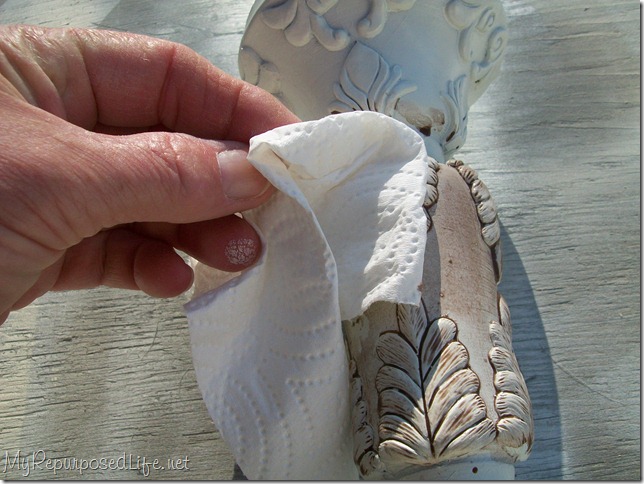
- Rag (I used paper towel)


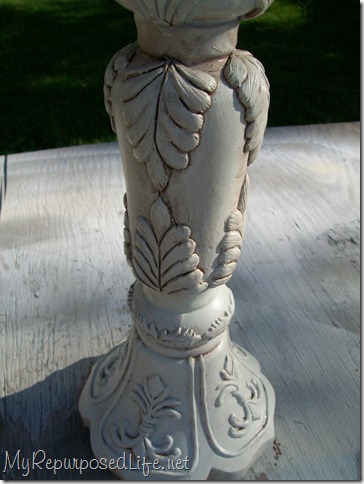
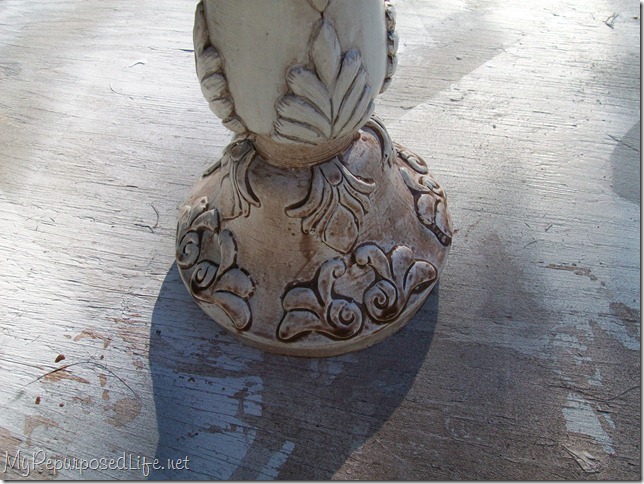
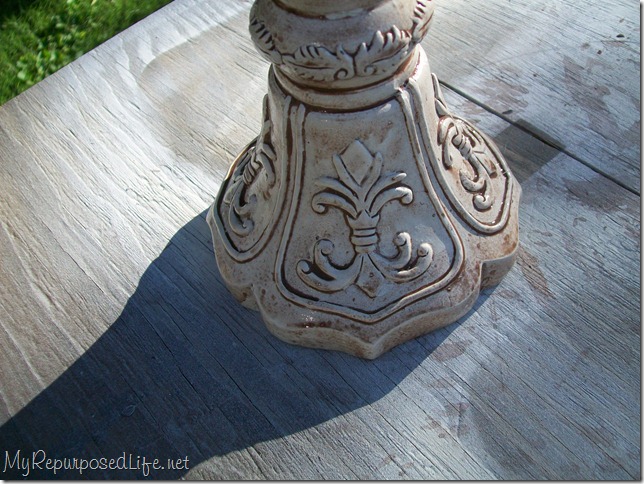
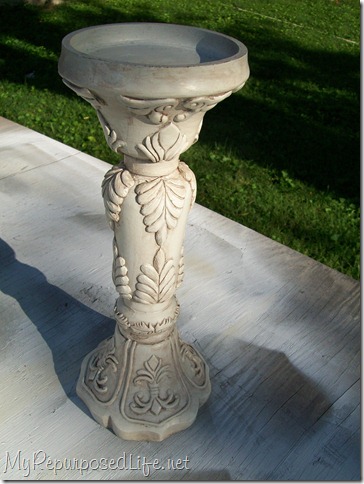
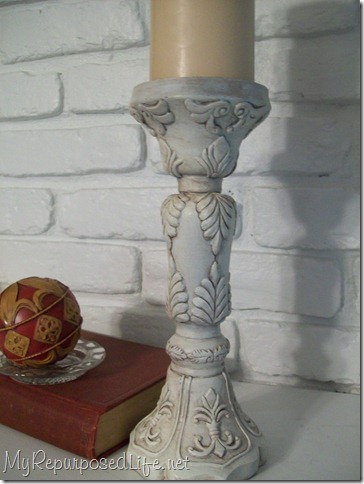
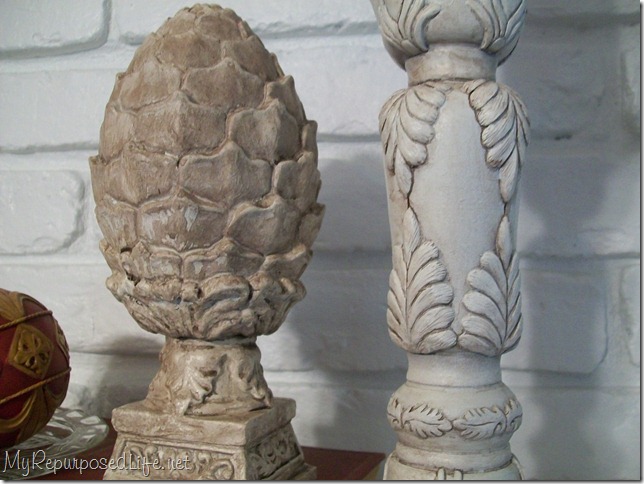
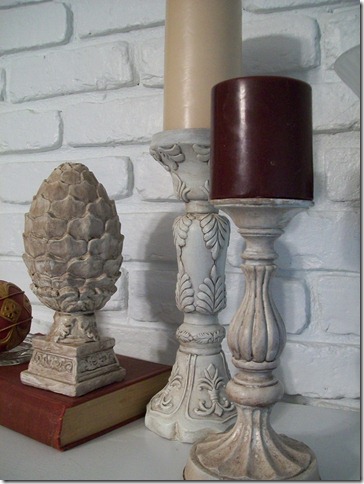
Sorry just had to post again when I read the time it says I posted my last comment…I am not some weirdo insomniac reading blogs at 4.25am, I am in New Zealand where it is 8.25pm Satruday night, lol 🙂
xx Karen
Hi there, thanks so much for that post, it was brilliant. I have only recently started glazing stuff like this as previously my ‘antiquing’ method of choice was a dark oak coloured wax (which works quite well, but I wanted to try this glazing thing I read about so much!) I started off using burnt umber but the stuff I had was really too reddish in colur for my liking so I added some black and it turned out ok. Since then I have changed to a water based wood stain (colour ‘wenge’) and I like that alot better. I use basically the same technique as you but I wipe it off with a wet face cloth, I like the texture of the cloth which helps give me the ‘lines’ I want in my finish, and with the cloth being wet it helps remove stain that has partially dried already. Thanks again for the great post!
xx Karen
Nice glazing work… the finial and candlestick both look great.
Oh! I get it now! lol I thought I had to go spent ton of money on this designer glaze stuff I keep hearing about. Very helpul tute, thanks! 🙂
Nice tutorial. And you are right, everyone has their own personal technique and that can make it all very confusing. Thanks for sharing your glazing method!
Nice tutorial. And you are right, everyone has their own personal technique and that can make it all very confusing. Thanks for sharing your glazing method!
tHOSE ARE BEAUTIFUL!
This is an awesome tutorial! Love how your candlestick turned out. Thanks for sharing!
Love this look. Can’t wait to try it. Thanks for sharing!
Thanks I now believe I can do this. Trish
Thanks so much for the instructions, they are just what I needed! Please stop by and link something up to Vintage Suitcase Friday!
that’s the method I have used also. I am so often critical of my work while I am doing it. You just have to stand back and you will see it is perfect. thank you, I didn’t know if there was a righter ha! way.
Carol