Grateful Thankful Blessed White Distressed Headboard Sign
As an Amazon Associate, I earn from qualifying purchases.
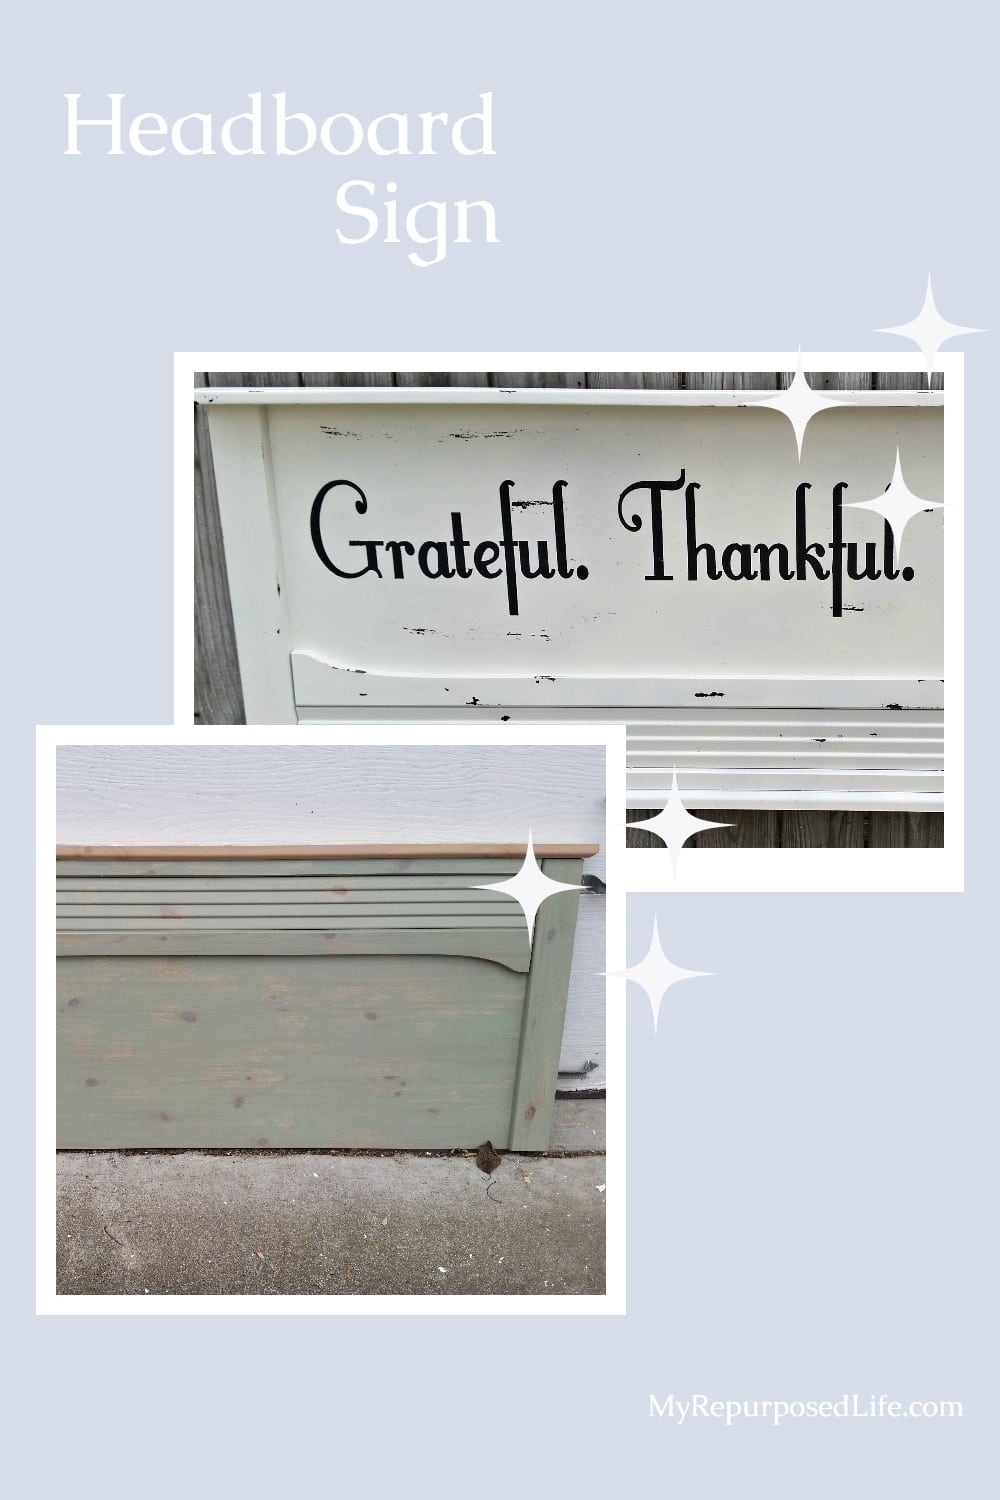
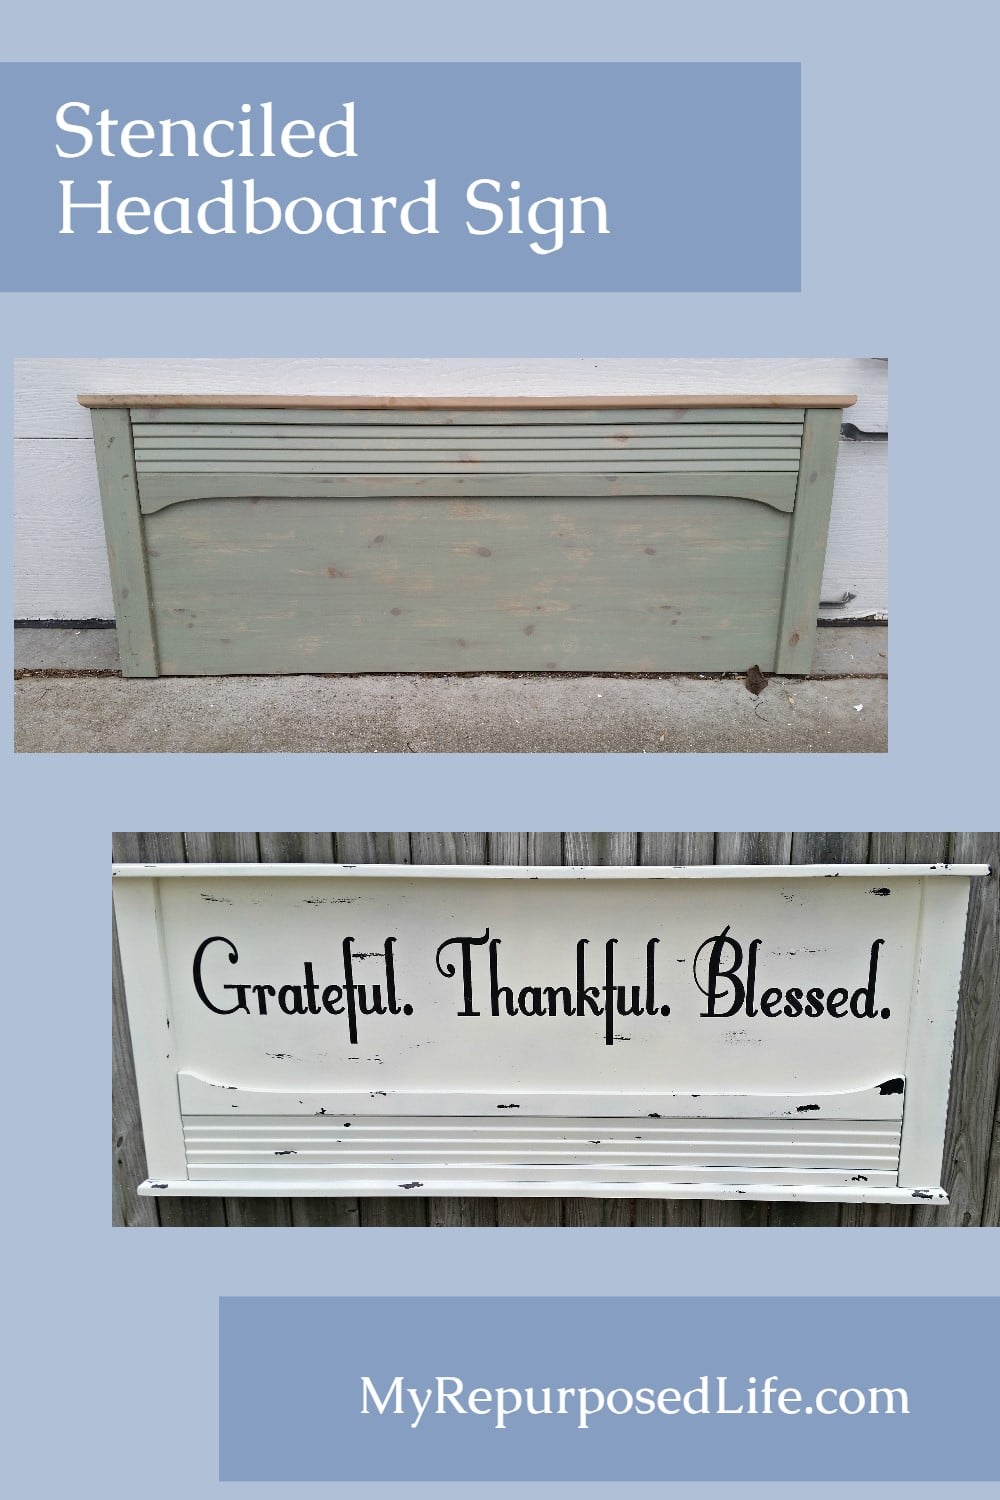
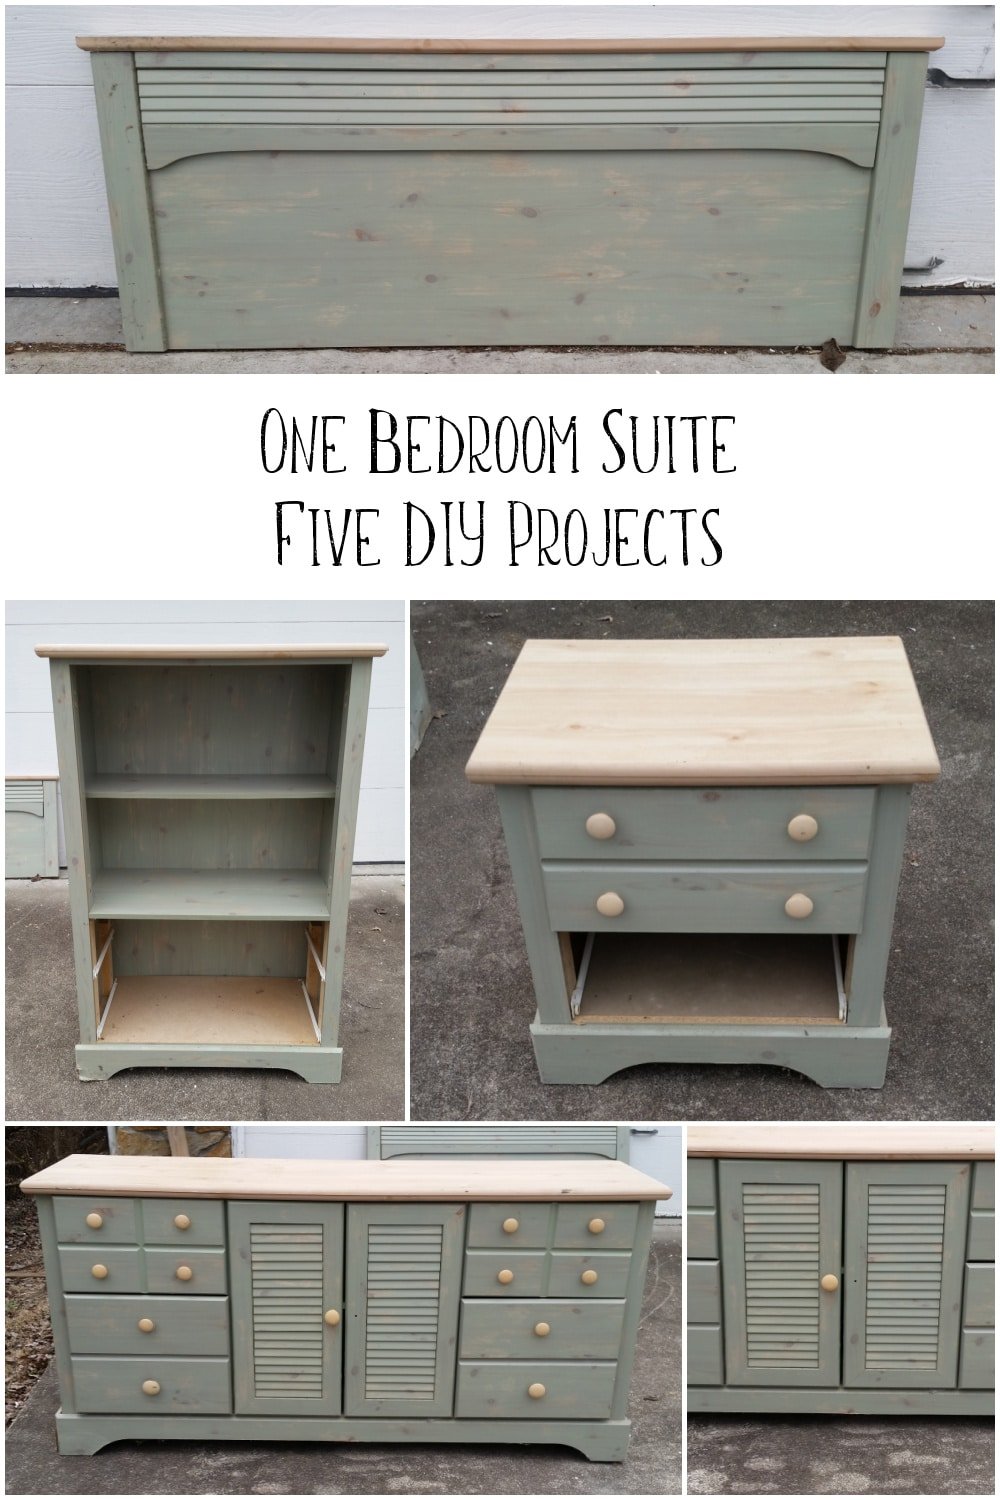
I have the last piece of that free bedroom set I got a few months ago to share with you today. I made a repurposed headboard sign—Grateful Thankful Blessed
The headboard was uniquely long and narrow which limited the sentiment that I could stencil on it. It’s pretty standard on how I have been painting and stenciling my projects for the last few years.
Cheap old headboard into Grateful Thankful Blessed Sign
 Here is the headboard before. VERY heavy particle board, nothing special.
 Most of the time when I can’t figure out what to do with a piece of furniture, I put a coat of primer on it to give it a clean slate to speak to me. I did that with some diy chalky paint primer while I was painting the coffee station cabinet made from a dresser and bi-fold doors.
*this post contains Amazon affiliate links that I may earn a small commission without costing you any extra money. Read more here*
Using pocket hole screws to attach header
 I love having several Kreg Jigs just for this reason. This K3 is perfect for this application. I used a Kreg Face Clamp to hold the jig in place while I drilled the pocket holes that would hold the top shelf in place. The face clamp hooks into the jig, so when you release the clamp, you just slide it over. Easy Peasy. You can see I buy the pocket hole screws by the box because I use so many of them.
 The headboard needed to be off the table in order to secure the shelf, therefor I needed to use a large bar clamp to hold the 1×4 shelf in place while I secured the pocket hole screws. I used my Kreg Multi-Mark tool to get the proper spacing on each end—with the help of my rubber mallet.
 So now the top is the bottom.
 The 1×4 needed a good sanding. Have I told you my quick solution to sanding? I keep a rough grit on my electric sander and a finer grit on my cordless orbital sander. By doing it this way, I’m not constantly pulling off sandpaper and replacing it.
Paint Grateful Thankful Blessed Headboard Project
 I rested this monster (it’s soooo heavy) on my easy diy sawhorses to make spraying with my Homeright Finish Max easier. I mixed up more black diy chalky paint primer and did several light coats.
Dirty air filters on paint sprayer
 But then THIS happened. Do you know what causes this unusual spray pattern? Dirty air filters that aren’t allowing a good air flow. I switched out my filters and all was better. But while we’re problem solving, let me mention that if you’re having a difficult time getting the paint to spray, it could be that your paint is too cold. When paint is cold, it tends to be thicker. I dilute with warm water when the paint has been stored in the cold garage.
 After the chalky paint primer dried, I did a couple of passes with the semi-gloss paint in the sprayer.
Vaseline distressing technique
 I used the same vaseline distressing technique I used on the farmhouse bench, using a cheap chip brush.
 The Finish Max is perfect for painting over the vaseline. I used a couple of light coats of Polished Pearl, then wiped away the portions that had Vaseline distressing. However, I waited too long and some of it didn’t “reveal” as planned. More on that later.
Using contact paper as a Grateful Thankful Blessed Stencil
 I designed my text in the Silhouette program and used my CAMEO to cut the words out of contact paper. I never use vinyl for stenciling. For this headboard project, I used the font Fontleroy Brown.
 Doing these projects indoors I use my hem guide, but since I didn’t have it outside with me, I used the multi mark tool to get all the pieces placed correctly. If you look really close you will see a slight bubble or raised portion between the s-s-e. I’ll tell you in a minute how I fixed that.
 I hinged the first piece (grateful) at the top with masking tape. The second and third piece I hinged on the left (to remove the contact paper from the backing) I didn’t take a picture of the process, but after I hinged the word thankful on the left, I flipped the entire thing to the left and pulled the backing off toward the right. As opposed to laying the backing down, and pulling the contact paper to the left from the backing. I find that this method works best. It works best for me to cut each word separately in the program because I knew that a 57” piece of contact paper stenciling would be difficult to work with.
I sectioned off each word, and cut them out individually.
 You can see here that the word Blessed is hinged on the left, and is in place. I have already transferred the oodles of the “e”s and still need to put the pieces of the B in place.
 This happens when the contact paper stretches while transferring large pieces. See the circle and the dotted line? I simply used my scissors to make a “slice” then matched up the pieces.
Related Content: Bless the Food Before Us Sign
Paint contact paper stencil
 To prevent bleeding while stenciling, you can dob on the base color of the project. That way if there is bleed, it will be the matching color.
 I always use Martha Stewart Foam Pouncers when I stencil. I used black craft paint.
 Remember when I said I waited too long to wipe away the vaseline distressing? As I pulled the contact paper off the headboard sign, some of the paint came with it, the portion where I had applied the vaseline, but the paint had remained. That made me happy!
Distress new paint with tape
 In addition, I used some of the masking tape to help pull more of that white paint away.
 Using the Kreg Multi Mark tool, I attached super sized d rings for hanging the headboard sign. NOTE: I didn’t paint the back of this headboard sign. That’s very unusual for me, but it’s particle board and remember ??? OH SO HEAVY!
 I drug it to the fence in order to take a picture. To make it easy on myself I sealed it while it was hanging on the fence. This was the best way to prevent any more “chipping”.
Wipe-on poly
 I applied Minwax Wipe-on Poly with a rag. In this close-up you can see the wonderful distressing! I love how it turned out.
This Grateful Thankful Blessed headboard project just might go in my kitchen and replace my Bless The Food Before Us sign. I may or may not put something on the shelf. ![]()

It sums up how I feel these days, Grateful. Thankful. Blessed.
gail
ps I DID hang it in my kitchen and I love it! Maybe you spied it in the background of my Vintage Suitcase Makeover post.
UPDATE:
After a year, the poly sealer yellowed. I loved this sign and didn’t want to ditch it, so I got busy trying to figure out what I could do to save it without messing up the words.
Project ideas and a video of “how to glaze painted furniture and more”

I did a light wiping using a rag and some lacquer thinner. After it dried, I used my favorite smoked glaze as a topcoat. In this image, it doesn’t look like it was going to work, but it did! I just forgot to take a final picture.
Watch my video of How To Glaze Painted Furniture

I took it to Glendale 2017 and priced it a little high, knowing if it didn’t sell I would bring it back home and hang it in my kitchen. It sold. I really liked it white, but I love, love, love it with the gray glaze on it.
Thanks Randi! I struggle with fonts, but this one sort of spoke to me. I have done tutorials about contact paper, but honestly every single roll can vary. I buy the woodgrain at wal-mart. I bought some on Amazon and it is totally different. It will still work, but I stick with the same kind for as long as I can so I don’t have to keep switching settings. Currently I cut the 18″ roll all the way down the middle (for my portrait) I cut at a thickness of 2, with the blade set at 1. Try this on a small project, the adjust accordingly. (no mat)
Here’s a post on it. https://www.myrepurposedlife.com/porch-sign/
and one more https://www.myrepurposedlife.com/repurposed-pallet-coffee-cup-rack/ (it says blade 2 and thickness 4) It depends on how new my blade is. I have a new one in my portrait right now. It’s all about trial and error and finding out what works for you.
lastly, I have NEVER had any luck using the dollar stuff. It’s too thin. I pay less than $6 for a roll and get TWO full rolls from the contact paper.
hope this helps! If you still have questions, I’m here!
gail