backyard shed makeover
As an Amazon Associate, I earn from qualifying purchases.

Hello! I’m Melodye from ShabbyGlam.

I am in the process of creating my dream backyard. Phase one is now complete: The backyard Shed Makeover! I’m excited to share with you the steps I took to take a hideous old white aluminum shed and turn it into a charming focal point of my salvage-chic backyard.


Here’s the pitiful “before” picture…but I saw potential!
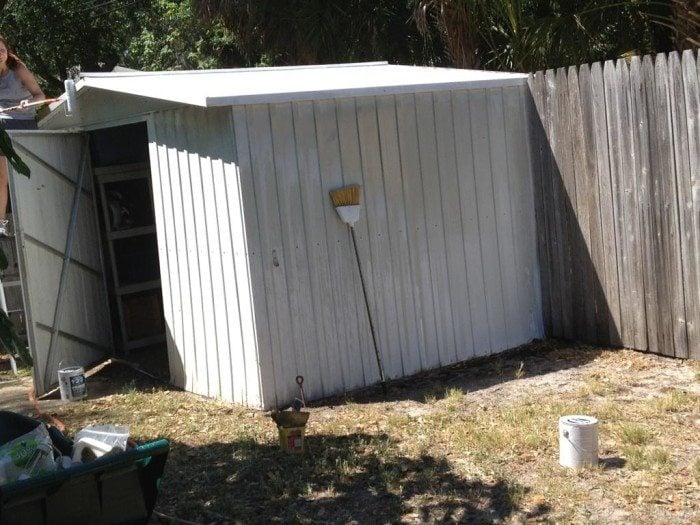 Shed before paint – So UGLY!
a) CLEAN: My energizer bunny daughter (age 13) and I scrubbed down the shed with DAP T.S.P Substitute heavy-duty cleaner and a roofing brush. This stripped the loose chalky old paint off the shed to prepare for primer.
c) PAINT: Then we put two coats of paint on the shed, including the roof. We used a flat paint for the green walls and a satin finish paint for the red door. I painted the edge of the roof brown, but hated it and changed that color to periwinkle blue.
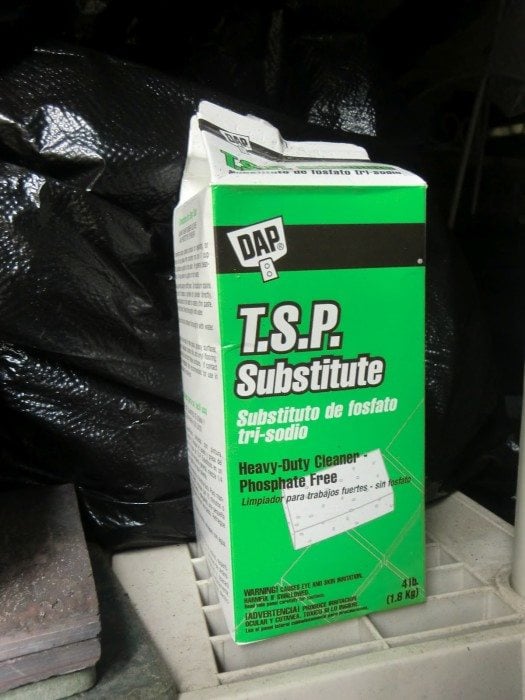
Cleaned the shed of loos paint with T.S.P.
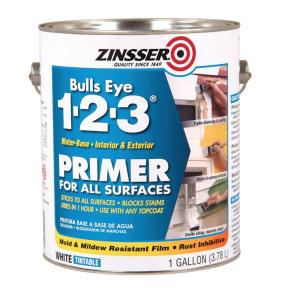 Primed the shed with Zinsser
Step 2: Add Roof Trim & Frame the Door. The brown aluminum roof fascia looked insubstantial and boring so my husband offered to add wooden trim! I painted furring strips ($1.15 per 10 food board…such a bargain!) in a fabulous periwinkle blue, and we (he) mounted them to the aluminum fascia.
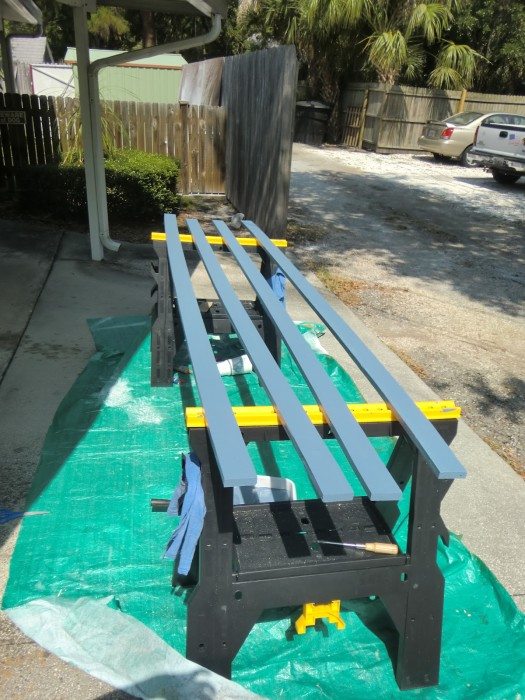 Painted the firring strips to use as trim for the new shed.
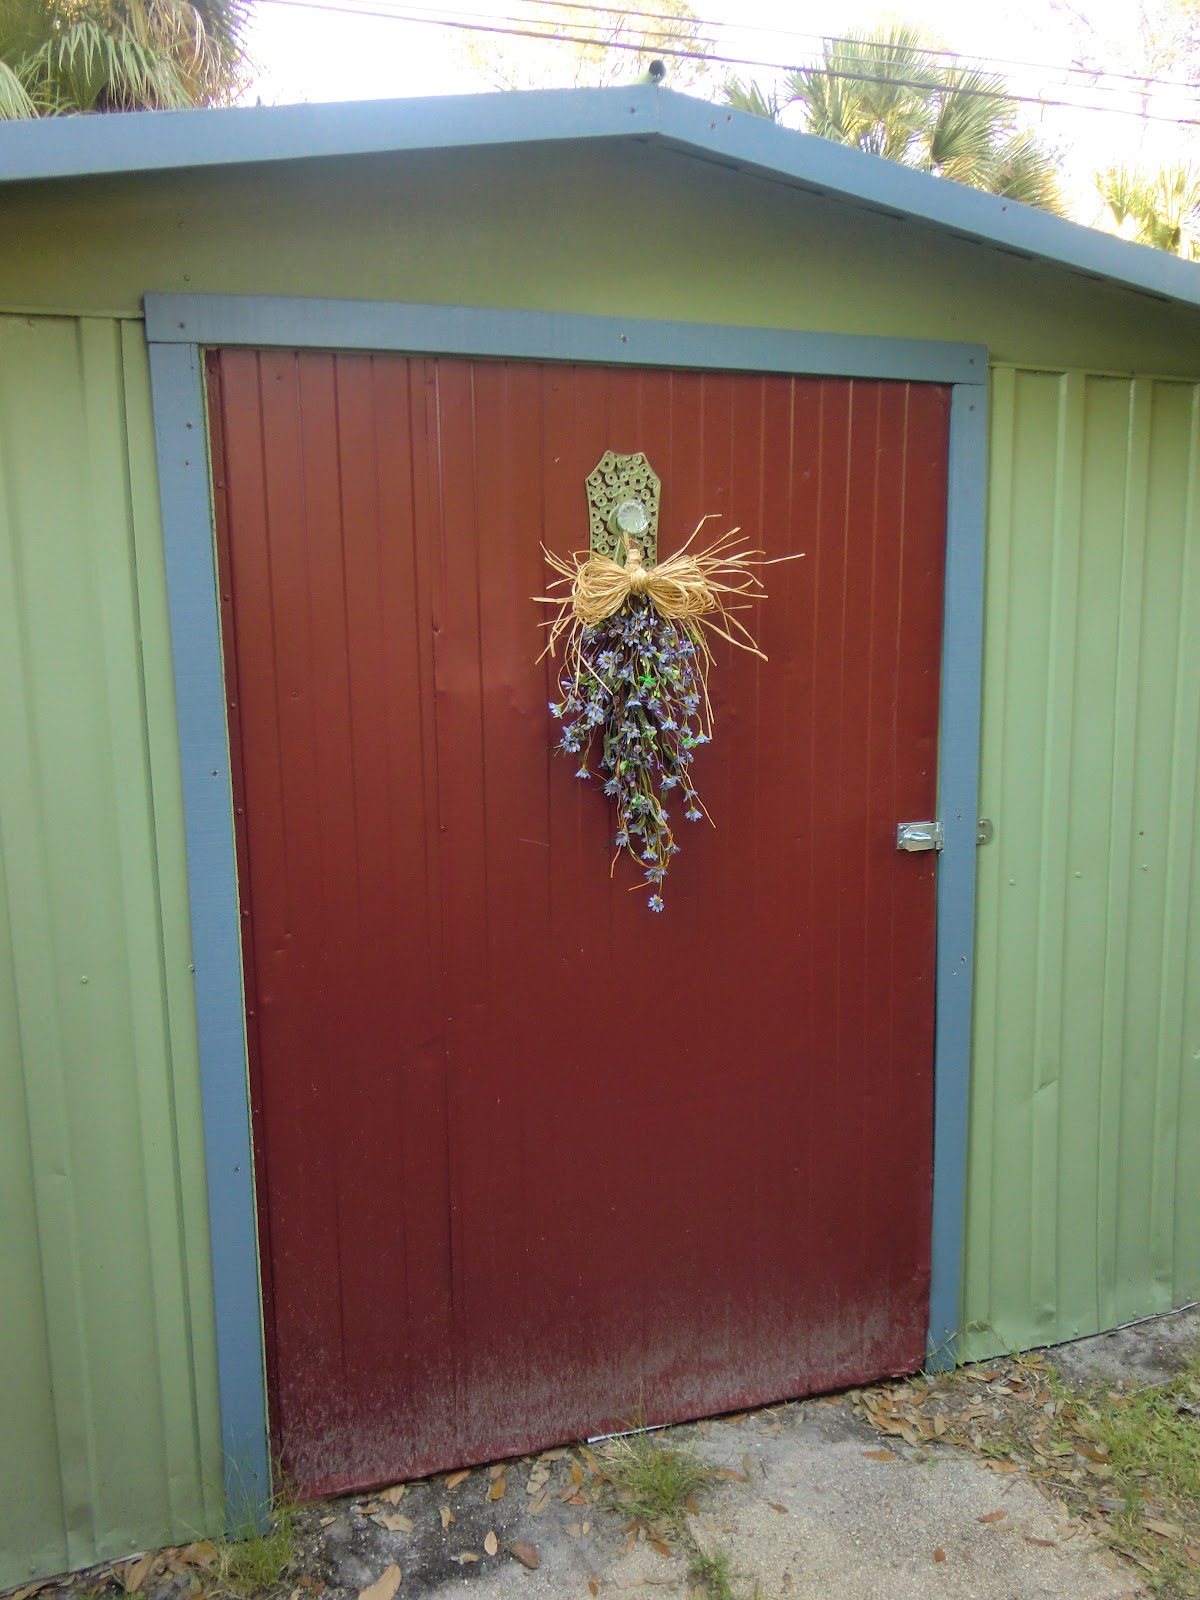
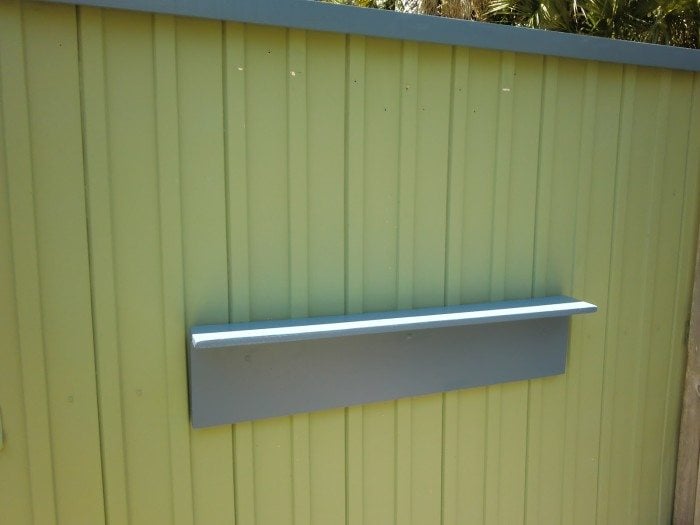
 We mounted the L-brackets behind the board to hide them.
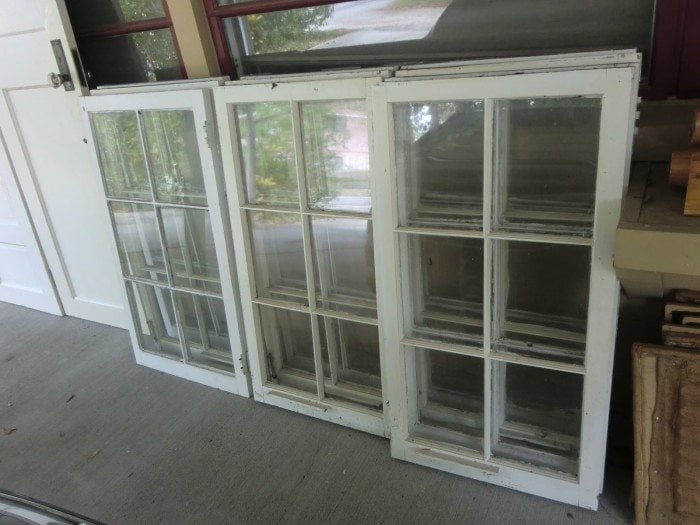
Step 4: Vintage Window Painted: I found these fabulous vintage windows on Craig’s list for $5 each! (I know all you repurposers out there are totally jealous!). I took one of the windows and cleaned it with DAP’s T.S.P. Substitute mentioned above, sanded it, then painted it blue to match the shed trim.
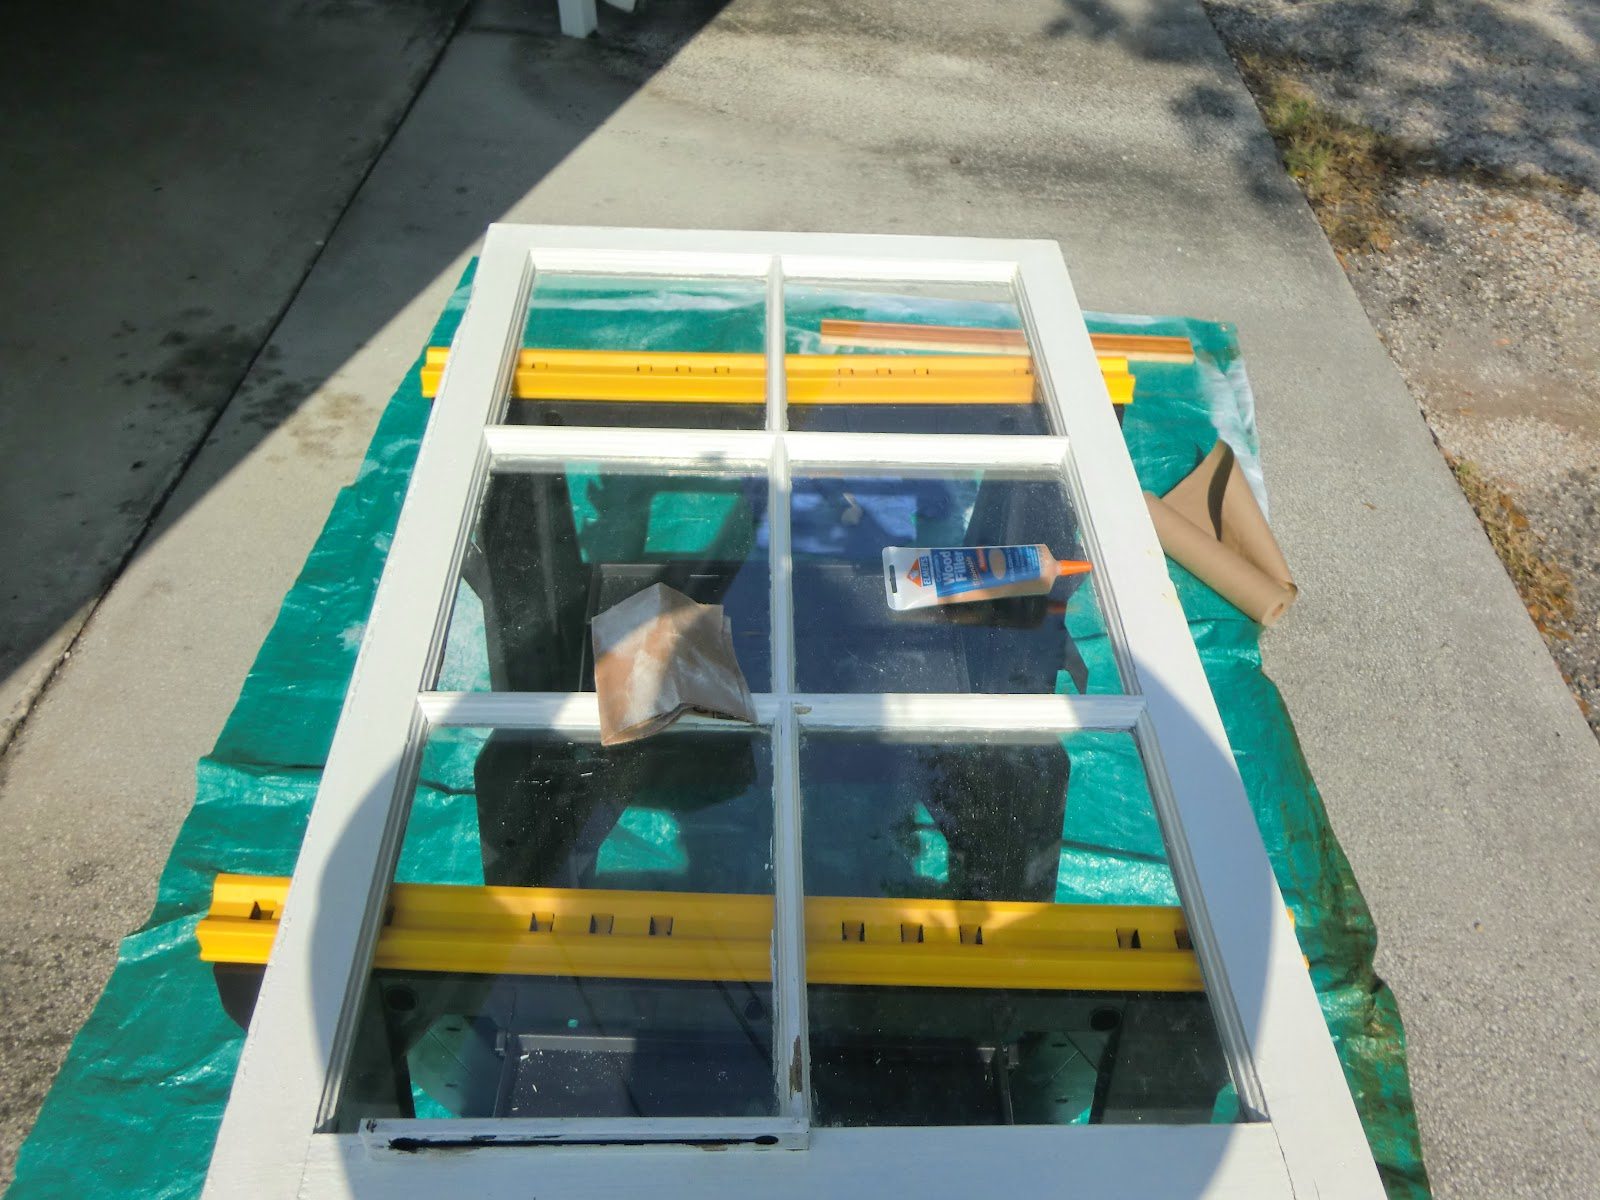 Scrubbed clean with TSP Substitute, then sanded them down to prep for paint.
 Painted the window Periwinkle Blue
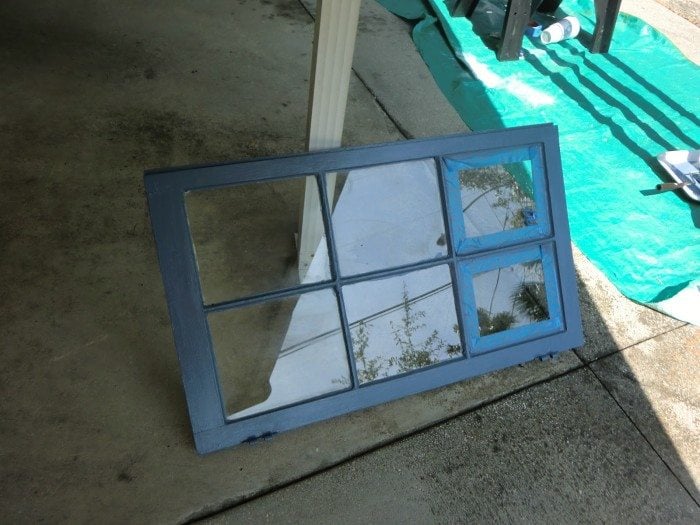
Step 5: Vintage Window turned into a Mirror! My son had a great idea! He suggested that the window would look better as a mirror. Roeshel at The DIY Club did a similar vintage window turned mirror project using Krylon Looking Glass Mirror-Like Paint. I followed her lead, and it worked like a charm! I masked and taped off areas not to be painted.
Next, I sprayed about 5 light coats of Looking Glass, allowing it to dry 1 minute between coats (as recommended on the can). Because my new mirror was going outside, I sprayed an Rustoleum Outdoor Metalic Finish over the Looking Glass paint to seal it. Next, I mounted it on the shed.
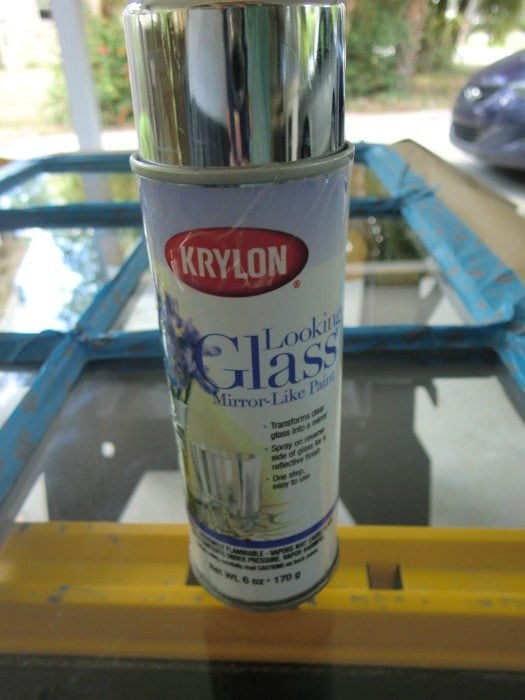 Krylon Looking Glass Spray Paint – creates a reflective surface that looks like a vintage mirror!
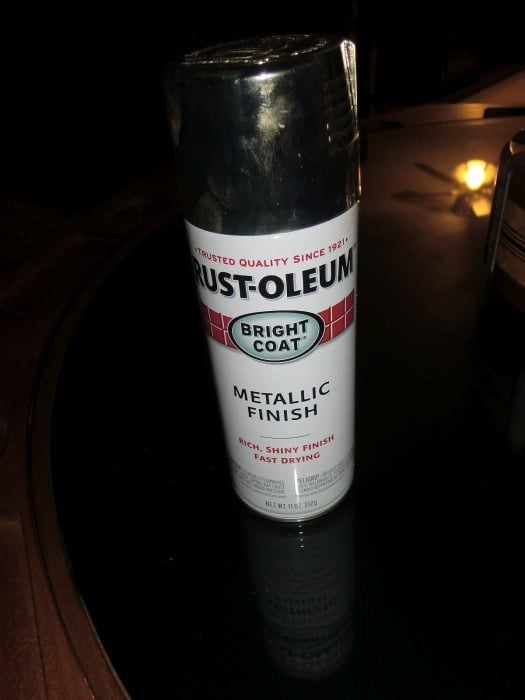 Sprayed Rust-oleum Outdoor Metallic Finish over the Looking Glass Paint to seal it for Outdoor use.
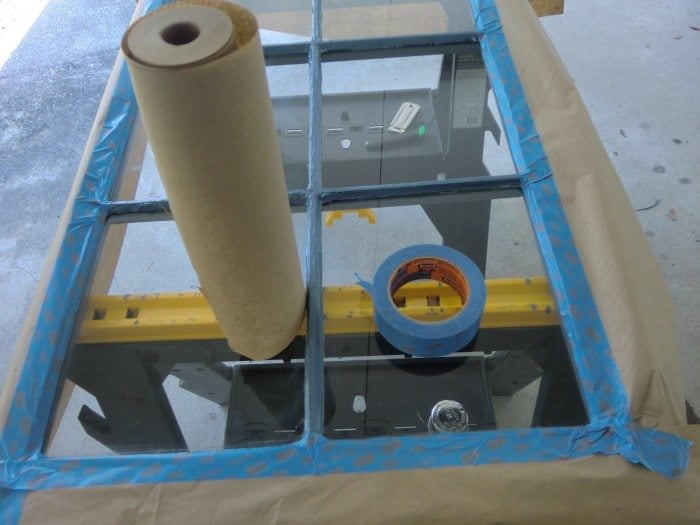
Step 6: Added outdoor faucet handles: Don’t these make great hooks for my garden tools?
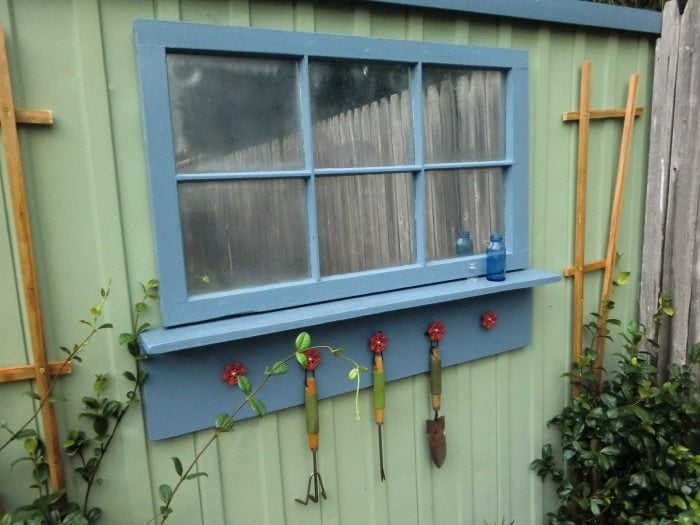
Step 7: Mount trellis & landscape: We took a fan trellis and cut it in half to mount on either side of the window. We planted jasmine vines and flowers, and voila!
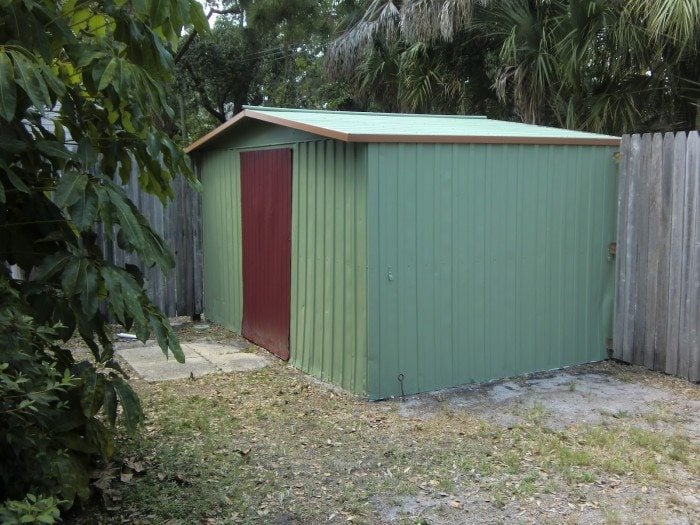
 Finished Shed Makeover!
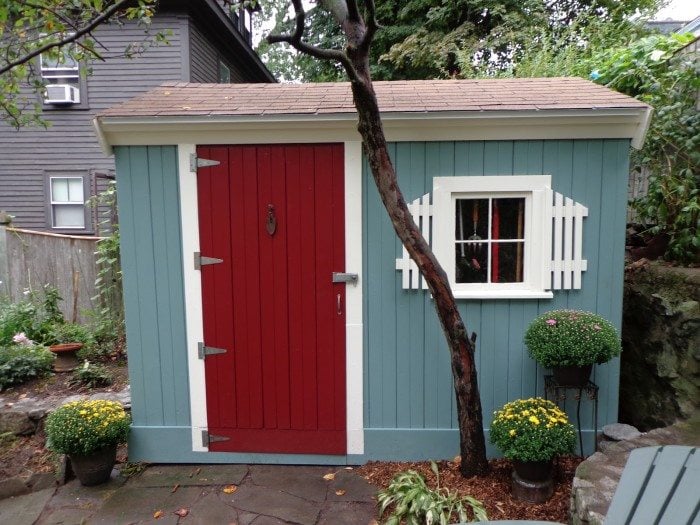

Wow, awesome job! Gives me some great ideas for my backyard shed.
Lynne–thanks for stopping by and taking the time to leave a comment!!
Love the redo! Gave me some great ideas for my shed.
That is amazing!
Melodye, what a great transformation! I would change the color of the door, though. Something punchier, like the base and trim colors.
Melodye, what a transformation! I know that was fun, seeing it change so much. You all did a great job! Ann
Looks freat! Wish I could pin this. If there’s some way to do it, would you please email me? Thanks.
Cashel19162yahoo.com
So when do we see you on HGTV’s “Design Star”? — Scott & MaryAnn Sheppard
Hi Melodye,
beautifully done! You don’t really need much to transform something into a real gem. All you need is paint, some ideas and dedication ♡
Also, congrats on your new path to becoming an awesome blogger which you actually already are 🙂
Hope to see more from you,
Franziska
@FlavorDesigns.com
Renewable Lifestyle
Thank you all for the wonderful comments about my Shed Makeover. I’m a new blogger and this is my first-ever guest post anywhere. I really appreciate the encouragement! Thanks to Gail for allowing me this priviledge!
WOW…love the makeover…looks inviting enough to set up housekeeping in. Fantastic job!