Half Moon Table Makeover
As an Amazon Associate, I earn from qualifying purchases.

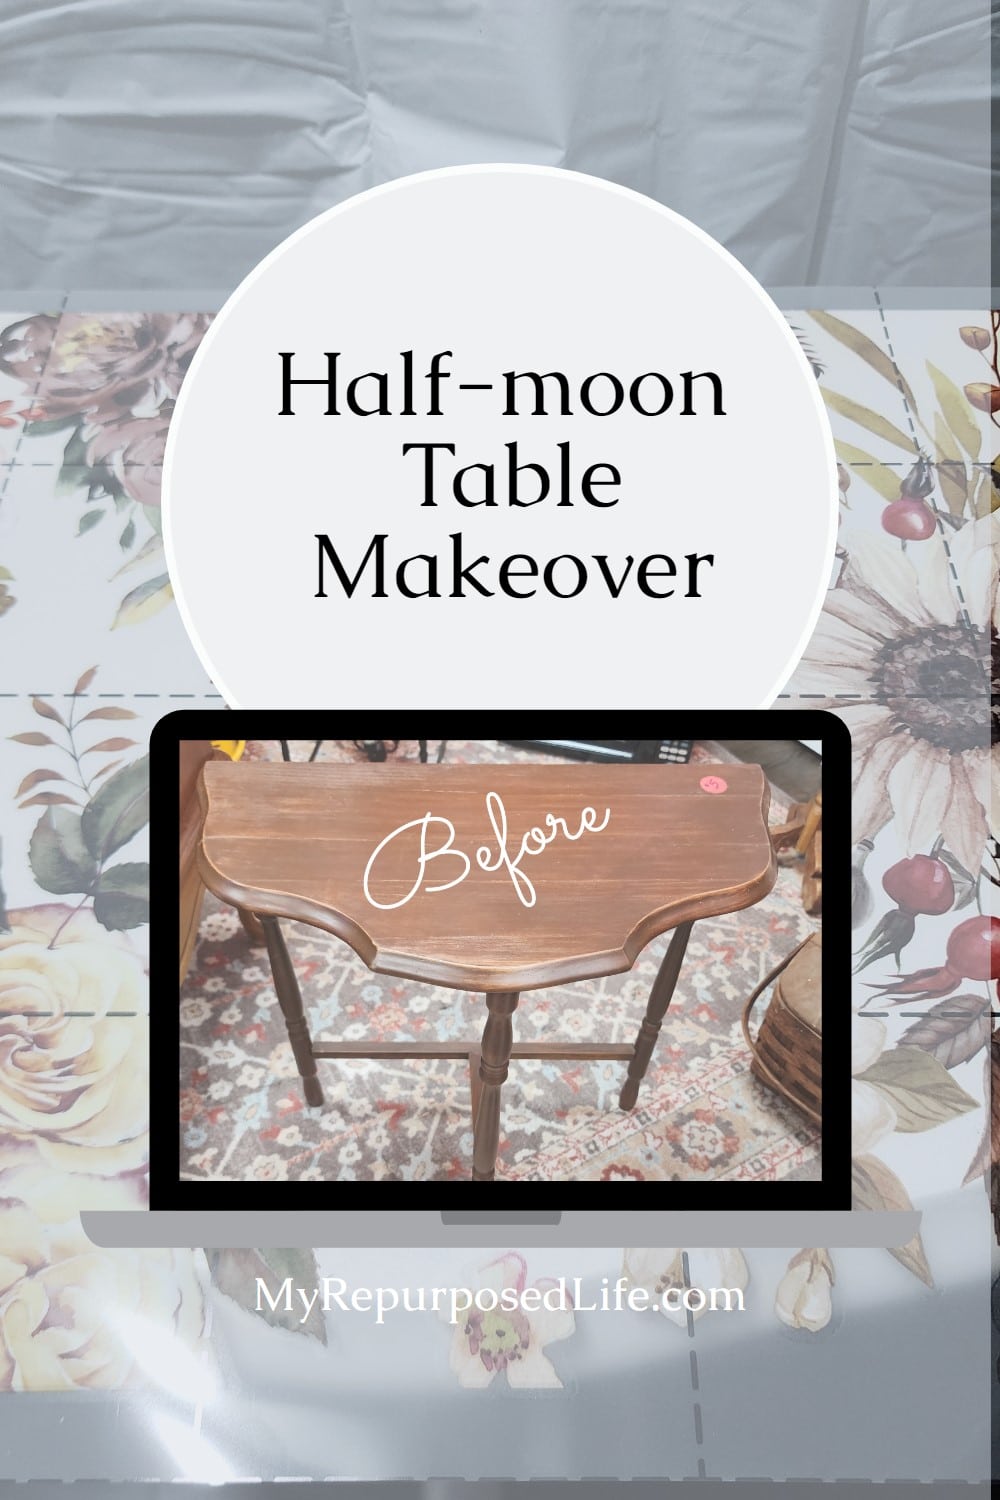
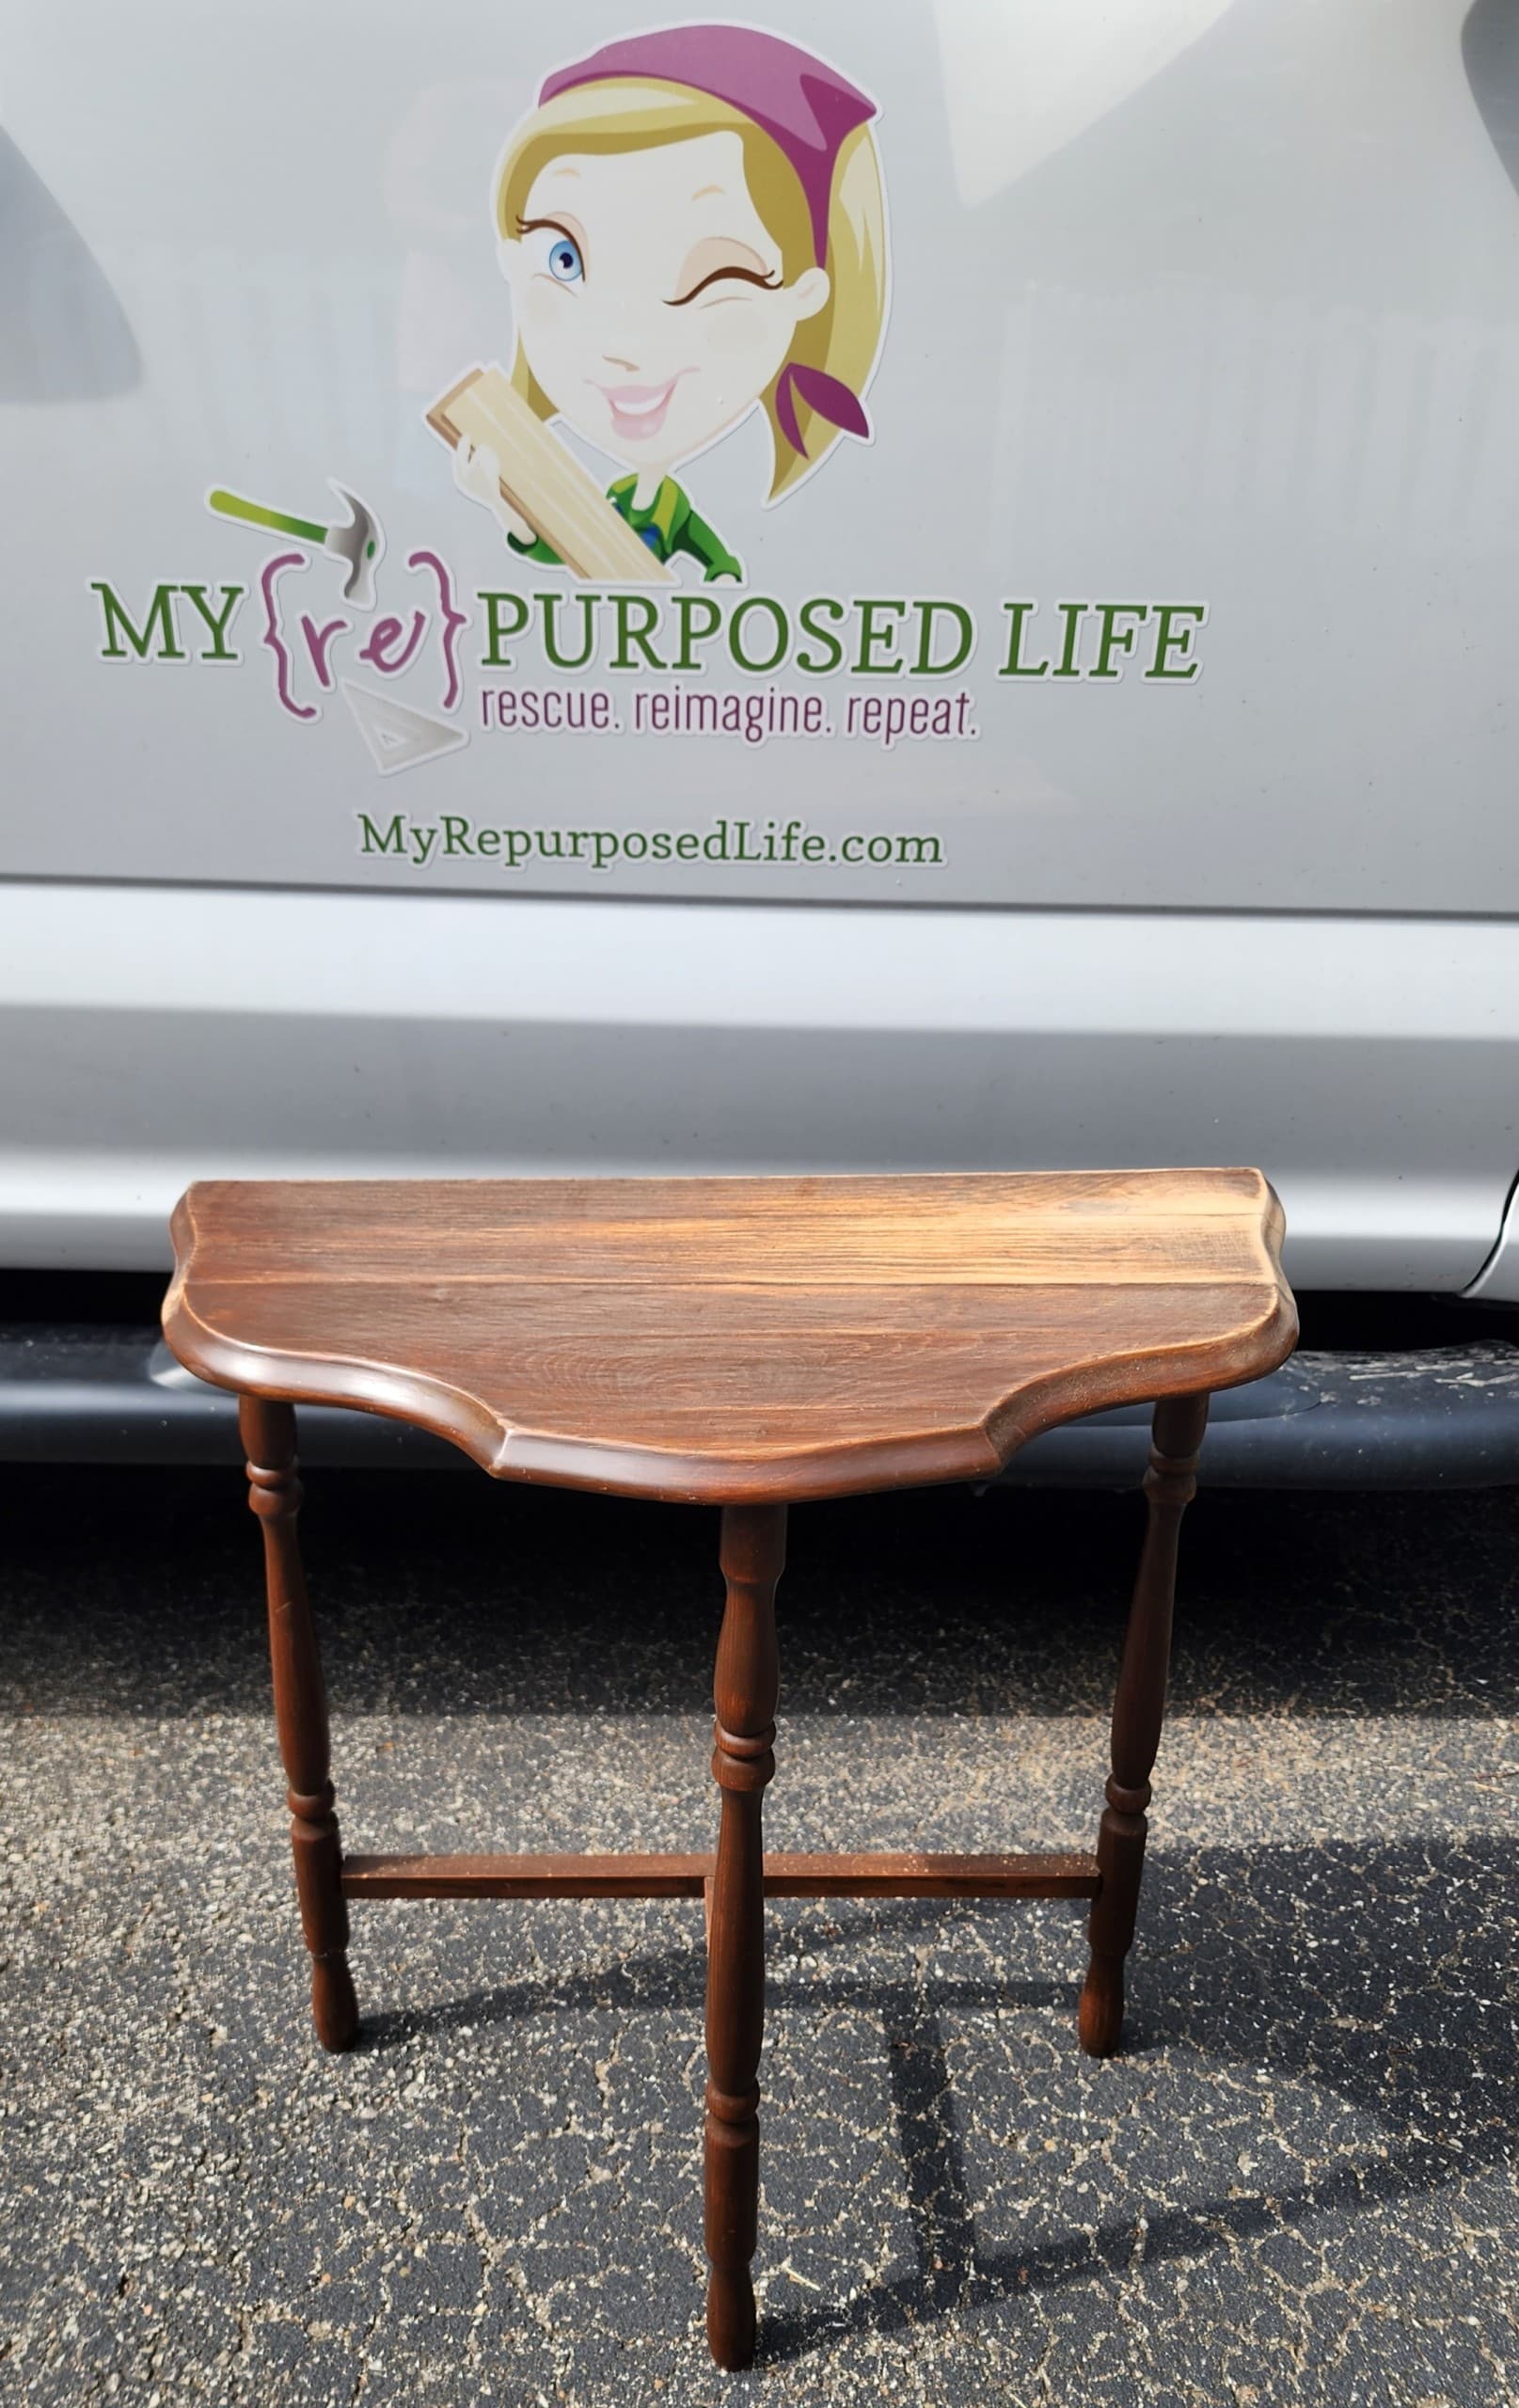
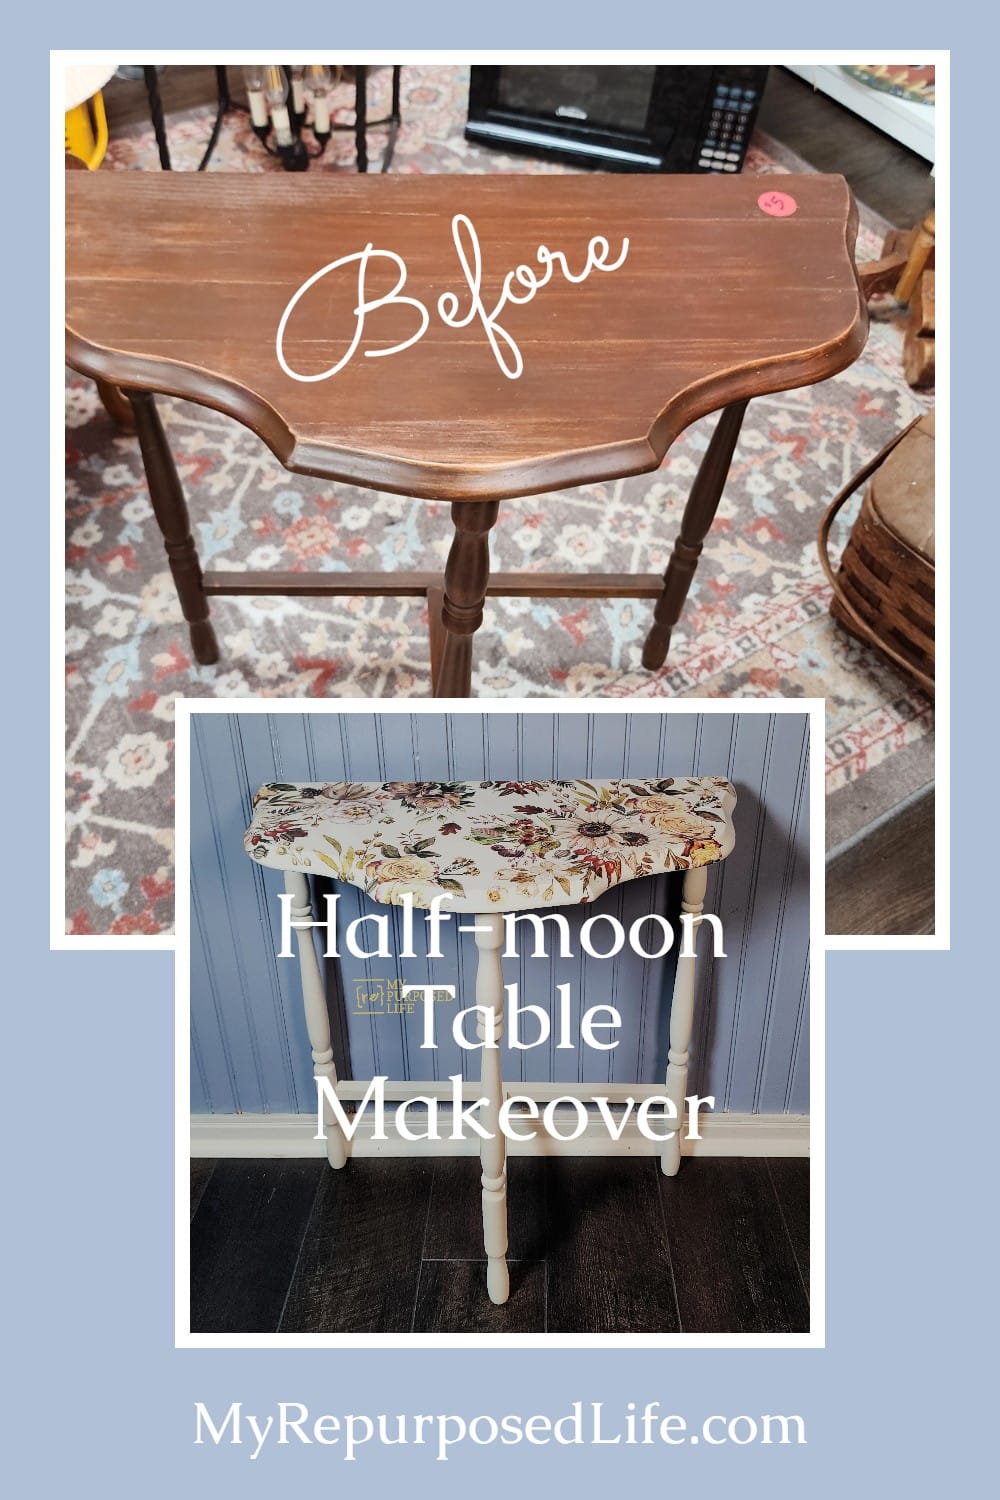
This petite half-moon table makeover, using paint and a furniture transfer, is my contribution to this month’s Furniture Fixer Upper project.
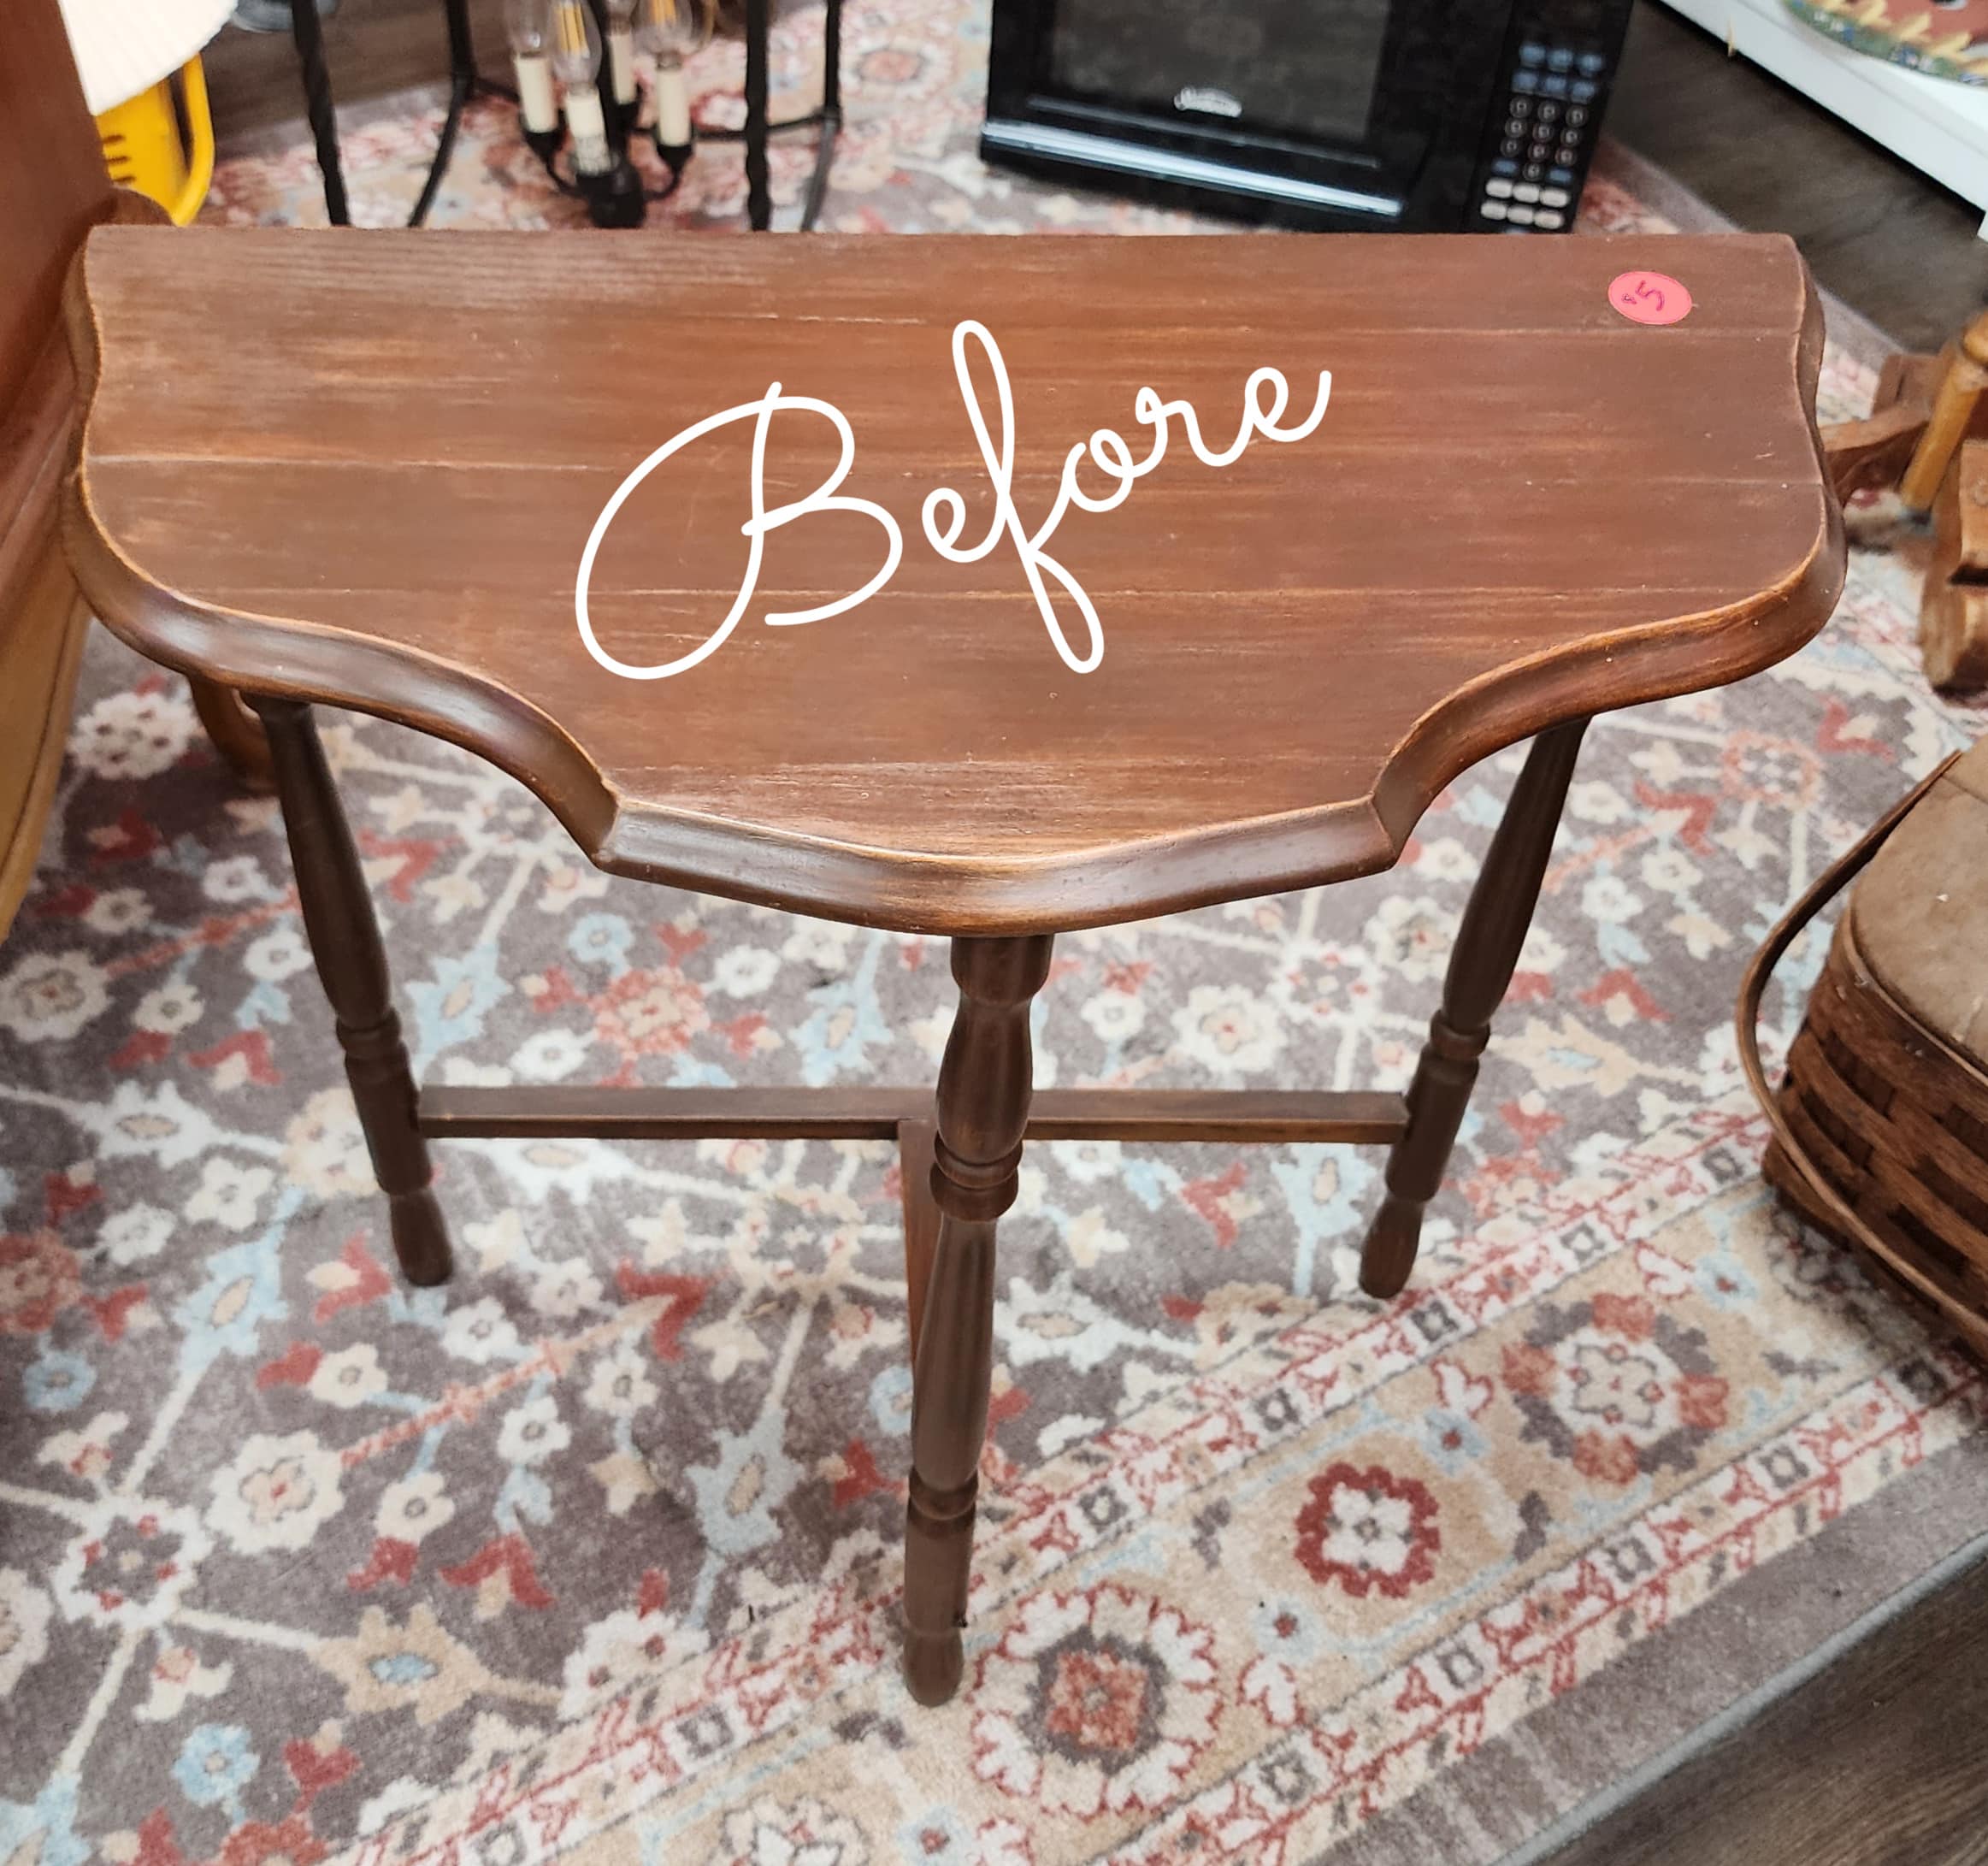
A new thrift store has opened near me, and although it’s small, its deals are big! This little table was only $5, and the vintage picnic basket to the right was a bargain at $2.
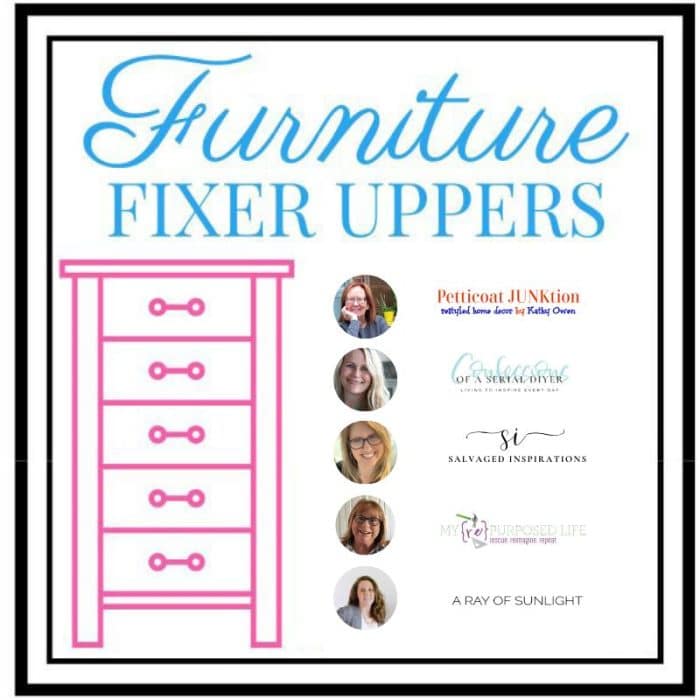
It’s Furniture Fixer Upper Tour Day! Be sure to visit my friends’ projects at the bottom of this post.
Prep Half Moon Table for its Makeover
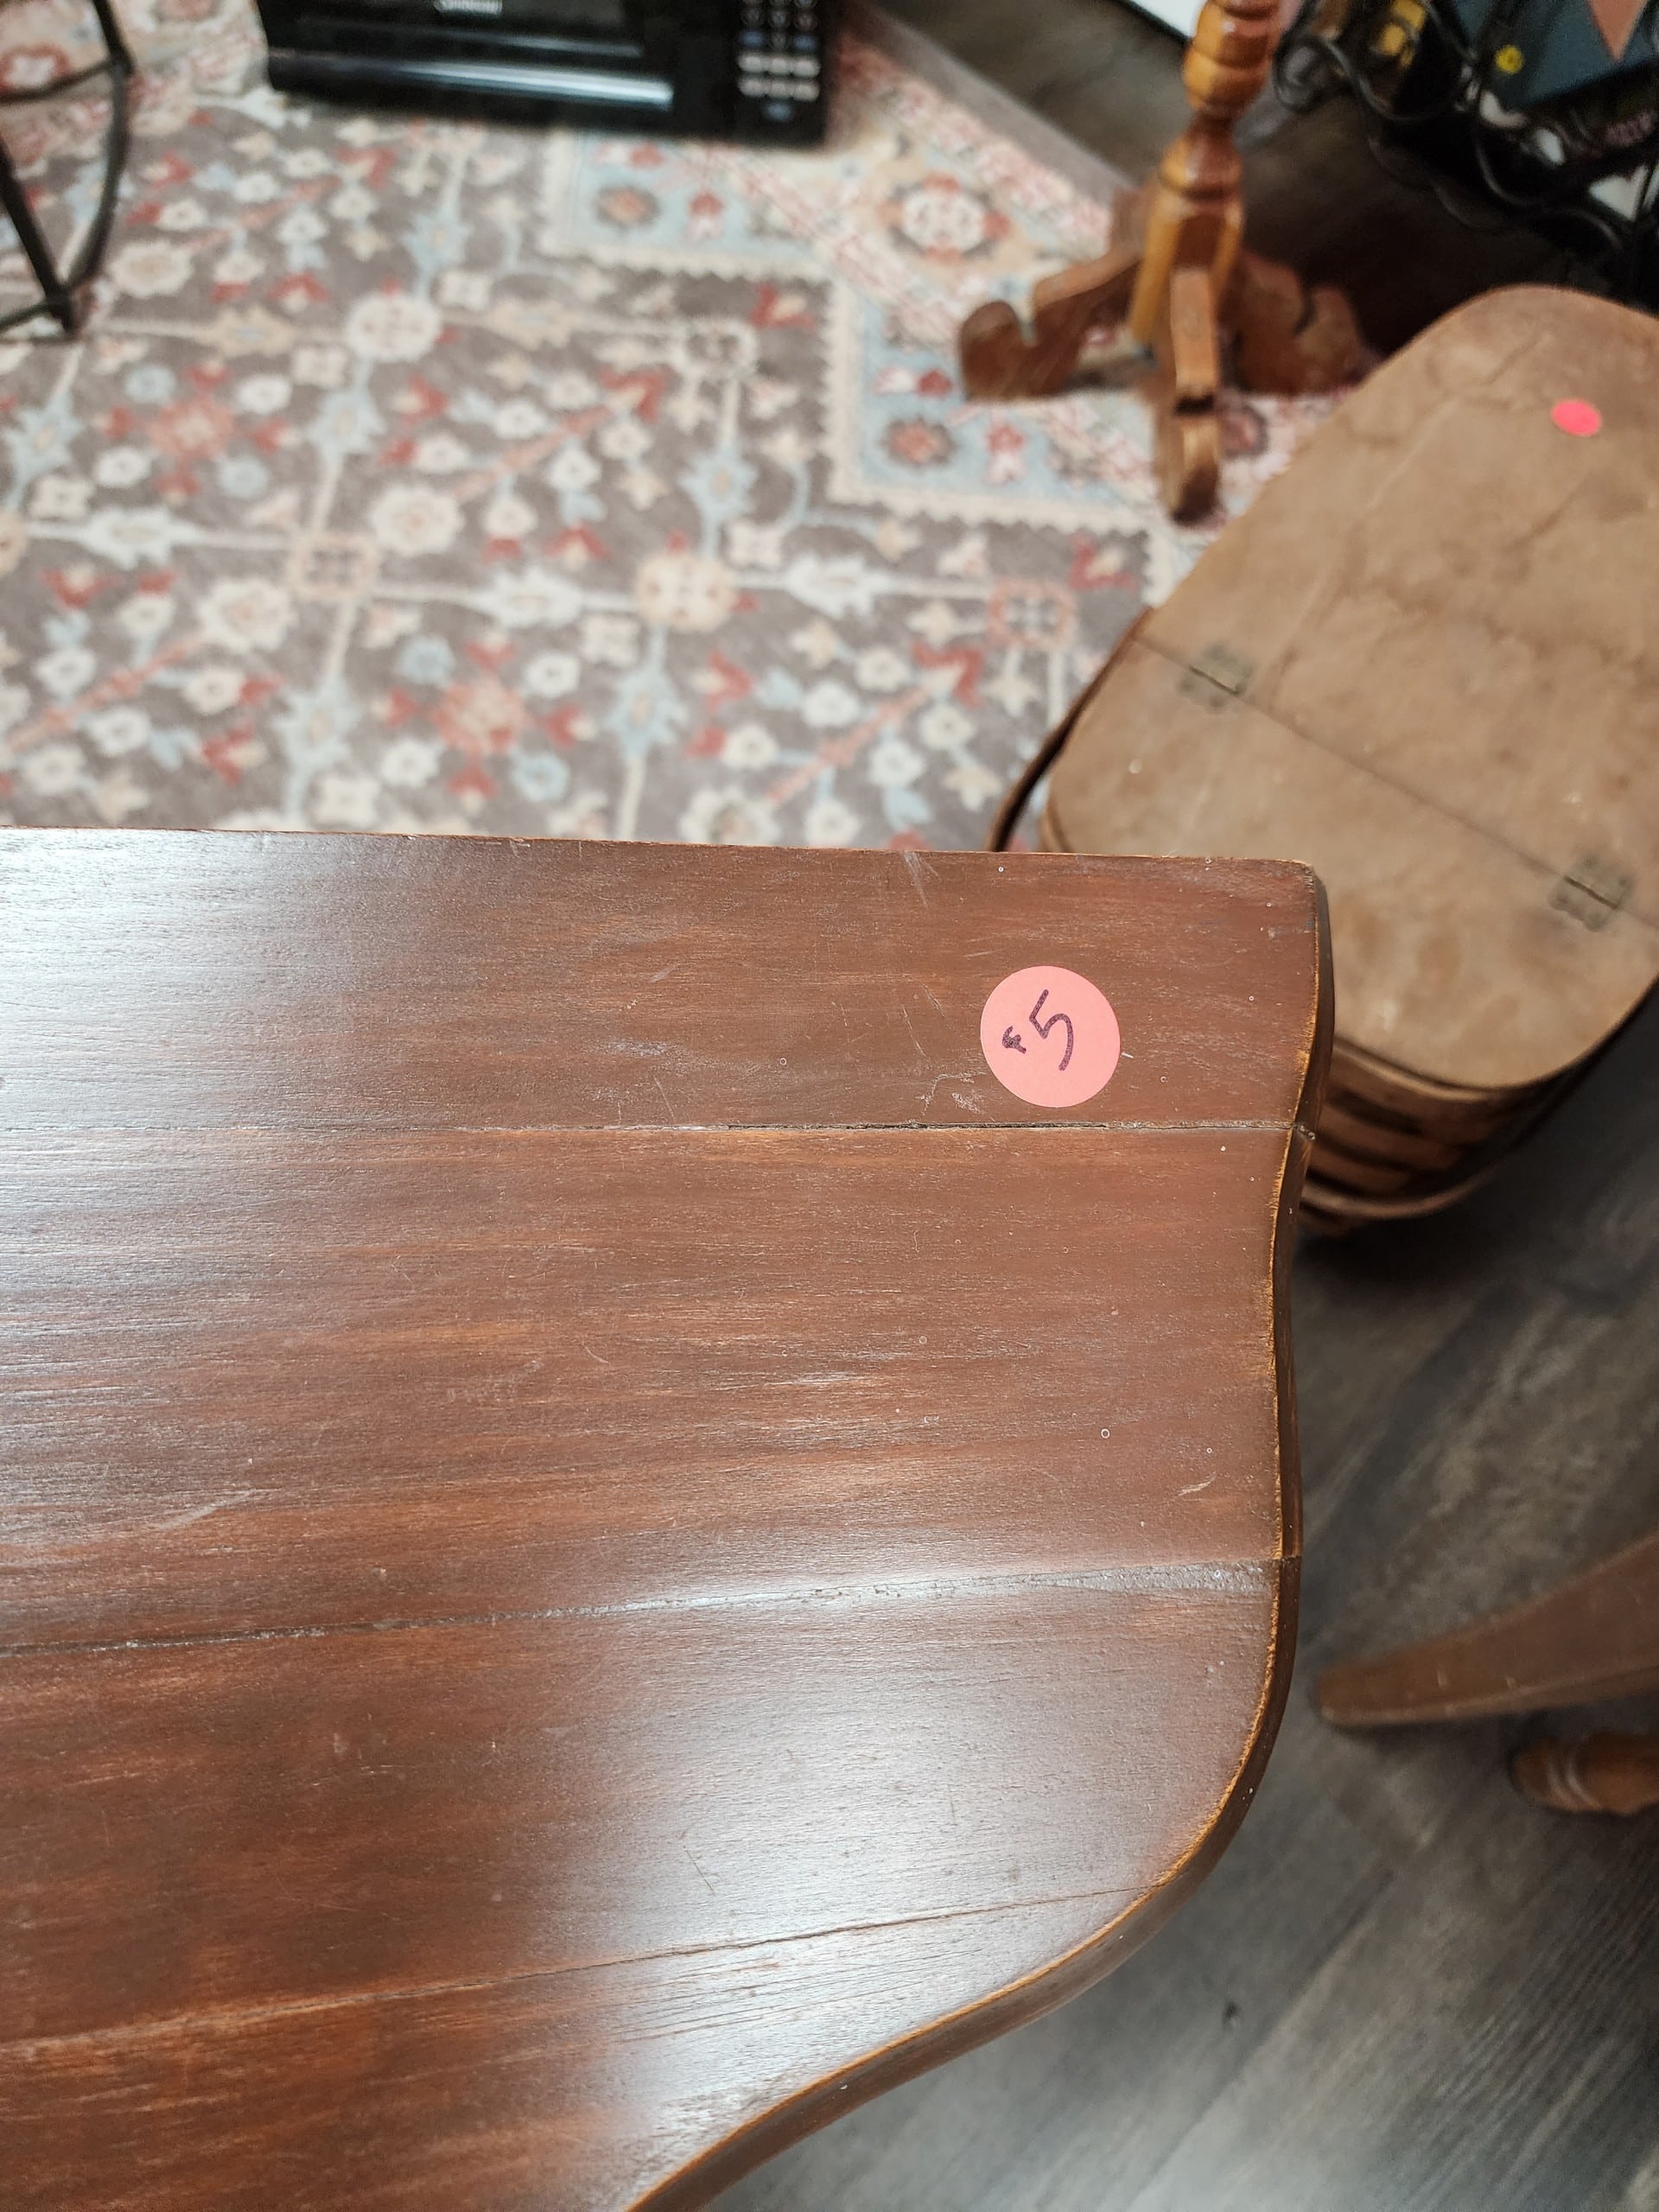
The joints of the small table needed some love. Someone had recently painted the table, which was in pretty good shape—well worth the $5 price tag.
I sanded the top left of the tabletop and a little on each side to smooth the separated joints and make them less noticeable.
How to Easily Clean Furniture for Painting
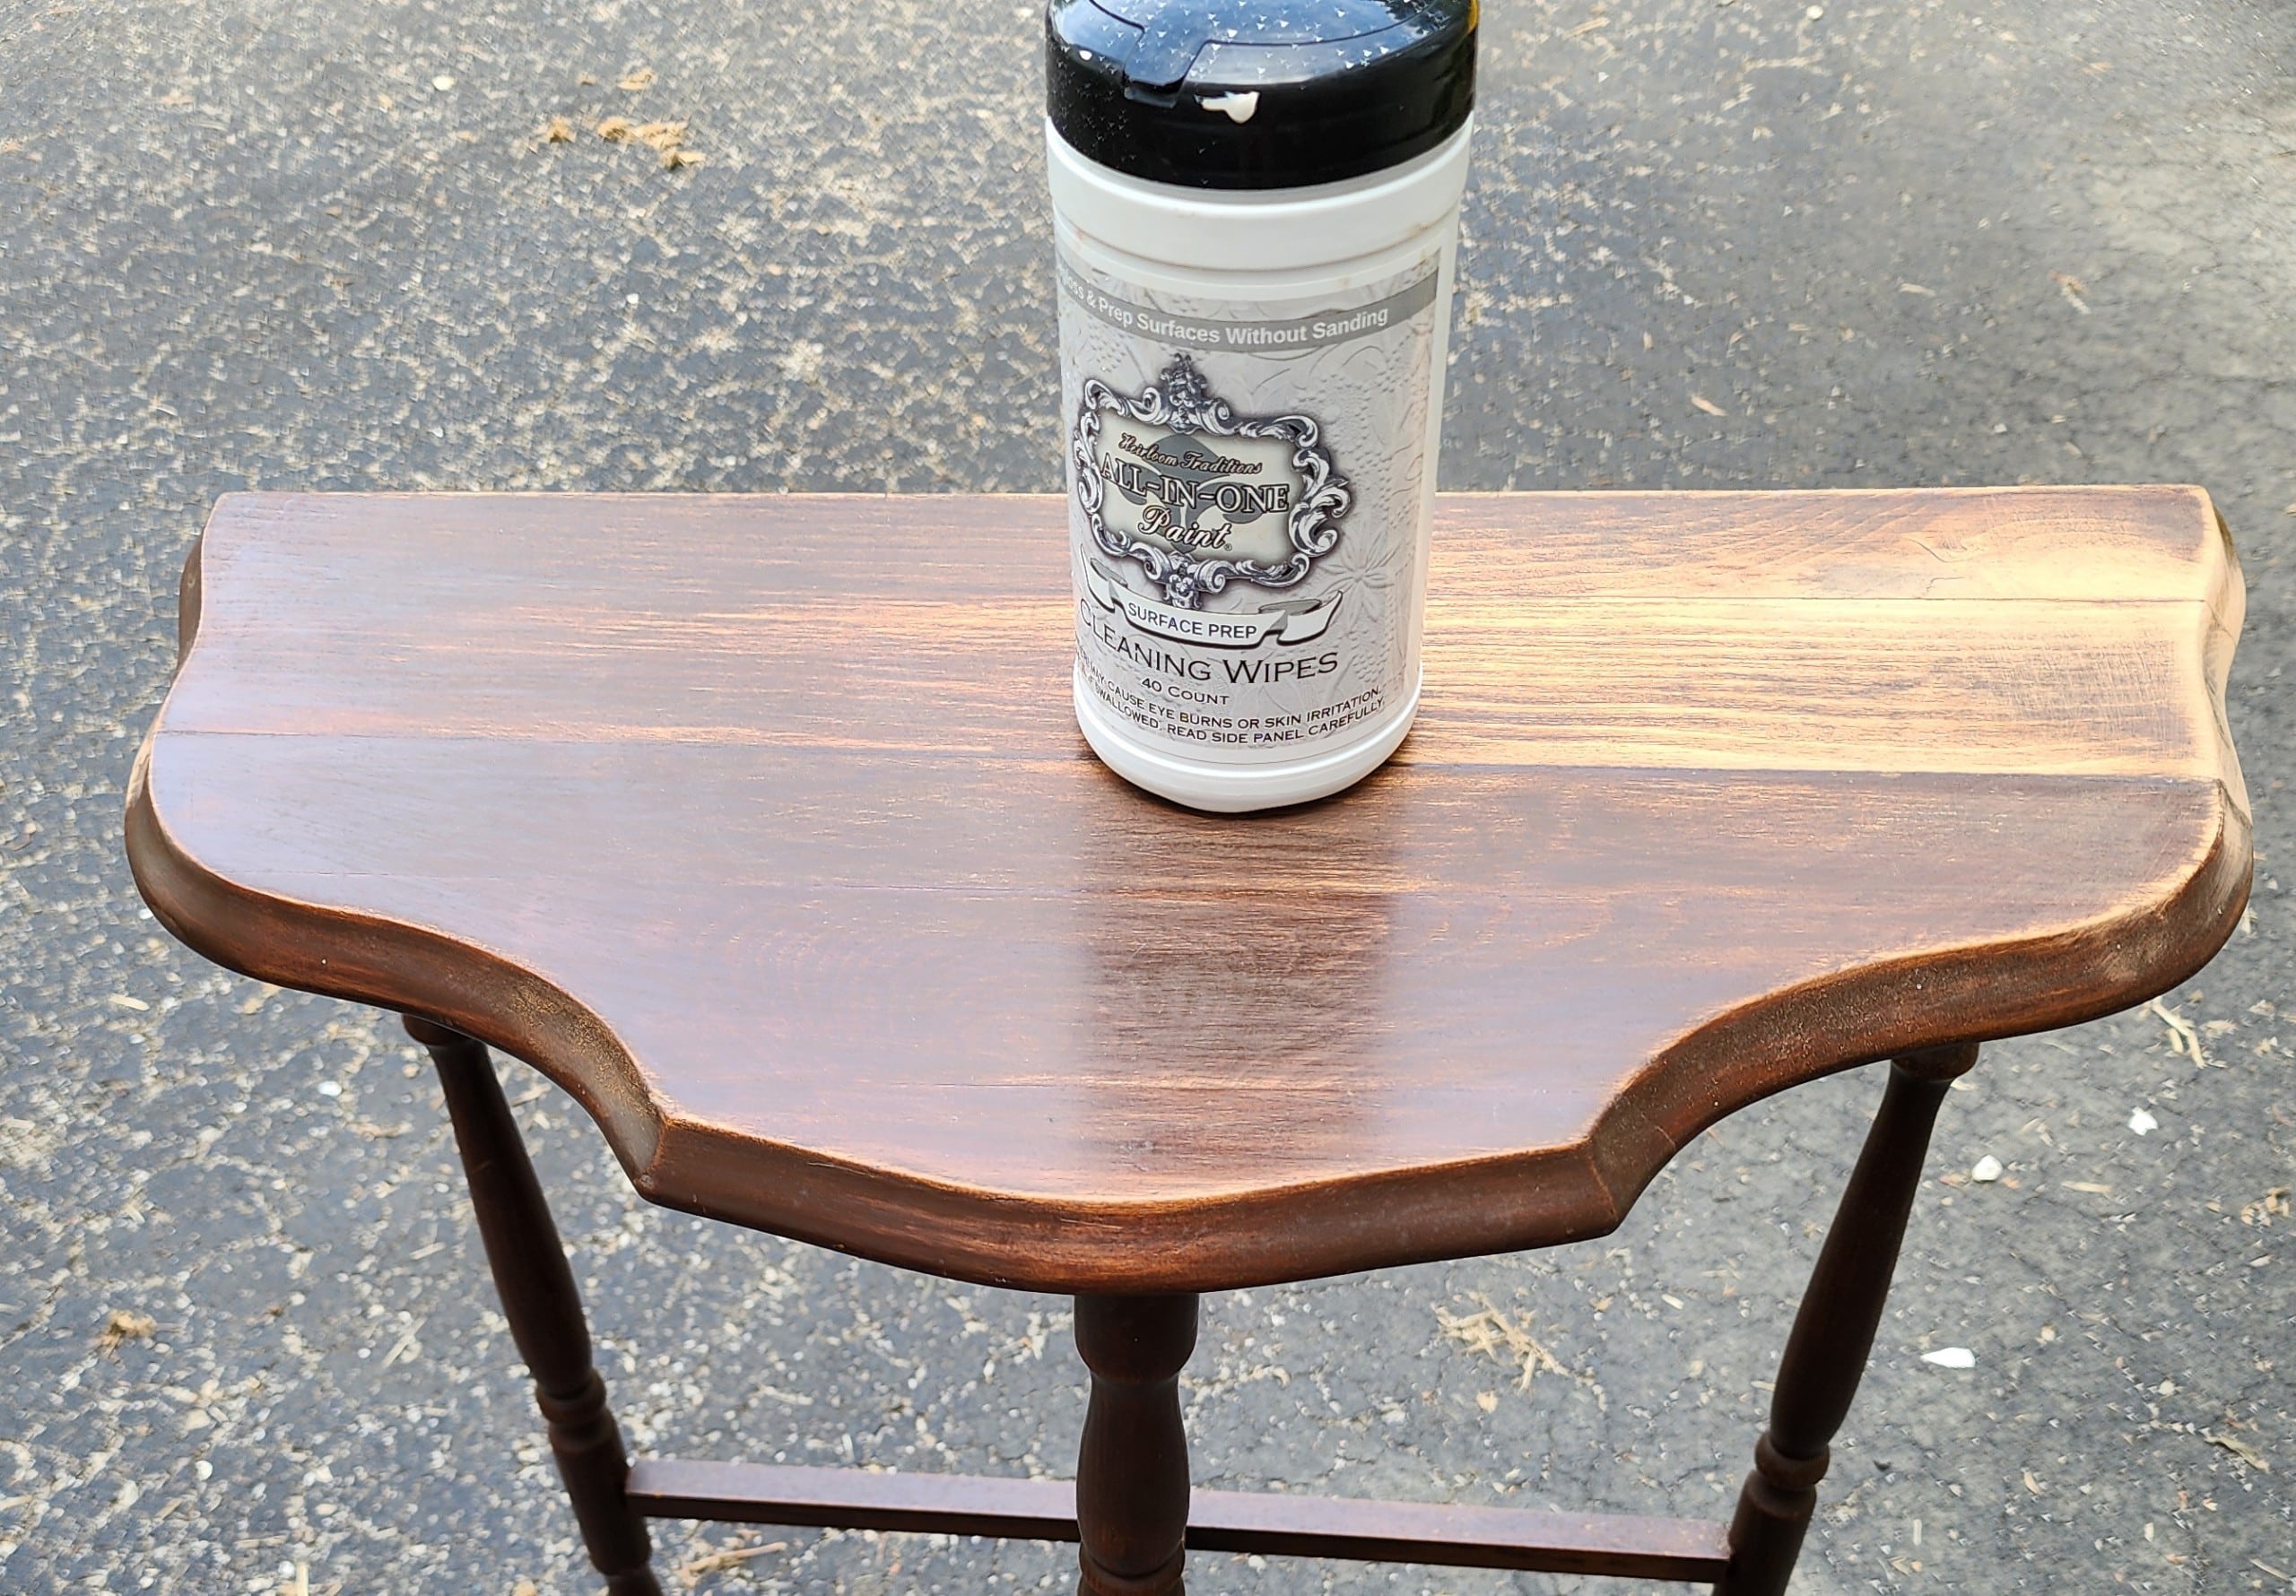
Heirloom Traditions All-in-one Paint has two options for surface prep. For this easy makeover, I chose to use cleaning wipes.
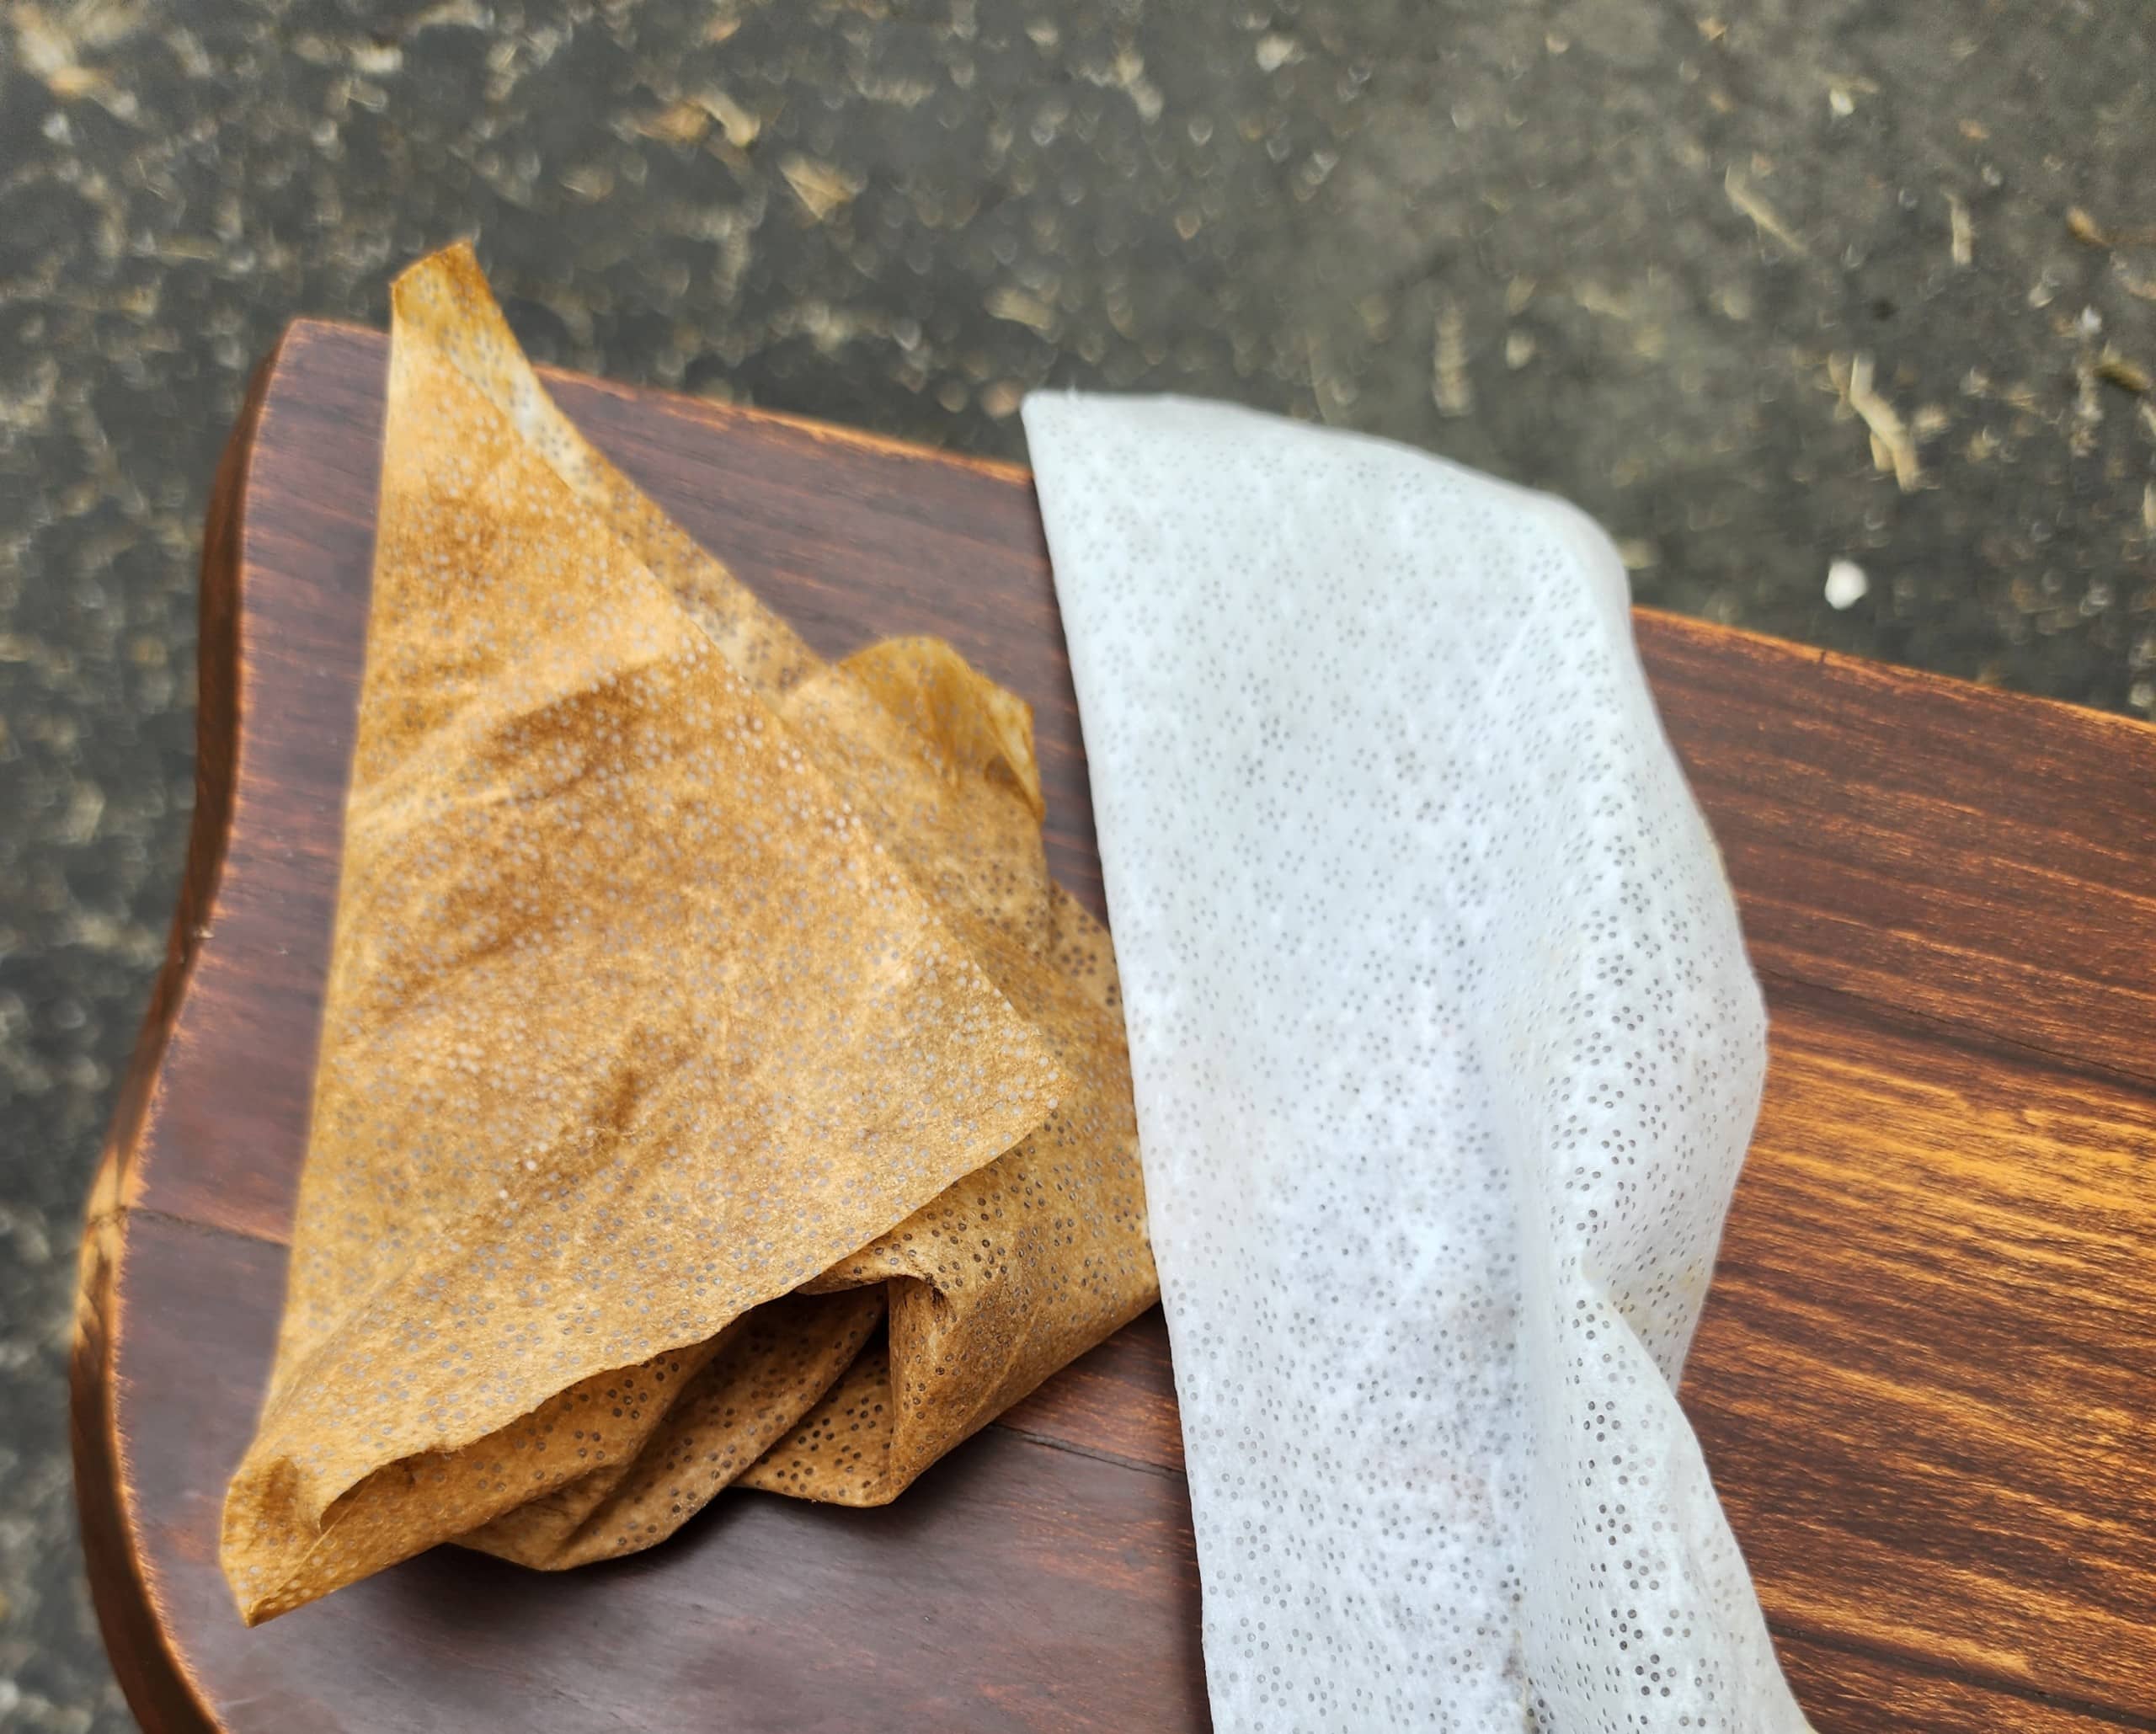
It was difficult to tell if the wipe was removing grime or some of the paint on the half-moon table.
Painting the Half Moon Table
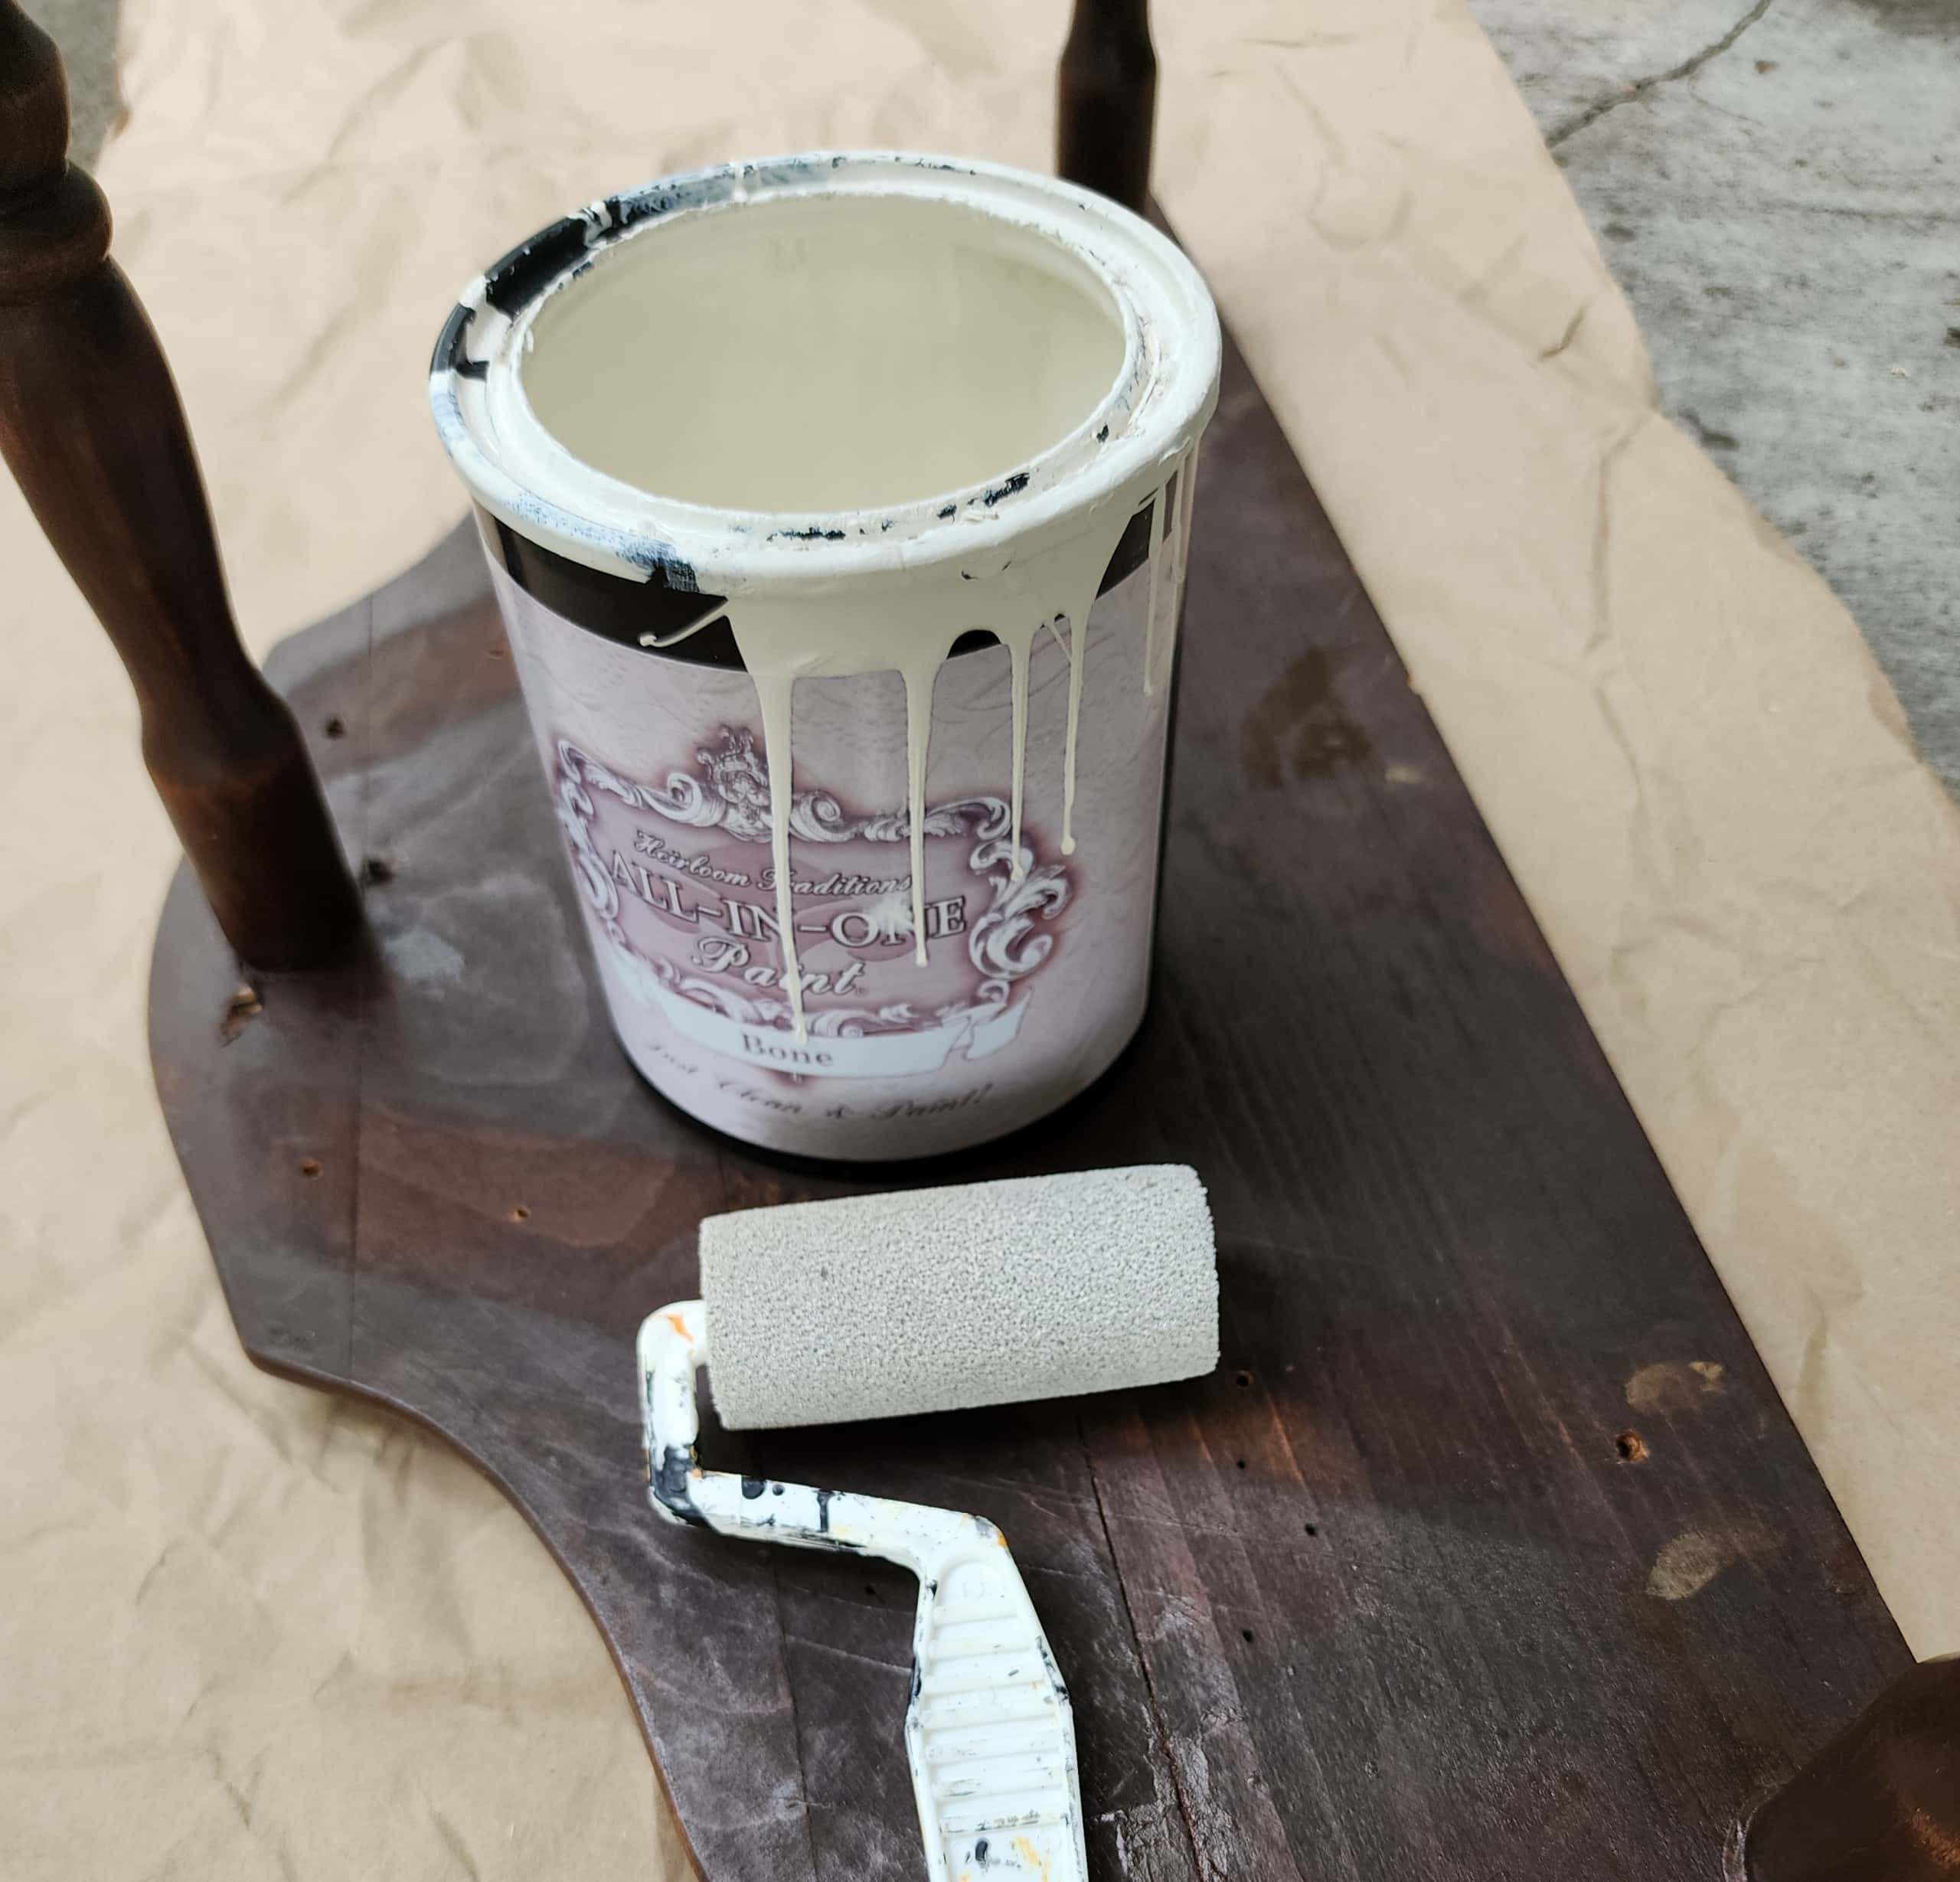
The paint for this project was Bone from All-in-One Paint. I prefer these small paint rollers for 90% of my furniture projects.
Tip: Remember to paint the underside of your table project. If you’re flipping furniture, you may consider adding a message for the future owner.
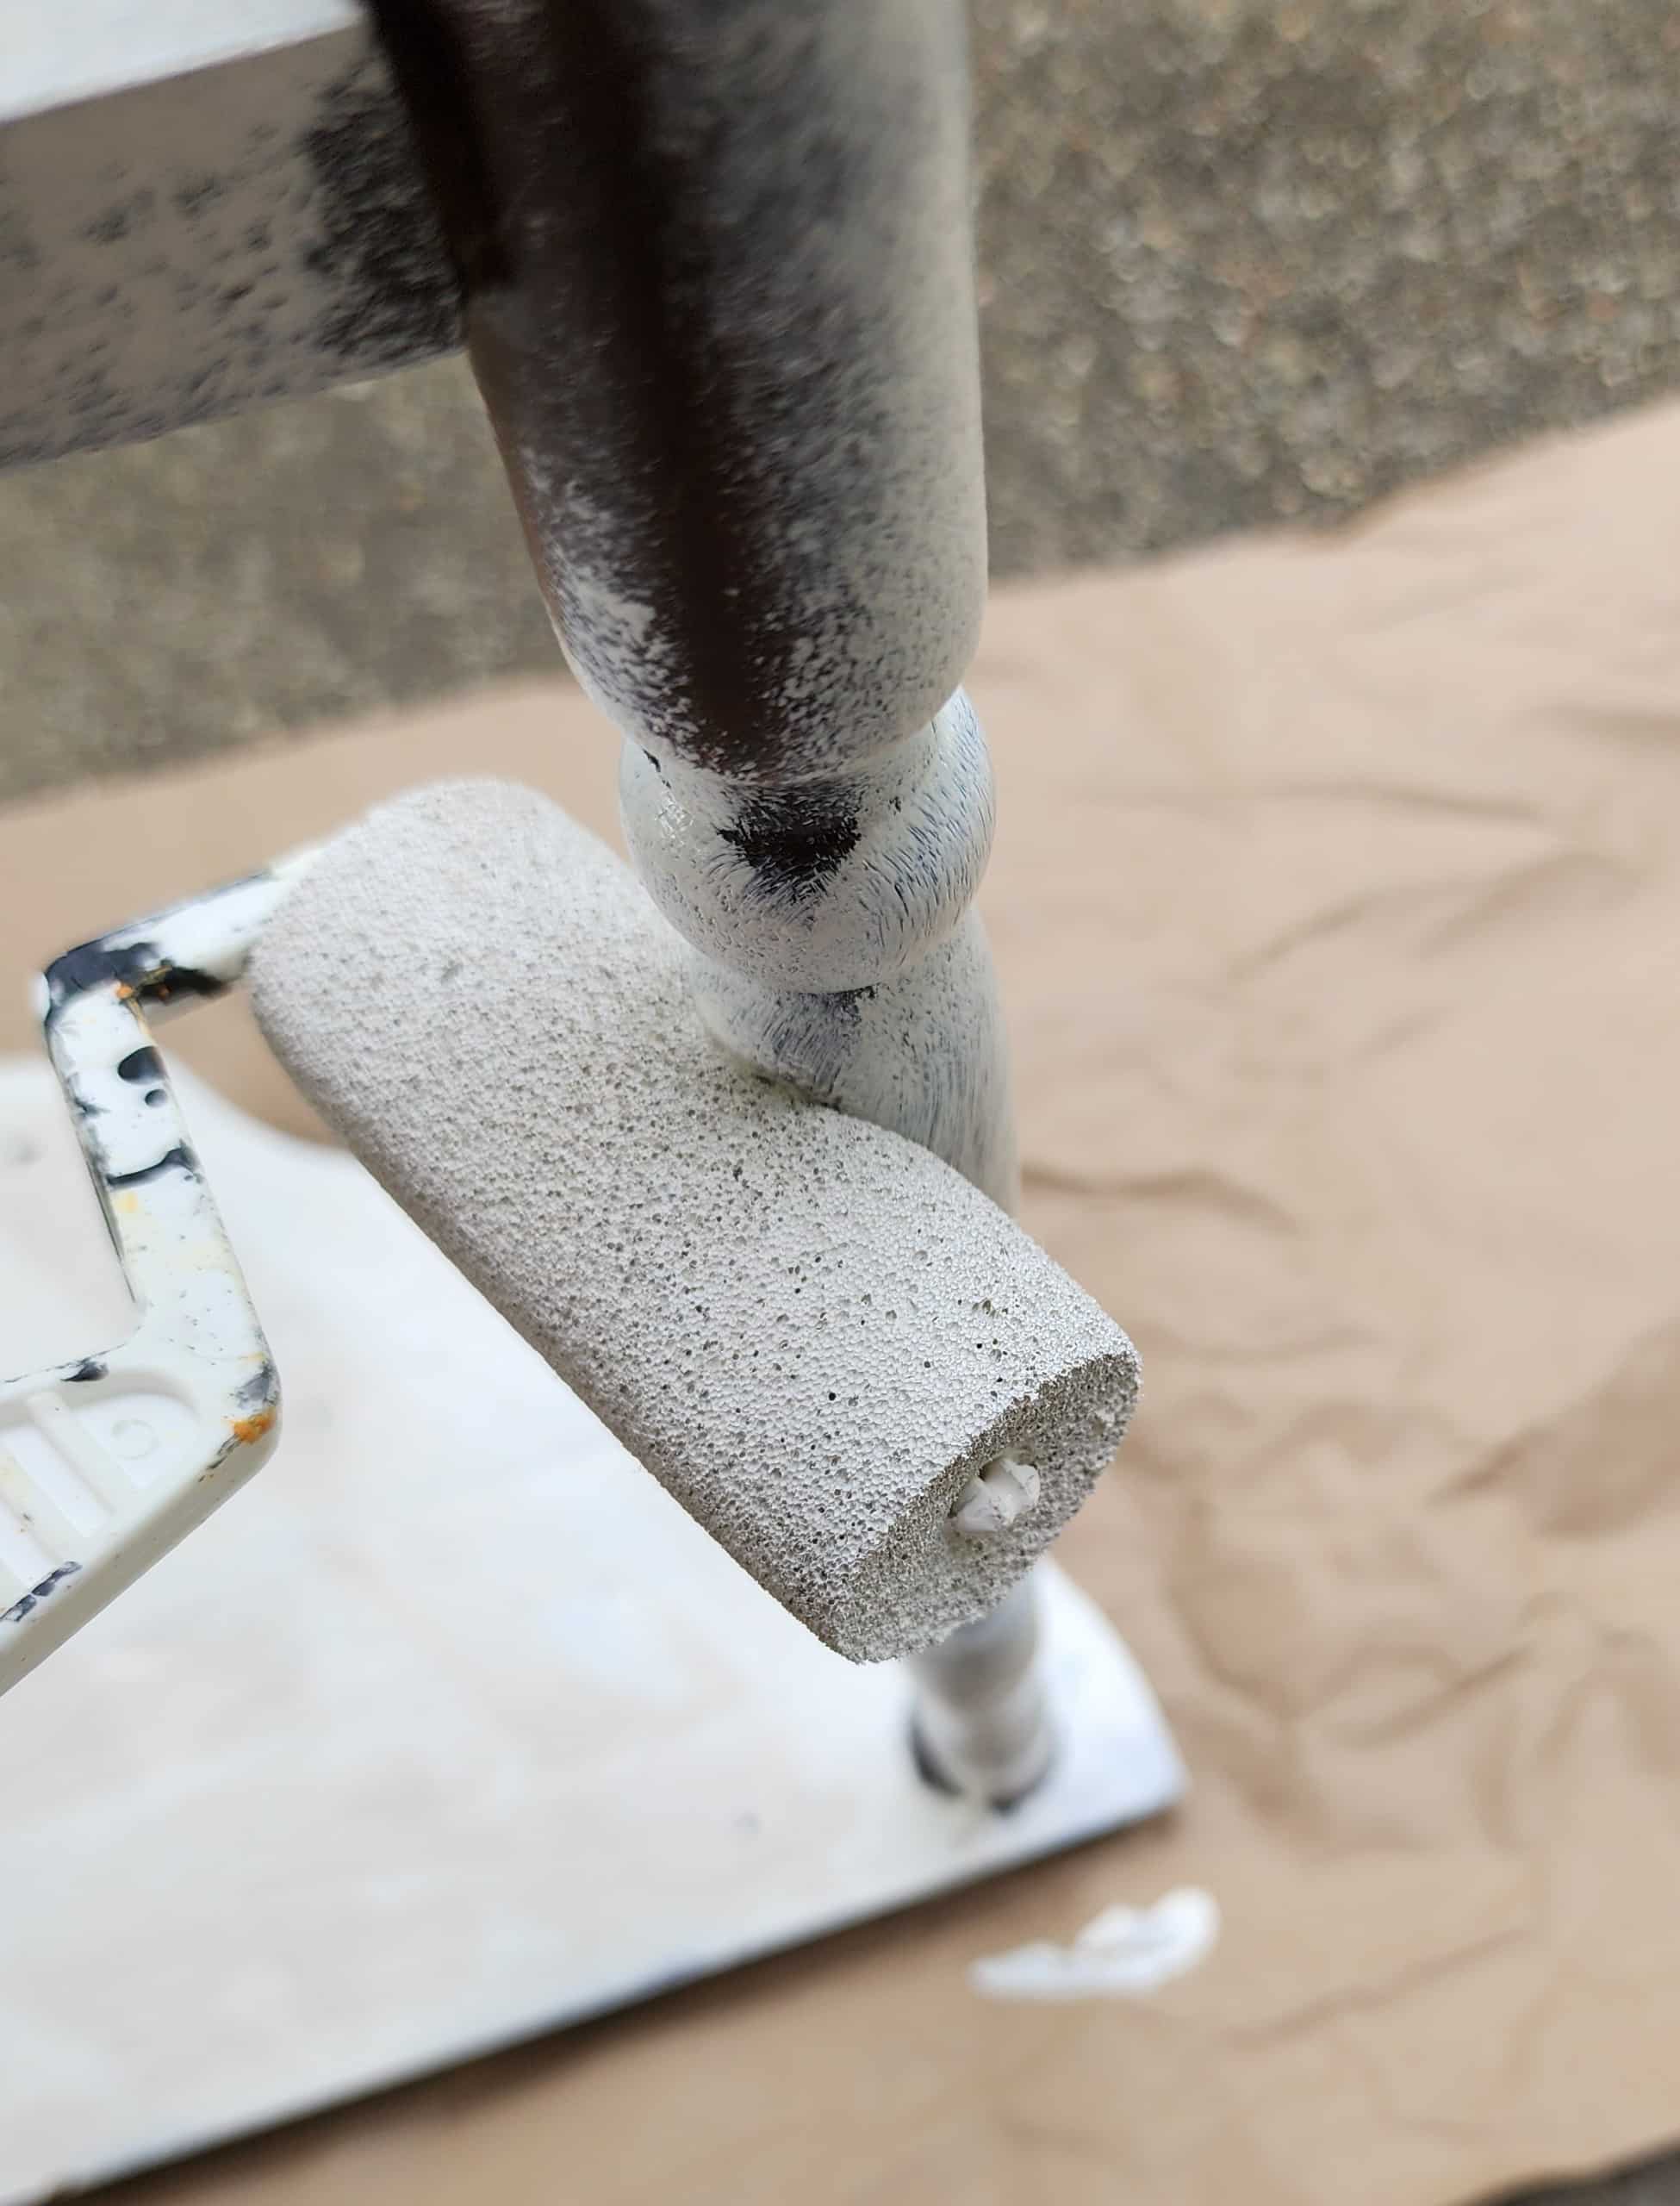
The small paint roller even works well on the turned (spindle) legs. The first coat is the “ugly coat.” The goal is to get a quick, thin coat in place for the subsequent coats to adhere to.
Visit the My Repurposed Life Amazon Store to shop my favorite items.
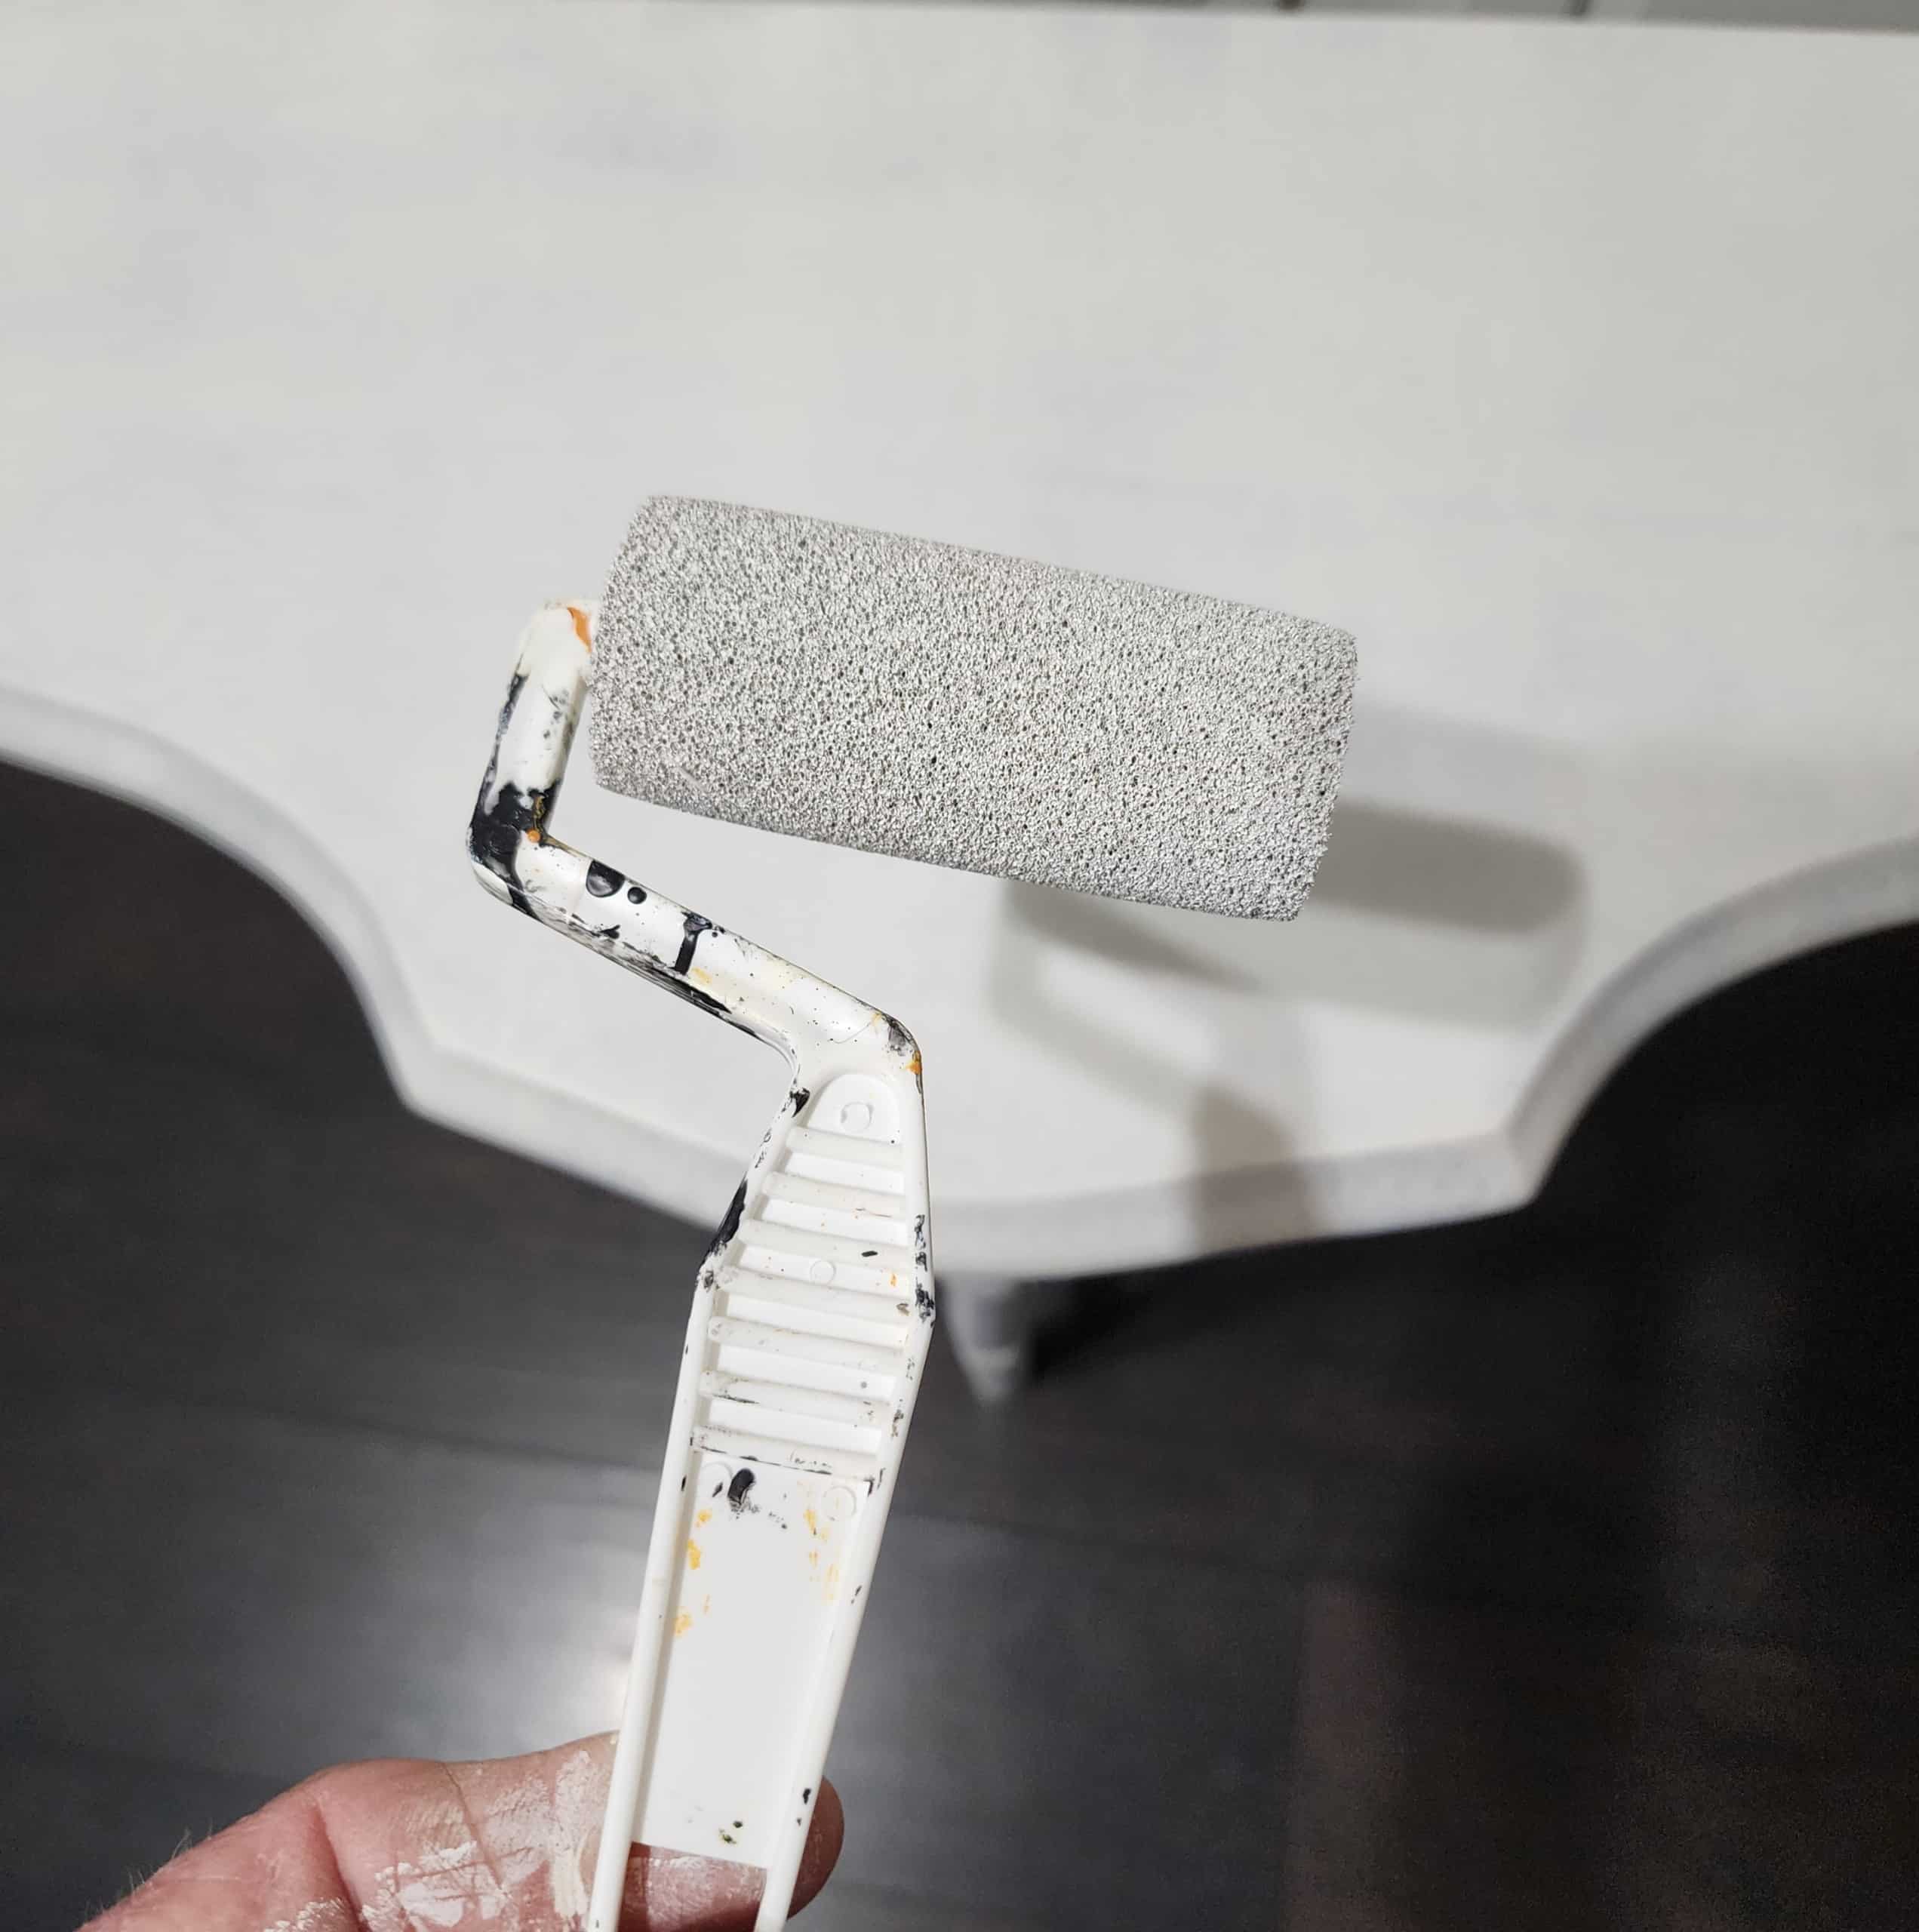
Some people like painting furniture with a brush to get the look of a few brush strokes. If you’re one of those people, you won’t like using the small foam roller; it gives you more of a paint sprayer finish.
How to Apply a Furniture Transfer
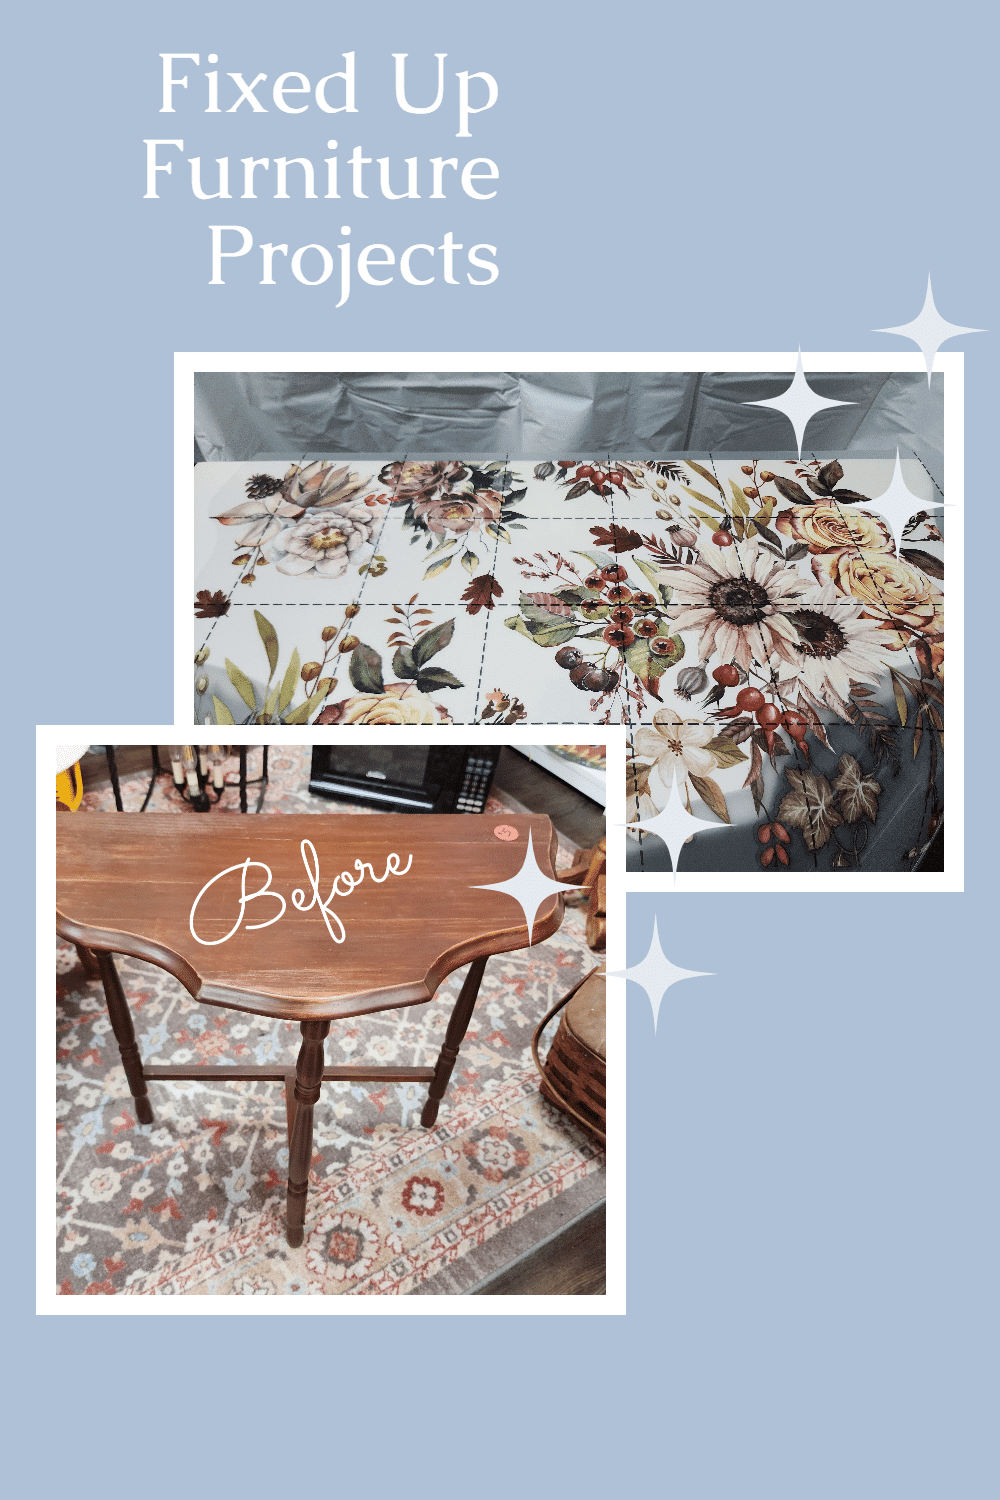
I dug out this ReDesign Sunflower Farms furniture transfer, which seemed perfect for this half-moon table. I decided on the placement with the backing in place, then removed the backing and placed the large sheet of transfer on the tabletop.
Trim Furniture Transfer
Because of the curves on the half-moon table, I trimmed the transfer and even cut some “darts” into the plastic to allow for easier placement.
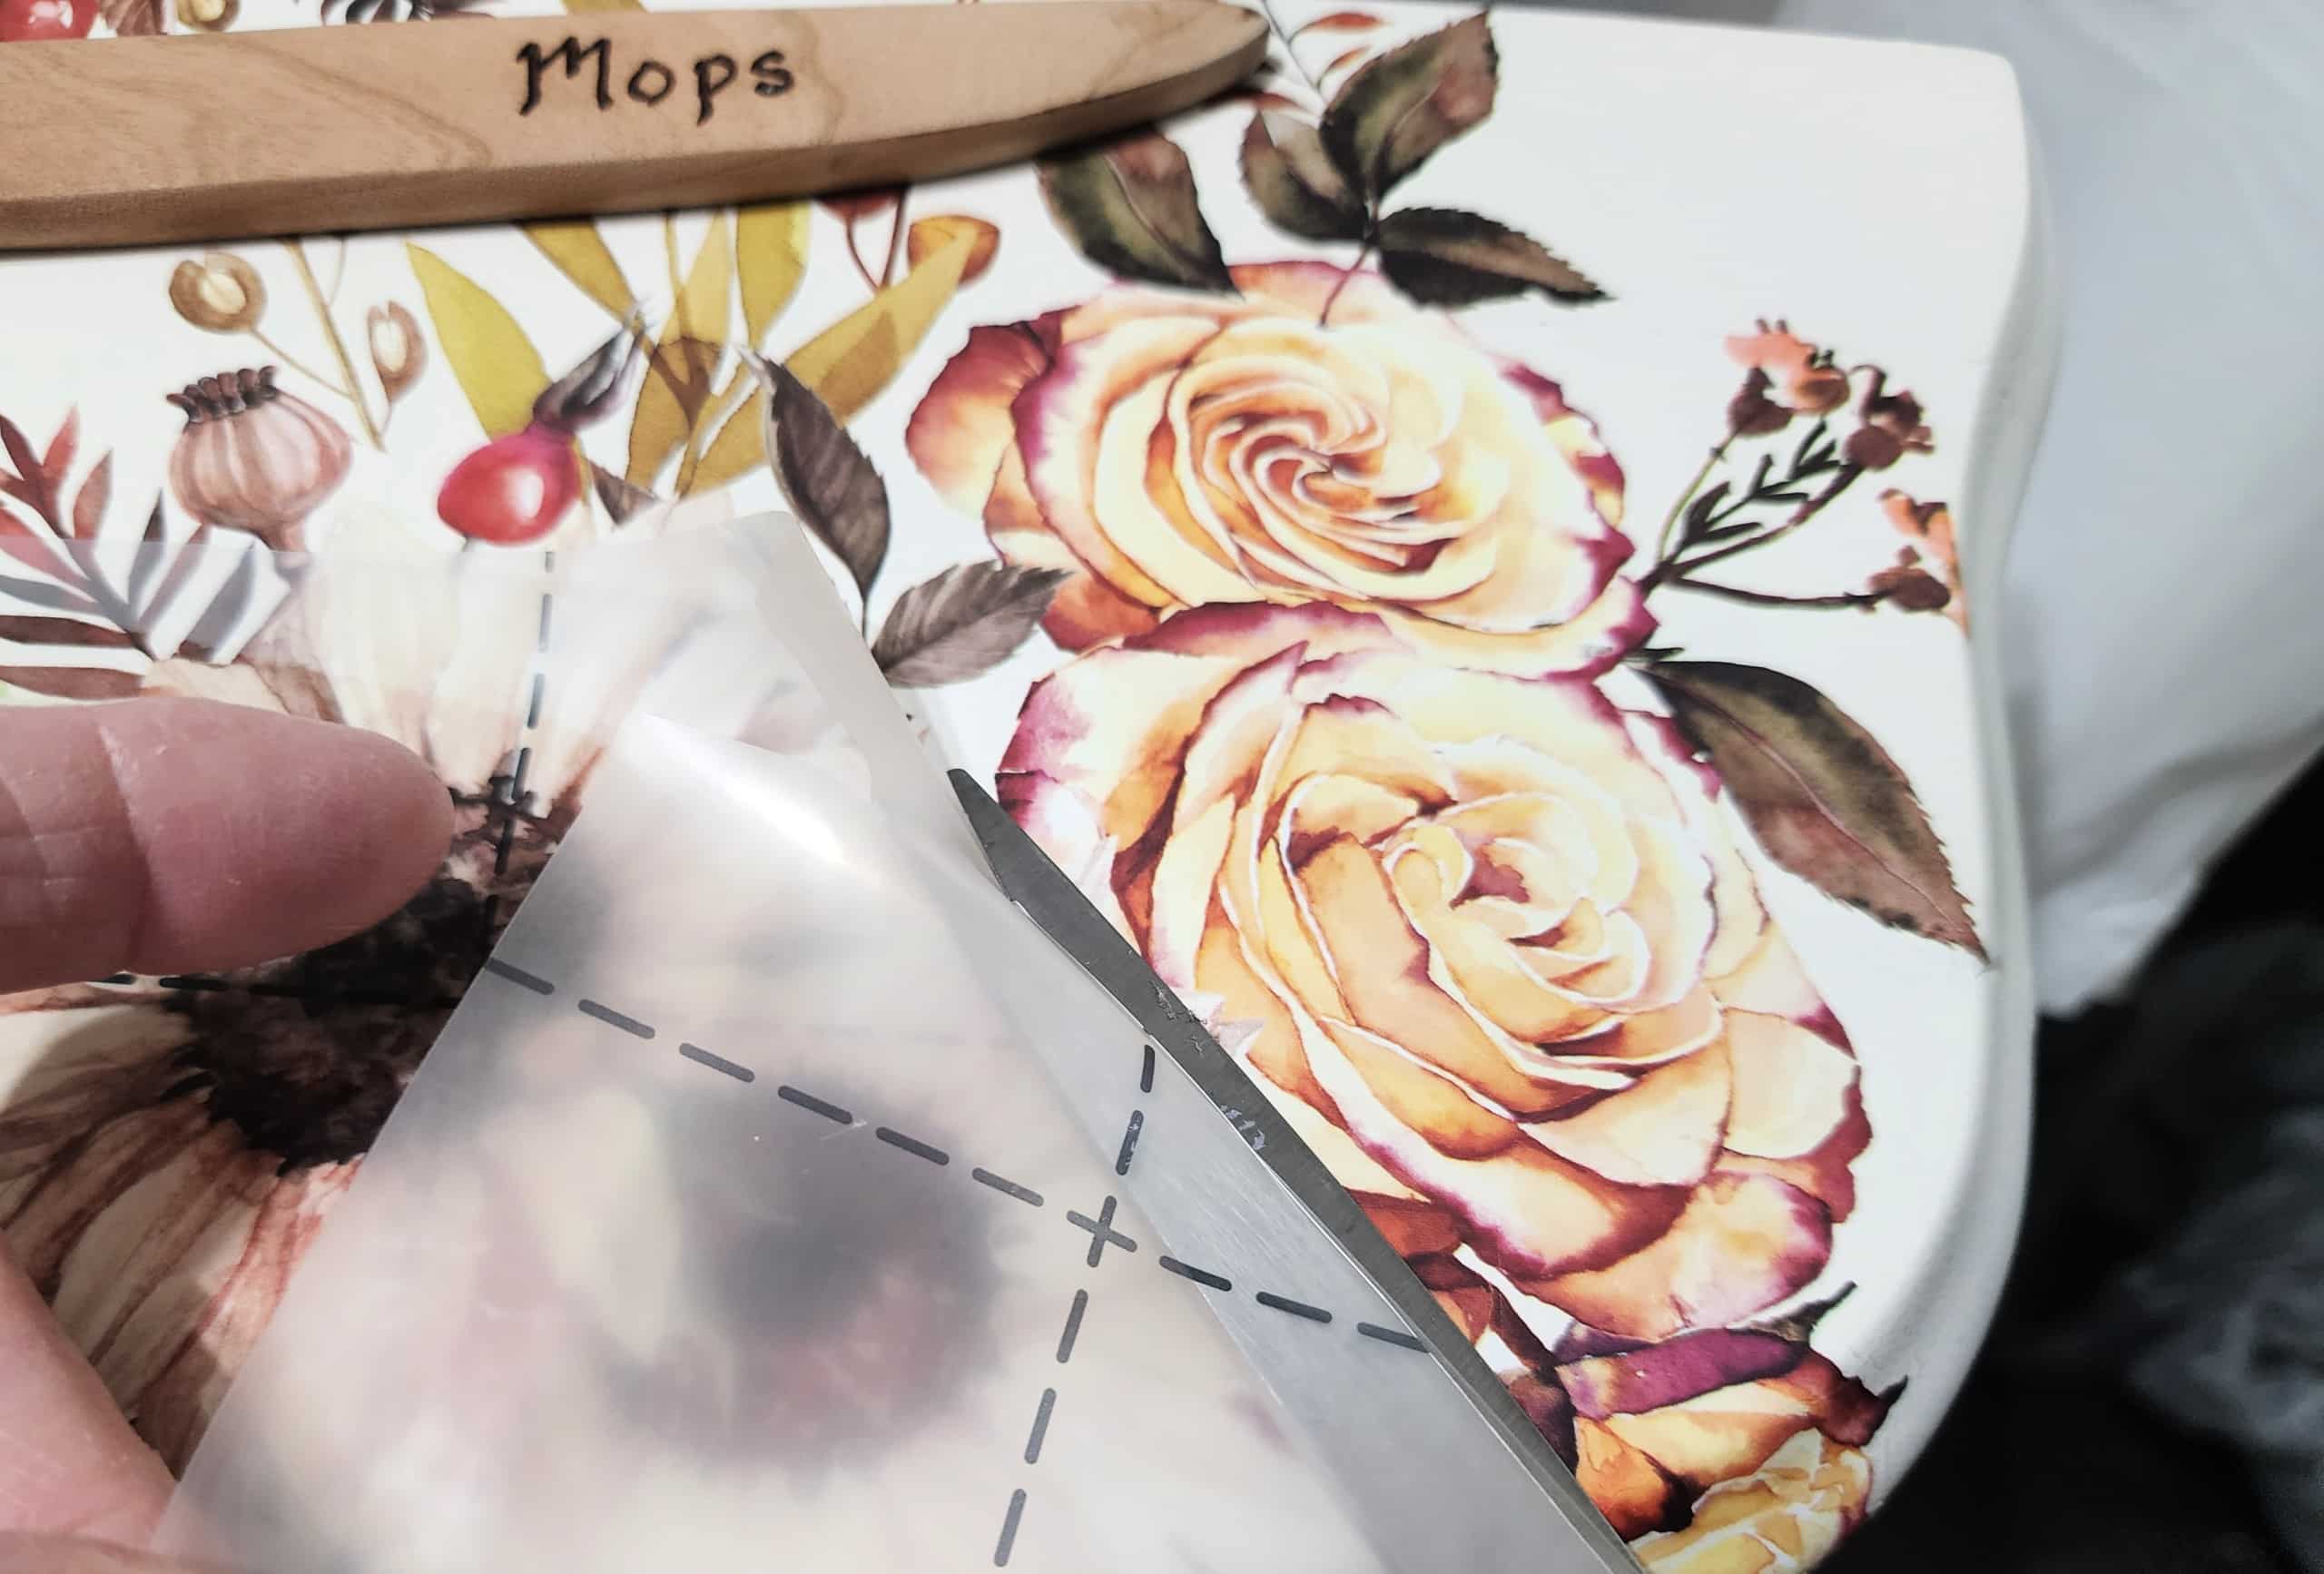
Working slowly, I peeled back the plastic a little at a time, cutting it away to work on the next section.
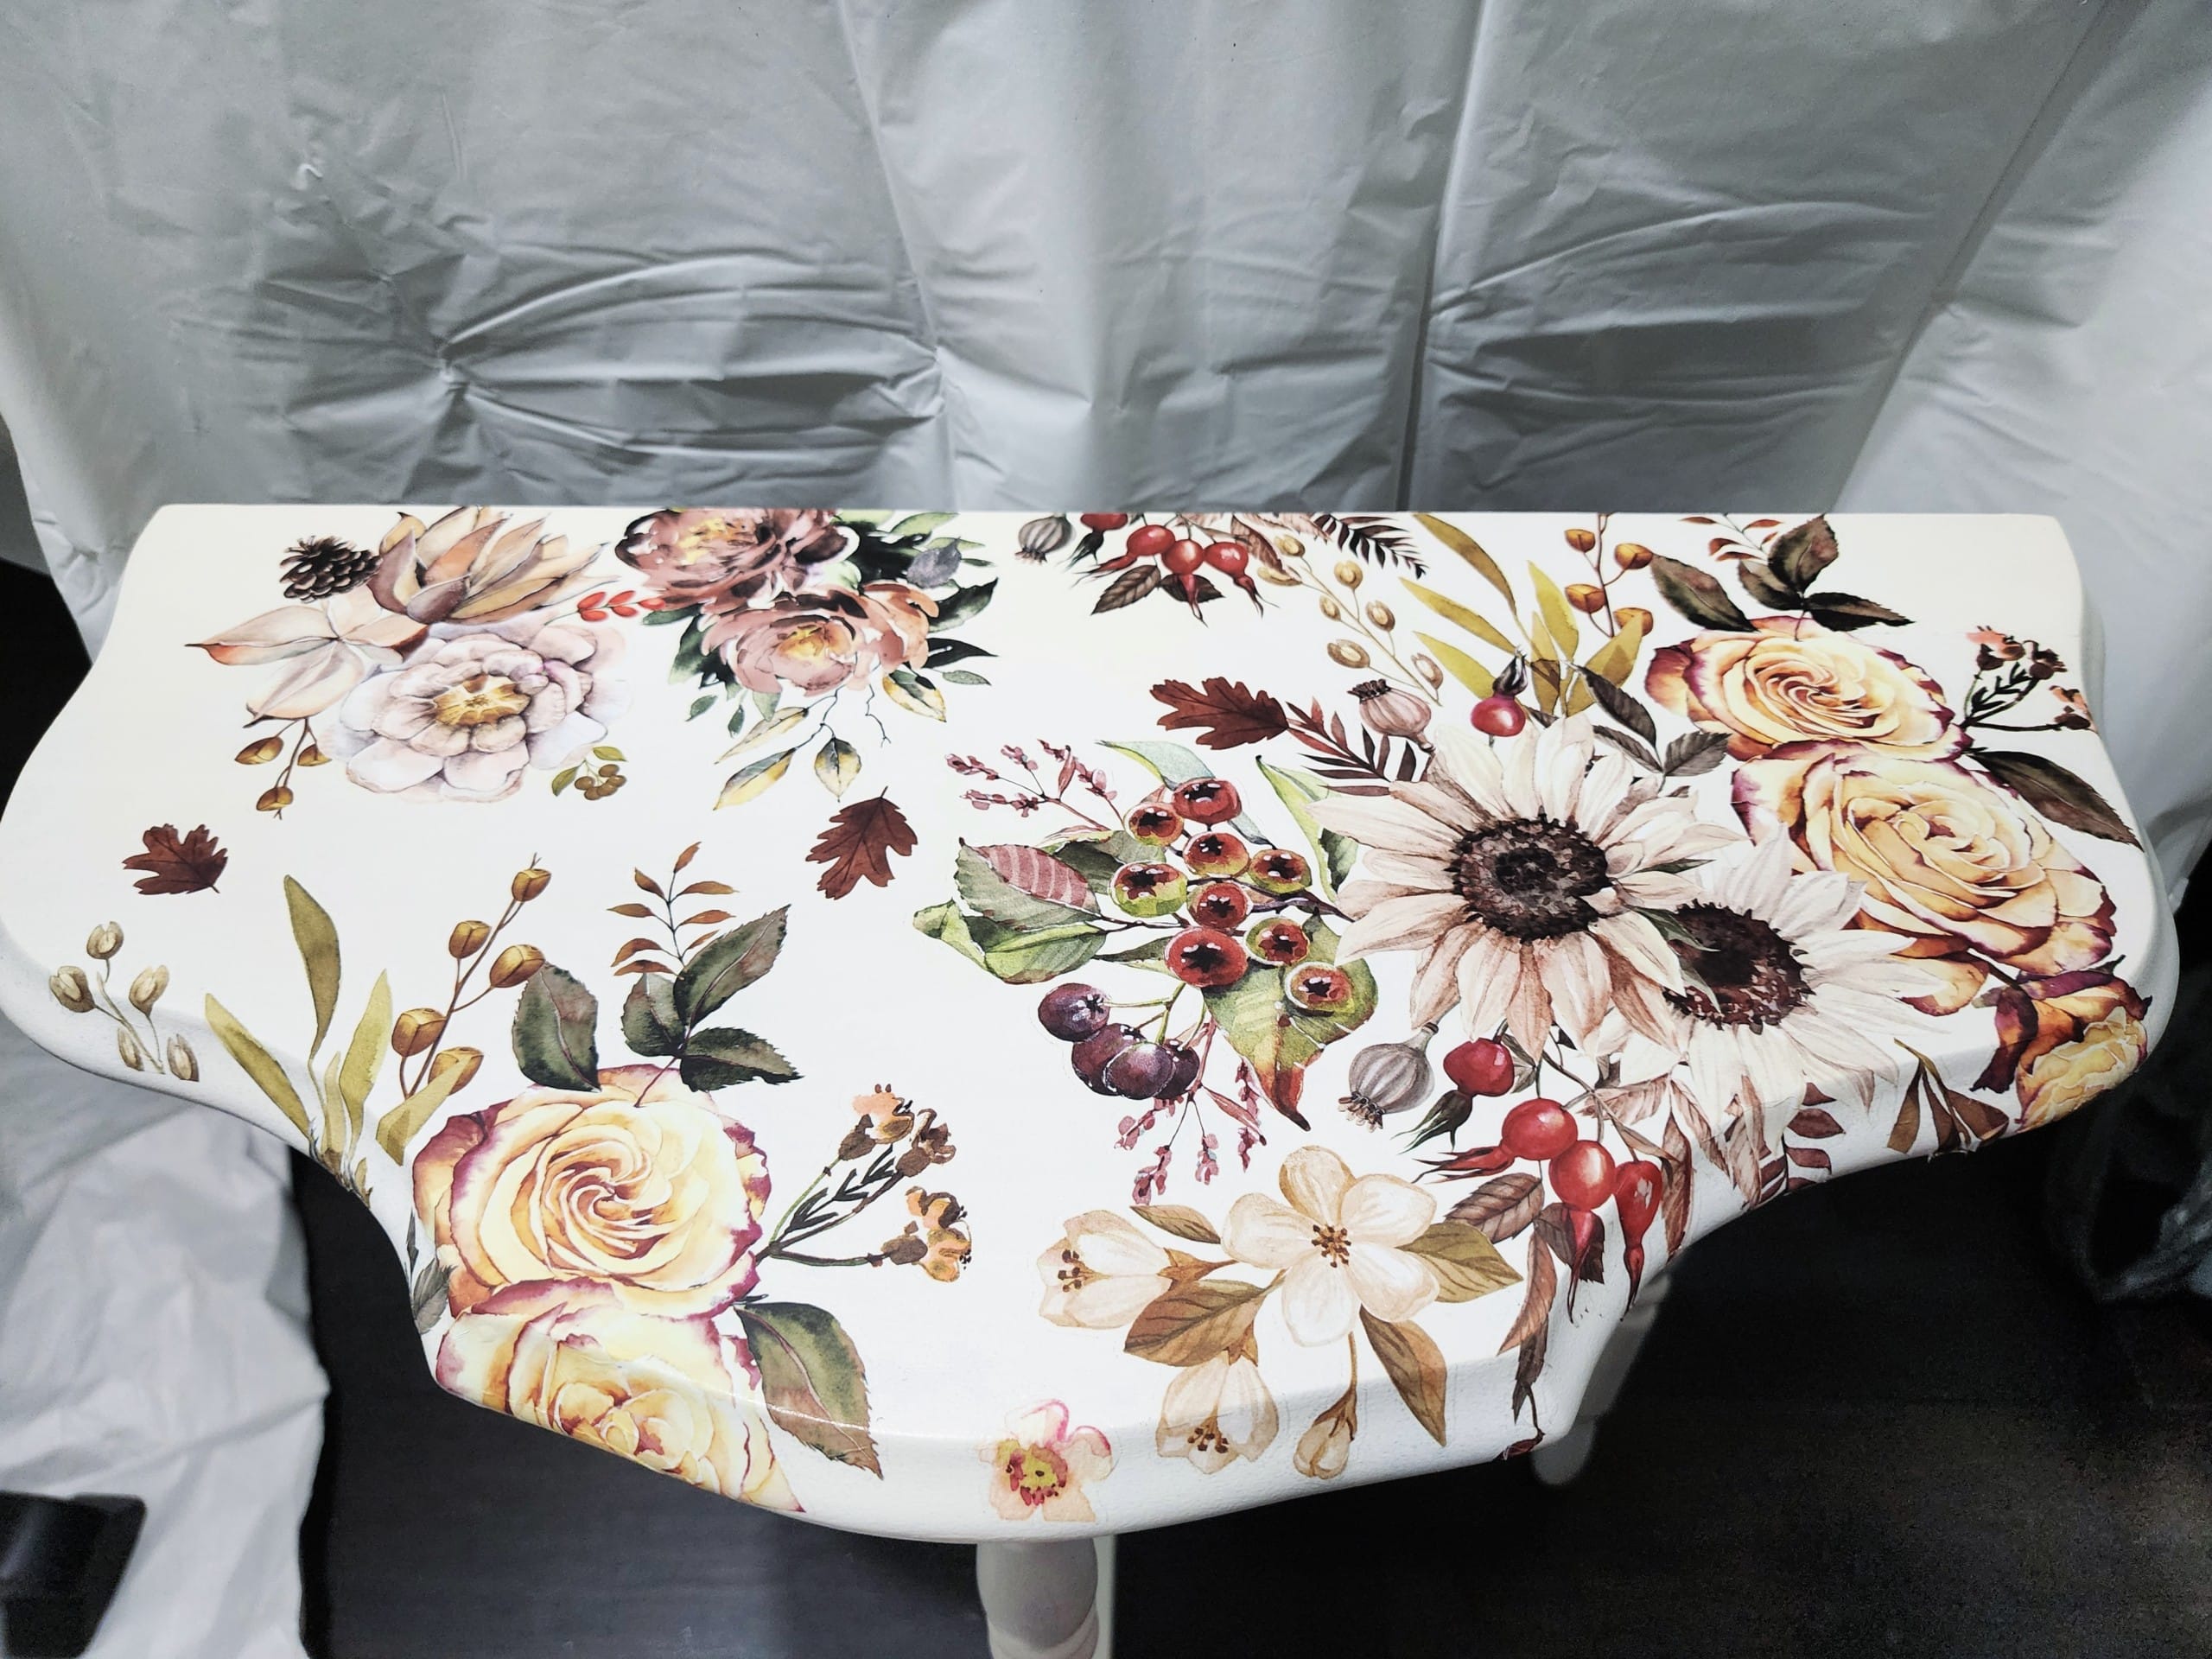
I am no expert in placing furniture transfers. I’m still trying to figure out the best way. Looking at the image above, I see that the Sunflower Farms transfer looks pretty good. In real life, I couldn’t help but notice the blank space on either side.
I filled in the areas with scrap pieces. What do you think? Should I have left well enough alone?
Protect Transfer With Wax
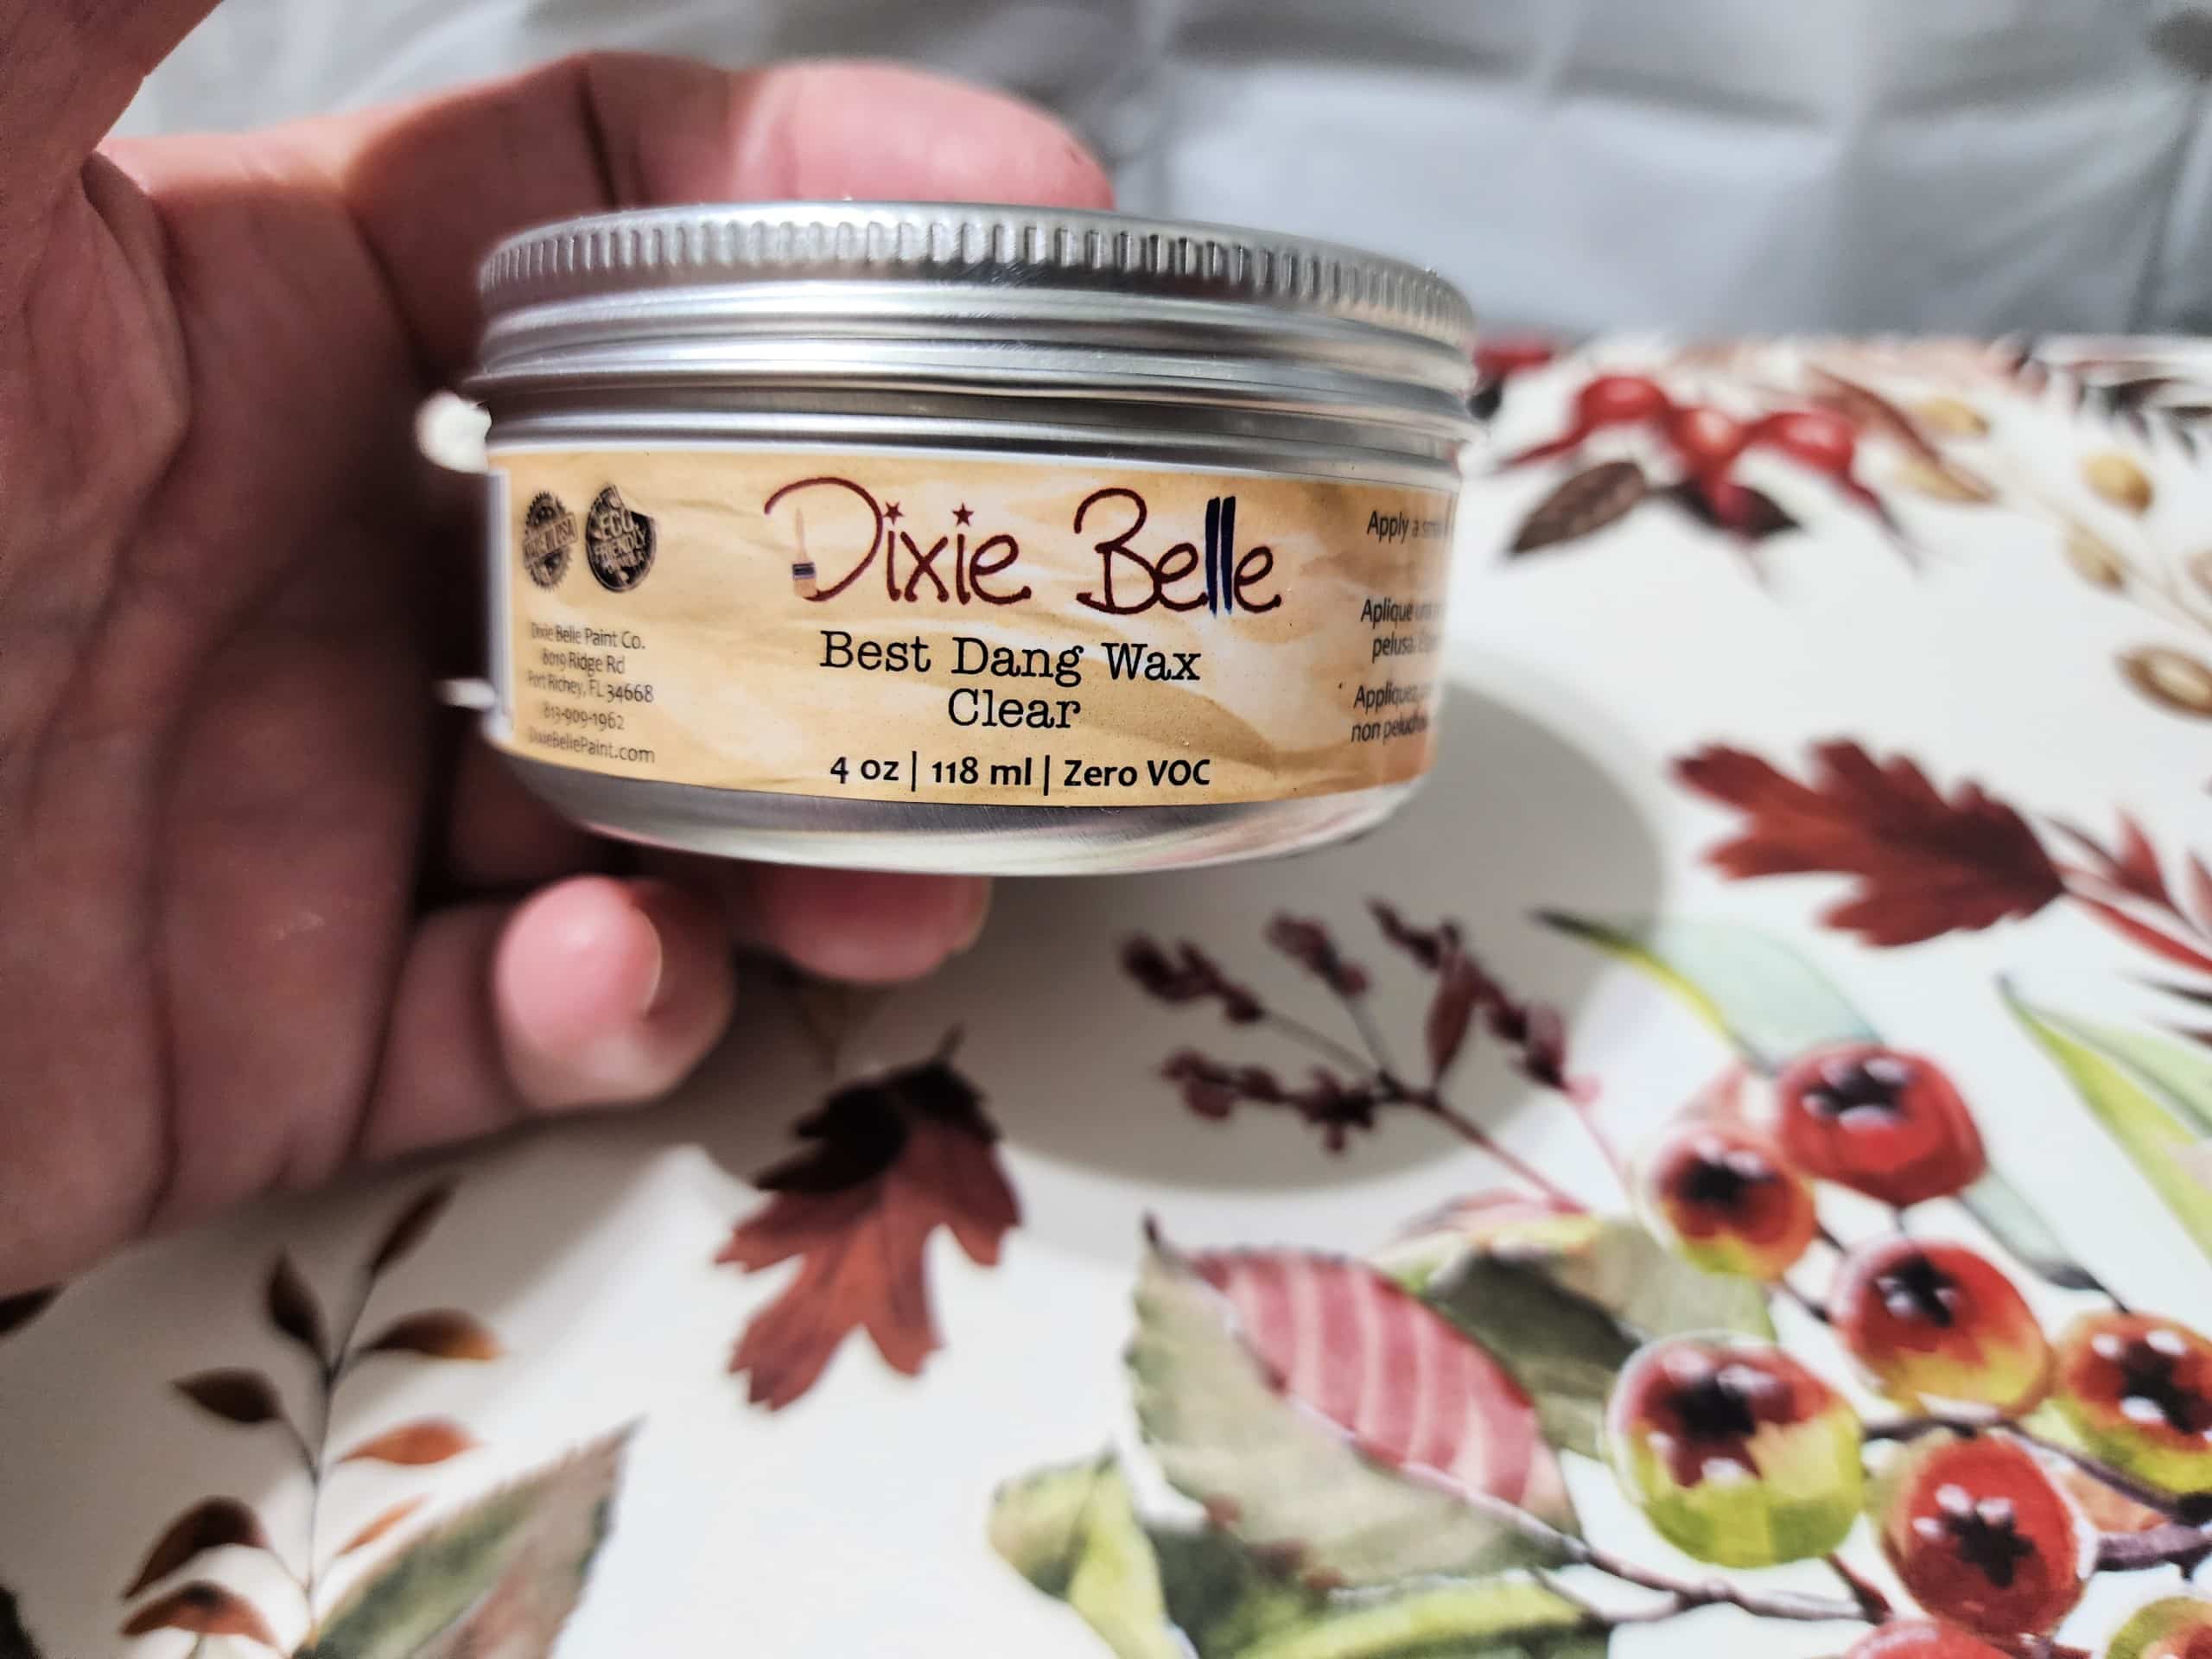
I applied clear wax to help protect the tabletop and the transfer. The All-in-One paint is strong enough that I didn’t use wax on the rest of the table.
Half-moon Table with Sunflower Farms Decor Transfer
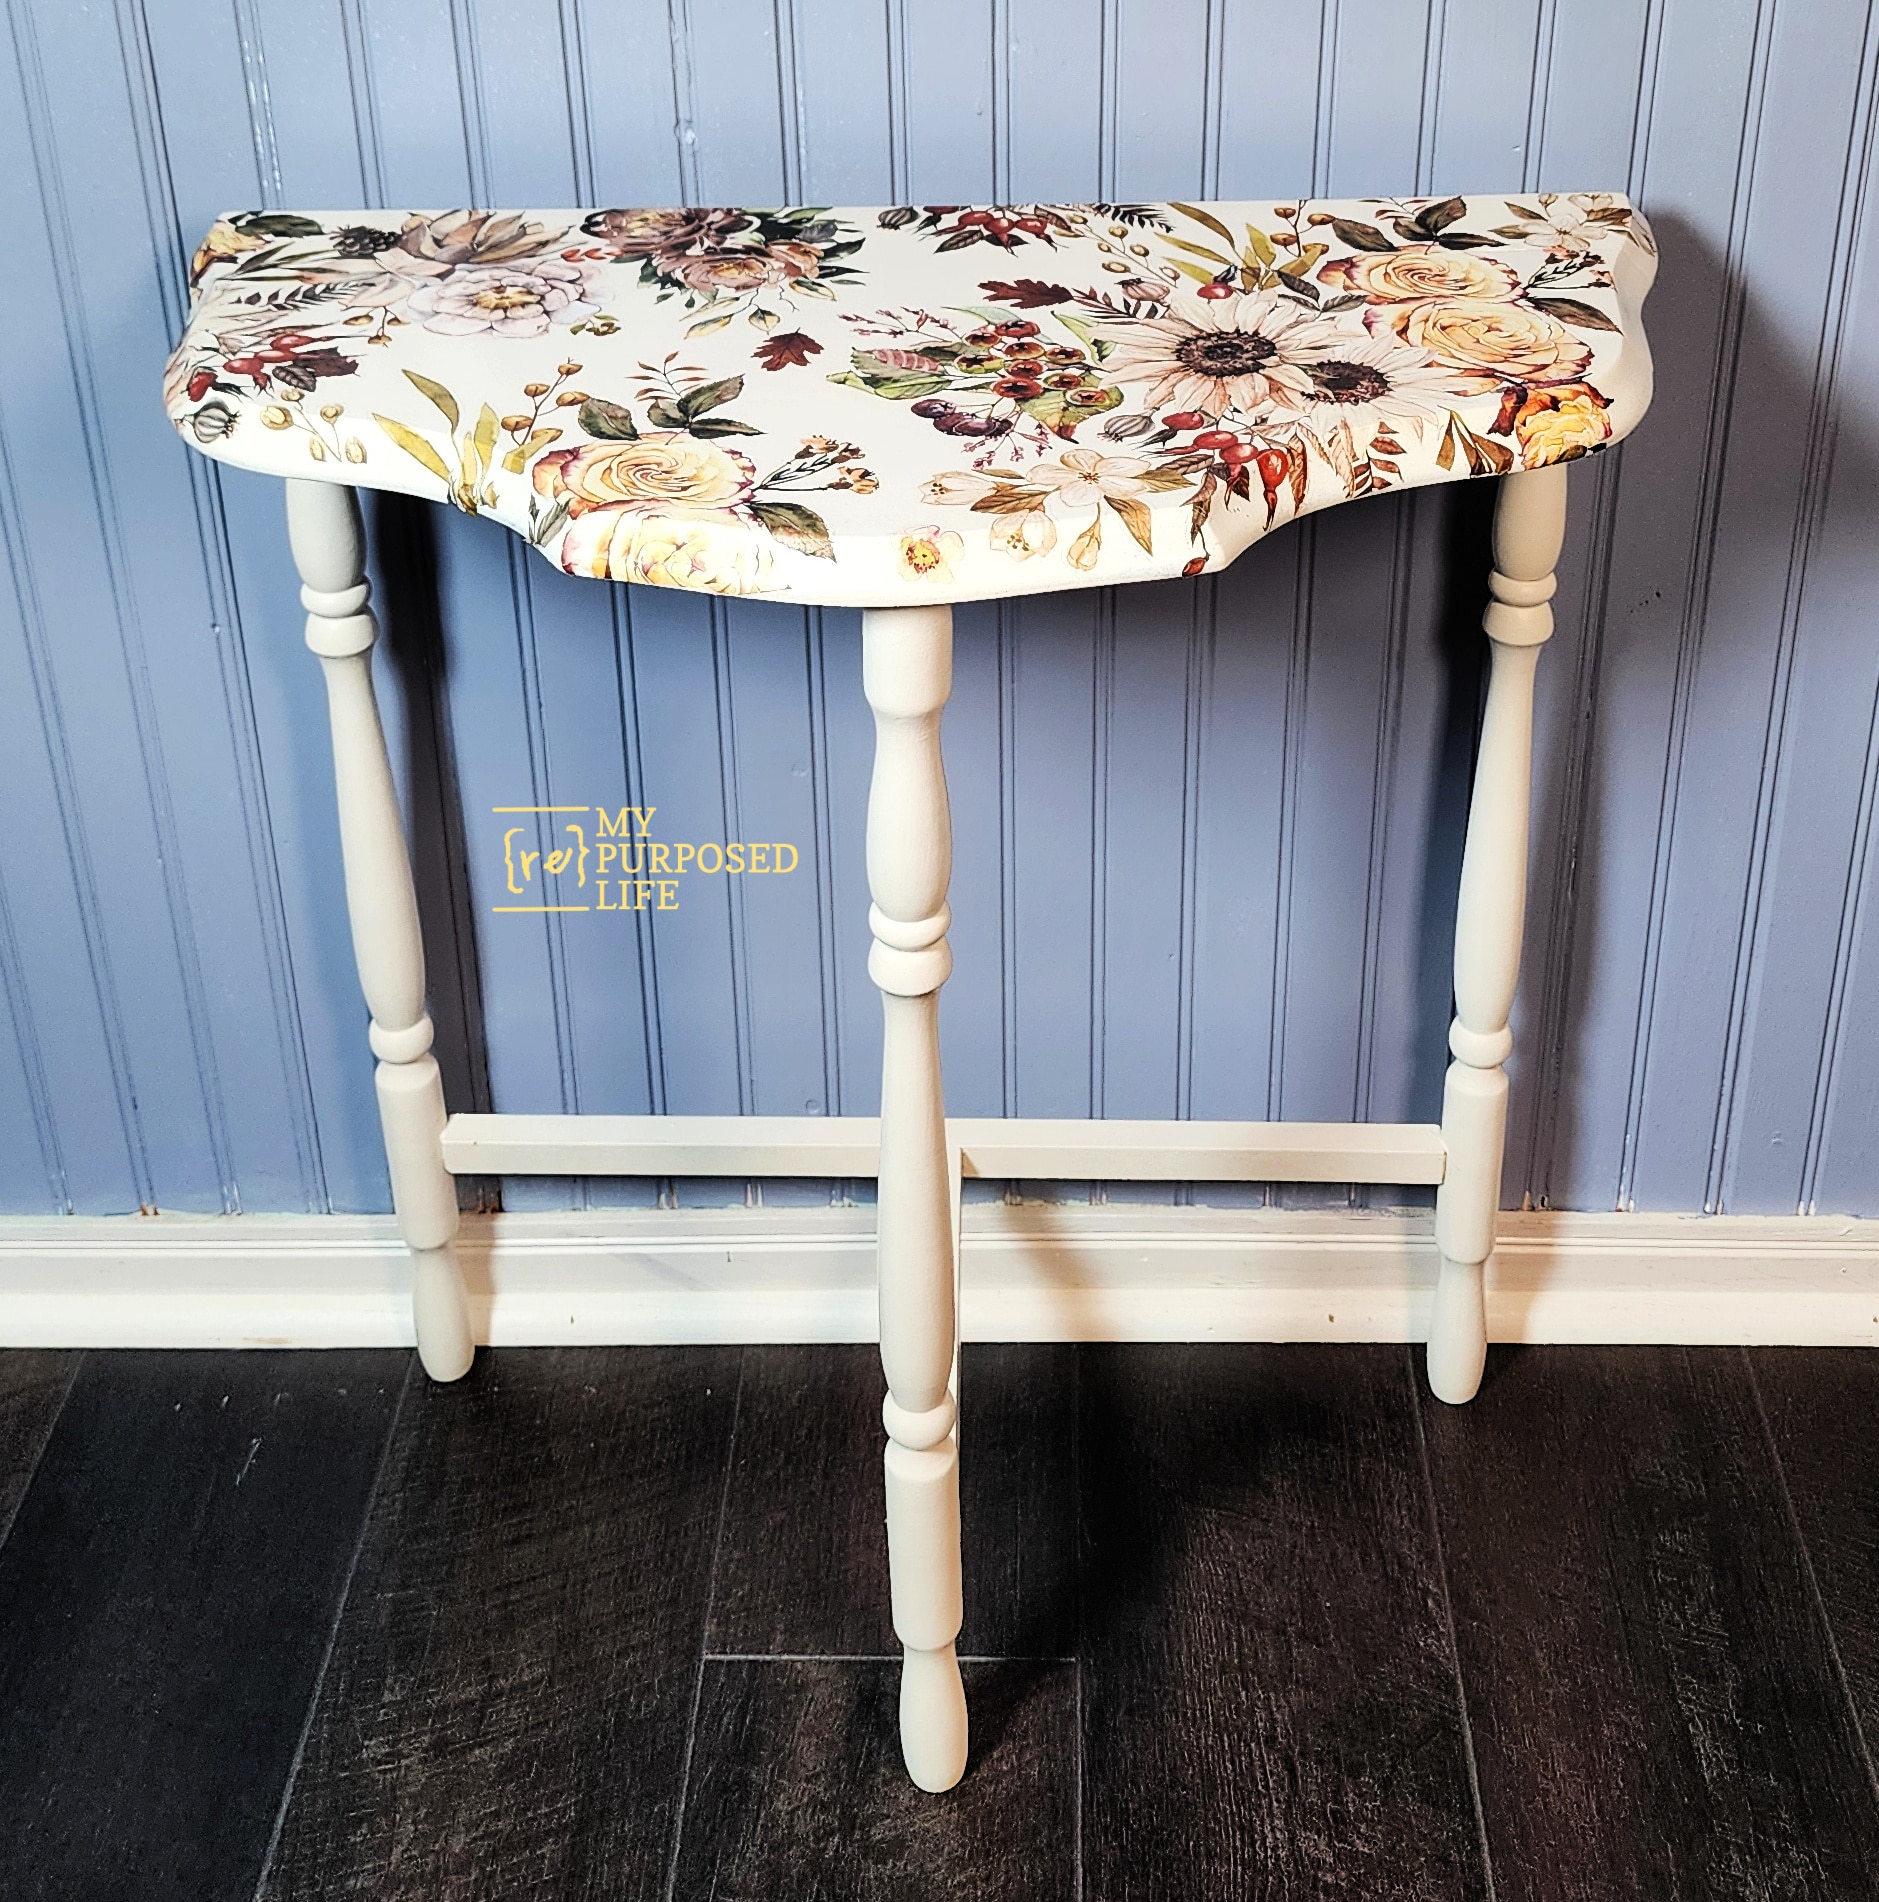

I worked on this half-moon table while I was in Louisville for appointments. Because I want the table to cure, I haven’t taken it to my booth yet, but I expect it to sell quickly. I love how it turned out.
Have you ever done a rub-on transfer?
Please let me know how you like my newest table project before you hop over to see these awesome fixed-up furniture projects:
- Half-moon Table Makeover (You are here)
- How to Fill in Dated Drawer Details
- Painted Antique Oak Dresser
- Gypsy Boho Style Painted Table
- How to Repaint Furniture
Furniture Fixer Upper Tour Projects
If you love seeing old furniture get a second chance, be sure to visit more Furniture Fixer Upper Tour makeovers. Each project starts with good bones and ends with a fresh new story.
See more Furniture Fixer Upper makeovers here
You will find everything from small side tables to large statement pieces, all transformed by talented DIY bloggers who believe in saving furniture rather than replacing it.
Hi Gail! I have this same transfer and everything thing i have used it on has sold.
Good to know Cheryl. I just dropped the table off today, along with another project I’ll be sharing with this transfer later in August.
gail
Gorgeous! Filling in the blank areas was the right way to go. This is going to make a great addition to someone’s home.
Thank you Connie.
It is now ready to find a new home in my booth. I hope it finds the perfect home very soon.
gail
Hi Gail: Very CUTE table and for a great price, too! That’s a nice transfer. I think I would have left the open spaces open and to “connect” them, I would have removed the little lone flower at the center bottom. That way, a “V” would be formed of open spaces and the top two would not look quite so alone and thus emphasizing the emptiness. Just a thought.
Caye,
Great idea, and I always appreciate my friends sharing their opinion. I am not artistically inclined, so I was hesitant to do any of my transfers. I finally just jumped in and started doing them, though I still have a lot to learn. 🙂
gail
Beautiful! I like the filled in spots. Where do you find the transfers?
Thanks
Blanche
I linked to the transfer on Amazon on the article. This one is a little pricey, but I got two projects out of it. I’ll share the next project in August for my Thrift Store Decor project.
I’m happy you love my newest table makeover.
gail
The table is so pretty! I like the “filled in” blank spots, hard to tell that they were added in afterward. Someone will be very happy with their new table.
Thanks so much B !!!!
That’s the beauty of rub-on transfers. They are so adaptable. 🙂
gail
Love your work! So creative!
Cindy,
I appreciate you stopping by and taking the time to leave a kind word!
gail
looks great and absolutely beautiful..
I appreciate you nice comment Cathy! Don’t be a stranger.
gail
Can you provide a link to the small paint rollers you use? This piece turned out really cute.
I wrote you an email with some links Lizzy. Let me know if you didn’t get it.
gail
This turned out so pretty, Gail! I love this transfer!! XOXO
Thanks Christy
It’s a rather large transfer, so I was able to get a second project out of it.
gail
I love the transfer layout and I’ll bet this little sweetie sells super fast at your booth! Pinned XOXO
I’m out of town at the vacation home, I’ll be dropping it off at the booth when I get home. We’ll see how it goes.
Thanks for stopping by and taking the time to leave a comment Denise.
gail