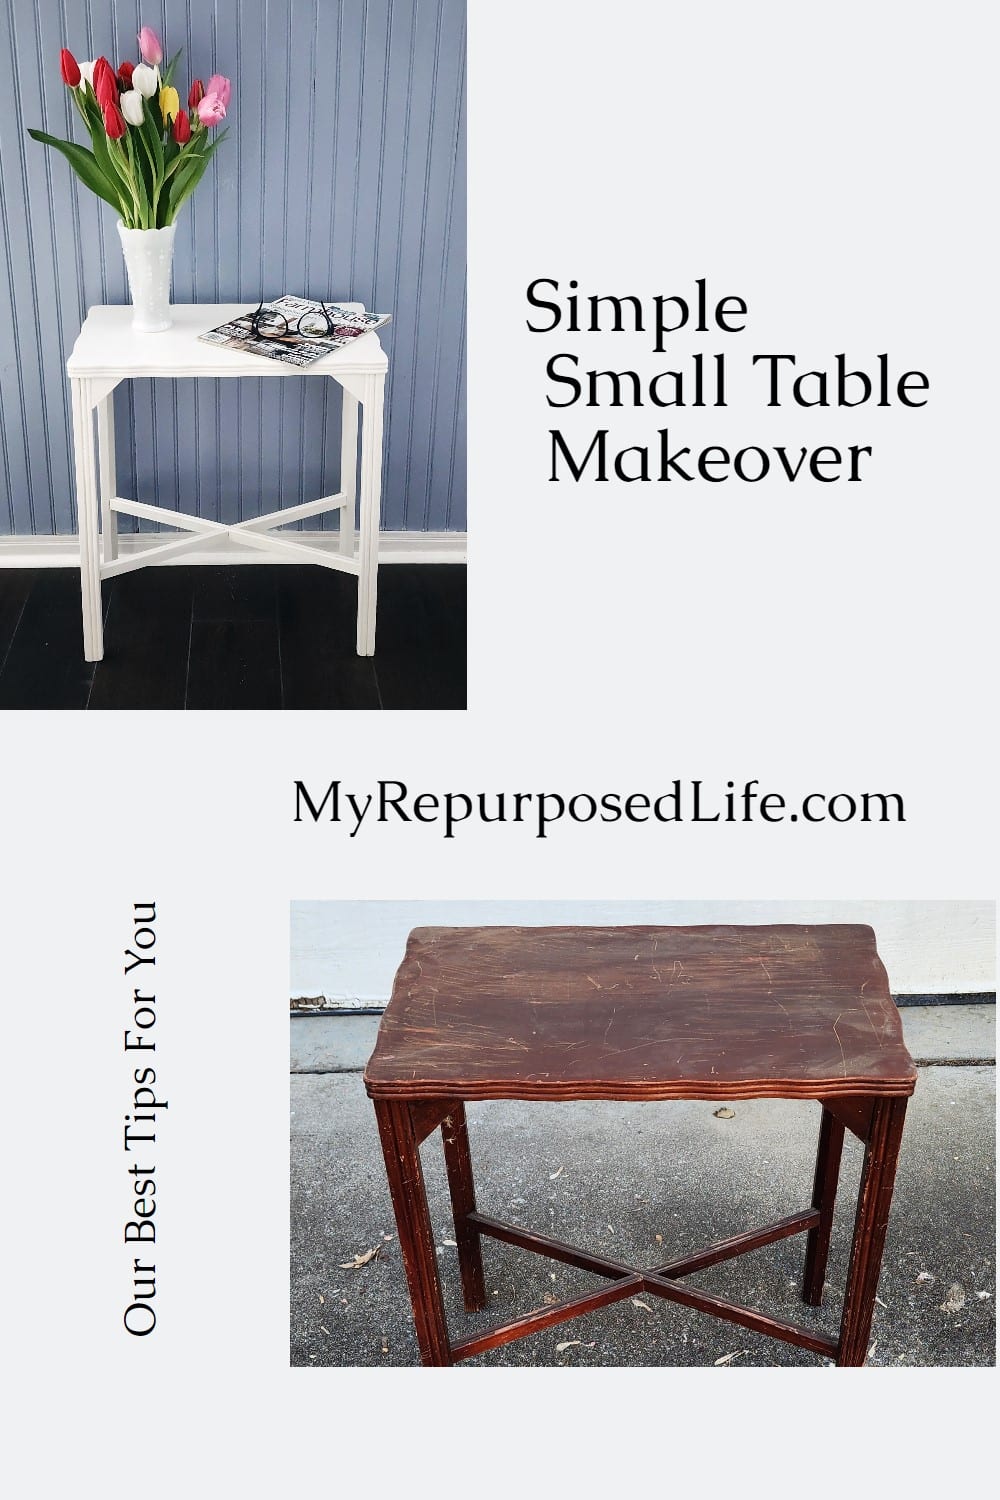
Simple Small Table Makeover
As an Amazon Associate, I earn from qualifying purchases.


Sometimes a small furniture project is exactly what I need. It doesn’t take over the shop, it doesn’t require a truckload of supplies, and it still gives me that “I saved it” feeling. This little table had a few issues, but nothing scary. With a little tightening, sanding, cleaning, and painting, it became a sweet little accent table with one fun surprise tucked underneath.
This makeover is full of my best tips for updating a thrifted or found piece quickly and on a budget. Sometimes the smallest furniture project can give you the biggest feeling of accomplishment. In this post, you’ll learn how to stabilize wobbly legs, prep the surface like a pro, use light coats of paint for a smooth finish, and even add a hidden surprise that makes this transformation extra special.
Small Antique Table
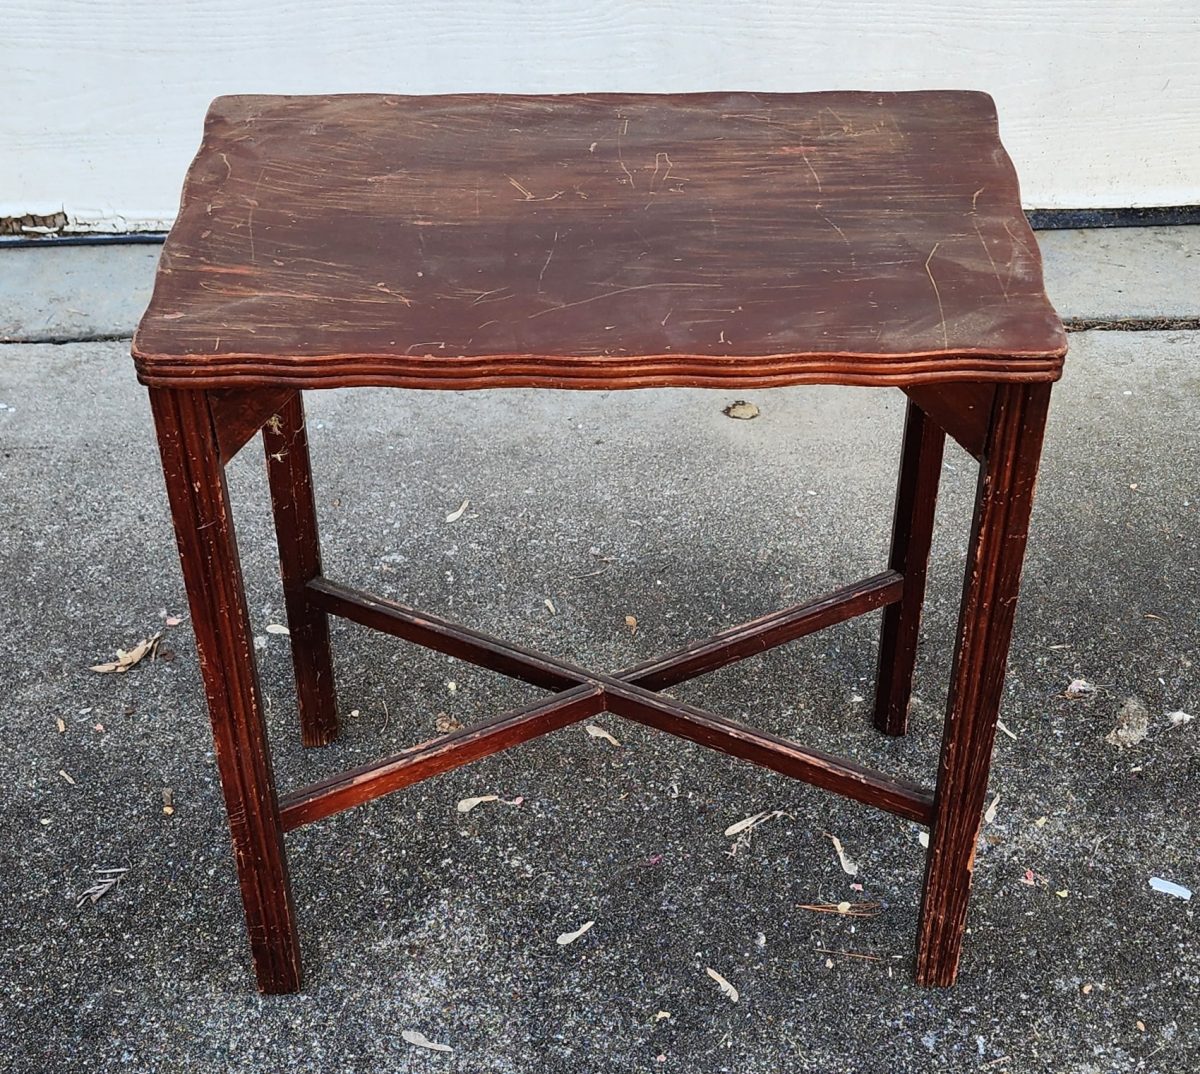
This was a “free find” given to me by a friend. What might start out as a simple furniture makeover can throw you a curveball. The best thing to do is “keep a positive outlook.”
I plan to add a little something extra to this small table makeover. Continue reading to the end of this article to see my surprise for the new owner.

This is our Thrift Store Day. Be sure to check out all the projects below.
Inspect Your Furniture Project
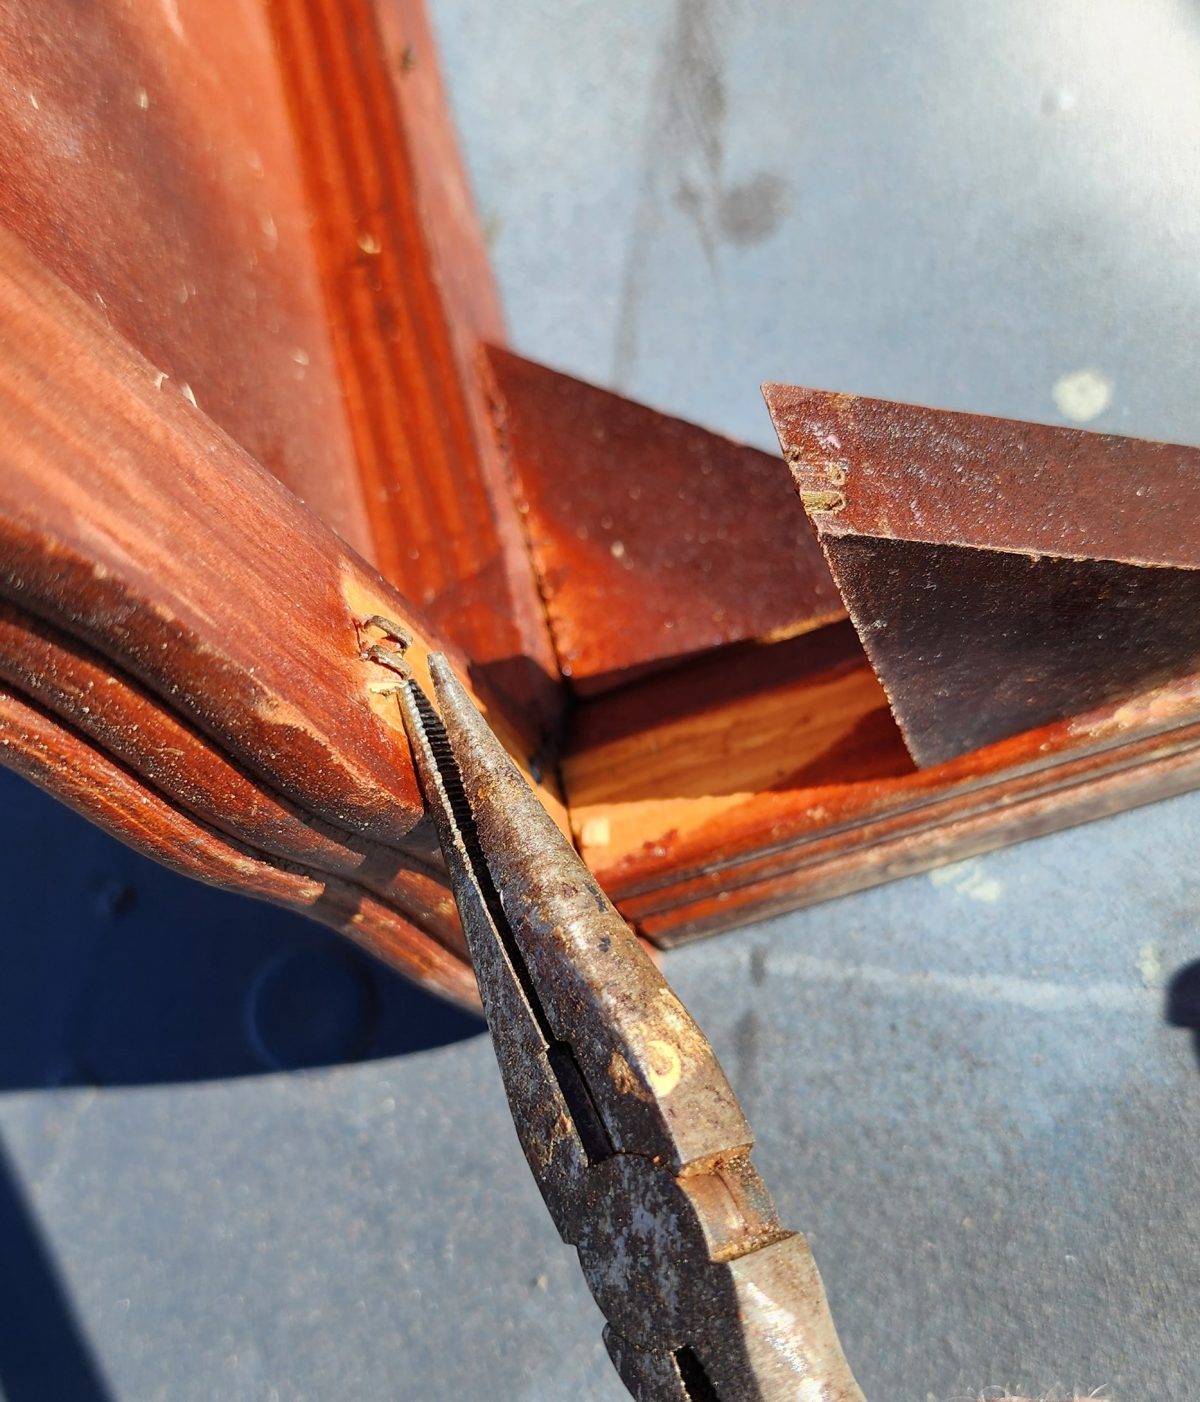
To complete this small table makeover, I focused on its wobbly nature. I found that the wooden angle brackets were no longer secure.
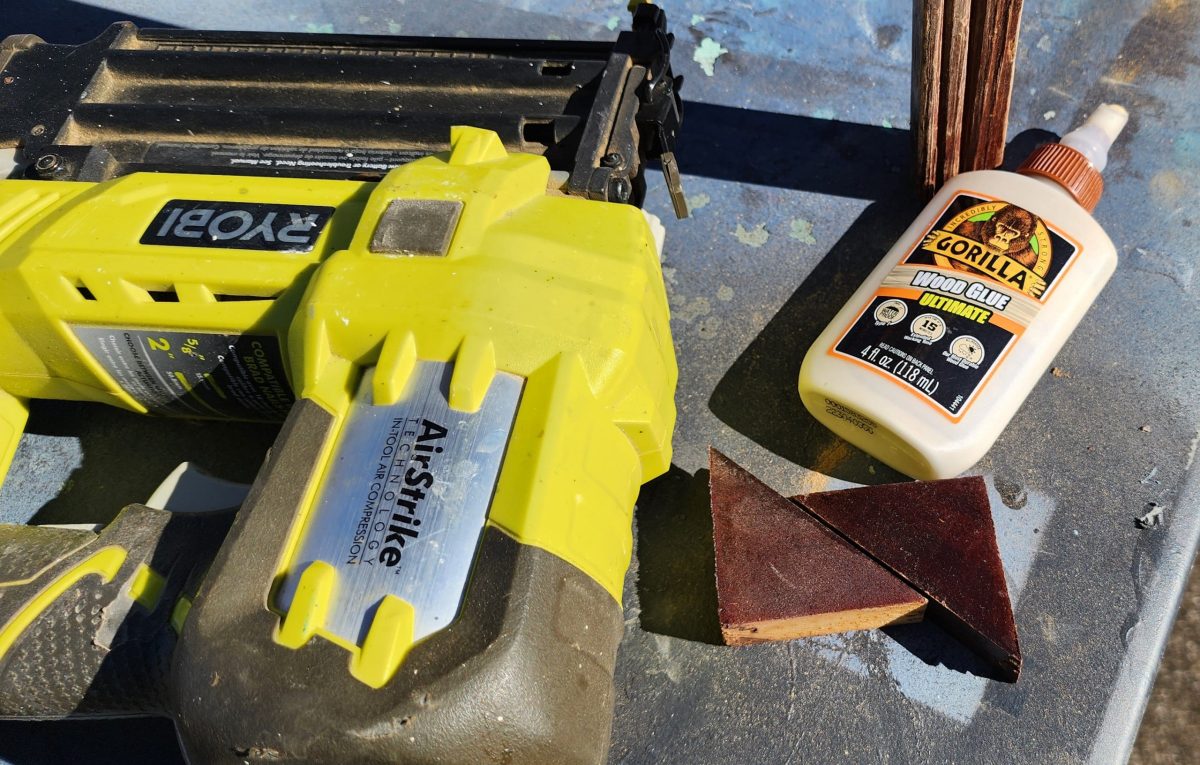
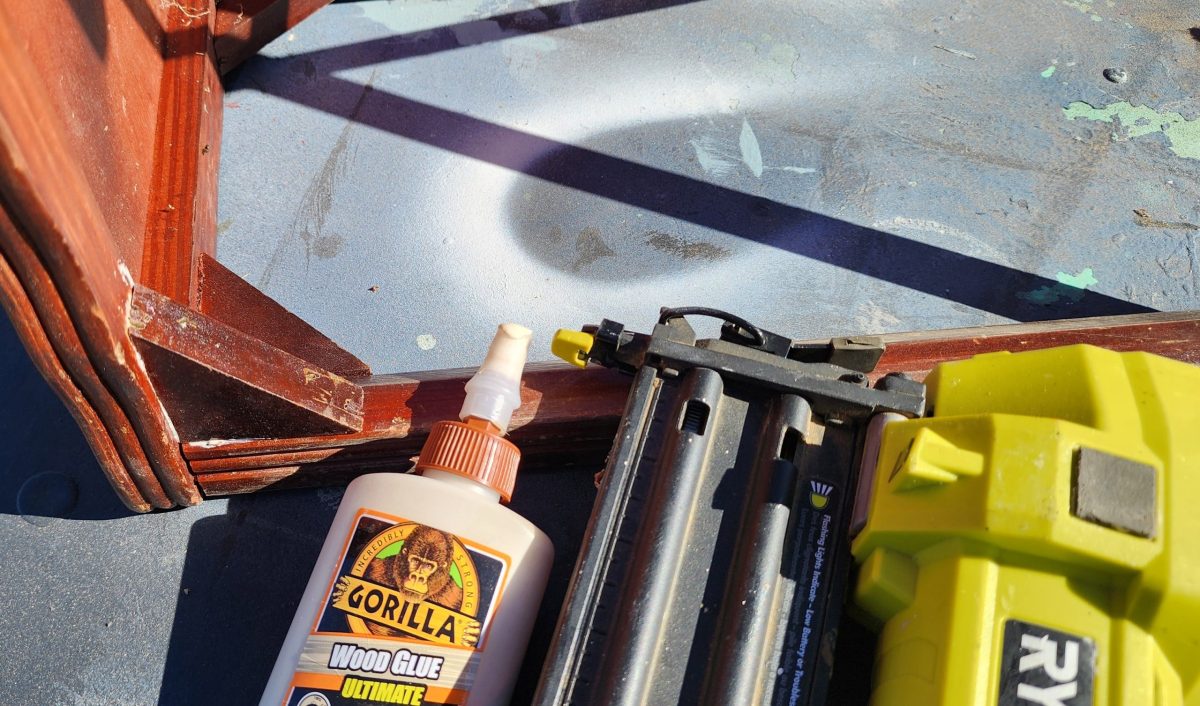
All the brackets and staples were removed and replaced with new wood glue and brad nails.
Knowing how to make small repairs will give you many more options to flip furniture quickly and easily. Countless pieces of furniture are discarded simply because they are rickety. Sometimes, the only issue may be loose screws or bolts that need tightening.
If you’re buying furniture, you will want to inspect it before you purchase it. However, if the furniture is free, you really have nothing to lose.
Sand Tabletop Smooth
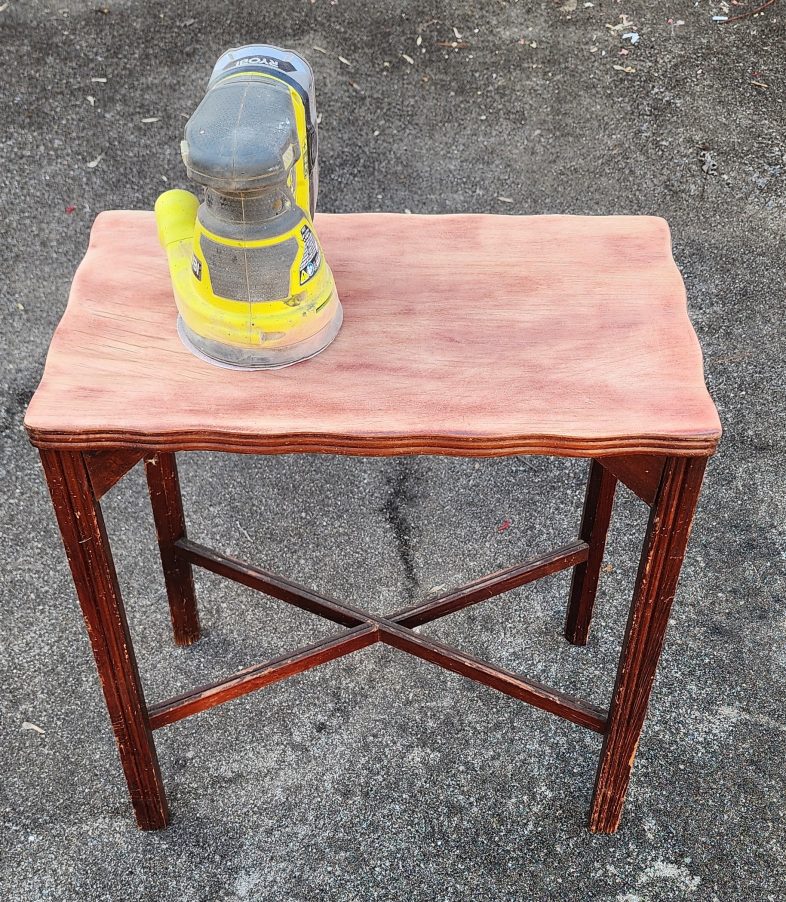
The table legs are in rough shape. Did you notice in the picture above that the tabletop had large scratches? An orbital sander was used to smooth the top and achieve a nice finish on this small table makeover.
To get a smooth surface, begin with 150-grit sandpaper and finish with 220-grit. My best advice for judging the smoothness is to run your hand across the top. Your fingers will tell you things your eyes may miss.
Clean Furniture Before Painting
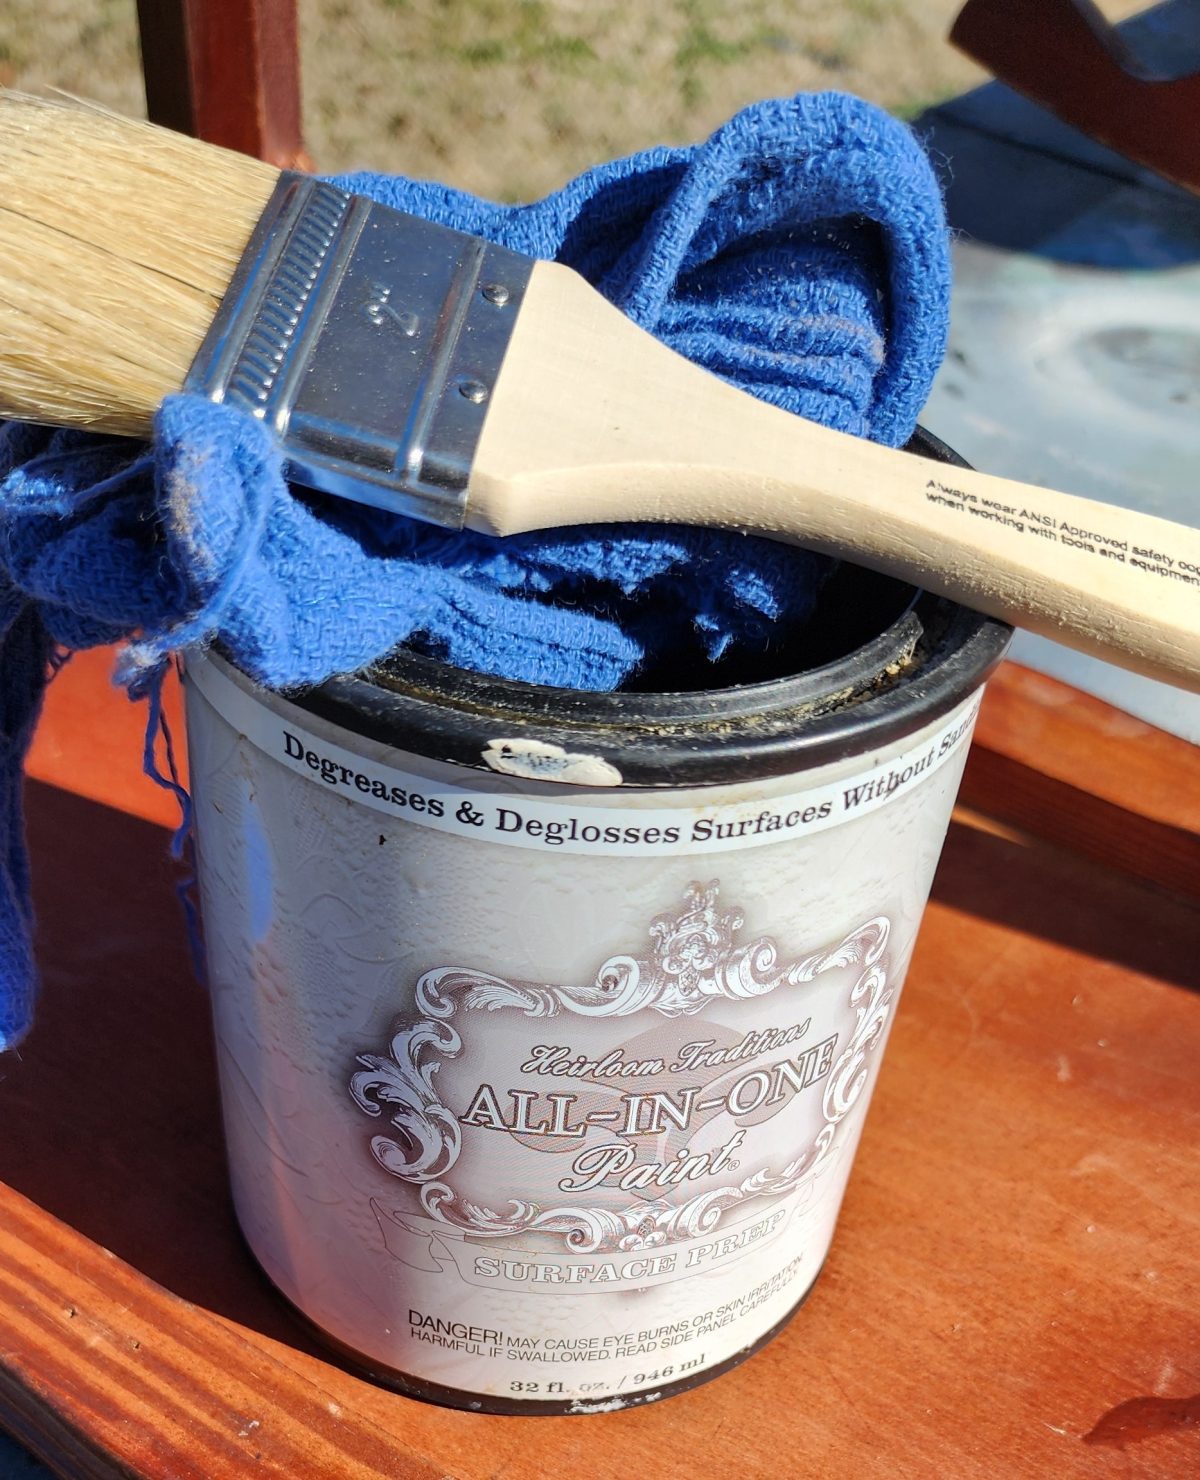
There are many options to Prep Your Furniture For Painting. My top three choices are Krud Kutter, All-In-One Surface Prep, and Surface Prep Wipes. Don’t skip this step! You never know what abuse the wooden furniture may have seen.
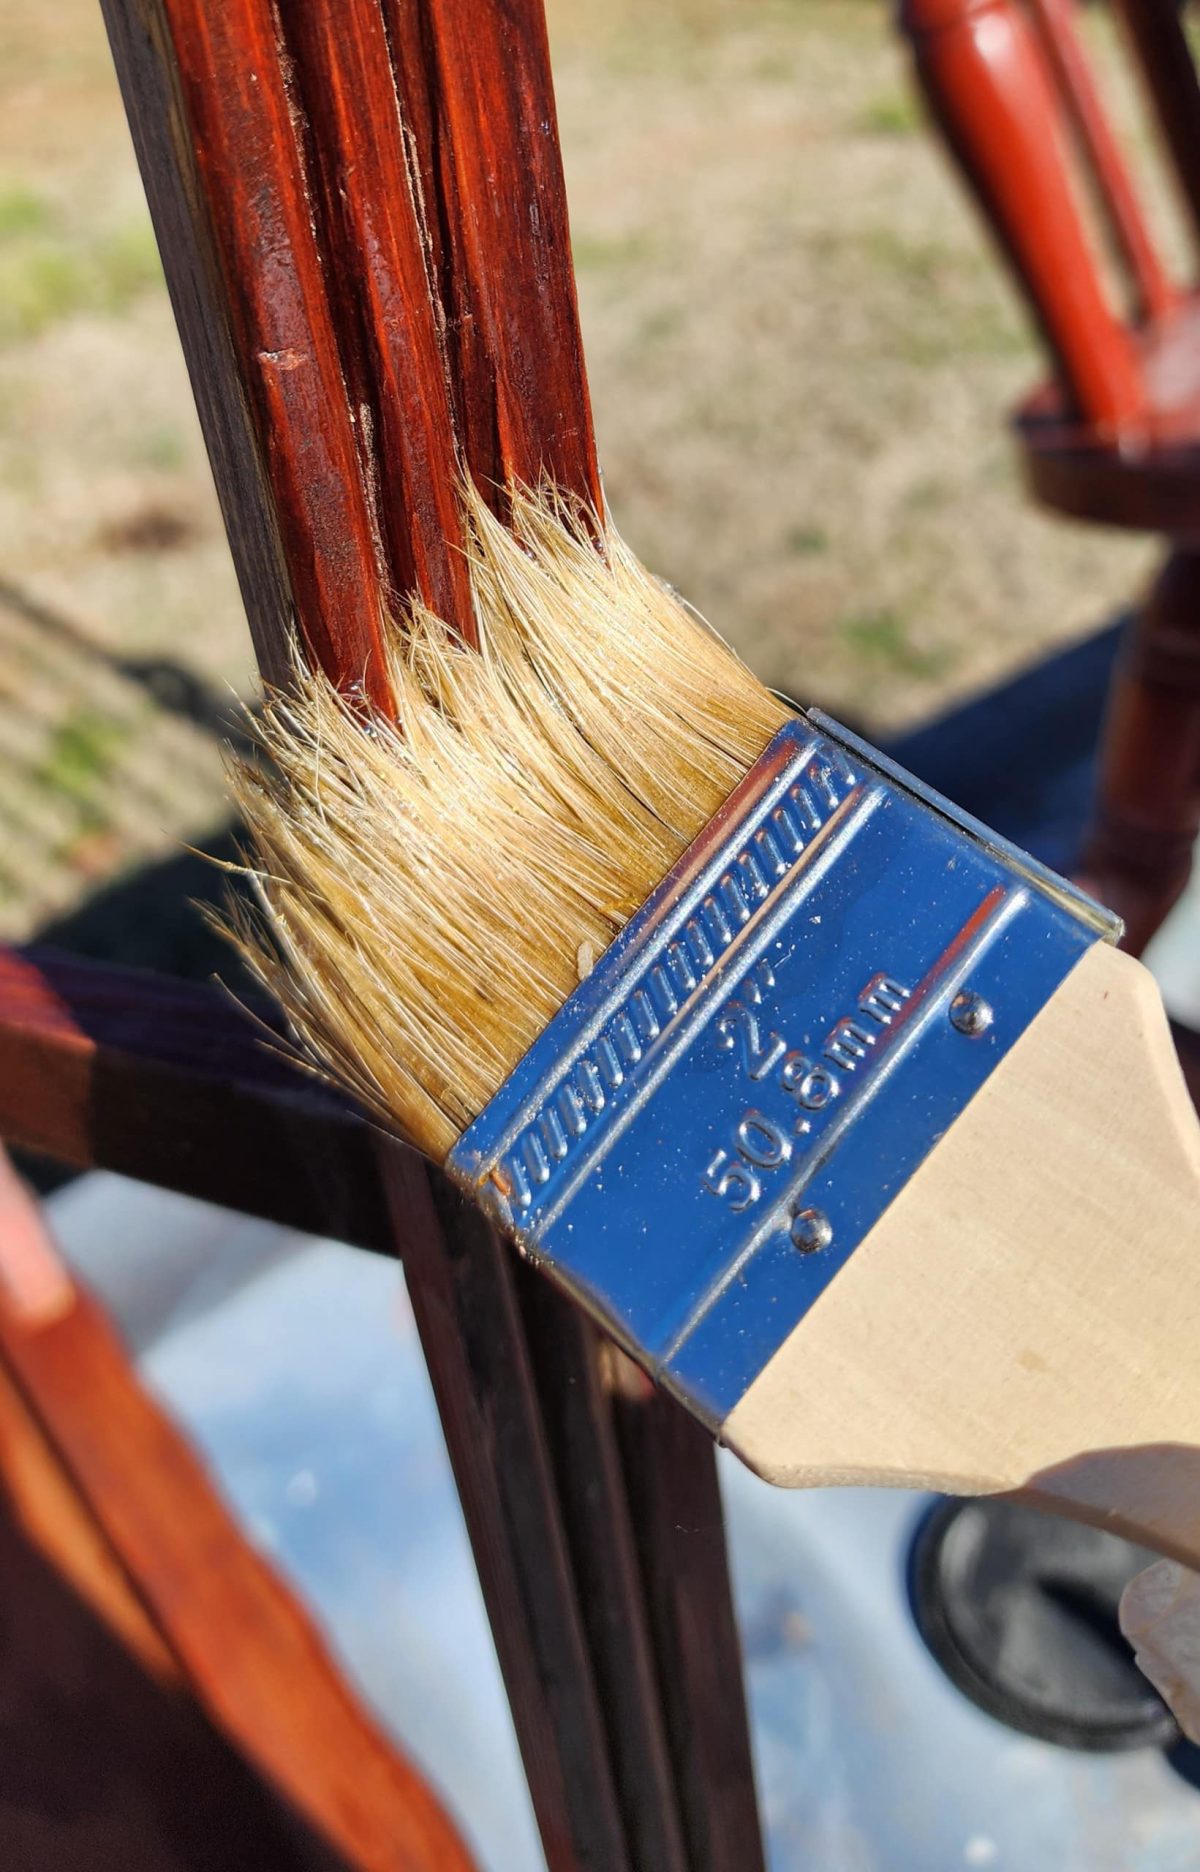
For this small table makeover, I chose the liquid surface prep. It’s easy to apply with a chip brush, scrub with a pad (optional), and wipe off.
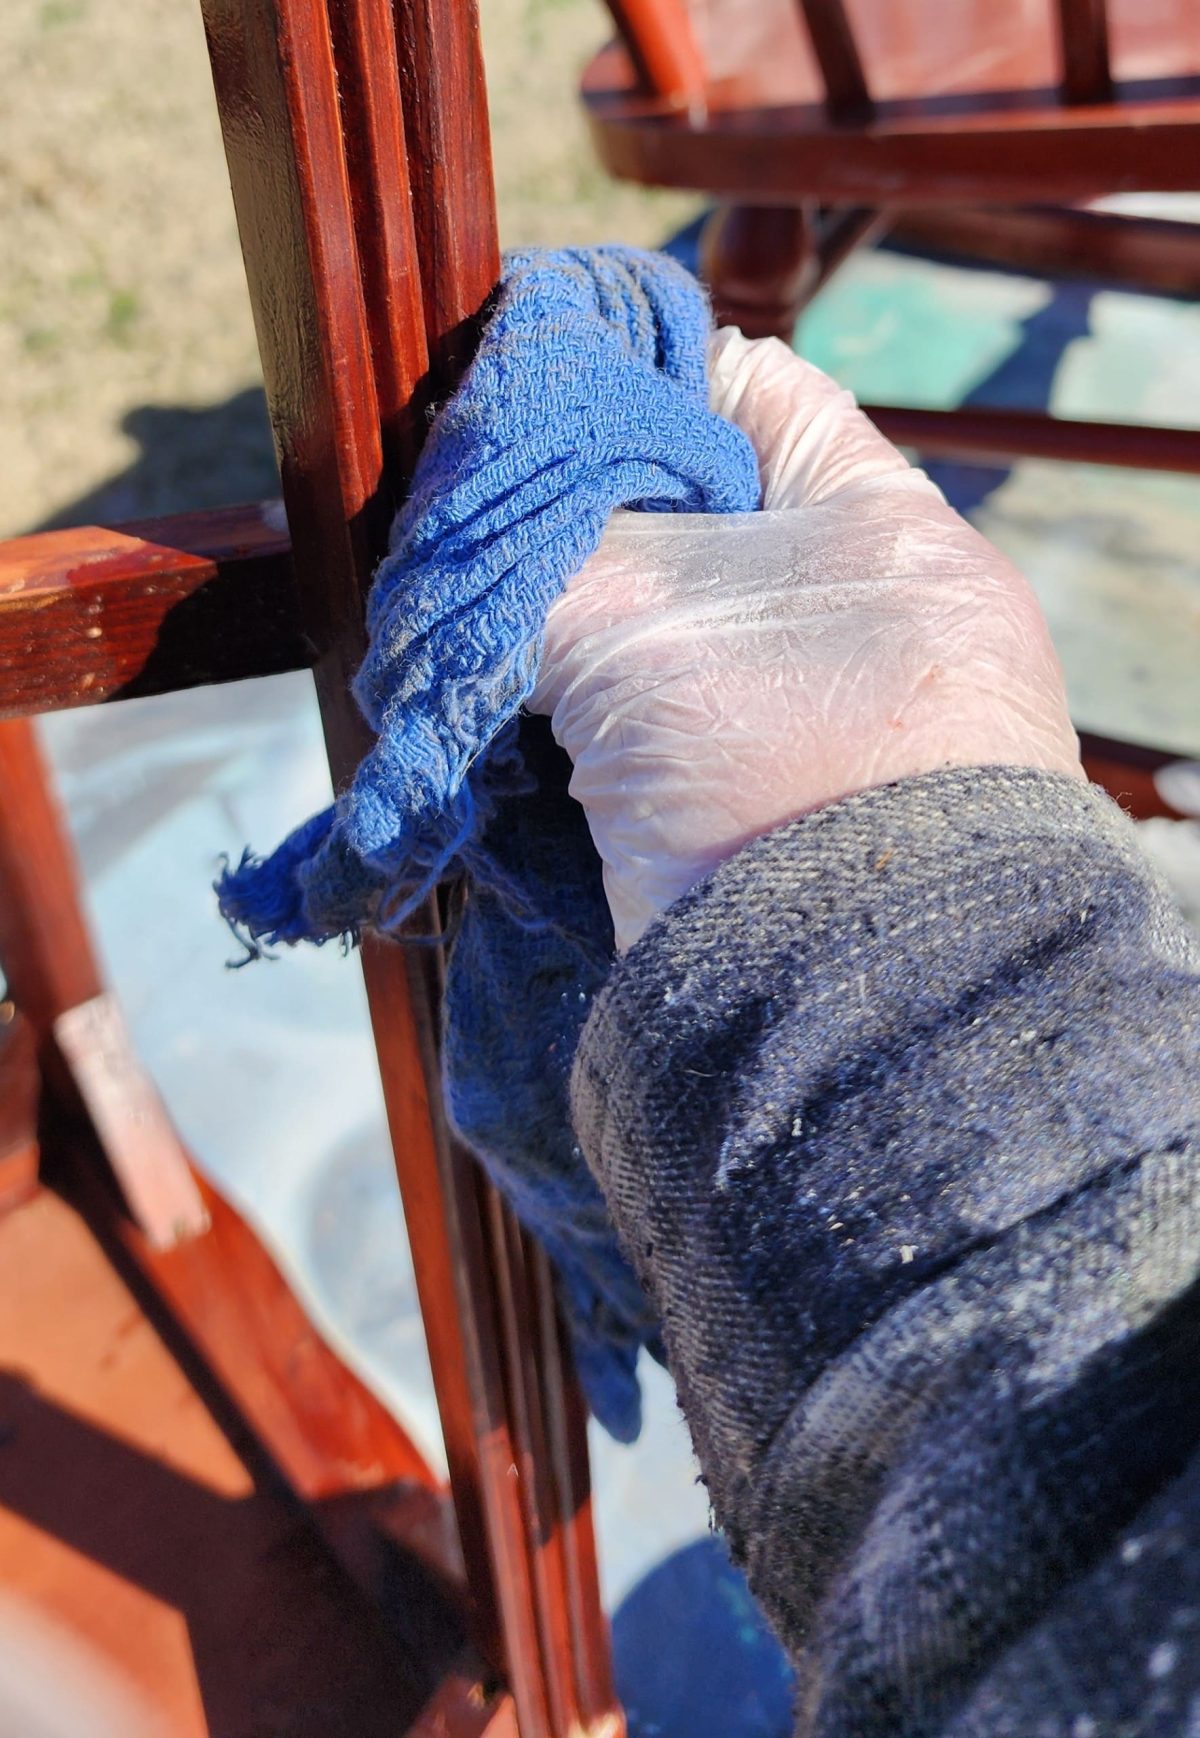
The surface prep dries quickly, and there is no need to rinse. It not only cleans but also deglosses your wood, improving paint adhesion.
Using A Foam Roller to Paint Furniture
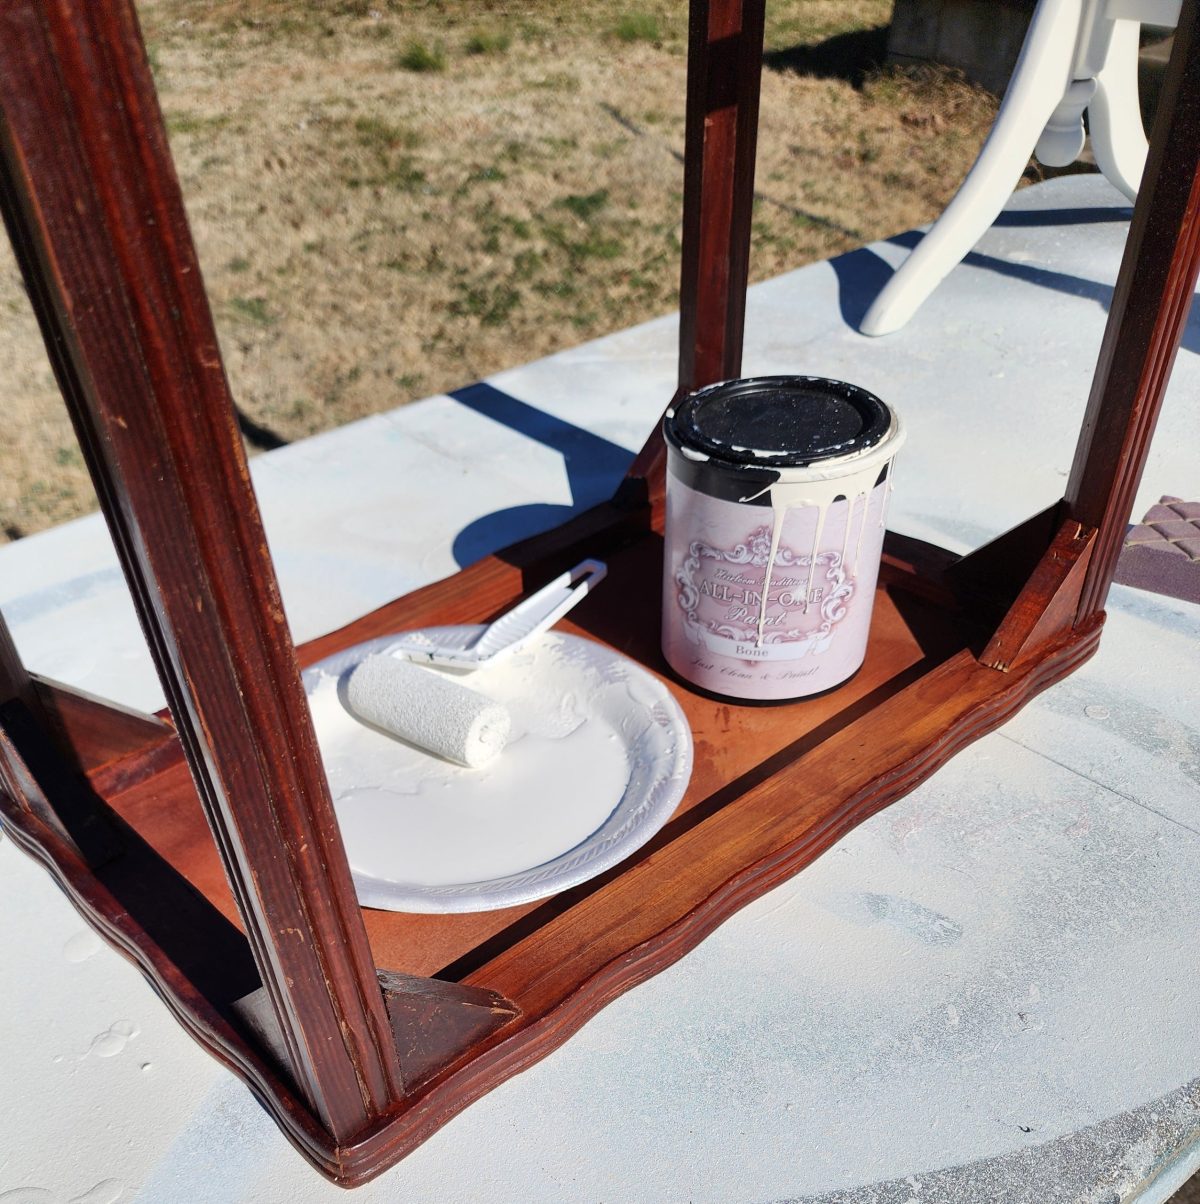
For this small table makeover, I chose a foam roller and All-In-One-Paint in the color Bone.
To begin each project, I always start with the underside. I have a little something extra planned for the underside later.
In the background, you can see my Recycled Mirror, Double-Sided Chalkboard.
Painting First Coat on Furniture
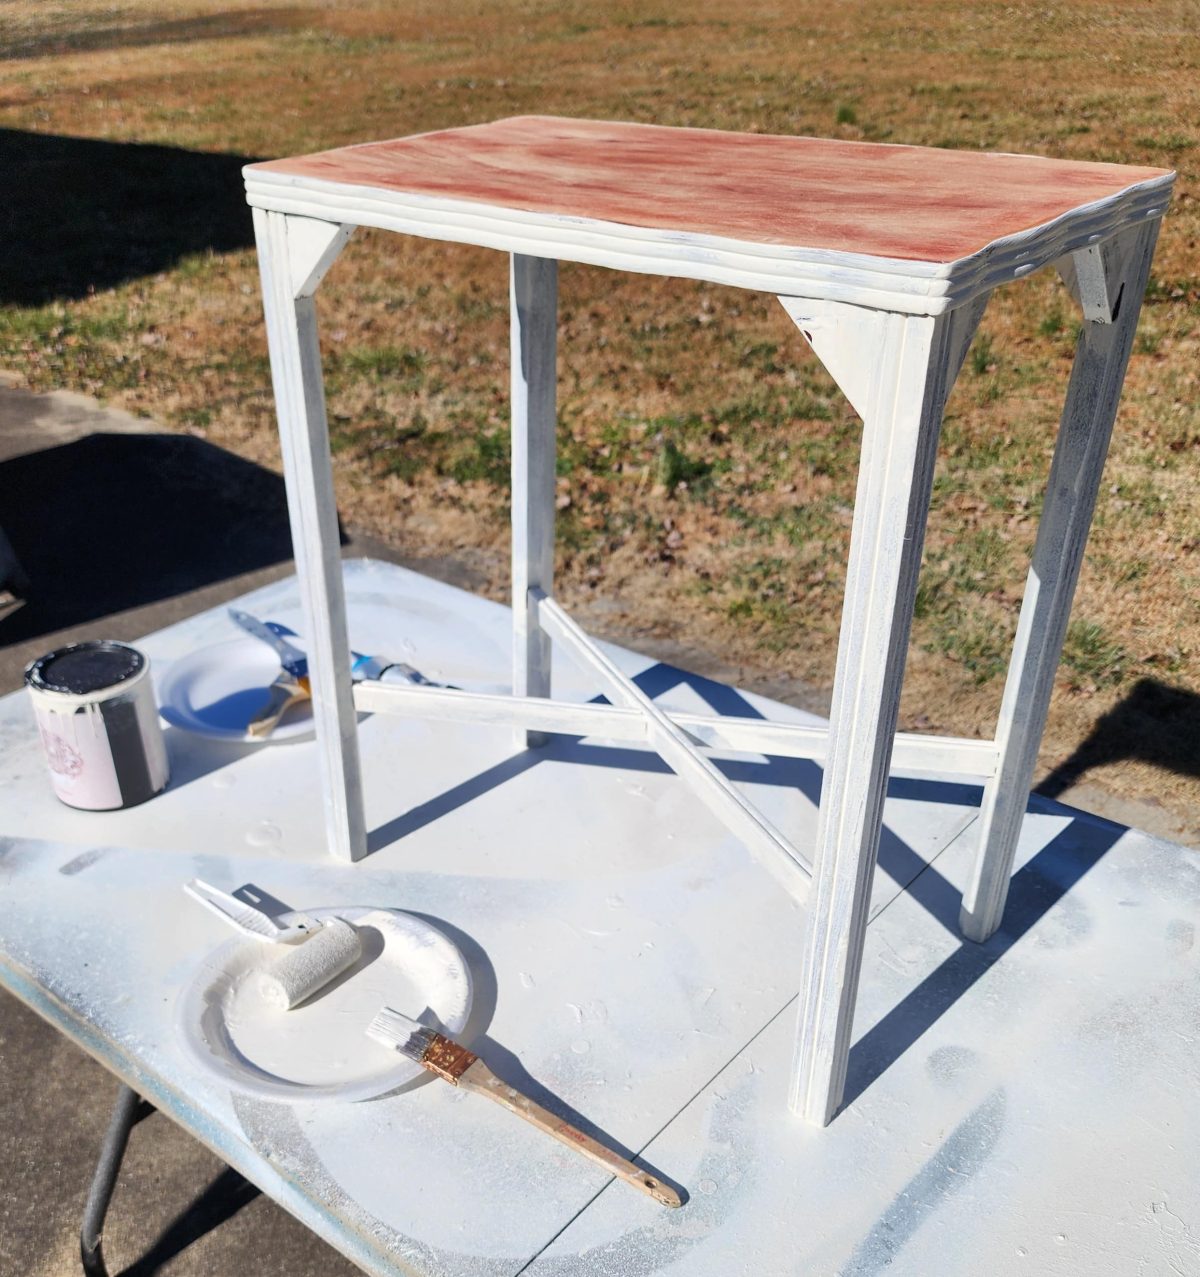
Resist the urge to paint a heavy first coat. I call this the ugly first coat because it’s thin; you can still see the wood through some of it. Light coats of paint work best for a smooth, lasting finish. At this stage, I thought I might do a two-toned look and stain the top of this small table.
Second Coat of Paint
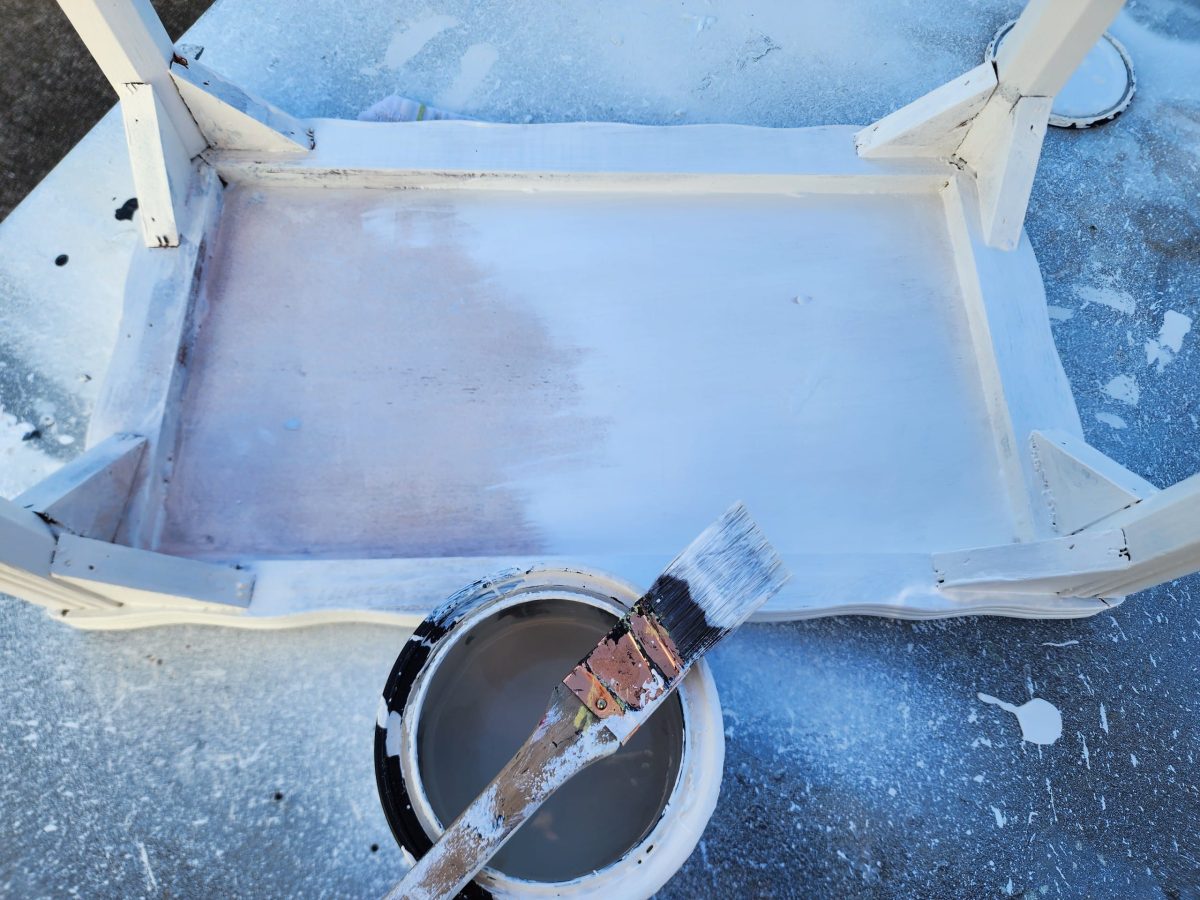
All in all, I generally paint two and one-half coats of paint. The second coat covers up the ugly, and then I do a quick coat of touch-ups where needed.
Small Table Makeover in Progress
I use a piece of brown packing paper between coats to smooth the surface and prepare it for the next coat of paint. (not shown)
The table had a red hue, which caused tannins to bleed through. I used a light coat of All-In-One Paint Satin on the top of the table. Then, I added another light coat of paint, and there was no longer any bleed-through.
Chalking a Transfer
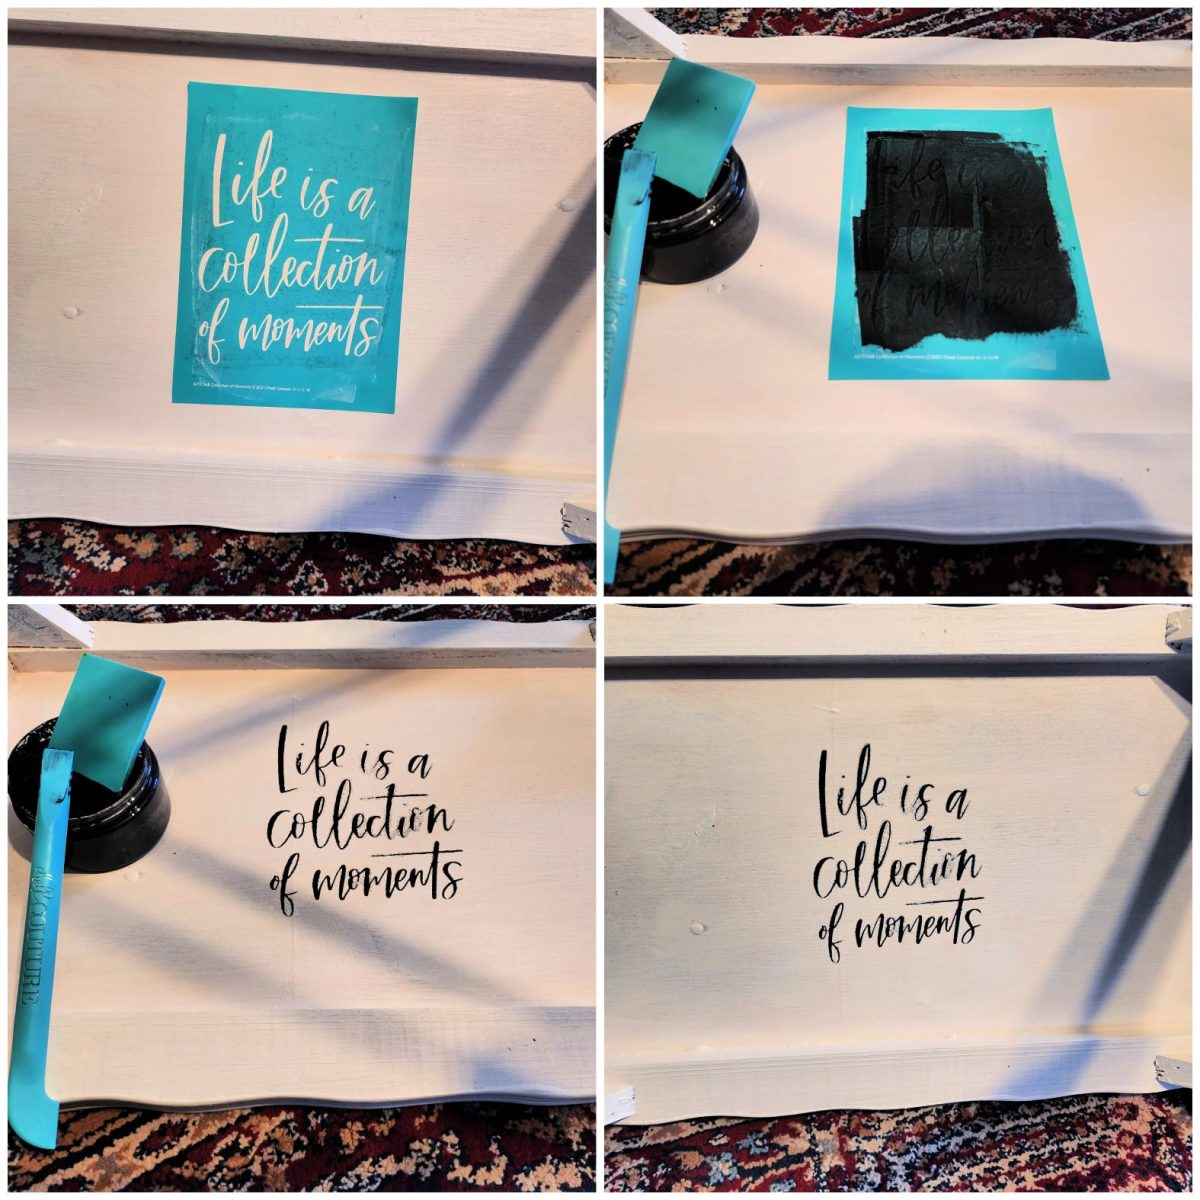
Were you wondering what hidden little gem I was going to leave? Well, here it is, the extra little feature I added to the underside of the small table makeover. I thought it was a nice addition as someone picks it up and puts it in their vehicle after they purchase it. It’s a chalk couture transfer, and it’s oh-so-easy to do!
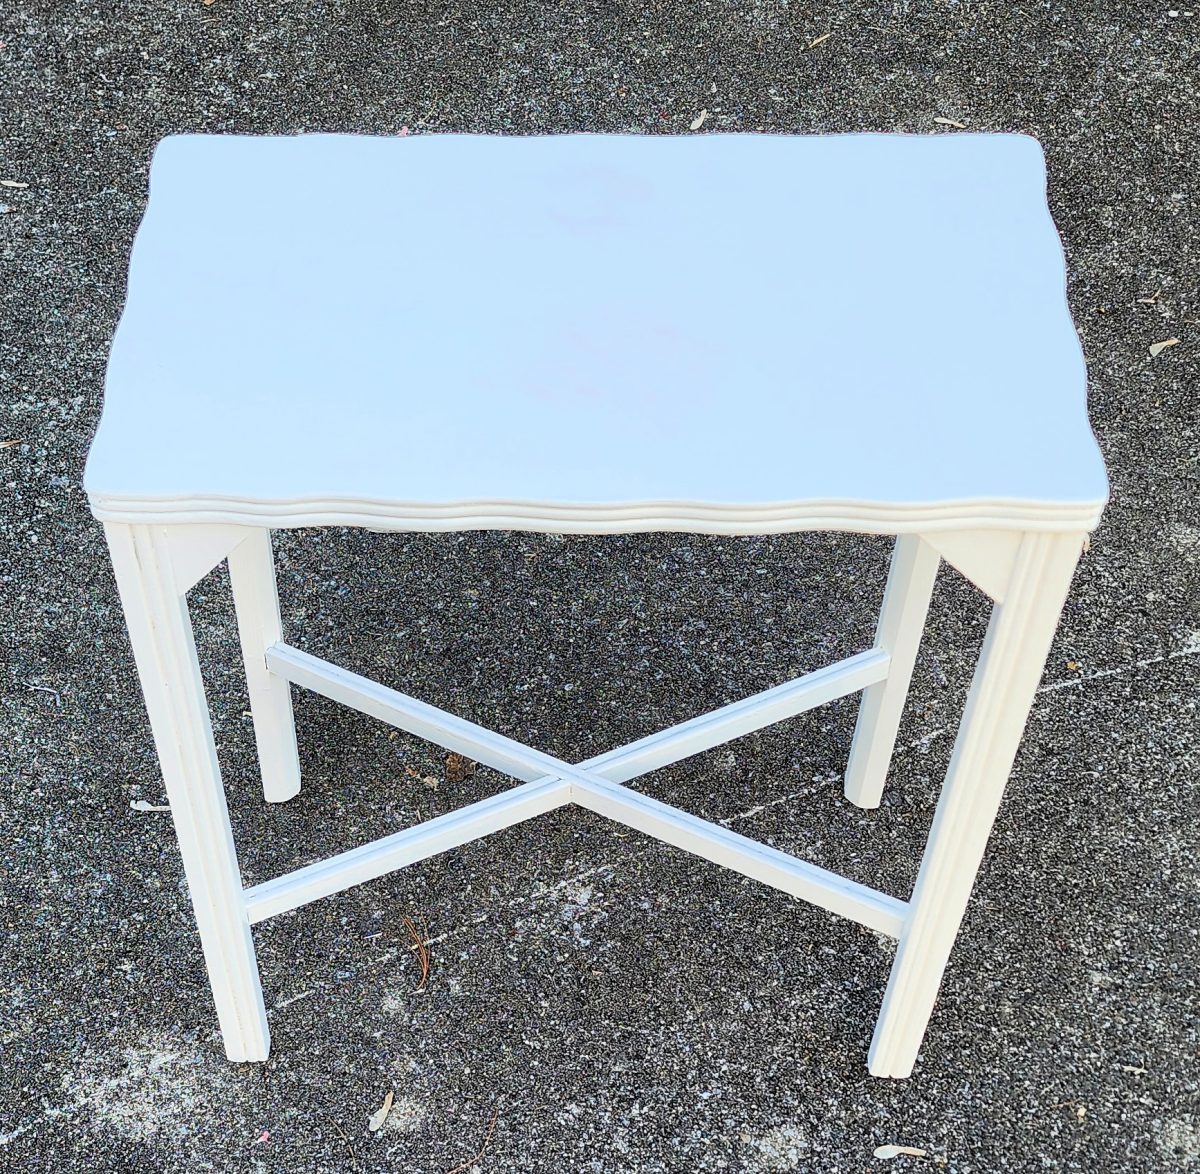
Simple Small Table Makeover Complete
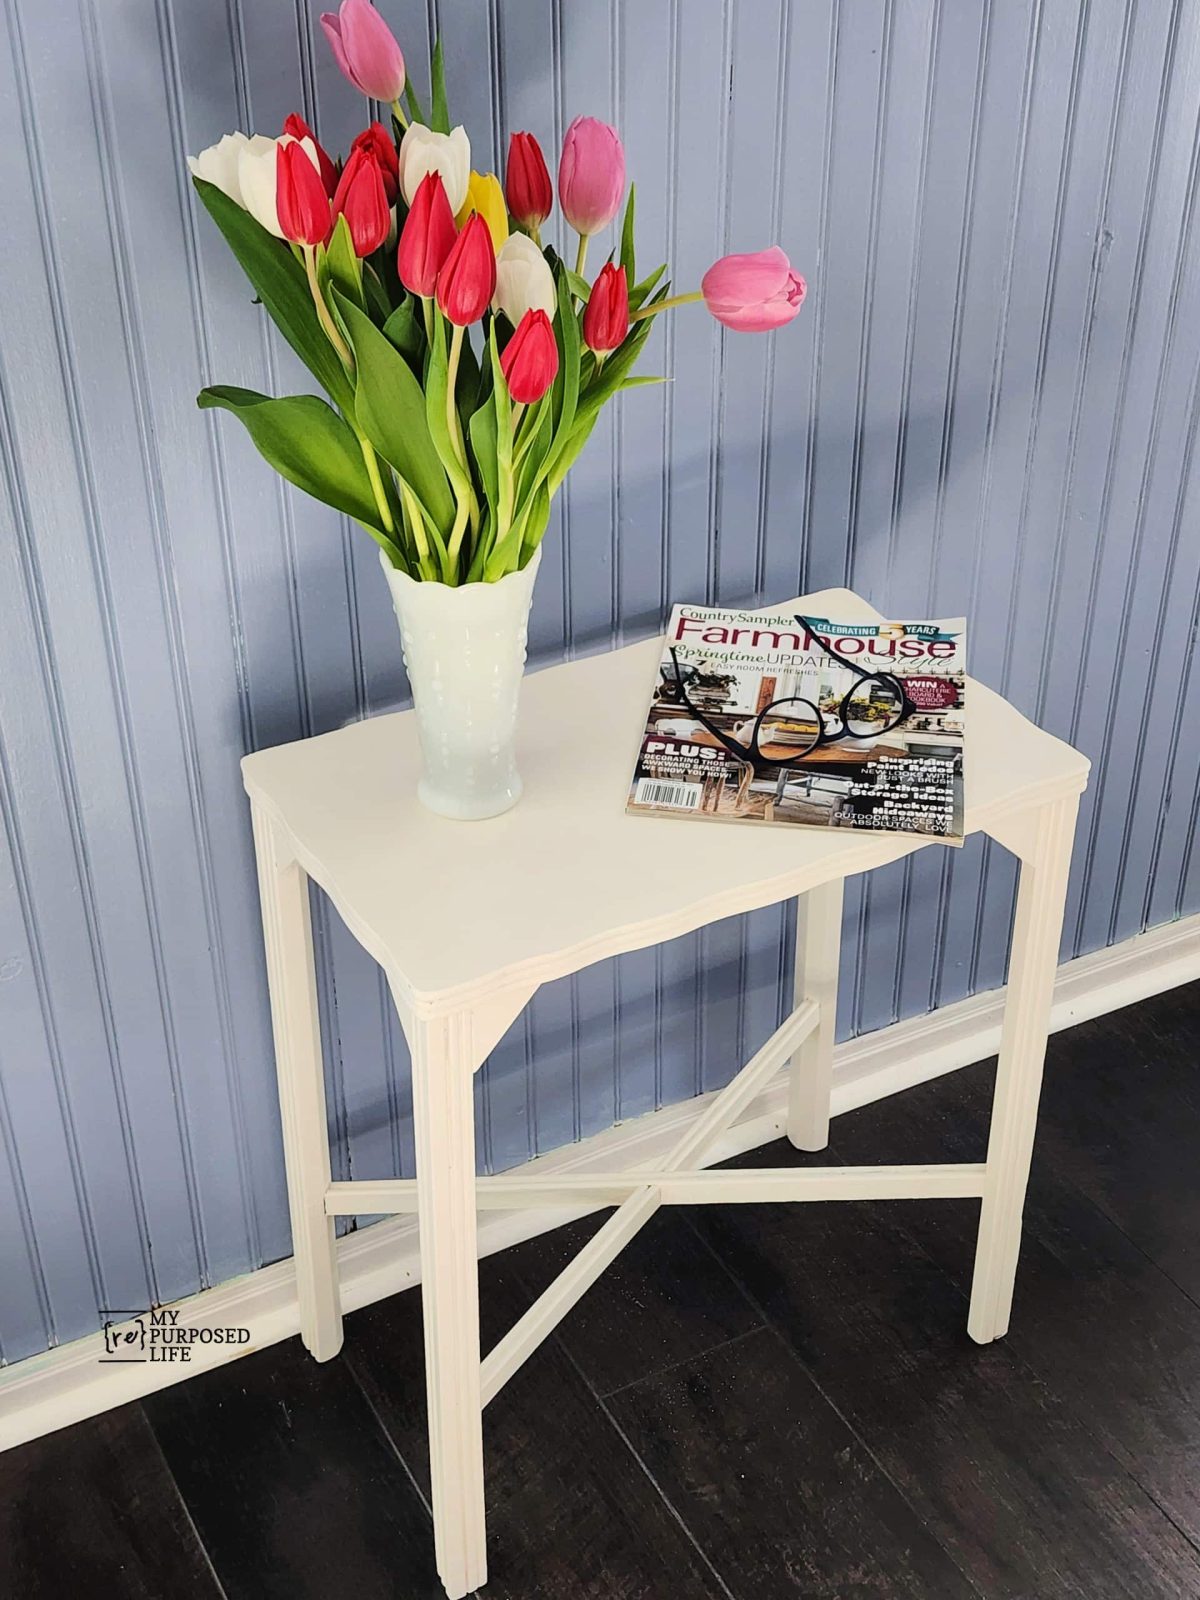
I love the way this simple makeover came together!
Small tables like this are easy to overlook, but they’re such a great project for a quick furniture makeover. They’re manageable, useful, and perfect for trying a new paint color or technique without a huge commitment. Whether you find one at a thrift store, yard sale, or sitting by the curb, don’t be too quick to pass it by. A wobbly little table might only need a little attention to become useful and pretty again.
Whether you’re flipping pieces for profit or simply giving a gift a new life, small makeovers like this one remind us that beautiful home decor doesn’t have to come with a high price tag. If you try this table makeover yourself, I’d love to see your before-and-after photos.
Now, let’s check out my friends’ projects below:
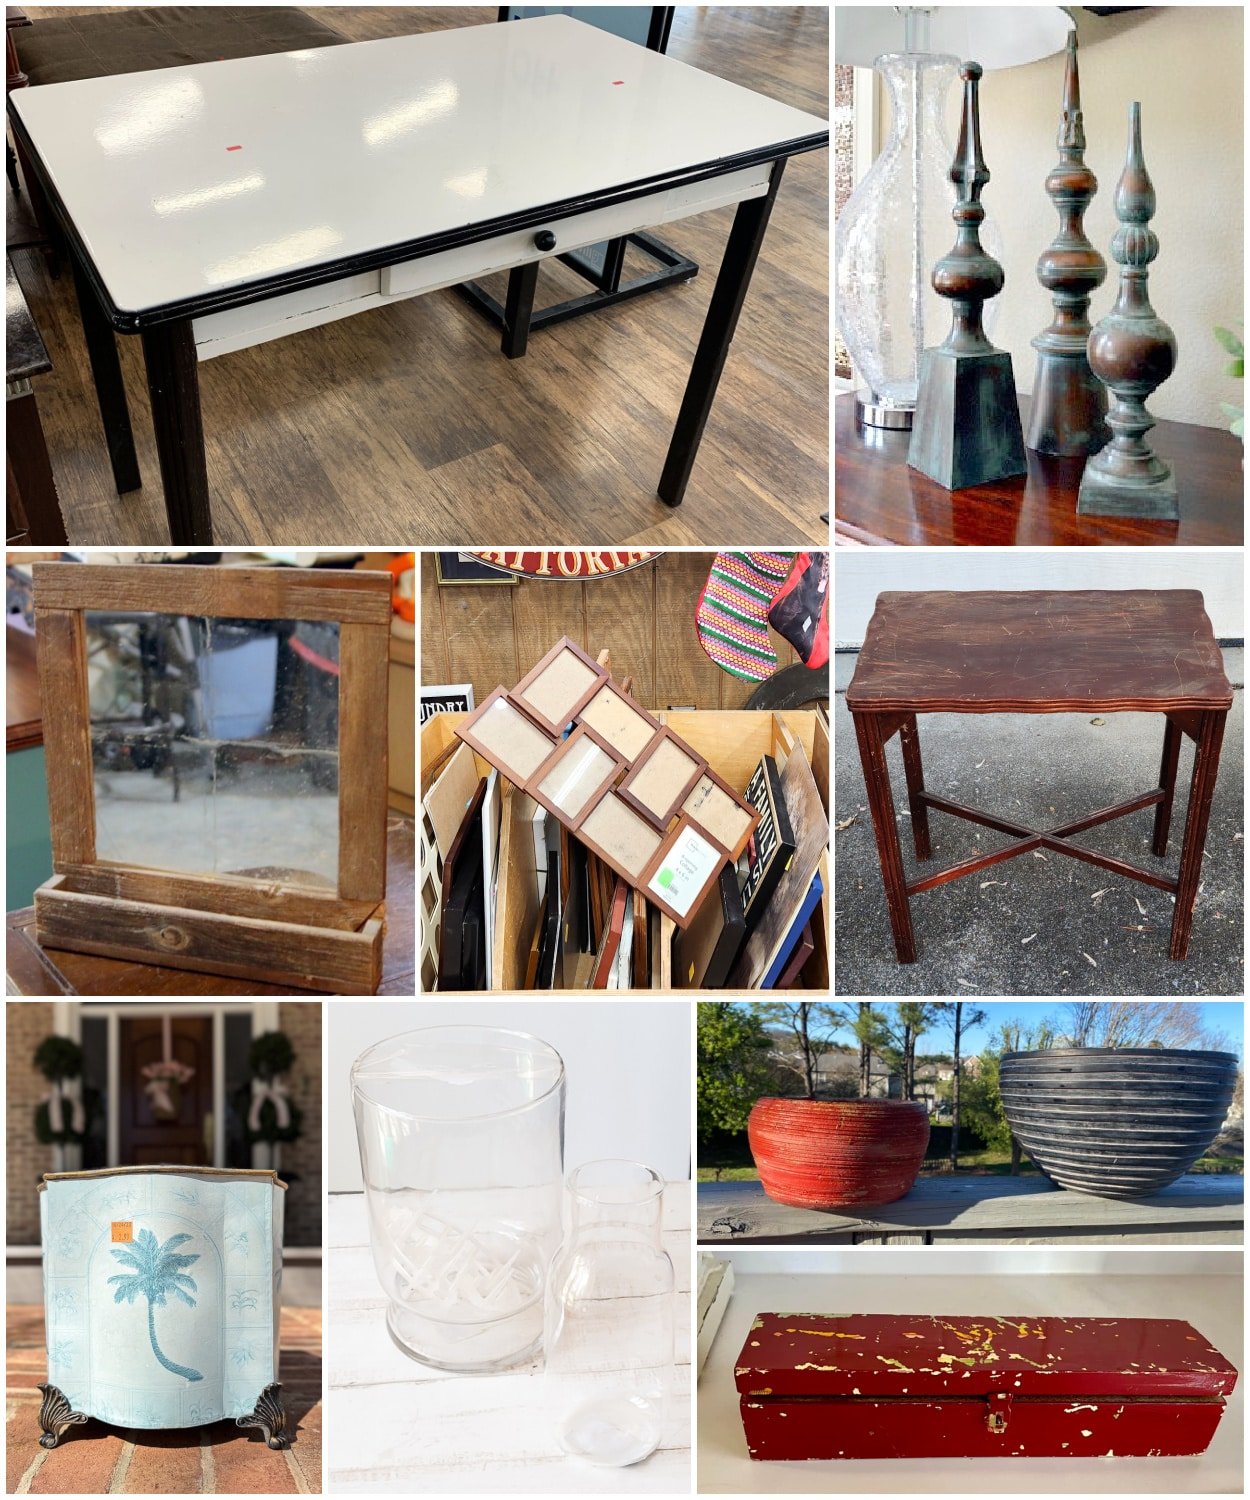
Salvaging A Vintage Porcelain Enamel Kitchen Table
DIY Wood Candle Holders from Finials
Mid-Century Modern Wall Decor from a Collage Frame
Simple Small Table Makeover (You are here, thank you.)
Decoupage Wastebasket Makeover
Thrift Store Hinged Box Spring Makeover
Upcycle Garden Pots with Paint
I hope you enjoyed these tips for flipping furniture. See more Thrift Store Projects Here.
Your little table turned out so cute! Simple is best in my opinion!!!
what a beautiful makeover and you can’t beat free!
It’s so beautiful all creamy white! Lovely job!
Perfect makeover for a dated table! Pinned.