Amazing Grace sign | Old Bed
As an Amazon Associate, I earn from qualifying purchases.
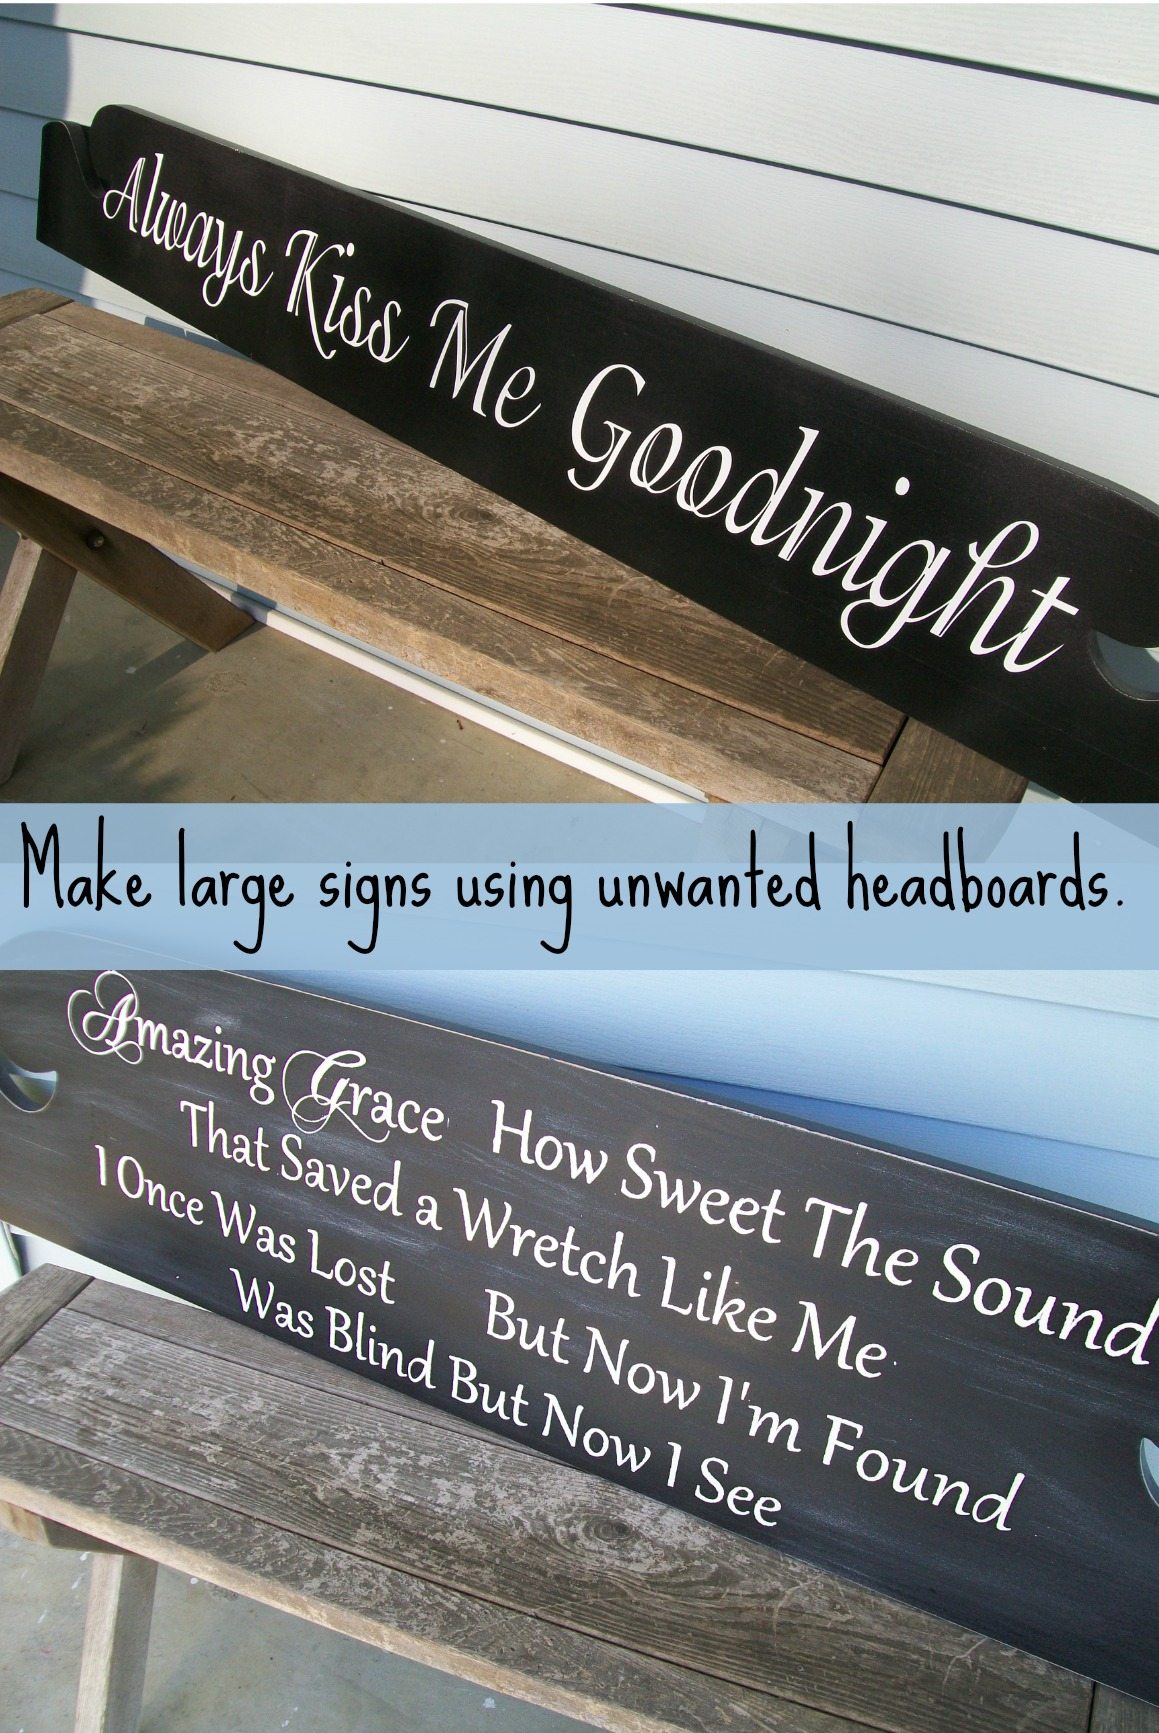
I can’t wait to share this Amazing Grace sign I made out of an old bed!
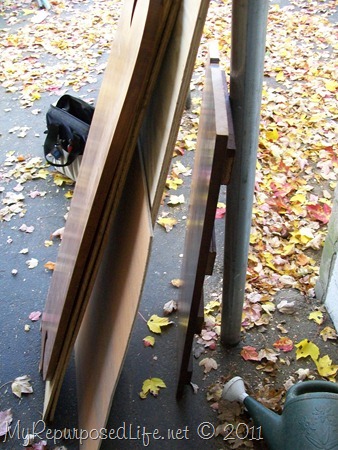
Let’s recap a little. I got this pile of stuff last fall from some very good friends. 
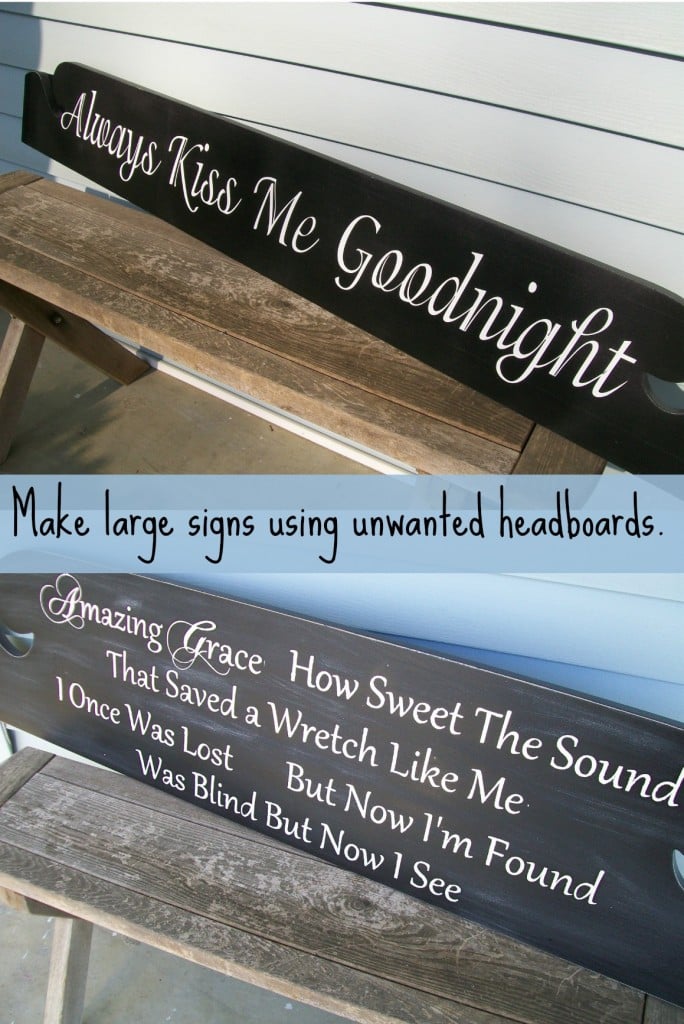
I showed you yesterday that I made a sign out of the foot board sign Always Kiss Me Goodnight.
Old Bed Sign Always Kiss Me Goodnight

Today, I’m showing you the sign I made out of the headboard.
Dismantle Headboard for Sign

I used my compound miter saw to cut the end pieces of on either end of the headboard.
Paint Headboard Pieces

You can see here where I cut it and that I painted it with primer.
Black Bed Pieces to Make Signs

After the primer dried I used my Paint Sprayer that I got at Harbor Freight to paint it black.
Amazing Grace Sign on Silhouette

I designed my words in my Silhouette program. I love that you can make it as long as you want it. This was almost 4 feet long I believe. I used a different font for the A in amazing and the G in grace. I used contact paper for this stencil because I didn’t want to waste my premium vinyl. You can see my settings. Speed=4 Thickness=3
Contact Paper Stencil on Silhouette

This is the polka dotted contact paper I used. I got it on clearance.
Lay Out Stencils for Amazing Grace Sign

After laying it out, I decided it wasn’t going to work in three lines as I have it here.

I cut the phrases apart and made it four lines instead.
Use Painter’s Tape to Lay Out DIY Stencil

Notice that since I am using this as a stencil, I have peeled away the “positive” and left the negative.

I used my handy self centering tape measure…. LOVE IT!

Still trying to get it all laid out.

I used some Scotch Blue painters tape where the letters were really close to the edge so that I wouldn’t accidentally paint the board.
Painting Contact Paper Stencil | Amazing Grace Sign

I used a stencil brush… for the first coat. I wasn’t really thrilled with how it was going.

So I switched to a sponge.

This is after I peeled away most of the stencil.
Amazing Grace Sign made from an Old Bed

Here it is after the paint dried.

Lightly Distress Sign

I decided to distress it a little. I think this would be great in a foyer or over a double doorway. Possibly even over a picture window? I would love to keep it, but so far I haven’t found a place to put it.
Save & Share this project on Pinterest here.
gail
Pin It
Linking to:


Love it! that my favorite hymn. It looks beautiful!
What a great sign. I have to say I also love the sign you made from the footboard too.
I have the honor of being your “linky neighbor” over at SNS Party, stopping by to say I think this is a fantastic idea! Very well done, and nice choice of lettering:)
Looks wonderful, another fab project!
So beautiful! I am very glad that I stopped by!
***Hopping over from the Shabby Nest! 🙂
Love this sign – a total wow! I think I may need a Silhouette!
Love this sign – a total wow! I think I may need a Silhouette!
This sign looks amazing. What a super way to make use of a headboard.
I don’t remember your mentioning the self-centering tape measure before. It sounds like a must have.
Your sign looks great! Glad you survived the storm!
Love the sign! One of these days maybe you can show me your Silhouette machine. I am thinking I might need to start saving for one!
We survived the storms, but spent quite a bit of time in the basement. Our grill fell over and part of it broke, but so far that’s the worst of the damage.
Beautiful, inspirational, and so perfectly done! I love the way you repurposed the old headboard. Your stencil-work is so precise and perfect!
Jenn
This is even better than the last. Great choice of words. Bravo!