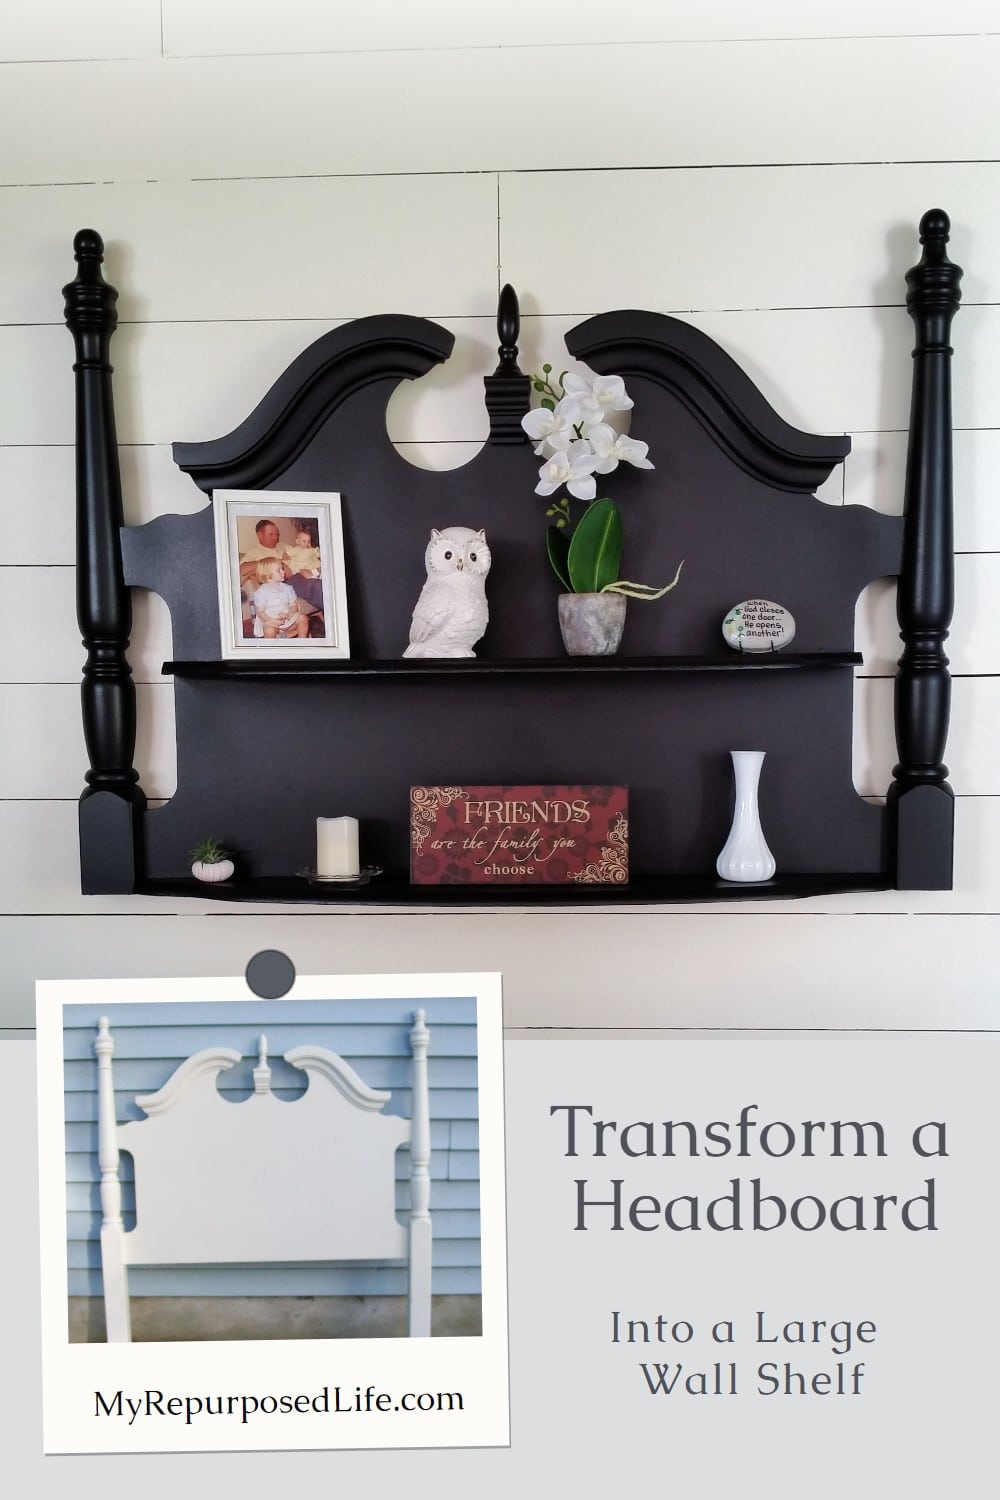
Wall Shelf made from a Headboard
As an Amazon Associate, I earn from qualifying purchases.
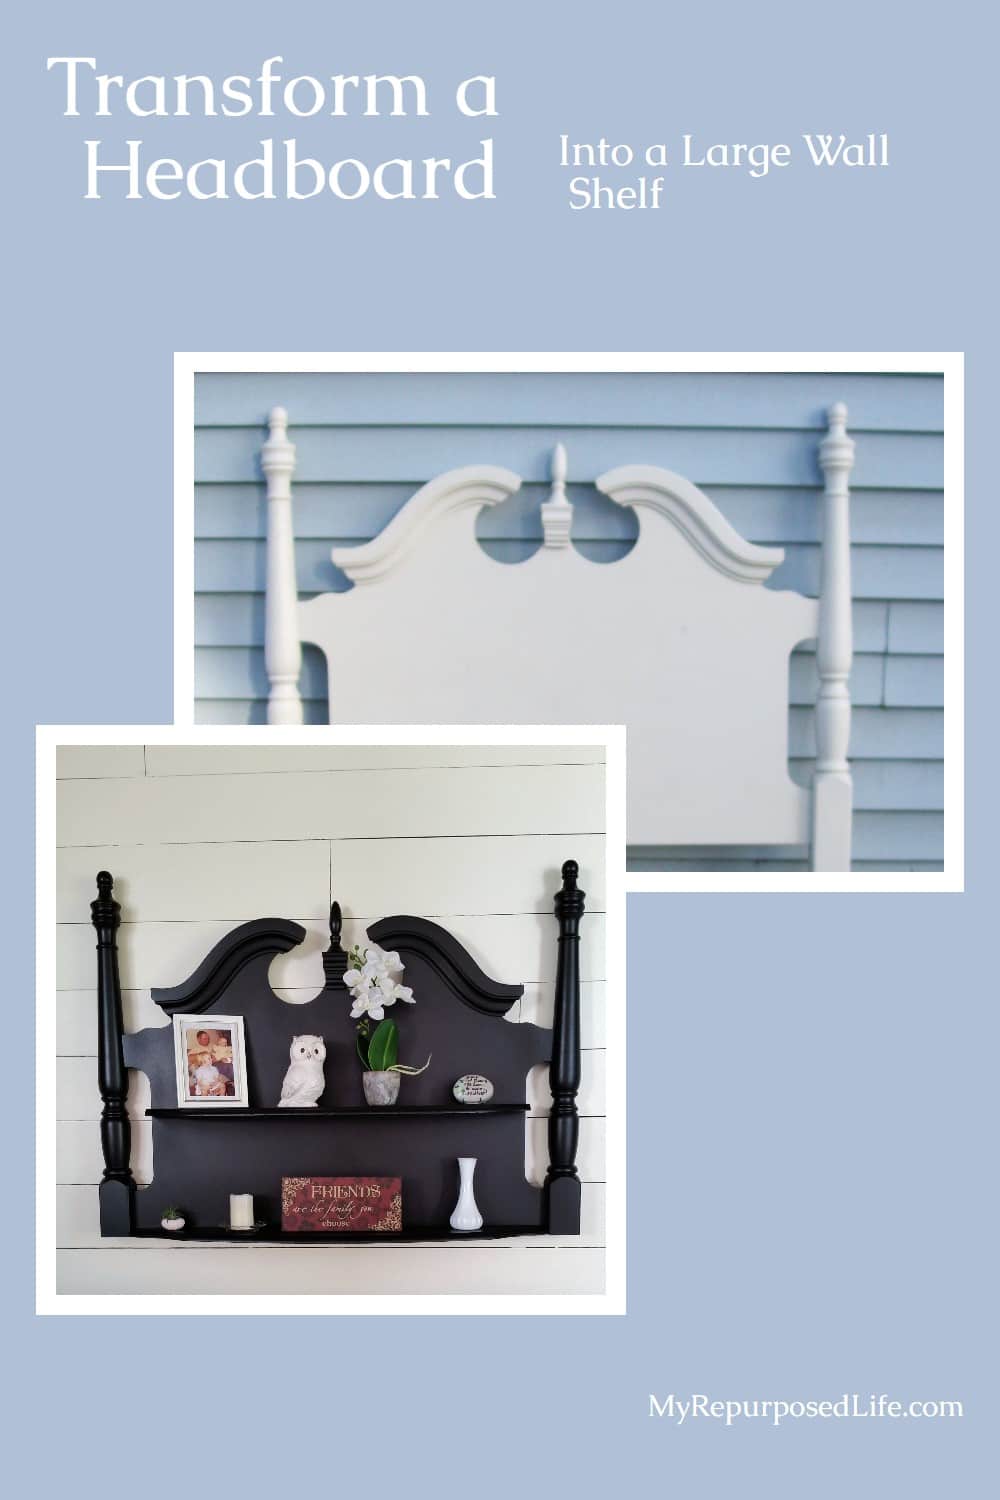

This headboard wall shelf is a perfect example of how repurposed furniture can add both character and function to your home. By combining a salvaged headboard with parts from a thrifted coffee table, I created a large statement shelf that offers plenty of display space while keeping that cozy, collected look I love. If you enjoy turning forgotten furniture into practical decor, this project shows just how much potential lives inside mismatched pieces.
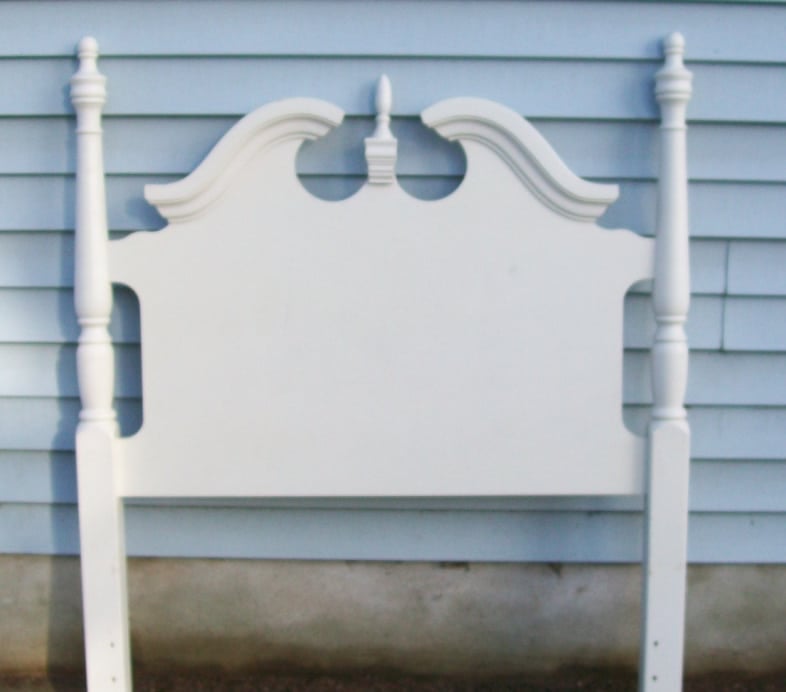
Here is a picture from “back in the day”. After I dug this piece out of the headboard department in my storage area, I got busy and forgot to take a picture.
Do you remember my recent project using a desk and that $1 yard sale coffee table? This project is why I purchased said coffee table. I wanted an oval table top with some detail. I used the base of the table to hold that cabinet I made from an old desk.
Cut the Thrift Store Coffee Table Top
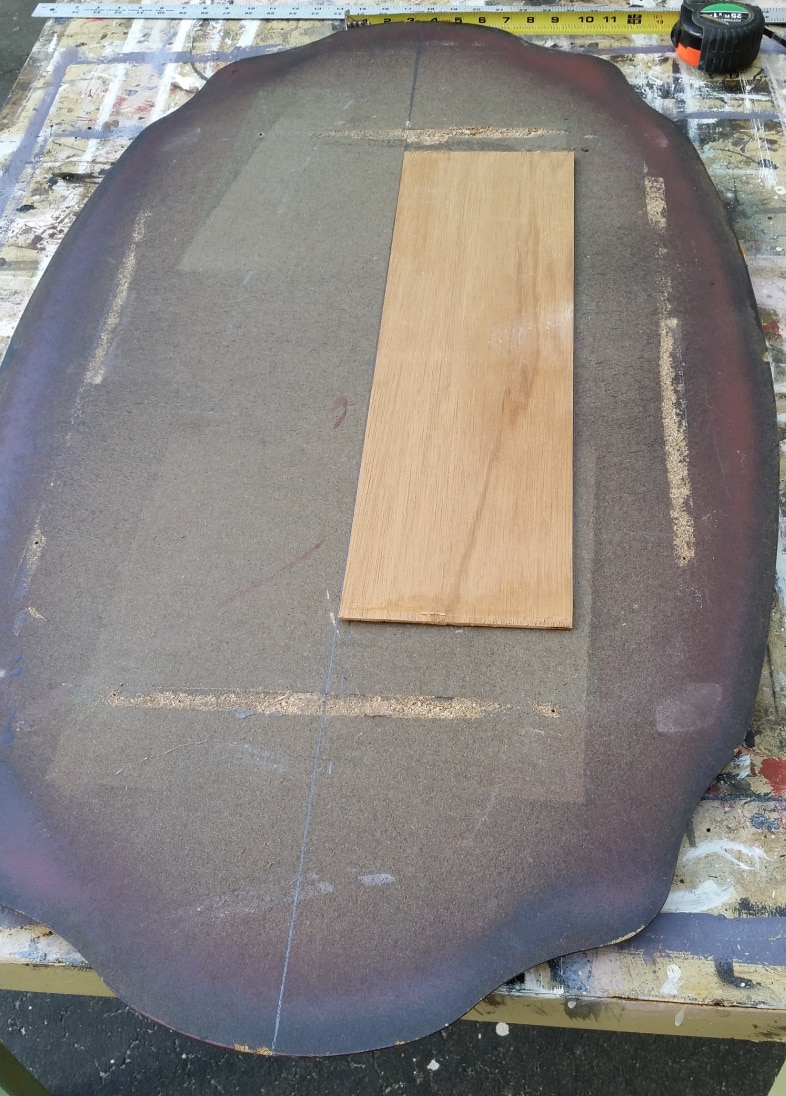
Doing my very best, I tried to find the center of the table top and drew a line. Then I measured over from that to get a smaller piece of the shelf.
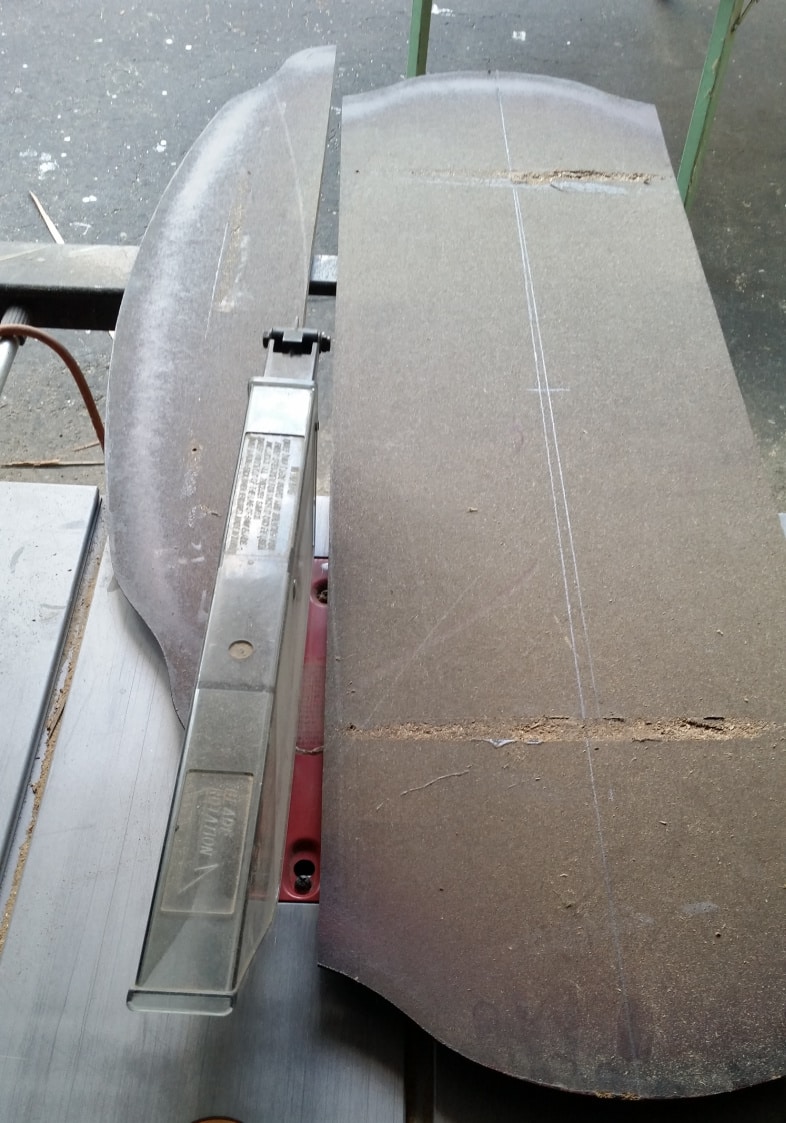
I used my table saw to cut off the sides of the table for this wall shelf project.
Visit the My Repurposed Life Amazon Store to shop my favorite items.
Add the Coffee Table Parts to the Headboard to Make a Wall Shelf
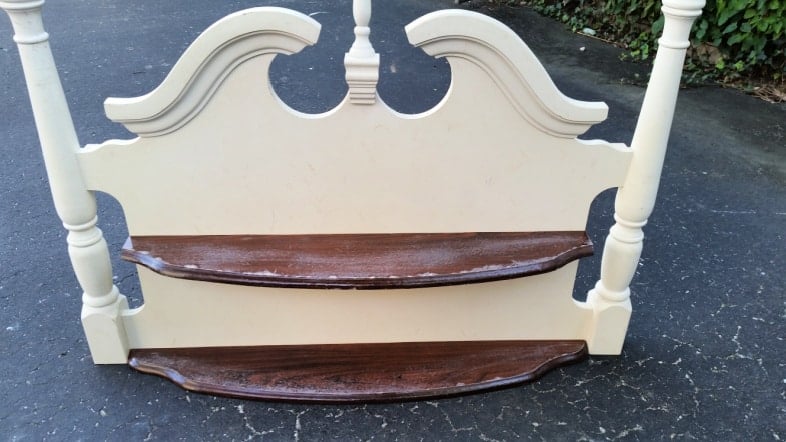
After cutting the legs off the headboard, I trimmed the ends of the table pieces to fit the headboard wall shelf.
Attach the Shelves to the Headboard
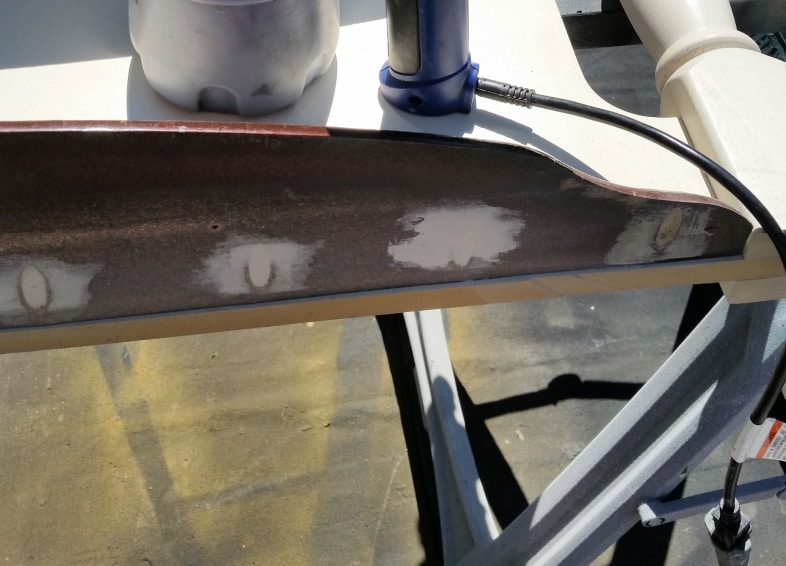
Apparently, I was having so much fun putting this together that I forgot to take pictures of how I added the shelves. Those who know me well have probably figured it out. I used my favorite Kreg Jig K4 to drill many pocket holes to make the shelves good and sturdy. You can see the pocket holes patched with wood putty in the image above.
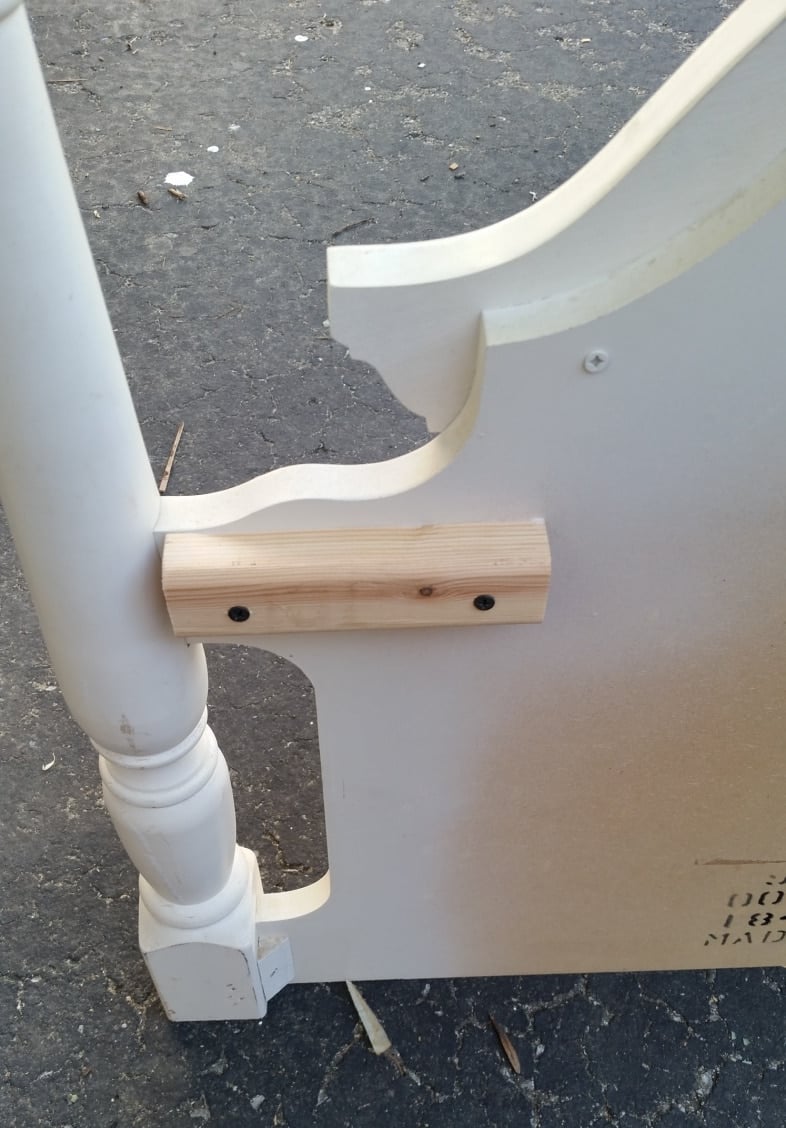
I added some scrap lumber pieces to the back of the headboard wall shelf for hanging. Extra-large d-rings were secured to the scrap lumber. I couldn’t add the d-rings to the back of the headboard because it needs more clearance to hang on the wall than the d-rings alone would allow.
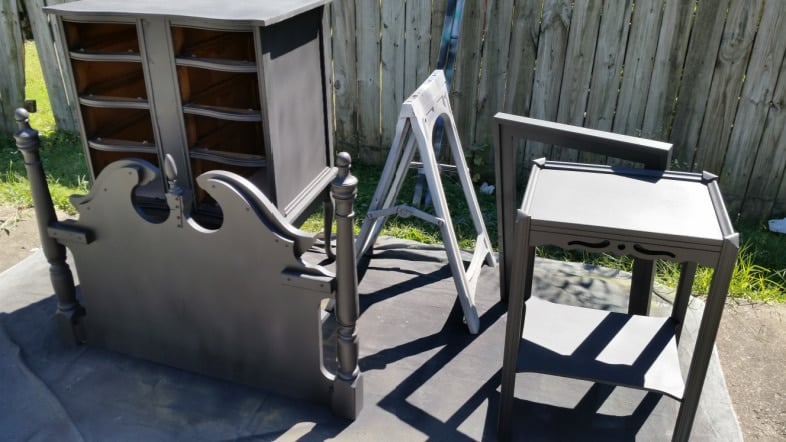
Time to Paint
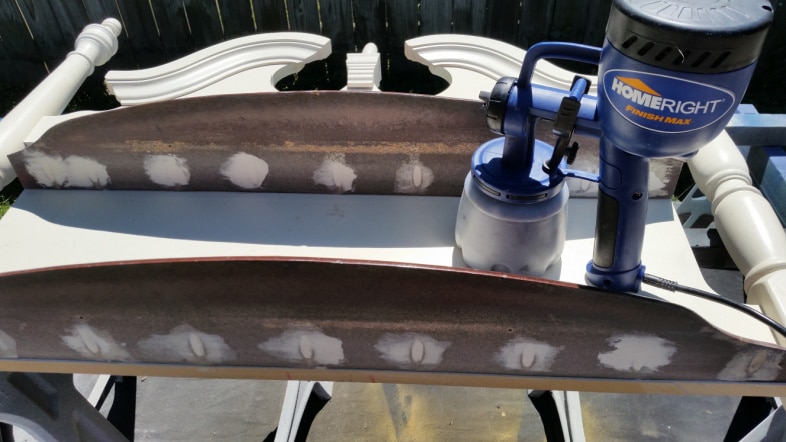
Here is a better view, showing the pocket holes have been filled and are ready for painting with my Homeright Finish Max. To make things easy on myself, I put the headboard shelf up on sawhorses for painting.
I mixed up some DIY chalky paint primer and painted 2 light coats, then did 2 coats of Behr Beluga (semi-gloss) as a top coat.
You can see the process of a Finish Max paint marathon here. I’ve already blogged about the desk turned into a chest, and the easy mirror frame.
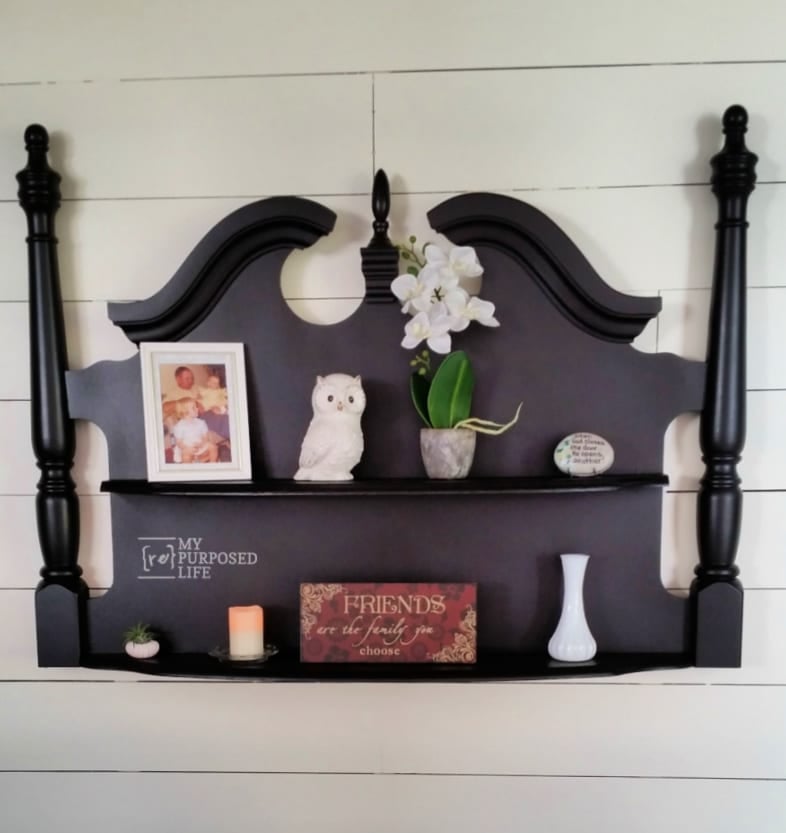
Black Headboard Wall Shelf
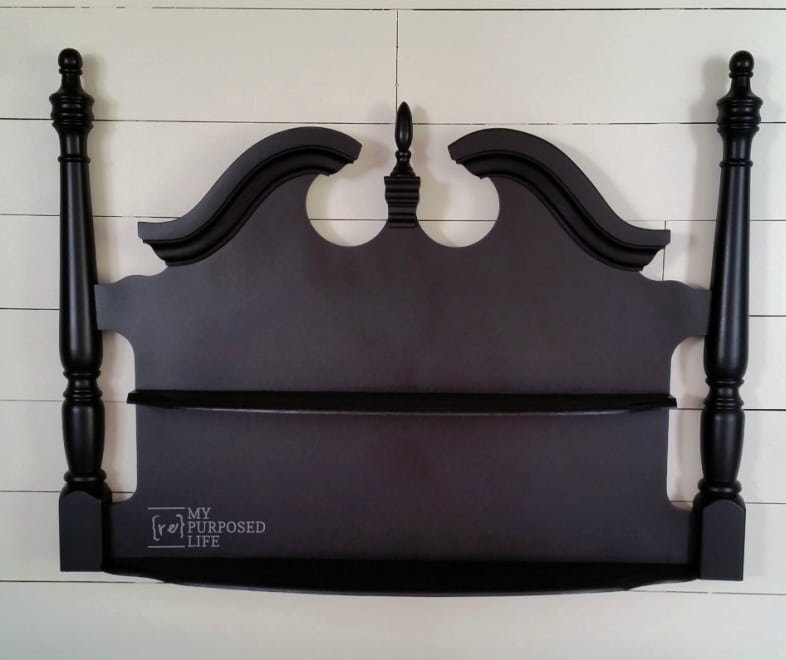
I was anxious to hang it on the wall to make sure that it would hang properly with the added wood scraps and d-rings.
Can you see that beautiful paint finish on the bedposts? That is not possible using a paintbrush. It took me six long years to finally use this free headboard for a project, and I LOVE it!
I hope this headboard wall shelf inspires you to look at old furniture with fresh eyes. Projects like this remind me that you don’t need perfect pieces to create something special, just a little imagination and a willingness to try. If you decide to make your own version, I’d love to see it. Be sure to share your project with me so we can cheer each other on.
I Was Inspired by This Project:
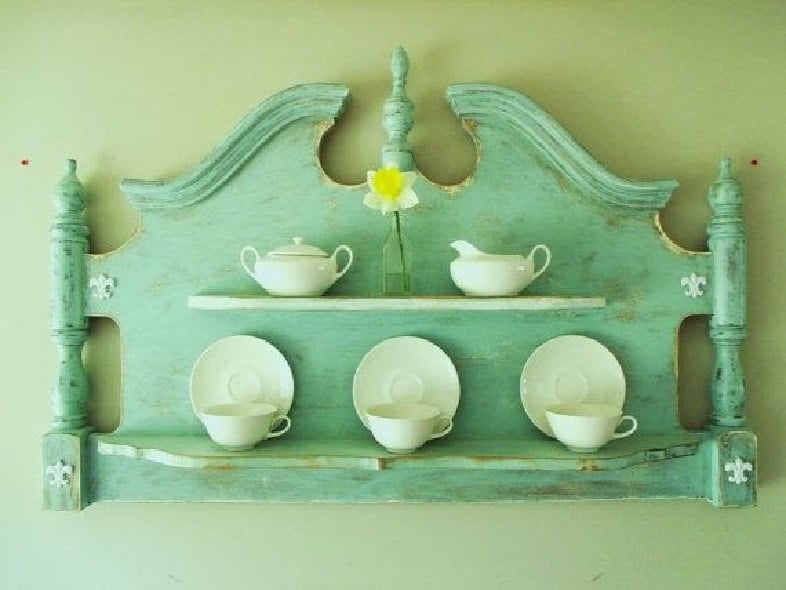
Funny thing… I love the color inspiration piece, but for resale at Glendale, I went with ‘just black”. What color would you want it to be if it were yours? I wasn’t able to find the source for this image.
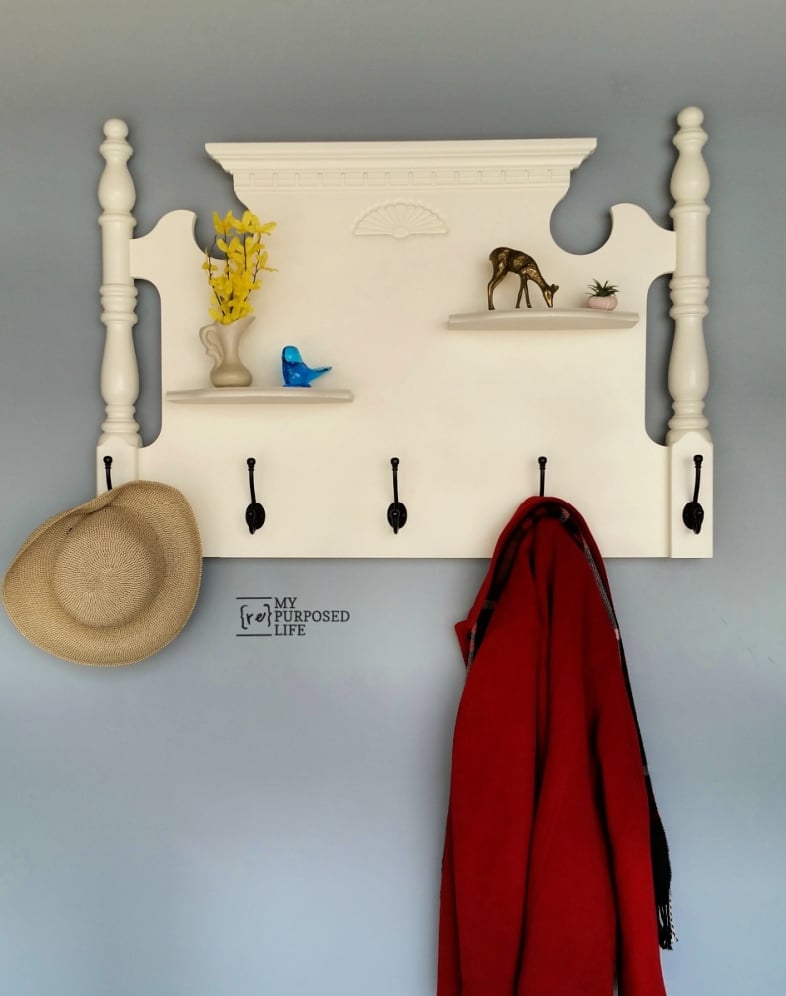
This white headboard shelf coat rack used the ends of the $1 coffee table.
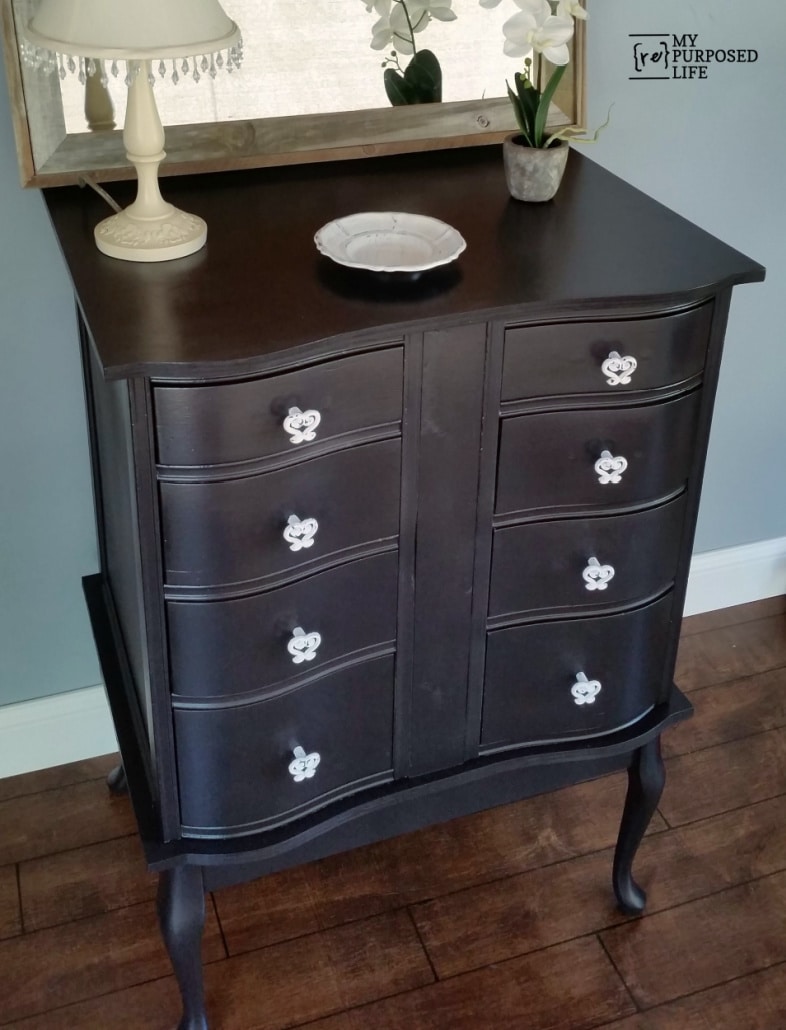
This lingerie chest was made using an old desk and the base of the $1 coffee table.
gail
sharing here: Elizabeth and Co. Be Inspired (the place to get great ideas!)
Thanks so much for your sweet comment Dee! I have a little secret about my “wall”. shhhh don’t tell anyone. https://www.myrepurposedlife.com/2015/03/photography-backdrops-and-floors.html
One side is planked the other is currently the gray wall you see in this post. I use it for staging all of my projects. 🙂