How to Build a Shed Ramp {Potholes and Pantyhose}
As an Amazon Associate, I earn from qualifying purchases.


Building a Shed Ramp, Easy Style (GP Re-Purposed Life) Hello to the wonderful “My Repurposed Life” readers! And thank you Gail for allowing me to guest post once again. I’m Rebekah from Potholes and Pantyhose where I share and photograph detailed tutorials of my DIY Projects, Recipes, Photography Tips and Remodeling Endeavors.
One of my favorite challenges is to repurpose scraps and leftovers from remodeling and make them into something useful. Today, I have a quick and easy tutorial on how to Build a Ramp for your shed or workspace using scrap wood.

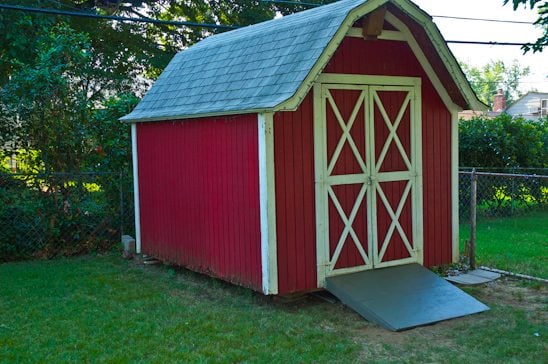
I have been needing a shed ramp for at least three years. This looks terrible! Plus, each time I wanted the lawn mower I had to muscle it in and out of this little barn. This was one of the lowest priorities on our ever increasing priority list, but finally, I committed myself to it and enslaved my wonderful husband to help. We spent a total of $2.67 and now have ourselves a lovely new ramp. (Pay no mind to the mess lying underneath the shed. I’m keeping it really real.)
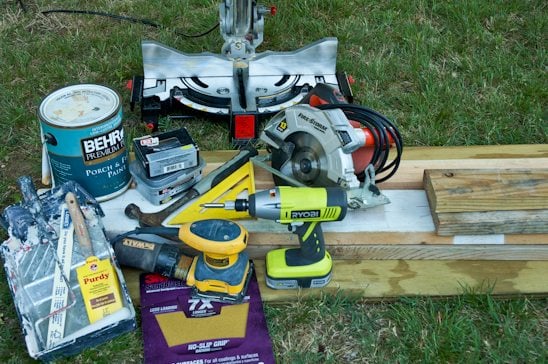
Here’s all that you’ll need to make your own ramp: -Oops Paint (find this castoff at your local hardware store for $5 or less a gallon!) -Paint brush, Roller and tray -Sandpaper and Palm Sander -Exterior wood screws, Drill and Drill Bit -3/4″ to 1″ Plywood-preferably pressure treated wood for the platform, but you can paint normal plywood and it will be fine -(3) 2 x 4’s or 2 x 6’s (you can find scrap lumber on craigslist or often in the reject bin at your local hardware store for cheap) -(3) joist hangers applicable to the size of either the 2 x 4’s or 2 x 6’s -Chop saw, Skillsaw -Hammer, Tape Measure, Level, T Square
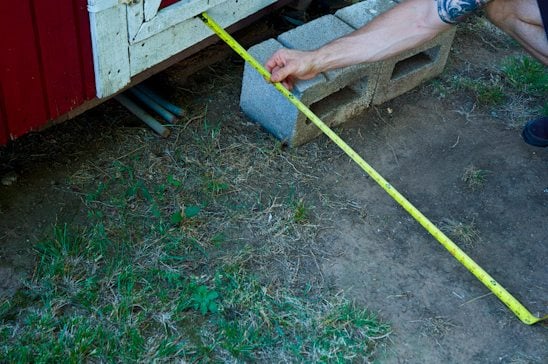
Depending upon the height of your shed and the length of your ramp-the slope will be found using the following calculation: Slope percent=(rise/run) x 100= ? x 100= ? The rise of our ramp was 12″ and we wanted 40″ of ramp (mainly because that’s how much pressure treated wood we had on hand). Slope percent = (12 inches/ 40 inches) × 100 = 0.30 × 100 = 30% The slope or angle of our ramp was 30%. If you don’t know the length, but know the slope you want, you can figure that out by going here, too.
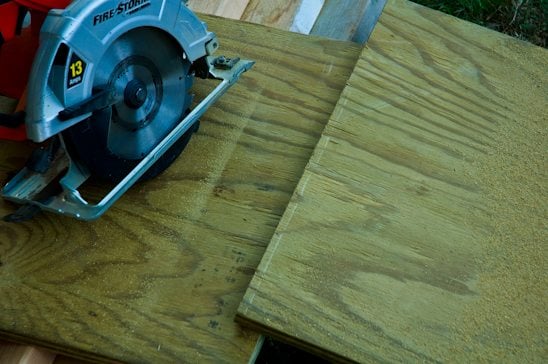
After finding your ramp’s measurements, cut the platform to the correct width and length by using a skill saw. Our ramp was the aforementioned 40″ in length and 36″ wide to accommodate the shed doors.
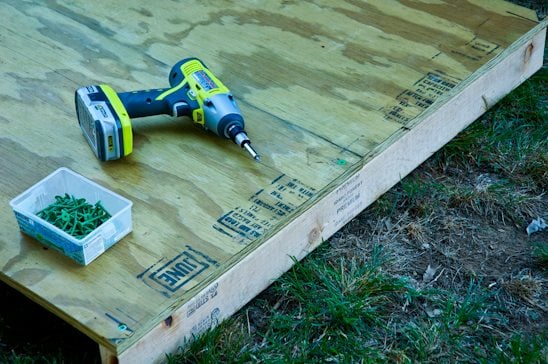
Cut three 2 x 4’s (or 2 x 6’s) to length (again, ours were 40″ in length) and cap the outside of the ramp, along with one down the center. Screw the platform of the ramp to the 2 x 4’s (or 2 x 6’s) using exterior wood screws.
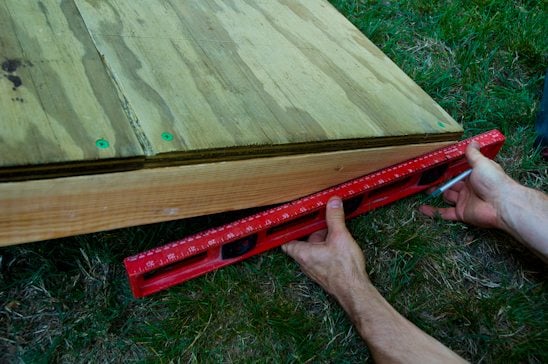
Using a T Square, measure the angle that you will need to remove from both ends of the ramp so that it will sit at an angle. Use a level to draw a straight line across the 2 x 4’s (or 2 x 6’s). Cut the angles off of the 2 x 4’s with a skillsaw.
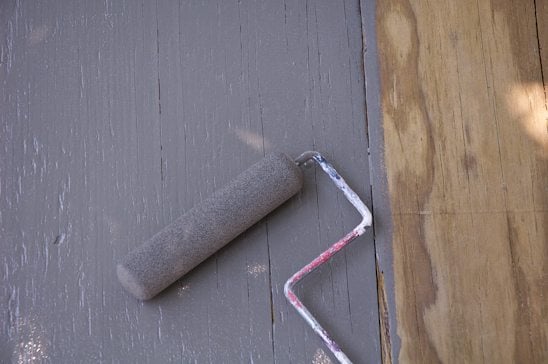
Paint the entire thing if you want it to be fancy (I did), but if you used pressure treated lumber you won’t need to paint it.
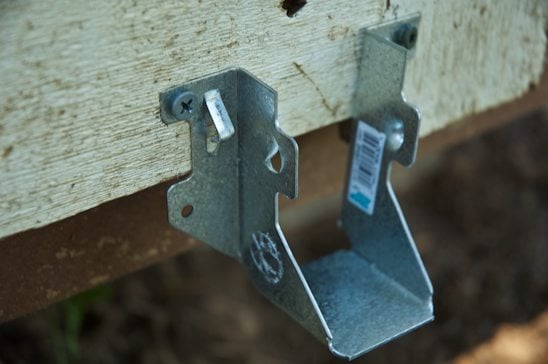
Now, it’s time to install the joist hangers. Using the measurement of the rise (the rise for our ramp was 12″), and the height of a 2 x 4 (on end is really only 3 1/2″), I calculated that the center of the joist hanger needed to be at 10 1/4″ off the ground. Here’s how I did that: First, find the center of the 2 x 4: 3 1/2″ divided by 2= 1 3/4″ Next, find the measurement for the center of the joist hanger: 12″- 1 3/4″= 10 1/4″ on center This of course works if your ground is completely level. Mine wasn’t and I had to make some minor adjustments on this measurement. However, it was the starting point for the first joist hanger.
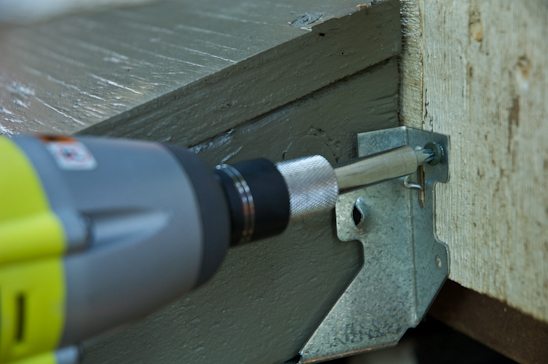
After installing all three joist hangers, I attached the ramp to the hangers with exterior wood screws.
That’s all there is to it! I don’t know why it took me all of three years to finally get around to making this. It was completed in one afternoon and what a huge help it is getting that heavy lawnmower in and out of the shed!
Thanks again, Gail for allowing me to post on My Repurposed Life! Feel free to stop by my site, Potholes and Pantyhose, for more recipes, crafts and remodeling projects. I would love to hear from you!
Love-Rebekah.
Thanks Rebekah! You do the best pictorial tutes! Because I’m a very visual person, that really helps! great job on the ramp!
gail
This is a brilliant idea to use joist hangars instead of risers. Terrific.
I’m trying to figure out how come I just figured out your posts were not coming to my email. I’ve got that fixed now, but I did have some catching up to do.
~Bliss~
How very nice… nice job on the pictures too..was very easy to follow along with.
Rebekah Great job! You make it look so easy! LOL I’m with Rose… I would have just done it not knowing there were formulas to follow. LOL
Thanks so much for allowing me to guest post here this morning! It’s such a blessing to be allowed on your site for a day. Thanks again and have a wonderful day!
Nice job on that ramp Rebekah! The whole slope thing is a tough concept for me. Didn’t know there was a formula when I built my ramp for our shed. (Probably a good thing as it would have made me put off the project for fear of math!) I used decking boards on ours (reclaimed of course) and it’s held up beautifully these last 6 yrs. I’ll bookmark this so I have good directions when I need to replace it. Great tute!