How To Make Oversized Stepstool
As an Amazon Associate, I earn from qualifying purchases.
I was cleaning out the garage this past week and came across the old top to my kitchen island. As I was taking the boards apart I knew it was the perfect specimen for an oversized stepstool for the bedroom closet.
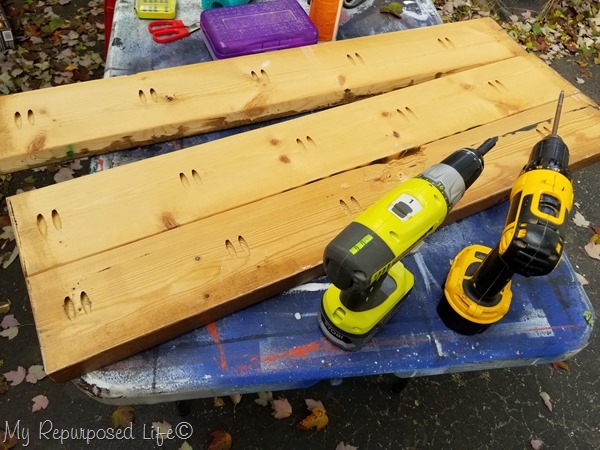
After one board was removed, it was the perfect size to make a stepstool—well almost.
*this post contains affiliate links, read more here*
Cut tabletop on miter saw
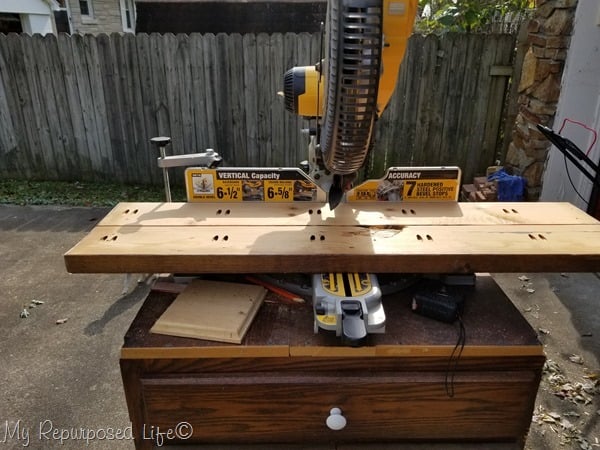
I turned the tabletop over so that I could keep an eye on the location of the screws and proceeded to cut it on the compound miter saw.
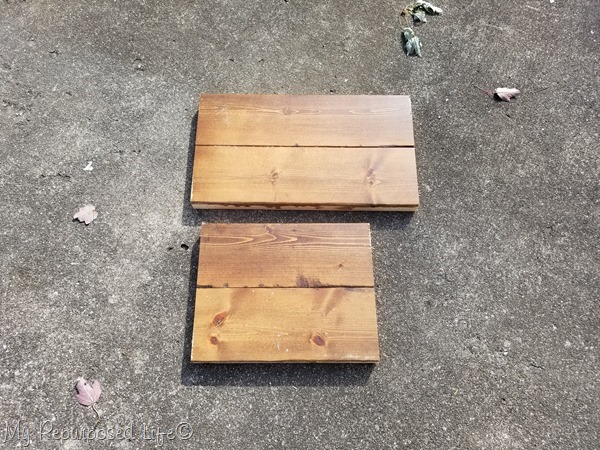
These are the two pieces I was left with after sawing off the stained ends. It looks like two stepstools just waiting to happen, right?
Look for suitable lumber for oversized stepstool legs
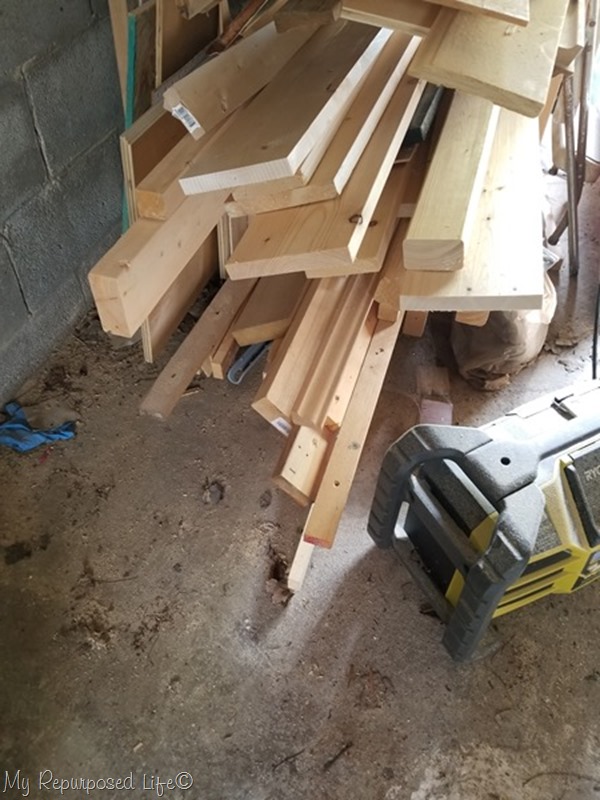
Looking in my lumber pile I found a 2×2 perfect for the legs of this oversized stepstool.
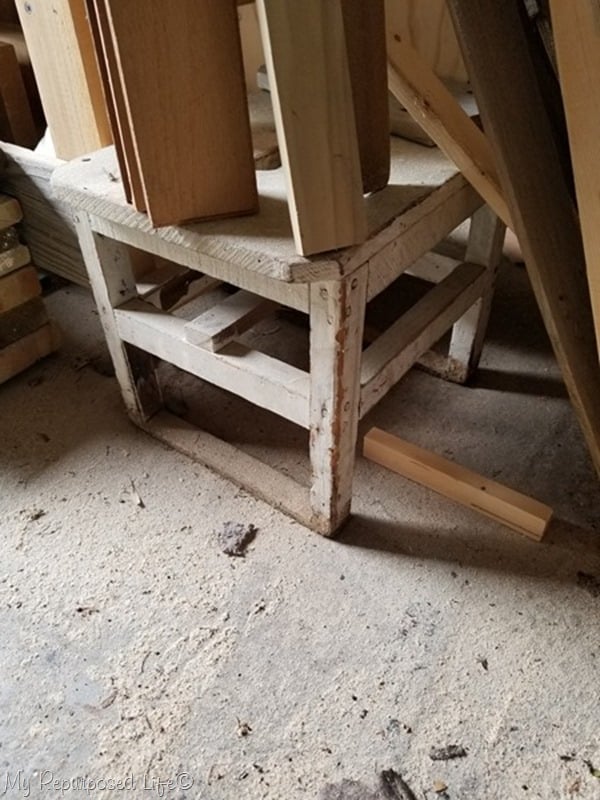
This is my inspiration for this stepstool project. It was my Nana’s stool that my Grandad probably made for her. Why is is hanging out in the garage? That’s a good question. It really needs to have a place of honor.
Cut legs for stepstool
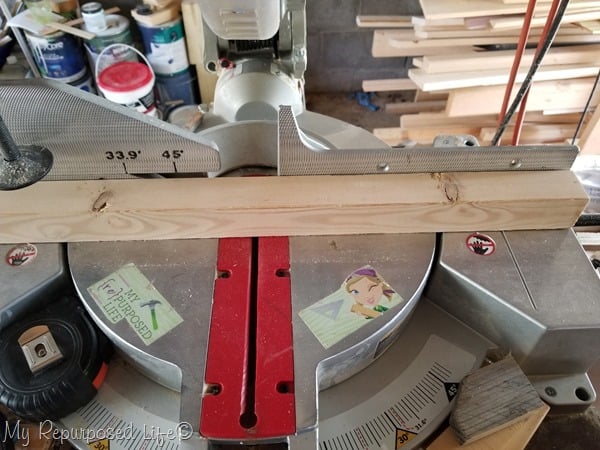
I cut the 2×2 in sections to make 4 legs and the brace pieces.
Dry fit stepstool legs
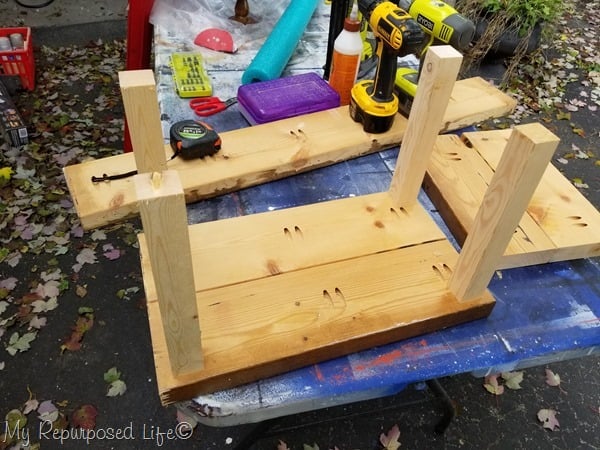
You can see I chose the larger section of the former tabletop for this stepstool project.
Mark legs for pocket holes
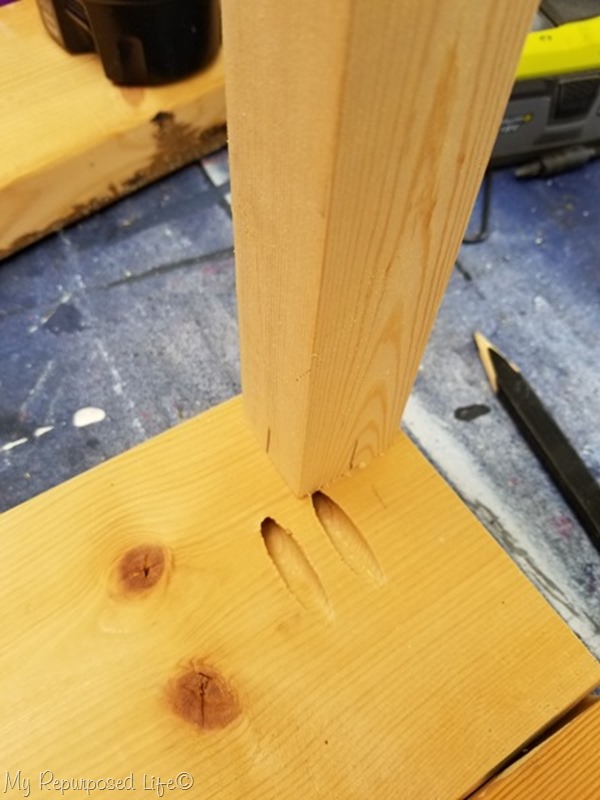
Drilling pocket holes can be somewhat confusing. I prefer to mark the areas so I don’t mess up.
Drill pocket holes
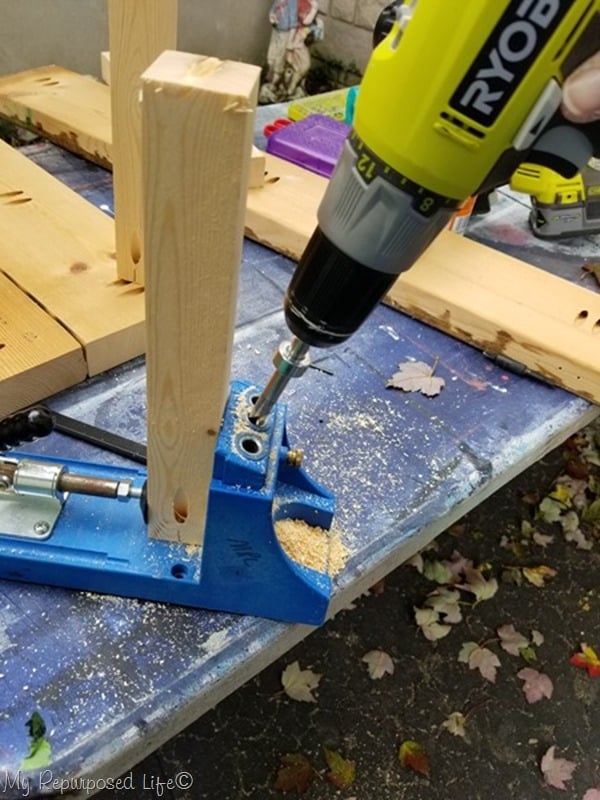
Drilling pocket holes into the tops of the legs seemed like the best way to make this project really sturdy.
Need more details on using a Kreg Jig? See my article How to use a Kreg Jig Pocket Hole System
Attach legs to stepstool
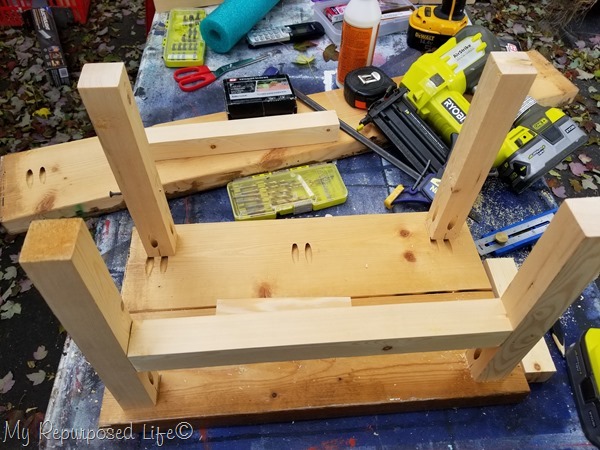
I used 1 1/2” pocket hole screws to attach each of the legs to the stepstool. I recommend using Gorilla Wood Glue along with the screws. The best way to do this brace step is to clamp the cross board in place, drill a pilot hole through the leg into the long cross board. Do this on each side using wood screws and glue.
Offset screws slightly so that you have room to add screws going through the leg into the shorter cross board. (not pictured)
Orbital sander for rough boards
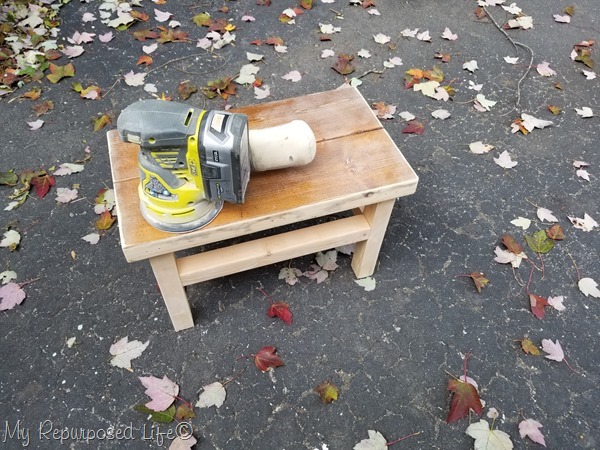
I prefer to sort of round over the sharp edges on projects like these with my orbital sander with 150-220 grit sandpaper.
Paint oversized step stool
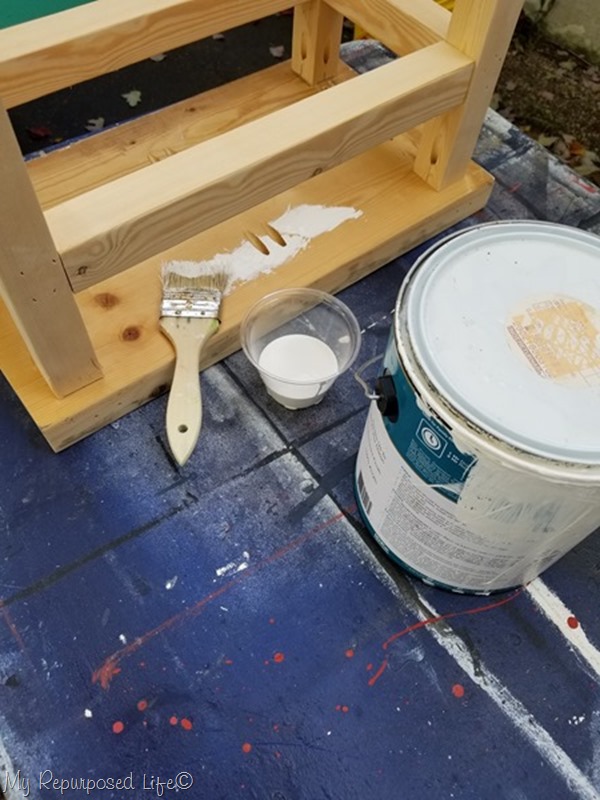
Time to paint! I use regular ole latex wall paint for my projects. Most of the time I use a diy chalky paint primer made with Plaster of Paris. However, this time I just used a satin paint—Simply White. Of course I used my favorite cheap chip brush to apply the paint. These brushes clean up quickly and waste very little paint.
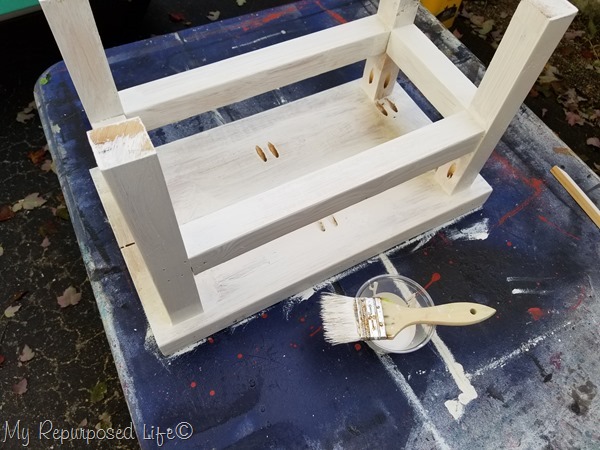
It’s best to pour paint into a cup, instead of dipping your paintbrush into the full can of paint. I painted a couple of light coats of paint on the stool.
Do you use spackling to patch furniture projects?
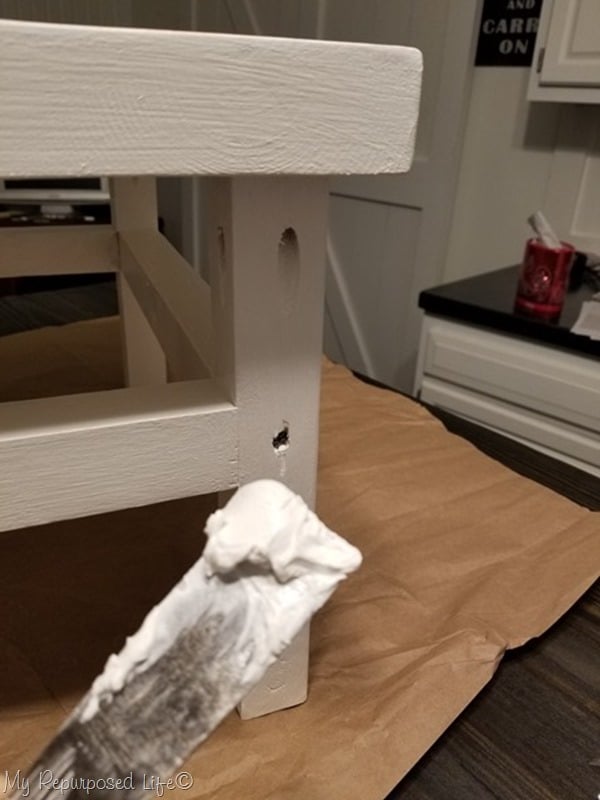
Most of the time I reach for my bucket of drywall mud or spackling to patch small holes. I only patch them when I have to, and generally wait till after I put on the first couple of coats of paint. As in this case—I simply grabbed my small putty knife and a load of mud to patch the holes. It was rainy outside so I worked on the new stepstool right in the kitchen.
NOTE: the stepstool is made from the old kitchen island, and here it is resting on the new island table top! ![]()
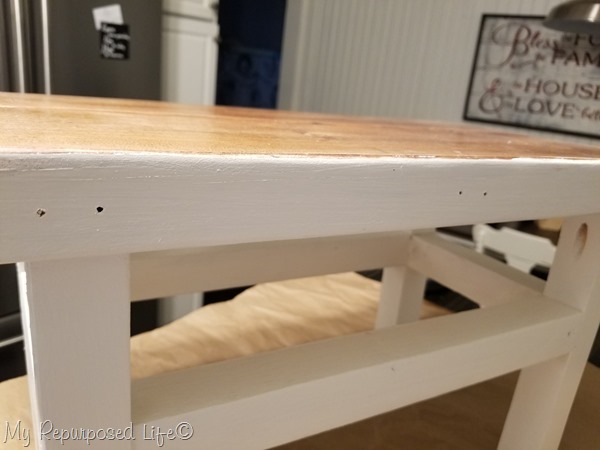
I filled the screw holes and some random holes that were left from the original pocket hole screws that held the island tabletop together.
Using a damp rag instead of sandpaper
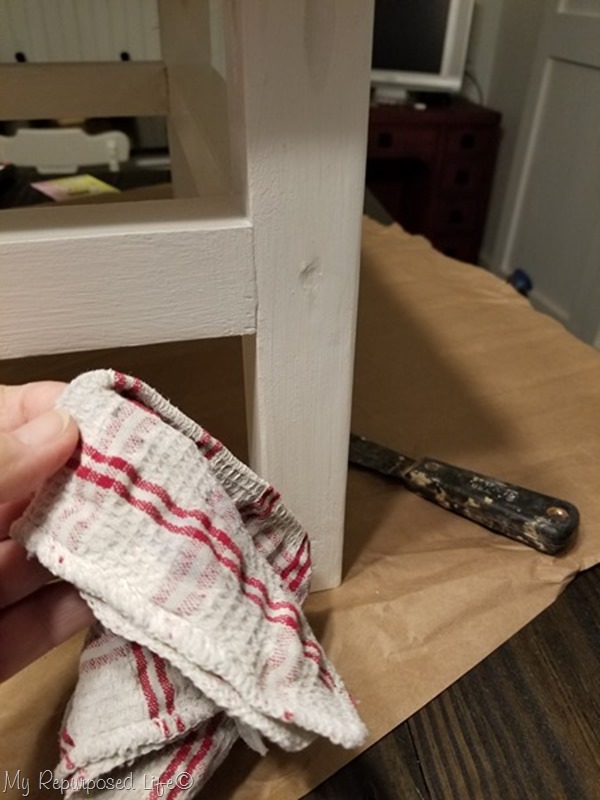
Because I was working on this project in the kitchen, I used a damp rag for “sanding” instead of sandpaper. Since the step stool is white, I didn’t have to touch up the paint.
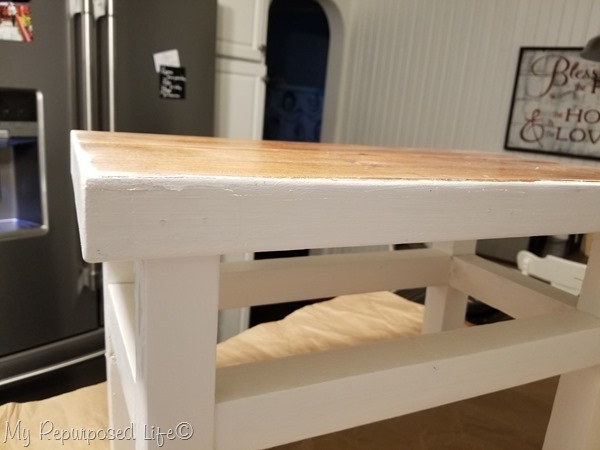
See? good enough for me! Small holes patched and wiped away with a damp rag.
Protect your floors
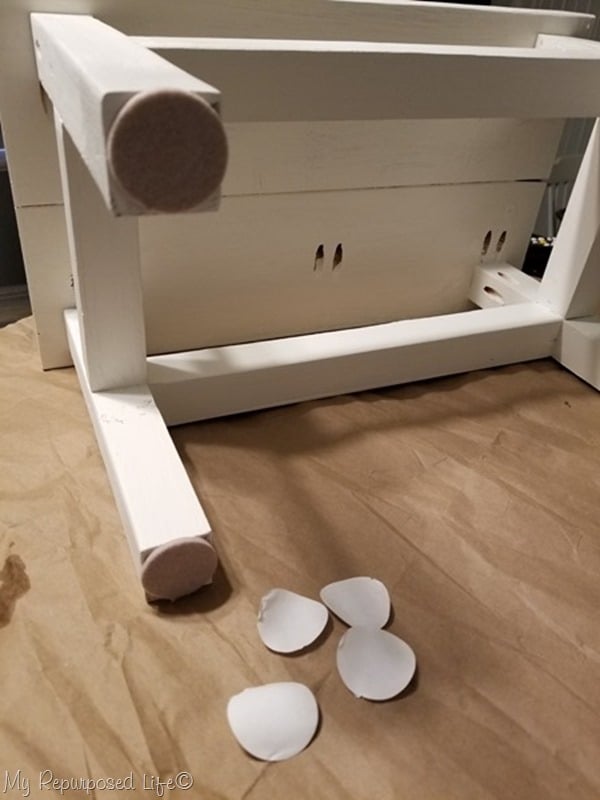
Add felt furniture pads to the bottom of the step stool legs to protect your wooden floors. I like to buy them by bulk in various sizes.
Short over sized step stool for master closet
This short over sized stepstool will really come in handy in my master bedroom closet. It’s been about 6 months and I’ve worked really hard to keep my bedroom and closet neat and tidy. That’s not easy to do in a small house.
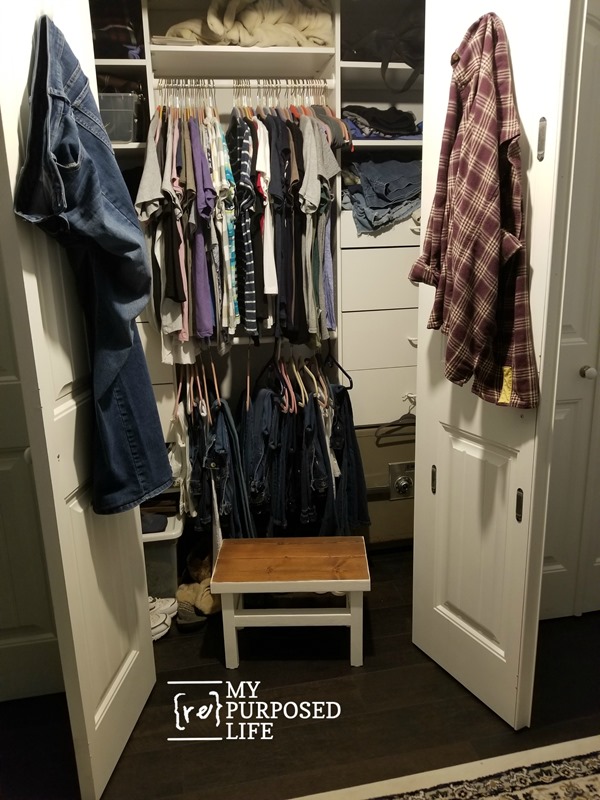 The oversized stool is perfect for me to reach the upper shelves in the closet! It’s a good height for sitting, and definitely wide enough for me to step to one side to reach even further. I love the fact that it’s made from reclaimed lumber from my old kitchen island.
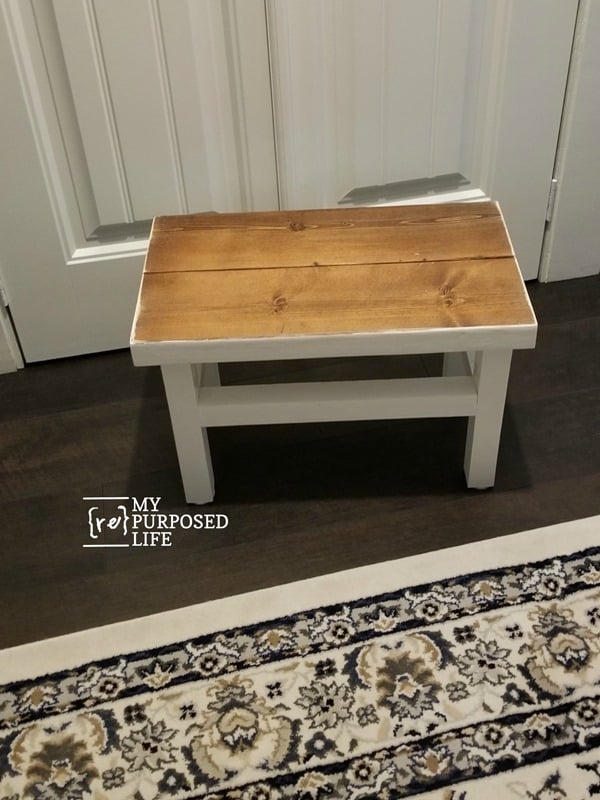
The overall size of this stool is:
- Top 11″ x 19″
- Legs 11″
I still need to rescue my Nana’s step stool from the garage . . .
gail
see more stepstool projects here
Related content: One Board Projects: Wooden Stool


Do you have rough size of the top and length of legs?
LeeAnne,
The top is 19×11, and the legs are 11″ tall. I hope that answers all of your questions. I really should have put this in the post. I will be editing it, thank you!!!
gail
Thanks Gail! I don’t always comment, but I love each and every post. How did you know I was needing a step stool for my recent Master Closet makeover! Hoping to make one this weekend! Pinned and waiting for me 😊
Hey Karen!
How did I know? Because we all need one, don’t we? I can’t wait to see yours, I best it will be awesome!
Thanks so much for pinning!
gail
It’s wonderful. If you cut the legs a few degrees slanted it would make the stool more stable. I made a stool for the grand baby with straight legs and it tipped over. You know I can’t use power saws. So had my husband cut 5-10 degrees off top and bottom and it worked much better.
Great point Jennie! This stool is quite sturdy and won’t tip over because of it’s size. But if someone makes a smaller on, your advice should definitely be taken. Thanks for sharing!
gail
Love ther oversized step stool. Being 5’2″ it is always a struggle to reach things up high. Being over 60 and over 200 lbs.(working on that) I always check for sturdiness before use. Now, down to my creative center (basement-where we have a workshop, my sewing and crafts, etc…Basically it is where we can make a mess without worries.) Wish I could come up with a solution for climbing stairs.
Thanks for sharing.
Thanks so much Bonnie! I know this over sized step stool is going to be so handy at reaching the items in the top of closet. I think the answer/solution to climbing stairs is to “keep climbing stairs” I think it’s when we stop doing that we find it harder TO do those things. Just take it easy and never give up!
gail
I just read through this. It is 3 years later and I still am climbing the stairs, all though not as frequently. I would make one recommendation to this stool. As I have made some stools and tend to carry them to where I need to use them, I like to have a small opening in the center of the seat to be able to reach my hand in to grab and carry. On a bench I already had that my dad made I drilled a hole in the board (the seat) and then used a jigsaw to cut an oval about 3- 4 inches by 1 inch wide. If you are putting 2 boards together to make the seat, it could easily be done before attaching.
Awesome idea Bonnie to have a handle in an oversized stepstool. I have one in my garage that my grandad probably made 50 years ago, and it is like you describe.
Thanks for reminding me that I should have done this.
gail