Wall to Wall Closet | French Doors using Bi-Fold Doors
As an Amazon Associate, I earn from qualifying purchases.

I should have tackled this wall-to-wall closet much earlier than I did. The old mirrored bypass doors were not doing the room any favors, and once the bedroom flooring project started, there was no turning back. This closet makeover took some patience, a little math, and more painting than I expected, but turning basic bi-fold doors into French-style closet doors made the whole room feel more finished.
I have lived without closet doors since we installed the new laminate flooring. Removing the closet doors meant we would need to FRAME the wall for closet doors. I resisted when Rodney suggested removing the larger mirrored doors and the carpet. Leaving them (and the carpet) would have been a colossal mistake. It’s better to take the time to do home renovation projects right the first time, even if it seems daunting.
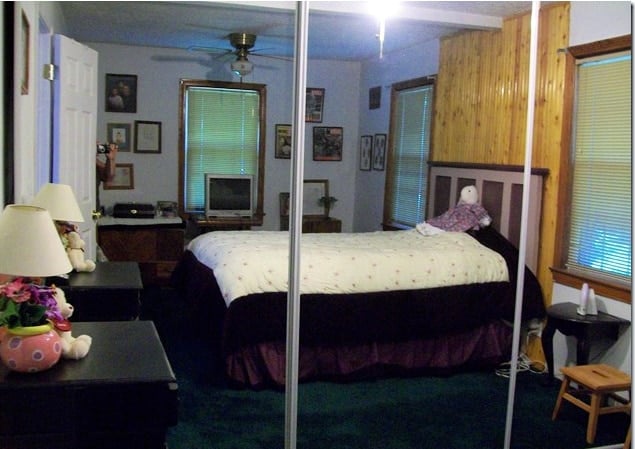
I didn’t take any pictures before, but I found this very old image to share. These three mirror doors went from wall to wall and ceiling to floor.
When I took the carpet up in the master bedroom a couple of years ago, I left the doors up and couldn’t get the carpet removed inside the closet area. This is the day we started on the bedroom flooring. Rodney talked me into removing the closet doors and the carpet. I am so glad I listened to him.
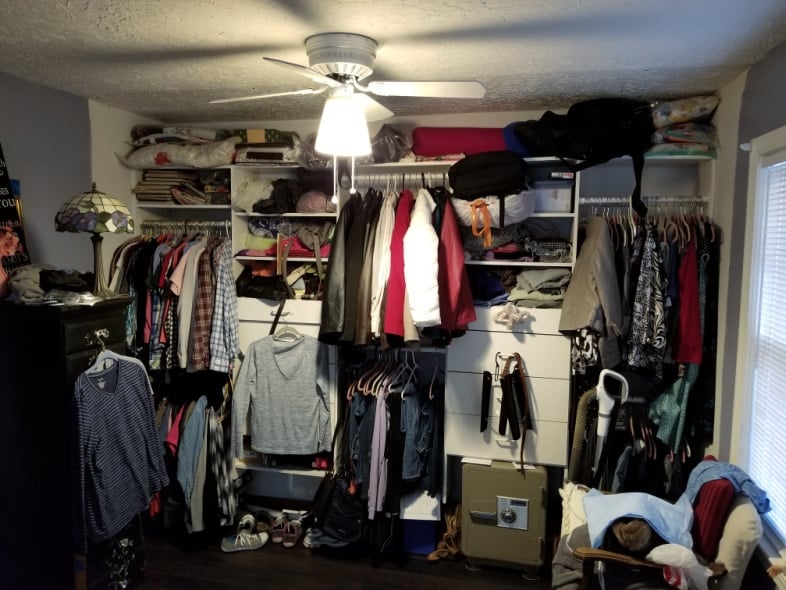
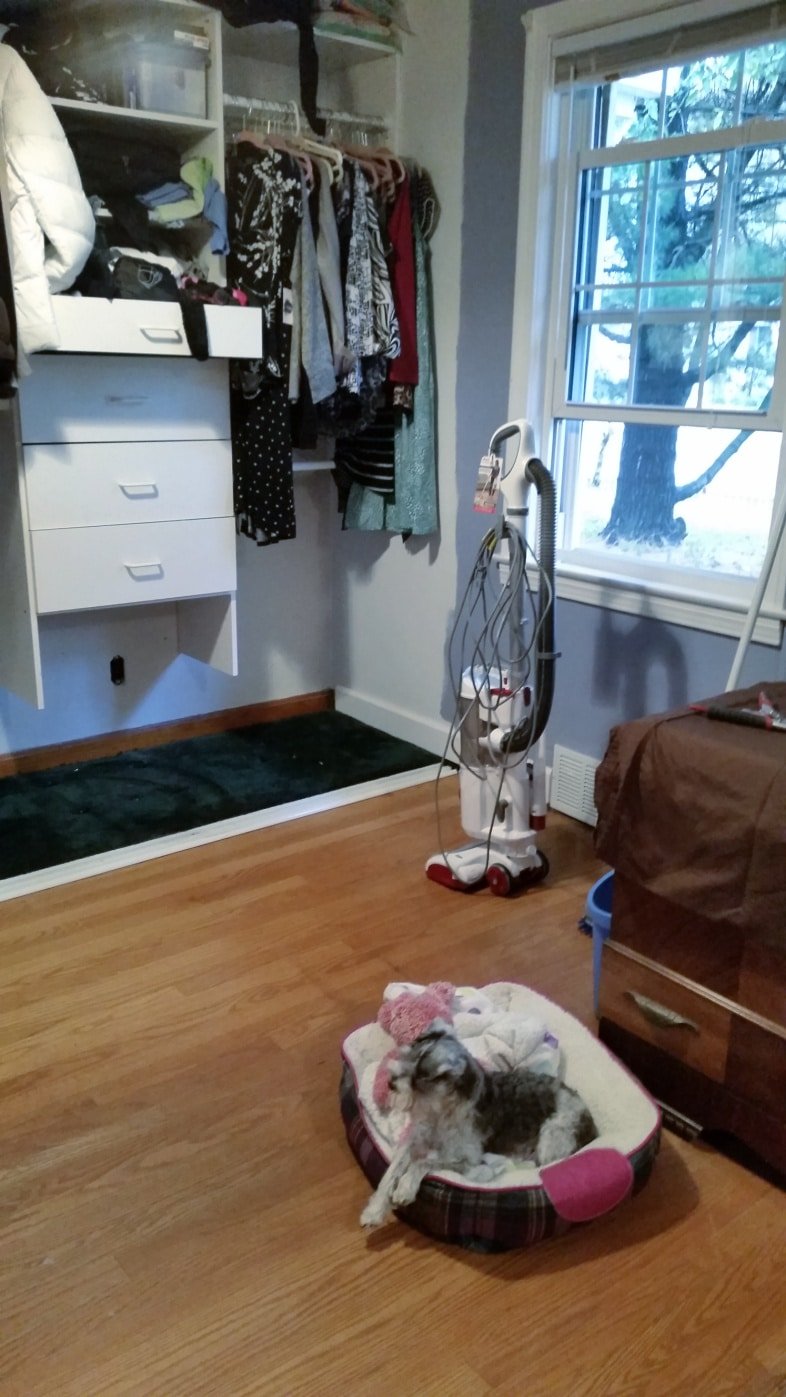
I want to say this is staged, but it is not. It’s real life, folks. Living without closet doors for a couple of months? Wouldn’t you think it would be neater? If you’ve done home repair and renovations, you know your whole life is turned upside down while it’s going on.
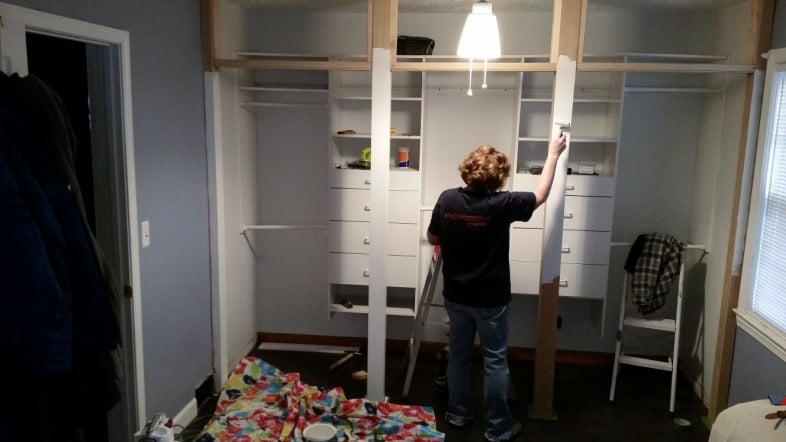
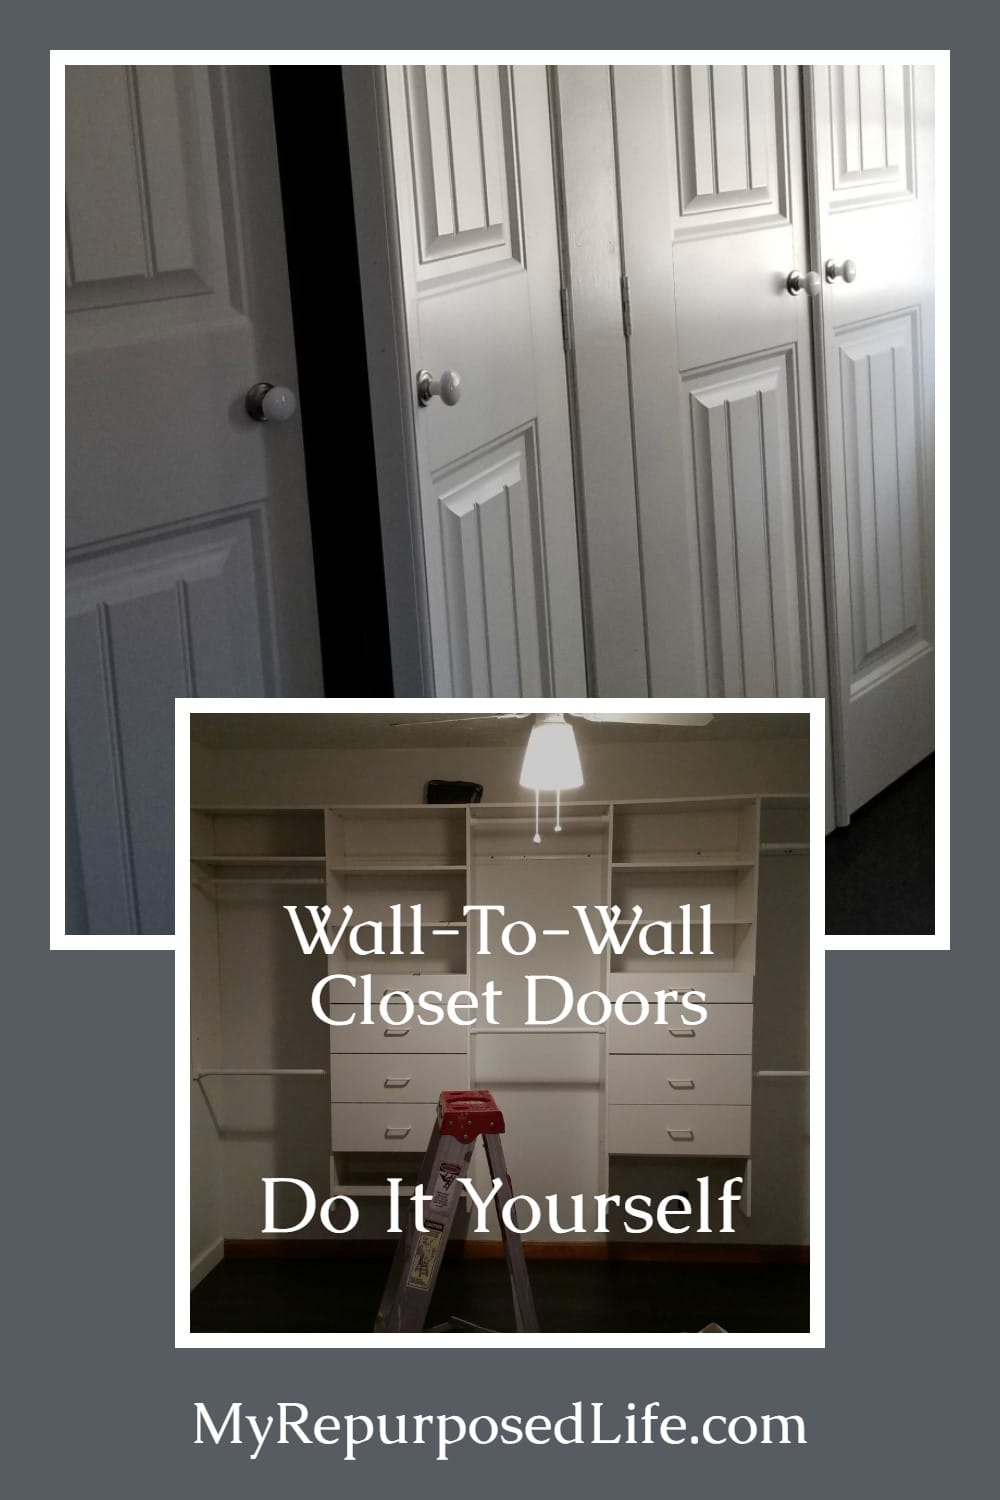
Wall to Wall Master Closet Redo
It took me about two hours to empty the closet and put everything in the guest room.

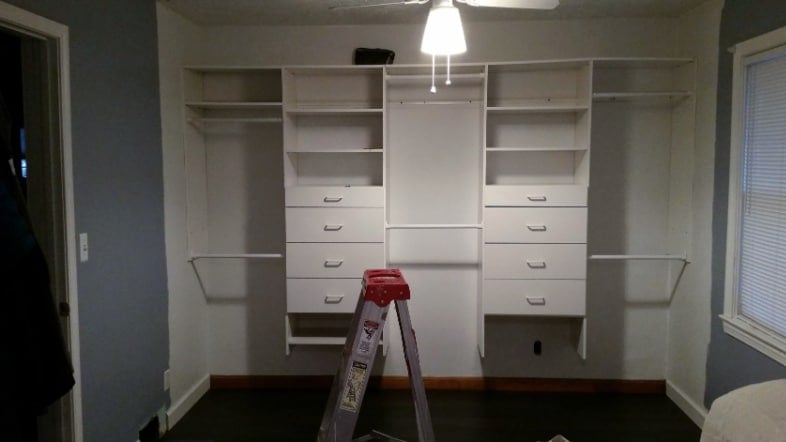
To frame the closet, we needed to mark the walls, the ceiling, and the floor.
Visit the My Repurposed Life Amazon Store to shop my favorite items.
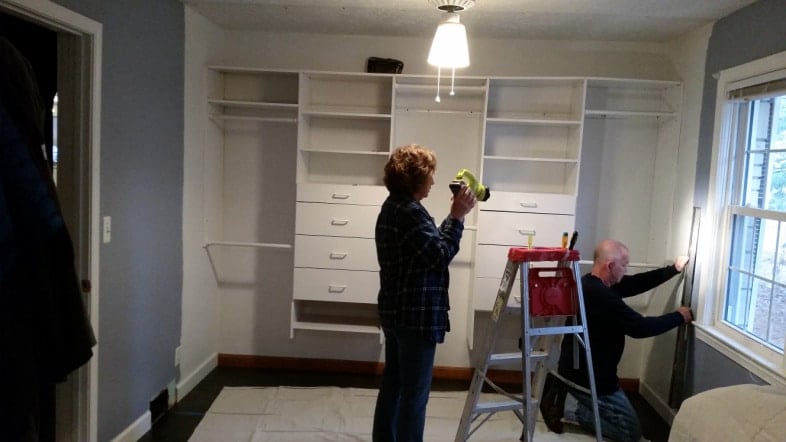
We attached the ceiling 2×4 with Molly bolts. We used the nail gun to temporarily hold the board while marking the ceiling and drilling the holes.
Frame the Wall-to-wall Closet With 2×4’s
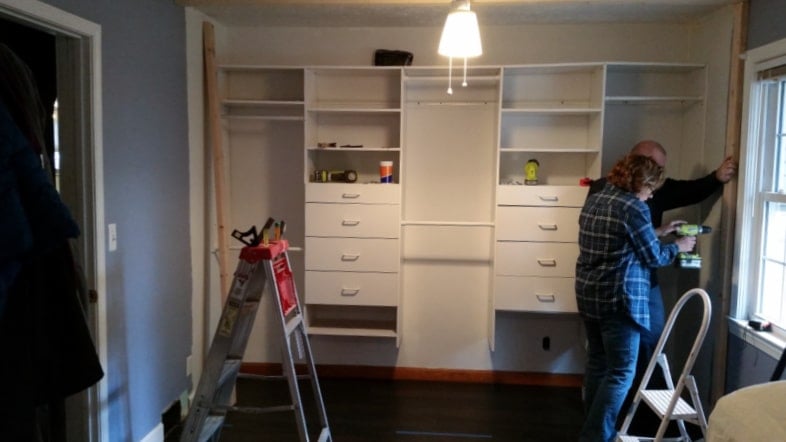
Each side frame was snugly pushed in place and secured with molly bolts.
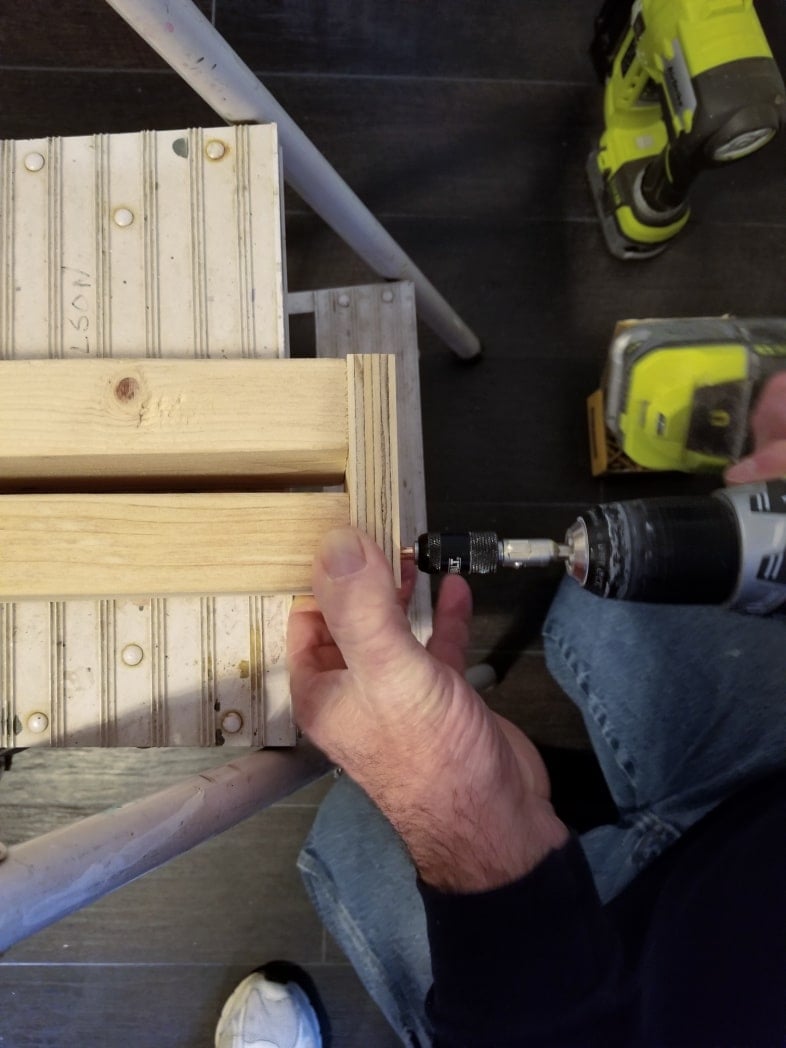
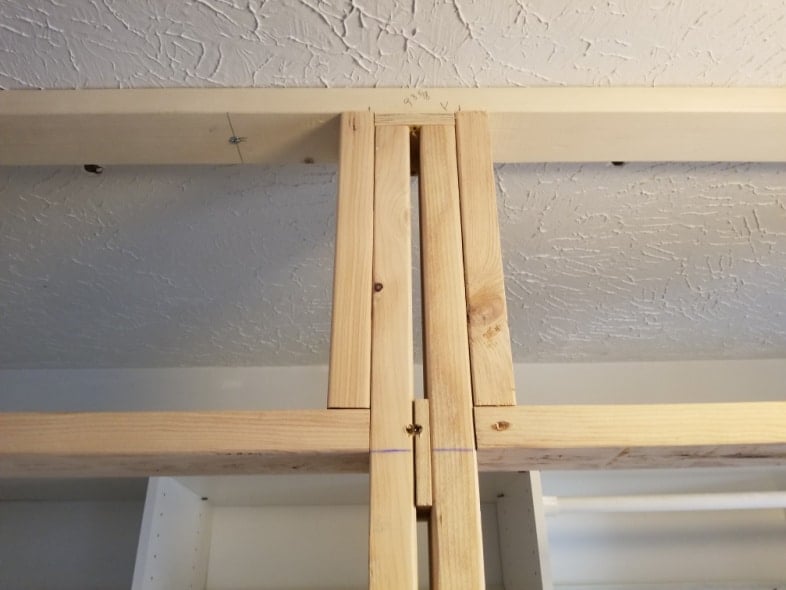
A lot of math was involved in this closet door framing/installation. The 2x4s that would go between the pairs of doors needed to be spaced. Rodney made little “shoes” to attach the studs to the floor and ceiling. I’m sorry, but I don’t know the correct terminology for the building terms.
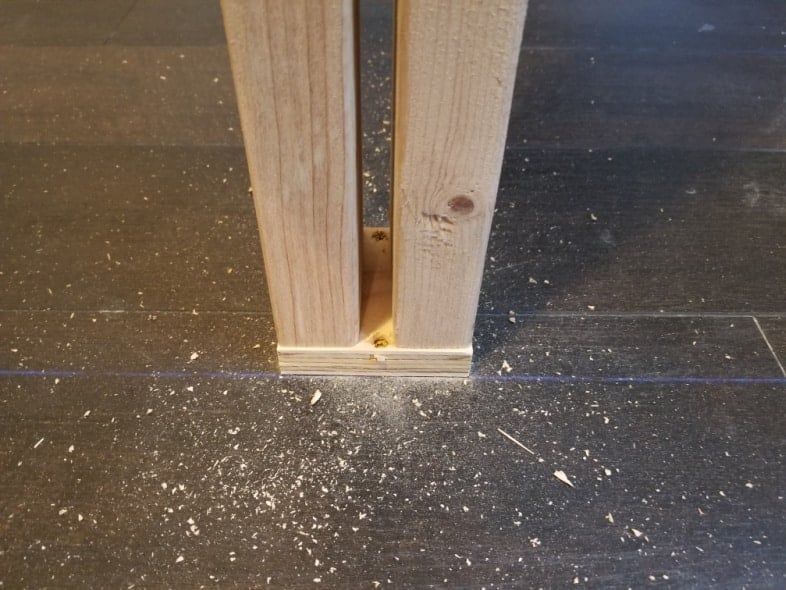
This is how the center 2×4 sections were attached to the floor (and ceiling).
Related Content: Another DIY Closet
Add Studs for Frame and Header on Wall-to-wall Closet
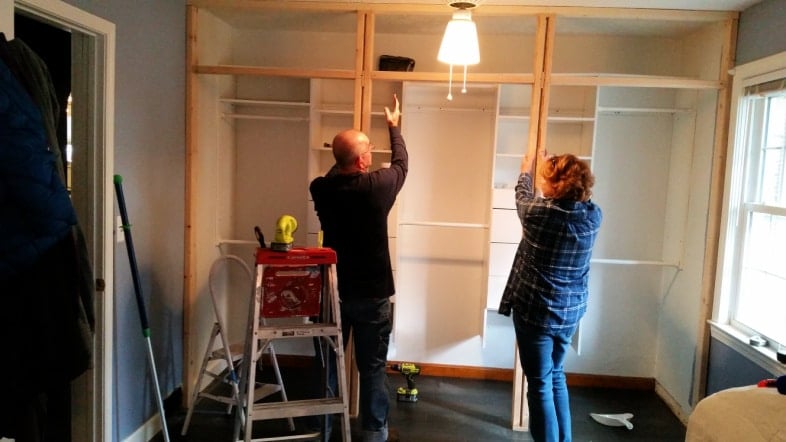
The original mirror doors had no header, so they went to the ceiling. Eventually, the new bi-fold doors will be turned into French doors, and we will need this header.

To fill the space in between the 2x4s to make them more solid, we cut pieces and secured them with nails and screws.
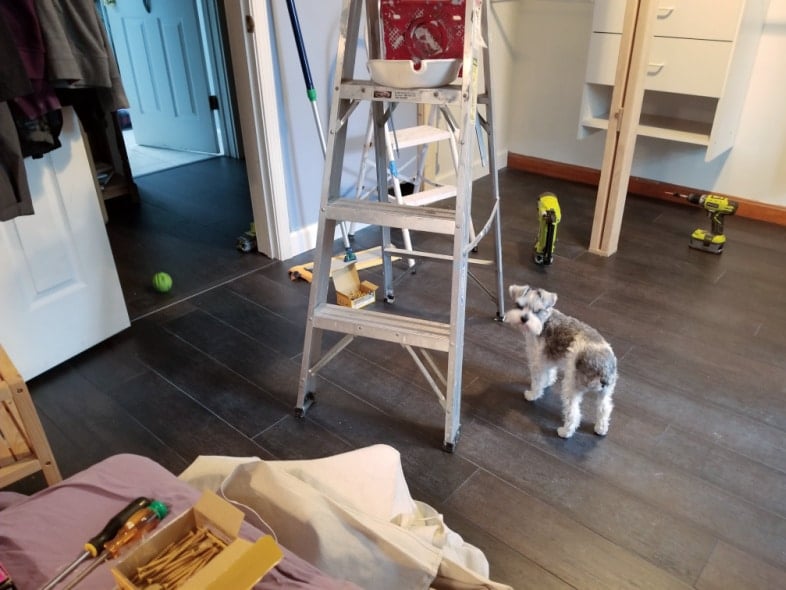
Lulu Mae watched us closely to ensure we were doing it right. If you’re regular around here, you know she likes me to take breaks and play with her. See her green ball over there in the doorway?

See? She loves it when we go outside to throw that silly ball! ![]()
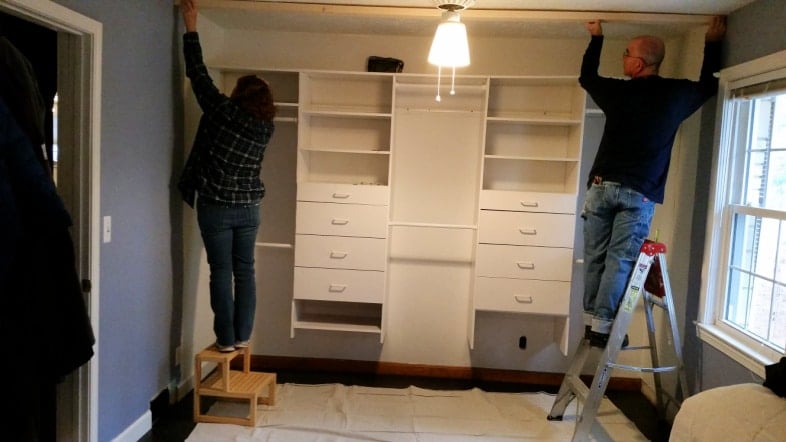
Extra 2x4s were added to strengthen the header material. We chose to use thin plywood (luan) instead of drywall.
Wrap Rough 2×4 Boards With Plywood
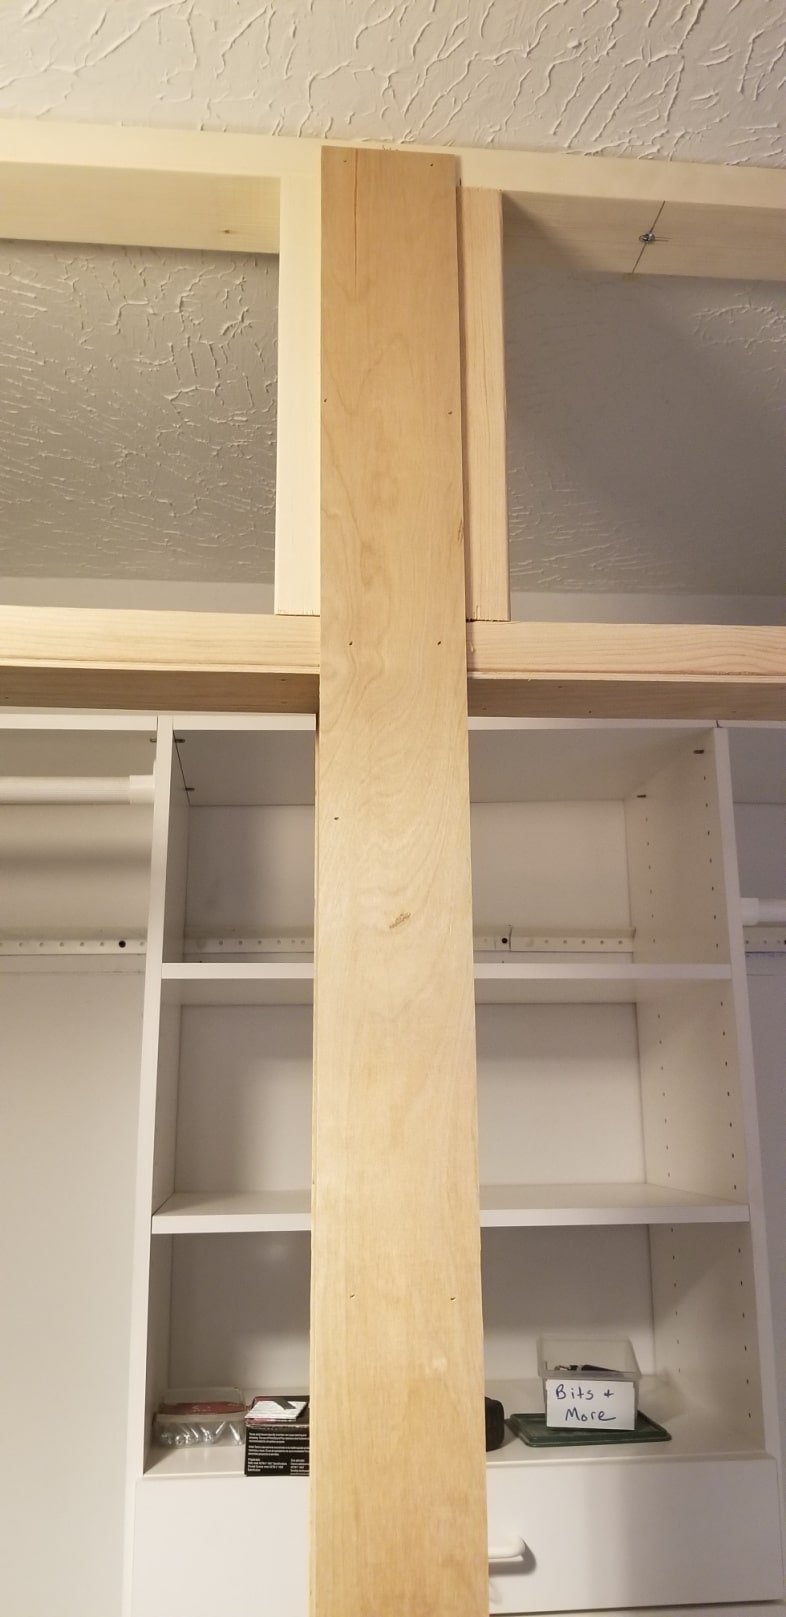
The straightest 2×4’s were ugly. We used thin plywood to “wrap” the ugly 2x4s to keep them from snagging my clothes.
Paint Framed in Wall-to-wall Closet
I decided it would be easier to paint as we went along, so at the end of the day, I spent hours painting what we had done that day. I used a 3″ trim roller for the wrapped 2x4s.
Add Header to Wall-to-wall Closet
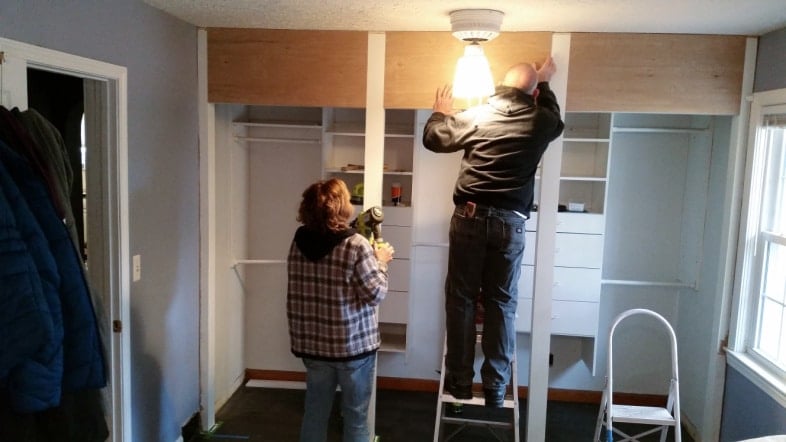
Yay! We have a header! Those extra 2x4s we added supported the plywood.
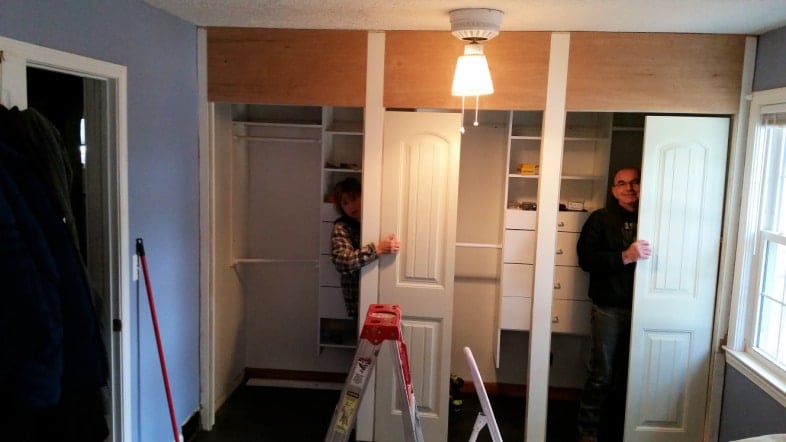
So, here we are, being silly, trying out the new doors! I’m loving the new look already!

Still more painting!
I have had enough of the tiny roller! It’s time to bring in the big guns to paint the SIX closet doors.
Paint Sprayer Makes Quick Work
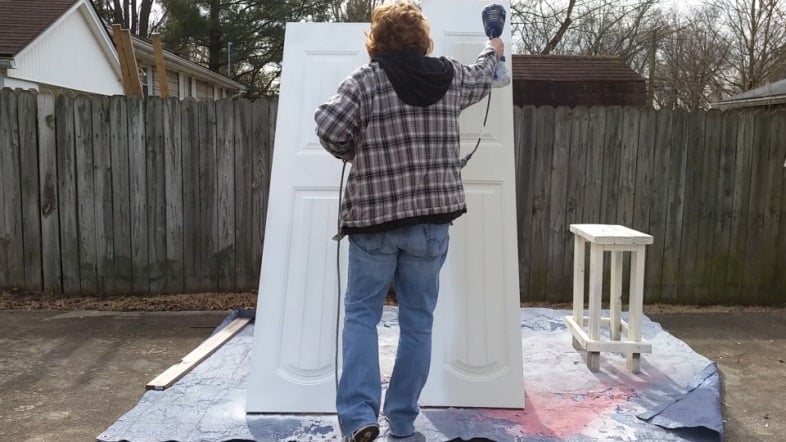
See how quick and easy it was to paint the new French doors made from bi-fold doors!
I can’t imagine having to paint all of the doors by hand. As a bonus, they have the most beautiful finish.
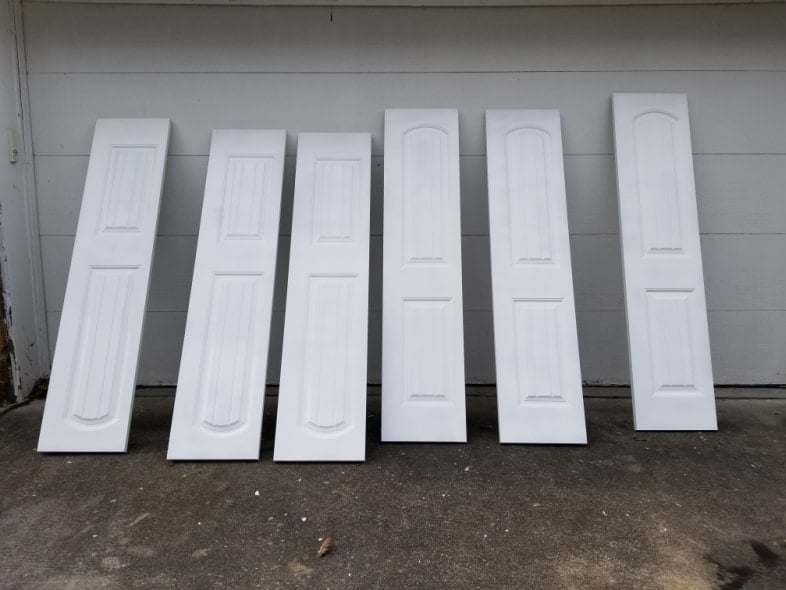
Master Closet With French Doors Made From Bi-fold Doors
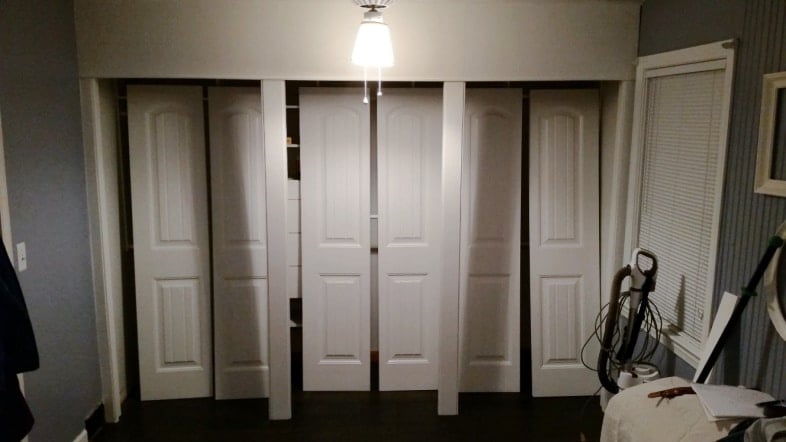
After painting the doors, the bedroom was the only place to let them cure/dry. I love, love, love the way the doors look right at home here!

I removed all of the original hinges from the bi-fold doors. With these new hinges, they will basically become French doors.
Install French Doors for the Master Wall-to-wall Closet
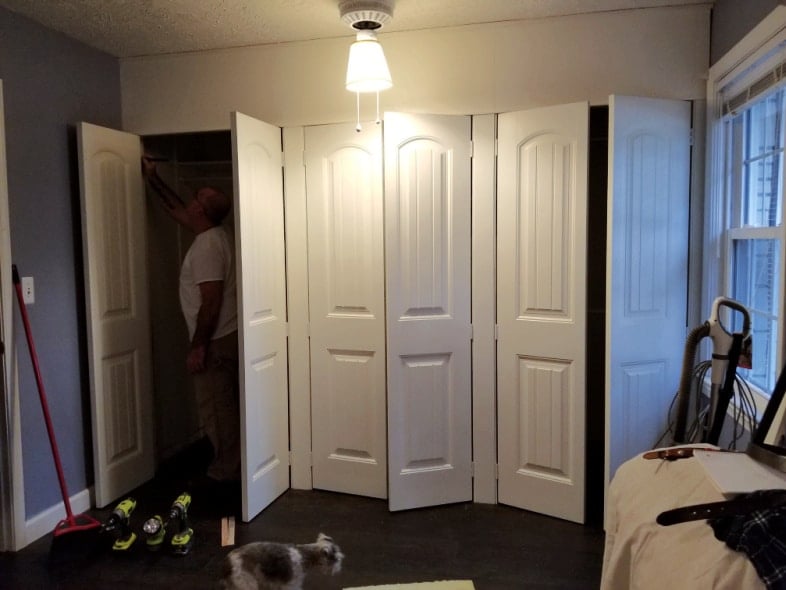
Lulu Mae is still hanging in there to make sure all goes well.
This is where I’ll keep it real but spare you the details. As I said earlier, installing the closet doors involved a lot of math.
At first, the three spaces where the doors would go were too wide. We added some filler boards to reduce the space. OOPS! They didn’t have enough clearance to close when we put up the doors.
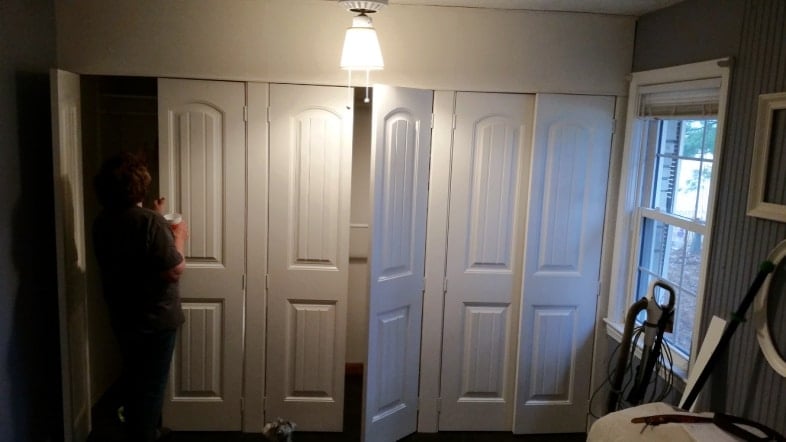
A Little Tweaking is in Order

The doors were cut on the table saw, which is apparently out of whack, and there was too much of a gap between them. Huh, what? T molding was agreed upon.
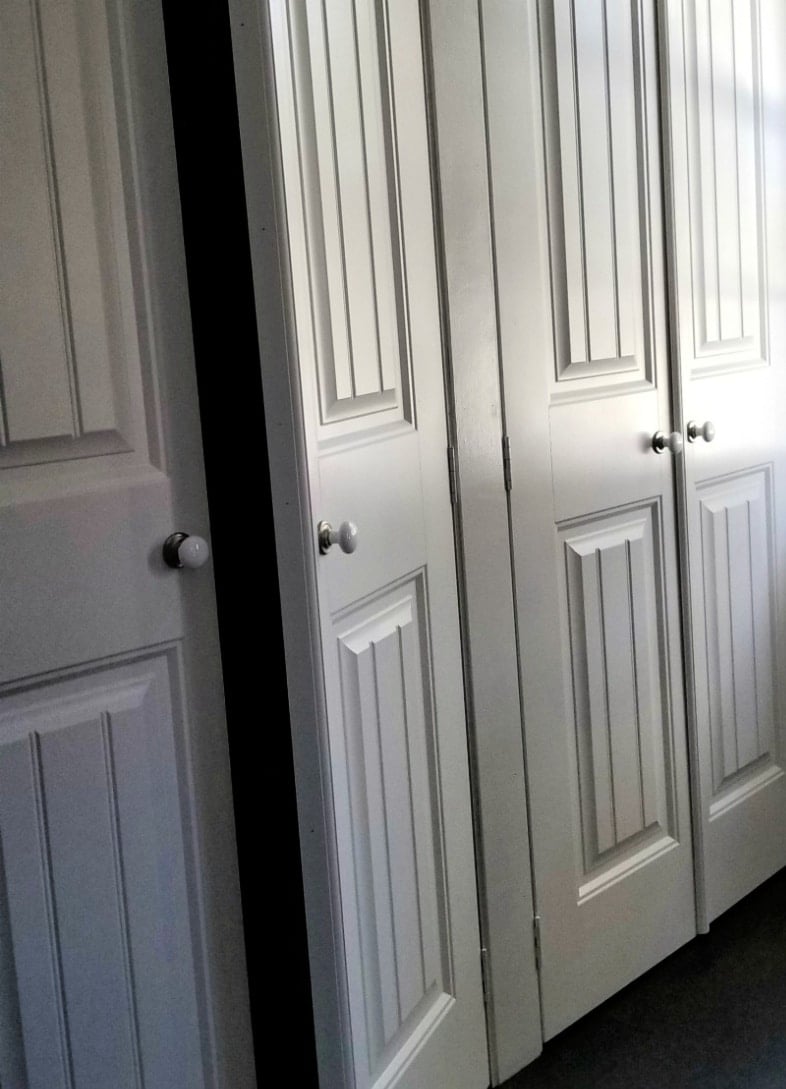
To close the gap and help keep the left and right French doors closed, we installed astragal molding. I purchased mine online from Home Depot. At first, I didn’t think I would like it, but after I painted it and it was installed, I absolutely LOVE it. I think it gives the doors a more finished look. The sweet bi-fold knobs are from D. Lawless Hardware.

Rodney made some nice doorstops. I attached magnetic catches, Command hooks, and a full-length mirror.

Saying I LOVE my new wall-to-wall closet with French doors is an understatement. It makes me smile every time I walk into the room. When the original mirror doors were put up, we didn’t want to deal with building a header, so the doors were custom-ordered and very expensive. I am not sorry they’re gone!
LOOK! I still have the chest I made from an old desk.
Why This Wall-to-Wall Closet Works
A wall-to-wall closet is a smart fix when you need more storage without adding square footage. Instead of relying on furniture pieces or open hanging racks, the entire wall becomes a useful hidden storage space. The French-style doors make the closet feel more like a built-in feature, while the hooks on the inside add an easy spot for those “not quite dirty yet” clothes we all seem to have.
Using bi-fold doors as French doors also gives you a custom look without ordering expensive custom closet doors. It takes careful measuring and some tweaking, but the finished result feels so much more polished than basic sliding doors.
I would love for you to share this on Pinterest!
Having hooks on the back of every door will help out the situation we all have. You know—those clothes you have on for a couple of hours, then remove them and pile them somewhere? My spot was the antique cedar chest; when it got full, it was the slipcovered wooden chair. So, where do you put your clothes that aren’t ready to be laundered yet?
This wall-to-wall closet is one of those projects that still makes me happy every time I walk into the room. It was not a quick afternoon makeover, but it solved a real storage problem and gave the bedroom a much cleaner look. If you have an awkward closet, dated mirrored doors, or an open storage area that needs to look more intentional, this idea might be worth tucking away for later.
gail
See the latest Small Updates | Big Change
Related Content: Closet Organization Ideas

Wow, Gail, I LOVE this! I’ve been wracking my brain to figure out how to gain more closet space and I think this might be the solution I’ve been looking for. I live in a very small old house with tiny closets. I’ve been making do with standalone hanging fixtures with shelving but hate the way they look out in the open in my bedroom (and my office aka storage room.) The closets in both rooms are actually one closet with a wall dividing them and a small door in each room. Because the doors are small it is very hard to get to the space beyond the door openings. My original thought was to move the dividing wall to just beyond the door opening in the storage room, and the knock out the wall in the bedroom to the moved closet wall to make room for larger doors. I axed that idea when I realized it would mean relocating electrical outlets in both rooms. With your idea, I think I can still remove the closet dividing wall and then cut additional openings for access on the storage room side without affecting the electrical outlet. Then I could just frame the space in front of my freestanding storage unit across the entire wall as you did and perhaps add some additional shelving and/or a dresser in the currently unused space where the existing closet is accessed. I love the whole idea for this project and think the French folding doors are perfect. I believe this will be my big project for 2026. Thanks for solving my problem!
Sheila!
Oh my gosh! Reading your plans brought a big smile to my face. I love what I do, but even more, I love helping people solve their problems!
I’m not sure if I mention it in the article, but there was no closet there when we moved here. There was a very gawdy 70’s triple dresser. My closet still makes me smile every day. 🙂
Good luck with your DIY! You got this!
gail