How to paint mini blinds
As an Amazon Associate, I earn from qualifying purchases.
I have been wanting to try to paint mini blinds yep, mini blinds that were 30+ years old. Yes, you heard right. That may be a slight exaggeration, but not by much. When mini blinds first came out, we decided to have them custom made through Sears. We have 11 windows, and 3 doors. Of the 11 windows 2 are huge picture windows. They came out and measured, and delivered brownish aluminum mini blinds. For the most part, they have held up really well over the years. I couple of slats have gotten bent here and there, but being aluminum, I’ve been able to bend them back. I am gradually making some changes in my living room. A few months ago I removed the carpet to expose my original hardwood floor. I plan to paint, change up the dreaded fireplace, and yes, change the mini blinds. Because the picture windows are so large, I do not have the $$$$ to buy new blinds. I decided to start with a blind from the back door that NO one ever uses. I only use the door when I go out to hang clothes on the line. That way if the experiment didn’t work, I could easily purchase a cheap vinyl mini blind to replace it. I put it in the bathtub and washed it really good, hung it up to dry before I started painting. Below are pictures of how I did this.
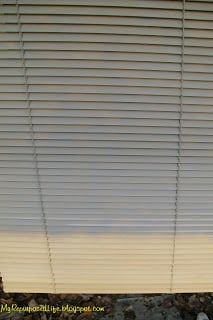
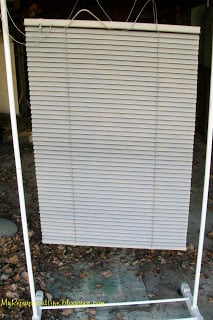
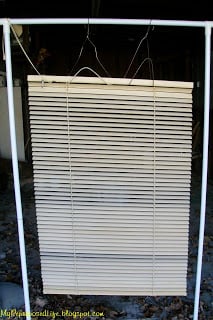 It’s very difficult to see the true color of this blind while it is hanging on my makeshift holder. You can see that I used a clothes hanger (on wheels).
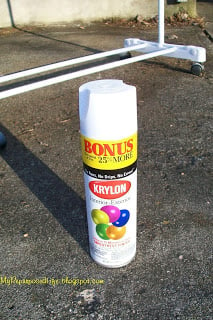
 I bent a couple of wire hangers to hold my blind.
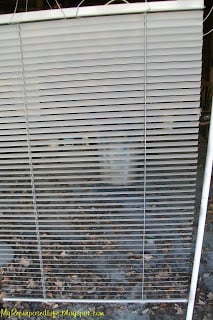
 I turned the slats so that they were mostly closed. I used cheap gray spray primer first.
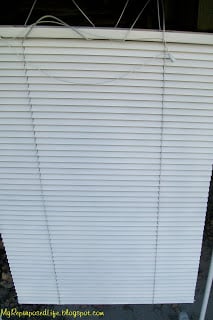
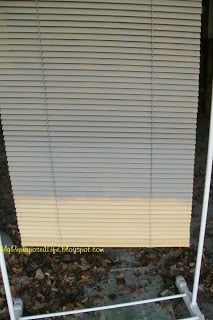 In this picture you get a better idea of the original color. The top portion is the primer, the bottom is the original color.
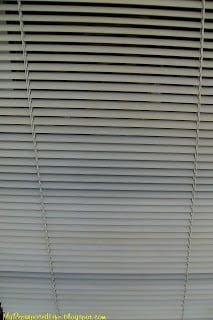
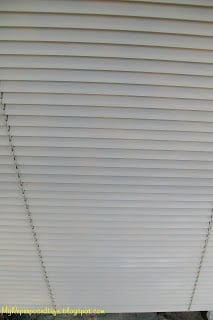
A closer look.
 I sprayed the primer on both sides, in a back and forth motion. I covered the strings, and top and bottom. It took 2 cans of primer for this one small blind.
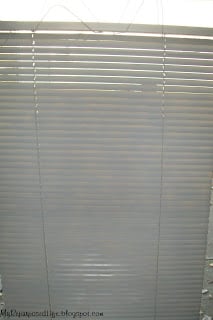 I then started spraying them with white spray paint.
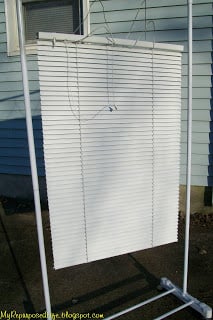 This is the finished product! I was so pleased, I couldn’t stop smiling. I was amazed at how well it turned out.
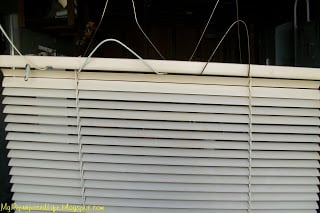
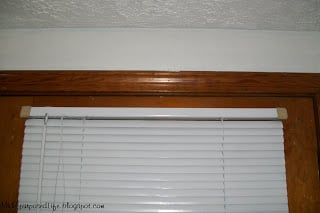 Then I brought it back in and hung it up. ummmm do you see a problem here?
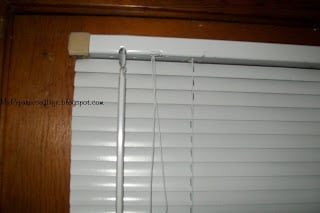 Silly me, got in a big fat hurry and didn’t take the brackets down to paint them. 🙂 BUT, it does give you a good idea of the original color.
I hope that Santa brings me some kind of sprayer so that I can tackle the large blinds in the living room. I would love to do all the blinds, but with the smaller ones, it may make more sense to just replace them a little at a time.

see more easy home improvement projects here
Great idea! Thanks for stopping by my blog and leaving a comment. Happy Thanksgiving!
You are a clever girl for painting those miniblinds. What a thrifty option to refresh something that’s functional, but not pretty. A girl after my own heart! I’m sorry to hear your woes about the blue painter’s tape, but I’m not surprised! You can always whine to me.
Great Idea! totally didn’t know you could do that. Thank you for the sweet comment! Don’t forget to enter my Christmas Card/Gift tag giveaway!
Ramsey
These turned out nice. I’m not sure I’d have the patience!
@cheapchichome.blogspot.com
Spray paint makes everything better, doesn’t it?
You sure did a great job but I think I would not tackle such a project. I admire you for sticking with this lovely finished blind. Good job.Wishing you a Happy Thanksgiving.Hugs, Jeanne
Wow, that turned out great!! I would not have even tried to do that. I would have assumed it would be disastrous and not bothered. You have proven that it can be done. And undoubtedly you saved a boatload of money. Good job!!
Now that is thinking outside of the box! Great job. 🙂
What an interesting idea. you could really customize your blinds to match your decor.
I hope Santa does bring you a sprayer. You would have lots of fun with it!
What a great idea, my shades definitely need improving!
Great idea!! So they didn’t stick together or peel or did you turn them before that could happen?