How to Print Photos {images} on Fabric
As an Amazon Associate, I earn from qualifying purchases.
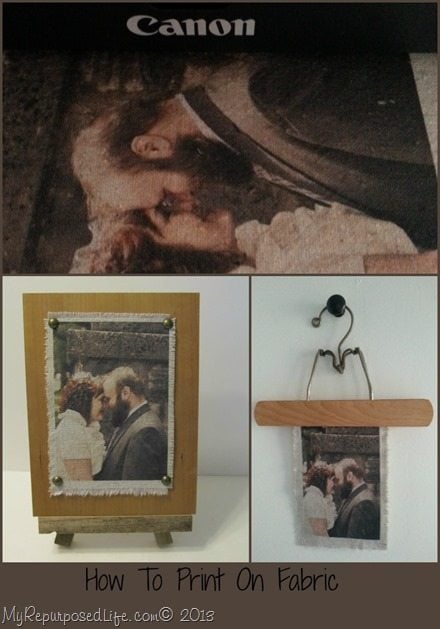
Years ago I printed on fabric, and I’ve been wanting to do it again. I decided to put my new Canon printer to the test to see how it would do.

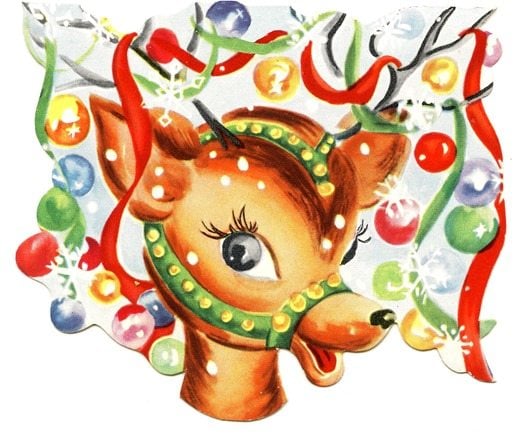
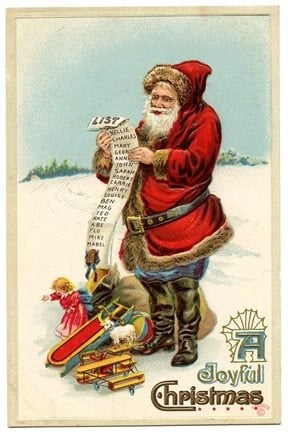 I chose a couple of great images from The Graphics Fairy.
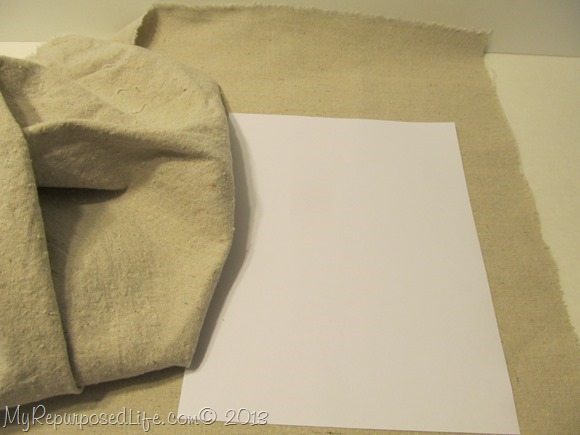 Then, I ironed a piece of scrap drop cloth fabric, and grabbed some of my full page shipping labels.
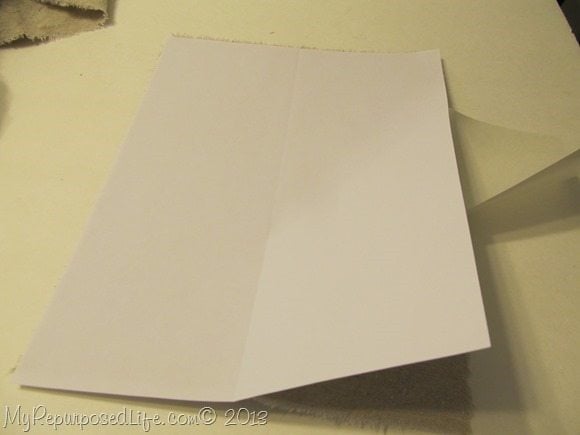 I made a small slit in the fabric, and tore it so it would fit the 8.5×11 label. Then, I peeled off half of the backing and lined it up so it would be evenly spaced on the fabric, then I peeled of the other half of the backing. Tearing the fabric gets a straighter line then trying to cut it.
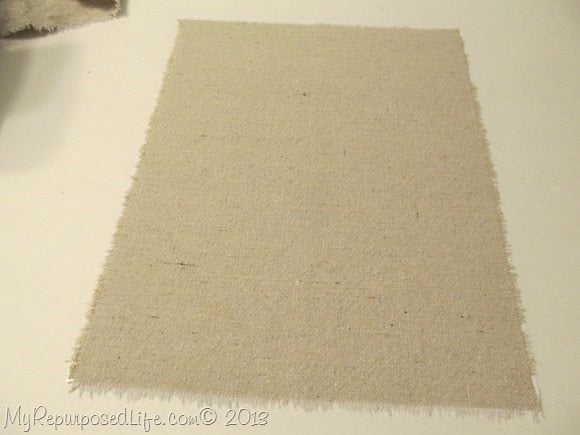 Here is the drop cloth attached to the full page label.
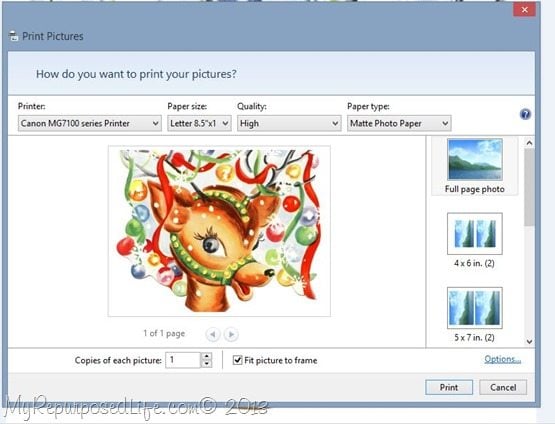
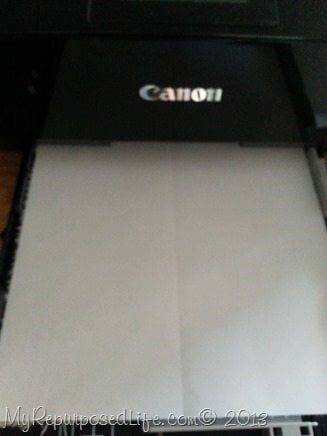
Be sure to put the label in the cassette with the fabric face down.
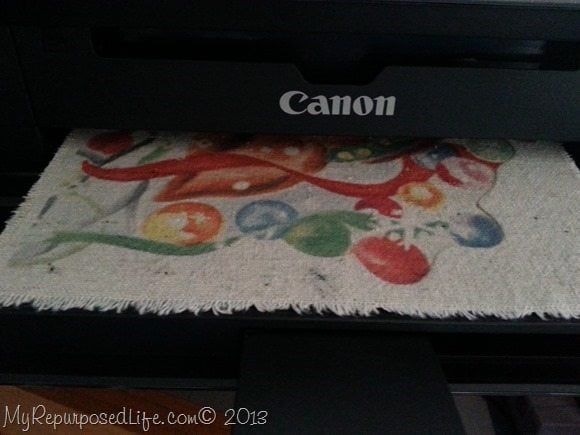
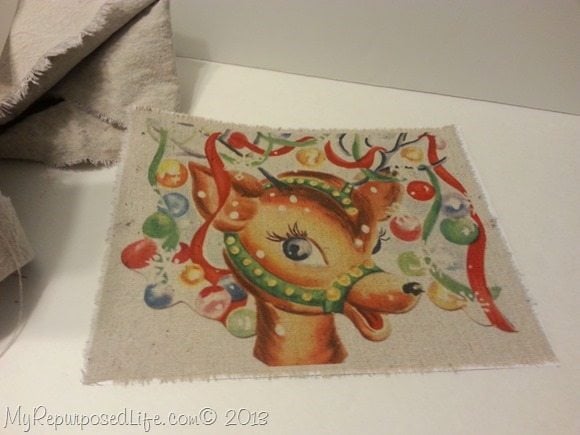 Look how cute this vintage reindeer turned out after I printed it on fabric!
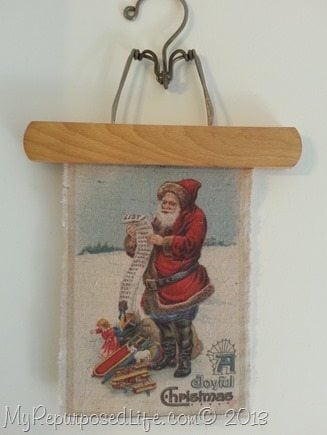
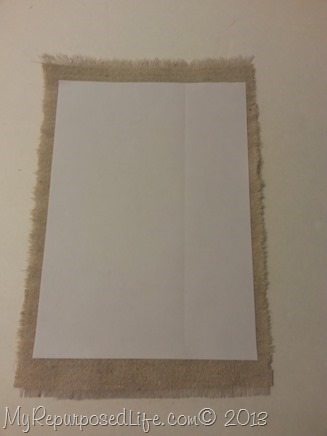 To give the Santa some support and stiffness, I used another piece of label paper cut smaller on the back.
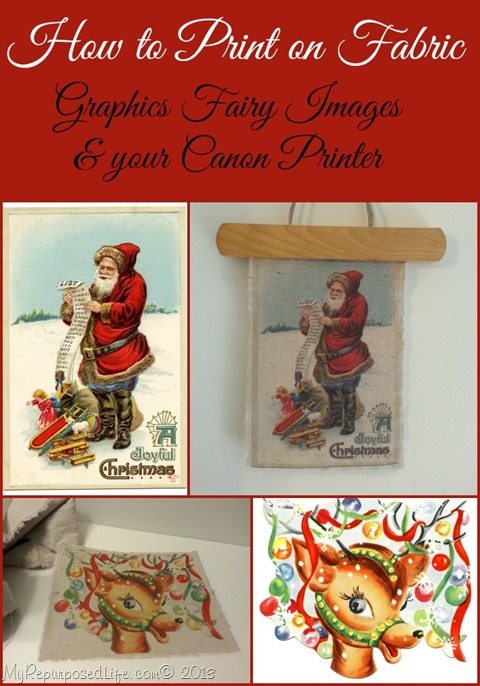

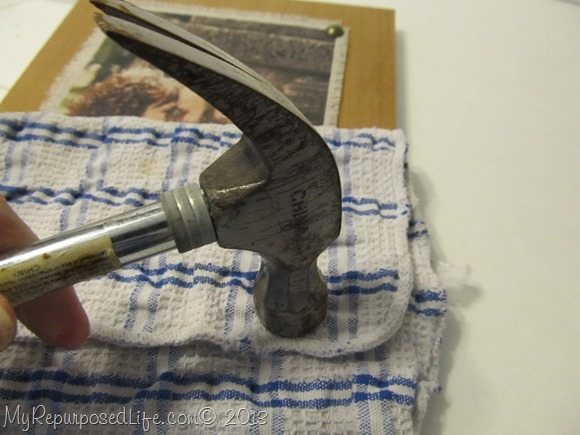 I printed one of my favorite wedding pictures of Jamie and Andy and mounted it on a scrap piece of wood with nail head tacks. I used a cloth to cushion the blow of the hammer.
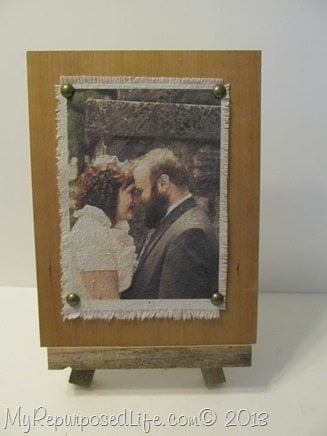 Here it is displayed on a rustic easel I made. I like the edges frayed a little.
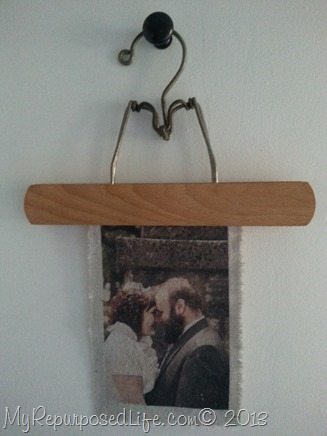
The possibilities are endless for printing on fabric. You could print documents such as wedding or birth certificates. If you like to sew, you could use a photo printed on a pillow.
gail


Great idea to use the shipping labels to hold the fabric. Thanks for the tutorial Gail.
Will this work on an Epson artisan printer?
I’m sorry Becky–I have no idea if it will work with your printer. Please use caution and good judgement if you’re unsure.
gail
They all turned out so great!! Again… you continue to inspire me Gail.
They turned out great. I am going to have to try this!
This is so cool Gail! My favorite part is that you used the sticky label paper, genius!! Pinned!
Gail, I recently have done a few projects like this myself, only I ironed freezer paper to my fabric rather than use the labels. I wonder if it would feed easier using the labels? I had some trouble with the fabric not wanting to feed through. I’ll try labels! Here’s a link to my printing on fabric project if you want to take a peek.
http://simplycountrylife.blogspot.com/2013/11/handmade-holiday-ticking-pillow-covers.html
http://simplycountrylife.blogspot.com/2013/11/old-tin-measuring-cups-turned-christmas.html
I love your santa!
Adina @ Simply Country Life
How cute is that! I love it!
I can’t believe it’s been four years since you posted the other tutorial about printing on fabric. Holy Moly!
oops! my bad! it’s only been three years. 🙂
but my how time flies!
The photos turned out beautifully! I love the wedding photo idea, wha what a great gift! I am definitely going to try printing on fabric using a label now!
Love the way they turned out! I’ve never tried this but I think I’m going to need too! 🙂
Wow! This is SO cool! I have to try it!! What kind of fabric is that? Is there a name for it. I love it!
Thanks!
Sue
Sue,
I used drop cloth fabric. It’s my favorite! lol
gail
This is how I made my santa pillows and I love it! Your pics came out great!
Susan
I know! I loved your little pillows. I first did this four years ago, and this printer worked so much better than my old one did. It fed through every single time without fail. I struggled with it a lot when I did it in 09. Gotta love modern technology!
gail
You can, also, iron the shiny side of freezer paper to fabric so it can be fed into a printer. Either way, it is a great effect.