How to remove layers of vinyl flooring to make room for new appliances
As an Amazon Associate, I earn from qualifying purchases.
I have partnered with Maytag to sponsor this post, but all thoughts and opinions are my own.
Sometimes a project like removing several layers of kitchen flooring can seem so challenging and overwhelming. That is until you know the right way to do it. I’ve disliked my vinyl kitchen floor for many, many years. Because I thought I was stuck with it, I updated it five years ago with paint! Yes, I painted my vinyl floor. The paint held up really well, and did the job of prolonging the life of my floor, but it was time to go.
Just a little bit of a backstory. I’ve lived in this house for over 40 years. I have had a hand in what went wrong, and because of that I was fully aware of how the layers of floors had piled up in my kitchen. The vinyl flooring I painted has been installed for more years than I can count, probably more than 20, less than 25. New cabinets were installed years after the last layer of floor was installed—on TOP of the many layers of floors. The knowledge of the layers made me think it was impossible to replace the flooring.
Do you have layers of flooring you need to remove?
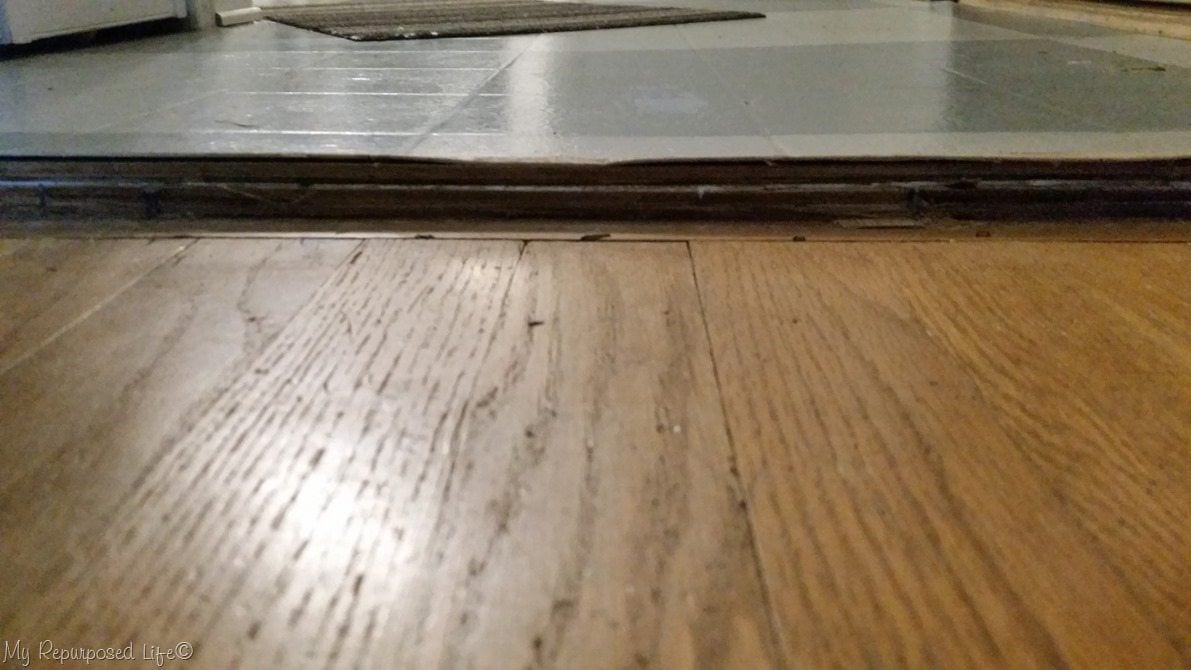
This is the evidence of the old layers. I had a transition piece covering all this up making it necessary to “STEP UP” into the kitchen from the living room. Being a rookie of such a DIY task, I imagined the worst case scenario of having to manually peel up all of those layers. I knew this was more than I could do, so I. put. it. off. for years.
Are you wondering why I finally decided to tackle this seemingly impossible job? I started an exciting new partnership with Maytag, and there was no way I could ever put my new appliances in my kitchen without making much needed updates.
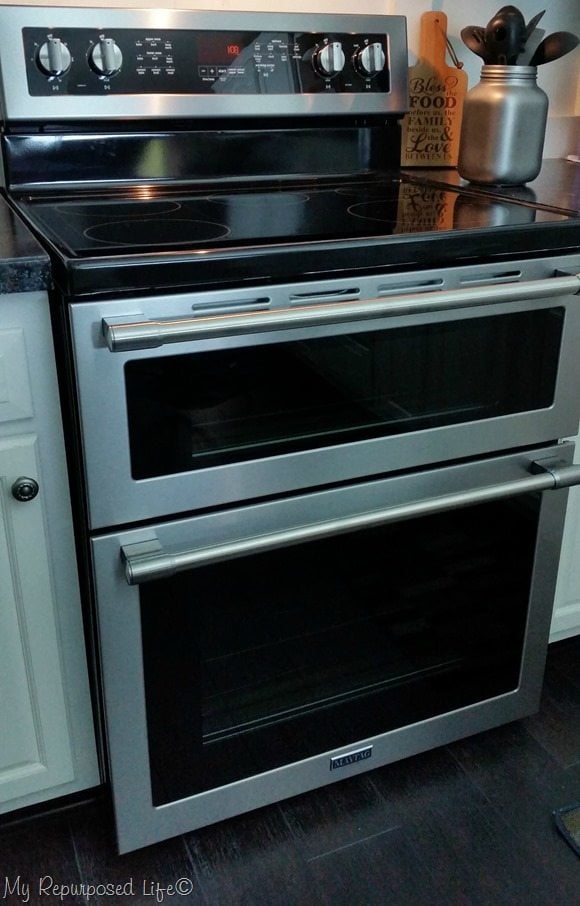
I LOVE my new Maytag® range, it came in great use during Thanksgiving. Doesn’t it look fabulous with the new floor? I would have been so embarrassed to share pictures with you if it were sitting on that old floor. It’s difficult to get a great picture of the floor—it’s much prettier in real life.
My neighbor Rodney is a jack of all trades and he said removing the floor was doable, but I don’t think we really discussed the HOW part. I assumed his secret weapon would be a giant crow bar, and maybe a small cutting tool around the base cabinet toe kick.
WRONG!
A circular saw is the tool you need!
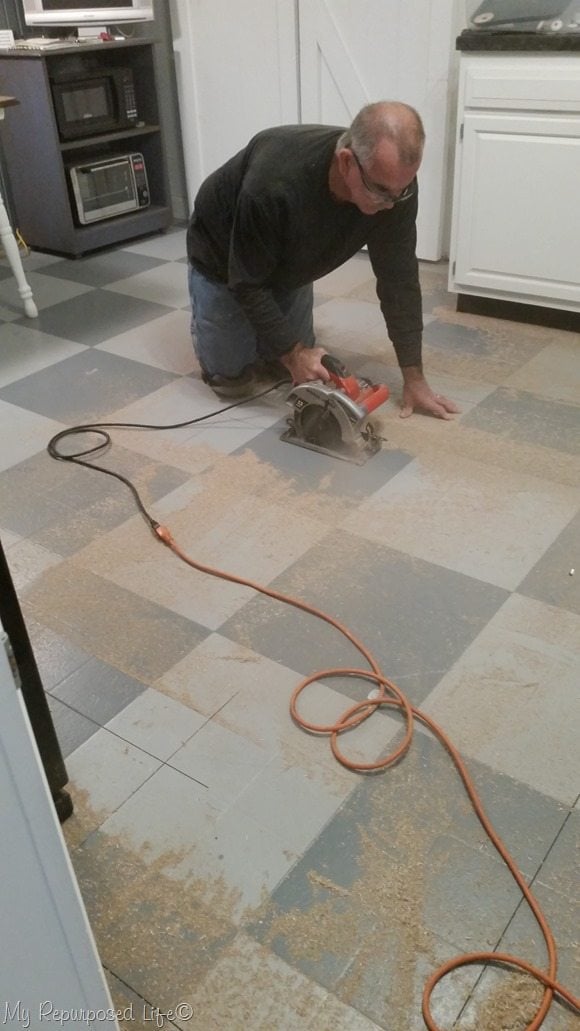
Rodney’s secret weapon was a circular saw! He set the depth of the saw by using the layers at the doorway as a guide and proceeded to cut through all the layers in more manageable squares.
*This post may contain affiliate links which won’t change your price but will share some commission. Read More Here*
Pry up one layer of floor at a time
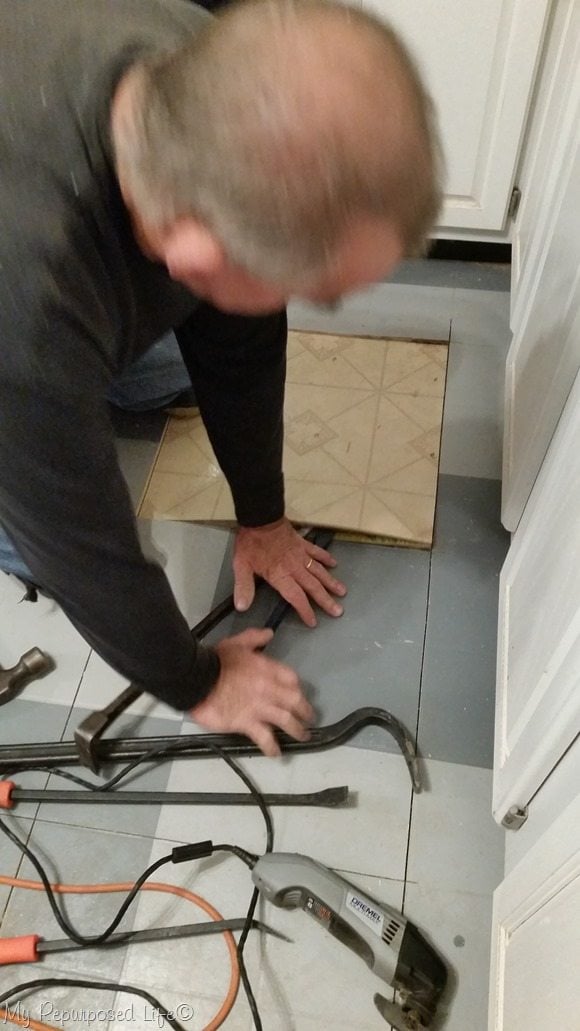
Look at all of those crowbars!!! You can see that he cut the layers, then pried those sections. I never thought it would be this easy. I assumed I would be peeling up layers of flooring, ripping and scraping as I went. You can also see the Dremel Multi-Max. That little guy was worth his weight in gold during this process. It was used all around the edges of the base cabinets. If you go through a lot of blades, check them out on Amazon, they are a lot cheaper than Home Depot.
If you’re lucky, it will all come up at one time
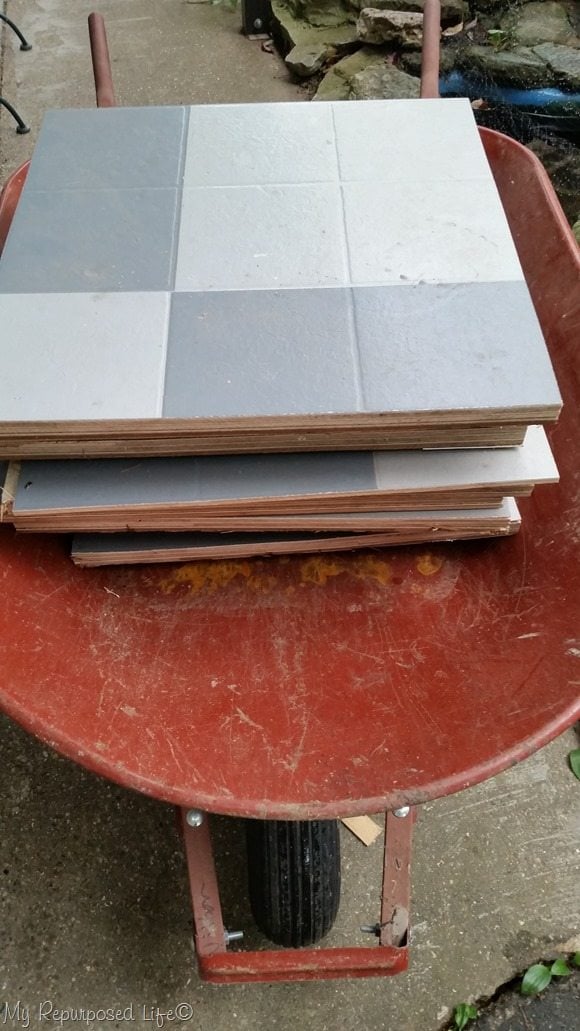
I was the apprentice, cleaning up as we went along. Rodney did all the brute work. These smaller squares of the layered flooring were so much easier to deal with.
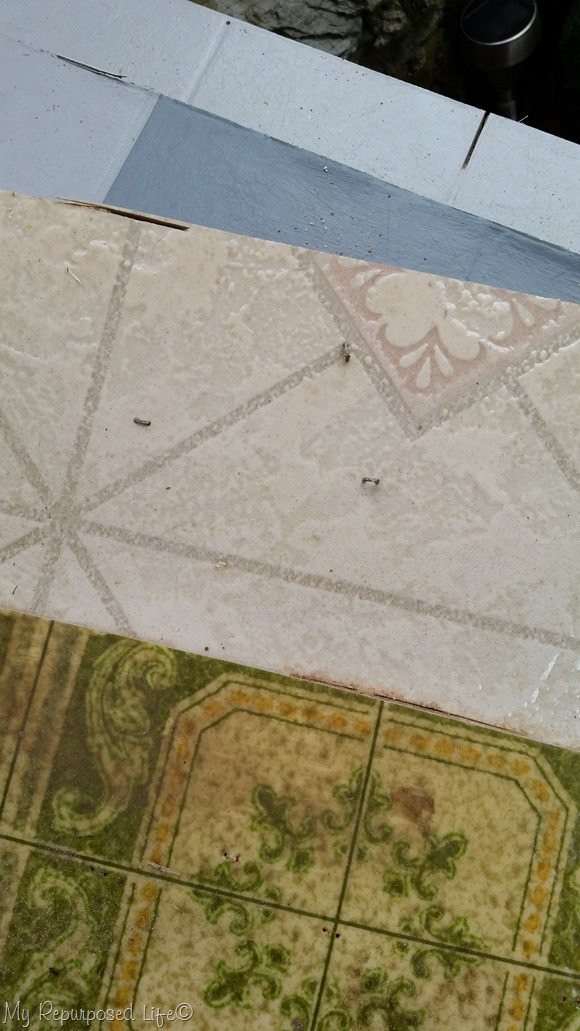
These are the three layers of vinyl flooring—remember each of these layers also had a layer of plywood underlayment.
Continue cutting through all the layers of old flooring
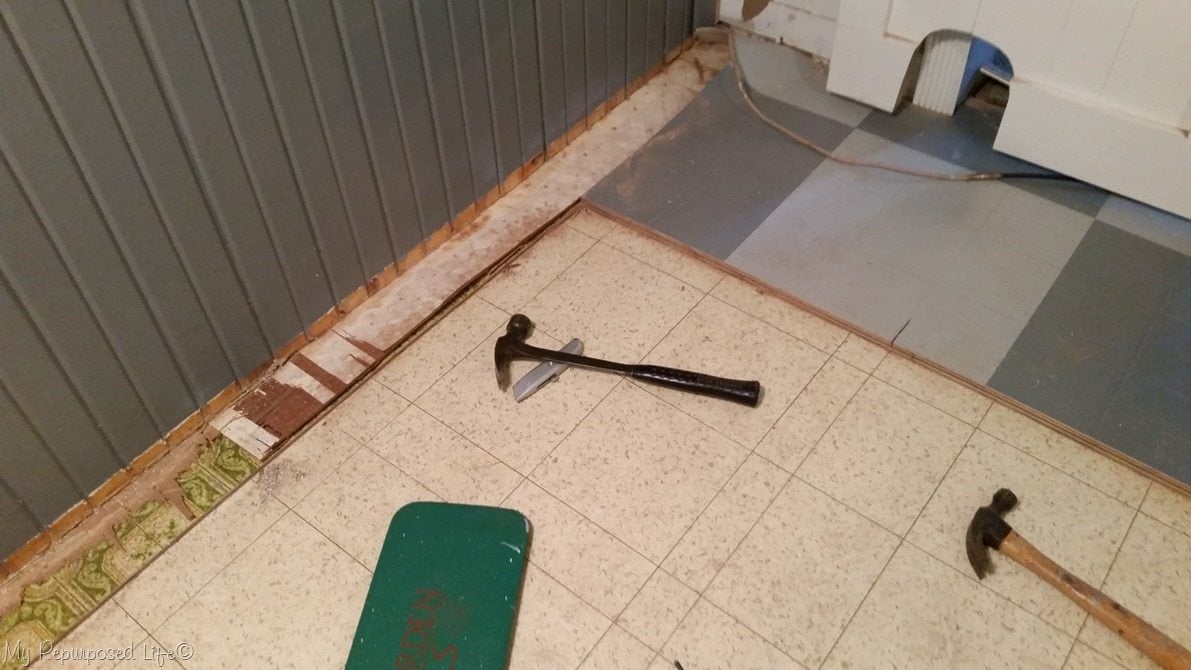
We left the original tile alone. I was afraid it may contain asbestos due to its age. The flooring against this wall was the most challenging because the tongue and groove wood on the wall was installed OVER existing flooring. In the background you can see the barn doors and the mouse hole for the cats.
Using the saw and taking up the floor was a very messy job. I used plastic to block off the two doorways leading from the kitchen to keep the dust out of the rest of the house.
Use a Dremel around the edges where the floor meets the wall
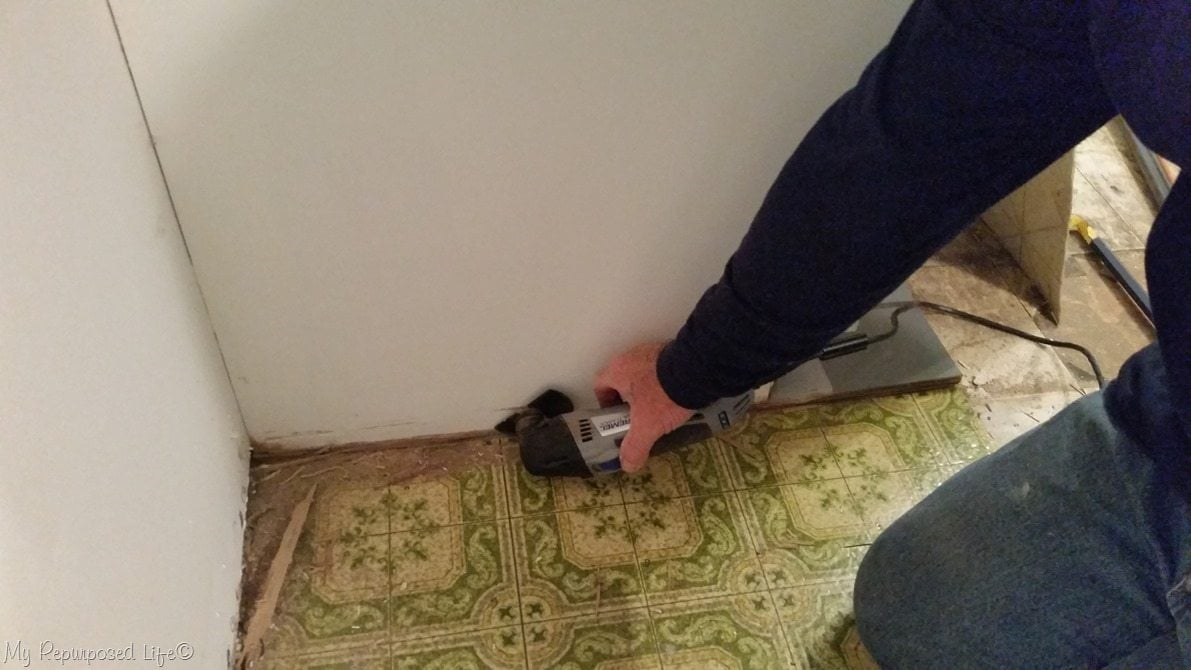
The tools were a must around the built-in cabinets around the fridge. These cabinets were installed on top of the layers and layers of flooring.
Lay new underlayment
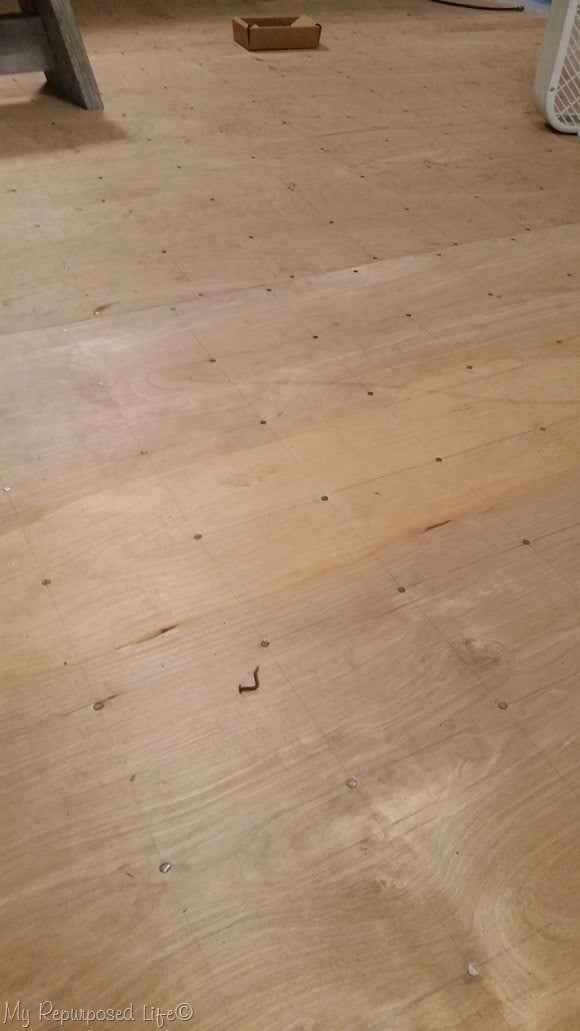
To cover up the suspicious original tile floor, we used underlayment. Rodney likes to nail it down by drawing a pattern.
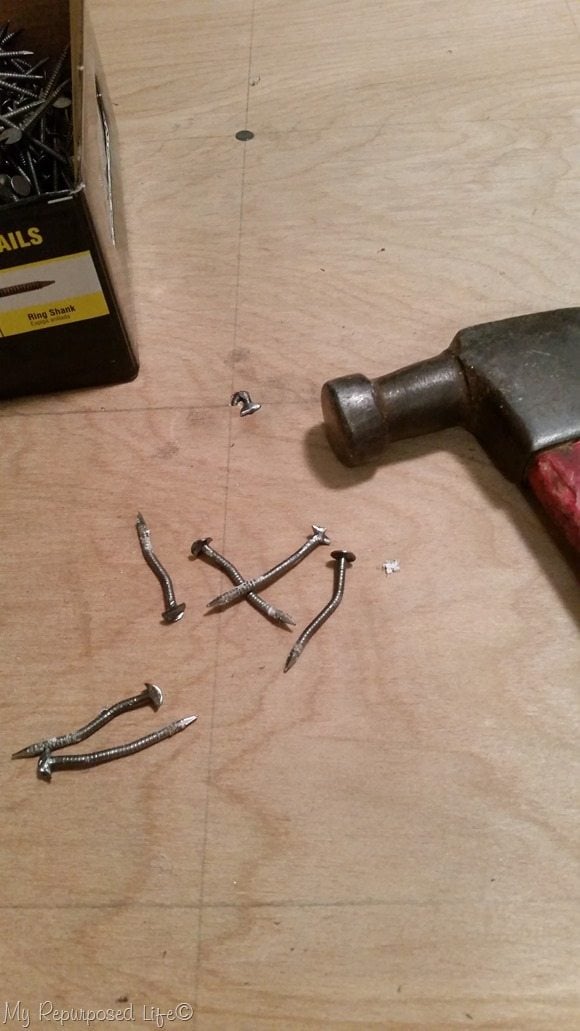
I am great at using a drill, but hammer and nails? Not so much! Hammering those nails into that original oak flooring was not easy!
Install new laminate flooring
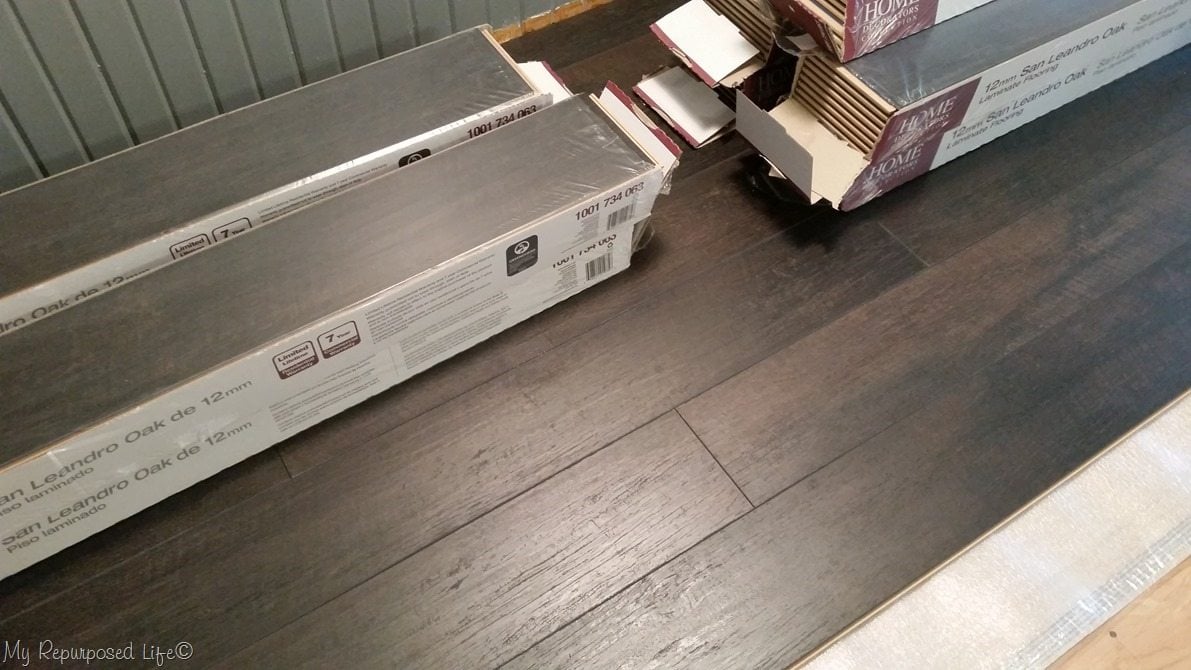
This room was the first to get the new laminate plank flooring. I blogged about putting down the floors in the living room, hall and bedrooms, giving lots of tips we learned along the way. I fell in love instantly with my new floating floors. After all these years, only my closest family and friends really understood the challenge of removing those old layers of flooring. I had been talking about how impossible it all felt for so many years.
One last thing about putting these new floors throughout the house. No one ever told me how difficult they are to keep swept! A few years ago I ordered a Roomba from Amazon and I now use it every single day. I noticed that robot vacuums were in all the advertisements on Black Friday this year… now I know why! Heheheh
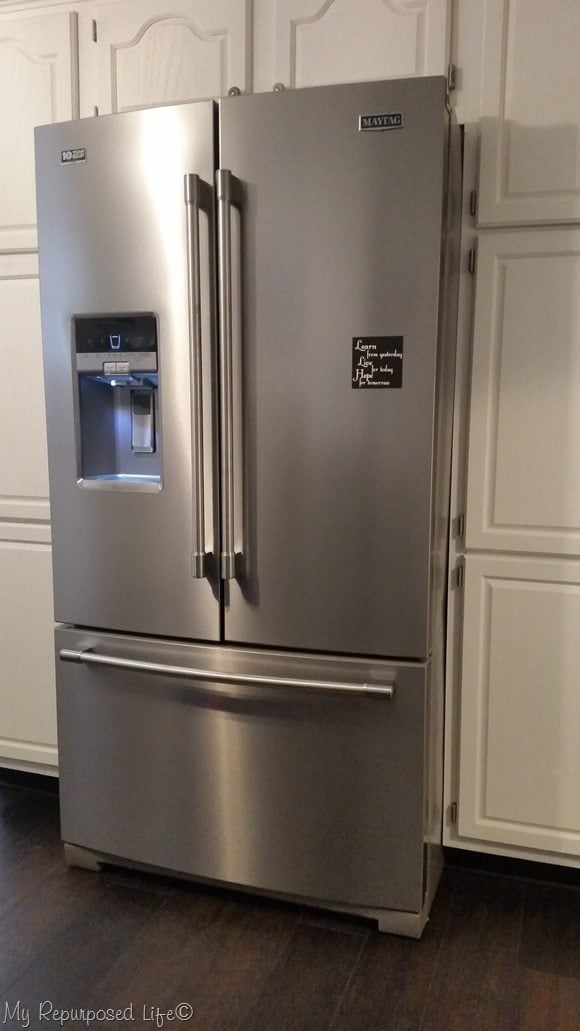
Unlike the flooring, my new Maytag® Refrigerator is so easy to keep clean with it’s Fingerprint Resistant Stainless Steel—all I need is a damp cloth with water. I never thought I’d want stainless steel, but I love this fridge! It’s a little scary when you measure for a new fridge—but they are made to fit perfectly into your opening.
I can’t believe that so much has happened in such a short time. There are more DIY updates coming to the kitchen over the next few months, but for now I’ll be concentrating on the laundry space as we all gear up for getting more organized in the new year. I’m really excited to show you what I’m doing in the basement with my laundry—I actually look forward to doing laundry now with the new set. Truth!!
gail


I also was advised about asbestos in the adhesive especially, with my 6 layers on top of the 1st, 80 year old crackerbox Georgian. It’s not a matter of testing for it, it’s a given in vinyl & press/glued tile floors of a certain age. My newest dates to 1981 per the previous owner. A containment needs to be built 1st, by a contractor experienced and/or certified preferably, in asbestos abatement. He or she would typically wear tyvek head to foot, and a cartridge respirator – your kind neighbor looks like he didn’t. This all prevents any of the removed material or sawdust getting into he rest of the house, or the contractor. Ventillation to or from the kitchen to the rest of the house also needs to be blocked off. A temporary move out of residents is strongly advised, testing of surfaces and air is recommended after throughout the house, and THIS is the reason I haven’t had mine done yet.😃
I really hope you tested the vinyl flooring for asbestos before cutting into it with a circular saw. Asbestos is very common in the backing of old sheet vinyl and in 9″ x 9″ vinyl tiles.
Jason,
I did research about the size and manufactured date of the vinyl flooring. How would one go about “testing” for asbestos?
thanks for your input!
gail
Looks great, Gail! I will definitely be getting a circular saw! I’ve been looking up many ways to do this and a circular saw looks like it will make the job a lot easier. I’m going to be embarking on this project this week and I’m nervous! Should I be nervous?
If you plan accordingly and make sure you cut at the perfect depth, everything should be okay. If you look at the images and see the picture of the tile floor and notice that the tiles are all different sizes, that is because the circular saw blade cut them, but we didn’t remove them. (those were the suspicious tiles that I chose to leave alone)
I hope you have enough layers that you can POP them up in about 2×2 sections like we did. I’m trying to think of what could go wrong and nothing really comes to mind.
The dremel was very necessary for the edges of my floor because of the way it had been put down. It’s a messy job. I covered the doorways to keep the dust to a minimum in nearby rooms.
Wishing you all the luck in the world.
gail
Thank you! Will let you know how it goes. Ready or not, here we come 🙂
-J
I wish I could say this went better than it did! Oh boy… https://www.house4baby.com/blog/2018/1/23/bye-bye-vinyl-flooring
Rodney Rodney, he’s our man if can’t do it no one can! Yay Rodney!
Bliss,
Ain’t it the truth! I don’t know what I’d do without Rodney. Recently, I helped him with a couple of projects in the house they moved from and the house they moved into. Barter hours, so now he owes me some free hours! Win/Win for everyone!
I LOVE my floors. I wonder why I waited so long….
Great tips, Gail! In my master bathroom, the people that installed the flooring started scraping all that old vinyl off and I assumed they knew what they were doing. But man… I would never do that again, due to the age of the flooring. I like the idea of leaving the old flooring and just covering it up with underlayment. Looks great!
Thanks Serena! Isn’t it sad that we “expect” people to KNOW what they’re doing. Of course I HAD to take up the three layers of thick flooring. But that last layer…. scary!
As someone who has torn out a number of carpets and kitchen tile, I can say that there are often surprises in store, some unpleasant. When the carpet was torn out in one room, we found that the painters had used the beautiful oak floor underneath as a work station for spray painting kitchen doors. There were clean rectangles rimmed with white overspray. We’ve found termite and water damage, but the boards were replaced by a good floor refinisher and you can’t tell where the old boards end and the new begin. Under carpets, we’ve also found old vinyl tile applied by black adhesive, which essentially ruined the floor. Under the ceramic kitchen tile, we found about an inch of “mud,” a layer of concrete used in tile setting before the advent of cement board. Under the tile on the kitchen countertop, we found yet another layer of tile and about an inch of mud. I always knew that countertop was too high!
WOW! Pinned the tips on removing the old flooring since I have the same thing in our VT house. I love the new look and those appliances are gorgeous! Everything is looking good, I can’t wait to see it all done!
Thank you so much Wendi! I’m so happy with how everything is coming together. It’s amazing how a simple thing like NEW appliances can cause such a ripple effect in my entire home!
Good luck with the North House projects.
gail
That’s so great, Gail! Rodney rocks! The appliances look amazing with the new floors!
I’ve removed several “layered” kitchen floors and a circular saw is the only way to go!
When you showed the draw out pattern for nailing I laughed at my laziness~ I bought under-layment that was pre-narked for nailing. Yup~ l-A-aaaaazy! And it cost too.
Everything looks aMAZing Gail! You totally deserve it all!
Catherine
hahaha that is so funny that you also follow a pattern for nailing. I guess I would be the laziest of all of us because I wouldn’t follow a pattern. lol
Thanks for your sweet comment. I’m loving all the changes I’ve made to get ready for new appliances. It’s been a huge domino effect.
Happy New Year Catherine!
gail