Cabinet Made from Reclaimed Shutters
As an Amazon Associate, I earn from qualifying purchases.
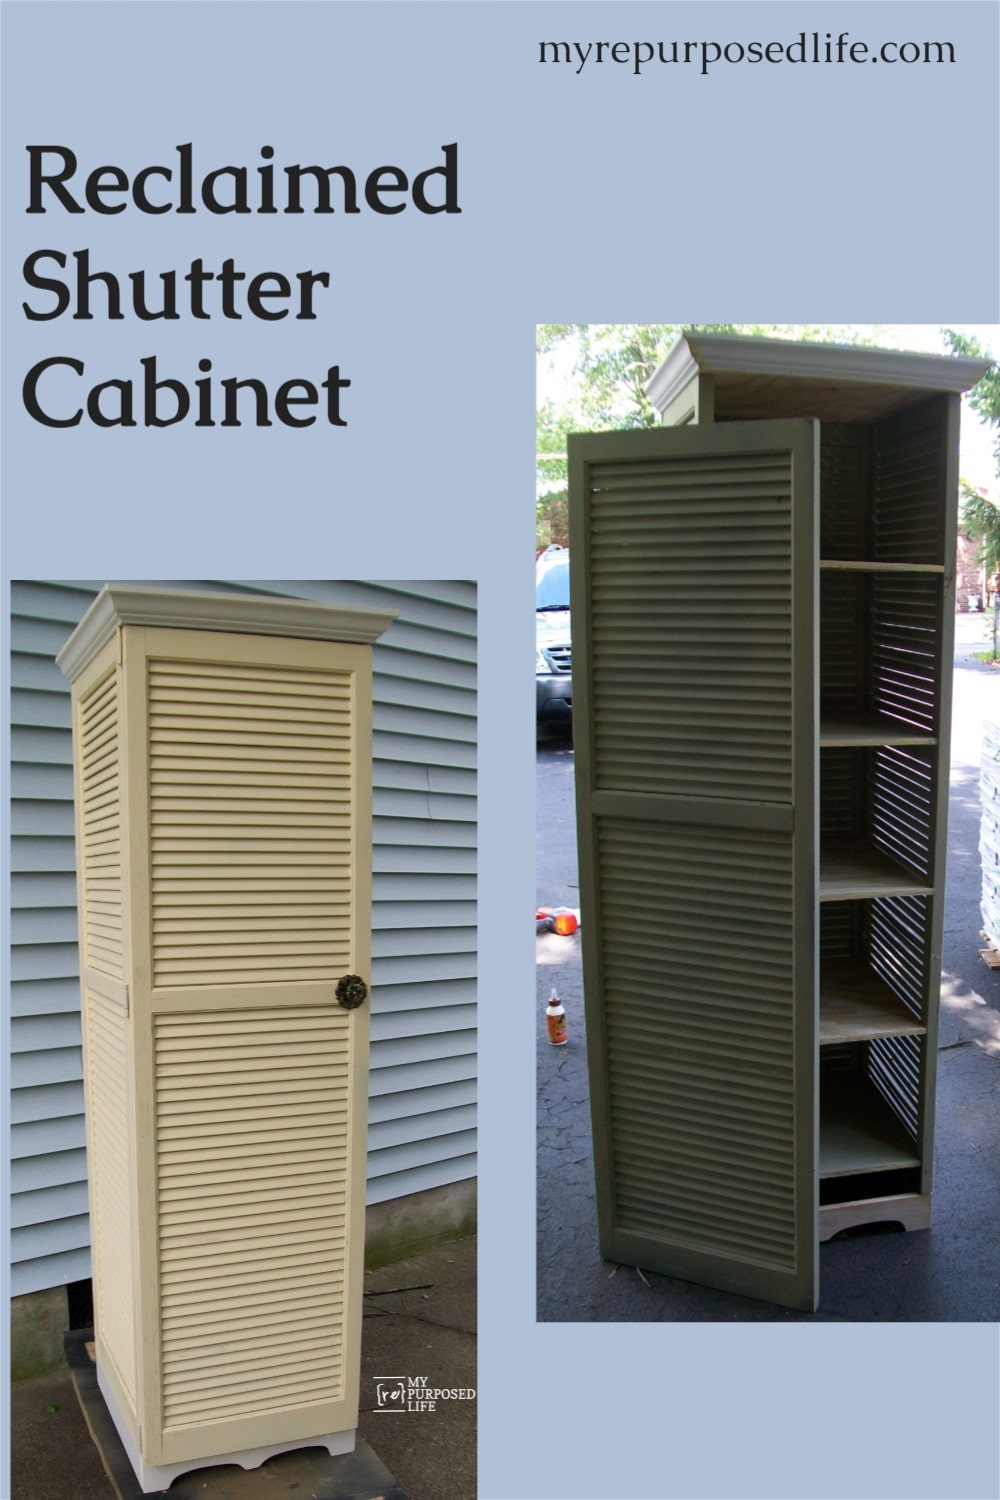
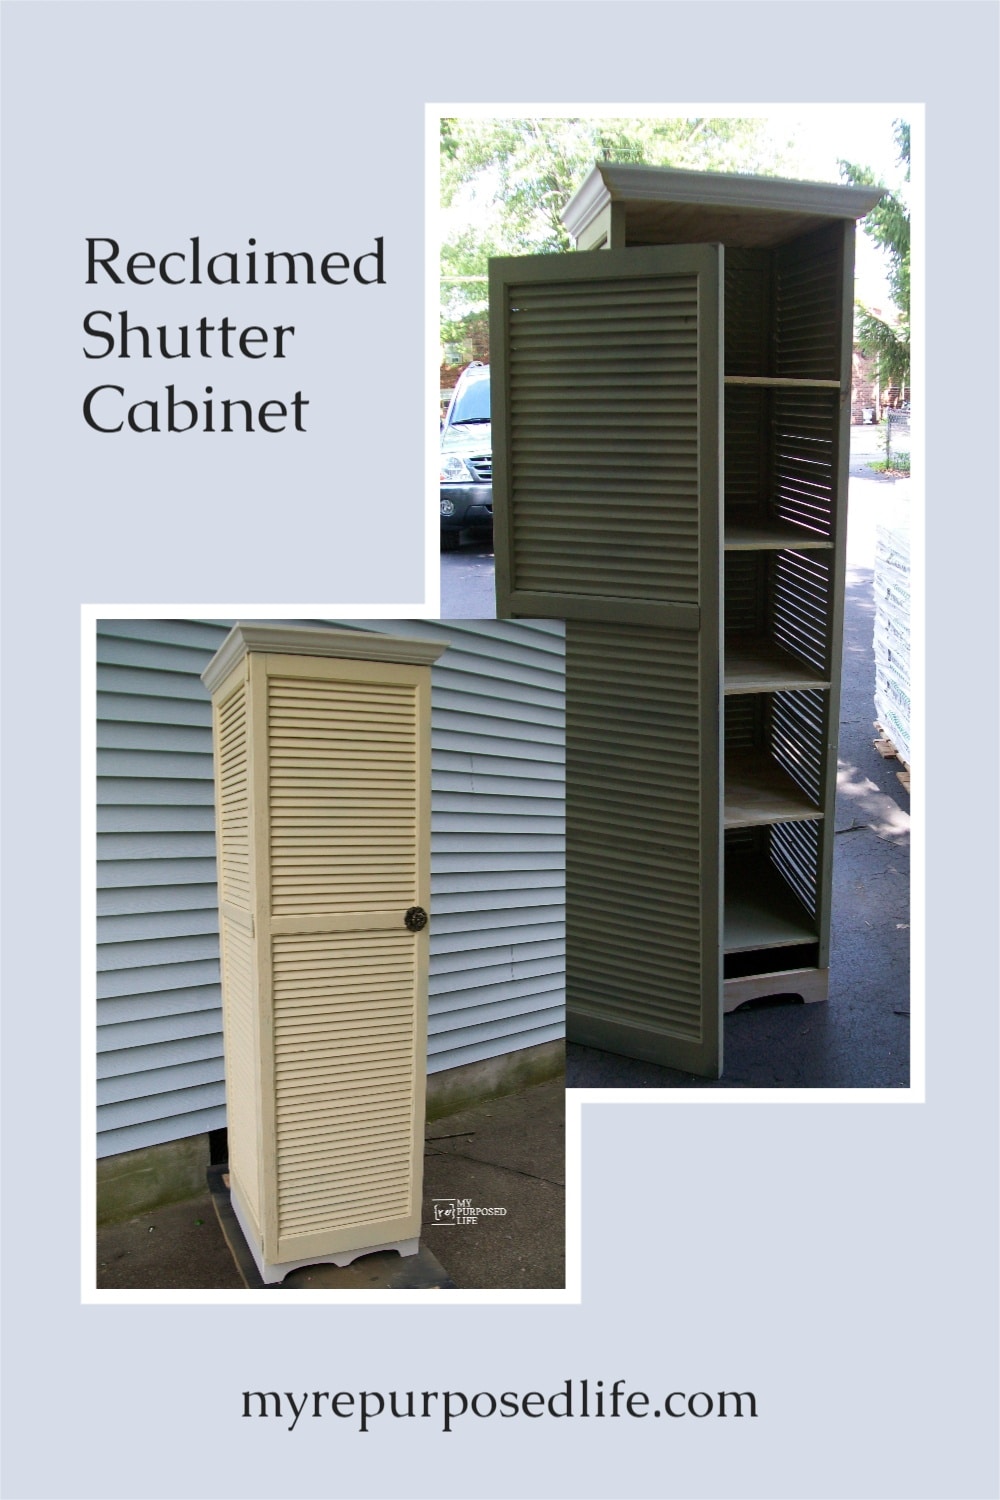
What can you do with four reclaimed shutters? Use them to make a shutter cupboard! Don’t be intimidated by the process, simply follow my step by step directions.
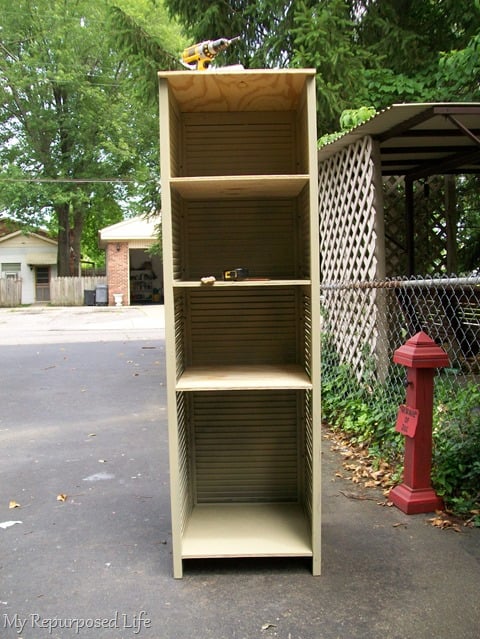
Tall Yellow Shutter Cupboard

I made the shutter bookcase for Jan a couple of months ago. She had 4 more shutters and she asked me to build her a shutter cupboard.
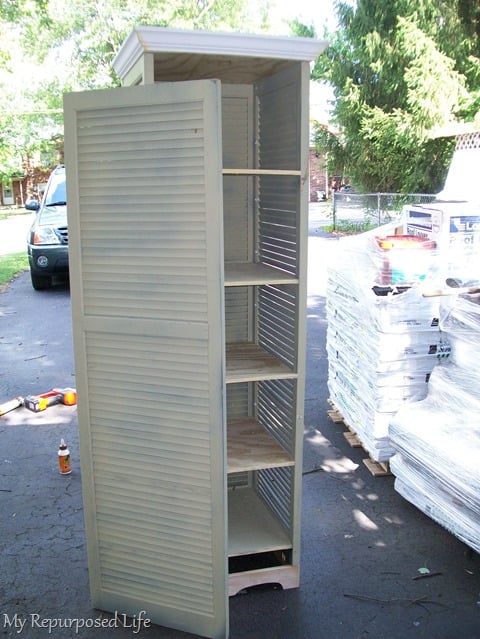
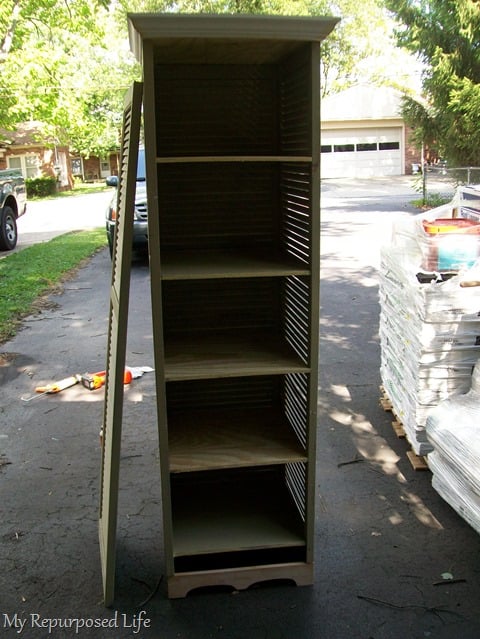
Designing and Building a Shutter Cupboard
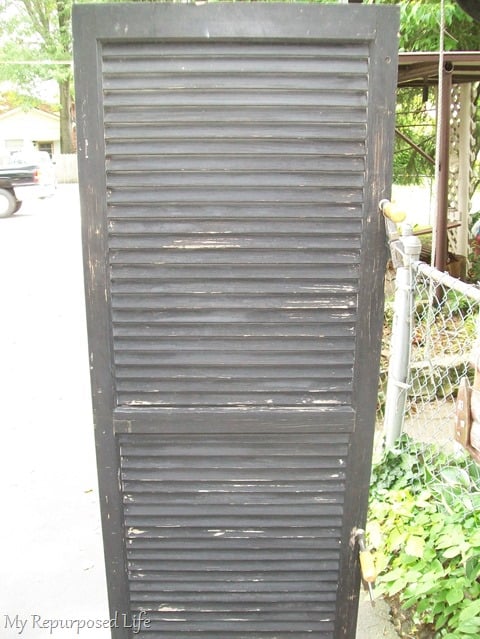
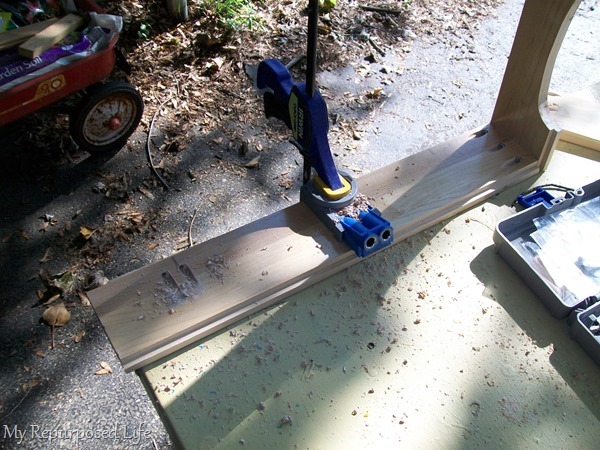
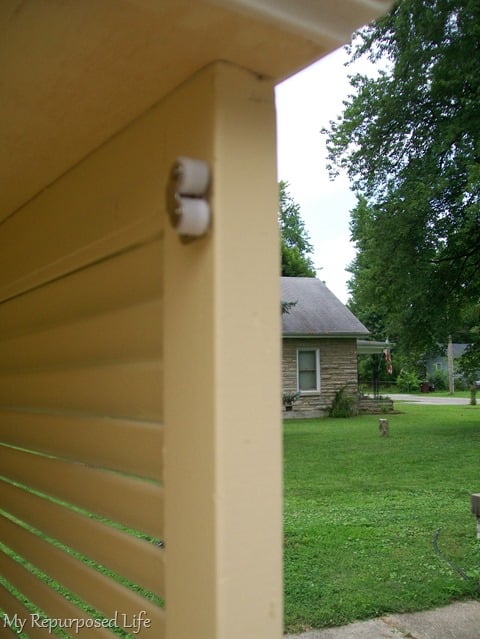
These shutters are taller than I am.
I had to cut them off because two were shorter than the other two. Once I got them to match, I used my Kreg Jig Jr. to make pocket holes to join three of them together.
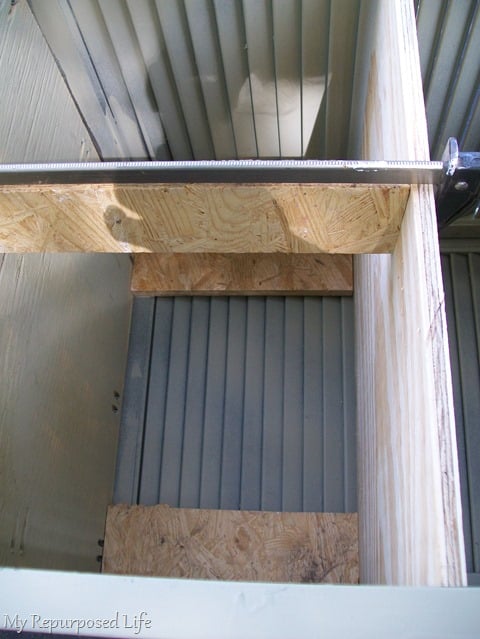
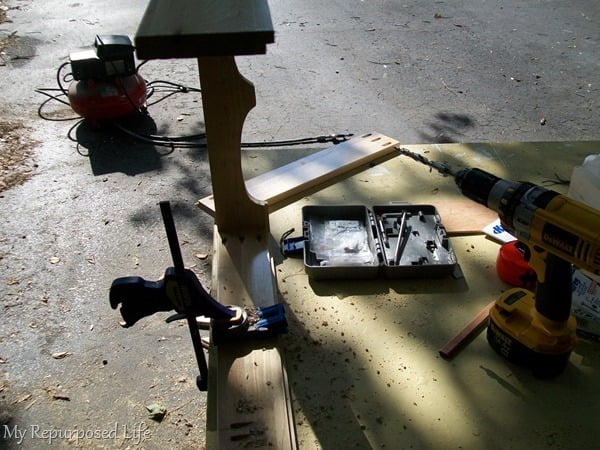
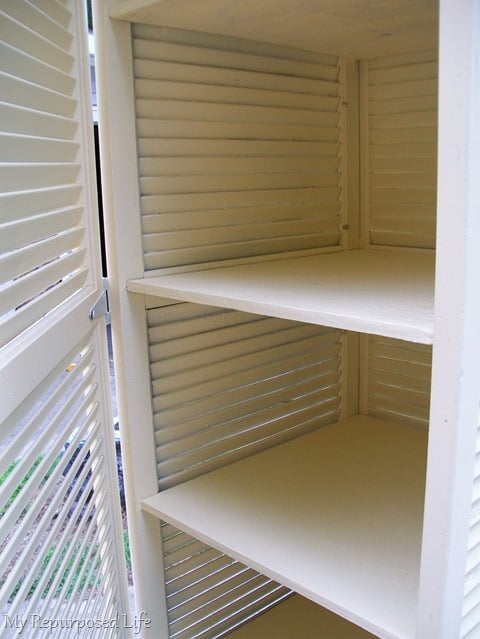
How To Add Shelves
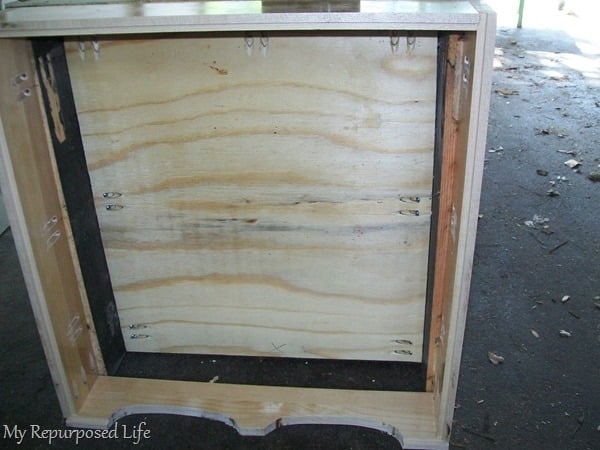
I didn’t have any wood to use as shelves, so I purchased a piece of plywood at Home Depot. I cut the shelves to size. I attached the bottom shelf and the top of the cupboard first.

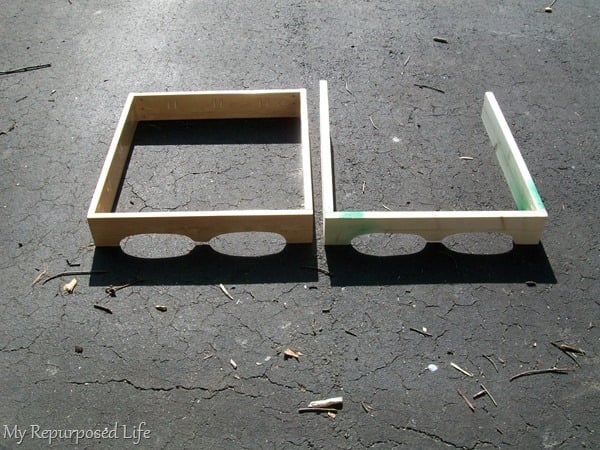
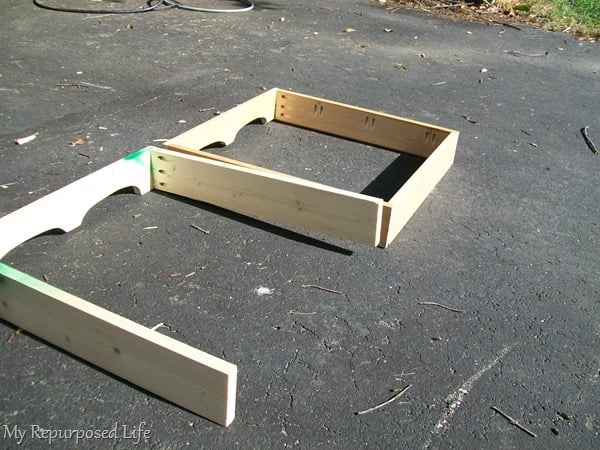
Then I got busy installing the other shelves. I cut some scrap wood to use as spacers so that the shelves would be uniform in height. The middle shelf would be the one that would keep the unit squared and sturdy. Because the shutters have the middle piece I was able to use pocket holes all the way around 3 sides.
Visit the My Repurposed Life Amazon Store to shop my favorite items.
The other shelves, I could only attach with pocket holes in the front and the back. However the pocket holes made with the Kreg Jig make very tight joints.
Adding Decorative Base
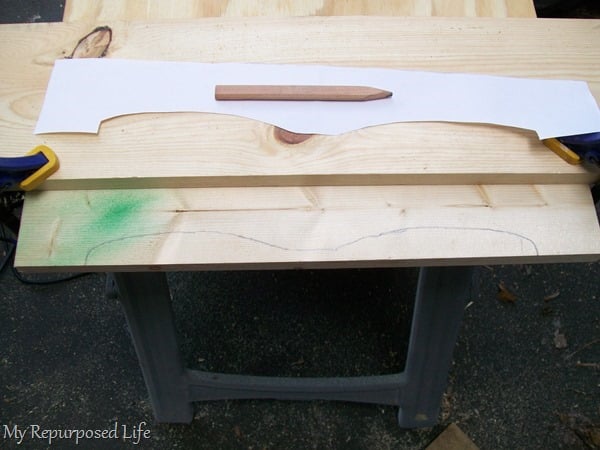
I wanted to raise the cupboard off the floor with a decorative “skirt”. I folded a piece of paper in half so that the left and right sides would match. With the paper folded in half I cut out some curves. I traced the curves onto a piece of 1×4 and cut it out with my jigsaw.
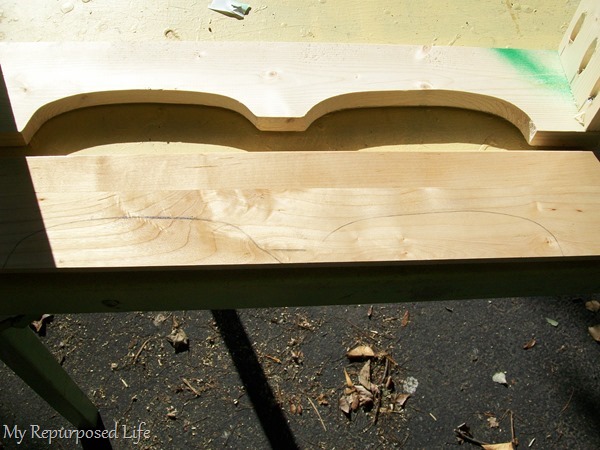
While I was looking for a board to use as the back, I realized the 1×4 was just too wonky. The boards I decided to use were reclaimed drawer parts.
I used my Kreg Jig to make more pocket holes and joined the three new pieces together. (they were a little larger than a 1×4 so I had to rip them on my table saw to get them down to size)
On the left, the new piece.
See how caddywampus the first one was? yeah, not working! Seriously, it’s worth the extra time and effort to do things right.
How To Attach The Base
More great pocket holes and pocket hole screws to attach it to the cupboard!
Time For Paint
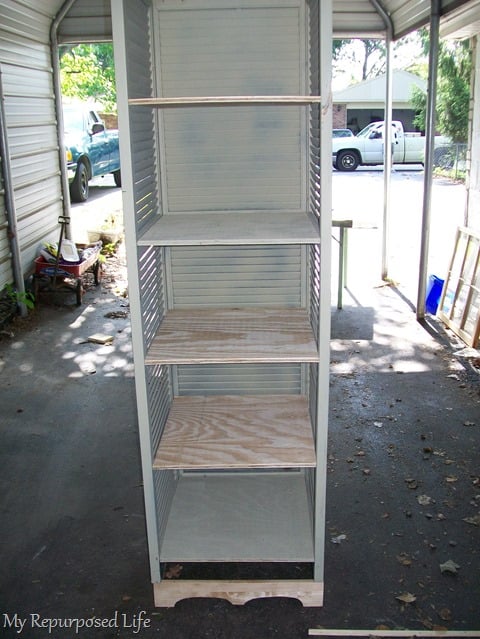
I primered the cupboard one day while I had my sprayer fired up. Then I added some more shelves.
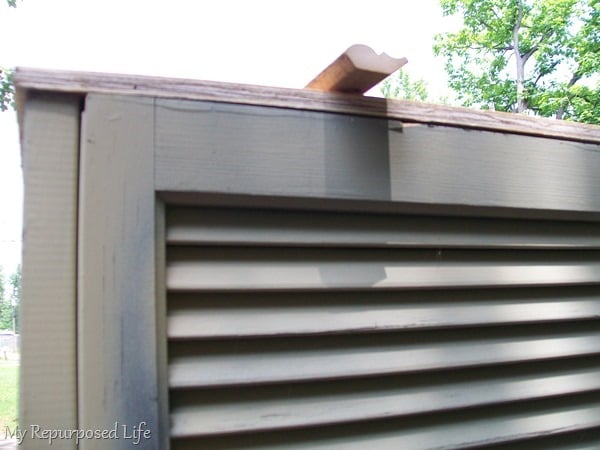
Add Trim to the Top of Shutter Cupboard
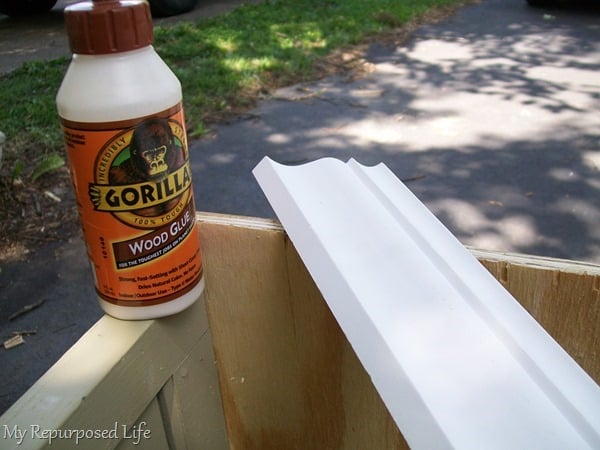
I cut the crown molding and used Gorilla Wood Glue and my nailer to attach it.
This picture dates itself. See the shingles?
Painting with Painter’s Tape
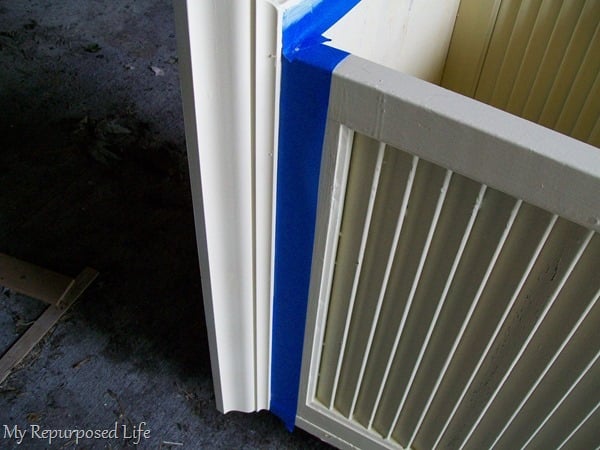
Jan decided she wanted this cupboard to be two-toned. The cupboard was an “oops” that Jamie gave me a couple of years ago. The top and bottom trim are Martha’s Heavy Cream. I taped it off to get a clean crisp line.
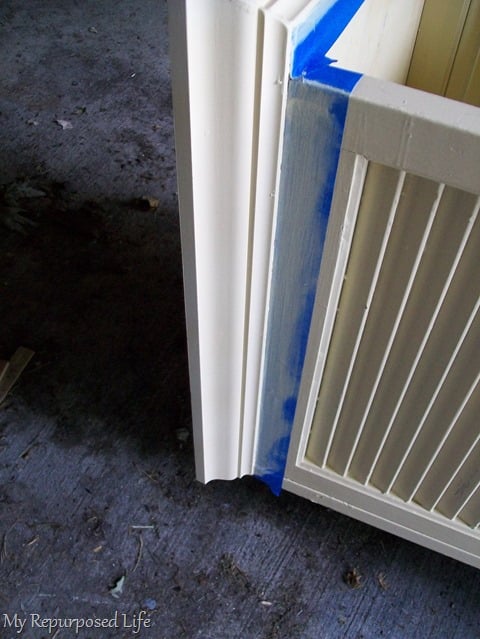

Handy Tip from Gail: After applying your tape, make a swipe with the color (in this case yellow) that you have already painted. Then IF there should be any bleed, it will be the color that is already painted. After that little swipe dries, then paint the other color (heavy cream) Remove your tape while your paint is still damp.
A Look at the Hinges & Hardware
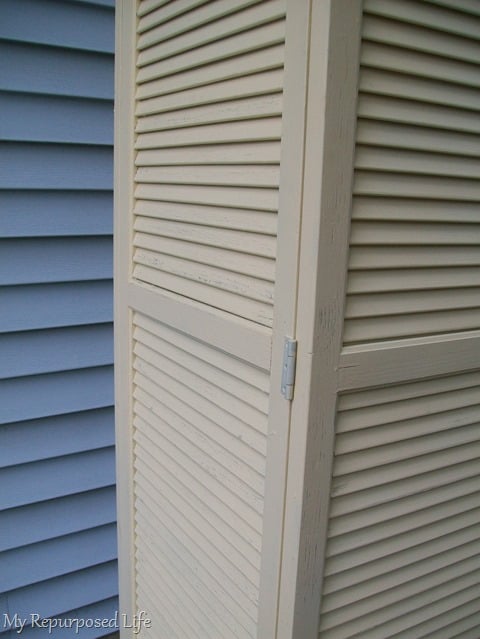
I had three hinges in my stash that worked great for the cupboard door.
The cupboard is not 100% square, so the door shifts a little when it is closed. I installed a “catch” that helps align the door when it is closed. shhhh don’t tell Jan, okay?
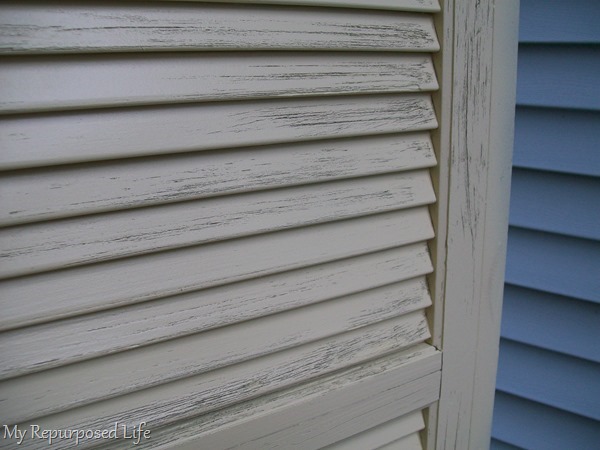
Because the shutters were old and weathered, the paint (even though I did use primer) would not cover smoothly. However, I LOVE, LOVE, LOVE this look! I think it is a perfect look.
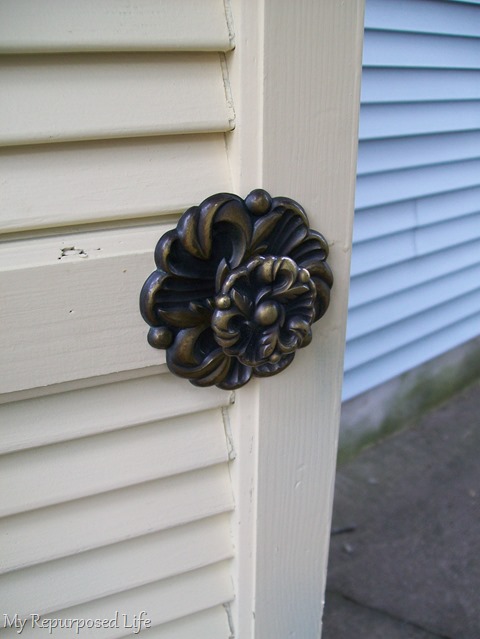
This is the knob that is currently in place. Jan is probably going to want me to change it out. Hey! It’s a woman’s right to change her mind, right?
I gave a little coat of paint to the hinges.
Pretty Yellow Shutter Cupboard
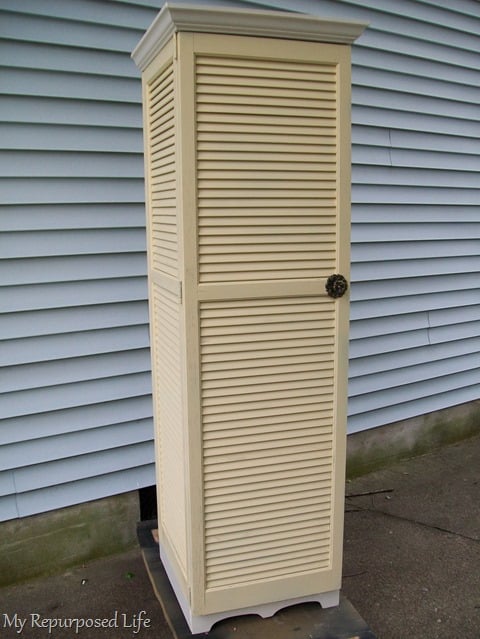
Do you like the two toned look? How about the knob? Jan is thinking it needs a simple wooden knob instead. Please let her know what you think in a comment below.
gail
This is awesome! Thanks for the tutorial.
Thank you for your inspiring cabinet idea. I recently built one from some old shutters I rescued from an old farm in Northern Michigan. I love the color choices on yours. I went with black to help cover some of the imperfections that were a little too “shabby”, but would have liked to see it in buttery yellow. I built an ottoman today out of an old cast iron base from a wood stove. You can check it out on my blog at http://thenandagainfurnishings.blogspot.com
Maybe I can return the favor of inspiration.
The cupboard looks fantastic. You did a lovely job in putting it together. Love the outcome.
LUV the design…the colors aren’t for me, but I like the weathered finish!
Question – is there a reason there were three shutters vs. two shutters and a back? No problem with it at all, just curious.
I REALLY enjoy your work and your blog. Definitely appreciate the How-to. you make it look easy and I KNOW it’s not-great work!!
<3
~m
Love this….what a great way to use shutters. The knob is pretty…just doesn’t look quite right. A smaller knob would better and I agree with Jen. A glass angular shaped knob.
Oh wow, this is fantastic! I think I would use one of those antique looking glass angular knobs. I think I may need to start looking for some old shutters for a cabinet for myself! I’d love for you to come check out my blog sometime, http://www.icantstopcrafting.blogspot.com
I think it is cute… I’d love it more if the white color was used on the “frame” around the louvers and an aged “white wash” was on the knob.. more antiqued.
You never fail to surprise me with your idea! I’ve been keeping an eye out for wooden shutters since I’ve found you 😉
Debra
http://homedefined.com
Wow! I bow down to your carpentry skills! That cupboard is so cute. I love shutters and this is such a new way to use them! The 2 toned look is super cute and I love that knob! It makes the cupboard feel fancy. I like that.
I’d love for you to join my giveaway for 2 canvas pillows going on now! http://www.alittleknickknack.com. Happy 4th!
The knob is perfect! Knobs are jewelry and this just makes the cupboard. You sure are a pro at making those shutters into fun projects! Love the two tone colors.
I like the knob, but I don’t think it quite goes with the cupboard. I think Jan’s idea of a wood knob would look great.
Love the color and the added details on the base. Great job! My vote is for a handle instead of a knob.
Great piece, but even greater is the fact that you used the word “caddywampus” – I use it all the time and always get strange looks from anyone outside of the family whem I say it.