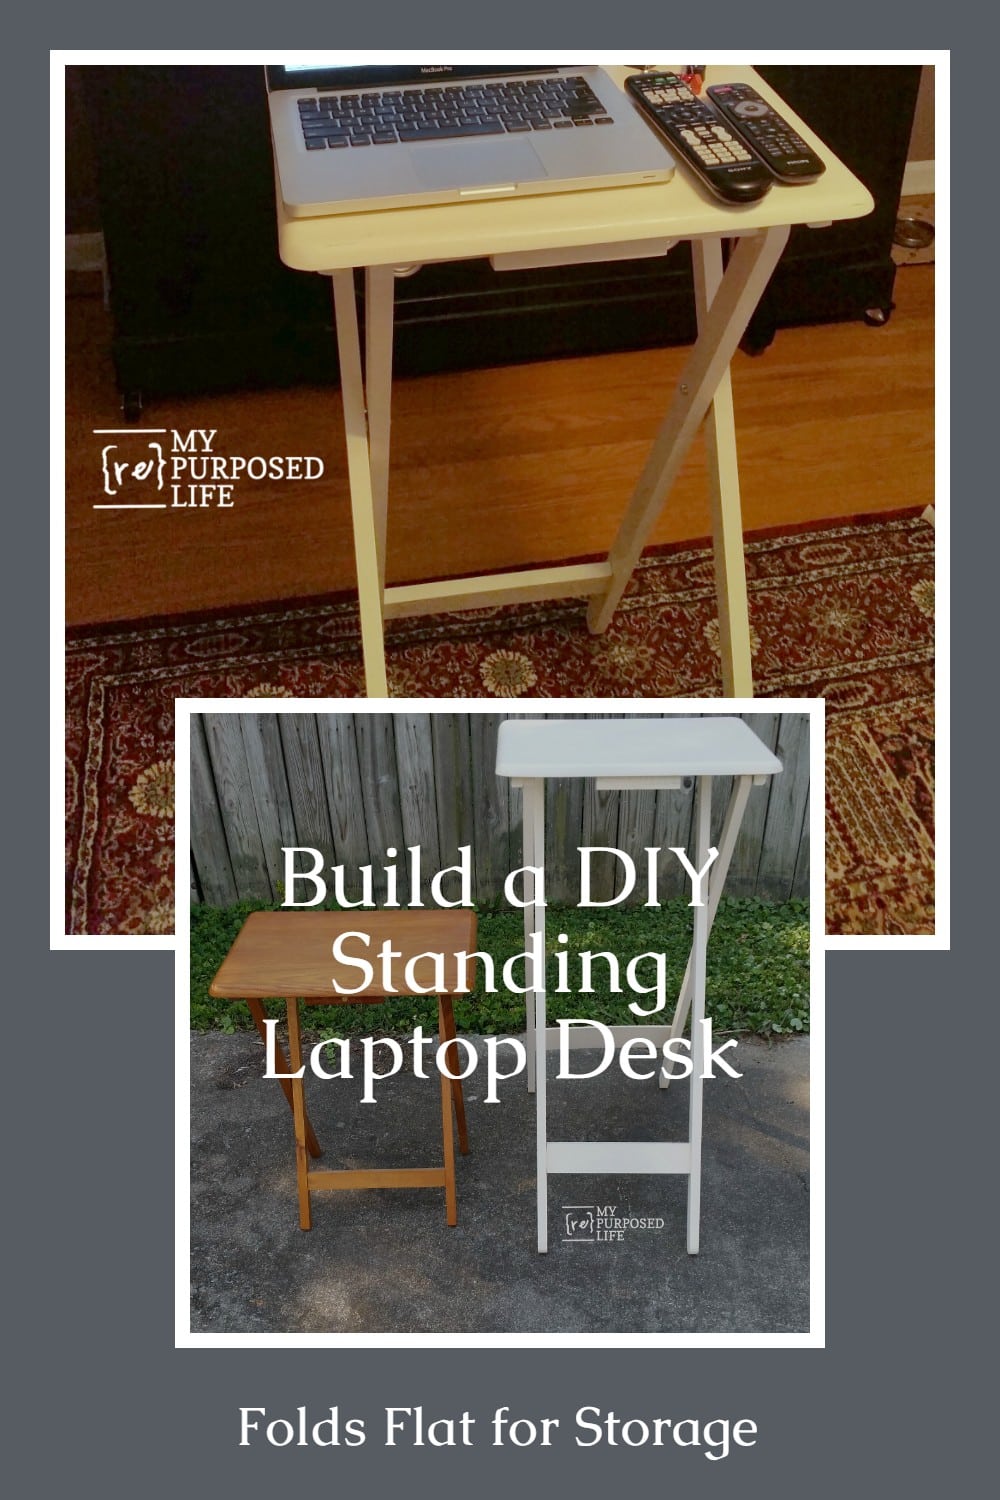
Make Your Own Standing Laptop Table for $20
As an Amazon Associate, I earn from qualifying purchases.
Sometimes I get a brainstorm about a repurposed furniture project, and I search for something like it on Google or Pinterest to see what’s out there. As in today’s project, a fold-up standing laptop table, I found nothing. There were many options for folding desks for computers, but I wanted a tall table that would allow me to stand up and work on my laptop. That seemed easy, but you see, I want it to fold up when it’s not in use because when I use it, I’ll be in the living room. Then it hit me! A tray table is the perfect table top for a laptop. I just needed it to be taller!
I am approximately 5’4” tall. While standing, I measured from my elbow to my knee and chose to make my table legs 42” long. My standing laptop table is about 38.5 inches tall. You may have to make adjustments depending on your height.
Materials List
- T.V Tray Table (free, I already had one)
- 1×2 Poplar board 7ft (2) $13.30 (7 ft easily fits in my short bed truck)
- 1×3 Poplar board 12-14” (1) $1.57
- 5/8” Dowel $2.54 (or you can reuse the one from your TV. tray table)
- Bolts 1 1/2 x 1/4” (4) $1.20
- Nuts 1/4” (4) $1.60
- 1/4” x 1 1/4” washers (4) .80
- Scrap piece of thin plywood (optional)
- Wood Glue
- Paint or Stain
Total 21.01 includes the dowel, which you may not need to purchase.
My daughter, Jamie, takes after me in that when we get an idea, we want it done yesterday! The moment I figured out what I wanted to do, I grabbed one of my TV tray tables and started dismantling it. The plan was to use the top “as is” and just make taller legs for it. What do you think? Does it sound doable?
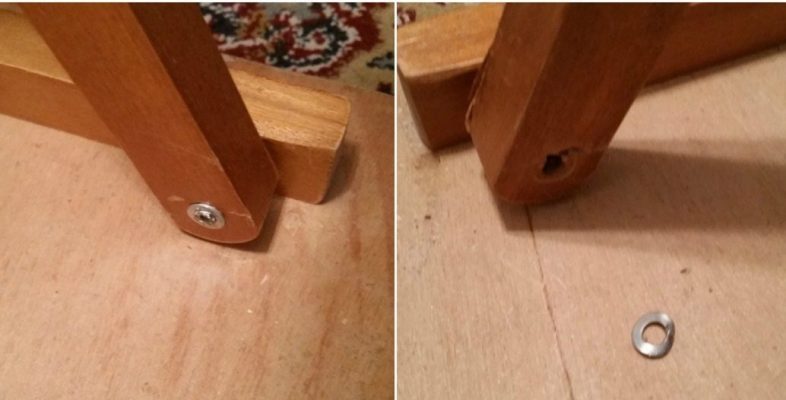
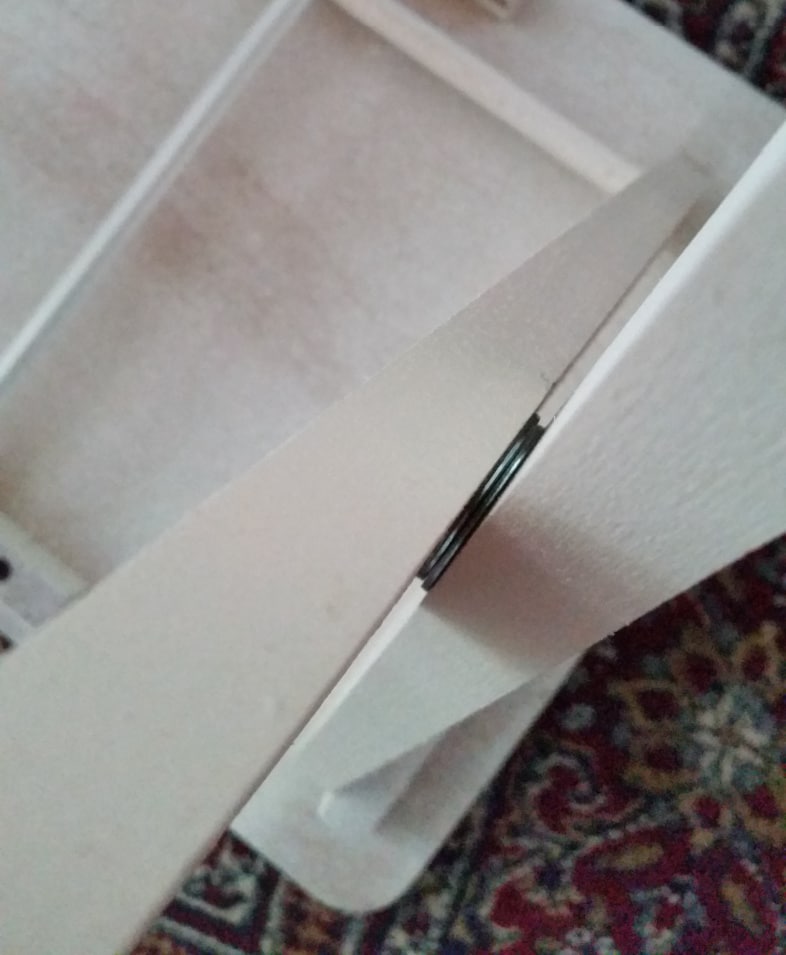
I had to pop off some lock washers in order to dismantle the top.

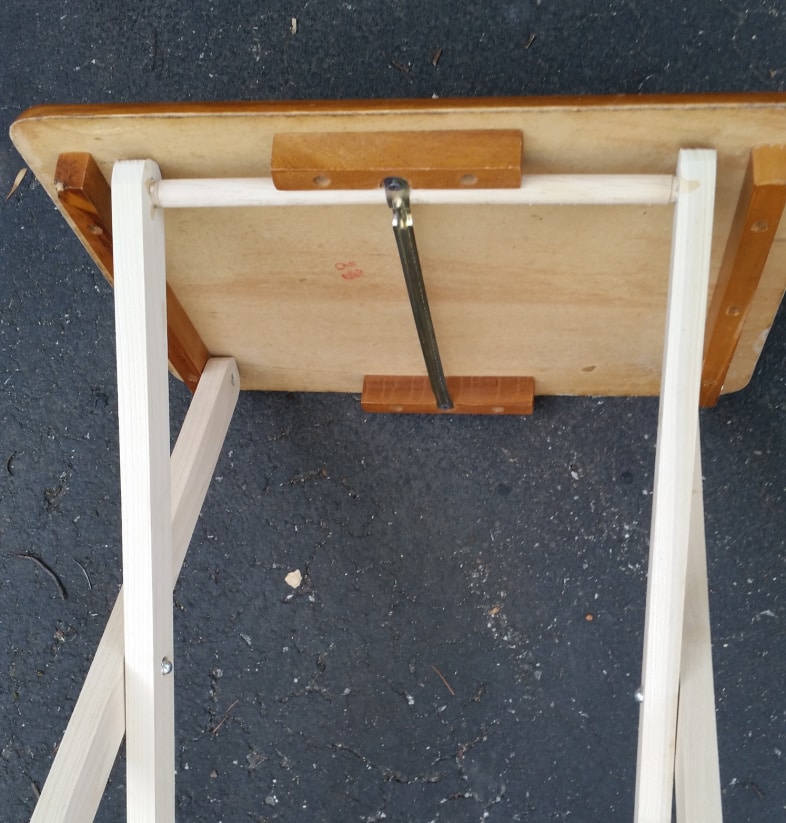
To remove the pin without damaging the cleat, I grasped the pin with the claw of one hammer and used another hammer to tap the pin out.
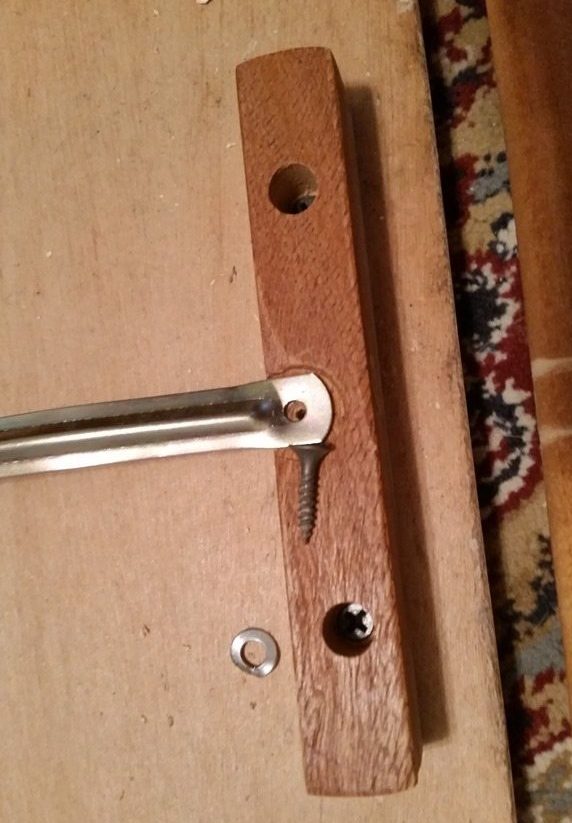
To remove the dowel portion of the table legs, I had to take out one screw. I replaced the screw in the hole so I wouldn’t lose it.
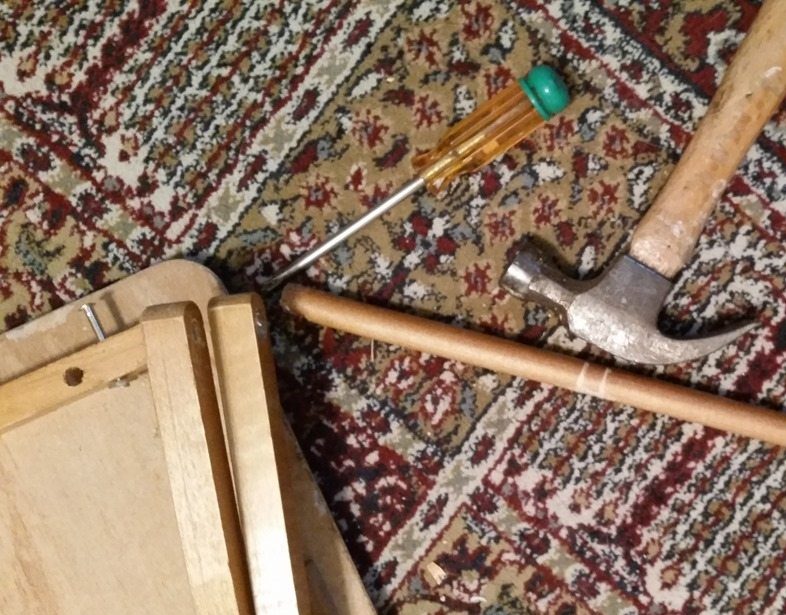
I used the hammer to tap, tap, tap the table leg in order to dislodge the dowel from the holes on the legs.
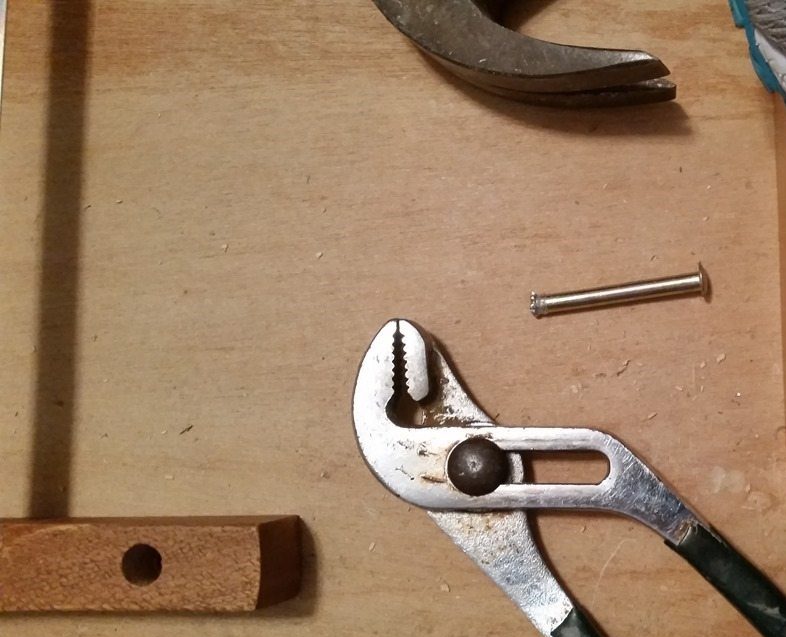
To remove the pin, I stood on the brace, grabbed the pin with the channel locks pliers, then tapped the pliers to pry out the pin. Thank you, Rodney, for showing me how to do that when I made the console table out of a table leaf. Up to this point, I was working at home in the living room (floor). It’s been too hot to work outside.
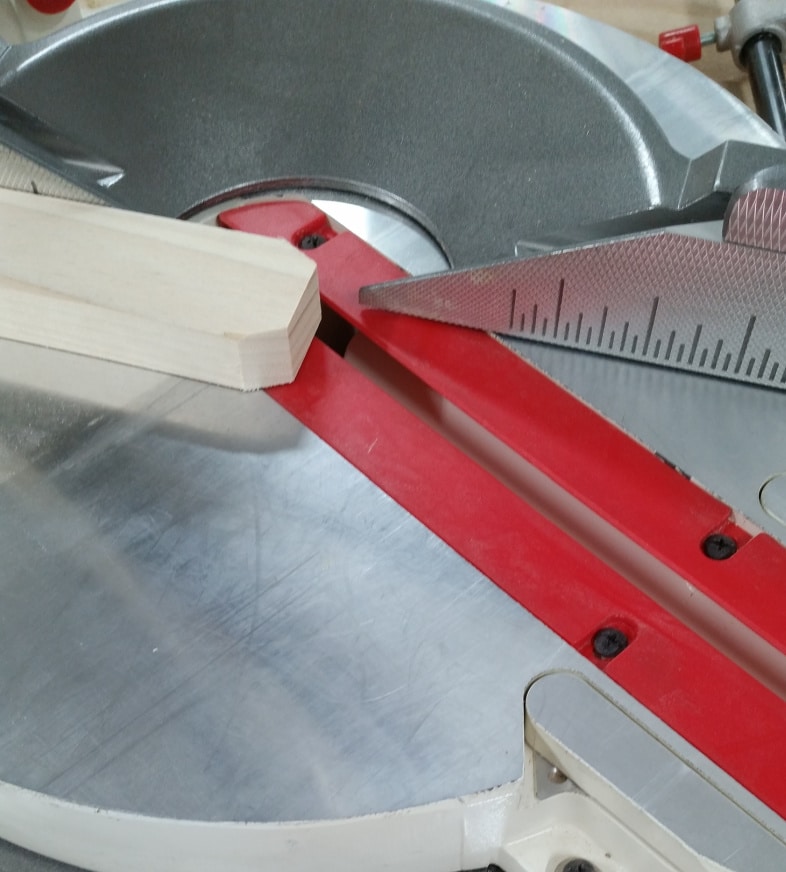
There are a few tools that would make this project easier—tools I don’t have in my shop. I decided to attend Maker 13 and utilize their tools in an air-conditioned shop. I cut the legs to size on the miter saw, then snipped each corner of the legs so that I could easily round them off with the sander.
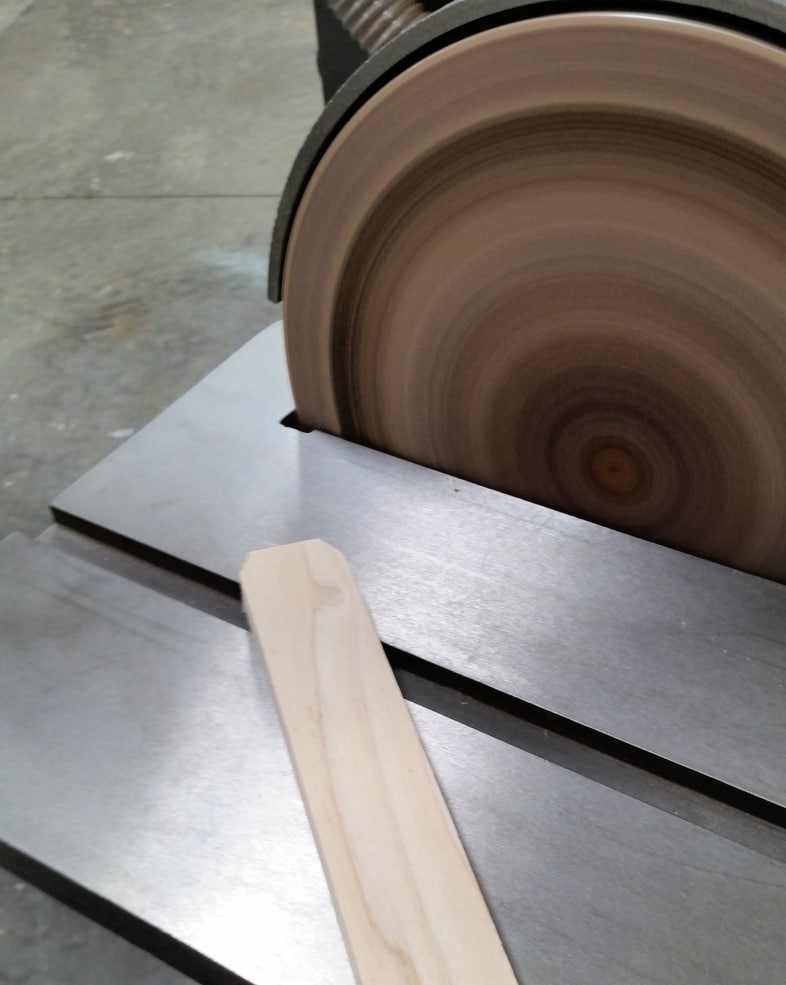
This is one of the tools I don’t have in my shop, a disc sander. I was able to round all the corners of the legs using it quickly.
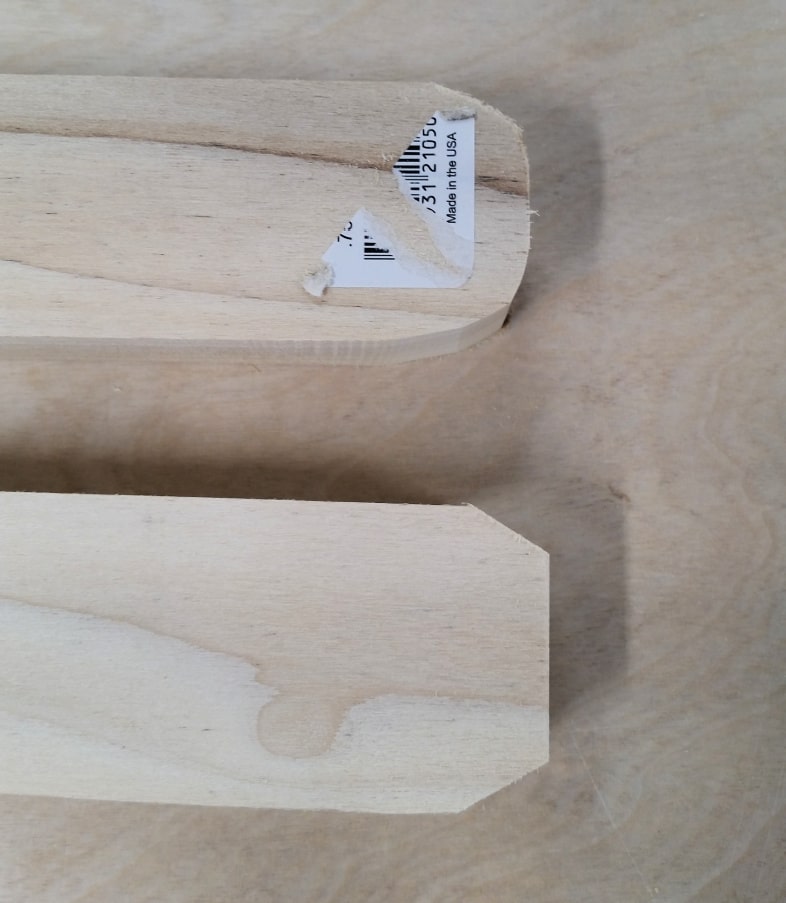
Before and after the TV tray table legs. They have to be rounded in order to swivel, which allows the table to fold flat.
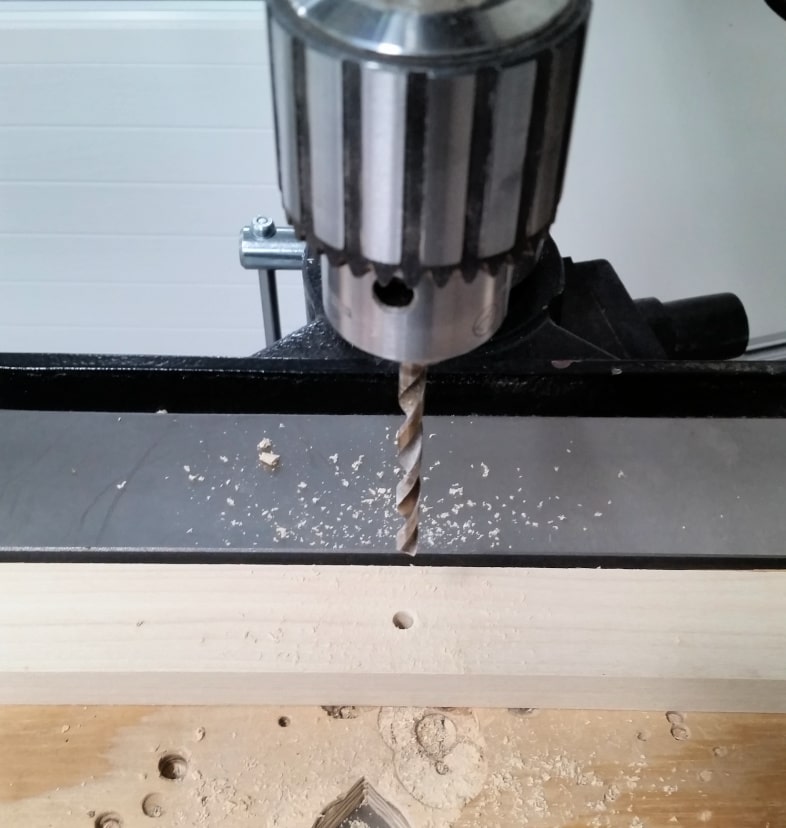
Another tool I don’t have in my shop is a drill press. I drilled holes using a standard 5/16-inch drill bit.
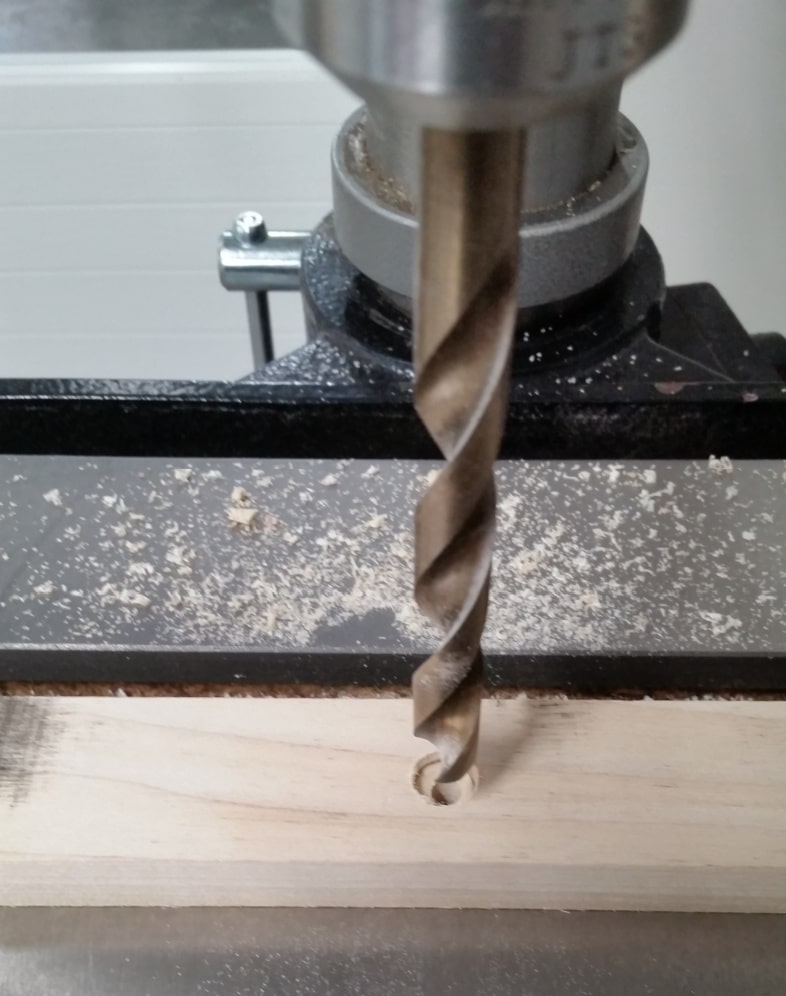
I used a larger drill bit to make the hole wider so that the bolt will countersink. Later, I found a forstner bit that did a better job making the countersink hole.
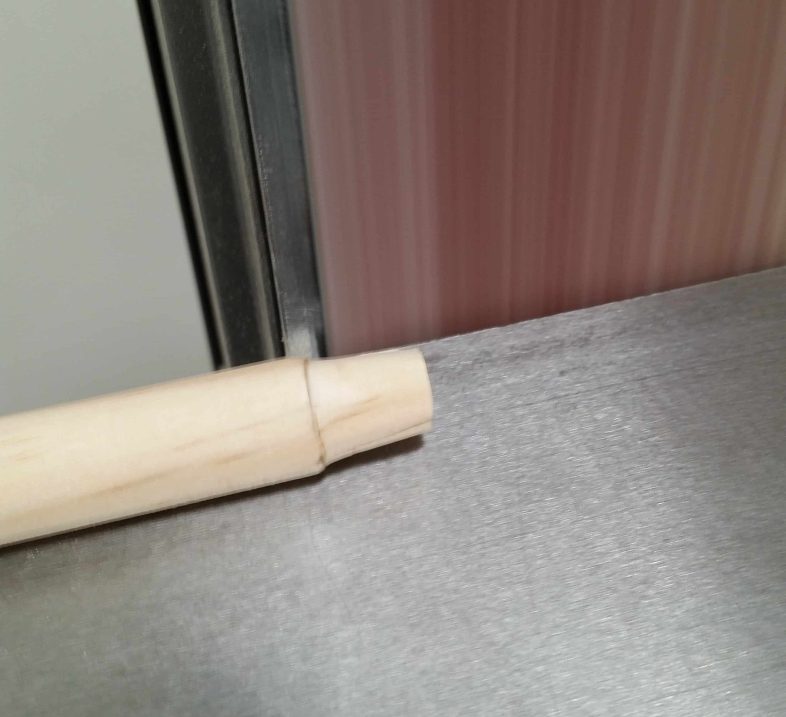
I bought a 5/8” dowel rod, the same size as the one in the original table. I drilled a hole with a 1/4” Forstner bit—it was too small for the dowel rod. John was working at the shop that day, and he recommended that I shim some of the dowel rods off with the belt sander. It worked like a charm.
I cut the bottom leg brace to size.
Then things went a little wrong. I had totally misjudged where the pivot should be on the legs. When I did a dry fit, the lower portion of the legs did not separate enough. Plan B. Back to the drill press to drill new holes. Time was running out, and I had to get going. I would be finishing my project at home after all.
You see, the good part about me making the prototype is that I can provide you with the correct measurements, and you can work out all the kinks throughout this project instead of having to work them out. ![]()
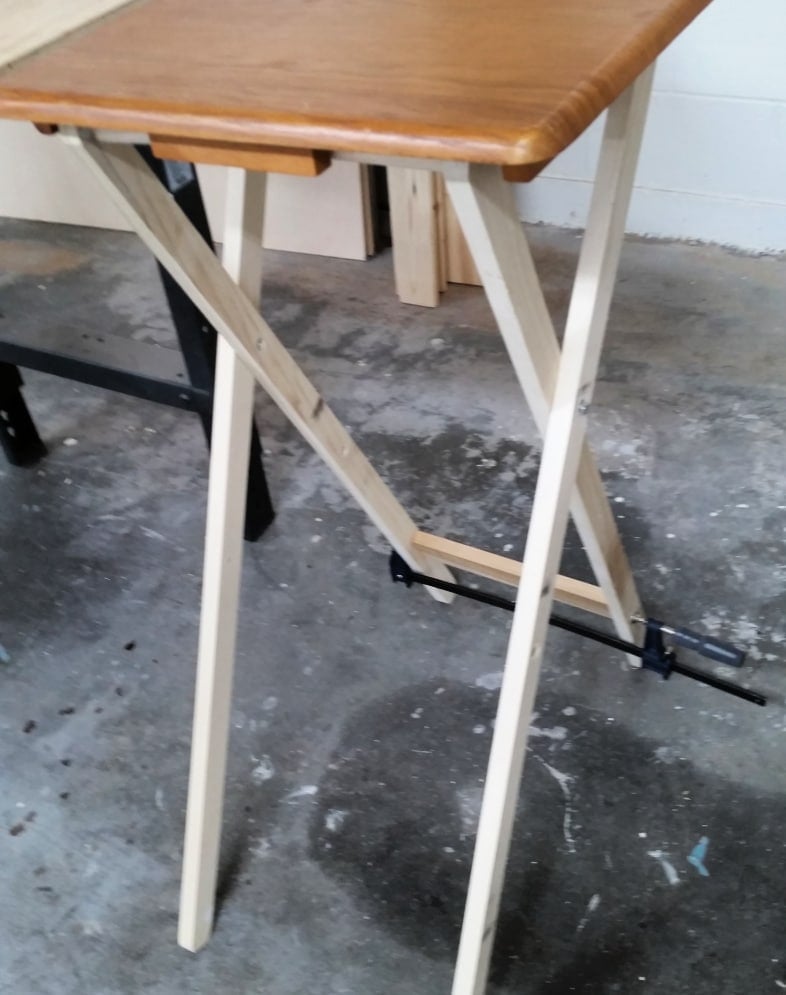
Before I left, I performed a quick dry fit to ensure the legs would pivot properly this time. If you look closely, you will see the holes that will need to be filled.
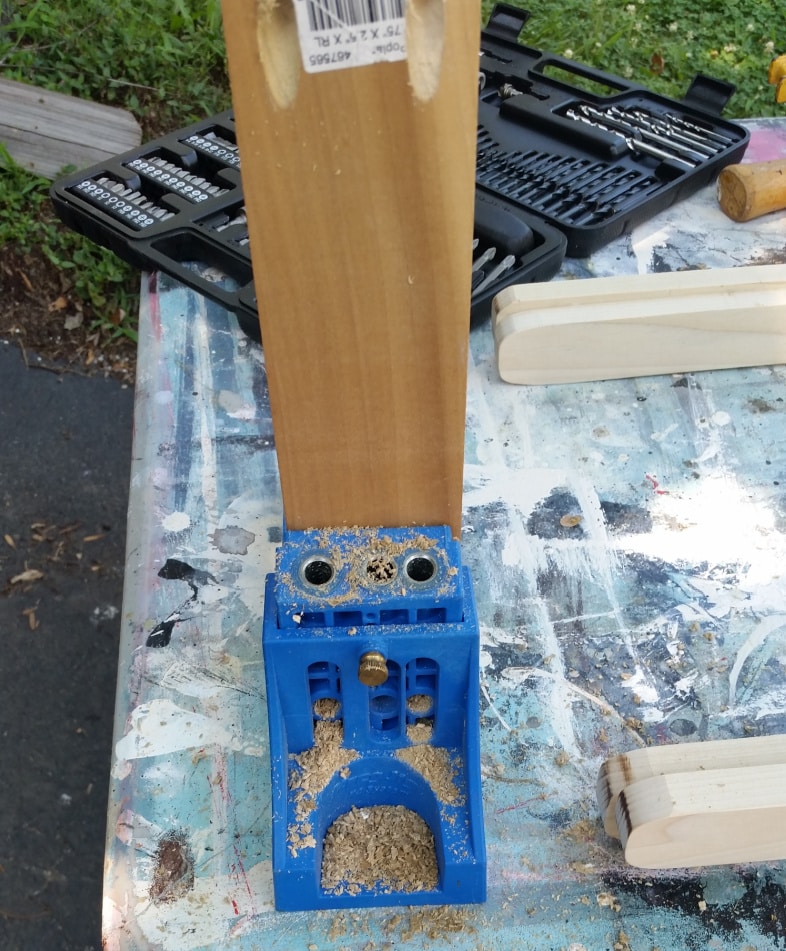
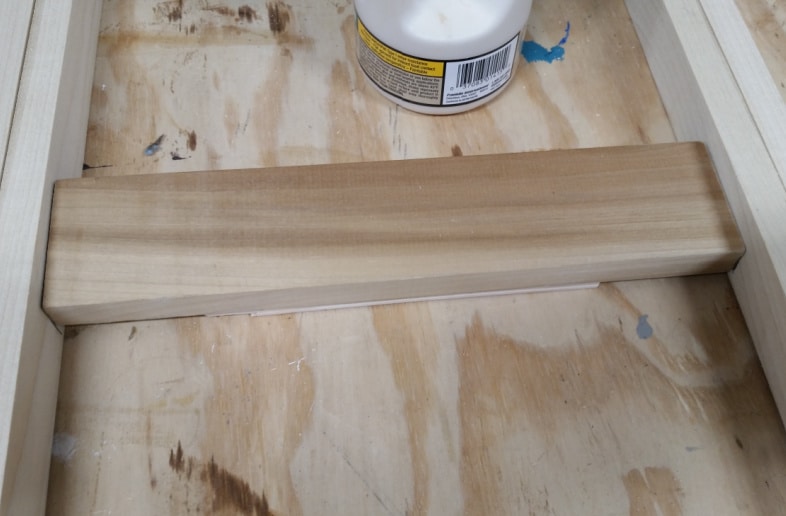
Back at home, on a cooler day, I used my Kreg Jig to make pocket holes in the lower leg brace.
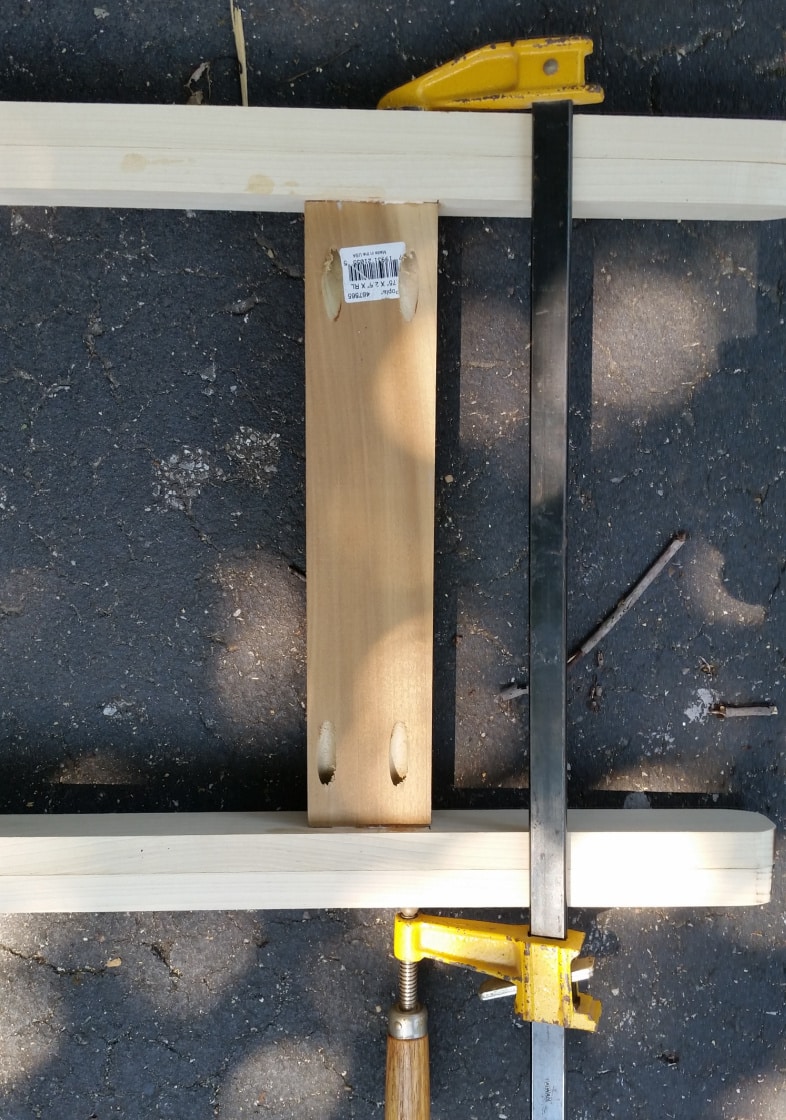
Using a clamp, Gorilla Wood Glue and pocket hole screws I secure the lower leg brace approximately 7” from the bottom of the legs.
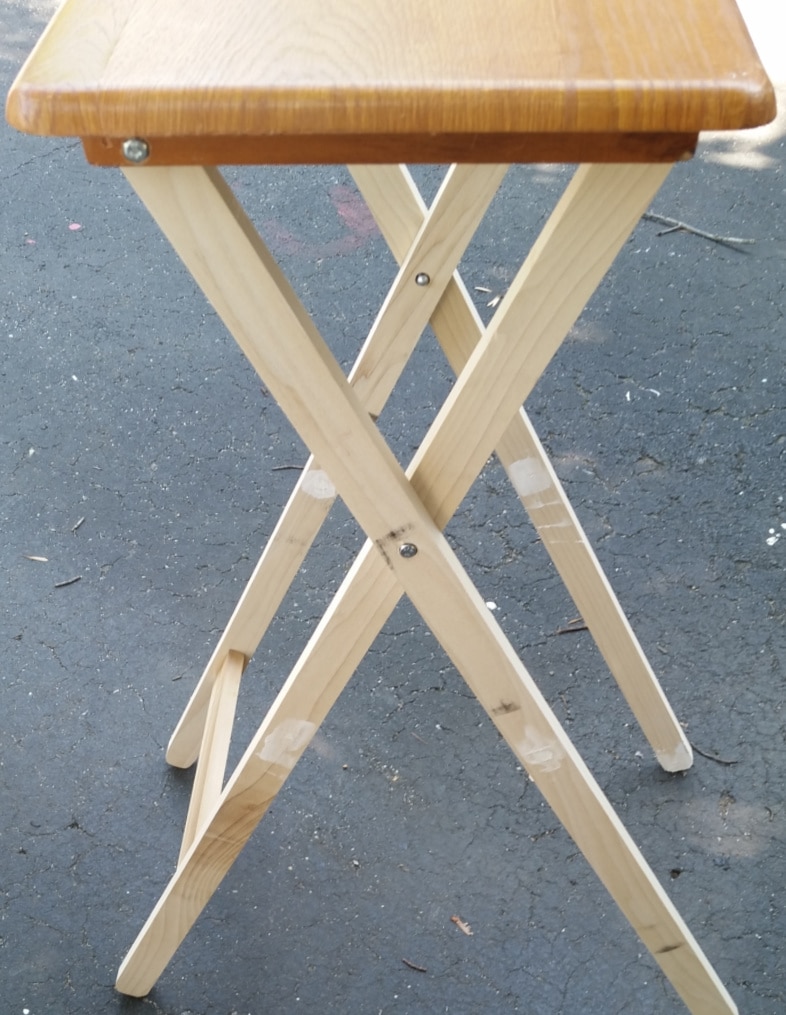
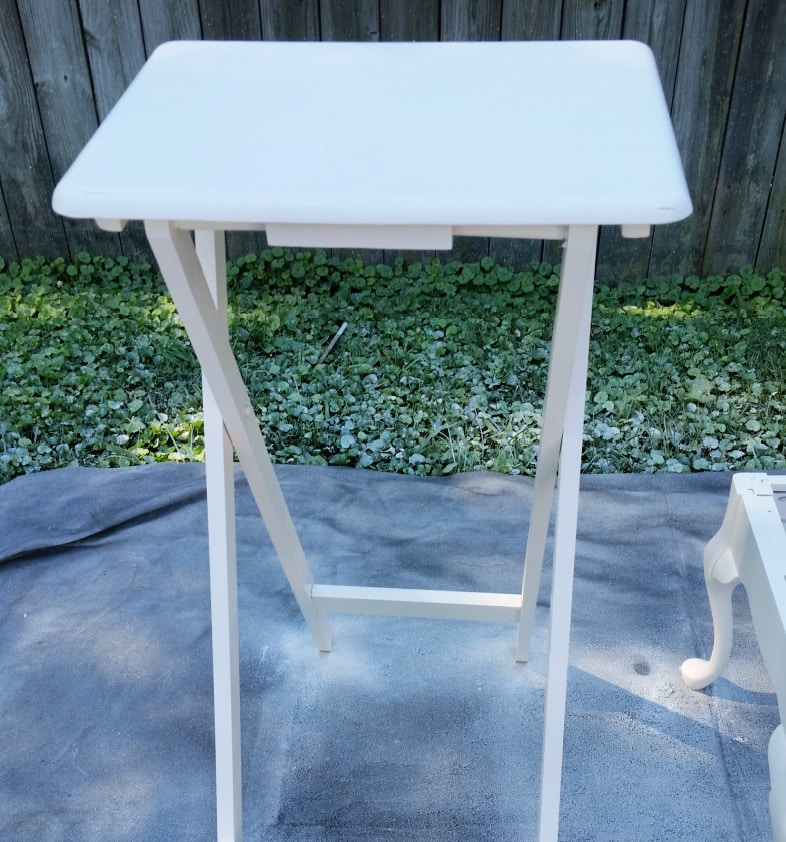
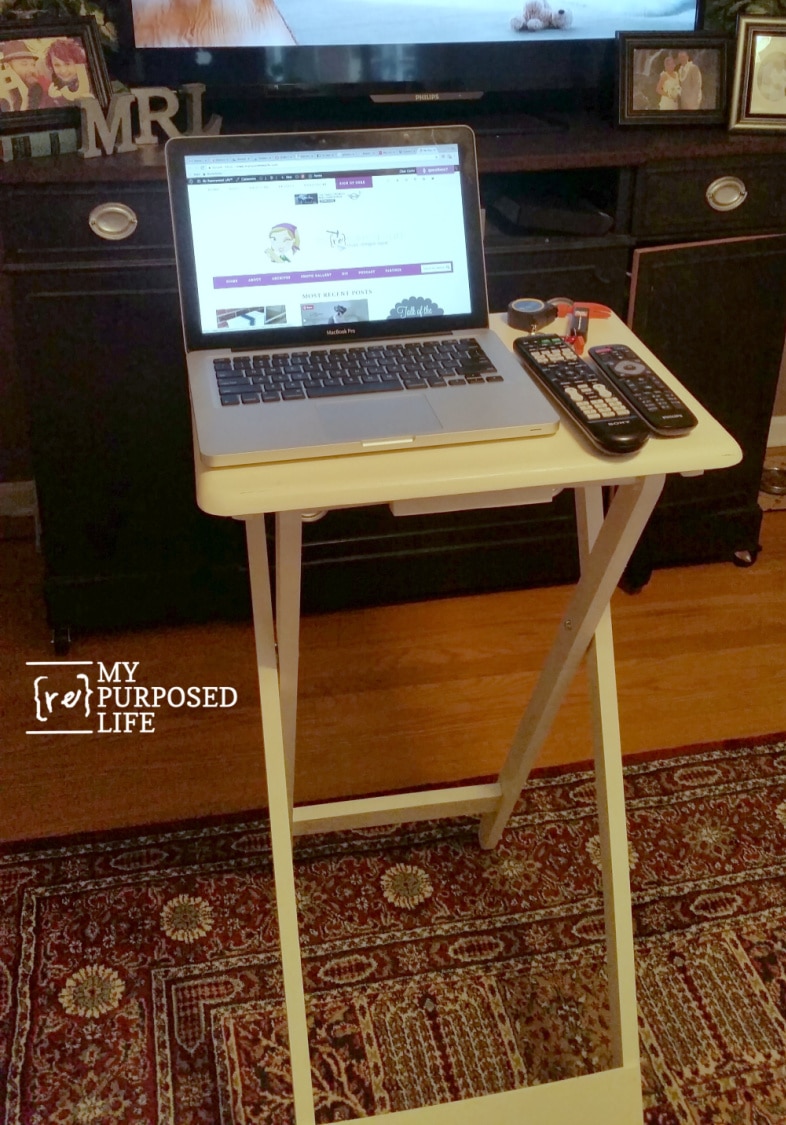
I brought the table in to test it out. I love how it’s coming together!
Share this brilliant idea with your friends on Pinterest.
You can see the tall TV. tray table looks just like a regular one, only much taller.
I used spackling to patch all the holes that were drilled in the wrong place. ![]()
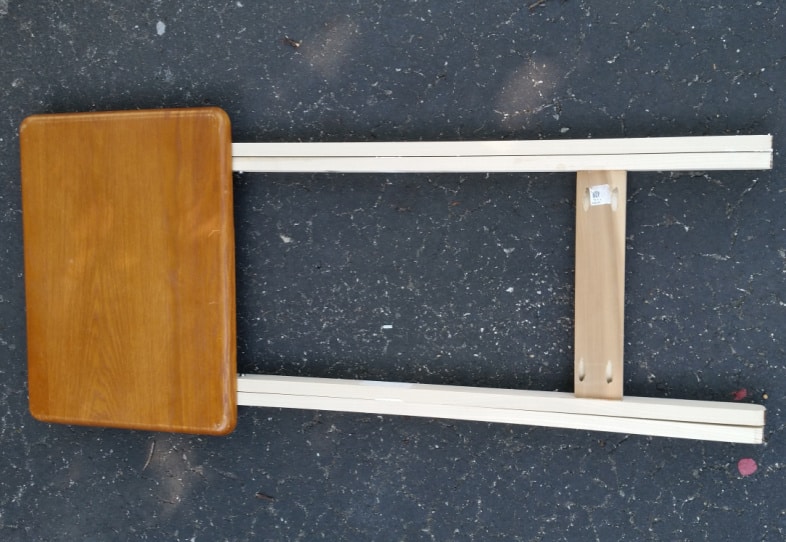
See how nicely it folds up!
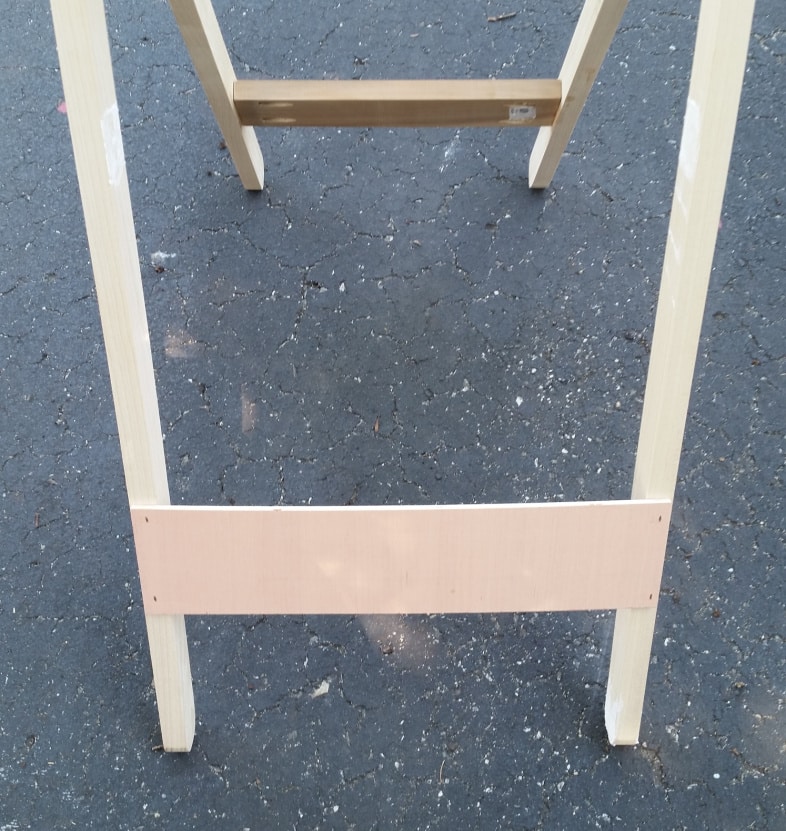
To aid in stabilizing the tall legs, I opted for a second brace. This was made from thin plywood and must be attached to the outer side of the rear legs to allow the table to fold flat. I used my Ryobi Stapler.

Time to paint! I used my Finish Max Super on the day I was painting the coffee table bed bench. You may notice I ended up patching the pocket holes as well as all the other “oops” holes.
I lightly sanded the tabletop and the raw wood, and then painted it with some satin white paint. (I had already painted the coffee table with diy chalky paint primer)
The original TV. tray table had plastic spacers. I tried it without any spacers, but the legs rubbed against each other, making the table difficult to open and close. I ended up adding two washers on each set of legs. Some of the paint wore off where I had patched the holes. They needed to be touched up.
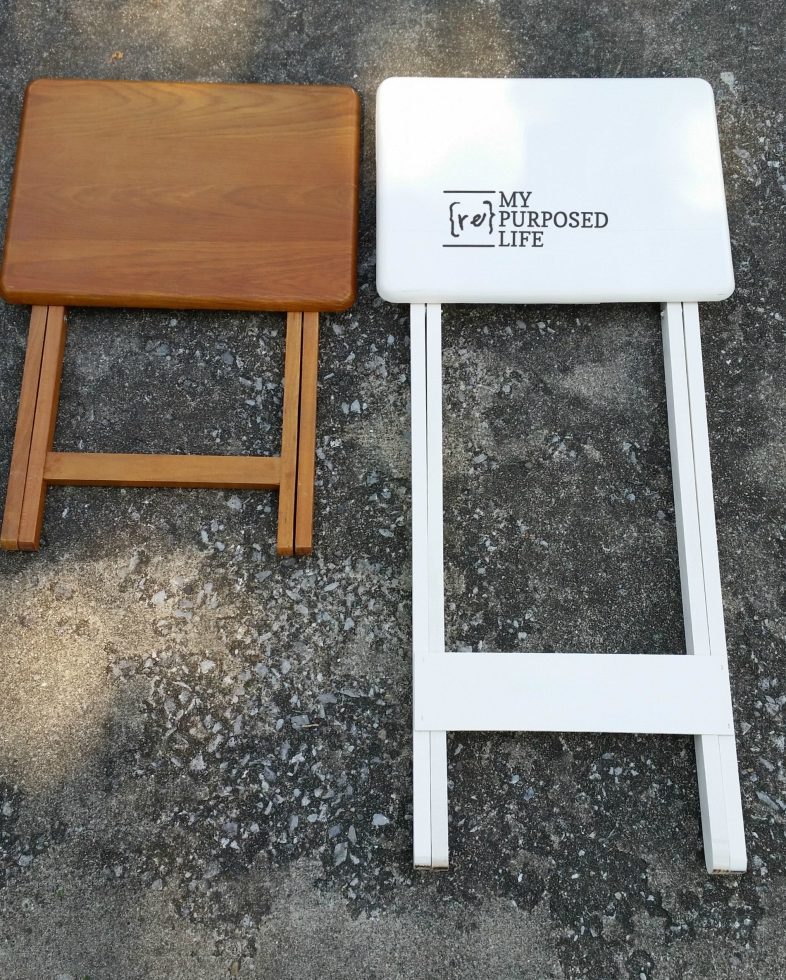
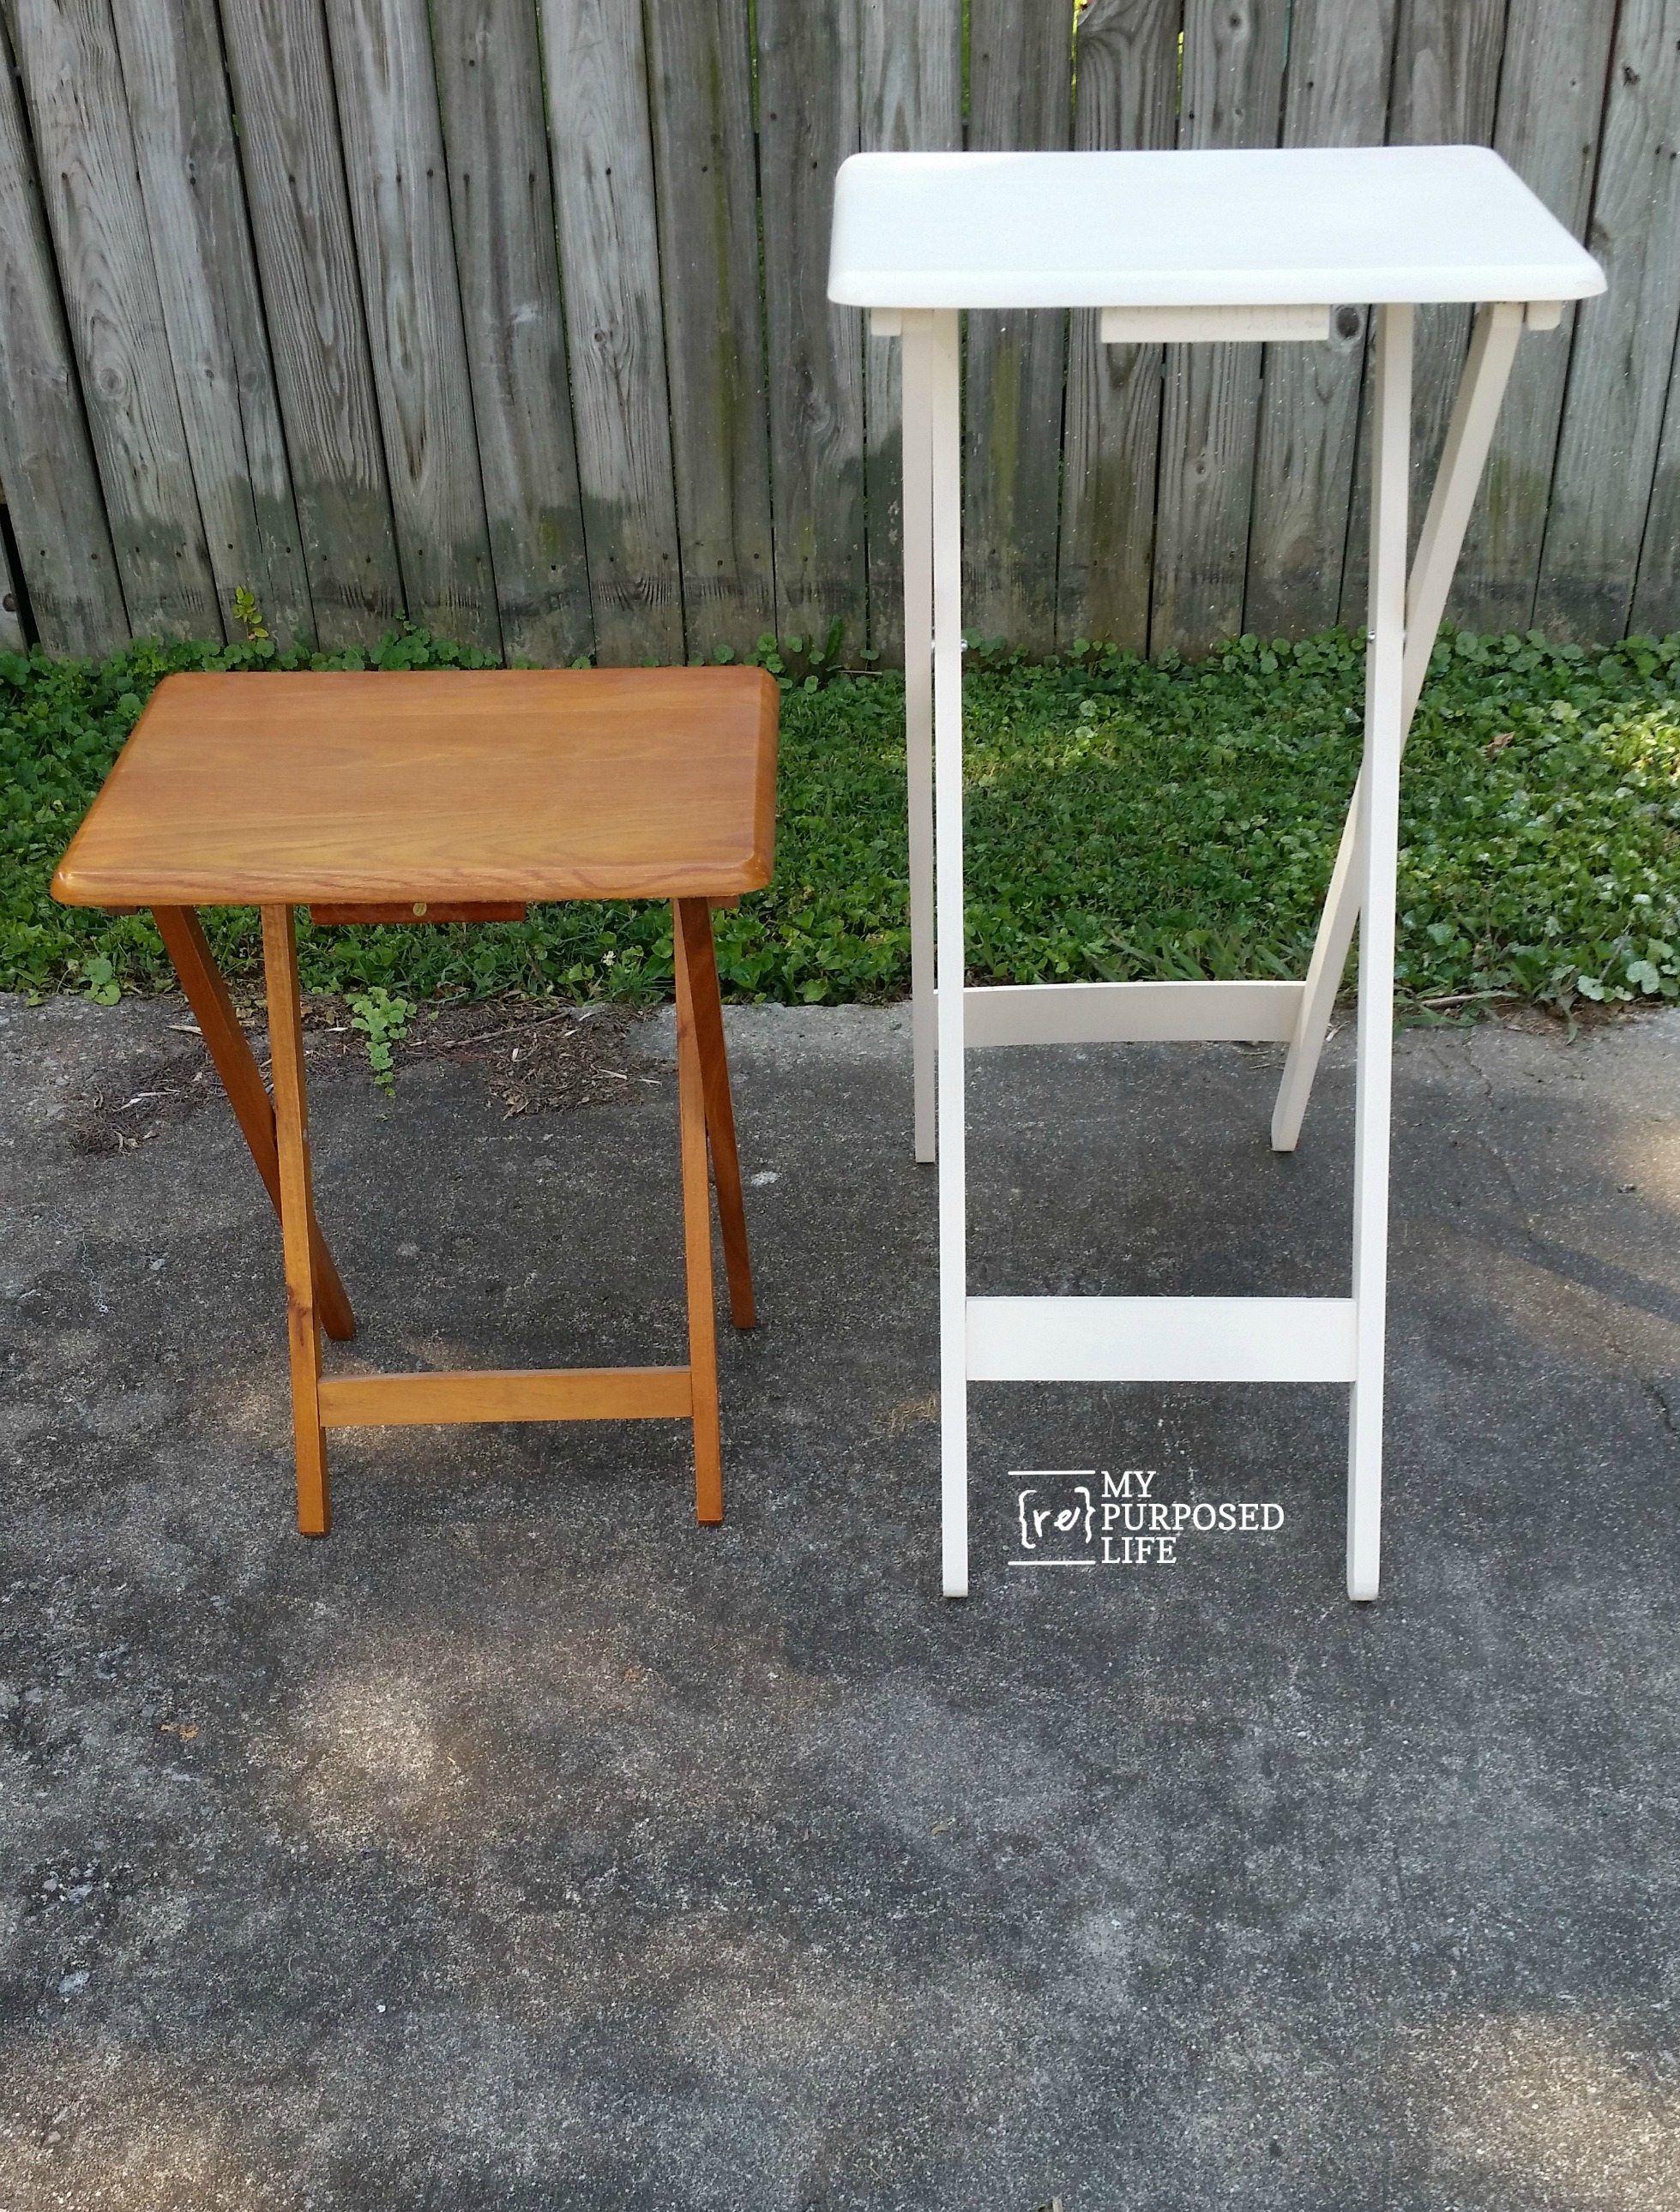
Here is the before and after of the TV. tray table, original and new taller standing laptop table.
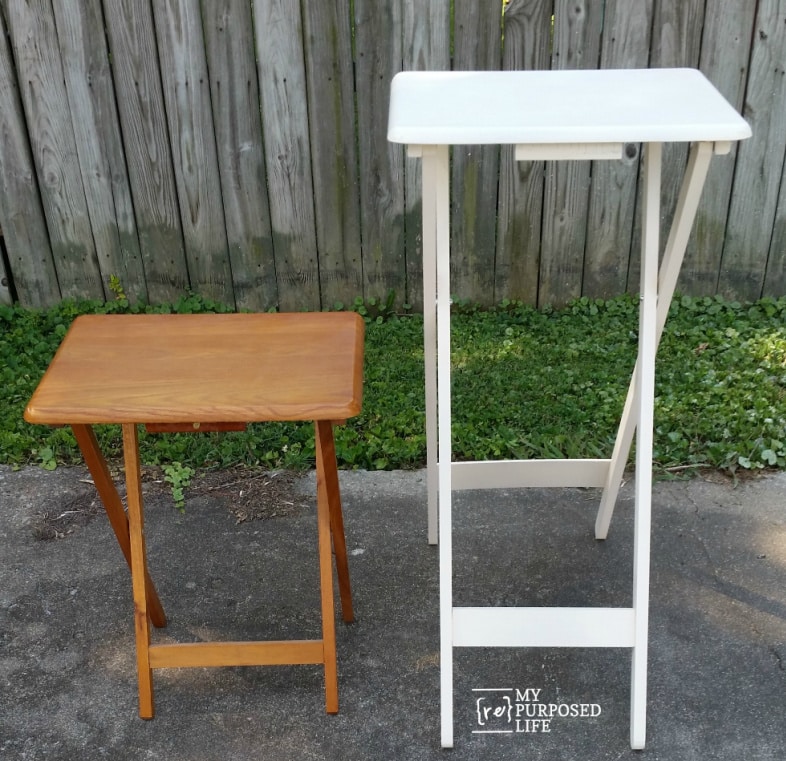
This before-and-after gives you a good idea of the height that was added with the new legs on the TV tray table.
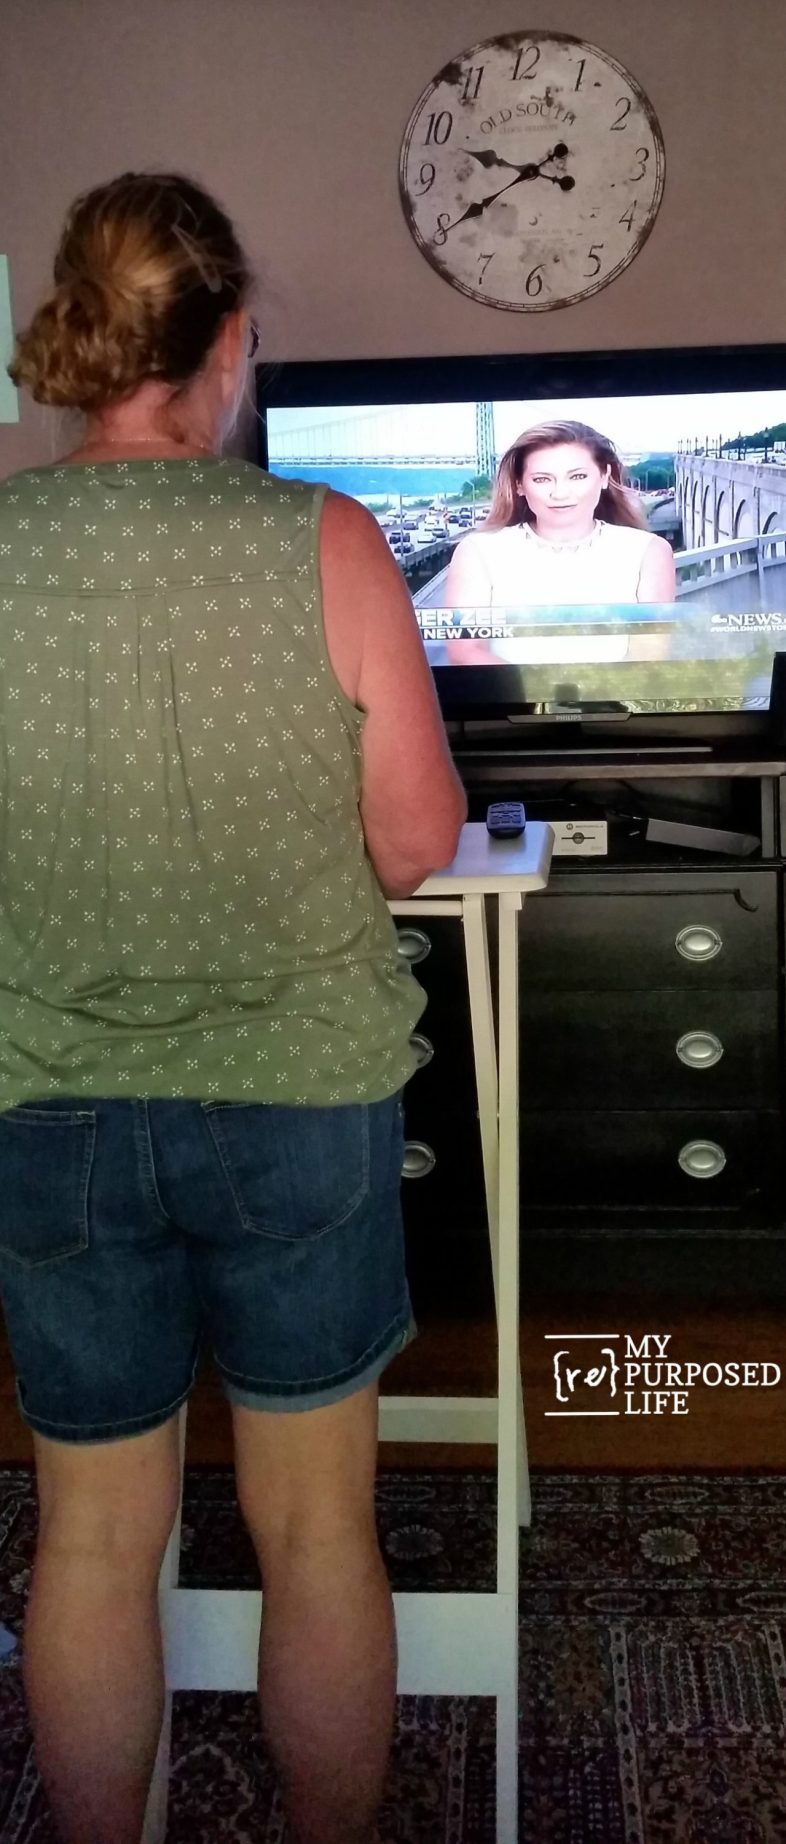
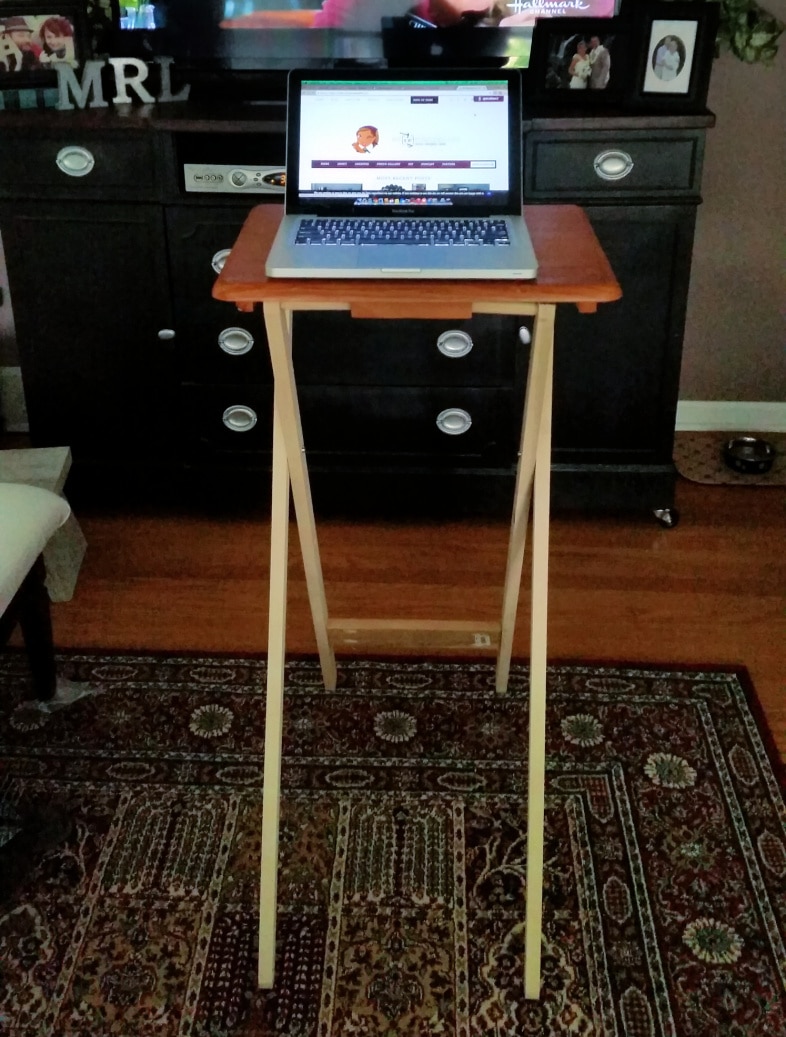
A grainy late-night cell phone picture shows where I do my best work, in front of the TV.
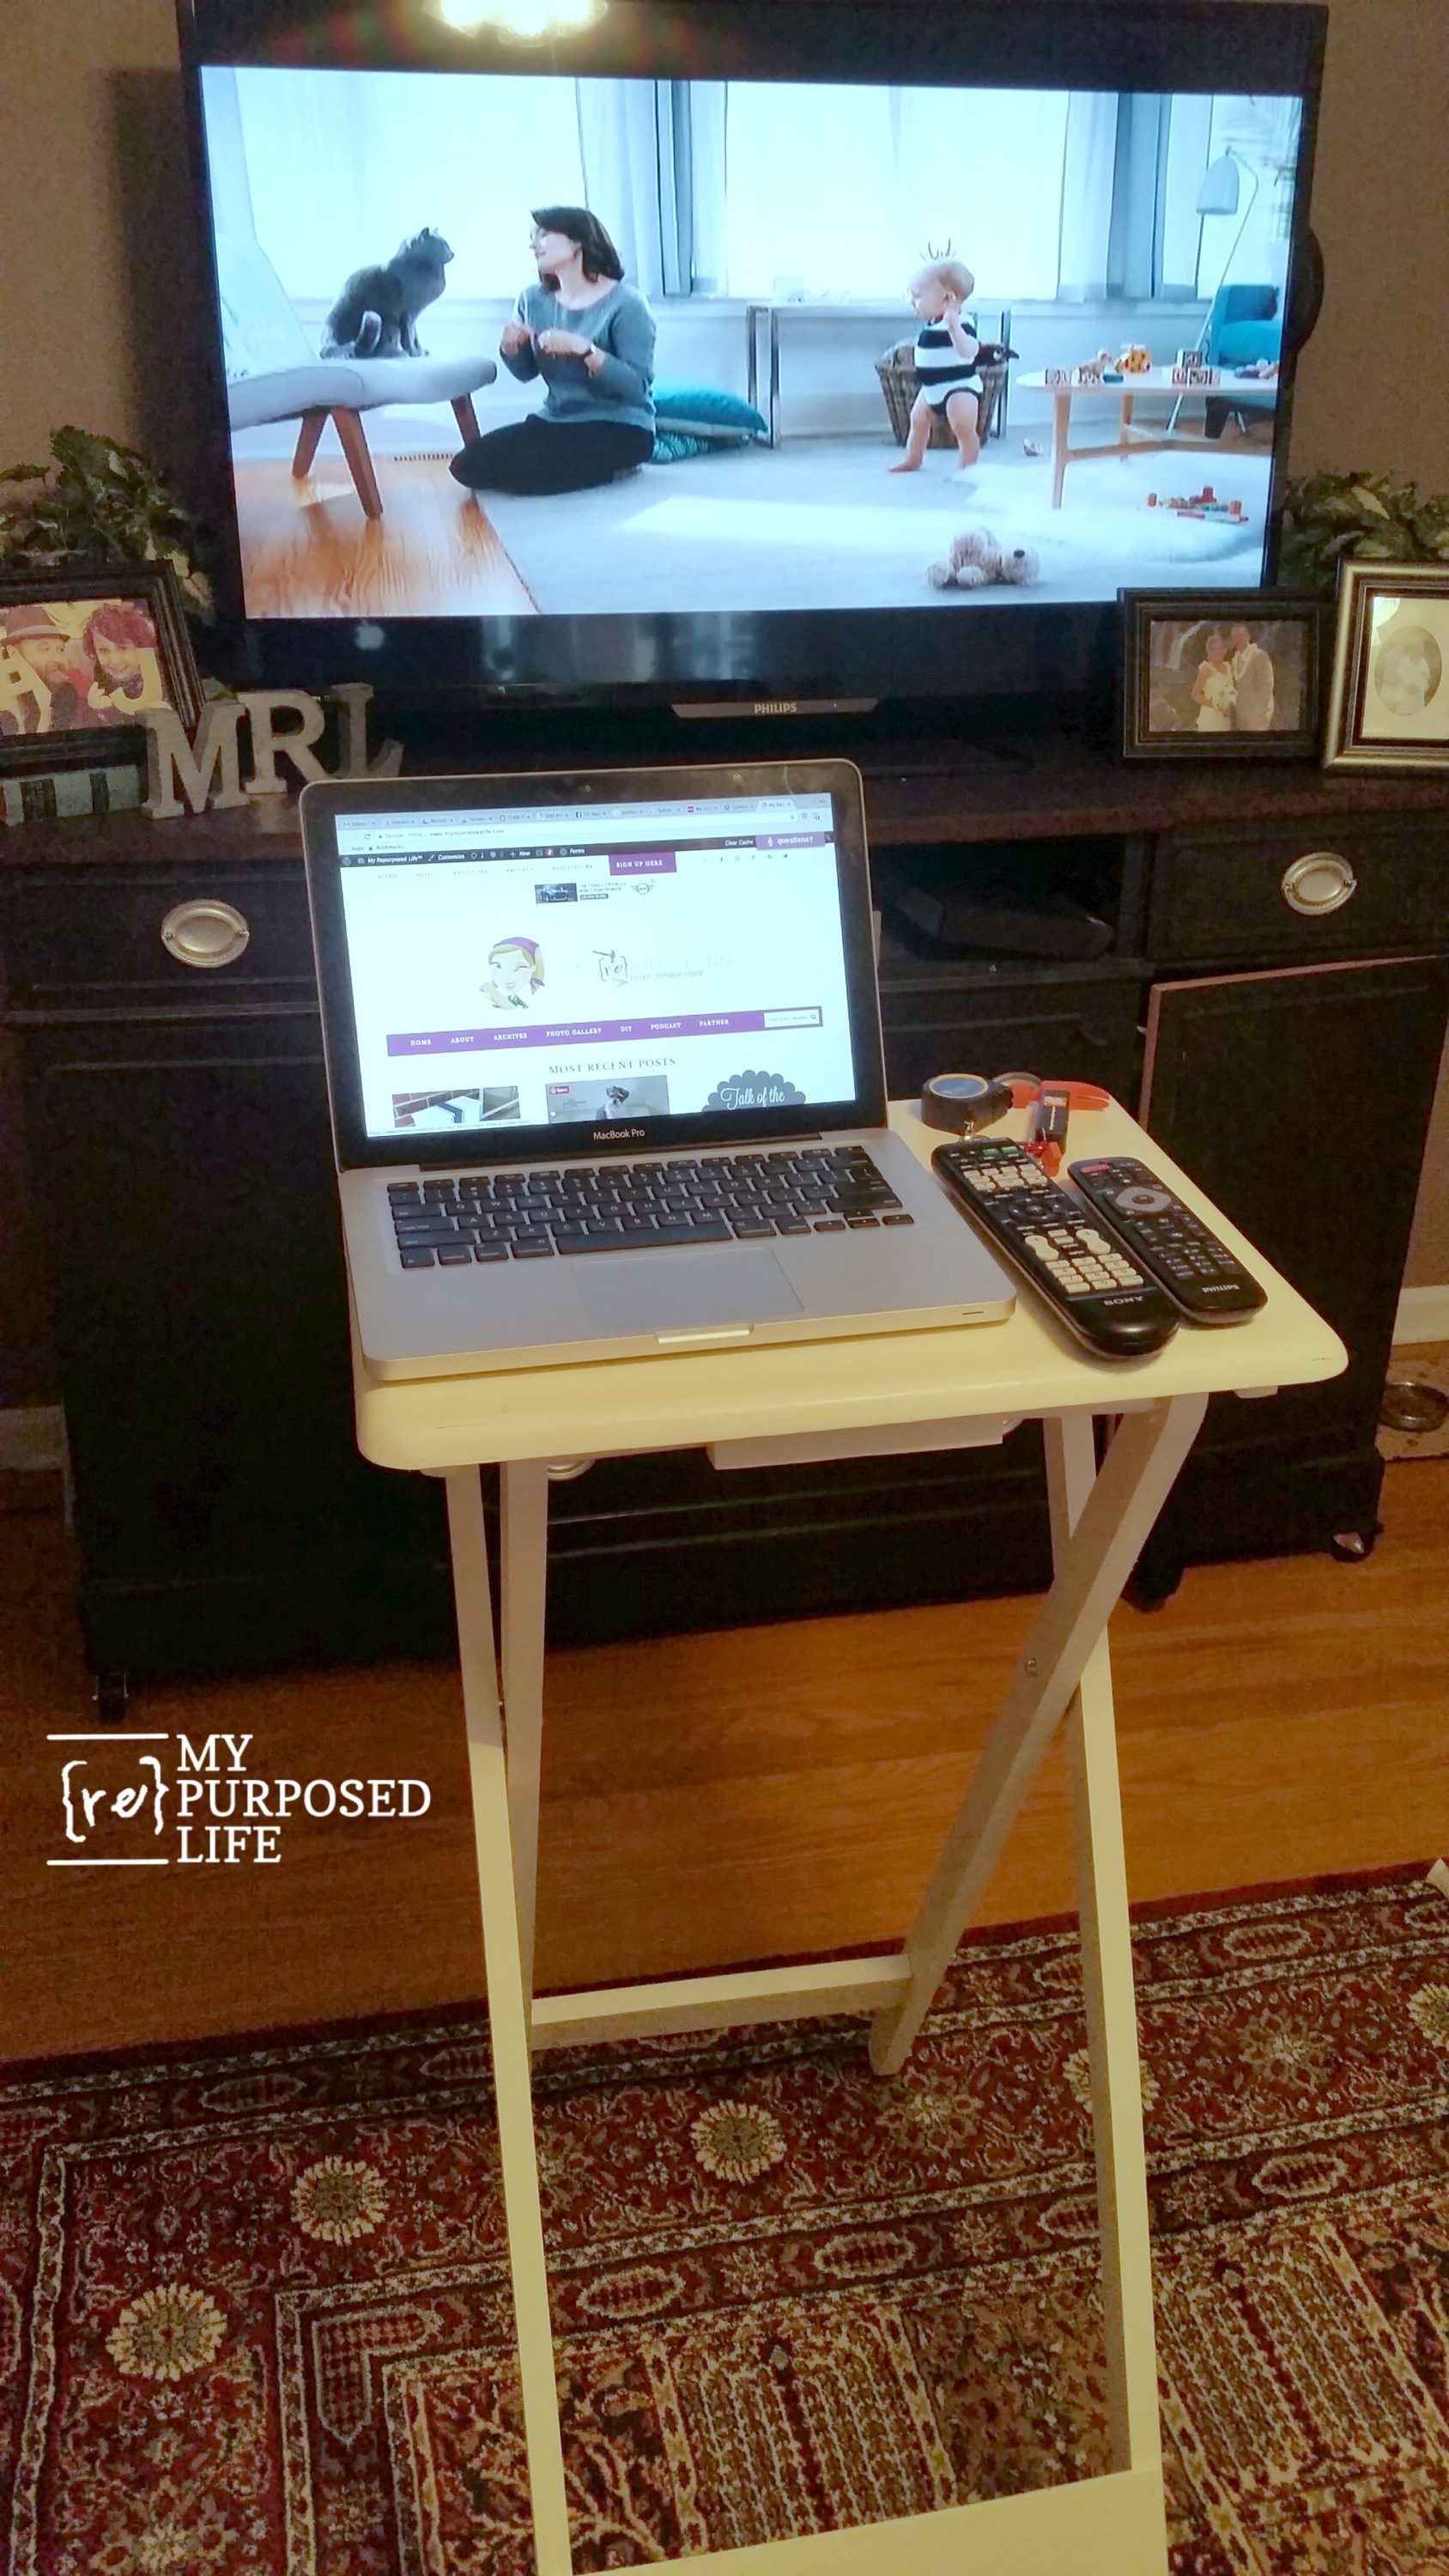
I’ve been using it for about a week, and I’m in love with it. The best part of the standing laptop table is that it folds flat for storage! Who knew a TV. tray table would be so handy? Do you think you could get accustomed to standing while working on your laptop? I know of people who have treadmill desks, but for now, I’ll stand and walk in place while working on my new laptop standing table.
gail
I love it! What a great idea.
what a stupendous idea gail xx
Thanks so much Chris!
gail
That’s genius
Pretty damn ingenious! I have one of these in my living room that might need to be repurposed.
Thanks Nadine. I use it more than I thought I would. It rarely gets folded and put away. 🙂
gail
I need this! My husband and I both get tired of sitting (and we know it’s not good to sit too long), so we try to stand to work. It’s hard to find a comfortable spot. My husband’s been using his on the deck railing lately. If you had some of these in your booth, I bet they’d be popular.
Kate,
I hadn’t thought about putting these in the booth. Ya never know what will go there. 🙂
Computer on deck railing? yikes! that sounds like an accident waiting to happen, but happy he’s off the couch. 🙂
gail
Very cool. Love how it came together.
Thank you Nova. I am surprised how much I use it. 🙂
stay cool, hope your week is going well.
gail
Such a great idea to repurpose something you already had!
Thank you Mary for stopping by and taking the time to leave a message. I appreciate it.
gail