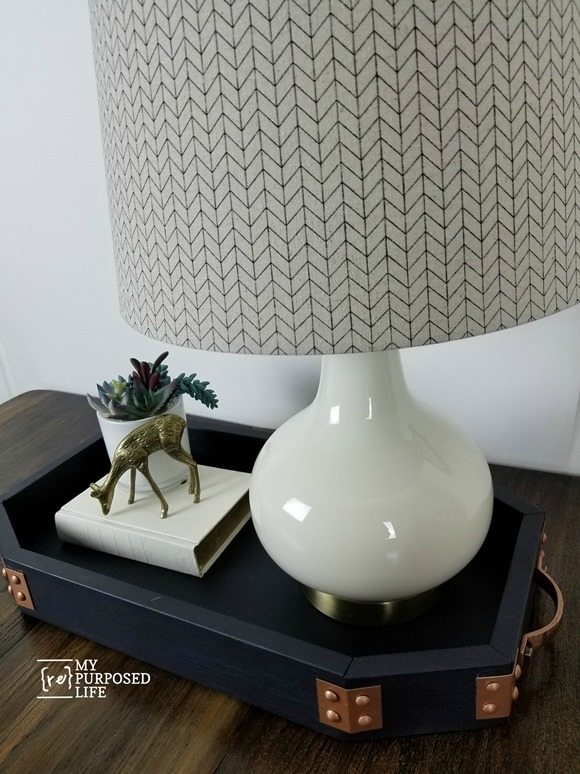
Octagon Tray Navy Blue with Copper Accents
As an Amazon Associate, I earn from qualifying purchases.
So, there’s this funny story about my octagon tray. Remember in November when I made the porch light Christmas lanterns for the Power Tool Challenge Team Secret Santa gift? Originally this tray was going to be that secret Santa gift, but it went horribly wrong. There was no way I could use this very less than perfect wooden tray with it’s poorly designed angles as a gift.
The plan was to stain it like a tray I saw in a home tour on Pinterest. It was a store bought tray, so there wasn’t a tutorial. After I struggled so much I searched further on Pinterest I found one from our friend Mindi and one from my friend Kim. Mindi is great with angles and has made several hexagon and octagon projects. You might want to read Mindi’s post Long Tray. I wish I had followed her tutorial. Kim’s Hexagon Tray is another good tutorial about cutting the angles.
If your boards are too wide, rip them on the table saw
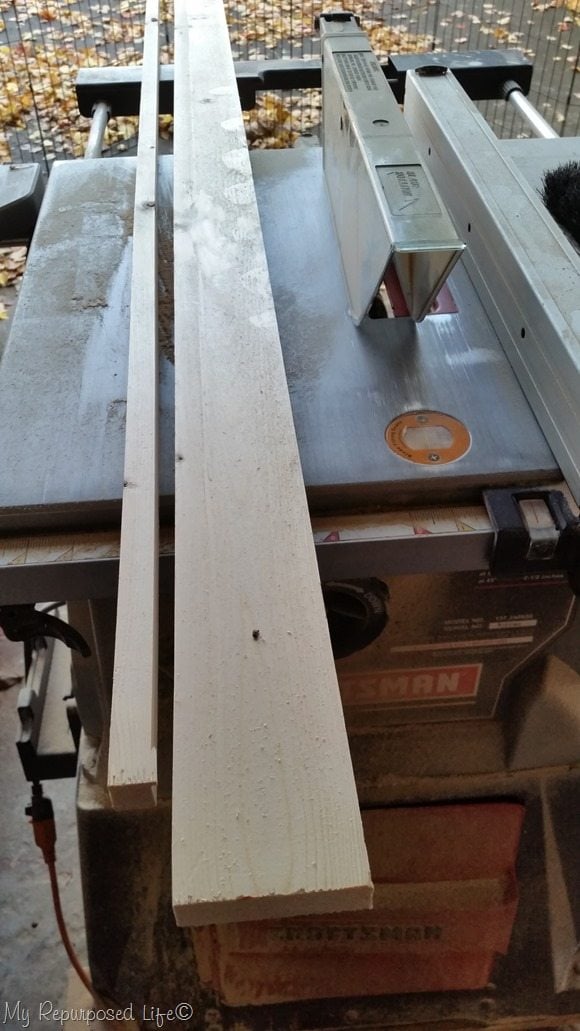
Have I ever told you I’m happiest when I’m sawing? It feels so empowering! For this octagon tray I felt like my 1×4 was too much height, so I ripped it down slightly.
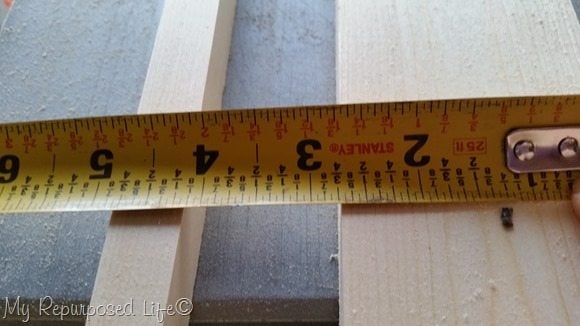
You can see the width (height) is now about 2 3/4”.
Make a groove to hold the thin plywood (bottom)
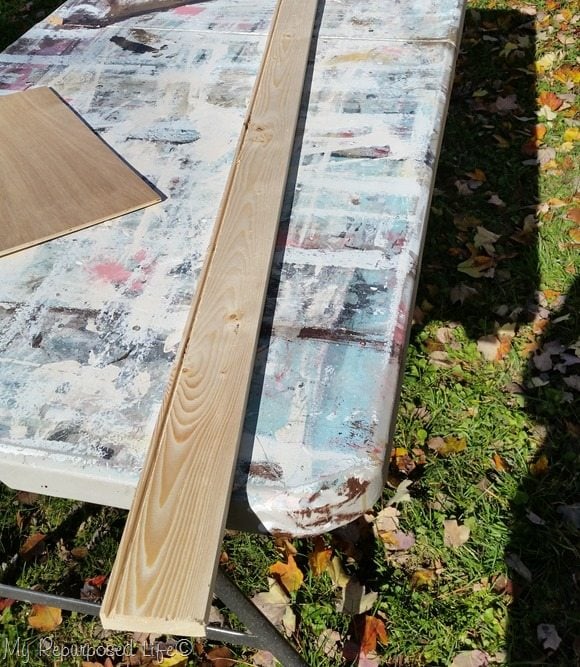
I cut a groove along the entire length of the board on the table saw by making several passes while slightly moving the fence. This groove will allow the bottom to rest in it instead of fastening it onto the bottom.
Sand your board before cutting lengths
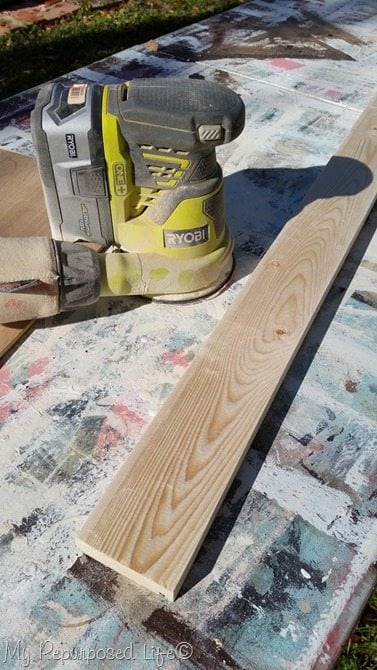
It’s easiest to sand one long board rather than cutting the small pieces and then do the sanding.
Cut angles on the miter saw
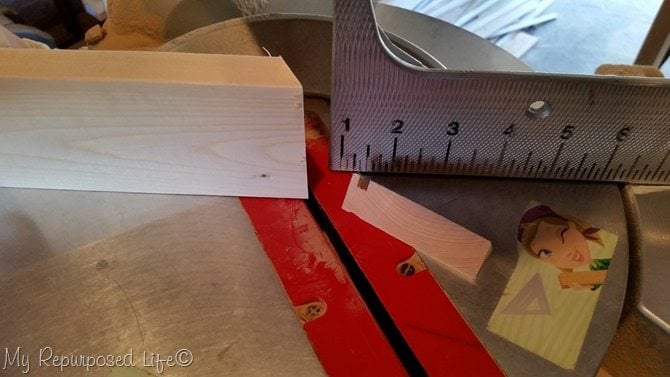
I cut the angles. I would love to share all the particulars with you but as I said earlier this octagon tray tutorial is more about the finishing touches. Please refer to Mindi and Kim’s tutorials for more about the angles. ![]()
Cut plywood on the table saw
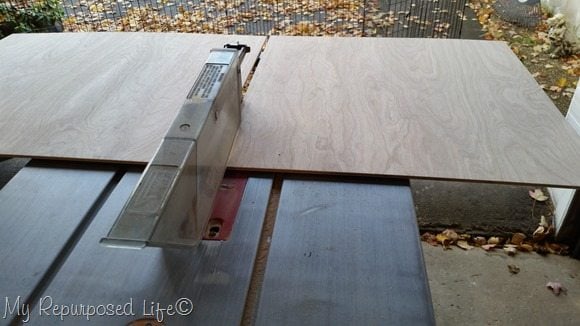
I cut down a larger piece of thin plywood to a more manageable size.
Test your angles and fit
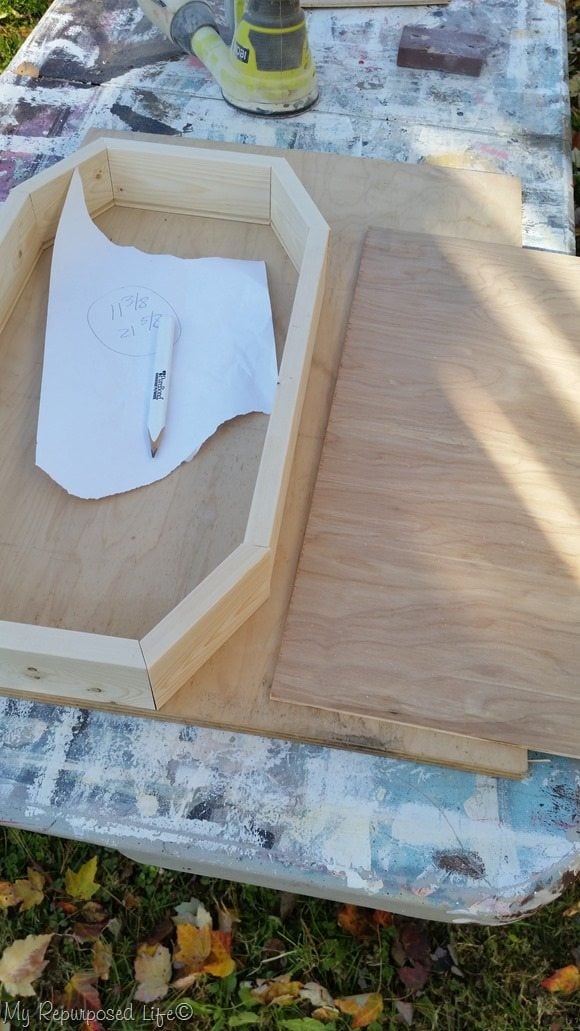
You can see that I had the rough measurements for the bottom, but this is where it gets wonky. I really should have read Mindi’s tutorial BEFORE I tried to put this tray together. If I were to do another, I would probably put all the pieces together, trace the bottom and attach it instead of trying to insert it into the groove.
*this post contains affiliate links, read more here*
Cut corners of plywood on miter saw
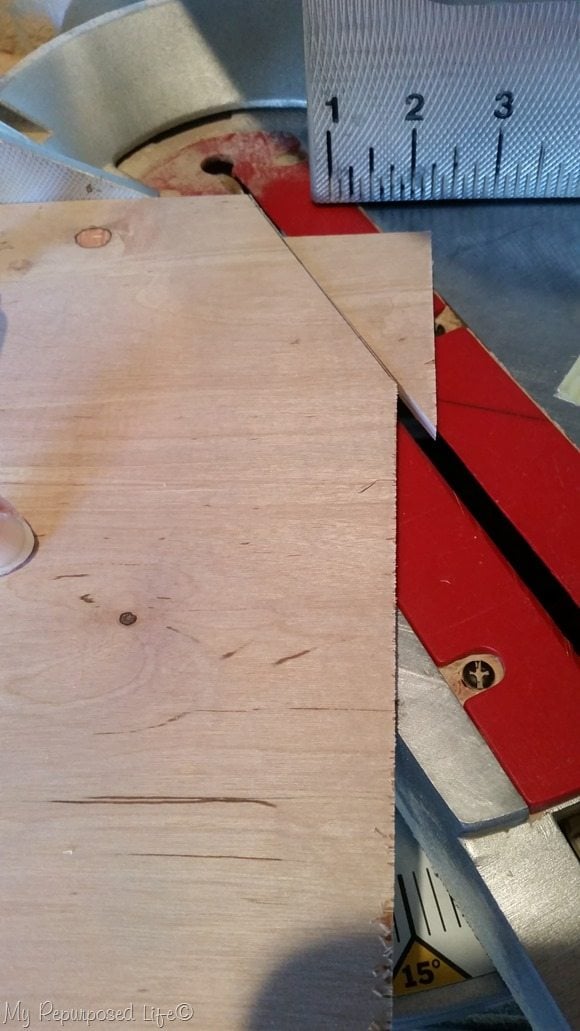
I cut the bottom to size, then cut the corners off using the compound miter saw. It sounded good in theory, but I really struggled getting it right.
Insert bottom of tray
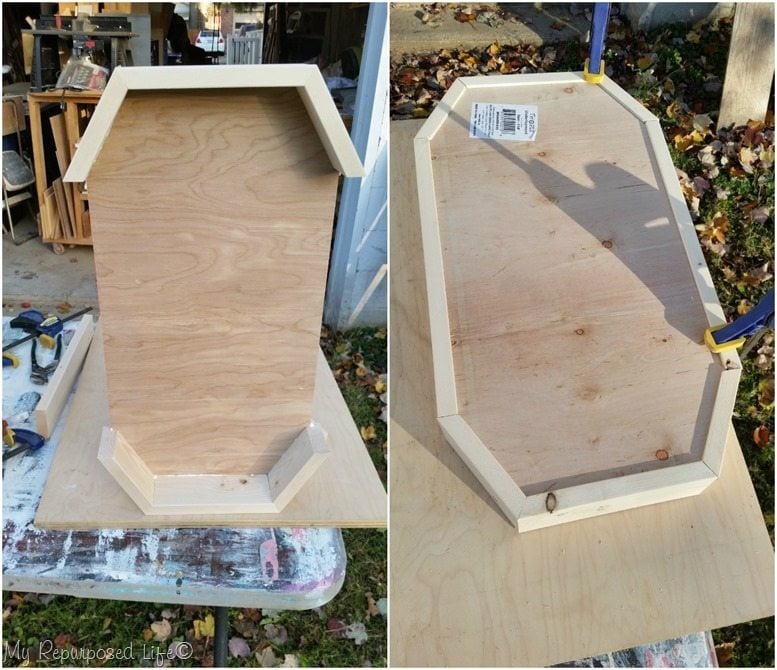
This is basically a “how not to build an octagon tray”. My joints were really messed up, but with Gorilla Wood Glue, a nail gun and quick clamps I was able to get the tray assembled.
Prepare to paint
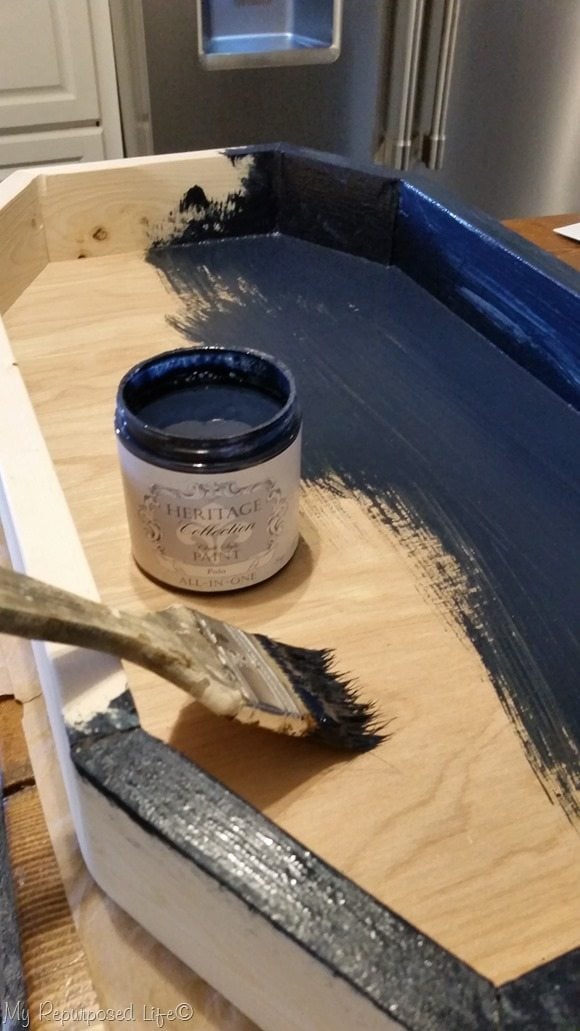
I wanted a deep rich color so I chose Polo by Heirloom Traditions all-in-one paint. I like applying it with a well loved cheap chip brush.
Related Content: Navy Blue Furniture Projects
Paint metal brackets
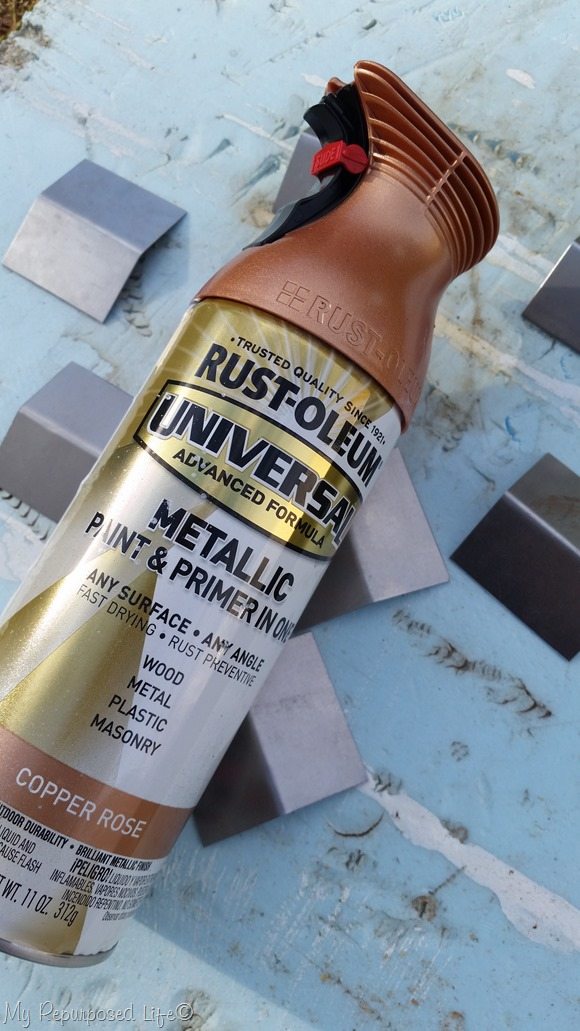
The tray I saw originally had brackets, so I wanted to add them as well. I cut and bent these sheet metal pieces at Maker 13. I took a sheet metal class to learn how to use the tools. After I chose the handles, I matched them to this pretty Copper Rose spray paint.
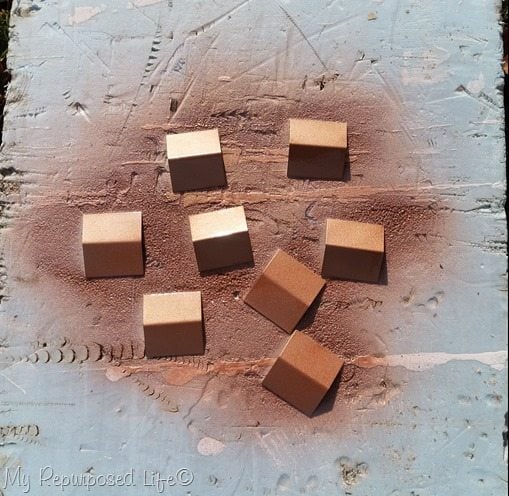
It was so cold on the day I spray painted these brackets. I had the brackets and the spray paint in the house. I ran out, painted them quickly, left them in a semi-sunny spot and ran back in the house. Don’t you love the color?
Paint thumbtacks to use as faux rivets
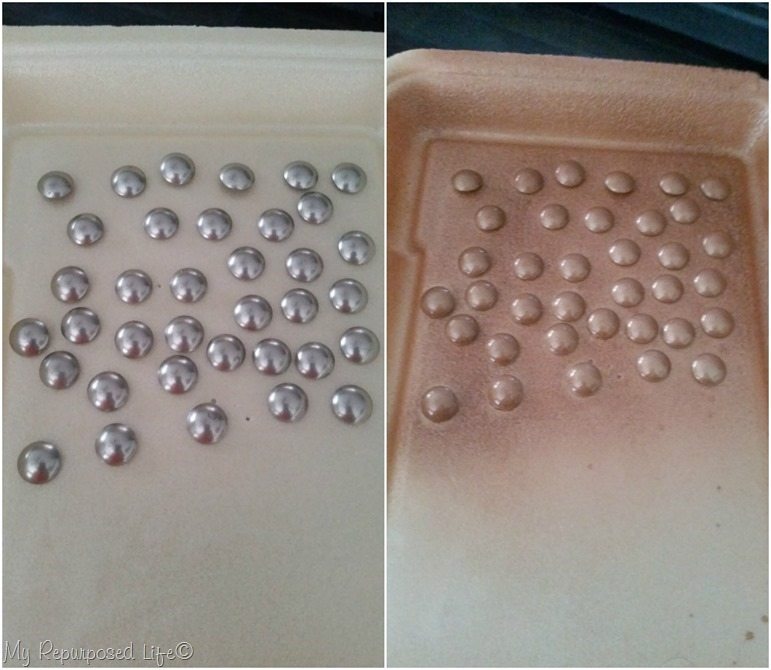
I also spray painted some silver thumbtacks with the copper rose.
Drill pilot holes in brackets
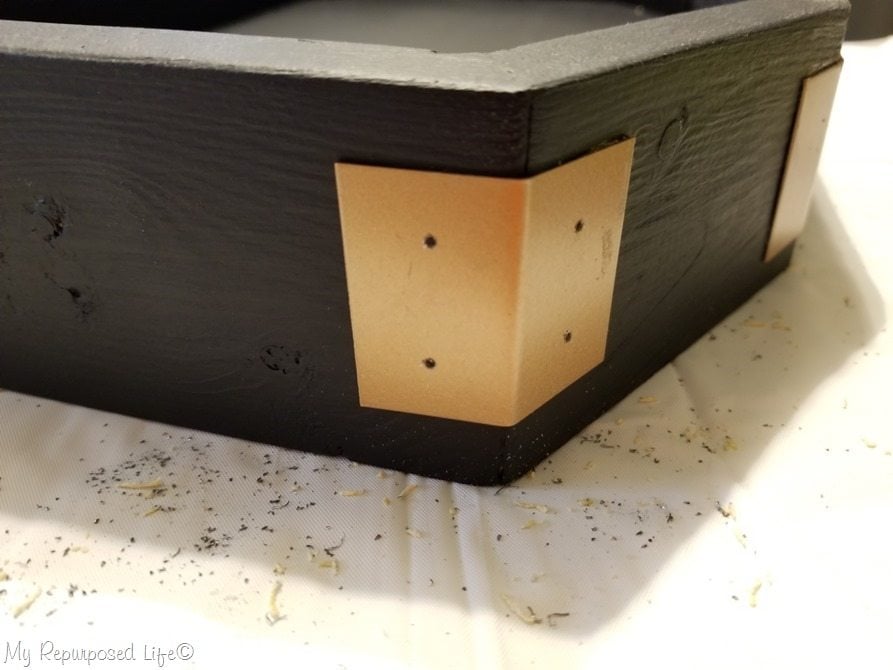
I used Gorilla Glue Super glue to attach the brackets, then I drilled holes through the brackets in order to insert the thumbtacks that I’m using as faux rivets.
Secure thumbtacks with gorilla glue
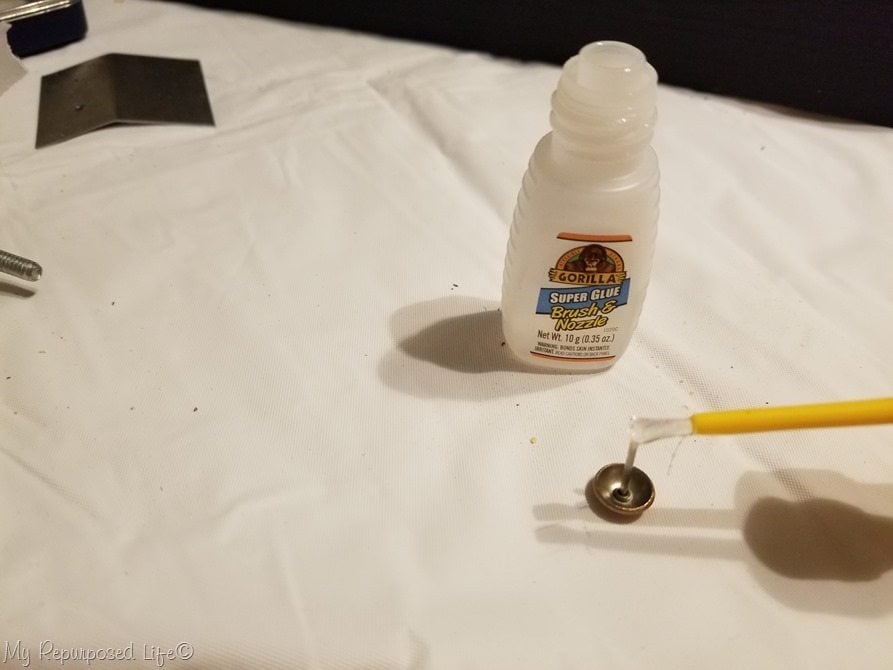
The super glue has a great little brush applicator that makes it so easy.
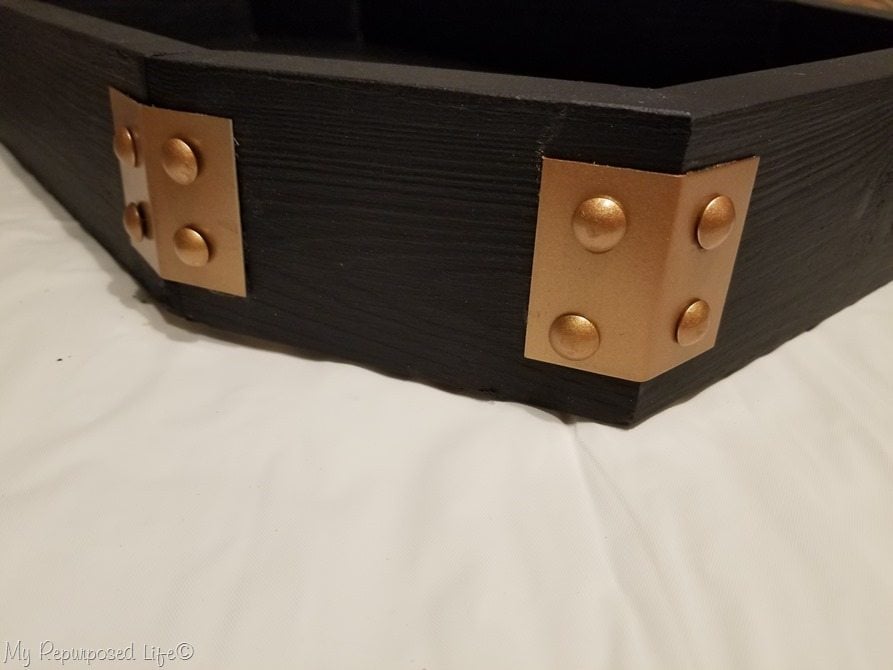
I love the copper rose spray paint brackets against the dark blue octagon tray.
Attach handles to octagon tray
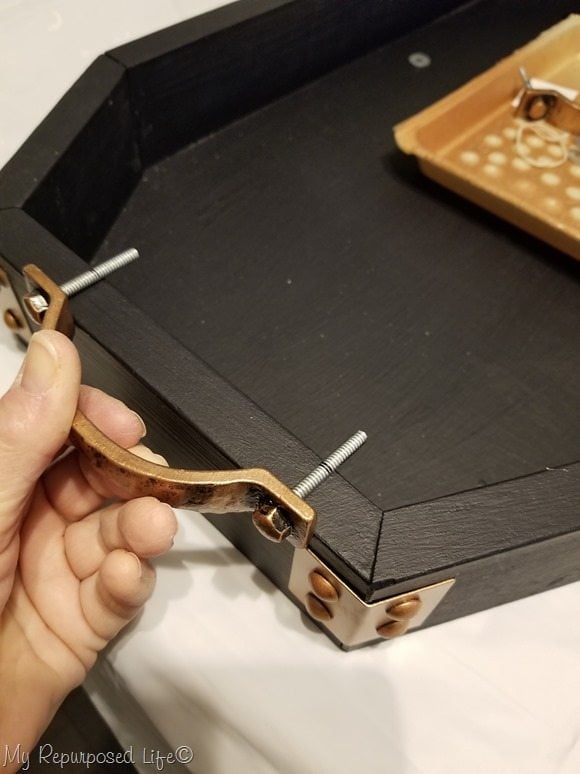
I got the handles at Hobby Lobby. The screws were long and had nuts that went on the ends. I didn’t want anything to show on the inside of the tray so I decided to cut the bolts off and glue them in drilled holes. So, I had this handy wire stripper tool that is suppose to cut screws. Silly me, I couldn’t get it to work.
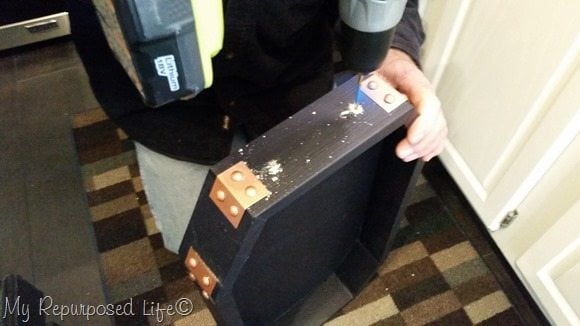
Rodney dropped by to help me cut the bolts and drilled the holes in the end of the tray. Note the tape on the drill bit. I put that on there to make sure the bit didn’t go all the way through the wood.
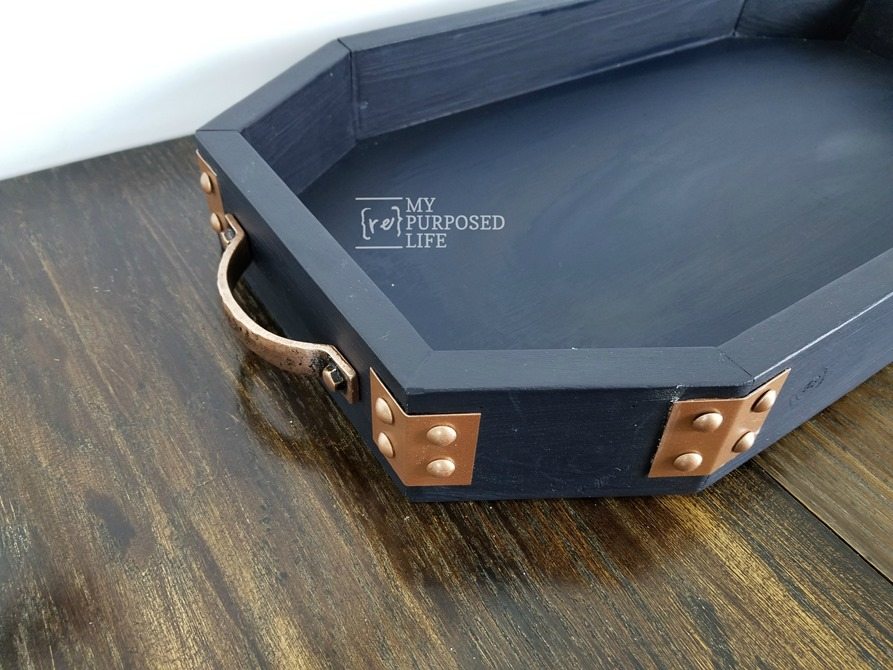
The bolts had to be tapped into place because they fit so tight. No glue was necessary.
I considered dabbing on some dark paint to make the brackets match the handles more. What do you think?
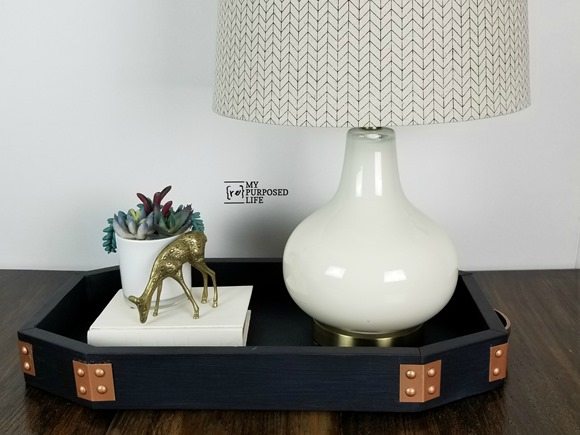
It really looks pretty with the white décor, don’t you think?
This octagon tray was a challenge, but I’m so happy that I stuck it out and got it finished.
gail
related content:


Oh my gosh Gail this is sooooo pretty!! I love it!! And yes I agree that a little aging to match the handles would look so good too! I think your angles look great you need to give yourself more credit :), and I love how you added the bottom to the tray, I need to do that! Thanks so much for linking to my tutorial! The copper and navy is so classic, and it looks amazing with the white decor!! Yay! Pinned!
You’re the best! Thanks for pinning. I’ll never be as good at math and angles as YOU are my dear! You’re the queen of fun shaped projects!
gail
This is a very creative and attractive project. I think that the metal brackets could benefit from some “aging” with the dark paint, but the tray is truly beautiful as-is. Wow 🙂
Thank you so much! I truly appreciate your sweet comment.
gail
Almost as cute as Lulu.
awww thanks Brette!
wow. looks so good. love the hardware you chose.
Thank you so much Nova! I’m just glad it’s finally d.o.n.e. This took weeks to complete each of the steps. Not sure I’ll ever try another-though I really should because I need to get better with angles. Mindi does so many nice projects with fun shapes. 😉
gail