Chair Side Table made from a Free Chair
As an Amazon Associate, I earn from qualifying purchases.
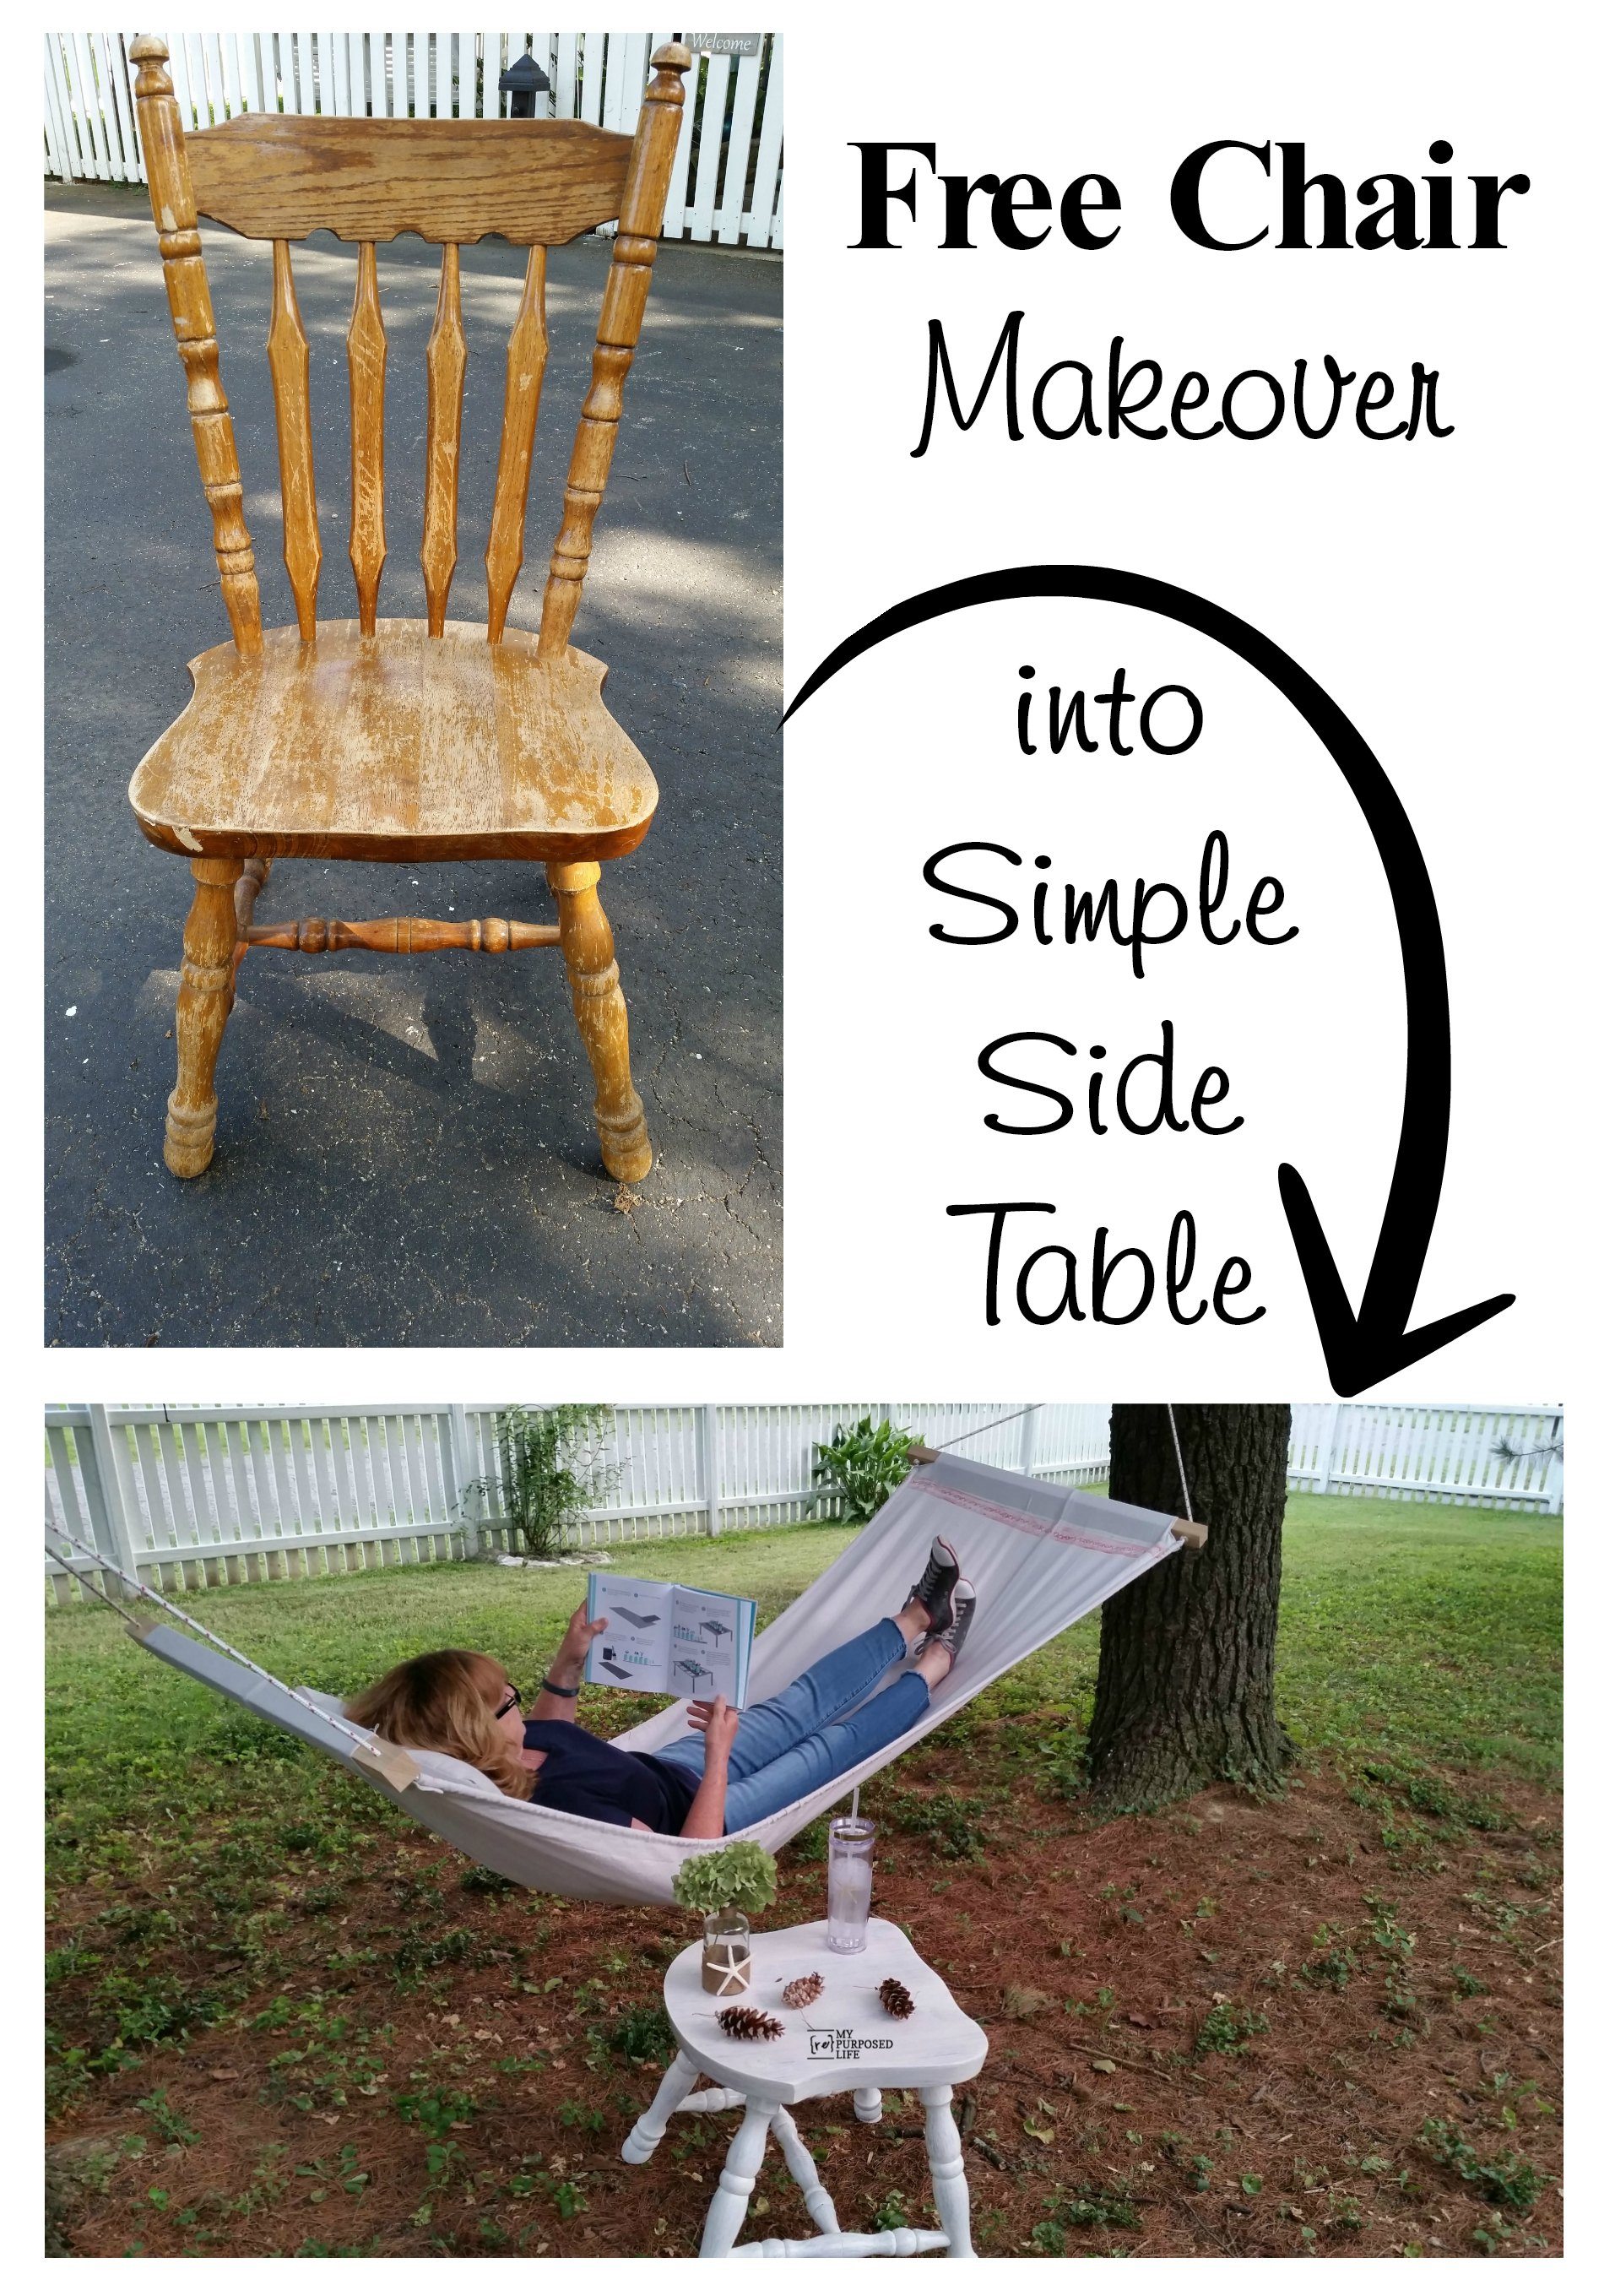
I’m going to show you how to make a chair side table. It’s nothing new, others have done it before me, but this is my first time. Angie shared her Repurposed Chair Table right here on My Repurposed Life. I’m hoping I’ll share a few tips to help you should you ever want to repurpose a dining chair this way.
Here is said chair. My neighbor Rodney found this and dragged it home for me. It’s got really good bones, and was pretty sturdy, but I didn’t need one lone chair.
Find an old chair
*this post contains affiliate links for your convenience, you can read more here*
Dismantle the chair back

I wanted to keep this project simple, so I used my Dremel Multi-Max to flush cut all the spindles that make up the back of the chair. Had I just started whacking on it, I would have had empty holes to fill.

Removing the center spindles was oh so easy. The left and right spindle OBVIOUSLY had some sort of metal in them, so I broke out the blade for metal. It worked really well. I broke my number one rule for dismantling furniture. TIP: examine your project by turning pieces over to get a closer look. I. DID. NOT. do that. heheheh

Had I looked, I would have seen these bolts. I could have removed them, and easily cut through the spindles, leaving a small hole to patch. Another case of do as I say, not as I do. ![]()
Sand your new chair side table

See? Here it the bolt I cut.

I can’t believe I didn’t take any pictures of how the chair rests on the floor. Maybe all chairs rest that way, with a slight tilt toward the back? Can you see it in this image? It was very noticeable after I cut the back spindles away. Looking at the FEET of the legs, I could see that the front feet were thicker, and they had a totally different slant than the back legs. This befuddled me. I googled, and youtubed it, and couldn’t find a way to fix it. I could see me chopping off a little here, and a little there, and ending up with a very low to the ground table/stool. Been there with my bangs—very recently.
You may need to trim the chair legs

Rodney to the rescue! He immediately knew how to solve the problem and drew lines around the bottom of the feet. However he tried to use my small ryobi circular saw and the blade wouldn’t cut through the entire nub.

He used is larger skill saw to cut on all the lines and voila! the chair was resting much more level. Speaking of level, that is how he worked on drawing the lines. We put the chair upside down and leveled the seat. Rodney told me a couple of days later that he thinks a protractor would also work well on this problem.
Prepare to paint your chair side table

I did a quick sanding of the chair side table and hit the the rough spots on the legs.

So I always know where my whitewashing paint is, I keep it in a can with this cansealid. I shook it a little, but I really should have stirred it. You can see the first coat went on very thin.

I did a very light second coat on the chair side table with a cheap chip brush and I seriously love how it turned out. I didn’t realize it, but I suppose the whitewashing paint must be a semi-gloss. The chair side table has quite a bit of shine to it.

The chair side table is the perfect addition beside my Drop Cloth Hammock to hold items.

Here it is holding the sweet vase and tumbler from my friend Leen Sand Dollar Lane Box, Coastal Farmhouse Décor to your Door! The book, is So Close To Amazing from my good friend Karianne of Thistlewood Farms! I’ve only read a few chapters, but if you LOVE karianne’s stories, you’ll love this book. At the end of each chapter she gives you the details for a diy project! The hydrangea is from my batch of 40+ bunches I dried this year.
When I’m not using it by the hammock, I’m sure it will come in handy near my porch swing pergola.
I still have many more chairs in my stash! Have you repurposed a chair lately? I’m always looking for great ideas.
gail
See one of my first, and an all-time favorite chair projects here
Great idea! And I have just the chair for this!
Cute little table! And I am LOVING your hammock!
The little table is so cute! I love it! These would be cute out at the pool house! Thanks for another dose of inspiration. I wish you were my neighbor! Oh, the fun we could have!