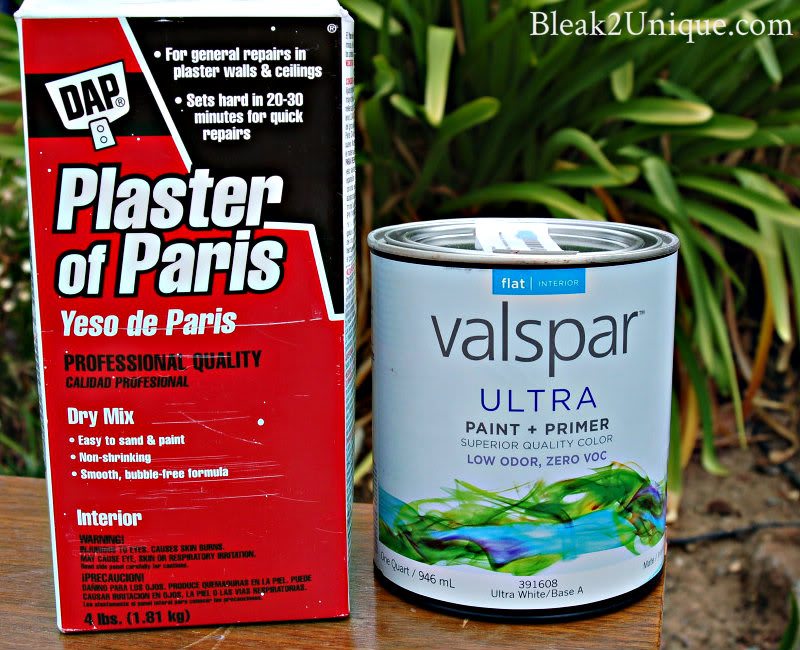
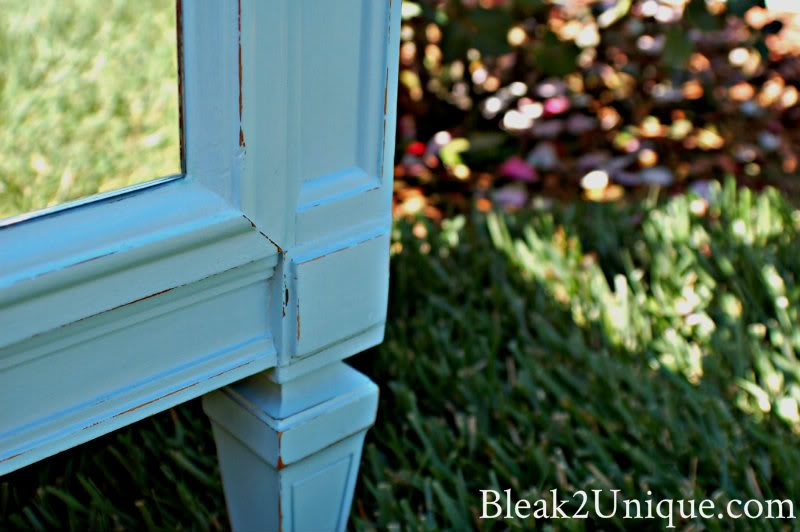
Next I got the rest of my supplies together to make up a batch of Paris paint, (my version of Annie Sloan chalk paint). I do love the original “Chalk” paint, but I am a DIYer at heart, and mine is super easy to make. See Gail’s recipe for DIY Chalky Paint Primer.
This post may contain affiliate links which won’t change your price but will share some commission.
Just use any paint with plaster of paris.
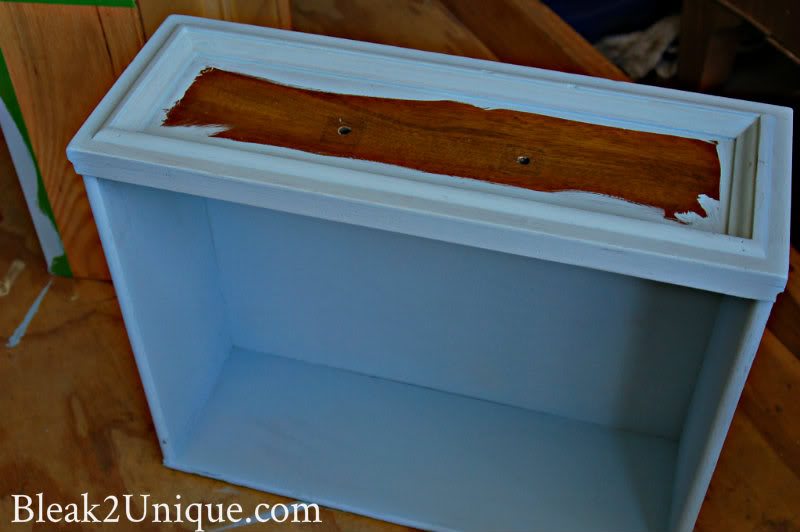
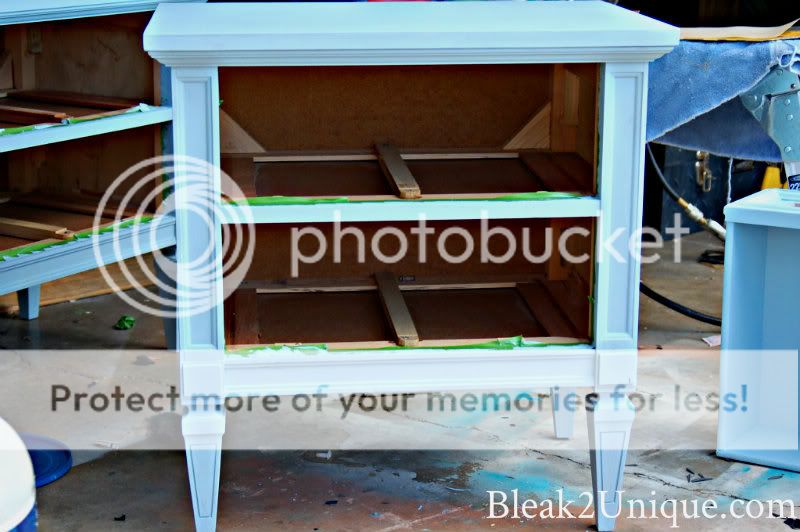
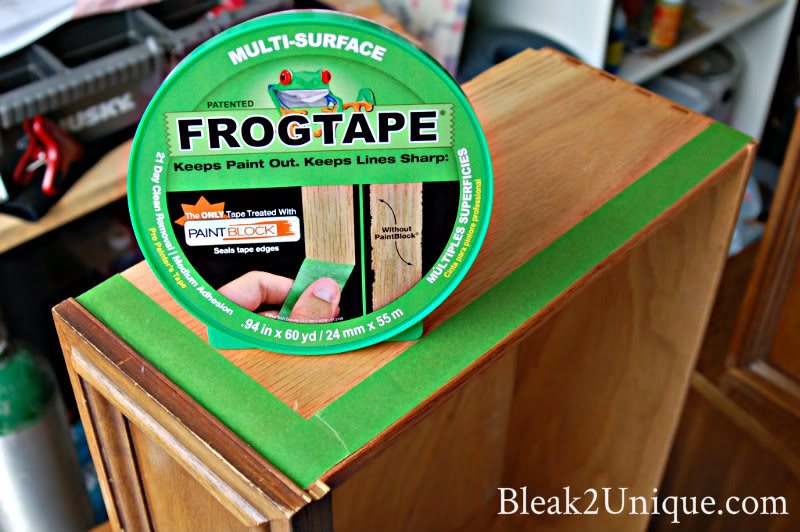 The great thing about Paris paint is that you don’t have any prep work…just paint, sand and wax. Gotta love that! I didn’t want to paint all of the inside, so I grabbed my
 Frog Tape to ensure straight lines…
Once everything was taped I grabbed my brush and got busy painting. The Paris paint will have brush marks, but no need to worry, the sanding takes care of it.
I left the center of the drawer face unpainted so I could add a little glam. While the paint was drying I headed over to Mac’s…
 |
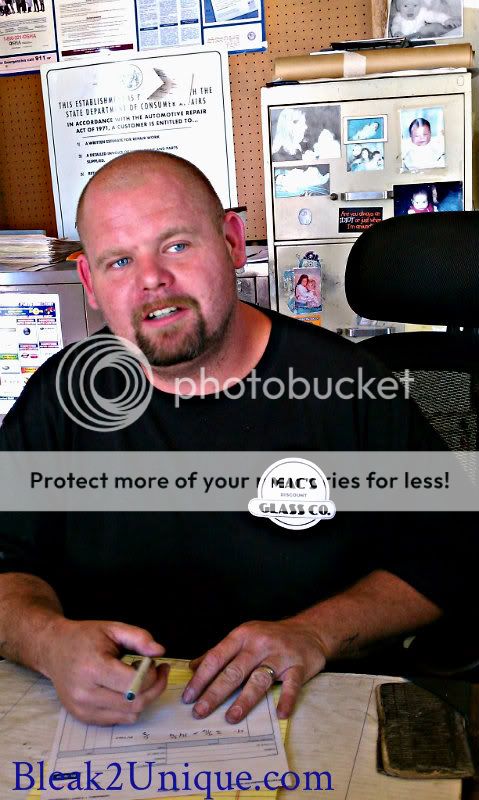 |
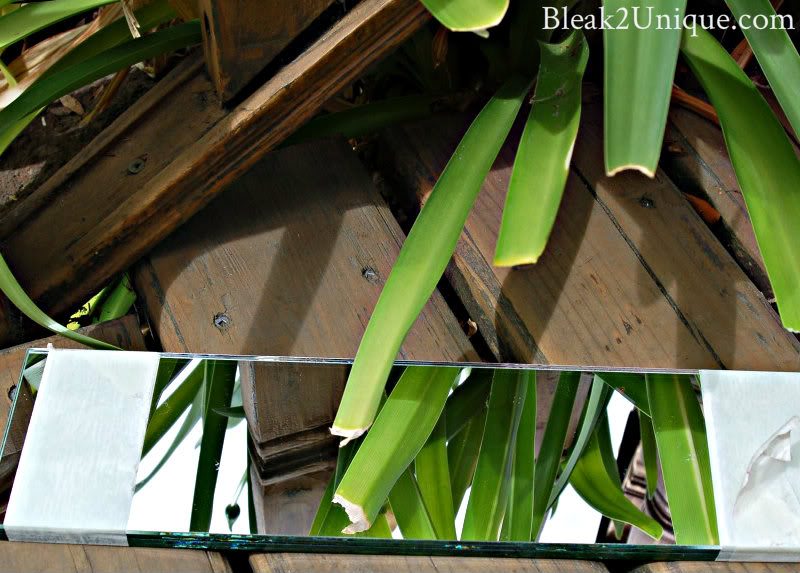
If you live in the bay area and you need glass cut this is the guy to see….thanks Mac! I got 4 mirror panels for my drawer fronts for $20, and he had them ready the next day. Mac…your the man!
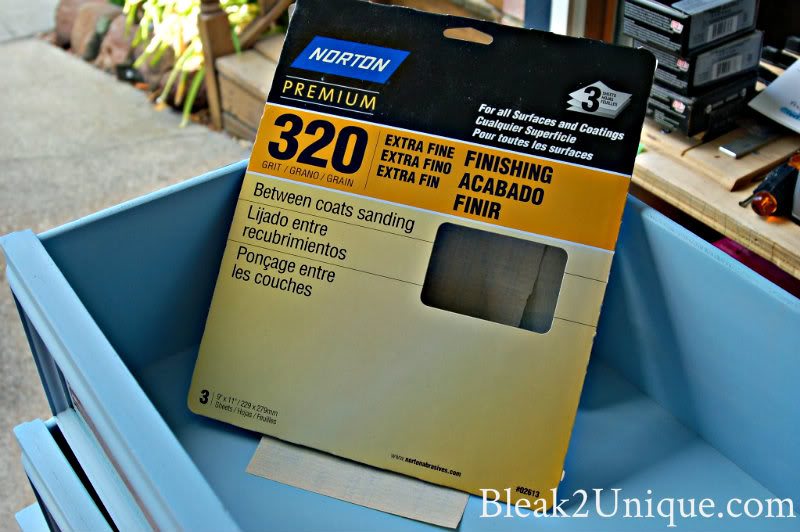
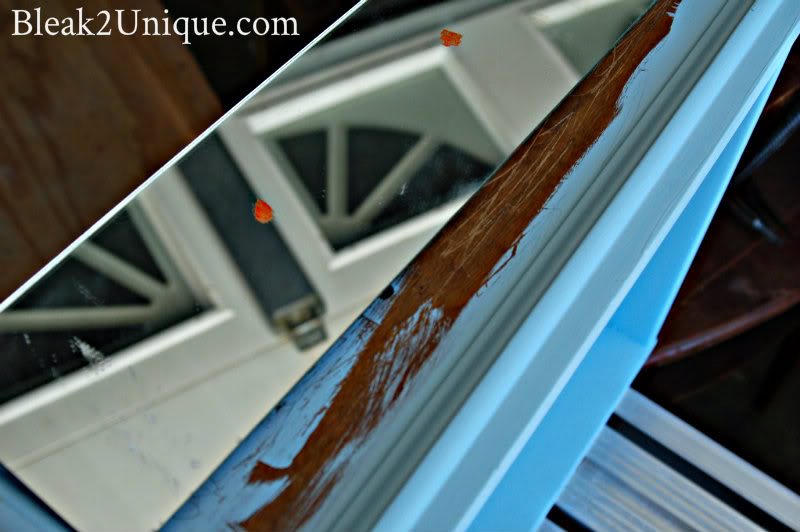
I set the mirrors aside for later and started the sanding process…NOT my favorite thing to do, but the Paris paint makes it easier. For the smoothest finish I used a fine sandpaper . . .
…
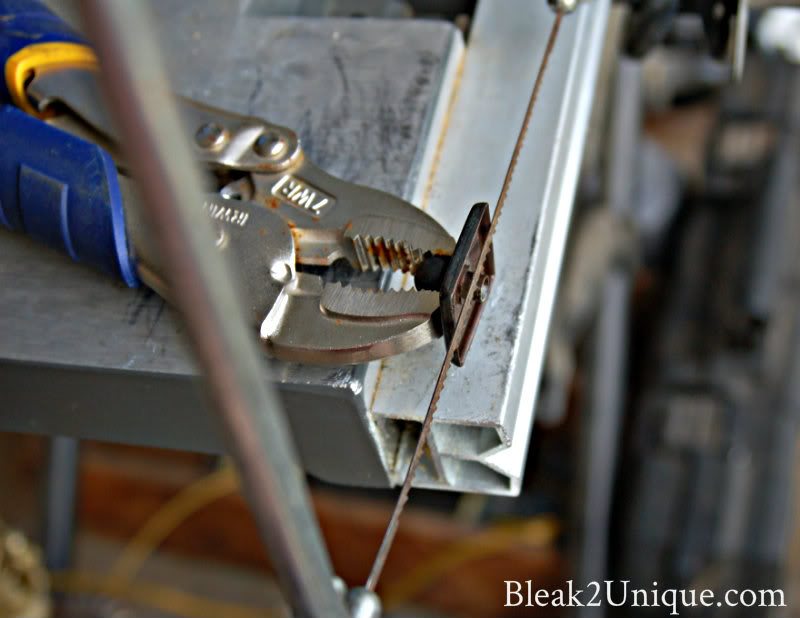
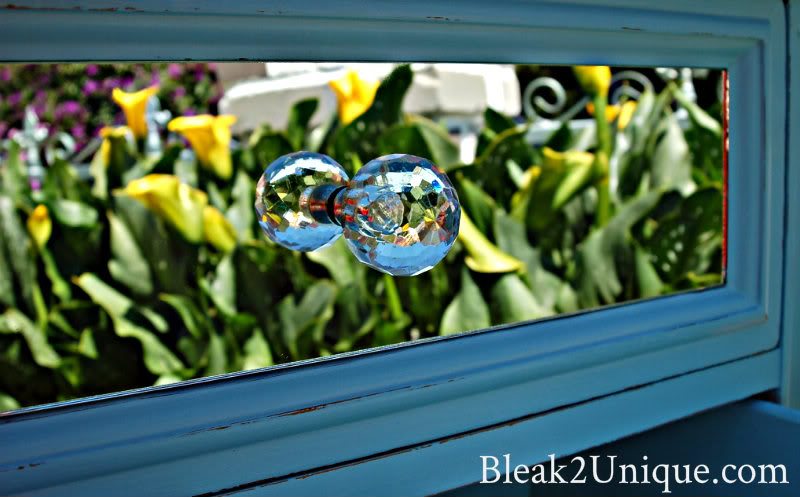
I spent the next few hours preparing my drawer pulls. Since I opted for the “no hole” version of mirrors, I needed to have pulls that were flat…out comes the hack saw…
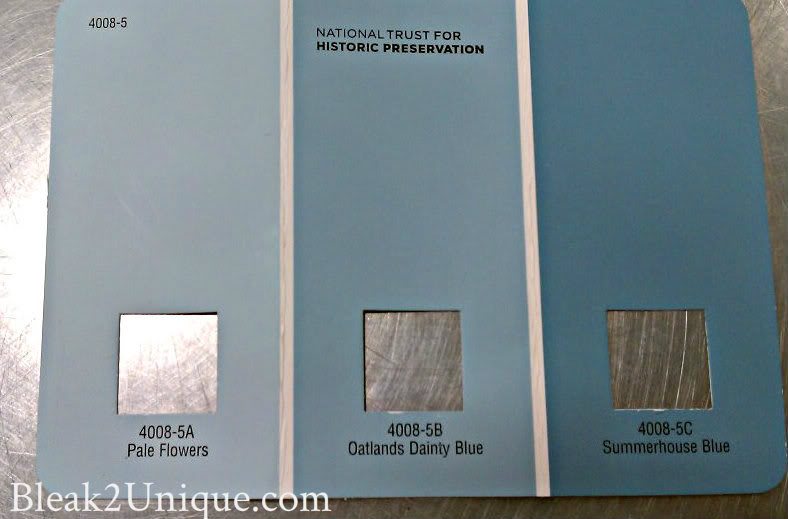
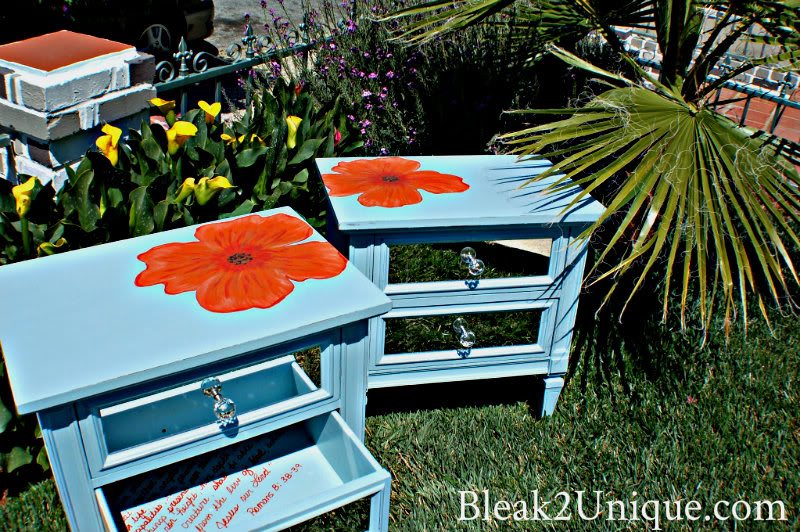
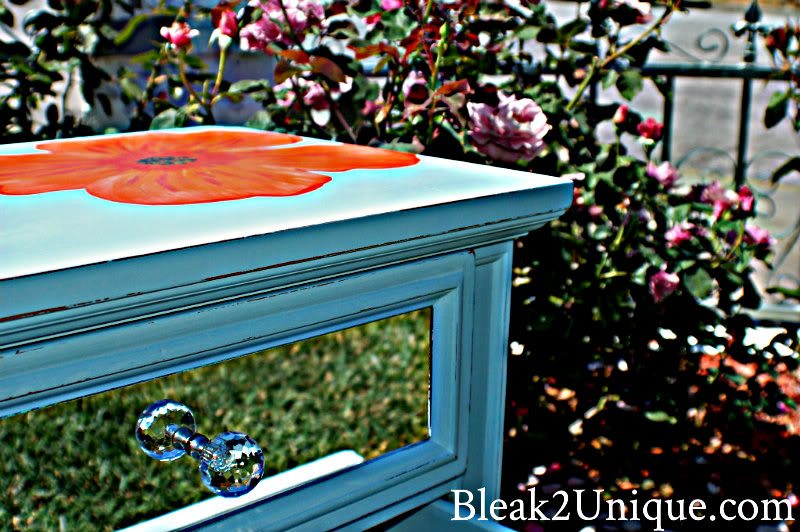
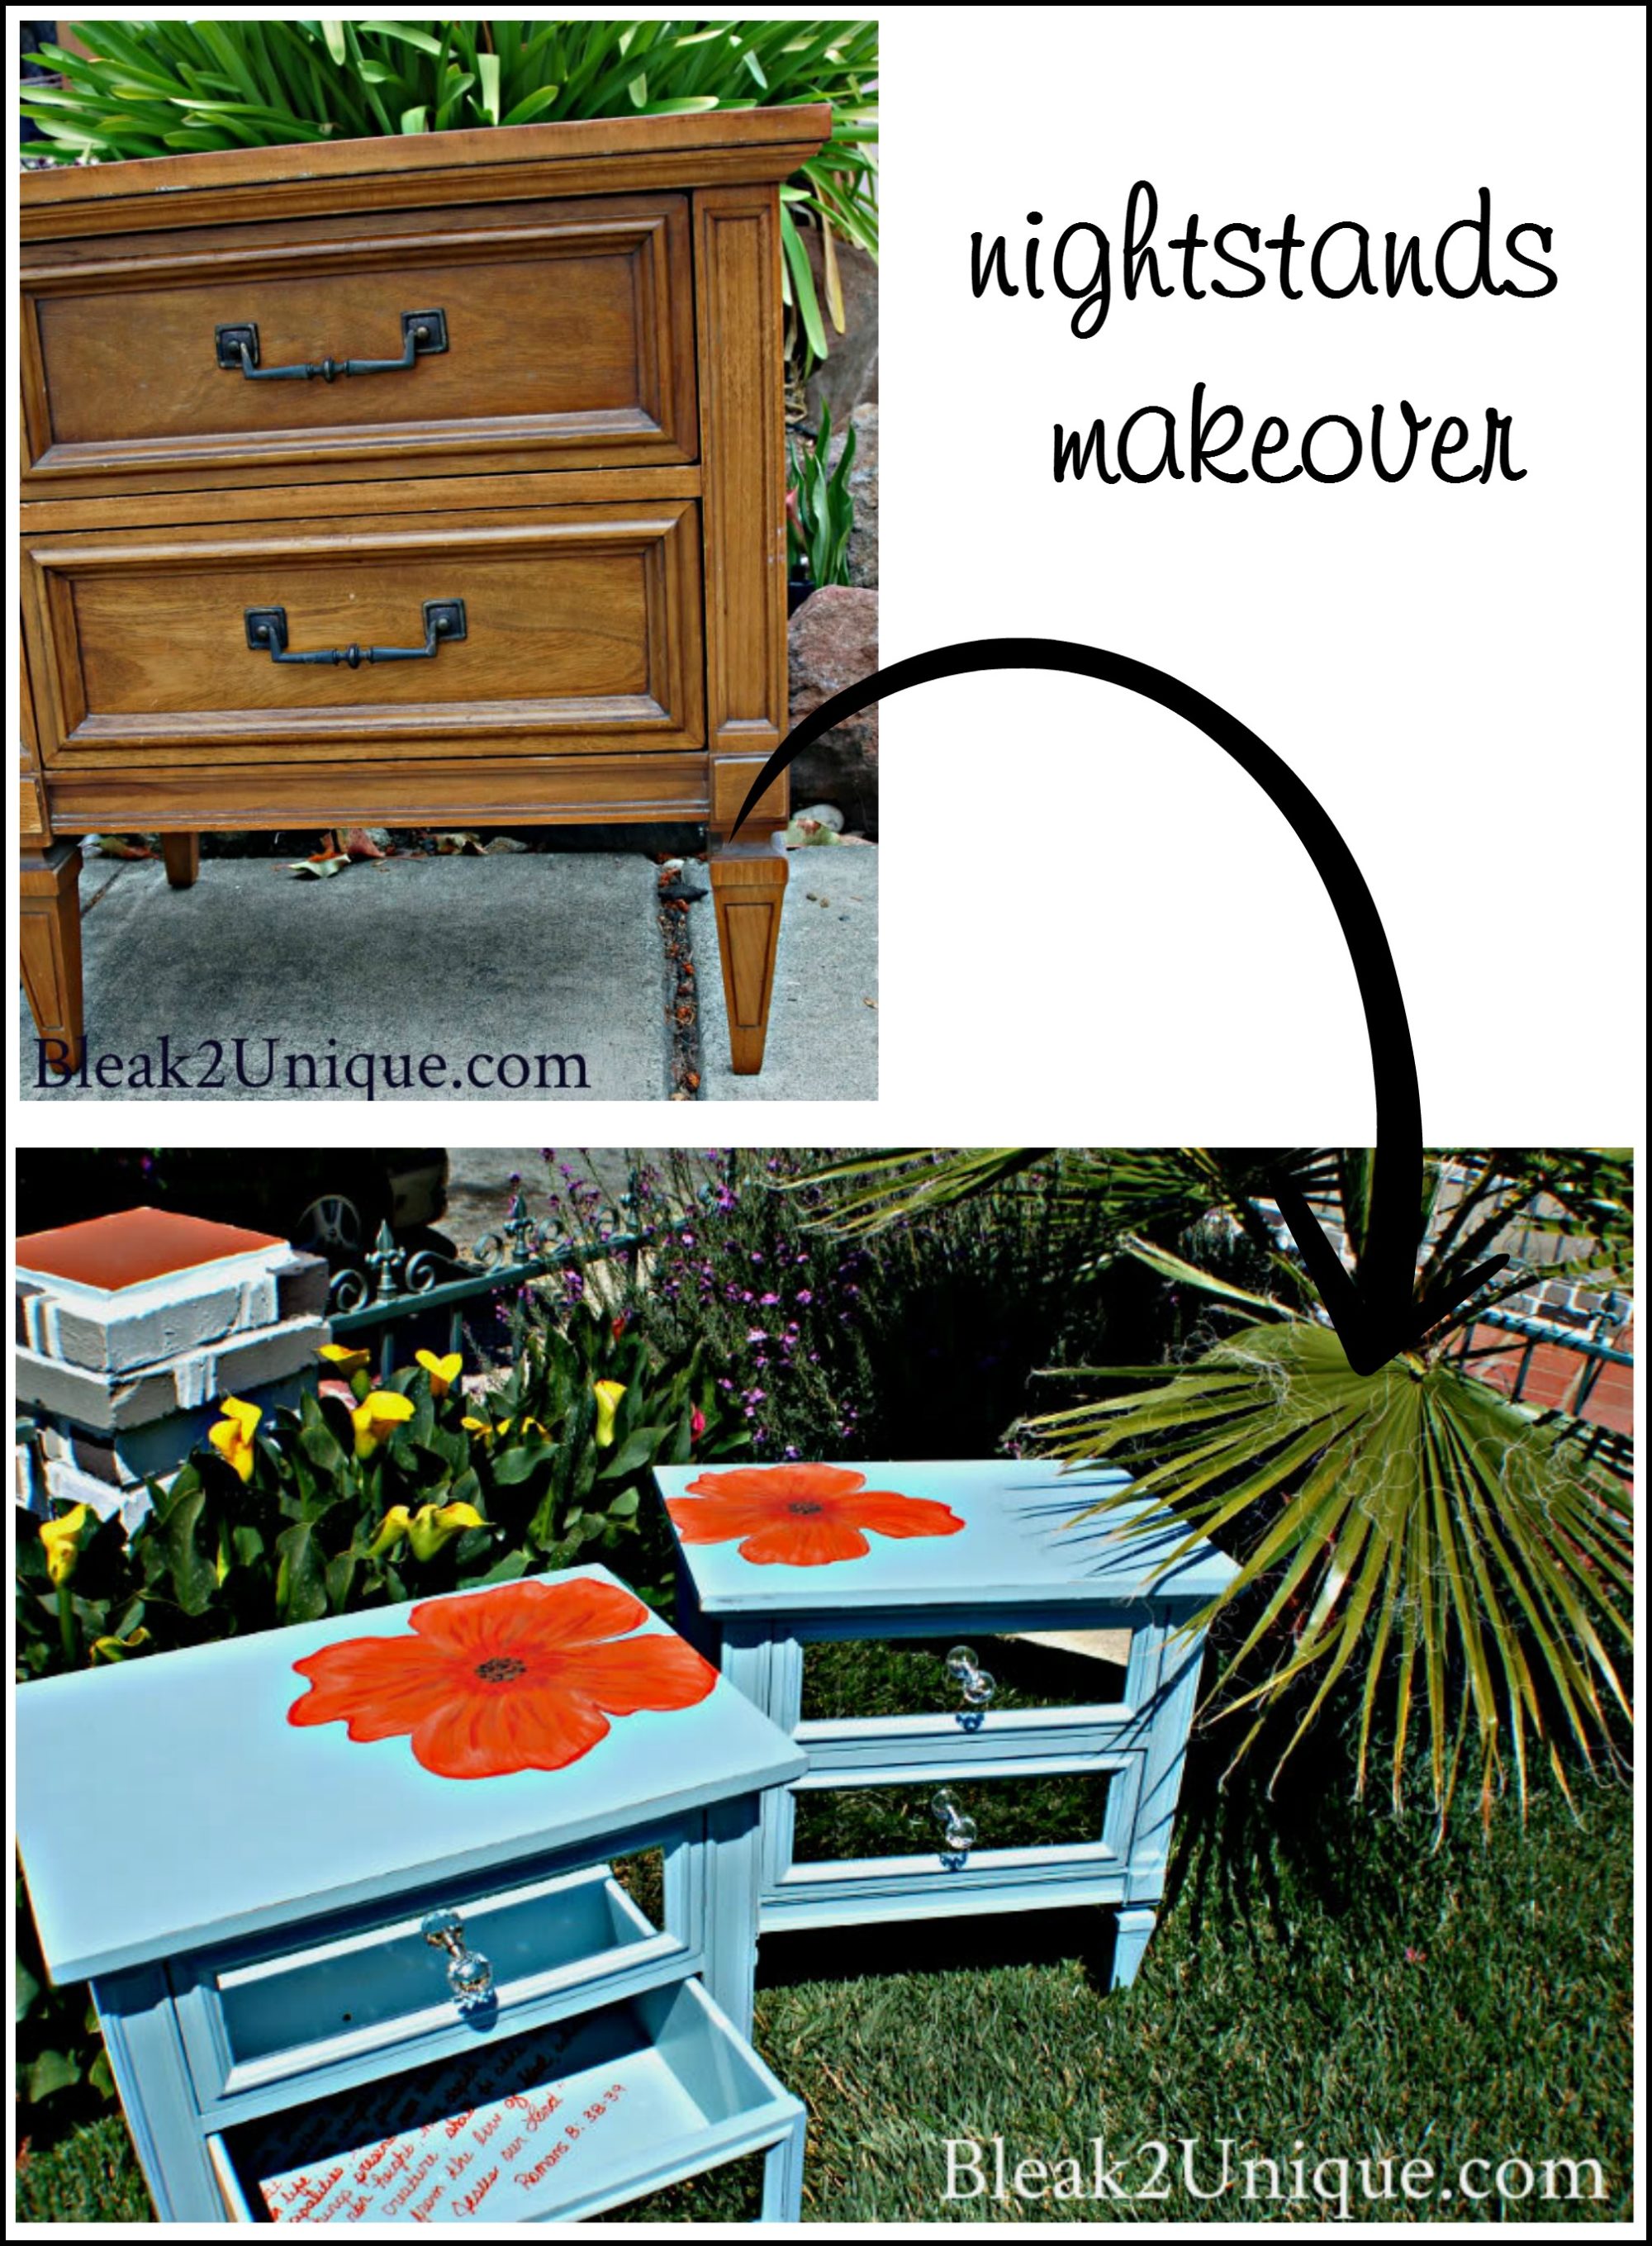
It was at this stage of the plan that I stood back to admire my creation, and I was disappointed…not the plan! I loved the distressed blue, and the touch of glam, but the drawer pulls didn’t excite me, and they needed a punch of color. Time for a revised plan. I searched the web and found a little color inspiration…Orange!
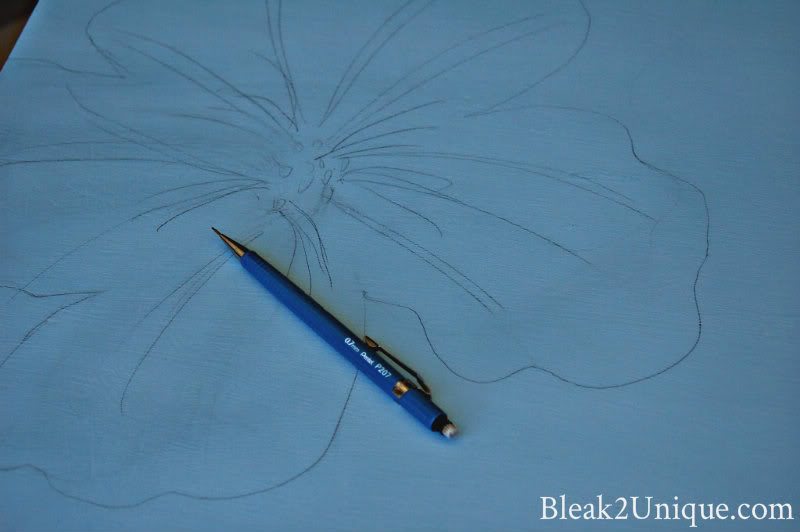
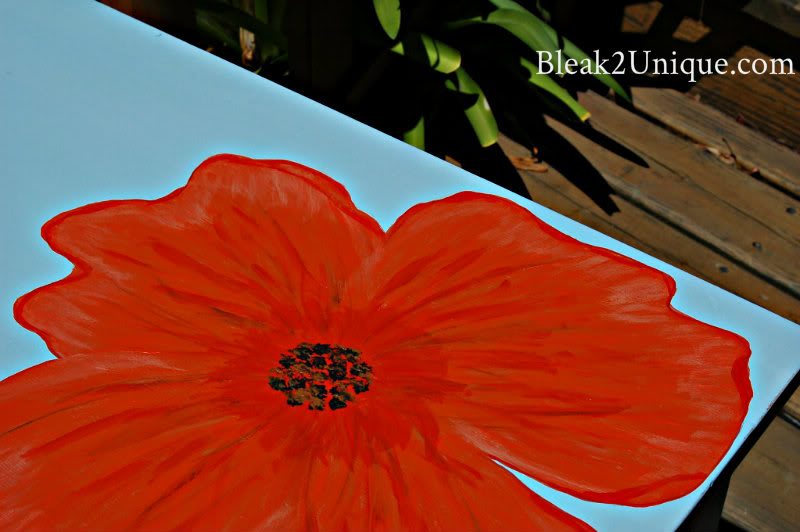
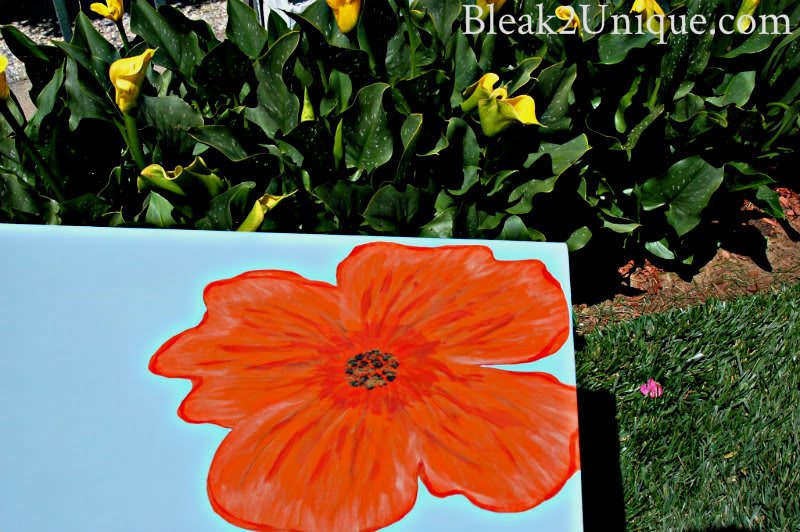
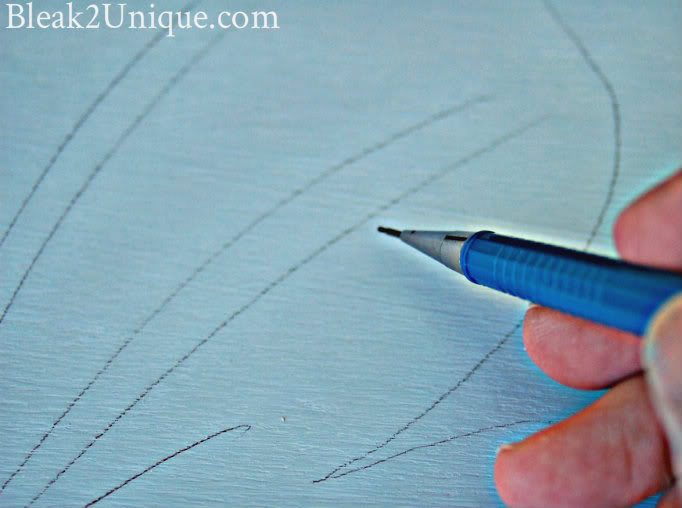 With the new color chosen I decided to paint a flower on the top of each table. When I painted my Nursery Mural I used stencils, but this time I wanted a more whimsical feel, so I started sketching…
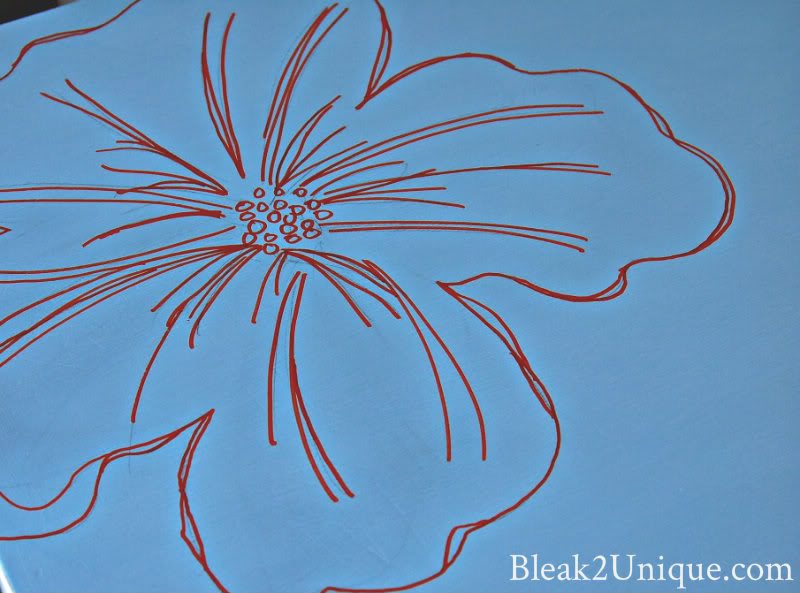
Before painting the flower I outlined my sketch with an Orange Sharpie …
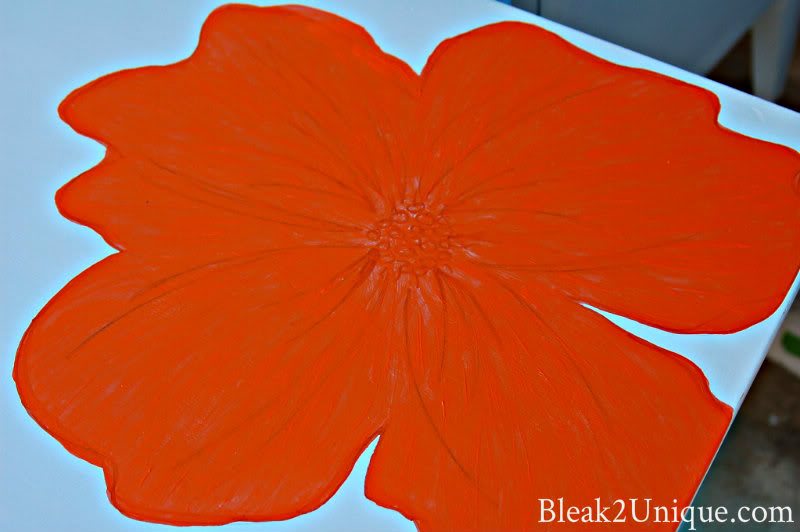
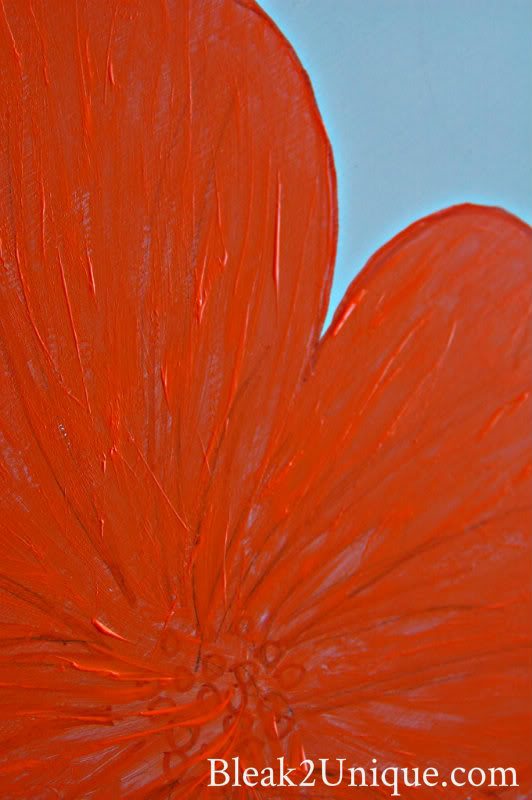
To paint the flowers I used orange, then added shading with red-orange, peach, and white. The center colors are brown and yellow…
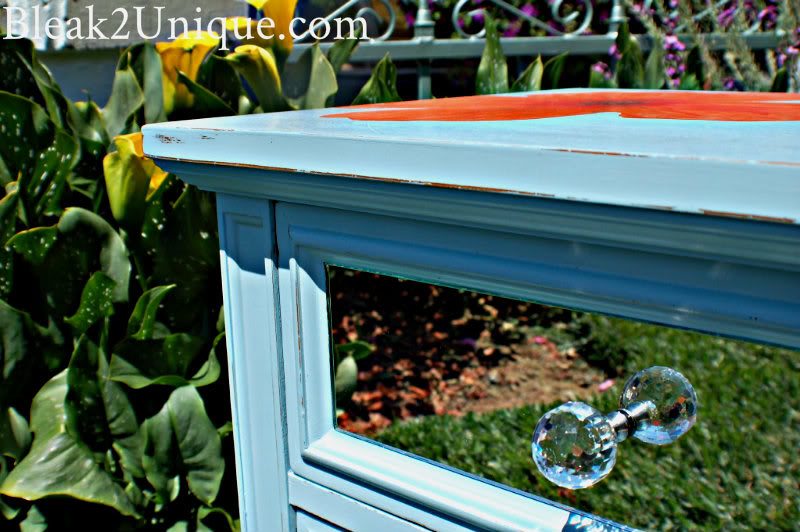
After the flowers were finished I waxed both tables….and then I giggled with delight! Seriously, I was so happy with the new pop of color, and I could hardly wait to see them finished. I only needed to secure the mirrors, find the perfect drawer pulls, and add a little something extra…
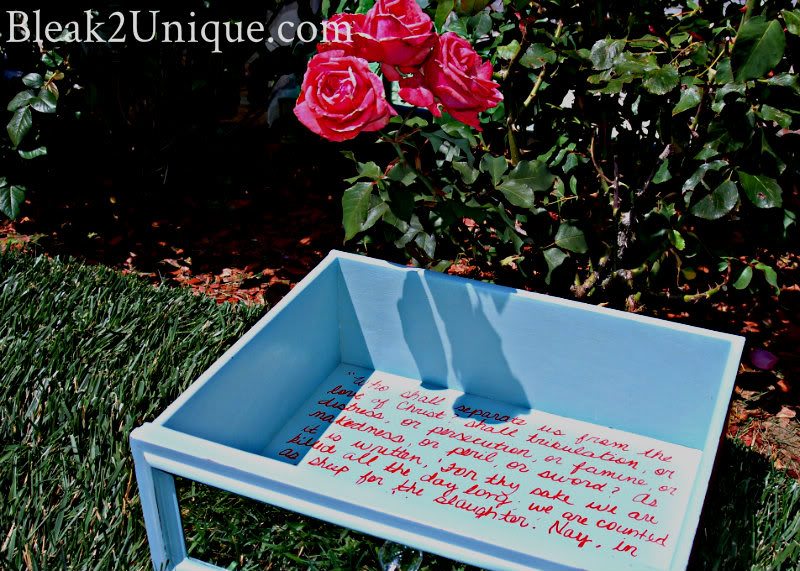
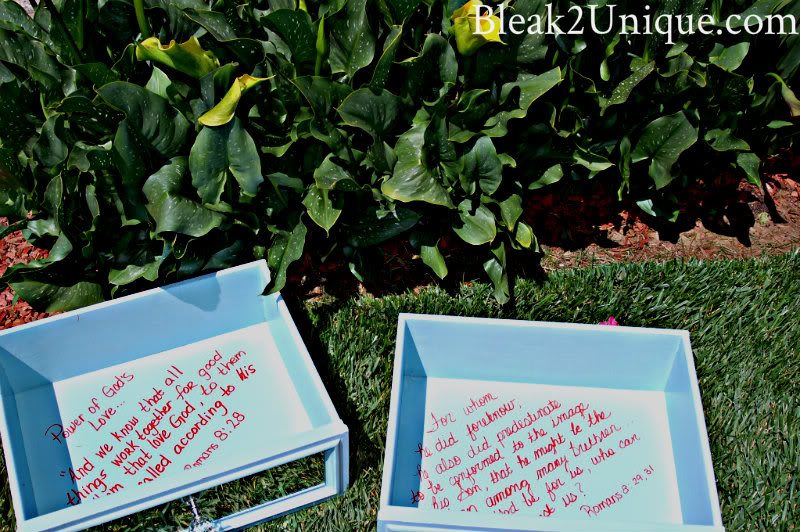
My something extra was adding my favorite passages of scripture to the inside of the drawers… a visual reminder of the power of God’s love every day…
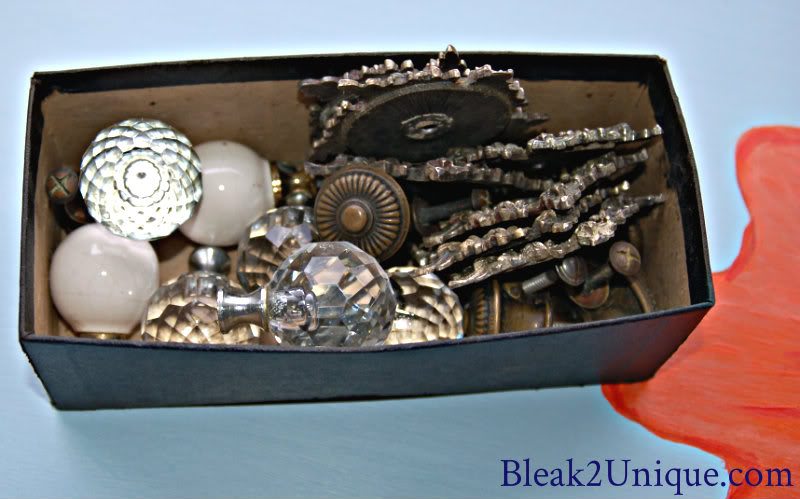
Before heading out to buy drawer pulls I remembered my recent Thrift finds, which included a few vintage glass knobs ….Perfect! Wish I had thought of these BEFORE I spent all that time with the hack saw.
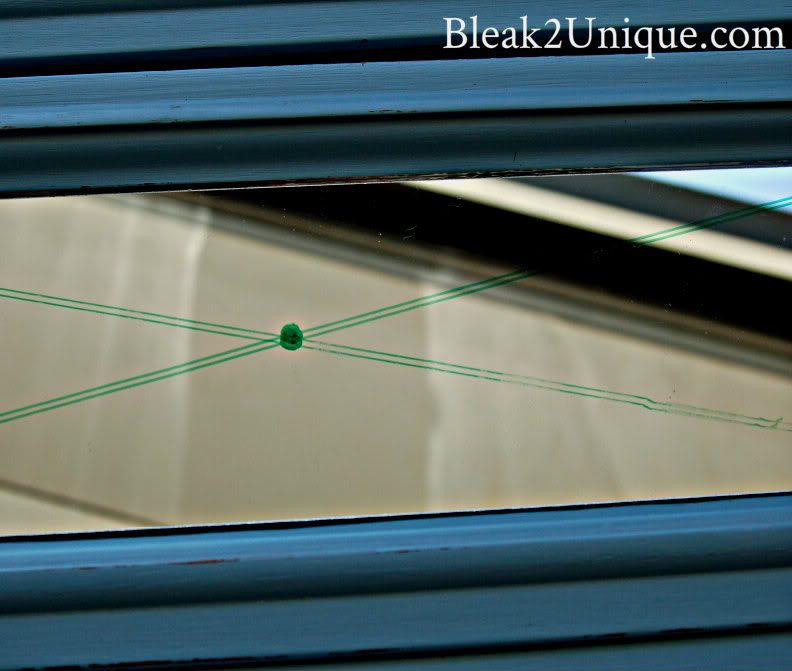
To find the center of each mirror I used a ruler to draw a straight line from corner to corner, like so…
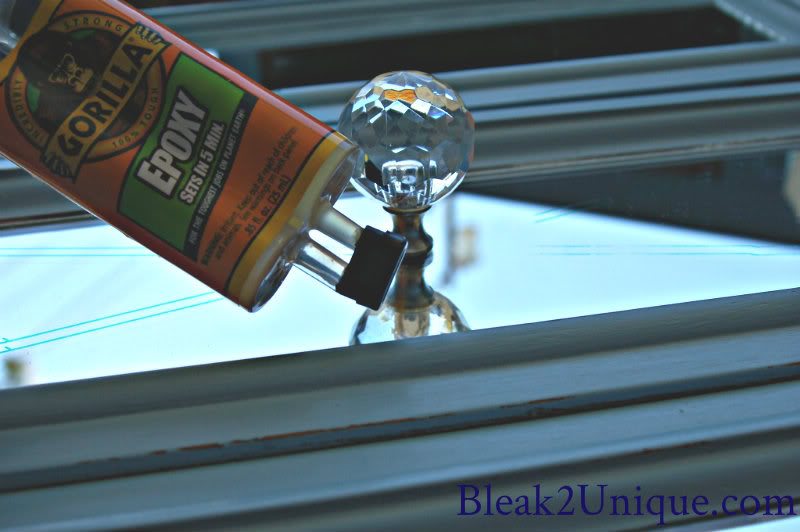
To finish up I attached the knobs to the mirrors with epoxy, and waited 24 hours for the Gorilla Glue Epoxy to set.
And finally my
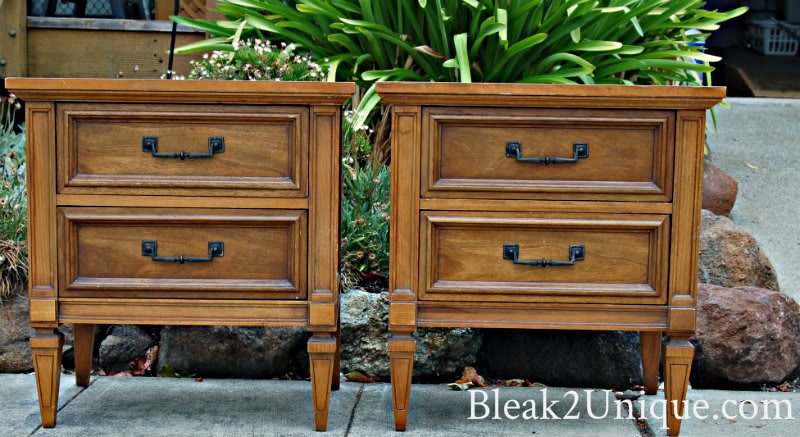
“Southern Blue Belles” were done…Here they are…


Pretty! Pretty! Pretty!
What a transformation!!! Love the idea of writing inside the drawers!!
This transformation is UNBELIEVABLE!! LOOOVVEE the scriputre inside the drawers. what a special personal touch! These truely blew me away 😉
Lori, I can’t tell you how impressed I am with this profect. And free handing those flowers takes a lot of guts. You obviously have more artistic talent than I do. And the mirror fronts in genius. Good job. Now following you!
http://kamsmomusa.blogspot.com
My hat’s off to Lori! This is one of the most creative projects I’ve seen, and I just love it! Thanks for sharing it with us, Gail. I’m heading over to Lori’s now to see what else she’s been up to.
Gorgeous! Definitely went from “Bleak 2 Unique”!! I left a comment on her blog too. 🙂 Have a good week Gail!
Absolutely beautiful. I wish I was able to do what you do.
You are so darn creative. I LOVE what you’ve done with these!