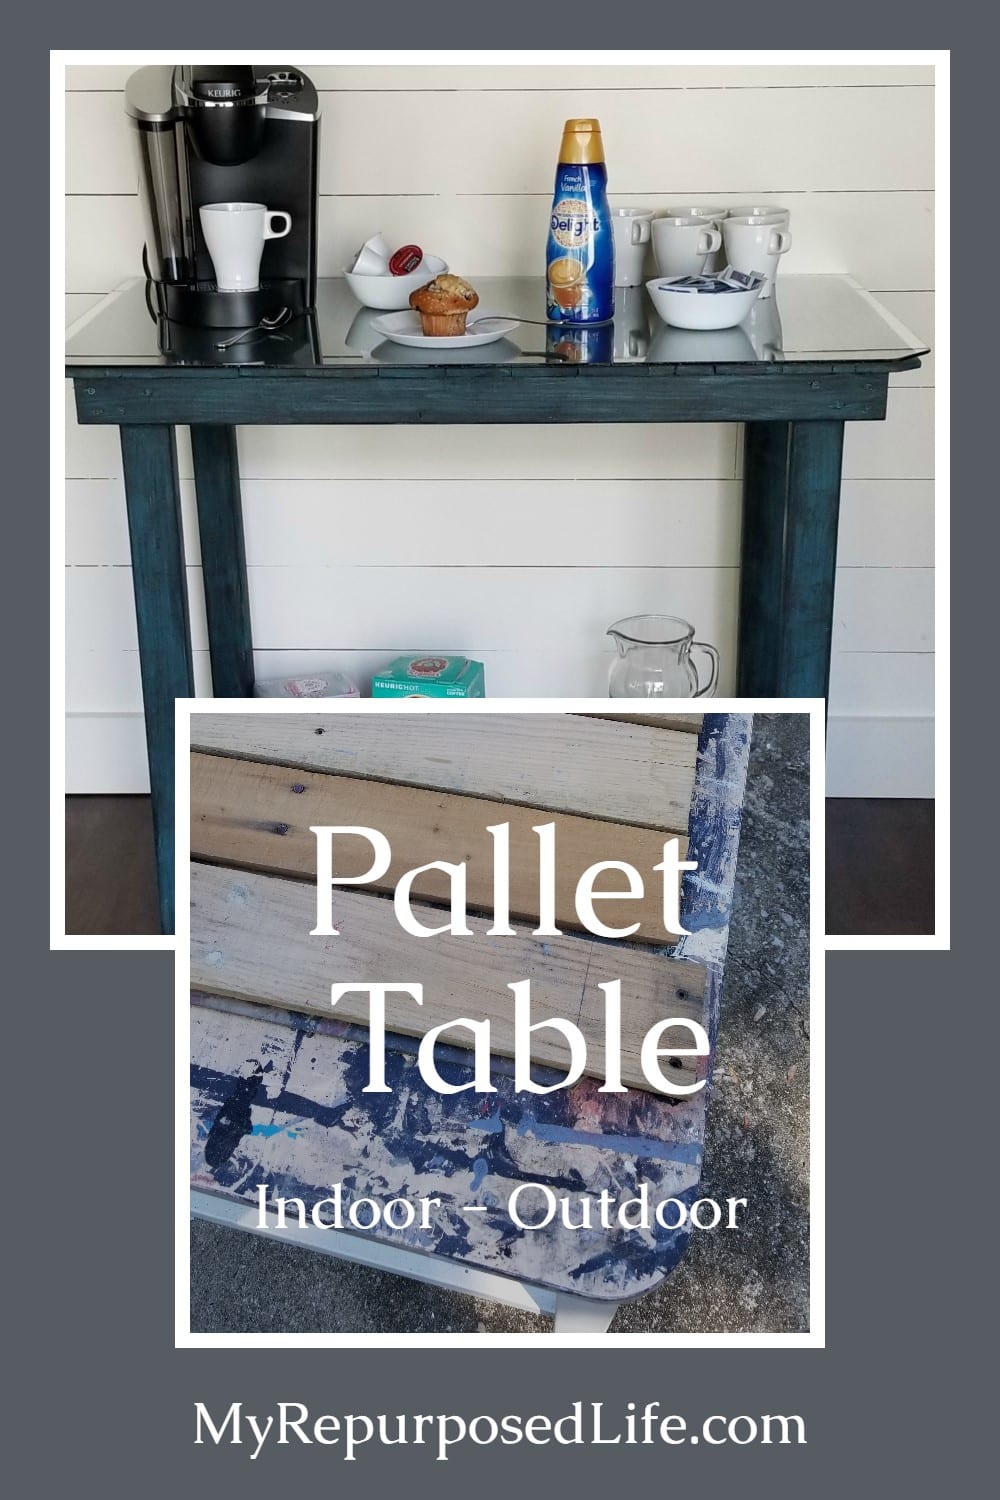
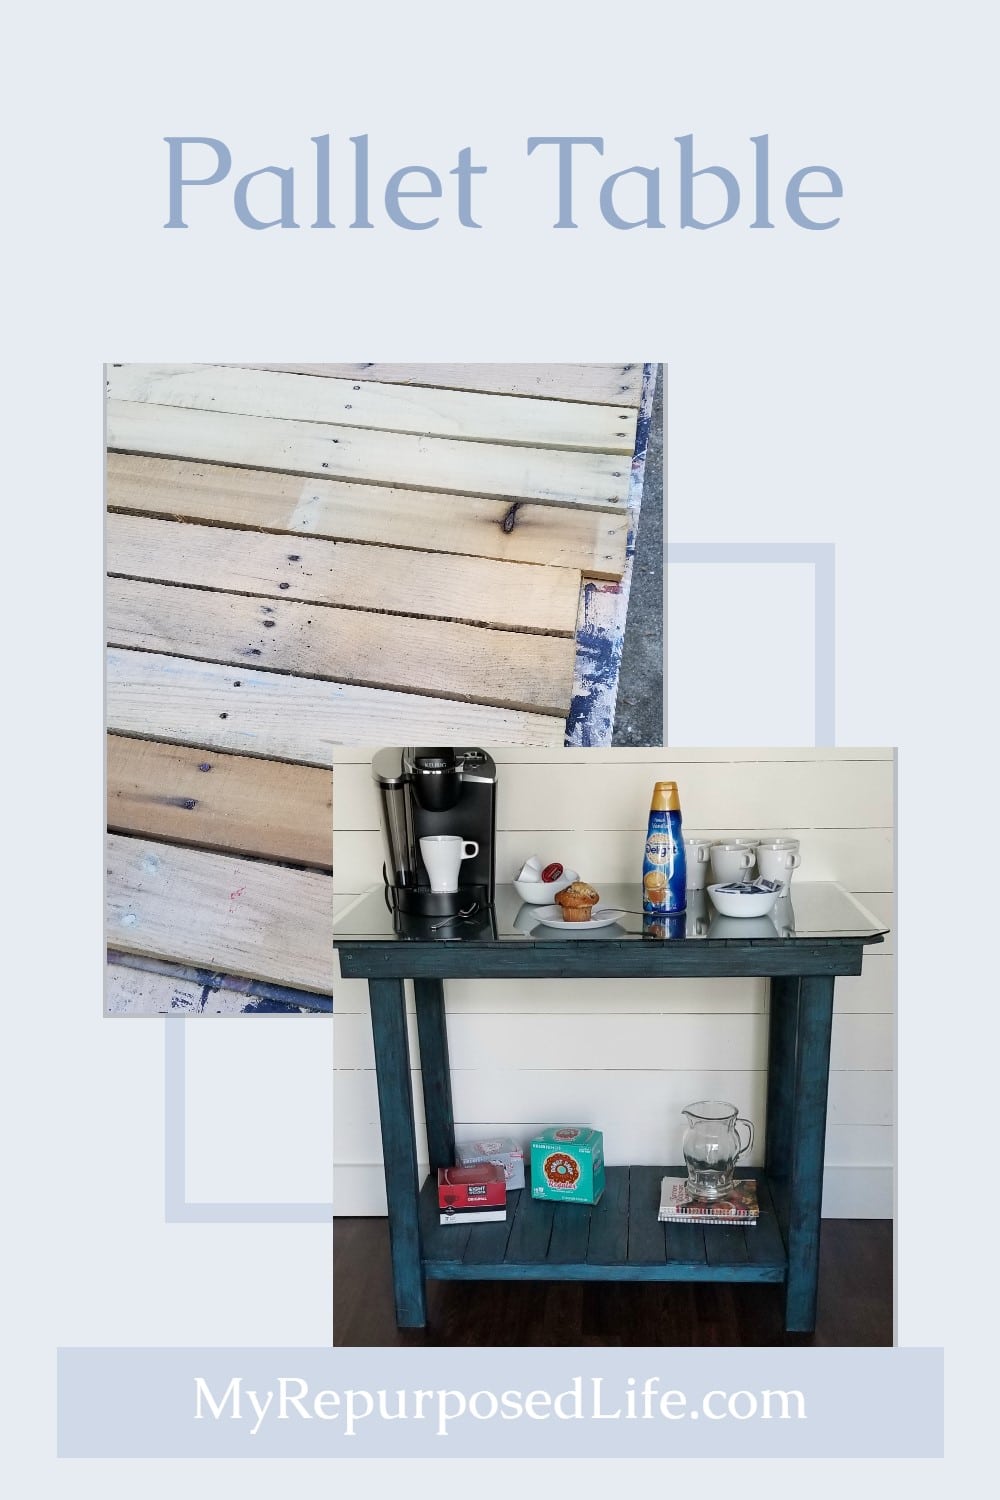
Pallet Board Table – Sofa Table – Coffee Bar – Outdoor Serving Bar
As an Amazon Associate, I earn from qualifying purchases.
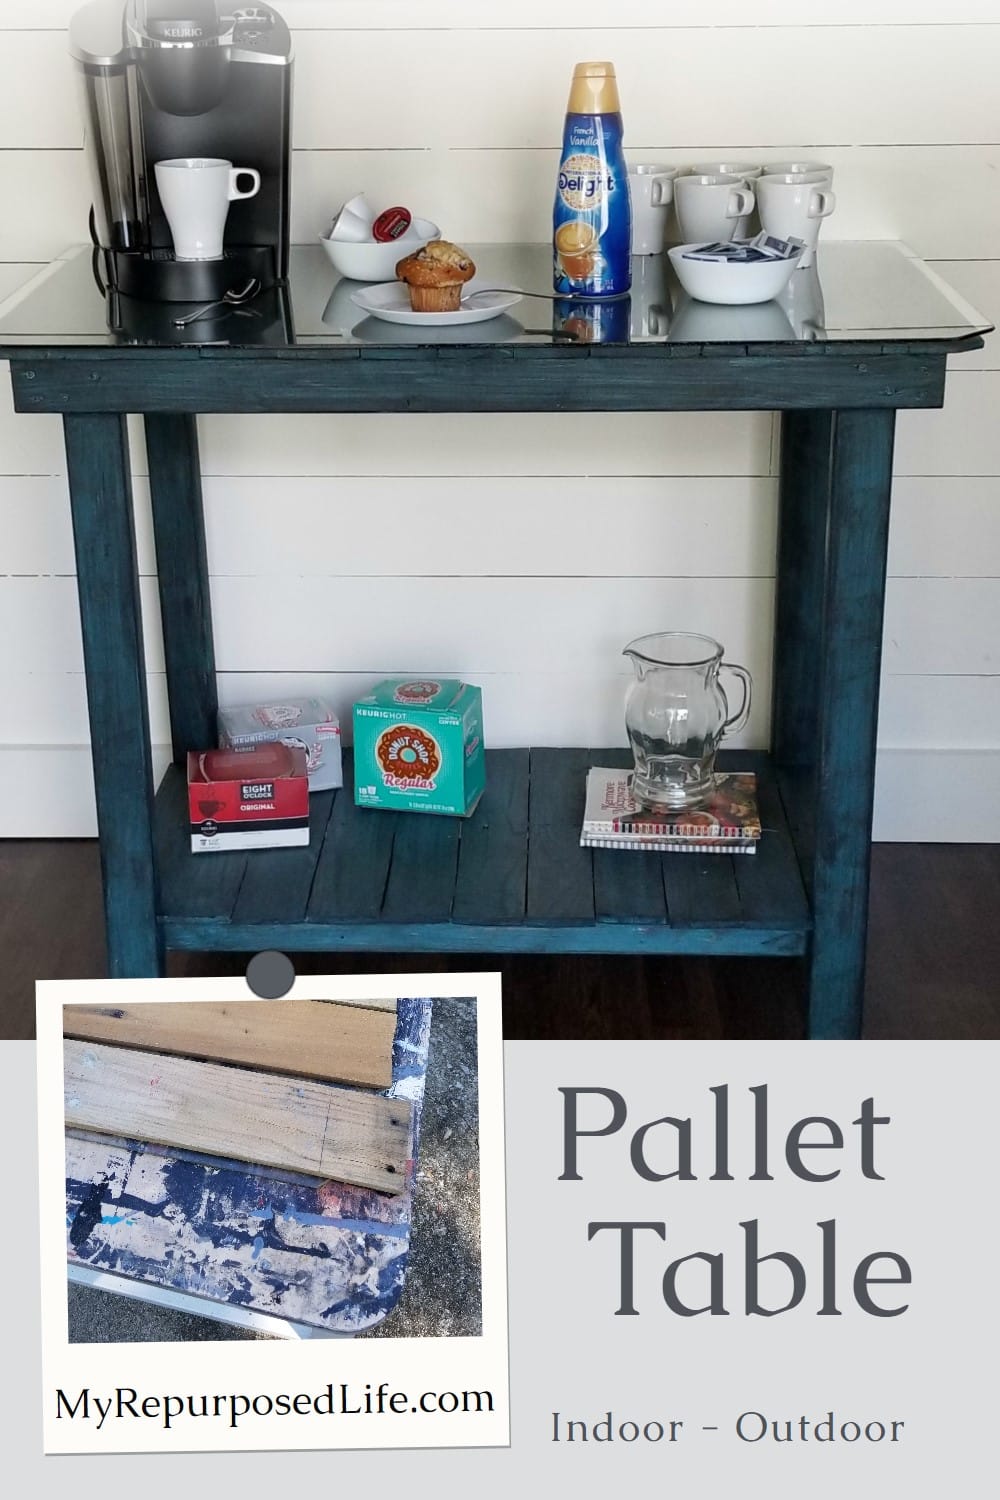
Have you ever built something so versatile you can’t decide where to use it? That’s exactly what happened with this pallet board table! Whether you call it a sofa table, coffee bar, or outdoor serving station, this DIY project proves that a few pallet boards and some scrap lumber can go a long way. With a little creativity and a touch of paint, this multipurpose piece came together beautifully—and it’s ready to work hard wherever you need it most.
Visit the My Repurposed Life Amazon Store to shop my favorite items.
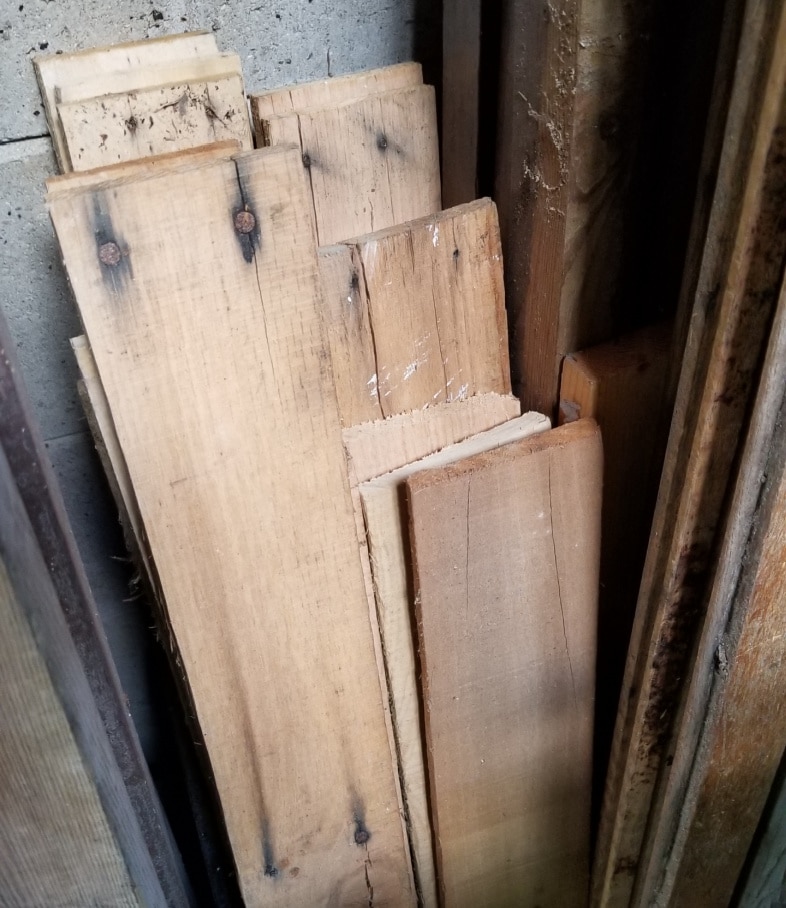
I can’t remember where I got these boards. They aren’t from a pallet that I dismantled because all of the boards have been sawed. I dismantle pallets using a Duckbill Deck Wrecker not a saw.
Learn how to safely dismantle pallets and get inspired with easy pallet project ideas! 👉 Pallet Projects + Tips for Dismantling
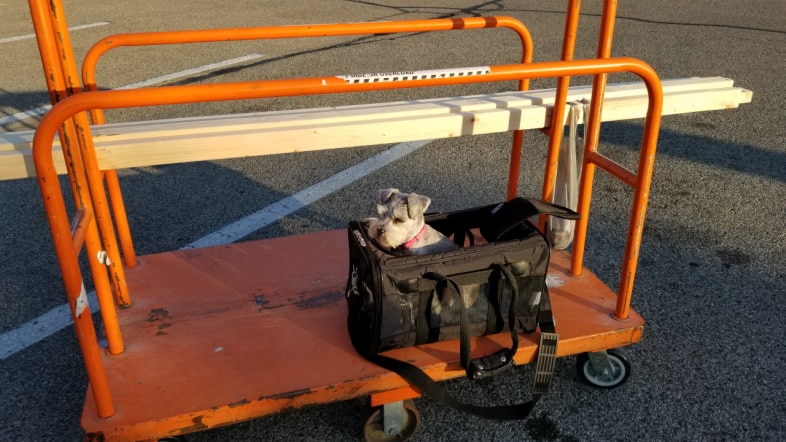
I needed some lumber to make the base of my pallet board coffee bar. Lulu Mae has hurt her knee again, so I try not to leave her home alone. This is the first time she’s ever ridden on the lumber cart. She’s a trooper!
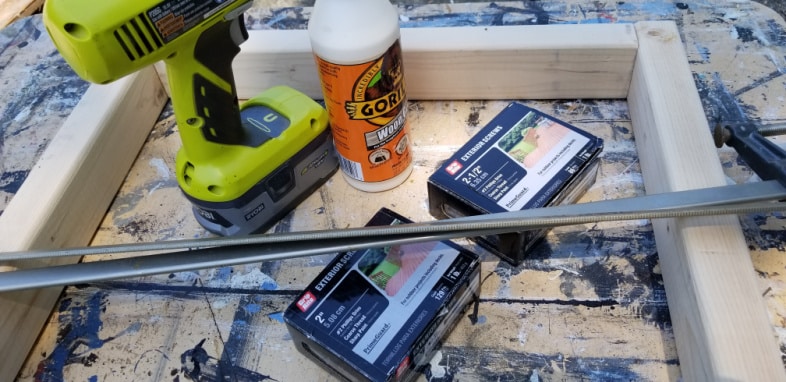
Let’s not get ahead of ourselves, here’s what you’ll need to build your own pallet board table.
Materials and Tools Needed to Make a Pallet Board Table
- Assorted pallet boards (I used small thin boards)
- Four 2×3’s
- Wood Screws 2.5 inches
- Gorilla Wood Glue
- Paint
- Glaze
- Chip Brush
- Drill
- Drill Bits
- Nail Gun
- Brad nails
- Compound Miter Saw
- Table Saw
- Jigsaw
- Clamps
- Orbital sander
New Lumber
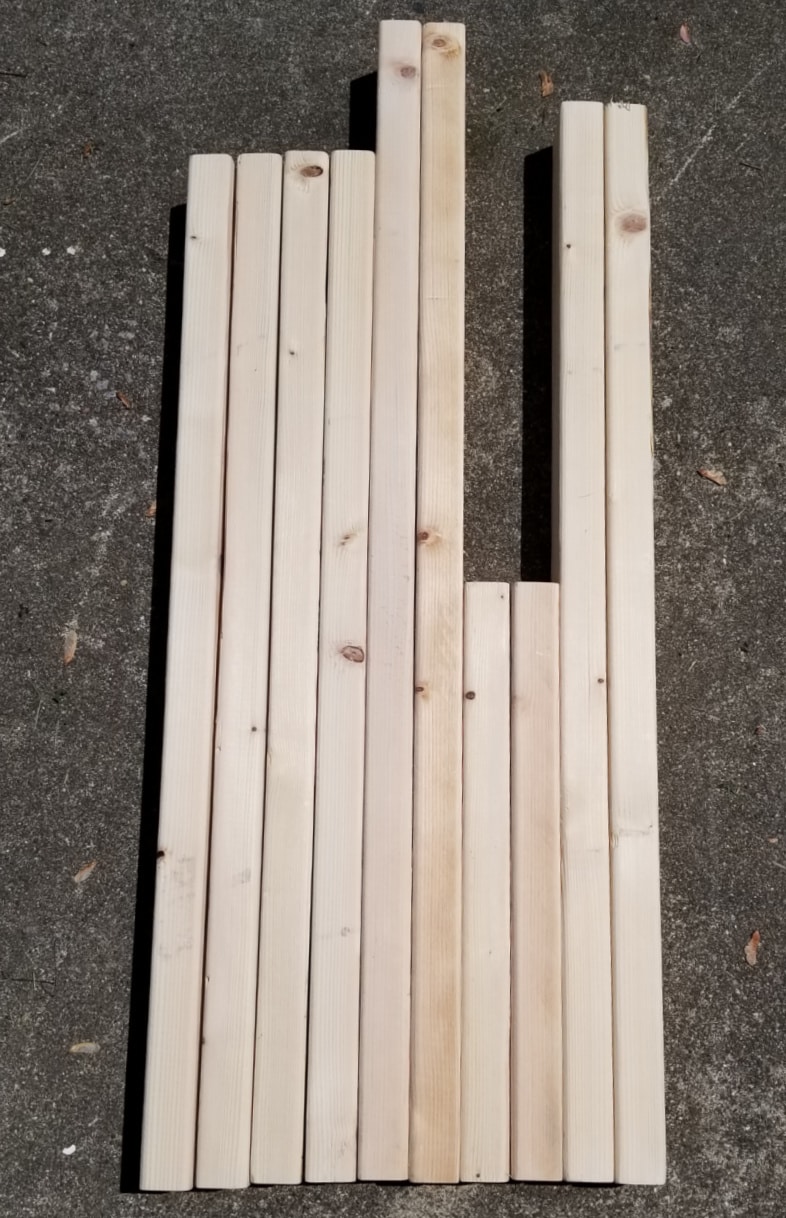
While shopping at Home Depot for 2×4’s I found the cutest boards—2×3’s. I felt like they would make my pallet board table not quite so chunky.
Cut List for Pallet Table
Cut list from left to right
- Four legs 33”
- Two long pieces for the skirt sides 38”
- Too Short pieces for the skirt ends 18”
- Two long pieces for bottom brace 35”
Pallet Boards
Your cut list may vary depending on the size of your table. My pallet boards were varying widths.

The size of my table was dependent on the size of a piece of glass I had for years. I was always looking for a table to fit the glass. I finally figured out that I needed to make a table to fit the glass. To design the table I laid out the glass and worked around it’s size.
Build The Table Skirt
Build the table skirt—which is basically a box. I purposely chose to build this table without a Kreg Jig. Many times y’all ask “what if I don’t have the tools you have?”
Pre-drill Pilot Holes
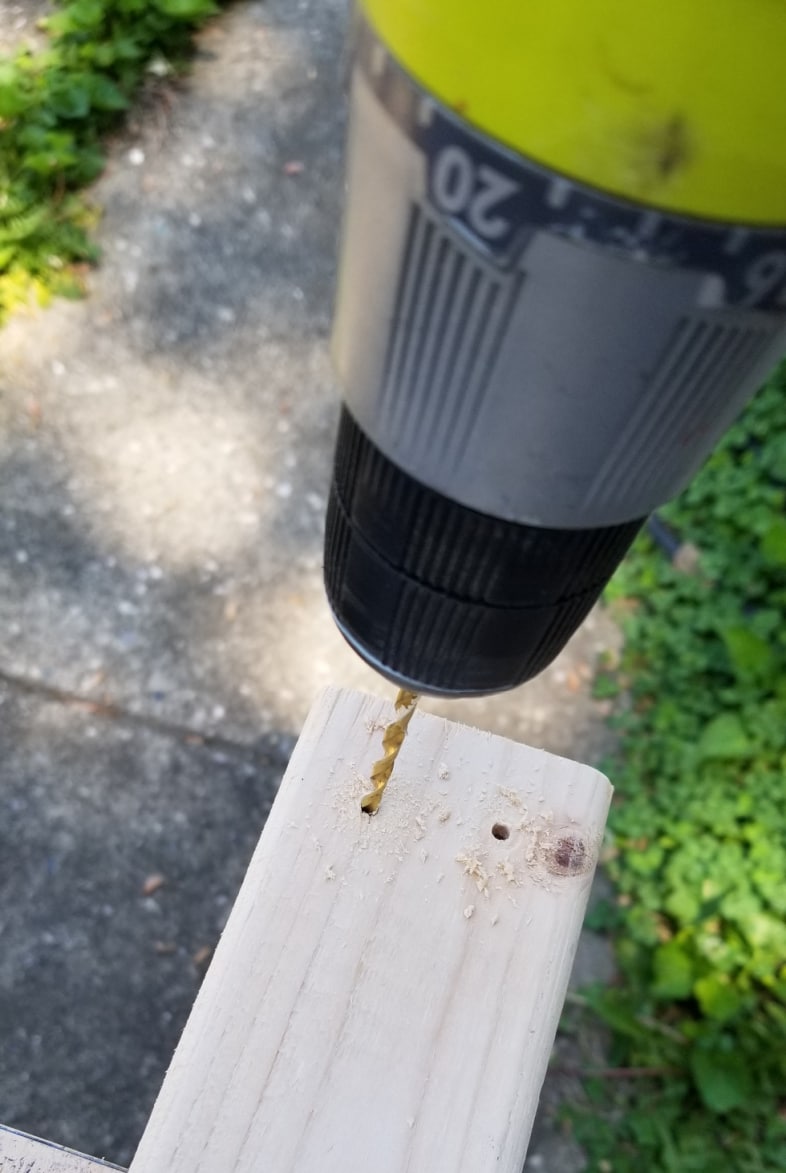
Because the screws will be near the end of the board it’s best to pre-drill pilot holes to keep the boards from splitting.
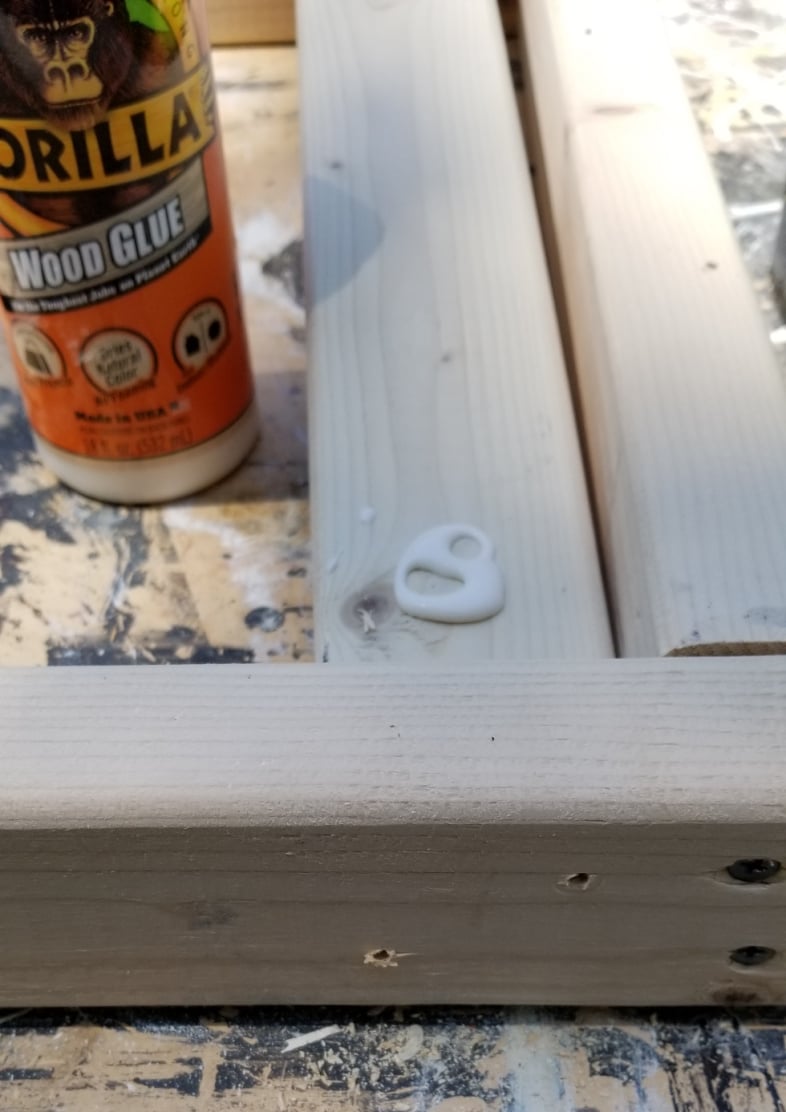
Add Wood Glue
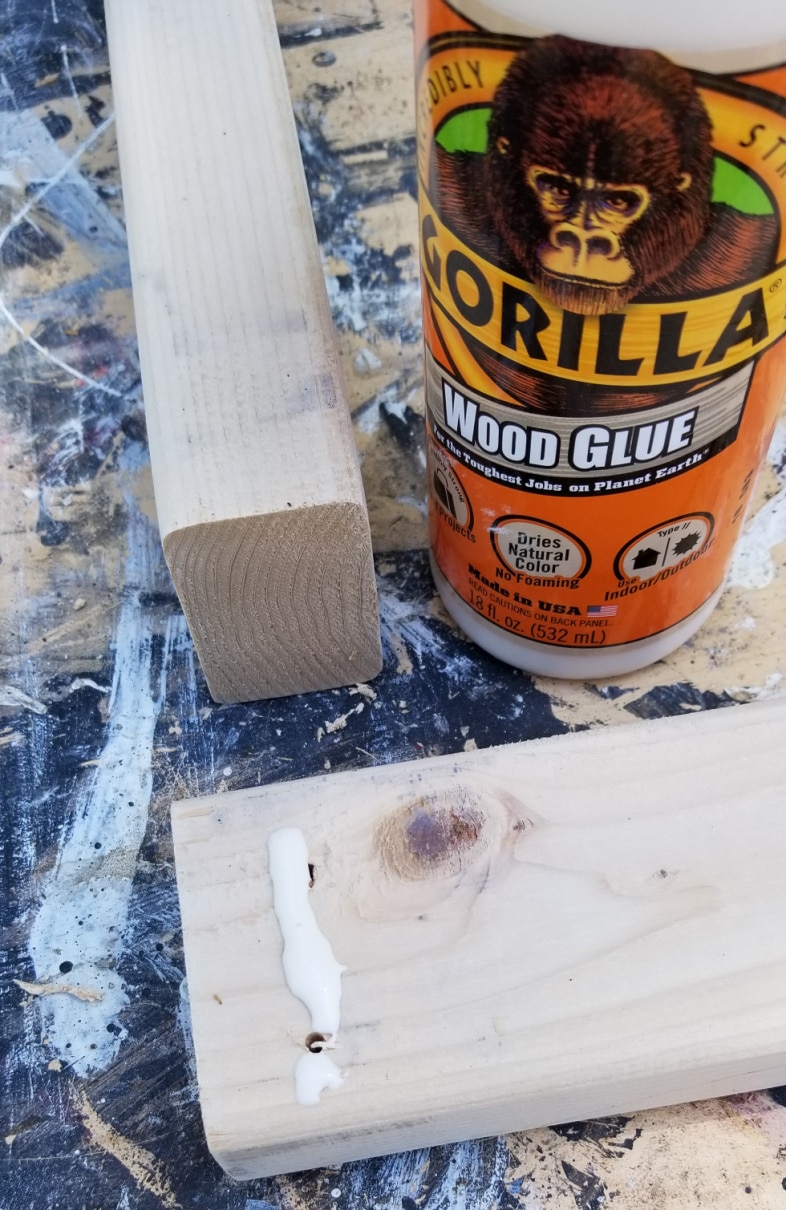
Using wood glue will make this pallet table very strong.
Clamp and Secure Table Skirt With Wood Screws
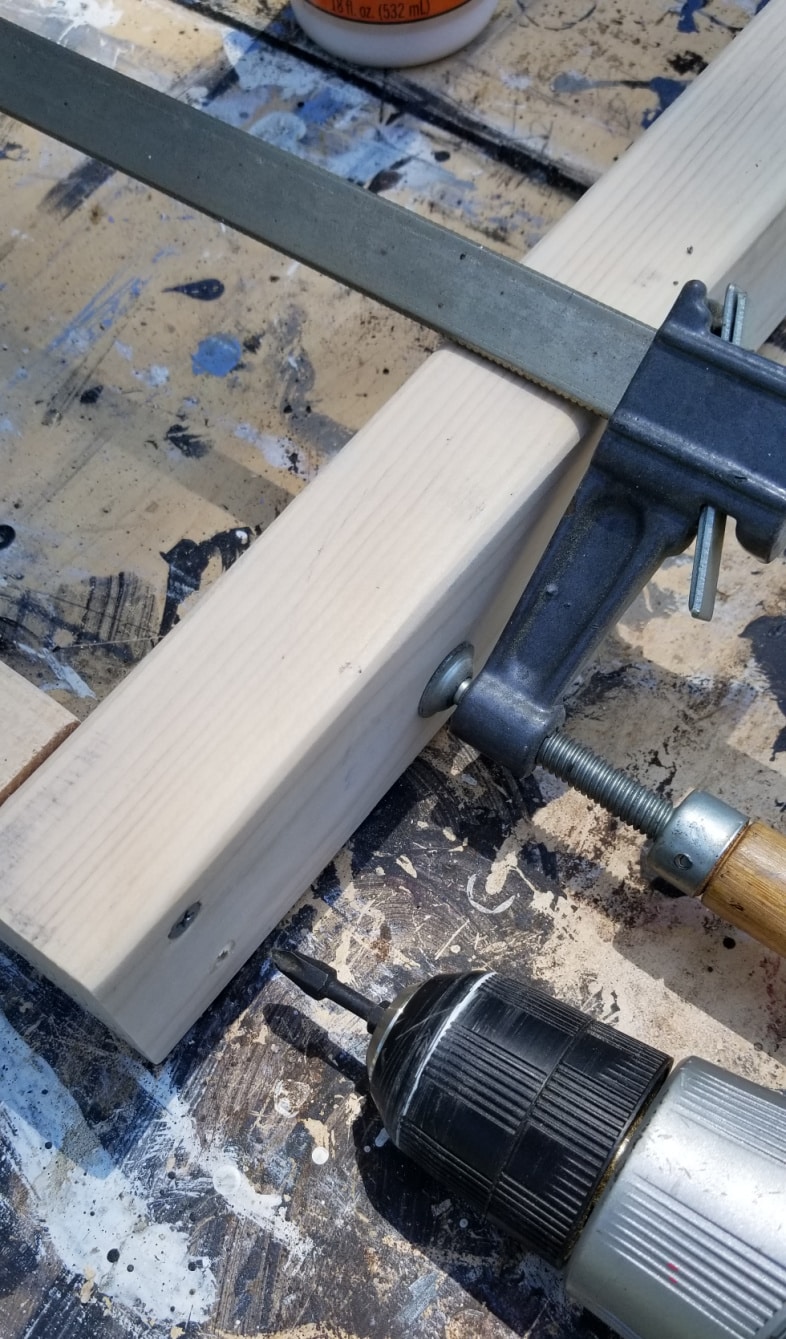
Make sure everything is square, clamp pieces and secure with wood screws. Repeat for all three remaining sides.
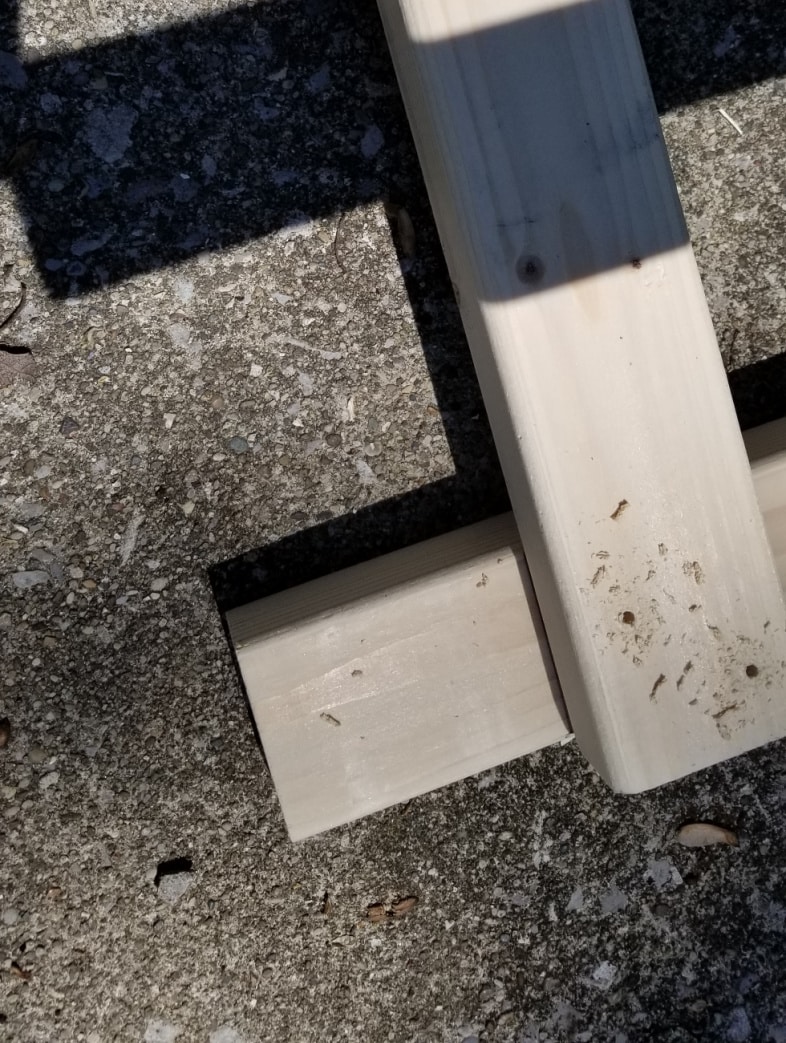
Attach Table Legs
Pre-drill holes to attach table legs. Add wood glue and secure with more 2.5” wood screws.
Attach Bottom Braces
Attach bottom braces. I measured up 3.5” from the bottom of each leg. Again, drilling pilot holes will make sure boards don’t split.
Competed Table Base
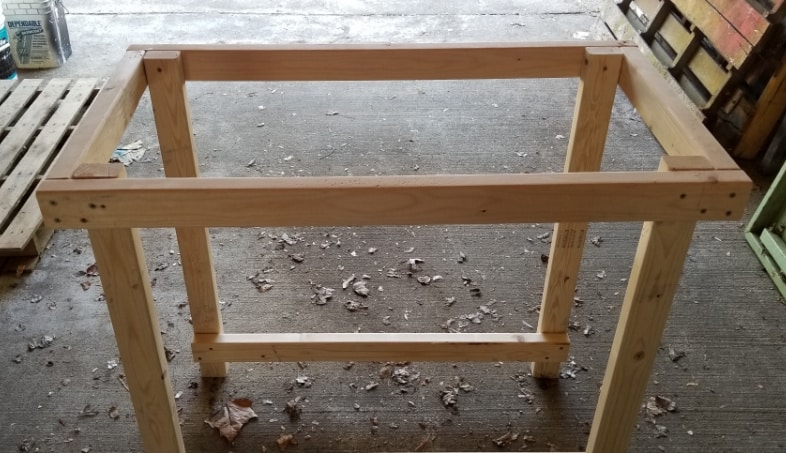
This was the end of day number one. The table base was completed. Notice that two screws were added from the outside in for each leg. In addition one more screw was used to secure the table leg from the inside out.
Cut Pallet Boards on Miter Saw
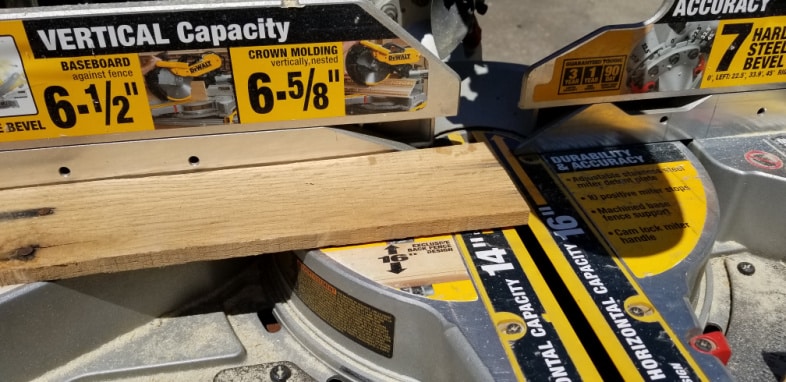
Trim pallet boards on miter saw. Use extreme caution if nails are still present. Always wear safety equipment when using power tools.
Arrange Pallet Boards Onto Table Top
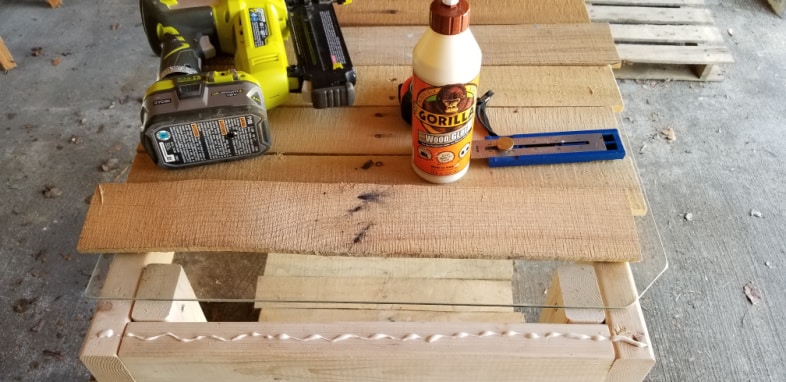
Because the board on each end of the pallet table will have a great deal of overhang, I used Gorilla Wood Glue to give a lasting hold. I used the Kreg Multi-Mark tool to insure all the boards were even. All boards were secured with my Airstrike Nail Gun. In order to make the pallet boards fit under the glass perfectly I had to rip some of them on the table saw.
Attach Pallet Boards to Lower Shelf
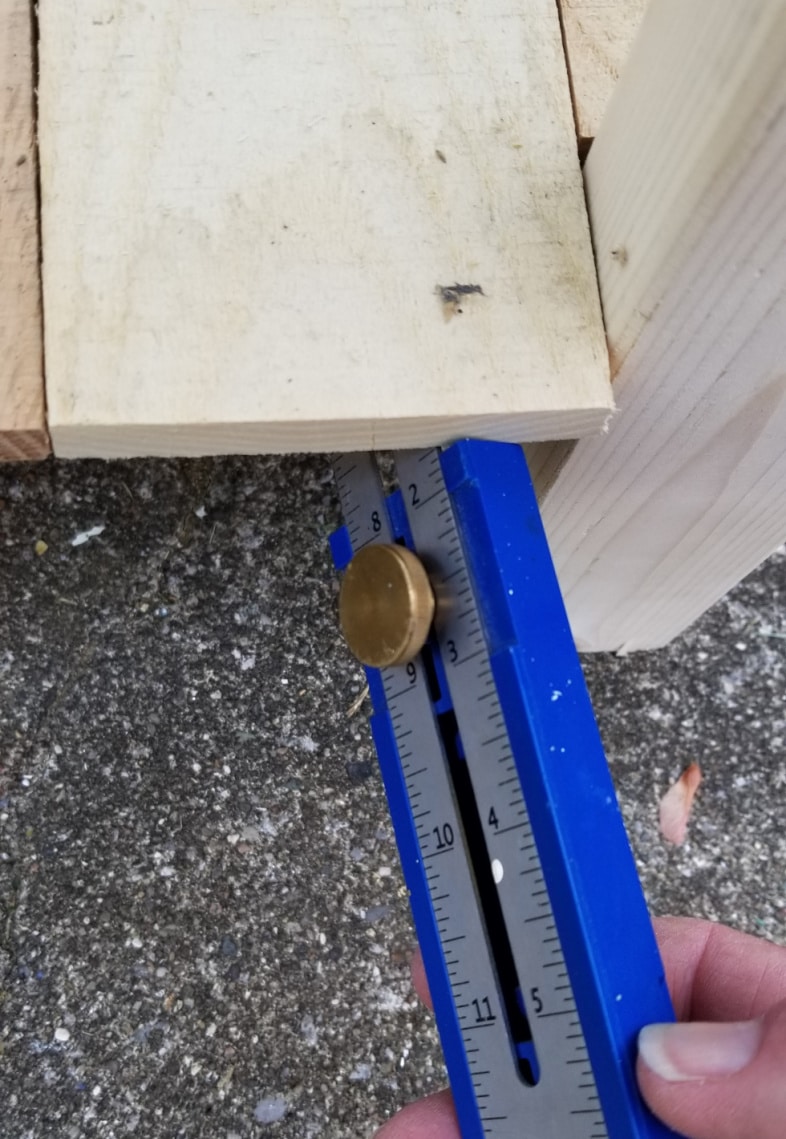
The multi-mark tool is convenient for ensuring all the boards are even from front to back. All boards were secured with the nail gun.
Mark and Cut Angle for Glass Table Top
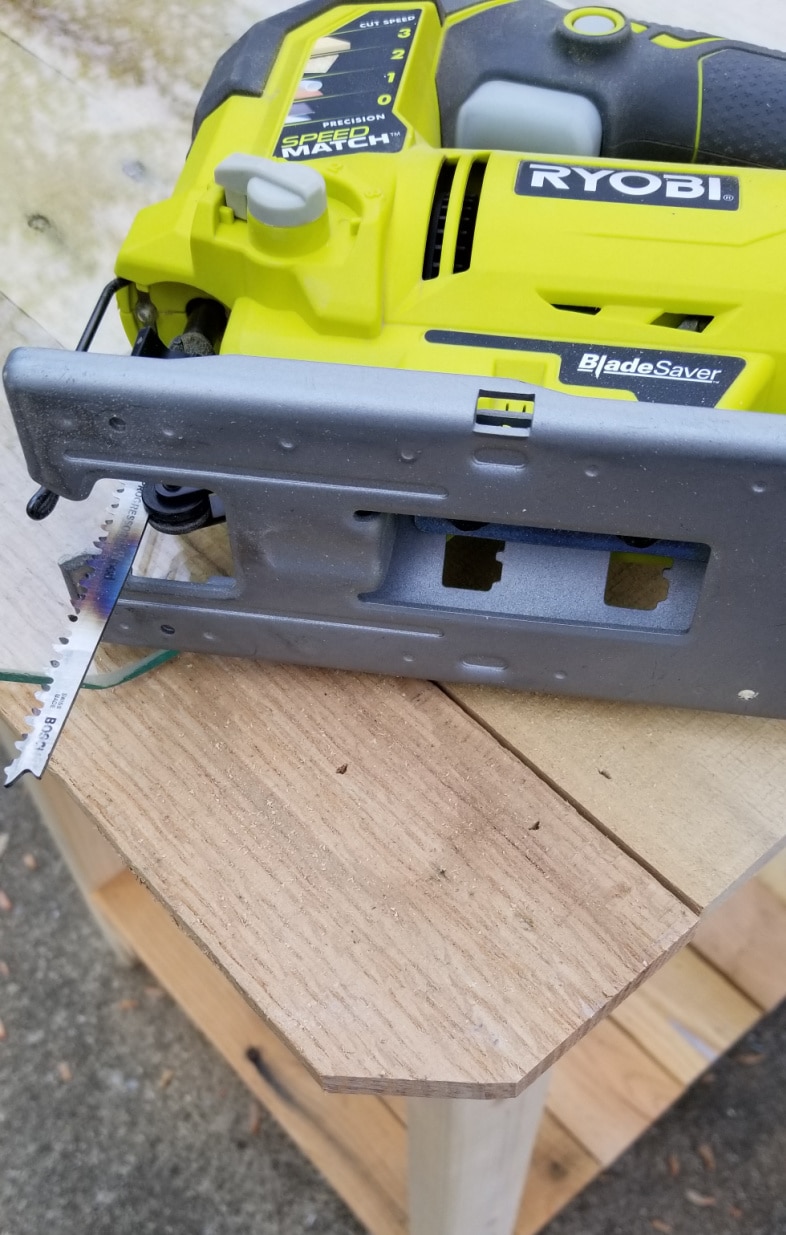
This job of cutting the angle was quick and easy with my cordless jigsaw.
Time to Paint
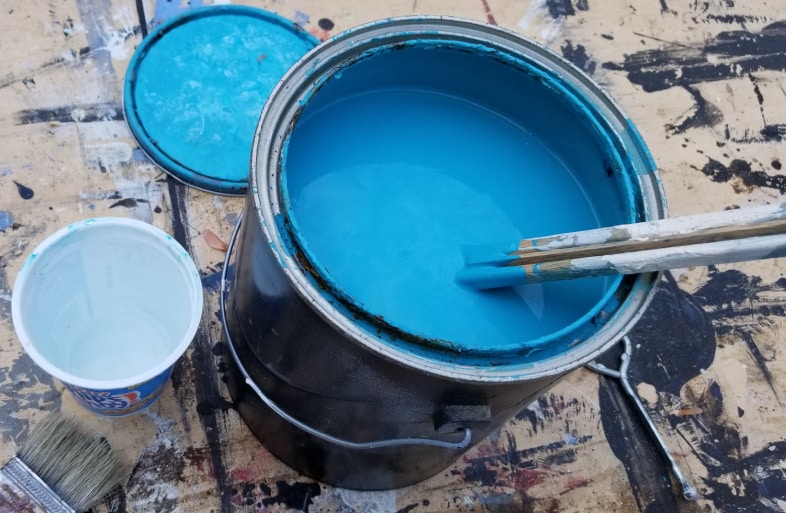
I used a pretty aqua paint for this table, watering it down a little to make it apply quick and easy. I used a favorite chip brush to apply the paint.
Paint the Underside of the Table
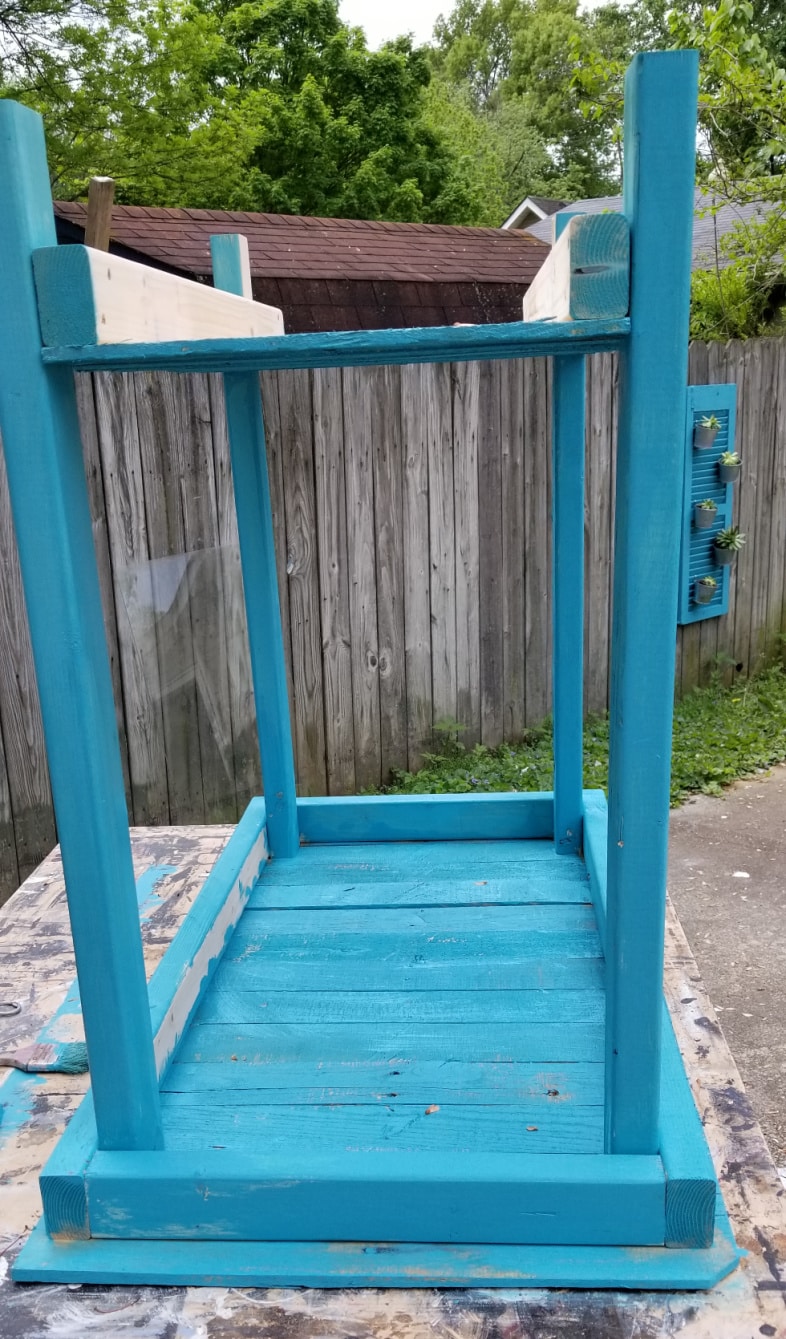
It takes a LOT more time, but I generally try to paint the underside of all of my projects. When someone picks up a piece (like this table) to put it in their vehicle I want it to have a finished look. At this point I had already painted the table top, then flipped it upside down.
Sand/Distress Paint
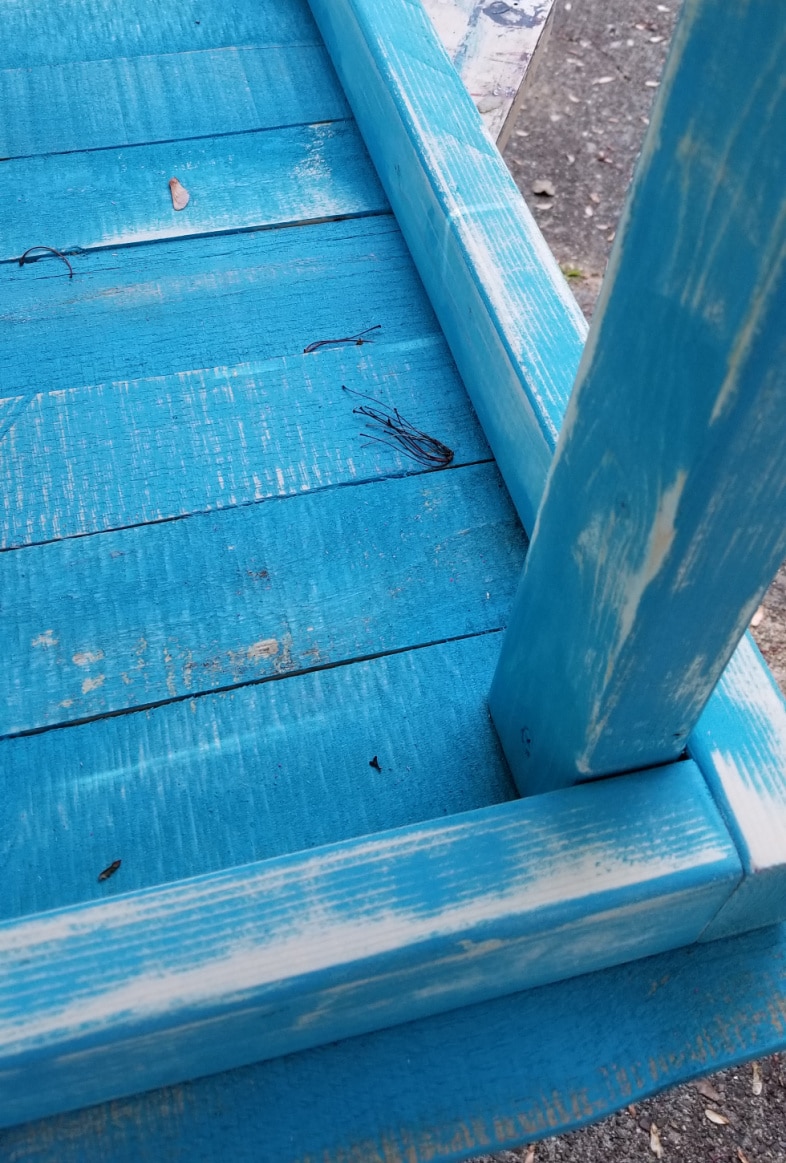
Using an orbital sander with 60 grit sandpaper, I gave the entire table some distressing. I used a scrap piece of wood to test coverage and realized that I liked the “less” paint look. I chose to not sand the pallet boards prior to painting because I wanted the paint to “settle” in the voids.
Project ideas and a video of “how to glaze painted furniture and more”
Glaze Table to Tone Down Bright Paint
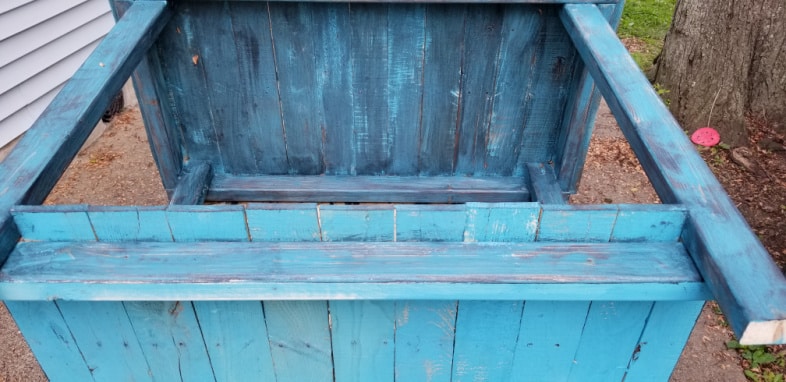
I took this in progress shot to show you how much the Smoked Glaze tones down the color of the pallet table.
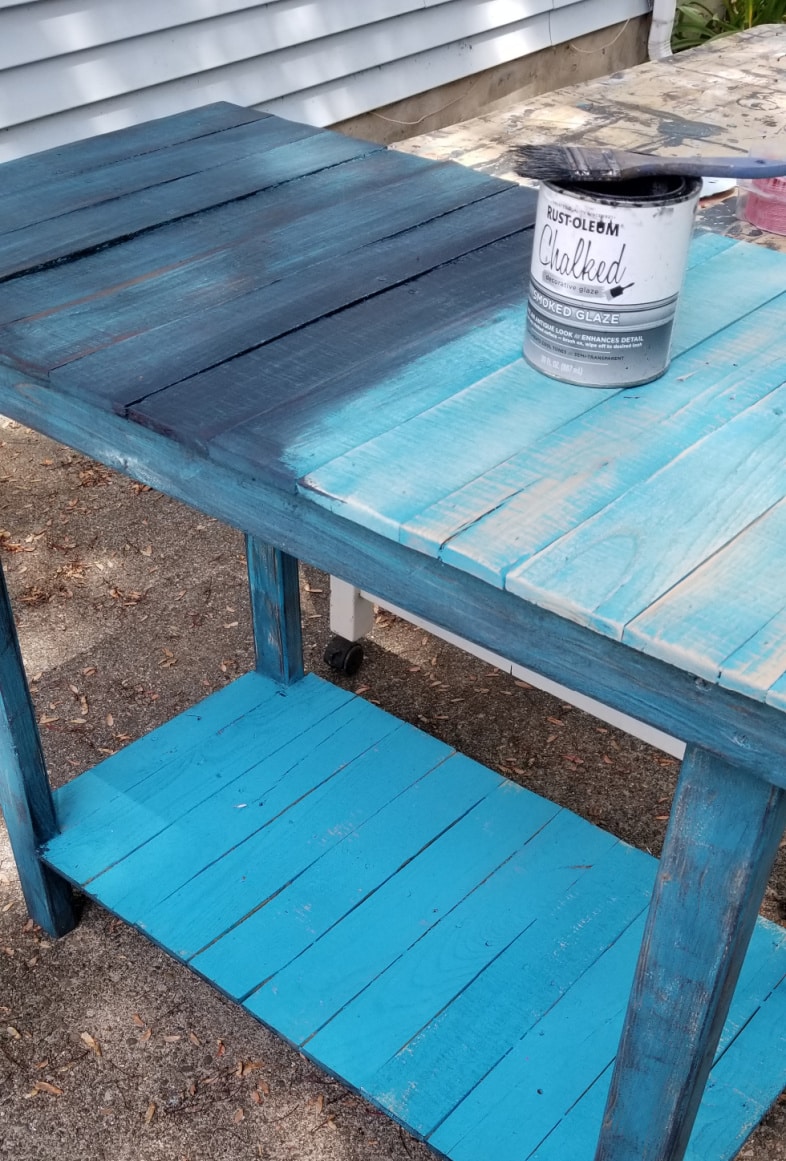
I put the Smoked Glaze on with a heavy hand on the table top and really loved the look. After finishing the table, I did a second coat on all of the other parts again.
Watch my video on How To Glaze Painted Furniture
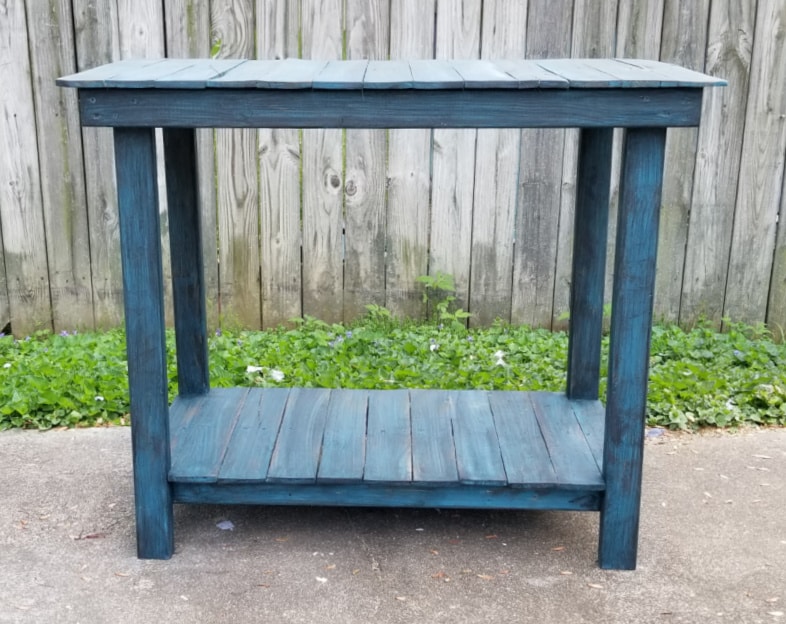
As I was taking pictures (before painting) I noticed the vertical planter in the background—I think that’s why I grabbled this paint. This picture is a good shot of how different the paint is with and without the glaze.
How to Easily Clean Glass
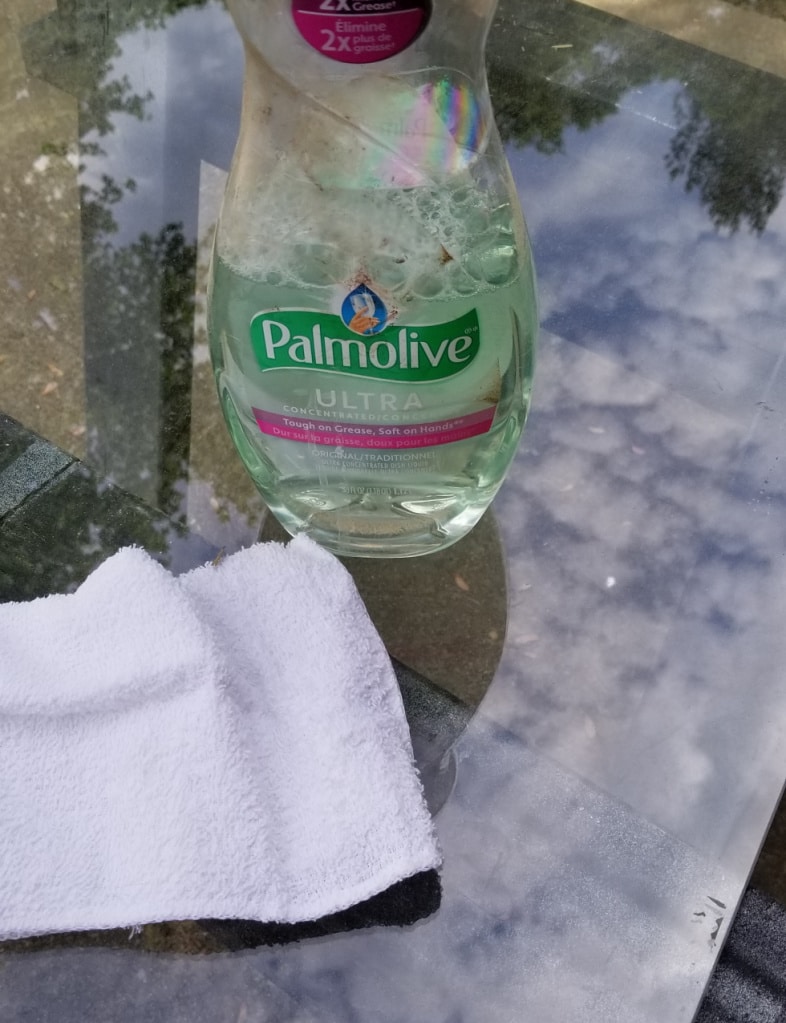
The glass had been stored in the garage for years. It was quite dirty. Here’s my secret in the shop and for cleaning glass. Because I don’t have water readily available I use diluted dish soap for washing up my hands and soaking paint brushes. My favorite way to clean glass indoors is with a drop of dish soap in a small bucket. In order to clean this very dirty glass I grabbed that bottle of diluted dish soap and a rag.
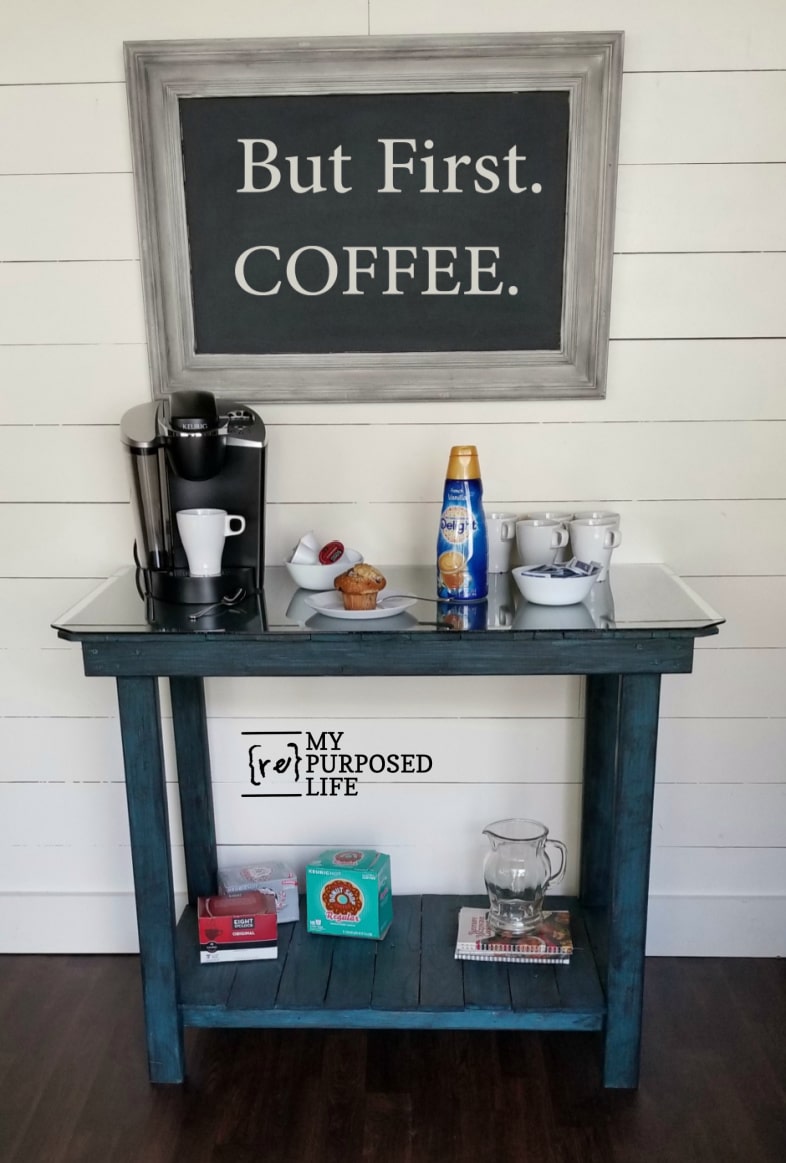
It worked really well to clean it, however it was a little too heavy on the soap. After cleaning the glass I got a wet and dry paper towel from the house to “shine” up the glass. I am in love with how this table/coffee bar has come together. The color is much prettier than it appears in pictures.
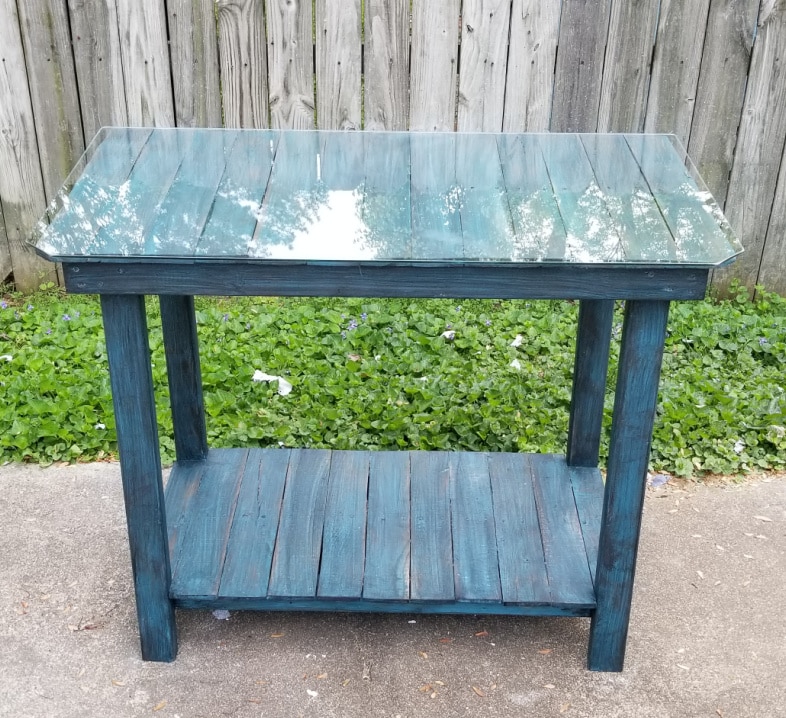
Glass Top Pallet Table Coffee Bar
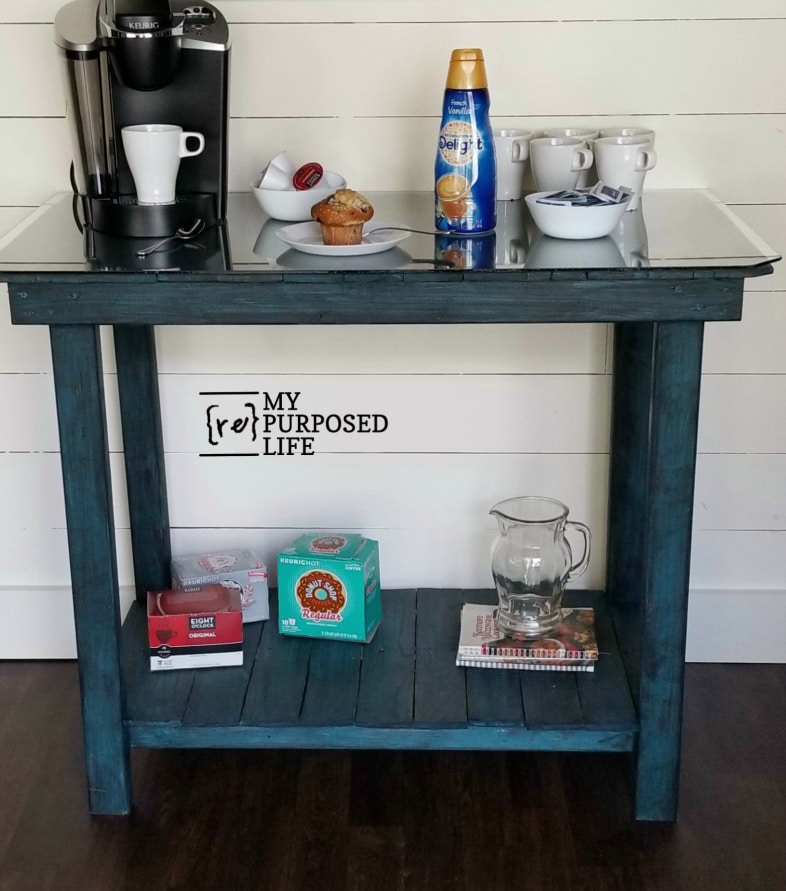
Do you love it as much as I do?
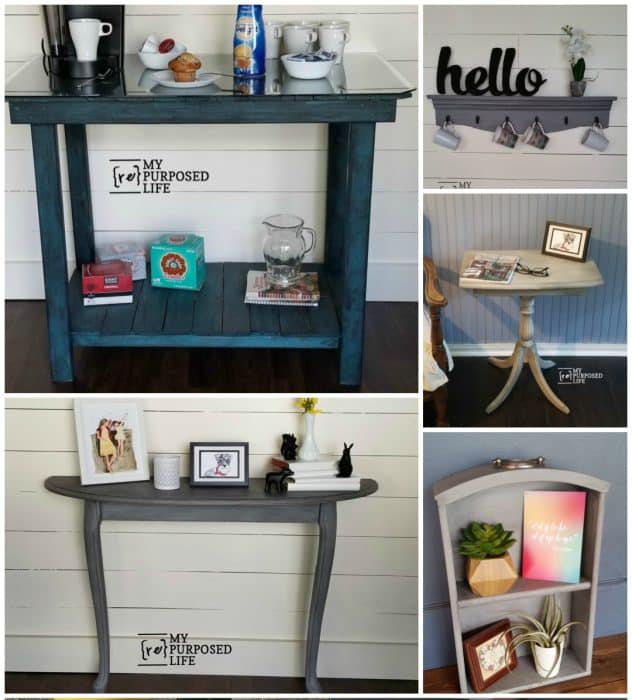
If you love it too, won’t you pin it before you hop over to check out Wendi’s awesome coastal Whale Coat Rack. She has some really great tips for making cut out artwork.
What have you made out of pallets or pallet wood?
If you love it too, won’t you pin it before you hop over to check out Wendi’s awesome coastal Whale Coat Rack. She has some really great tips for making cut out artwork.
Related Content:
Build Your Own Portable Pallet Bar
Diane,
I’ve used just about every kind of paint you could think of. I prefer making my own version of chalk paint. I make it out of the same color of paint I’ll be using for the project, so it works great as a primer. If I’m painting something red, using the diy chalky paint primer makes the topcoat take so much better. It’s usually a semi-gloss so there’s no need for sealing or waxing. It cuts the time in half for me. You can see my recipe and more details here: https://www.myrepurposedlife.com/diy-chalky-paint-recipe-makes-a-great-primer/
As far as brands go, I’m most loyal to Heirloom Traditions, founded right here in Louisville KY.
gail