Pallet Love seat Bench
As an Amazon Associate, I earn from qualifying purchases.
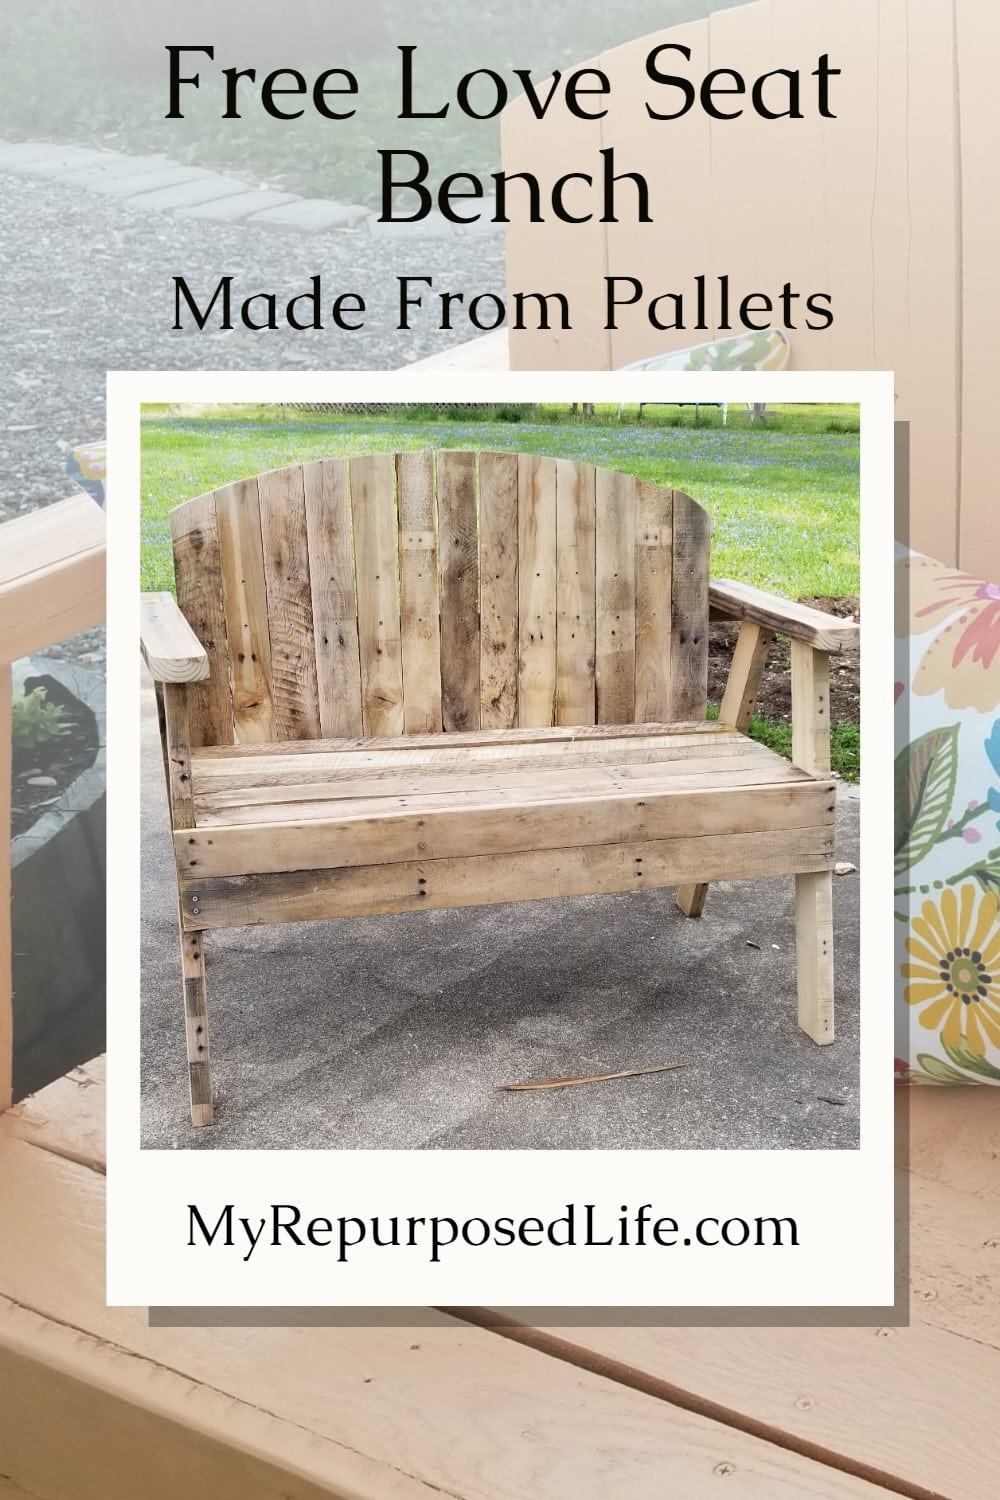
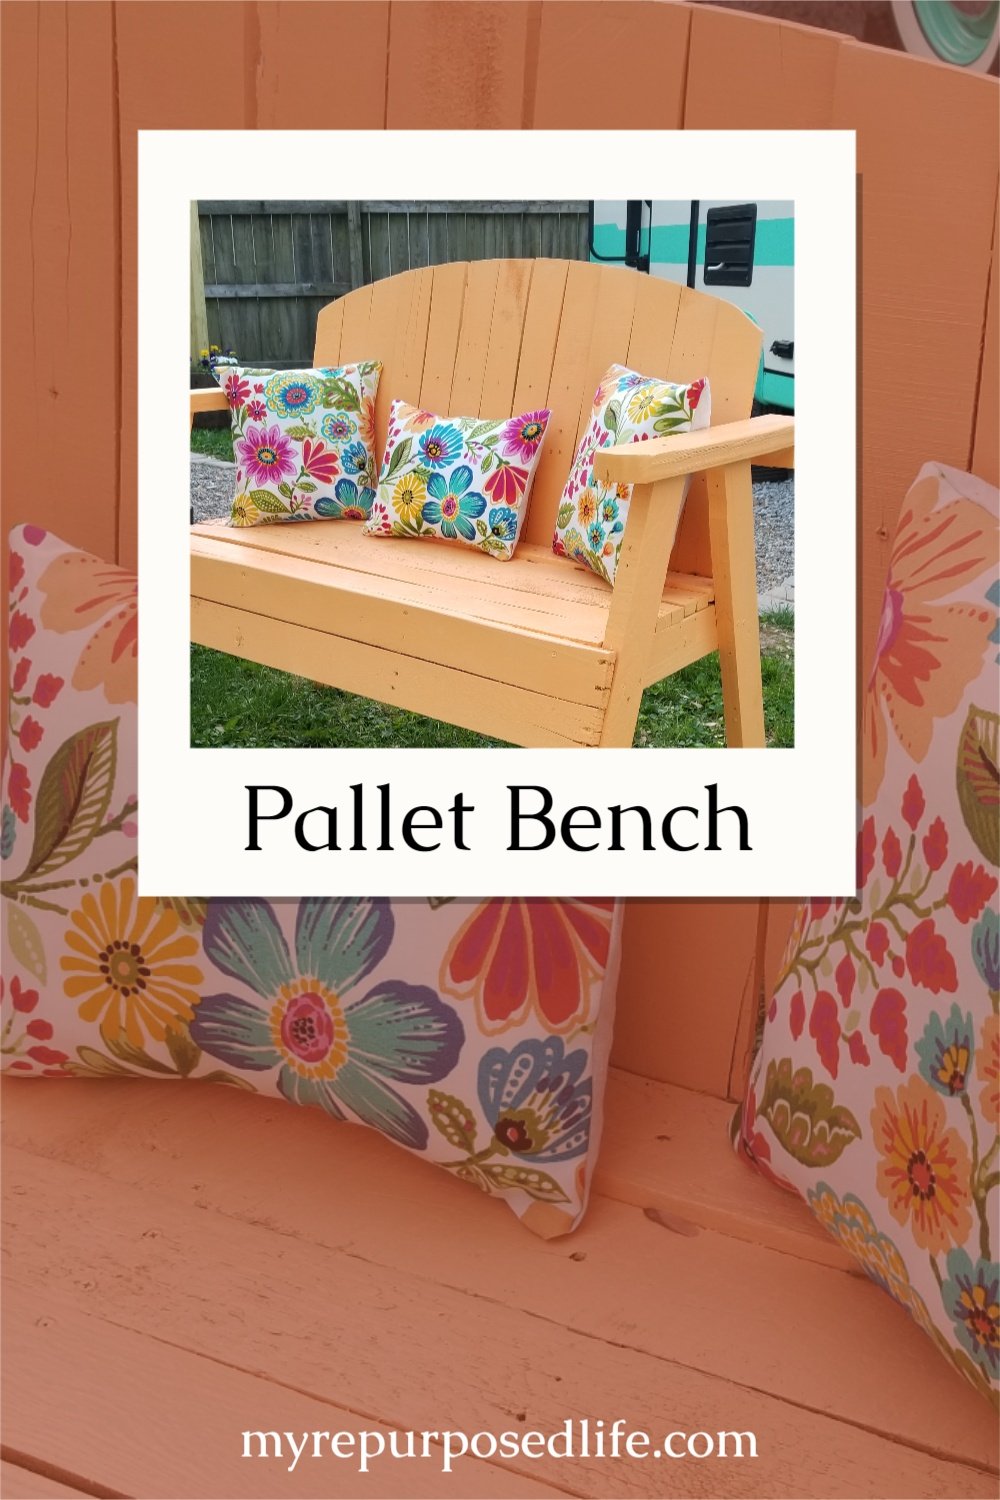
Looking for a budget-friendly way to add extra seating to your outdoor space? This DIY pallet loveseat bench is the perfect weekend project! Made with one pallet and a few 2x4s, it’s a great way to repurpose what you already have while creating a cozy relaxing spot. Whether you’re sprucing up a patio, garden, or campsite, this charming bench brings comfort and rustic style together—without spending a fortune.
I’m so excited about today’s pallet loveseat bench! It’s unlike any bench I’ve ever built. I was featured in a Special Issue of Country Sampler Magazine. They sent me a complimentary copy, and as I was perusing through it, I found the perfect bench for my new backyard Camper Retreat. More about my feature later. . .
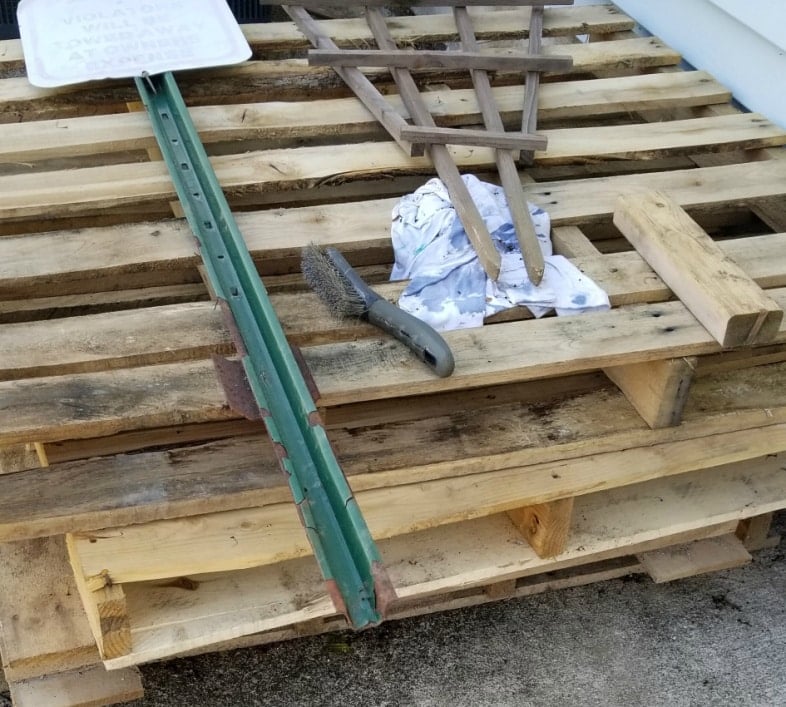
While doing the backyard outdoor overhaul, I received several deliveries via pallets. One of those deliveries was on a concrete pallet. These kinds of pallets are generally much sturdier and often require a deposit and are supposed to be returned. Lucky for me, that pallet was on the top of this pile!
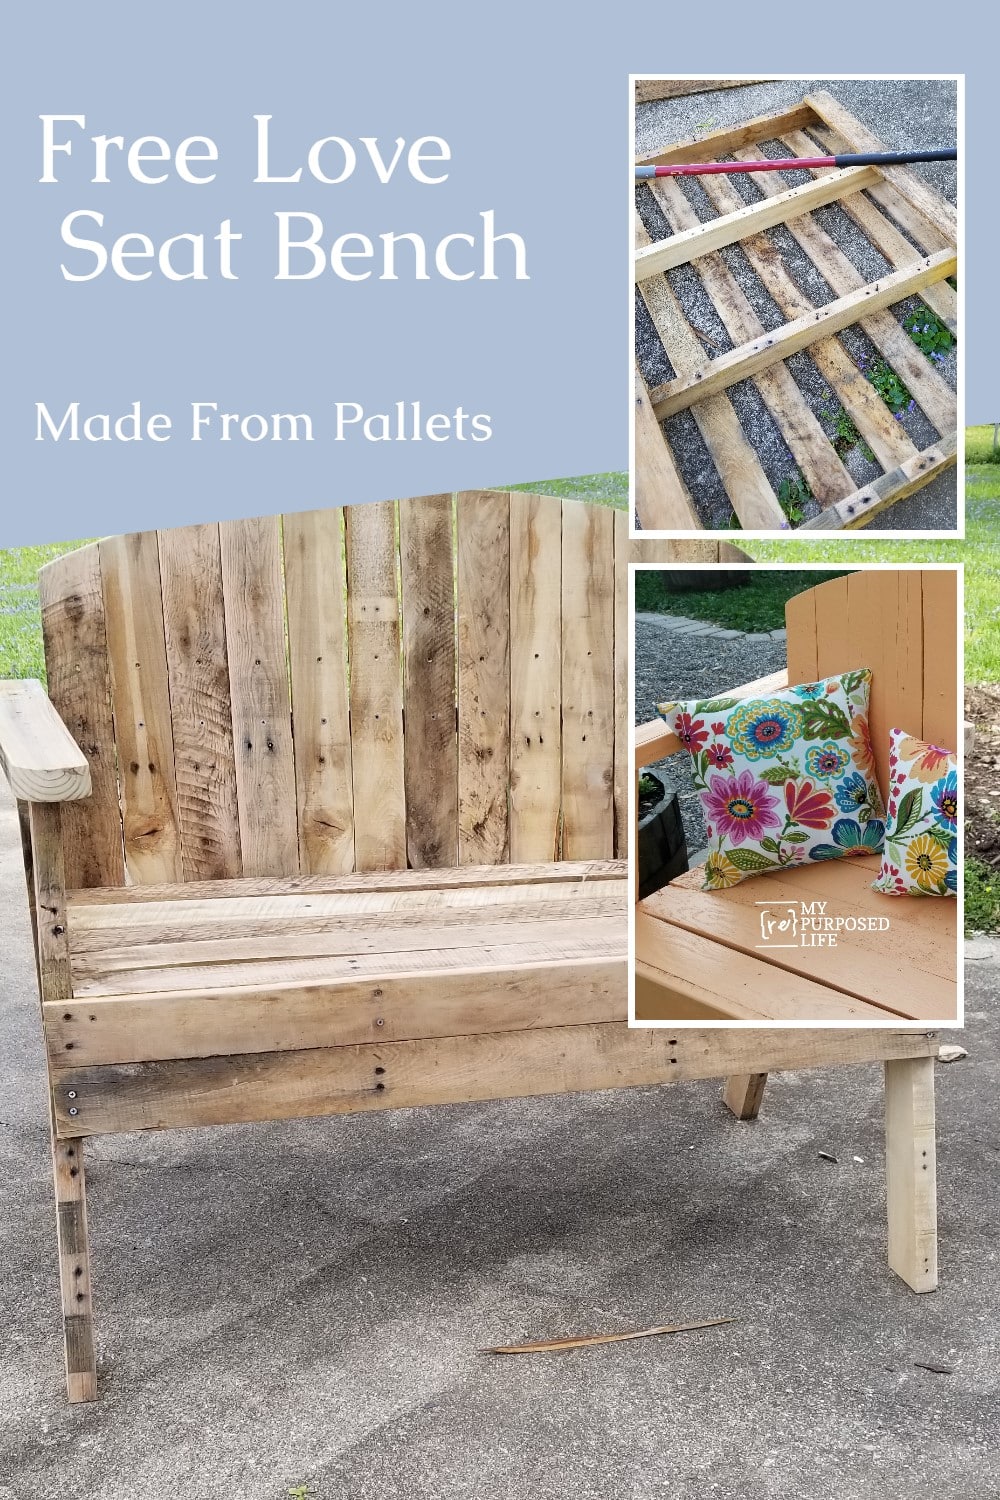
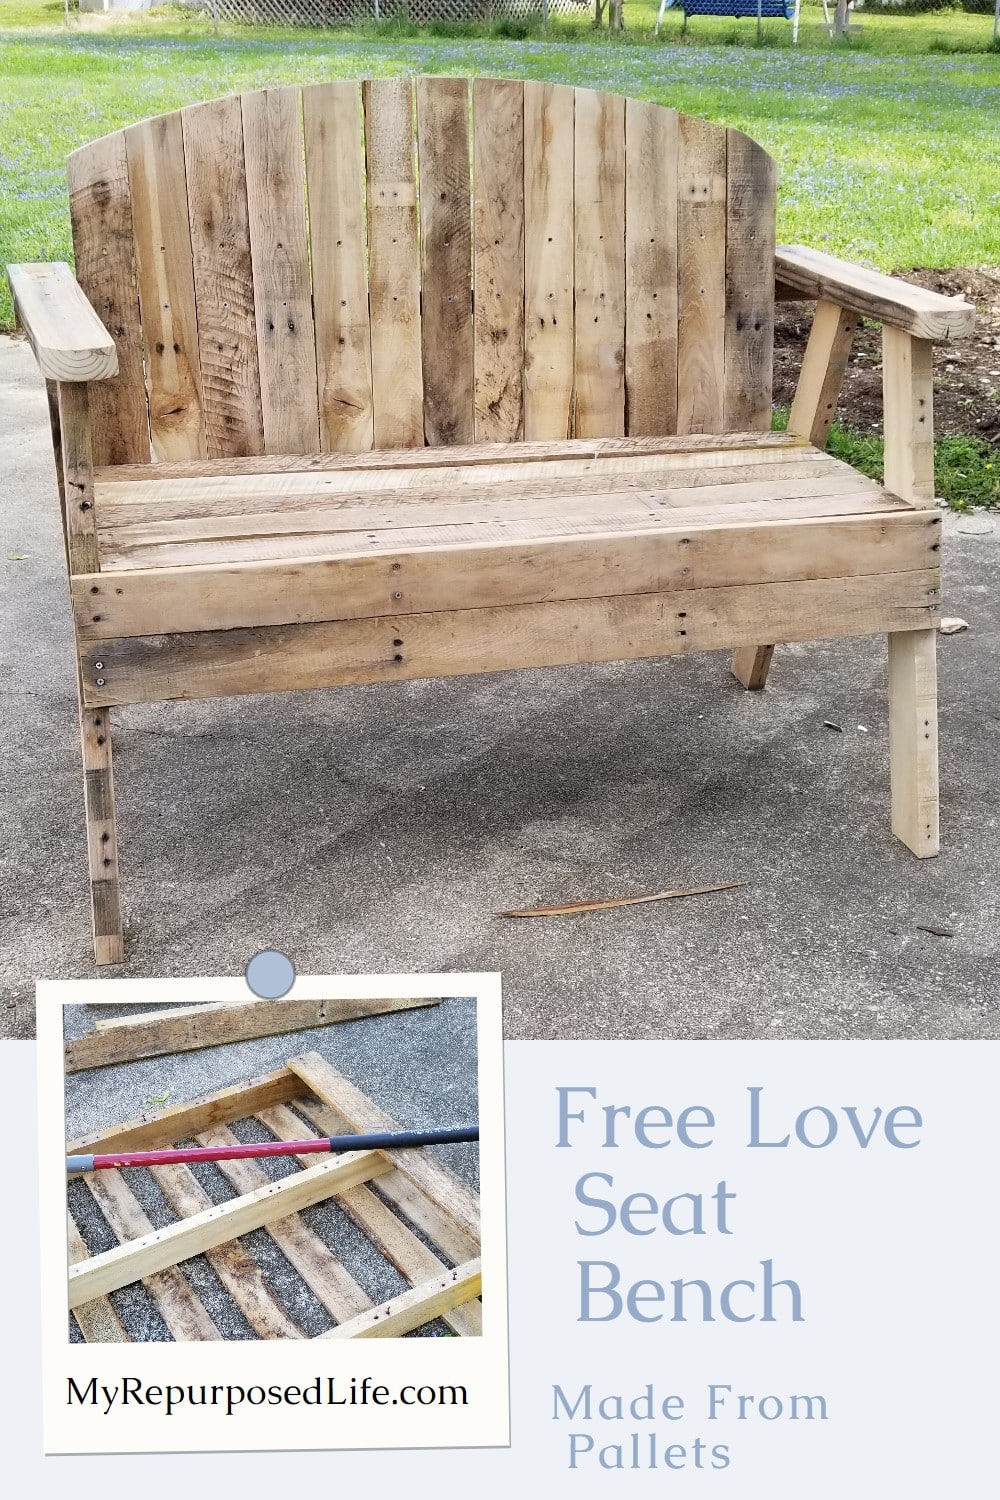
Dismantle a Pallet With a Duckbill Deck Wrecker

Of course, I used my favorite Duckbill Deck Wrecker to take apart the pallet. Even though this was a strong pallet, this tool made easy work of the demolition. See my post Pallet Projects plus Tips for Dismantling Pallets, for more details.
It took me only 10 minutes to completely dismantle the pallet. How do I know? I checked the timestamps of the photos above.
Related Content: Scrap Wood 2×4 Bench
Remove Nails From Pallet Boards
After dismantling the pallet, I tapped and pulled the nails out of each board. The post mentioned above details this process.
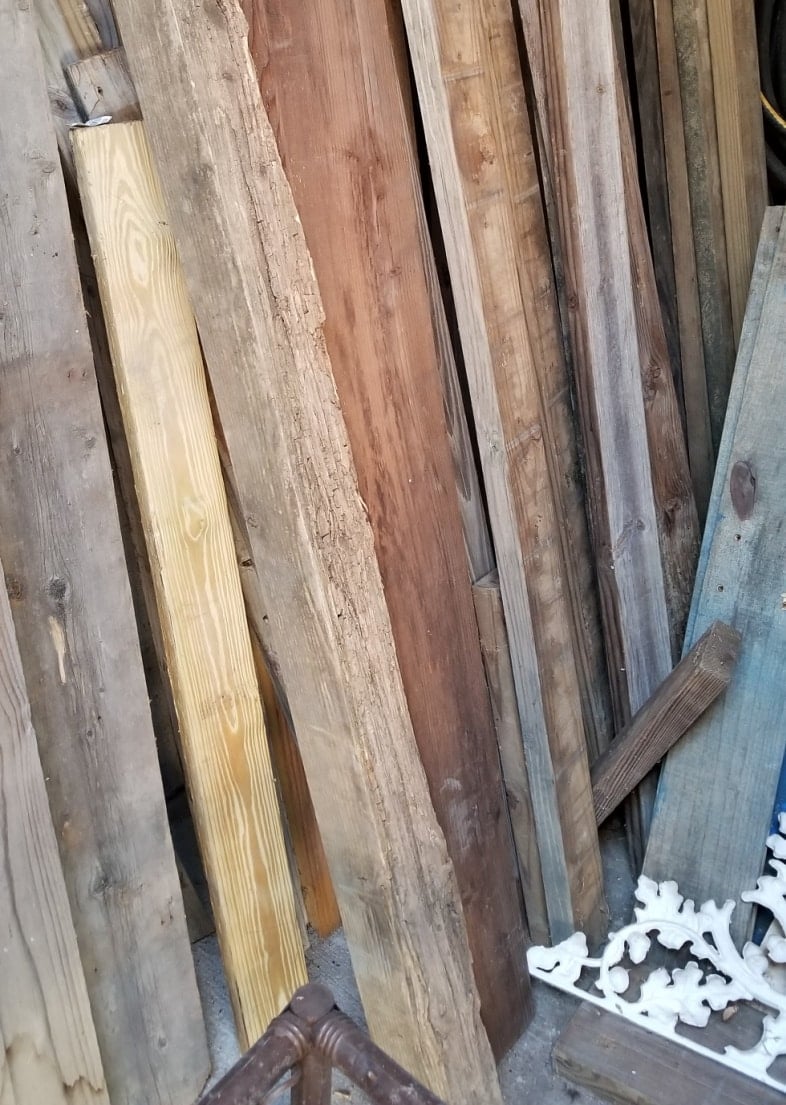
I really, really wanted this to be a “one pallet project.” But as I was designing it, I knew that I would need more lumber. I went to the wood shed and chose a couple of nice, weathered 2×4 boards to supplement the supply of wood for the pallet loveseat bench.

Before we start, here’s the image from the magazine that inspired me to make this pallet loveseat. It didn’t really give me much to go on, so I had to start from scratch.
How to: Pallet Loveseat Bench
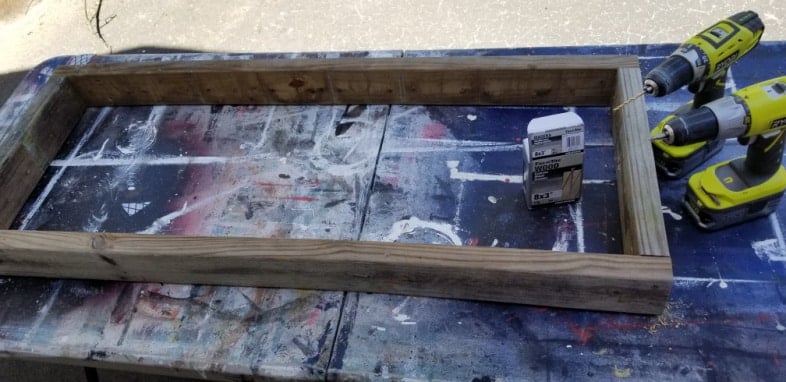
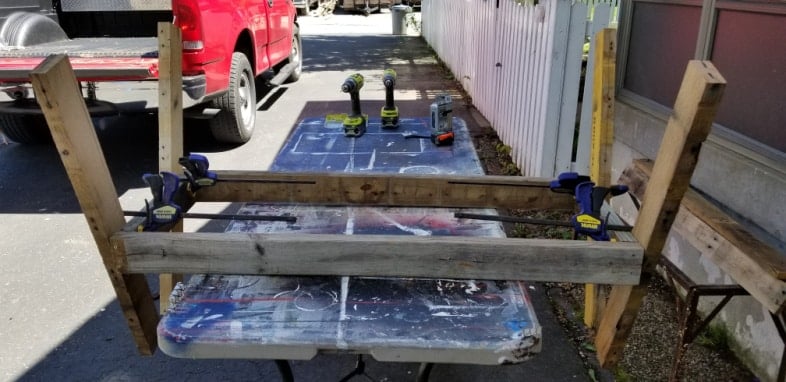
I love it when a simple project begins with a box frame. It seriously doesn’t get any easier than this. Using two drills, one for a drill bit and one for a screw bit, makes this job quick and easy. I pre-drilled pilot holes and secured the box that will become the seat of the pallet loveseat with 3” wood screws.
The Design Stage of a Pallet Love Seat Bench
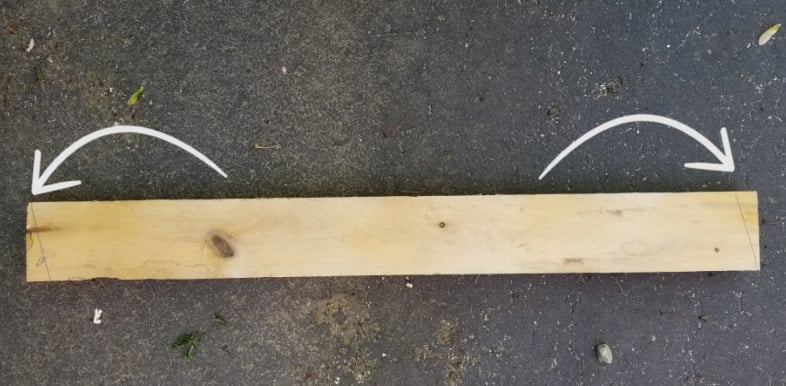
Because I only had one image to pull from, I sort of had to make this up as I went along. Usually, my benches are about 19” off the ground. I guessed about the height of the armrests and cut my pallet 2x4s accordingly. The boards are on a slight slant, so my job was to figure out the angle at which to cut the top and bottom of each leg. I used quick clamps to hold the legs temporarily.
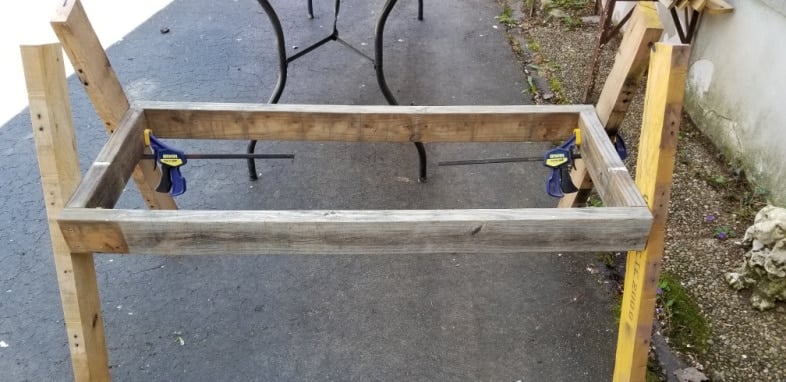
The base of the pallet loveseat was set on the ground for further inspection.
How Do I Know What Angle to Cut?
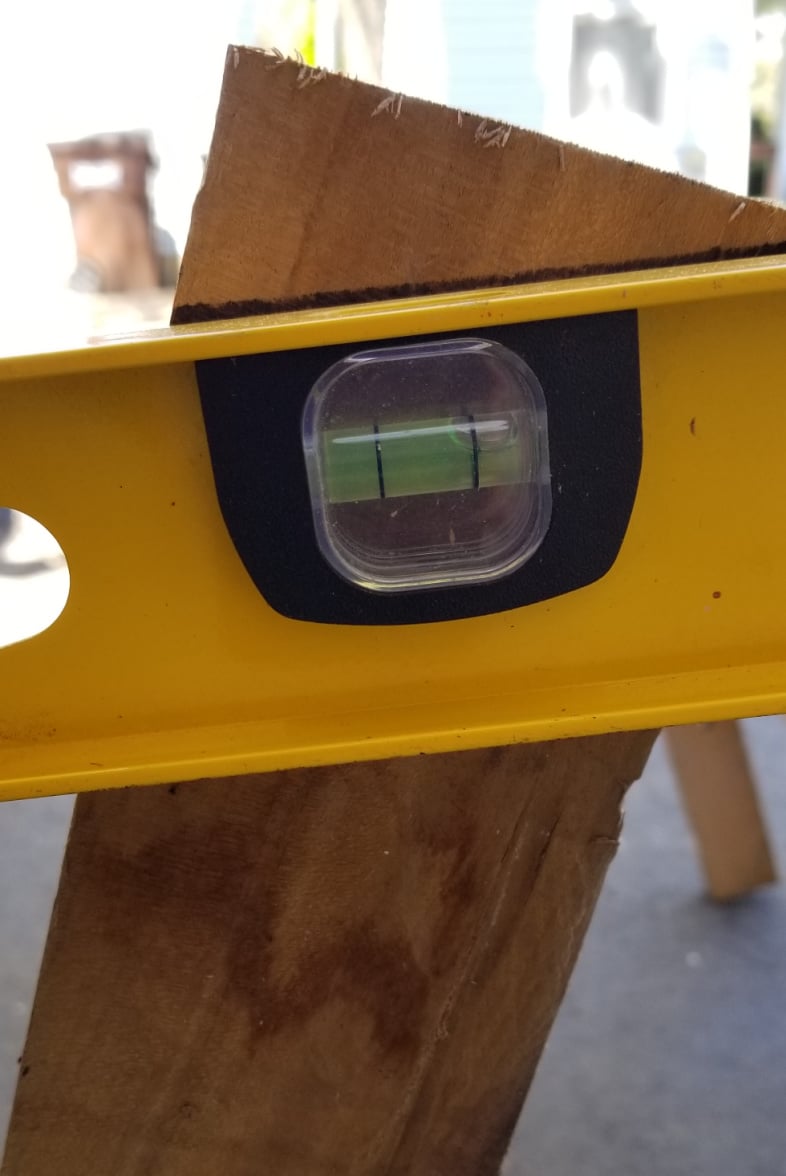
In my defense, I realize the bubble is not centered; therefore, it’s not level. But this method ended up working perfectly. If I had a couple of extra hands, it would have gone smoother and quicker. The key is ensuring the ground you’re working on is level. Mine is not. I had to make adjustments to the bubble to make up for that. It really is an easy way to find the angle, which in this case was 15°. That is on both ends of each 2×4.
Note: the angles on each end are opposite! I cut one board, tested it, and then used it to mark the other three.
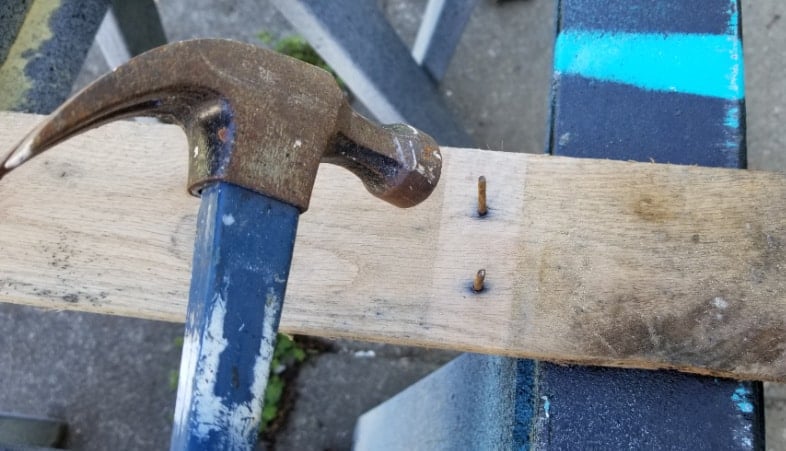
How to Remove a Stubborn Nail in a Pallet Board
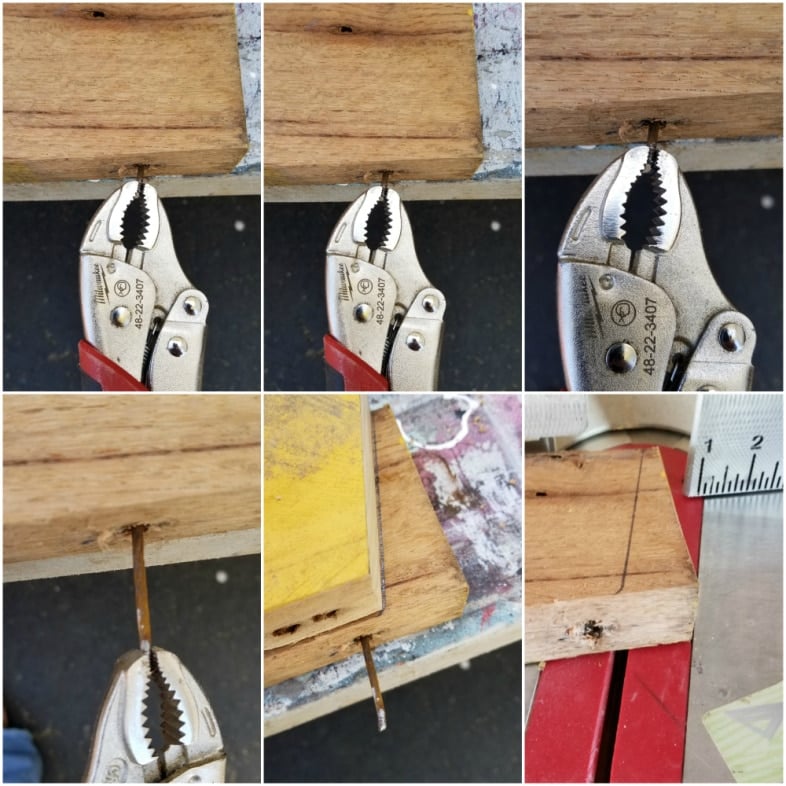
Pallet board nails can be very stubborn and difficult to remove from the 2×4’s. Some of the nails I had hammered in and left them. However, this nail had to be removed because it was near my cut line. There was no avoiding it. Vice grips are a valuable tool for women who DIY and may lack the strength to manage these stubborn nails.
I locked the vice grips onto the nail and proceeded to unscrew it. Have you ever noticed that pallet nails look more like screws than nails? They are shot in with a twisted motion. Righty Tightly Lefty Lucy. You can see the progression of the nail as I continued to turn it. In the last image notice how close the hole is to the cut line. There’s no way to know if that nail shot in straight. Better safe than sorry!
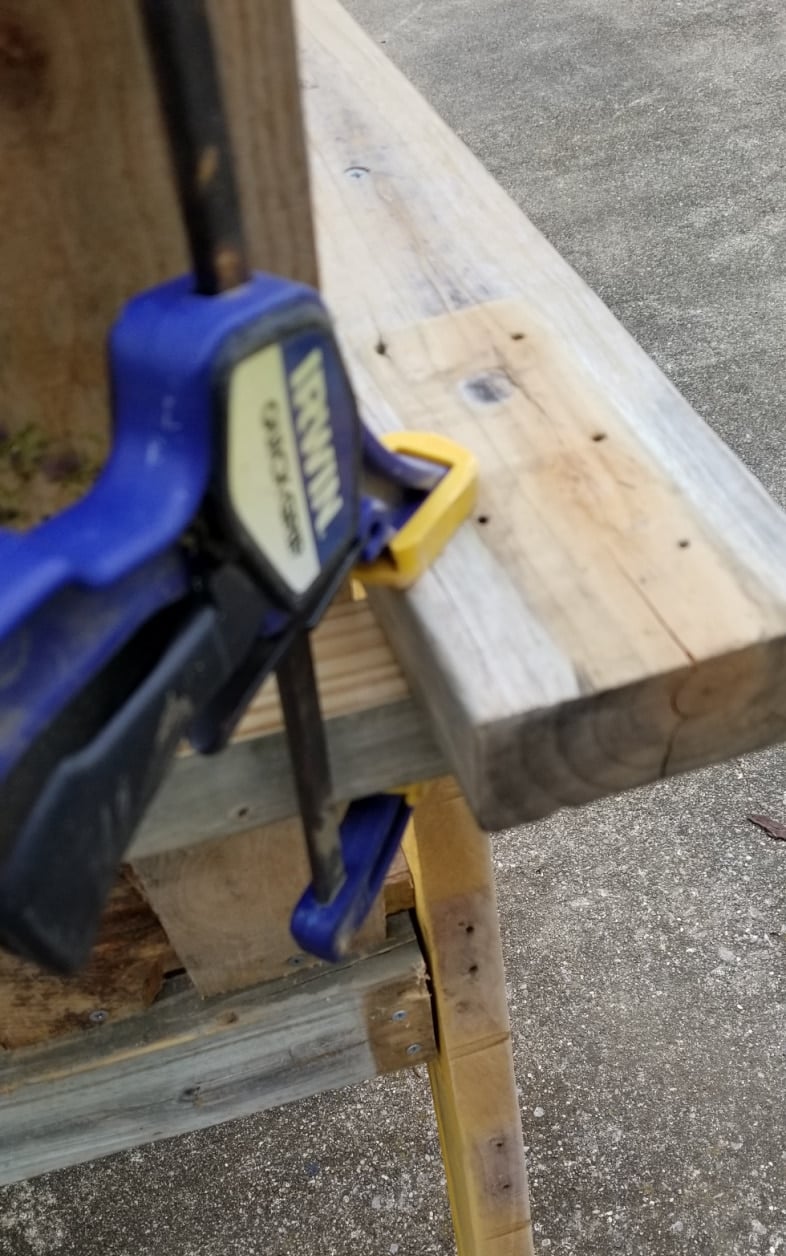
Clamp Your Pieces to Get Them Right
Can you see it all coming together? I moved to my regular bench-building spot on the driveway, which tends to be the most level. At this point, nothing is attached to the box seat yet. I need to ensure the seat is level and that all four legs are properly positioned to accept the armrests.
Pallet Love Seat Bench: Secure Legs, Add Support Brace

All four legs are now secured, and a middle brace has been added to give the pallet love seat boards extra support.
Dry Fit All Boards

This concrete pallet had thick boards on one side and thinner boards on the other. That worked perfectly, allowing me to use the sturdy boards for the seat and the thinner boards for the back of the pallet loveseat bench.
The seat boards were cut to size, and the back boards were cut in half.
Ripped 2×4 as a Back Support Brace

I ripped a 2×4 on the table saw to support the backboard on the pallet loveseat.
Poor Design of a Pallet Loveseat Bench
This is where things got a little crazy. Remember, I was making this up as I went along, using the inspiration photo as a guide. Stick with me as I try to figure this out.
The bench in the magazine showed the back support resting on top of the armrests. I didn’t question it; just went with it. (for now)
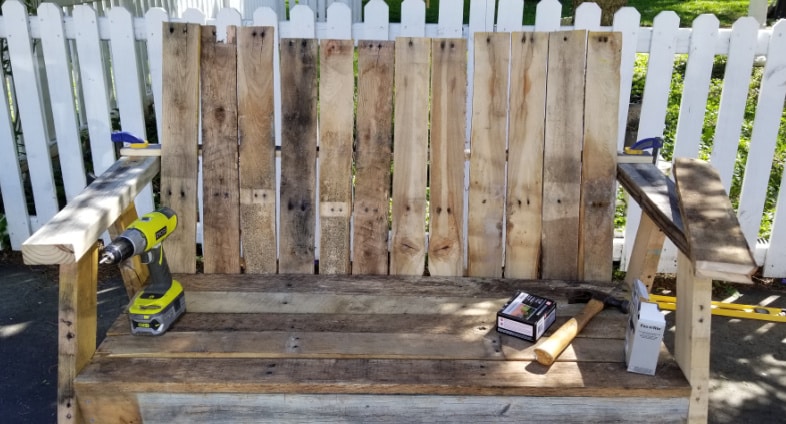
Use Two Drills

Again, I use dueling drills for pilot holes and screws. I secured all the seatboards.
How to Cheat on an Arched Design
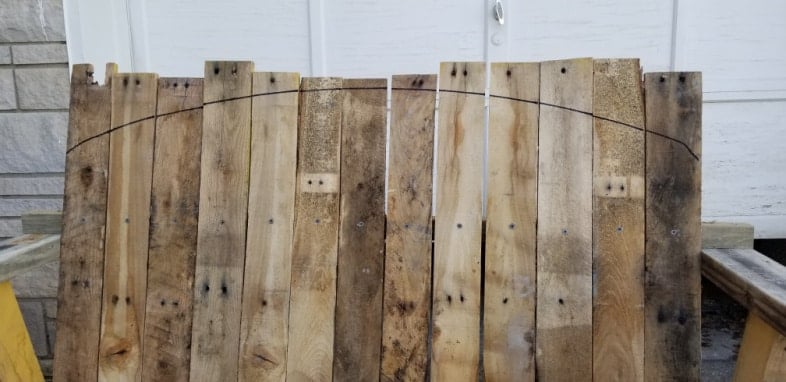
After attaching the back support and each of the back boards to said support, I drew an arched design—again, because that is the appearance my inspiration photo had.
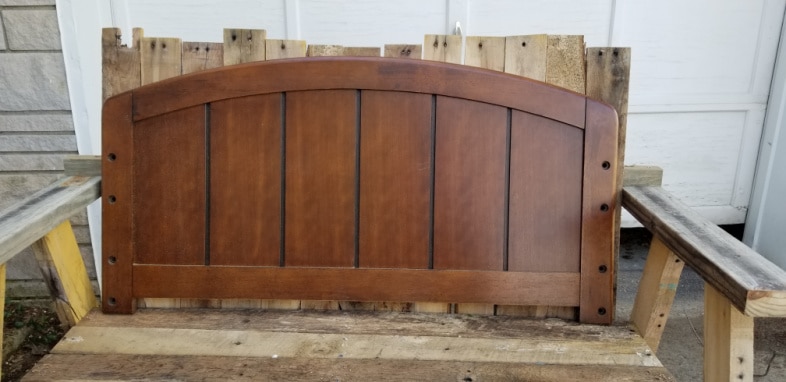
hahah! Did you think I drew that arch freehand? As I went to the woodshed to find the jig we used on my DIY picket fence, I stumbled across the perfect twin headboard! So, I traced the line.
Cut the Arch With a Jigsaw

My jigsaw was perfect for cutting the arch on the back of the pallet love seat bench! Easy Peasy!
Add Boards to the Angled Front Legs of the Pallet Bench

I had just enough of the heavy duty boards to add to the front of the bench, just like the inspiration photo. Do you see what I did with the armrests?
Round Off Armrests for Comfort
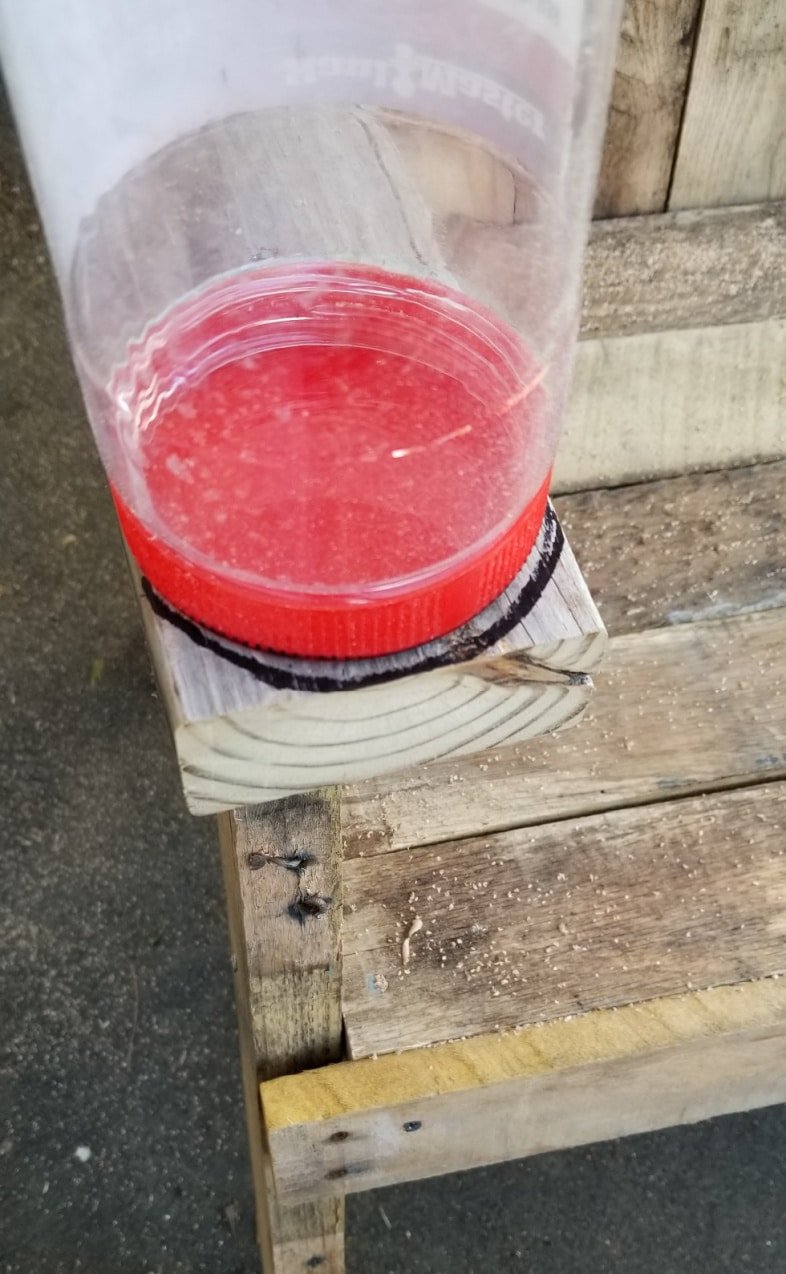
I traced a bungee cord container and cut the 2×4 with my jigsaw to make the armrests more comfortable. Then it was time to sand everything, including the rounded off armrests.
Related Content: How to Harvest Pallet Wood
Calling it (not quite) done

Do you ever have one of those light bulb moments when you look at a picture you took? You know, the ones where you don’t see it when it’s right in front of you, but then when looking at a photo—THERE it is! That slap-your-forehead moment. You probably would have seen it way back, but I hinted about it.
It’s time to move that board from atop the back brace to the bottom of the back brace (on the armrests). Saying it sounds simple, but of course it wasn’t.
For some reason, I couldn’t get a clear picture of this step; the phone just would not focus. The screws were removed, and the brace was placed under the armrests. Of course, I had to remove all of the screws I had put in the back. I hadn’t mentioned yet that I put screws in the bottom (back) of each back slat. See them in this photo.
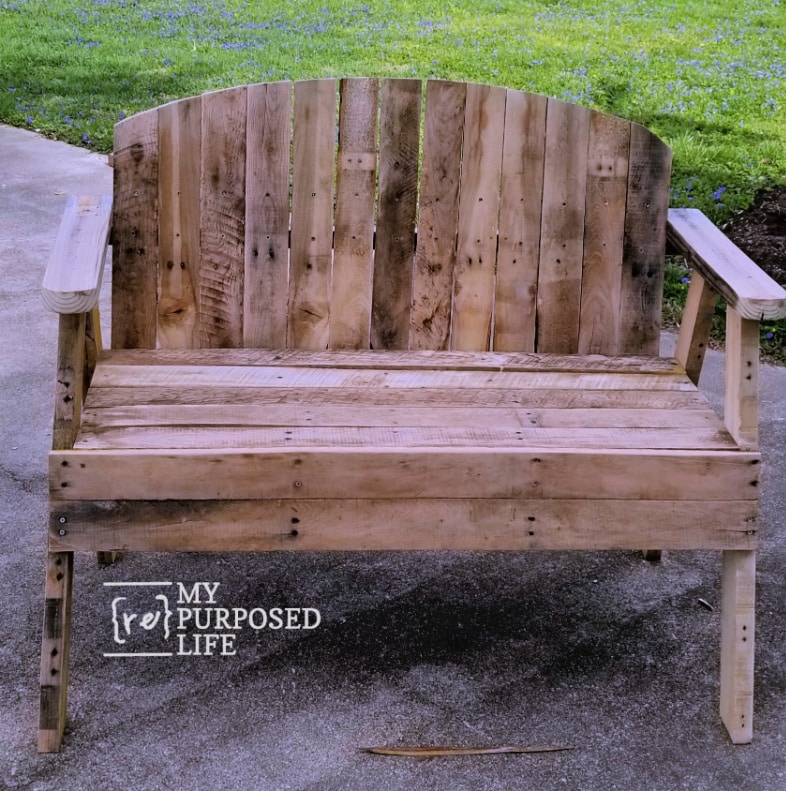
Finally! My new Pallet Love Seat Bench is d.o.n.e. Nope—not yet. I still have to paint it.

Paint Pallet Bench With a Finish Max
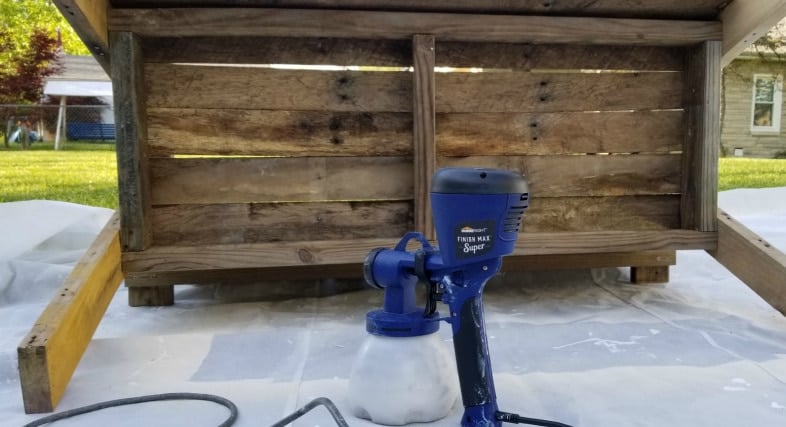
I used my Super Finish Max Extra with the green nozzle to make painting quick and easy.
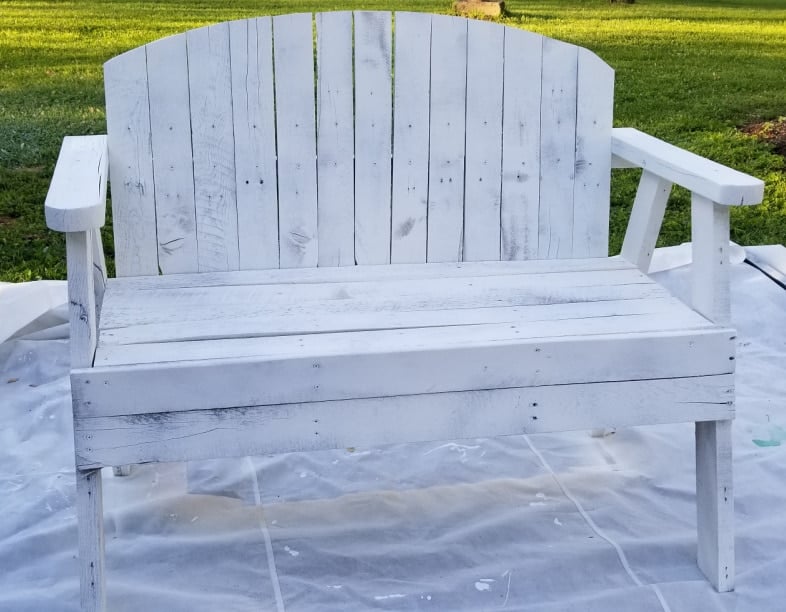
Using white paint, I did a base coat on the pallet bench with the paint sprayer.
How I landed in Facebook jail

Yep, this is the post that landed me in Facebook jail. There was so much activity, and I responded by liking and commenting. That immediately got me kicked off Facebook. They made me change my password, and I had to prove it was me. Then, I was restricted from liking and sharing stuff on Facebook for several days. The overwhelming majority of comments said orange was perfect.
Related content: How I made outdoor cushion covers and pillows.
Painting the Love Seat Pallet Bench
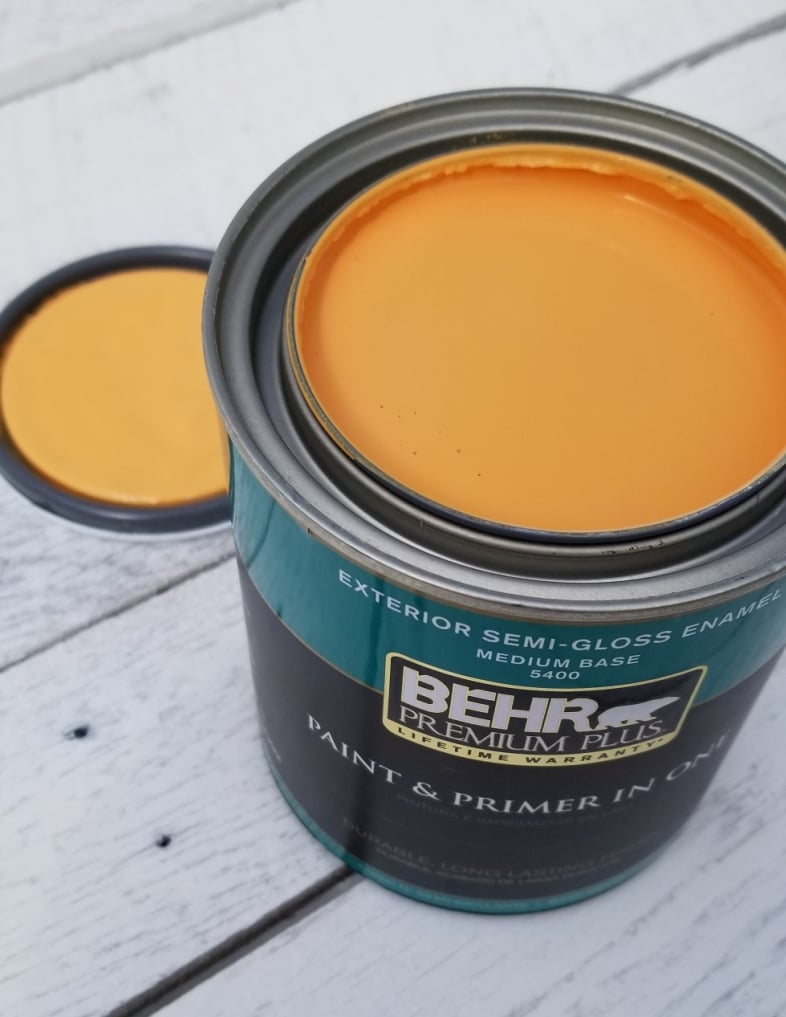
I used my Behr paint deck to browse so many colors. This Florida Sunrise in Exterior Semi-Gloss was my choice!
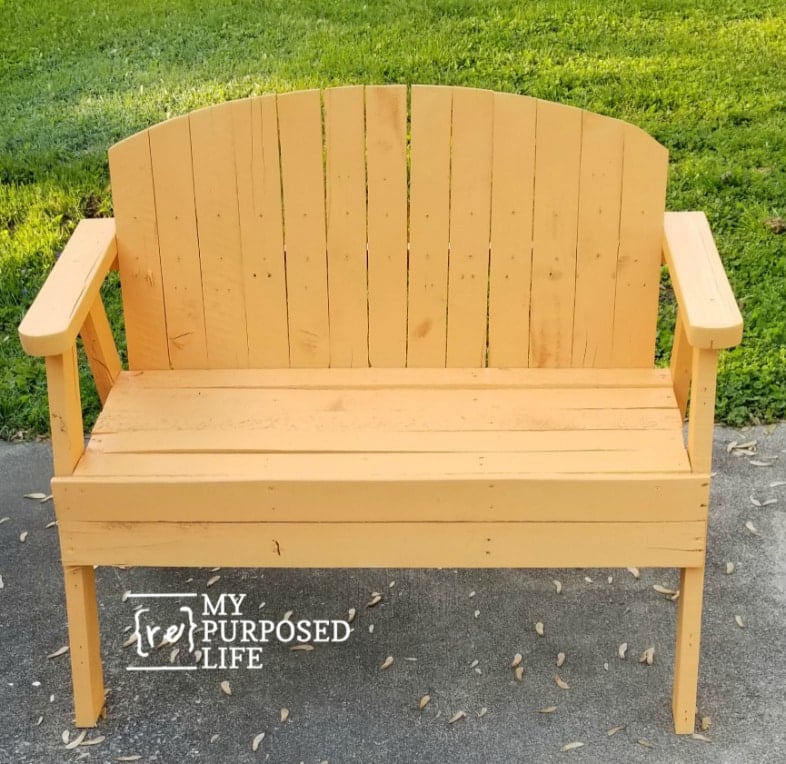
It’s definitely out of my comfort zone. What do you think?

How about with some colorful pillows on it? This is a better representation of the true color.
If you love this, pallet project, check out the PALLET COFFEE TABLE I made to go with it!


Now, about my feature in Country Sampler Magazine. Back in the fall, they contacted me to ask if they could feature my Repurposed Shutter Vertical Garden Succulent Planter. The issue hits newsstands TODAY. It’s always fun to be featured. As I said at the top of this post, I really enjoyed looking at all the wonderful garden ideas in this issue.

See the details on this vertical garden shutter here. Stop by on Friday to see the big reveal of the backyard camper retreat makeover.
gail
UPDATE:
The old bench is now at The Hideaway
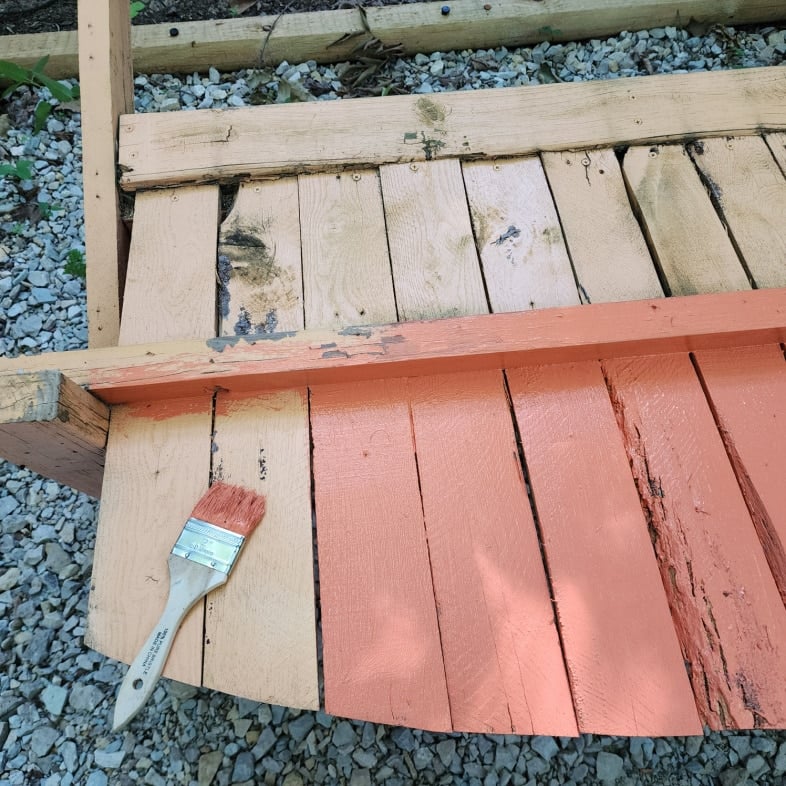
It needed a new paint job. The color is Fiesta Orange by Benjamin Moore.
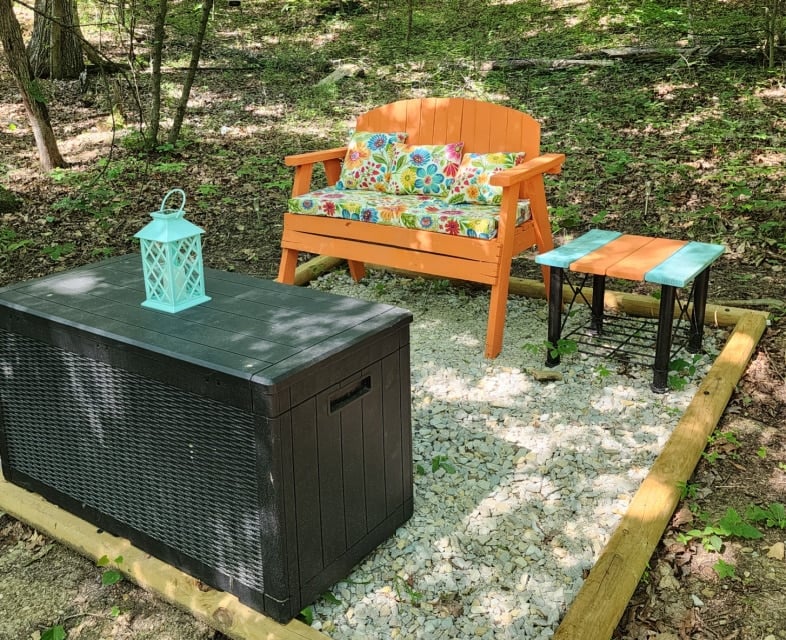
This is one of my favorite shady spots at The Hideaway. I made pillows to match the loveseat. When I brought it with me, I was thrilled to find a large cushion on Amazon that matched the pillow fabric perfectly! I also updated the metal table by adding a pop of color to the teal boards.
sharing at Salvaged Junk Projects
Beautiful piece and funny story with paint. Haha.
I plan to build this bench somehow in memory of my grandpa who passed away November 2021 from cancer. Him and I used to build stuff together when I was little. (Miss him so much)
I dont have alot of the things you have used but maybe I’ll be able to post update of my bench at later date of how it goes.
Emily, I’m sorry to hear about the passing of your grandpa. I think a bench would be a beautiful tribute to him. I’d love to see your bench. You can email me or post it on facebook. Good Luck!
gail
Just curious about dimensions.
What are the dimensions of the box frame?
What is the length of the legs? (The pieces cut at 15 degrees)
Dani
All measurements are approximate
The box — 46×17
Legs 29.5
Arms 23.5
I hope this helps.
gail
Ooops, sorry to hear they kicked off Facebook. That sucks, but then again they banned an ad from an onion farm for being too suggestive so you’re in good company Gail 😀 Love how your pallet bench turned out BTW. It looks sooo good even dressed in orange
Thanks so much for stopping by Michelle! I appreciate your sweet comment. 🙂
gail
I tried it. I am a true novice so I had to take it apart a few times to get it right. Now I need to paint it. Thank you for the inspiration! I wanted to post a picture but I can’t figure out how.
That is AWESOME! Do you have facebook?
Sunday (yesterday) I posted a share post asking to see everyone’s latest projects. Maybe you could share it on the My Repurposed Life Facebook page?
gail
That bench turned out crazy good!! I love the color, the pillows that compliment it and, most of all, the fact that you made it, by yourself by just “jumping in” and doing it!!! You really inspire me to do just that because I always hate to ask for someone else to make something for me….what can go wrong, maybe re-cut some boards? Optimism here, can you tell? Thanks so much for sharing!!
Oh, so cute? And it looks comfortable. For those of us that don’t have a twin bed to make our arch, measure across and figure half, measure sides at the height that you want. Use freezer paper for folded in half to make the whole width measure and mark your sides. Then play using a different color marker for each arch decide which you like cut out both sides at once and viola!
I recently got rid of Facebook. I asked them why I was getting about a third of my friends and subscription posts. The answer was algorithms. I don’t post or share enough, only have a few friends and I have few likes on my posts. Ok, so they’re telling me I’m not important according to your algorithm. So I laughed when you said that you had too many replies, that you replied to. The answer is algorithms and evidently their’s is very touchy. 🙄
Thanks for the tips on finding a good way to make the perfect arch!
Don’t get me started on Facebook…. heheheh
gail
The orange is perfect. Very summery. As always, I’m impressed with your amazing imagination and craftsmanship. That beautiful bench from nothing but a picture and a pallet.
ohhhh, you’re so sweet Jennifer! I do love what I’m doing. I’m not very mathematically inclined, nor do I draw out plans. I just jump in. Sometimes it works out beautifully, like this pallet bench. 🙂
gail
I LOVE that you made that bench from scratch, great job! Now why did facebook kick you off? Too many comments?
That means so much to me coming from you Julie! You know I’ve always loved your red bench on the porch. This might be the closest I get to making that. 🙂
Facebook? I replied too much at one time. They called it “suspicious” activity. crazy, I know!
gail
that bench is SO very nice! love the color and the pillows!
Thank you Nova, I do love this one. It’s a keeper. 🙂
gail