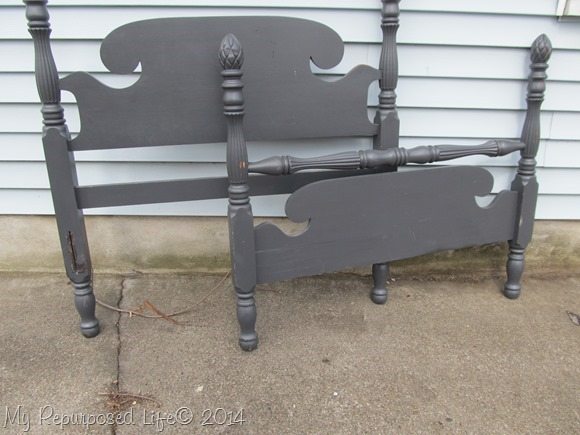
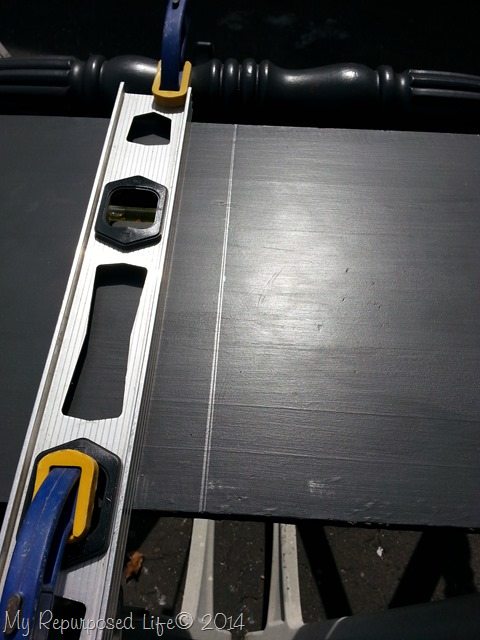
This post contains Affiliate Links
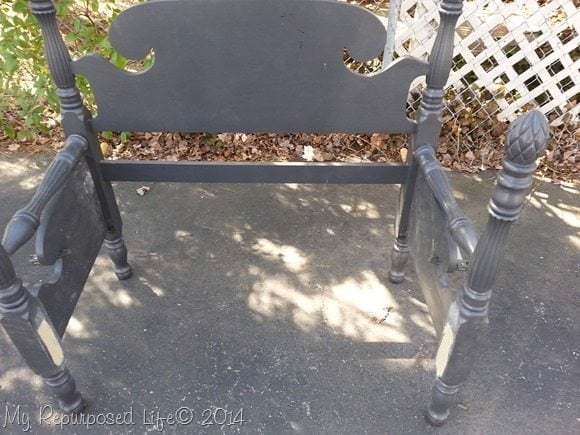
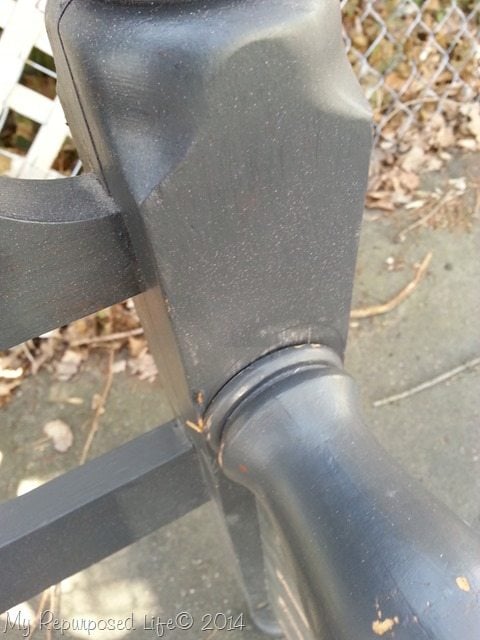
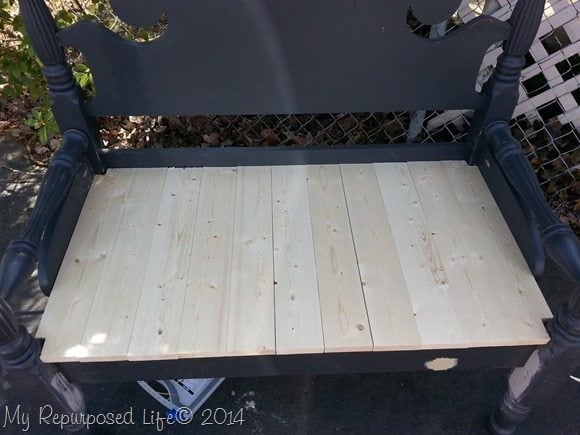
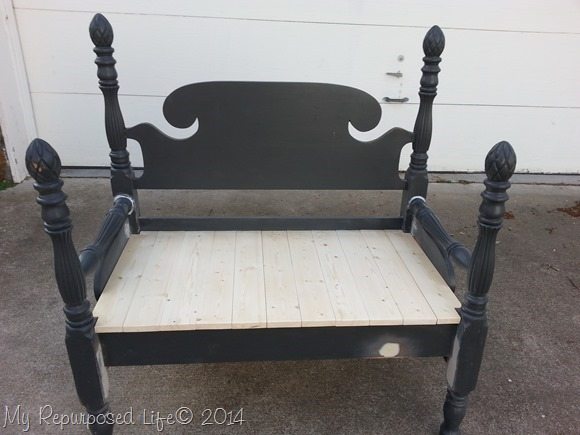
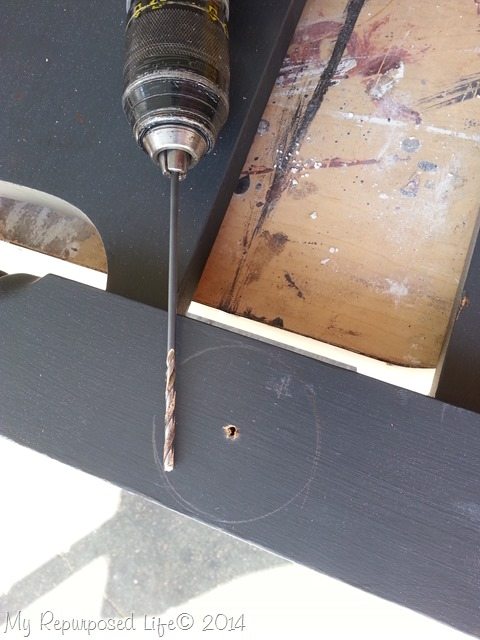
I have some extra long drill bits in my arsenal from the early days before I got my Kreg Jig. I drilled from the front to the back of the headboard post.
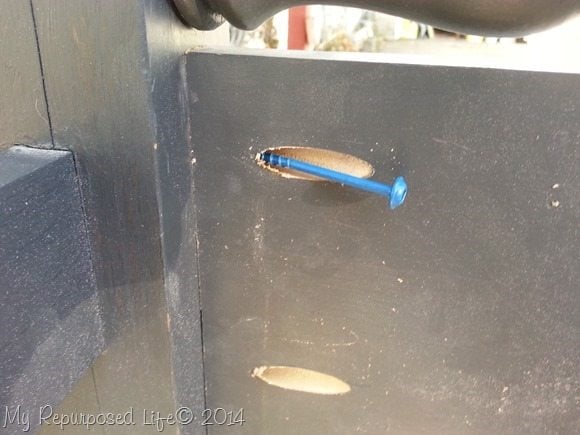
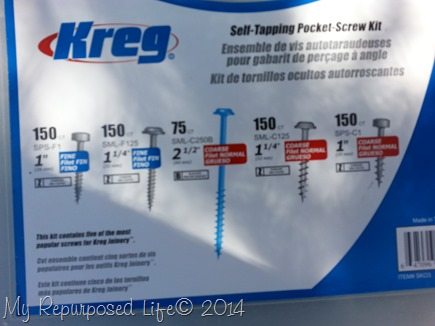
. I drilled them with the bit set for ¾ wood, but I used these monster screws because it was going into such a thick bed post.
.
gail
See my favorite Mission Style Headboard Bench with Storage-The Complete Tutorial
sharing here:
do you need more headboard inspiration?
Gail Wilson is the author and mastermind behind My Repurposed Life. She is obsessed with finding potential in unexpected places and believes that with a little hard work and imagination, any old thing can be made useful again, including herself!
Gail reinvented herself during a midlife crisis and has found purpose again. She hopes you will find new ideas for old things and pick up a few tools along the way.


jeanette
What if there is only alignment with another post to secure the side arm post to on my pineapple bed?
gail@myrepurposedlife.com
Jeanette
Are you saying the the footboard only has a large spindle (post) and no actual footboard? It's difficult to imagine and see it in my mind. 🙂
If the board from the footboard is missing, you could add a board where it once was. If there was no board, and the footboard is all rounded, leaving no place to attach a board, I would make an armless bench. I've made many and I like them equally well. If you would like to email me a picture, I'd be happy to help out.
Marhgaret
Do you have a project using only footboard of full size bed. Had to buy metal bed
frame and use only headboard because of age and holes had worn so big that bed was very loose and anytime you turned over in your sleep the bed would shake and wake you up. Thanks in advance.
gail@myrepurposedlife.com
Marhgaret
check out this page for some ideas https://www.myrepurposedlife.com/category/footboard
have fun!
gail
Krista @thehappyhousie
So pretty Gail- I love the shape...
Kate
I love these pineapple beds - I have a single and a double that we still use and are in good shape. I'm glad you could repurpose this one. Thanks for the tip about the soap. I hate that screeching sound!
Sharon @ Elizabeth & Co.
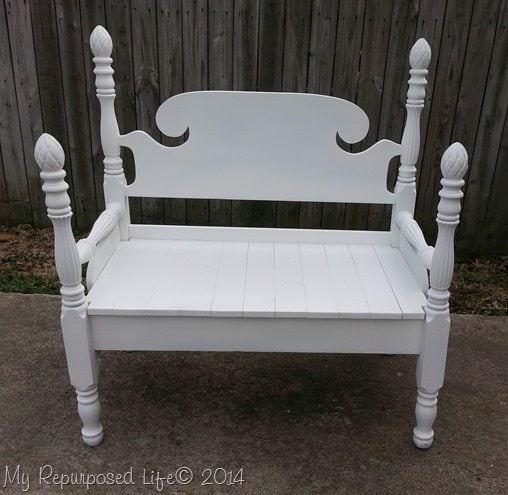
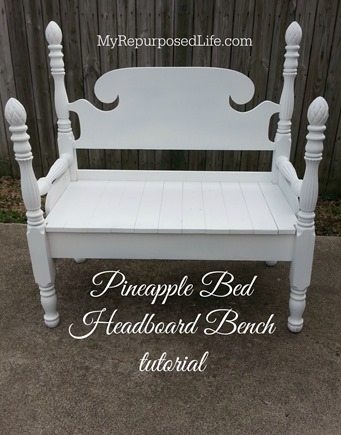
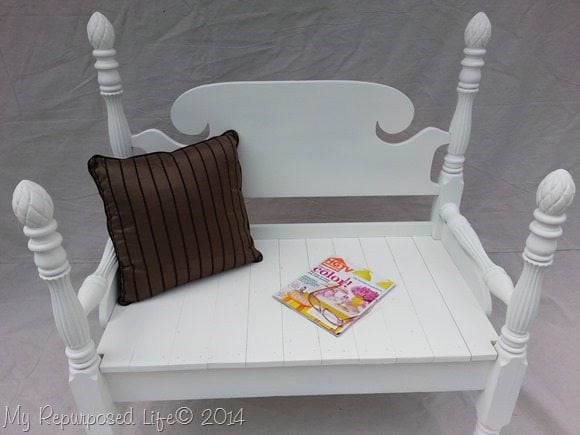
I love the pineapples, perfect for a welcoming porch bench! And as always, a great tutorial!
Mindi
It looks great! I always love your benches! I hope she shares a picture when she paints it! I forgot about the soap on the screw tip, I could have used that a few times, thanks Gail!!
Paige @ Little Nostalgia
I like it white! Although, I bet black would look good, too. Maybe she should Photoshop it and see which one she likes better! That's what I do sometimes, haha.
(P.S. I shared another kitchen update on the blog. I think we're finally done in there! For now...)
Holly
Looks great! I just love making these!
Terri
You rocked it once again! Love the pineapple shaped finials on those bedposts!
I have to ask...what does the soap on the screw do?
gail@myrepurposedlife.net
Terri,
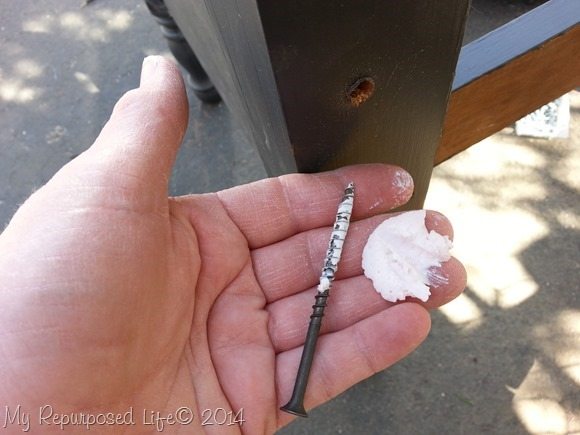
Securing long screws into the very hard wood these beds are made from is nearly impossible, even when pre-drilling a pilot hole. The bath soap helps lubricate the screws and eliminate that screeeeching that generally happens. It's an old tip from my mom from years and years ago. With the pine I buy I don't need it, but when you're dealing with a hardwood, it's a great help.
thanks for the kind comment!
gail