Farmhouse Perpetual Calendar Makeover
As an Amazon Associate, I earn from qualifying purchases.
For this month’s Thrift Store Decor Challenge I’m sharing a Farmhouse Perpetual Calendar Makeover using a white elephant gift I got for the holidays. I actually have two of these. I know you’re going to love how it turns out and it’s so easy. What’s the best takeaway for this project? You may not have a perpetual calendar at home, but I’m guessing you have something that needs a little farmhouse charm?
Be sure to check out all the great projects my friends are sharing at the bottom of this post.
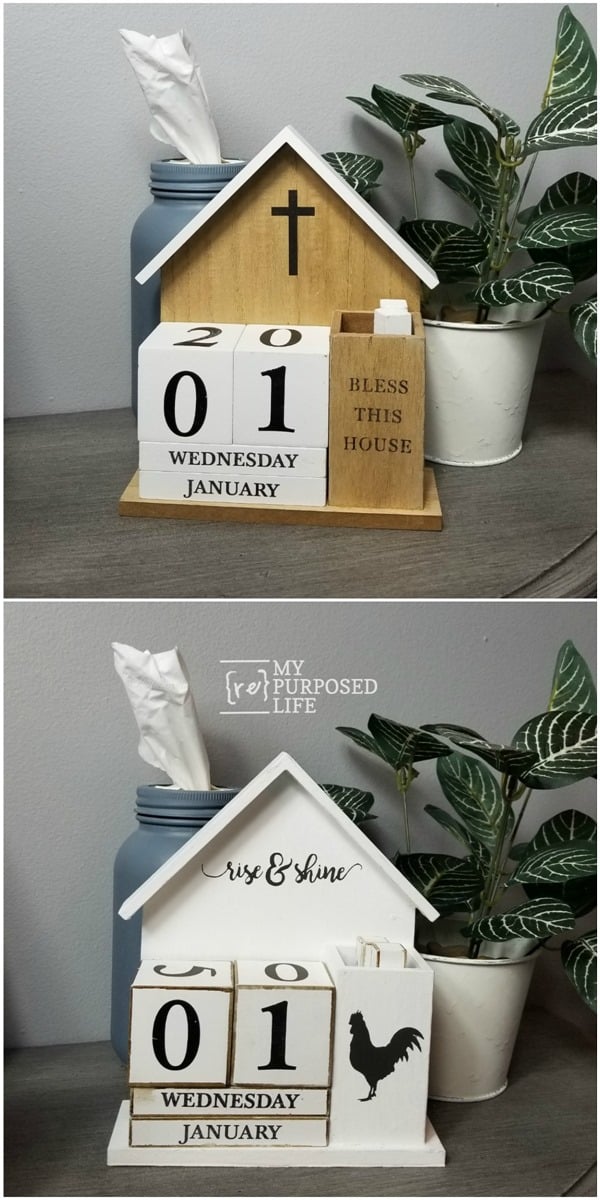
Cheap Wooden Perpetual Calendar
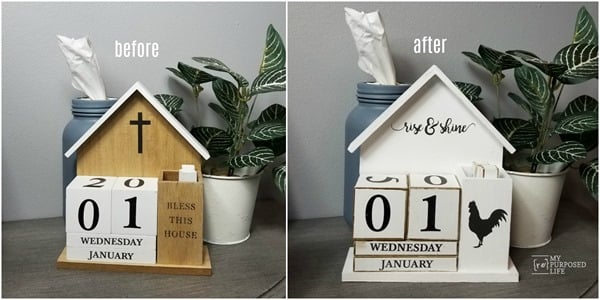
Isn’t it so much cuter in a farmhouse way? I have lots of tips to share with you on how to easily get the stained wood rustic look on the edges of the blocks.
Mix Homemade Chalk Paint with Plaster of Paris
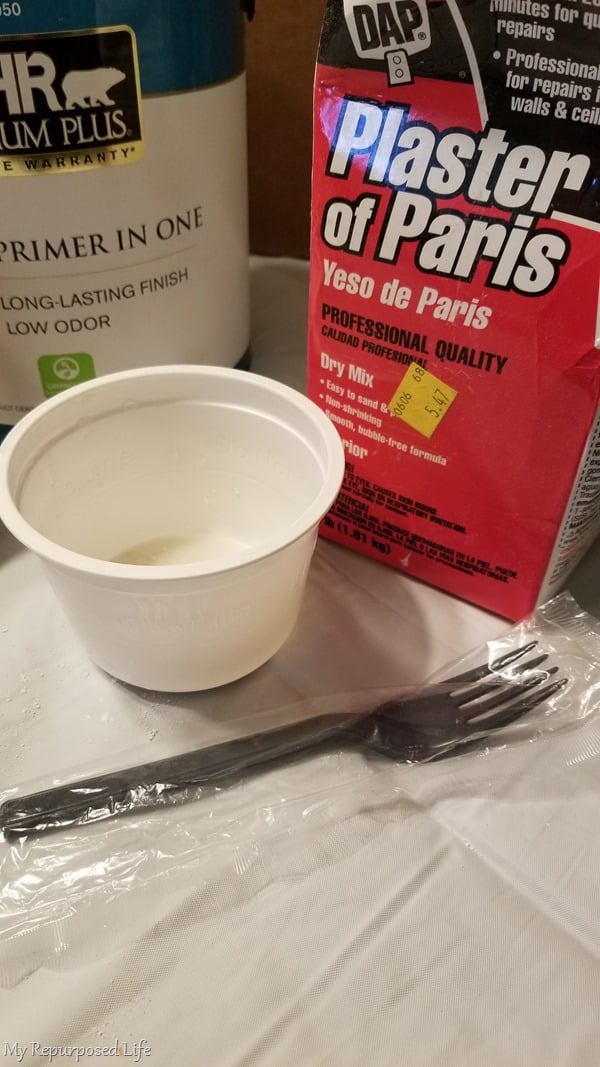
A farmhouse perpetual calendar makeover definitely needs to be quick and easy! To make some DIY chalky paint primer as a base coat, I used a little plaster of paris and water. Do you save those restaurant forks? They are great for quick projects like this.
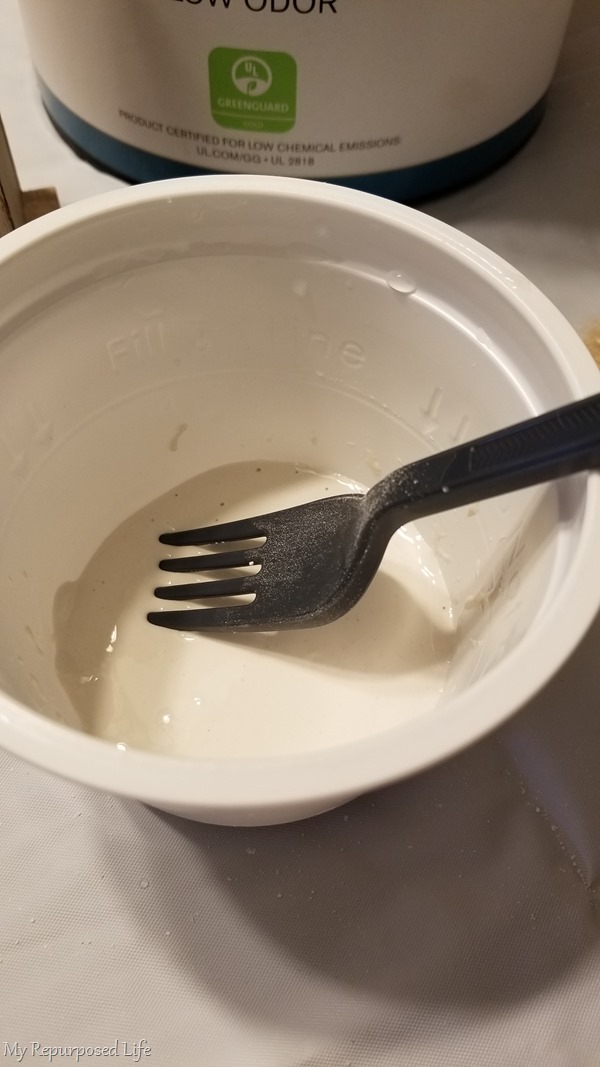
After mixing up the plaster of paris, I pour in a little of regular ole wall latex paint. Do I always measure? No. Sometimes I don’t get it quite right, but it’s not a chemistry experiment. Just go with it or read my DIY chalky paint recipe here.
*this post contains affiliate links, read more here*
Easy Painting with Chip Brush
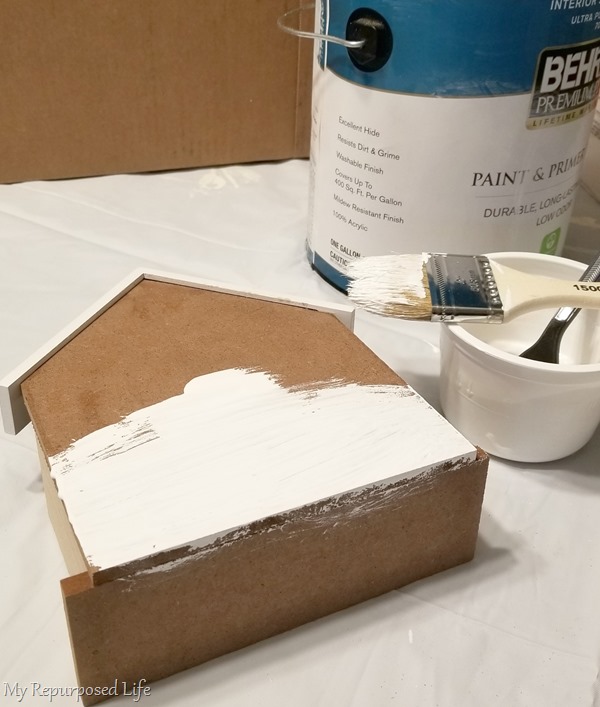
You know I love to use these cheap chip brushes for quick and easy projects. Do you throw them away? What!? The cleanup is a breeze. That’s why I love them so much. HINT: I always paint the back and the bottom. Yeah, I just can’t help myself.
Paint Several Light Coats
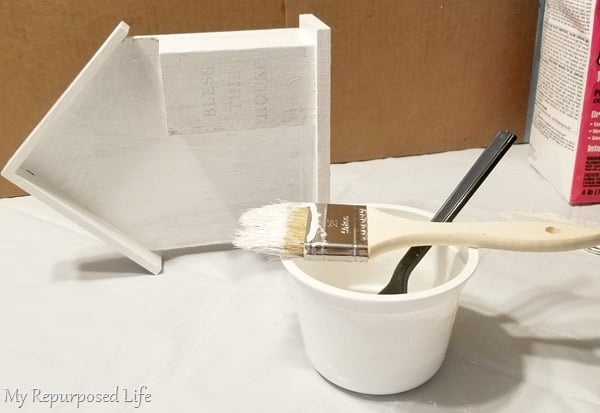
The great thing about chalk paint is how quick it dries. Painting several light coats is the best way to go. Because I painted the bottom and the back, I had to get creative with the drying process.
How to Use a Stain Marker on Crafts
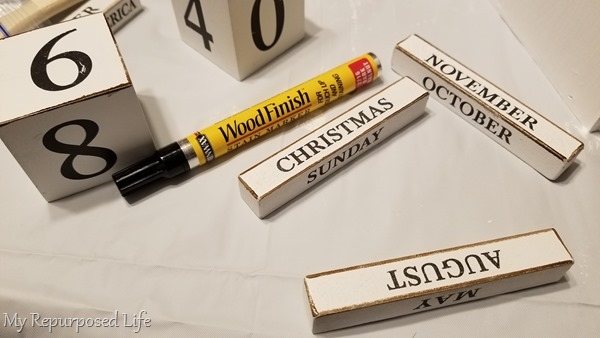
Because I didn’t want to redo the writing on the pegs and numbers on the blocks of the farmhouse perpetual calendar, I cheated a little bit. Typically to get this look you would stain, paint, then sand. BUT! This stain marker is sooo easy!
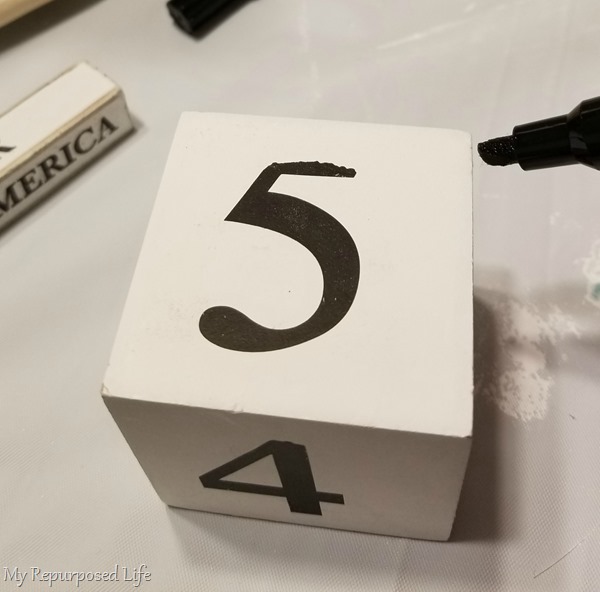
Using the tip of the stain marker, I glided it along each of the four edges. The stain needs to dry. However, you have a few options. You can allow the stain to dry (as I did) or you can use a paper towel to wipe back some of the stain as I did on the peg in the background of this image.
I worked on this as I was allowing the coats of paint on the house to dry. The house got two coats of chalk paint, and one coat of paint out of the can (satin) as a topcoat.
Small Chip Brush is Handy for Tight Spaces
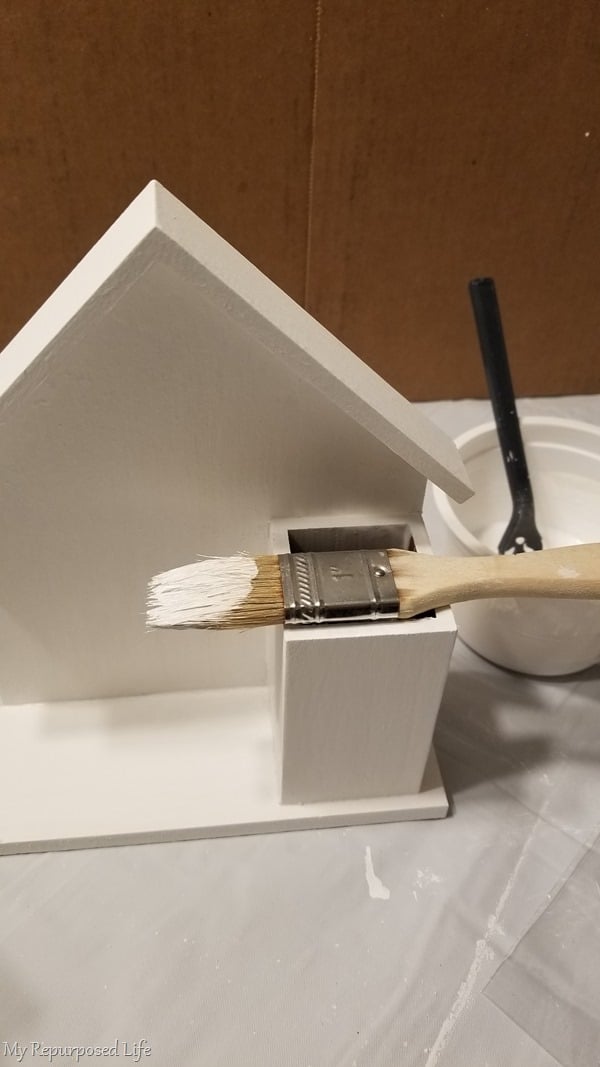
It’s really handy to keep small chip brushes on hand for smaller craft projects like this. I used this brush to paint the inside of the pencil holder.
Chalk Couture Transfers
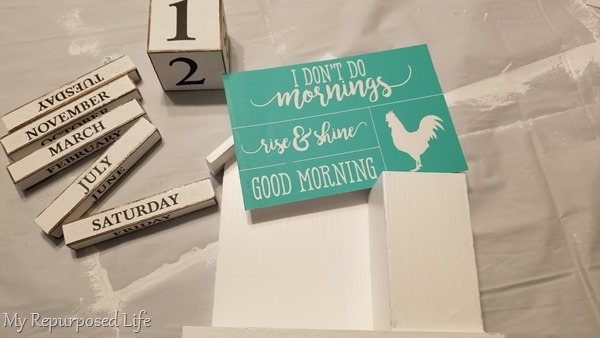 As The Junky Chalker, I love using Chalk Couture Transfers to embellish my projects. I’m sorry to tell you, this transfer has been retired. I love everything about it, and had a hard time deciding what to use.
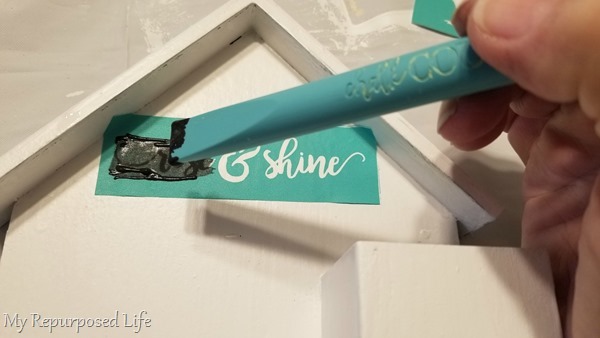
Since this was such a tiny space, I used my multi-tool to apply the black chalk paste. It really is as simple as spread it on, then peel it off.
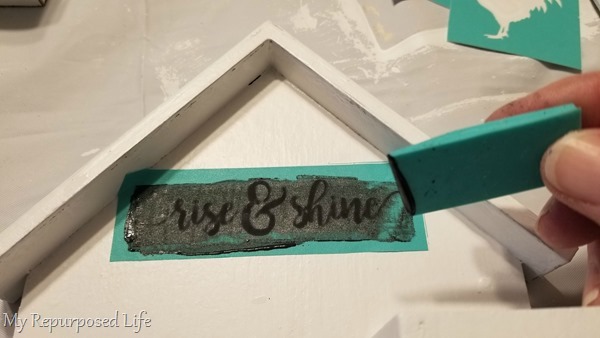
It’s important to remove the ridges with a squeegee, putting the excess chalk paste back in the jar.
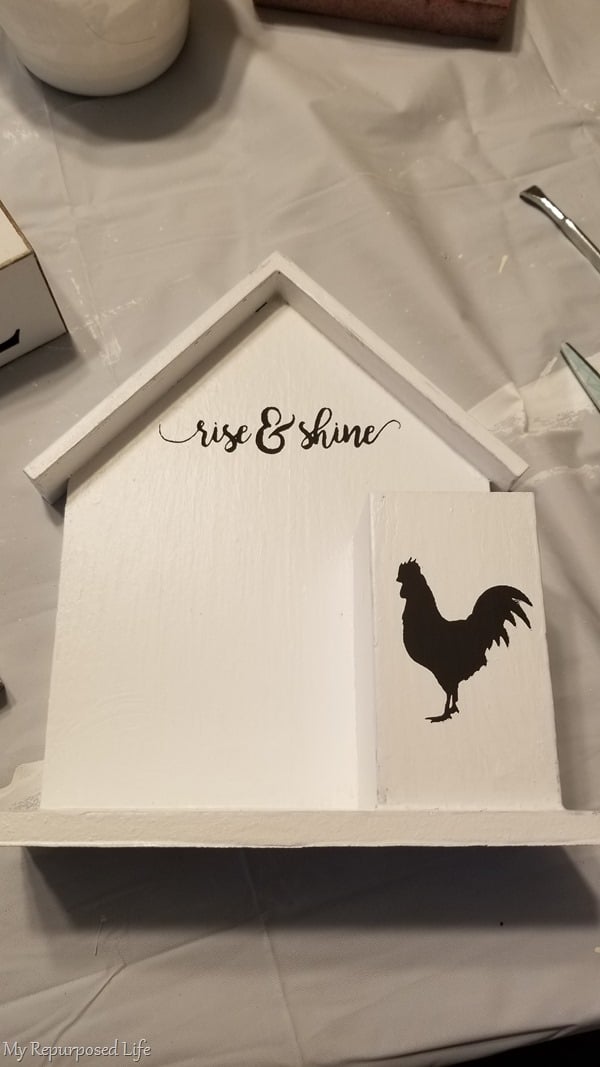
Voila! farmhouse perpetual calendar in the making!
Farmhouse Perpetual Calendar
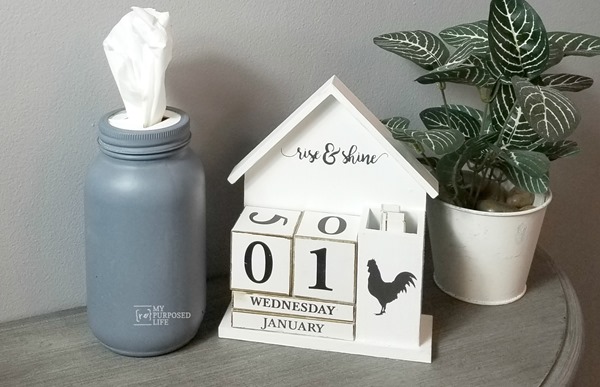
There are three layers of pegs. For instance, this could say Wednesday, January New Year’s. I chose to only have two pegs under the perpetual calendar numbers, placing the extra ones in the pencil holder. Did you see the DIY Mason Jar Tissue Holders? This one say “bless you” but I figured it didn’t really go with the working on the farmhouse perpetual calendar. So I turned it around backwards.
Let’s take one more look at the calendar before and after, shall we?
Won’t you Share & Save on Pinterest?

Now, let’s take a look at some more great DIY Thrift Store Decor Makeovers!!!

Bubblegum Machine Makeover from House Of Hawthornes
Upcycled Thrift Store Mirrors from Petticoat Junktion
Navy Coral Painted Tray from Domestically Speaking
Boho Basket Wall Decor from Sadie Seasongoods
Farmhouse Calendar Makeover from My Repurposed Life
Picture Frame Makeover from Refresh Restyle
So many great projects using thrift store decor or items you already have. What is on your list? Will it be a farmhouse makeover?
gail

Turned out so cute & I love your fork tip!
Love this makeover!!!
The new look is so much better. I need a perpetual calendar!
really cute makeover! thanks for sharing the chalk paint recipe.