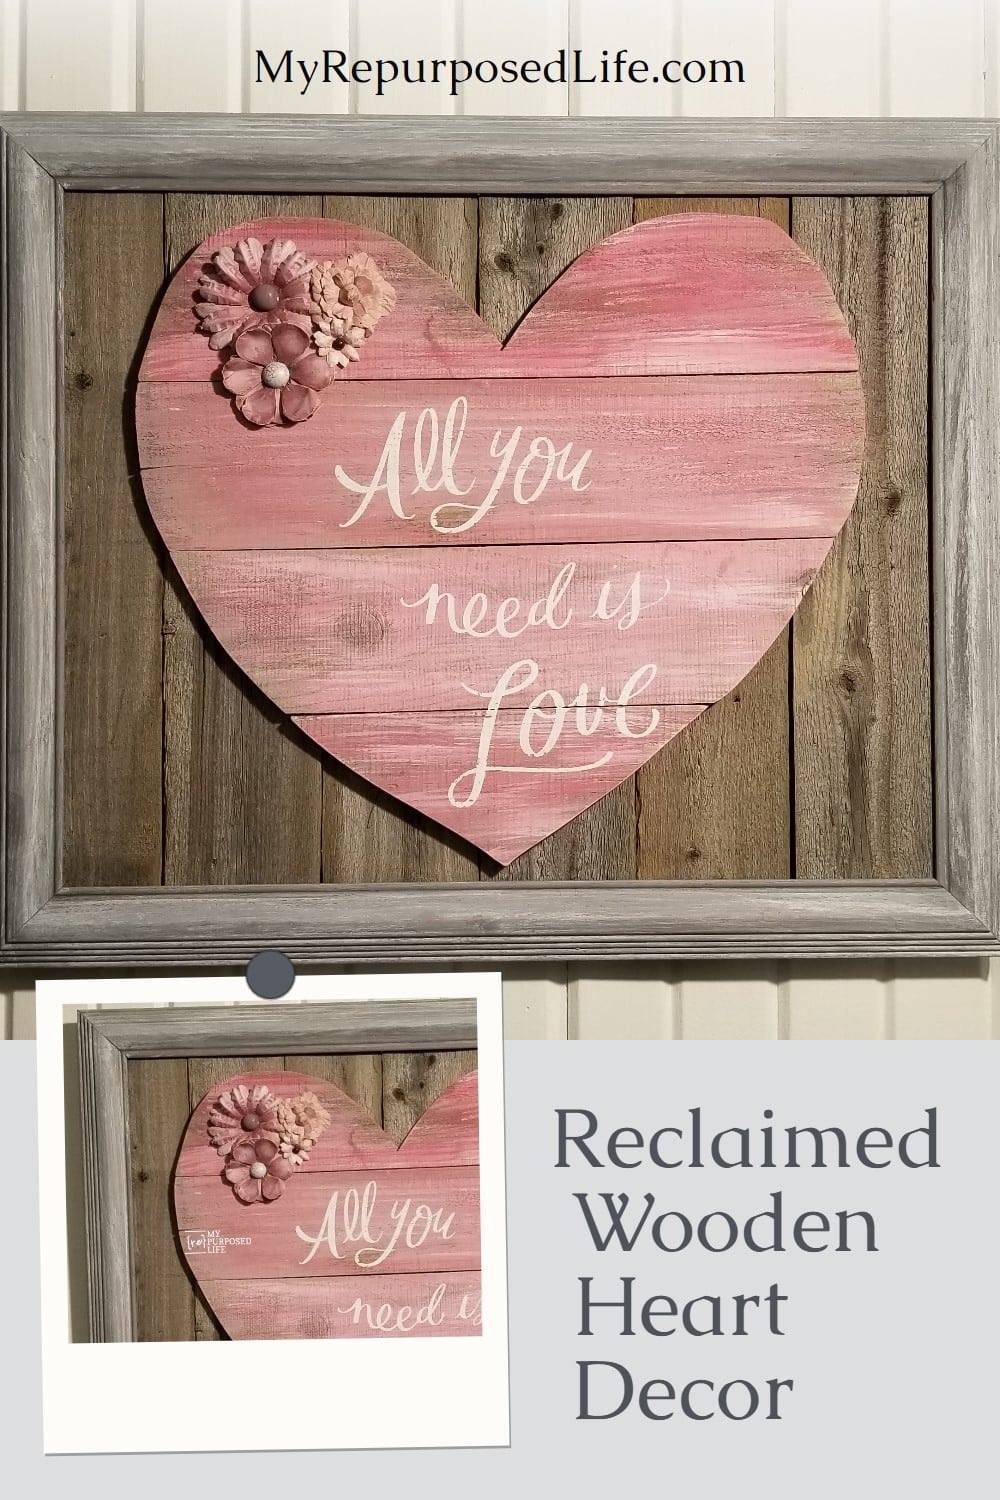
Reclaimed Wood Heart (Weathered Fence Boards)
As an Amazon Associate, I earn from qualifying purchases.
There is something about reclaimed wood that already feels as if it has a story to tell, and this simple wooden heart is no exception. Made from scraps that might otherwise be tossed, this project is an easy way to add handmade charm to Valentine’s Day decor with little time or money. It is rustic, imperfect, and full of character, which makes it one of those projects that still works long after the holiday has passed.
Can you believe I’ve never made a reclaimed wood heart? I LOVE how they look, and I’ve long admired the work my friend Joan (Scavenger Chic) does. As I was looking for an easy project for today, I came across a bunch of rustic heart projects on Pinterest. But Joan’s is right up there with my favorites.
I hope you love my rustic, reclaimed-wood heart as much as I do!
Easy Valentine’s Day Decor
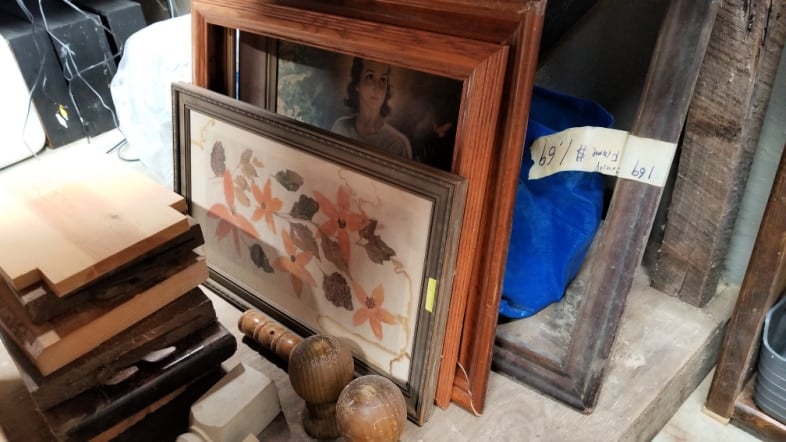
Because the weather is cold and rainy, I’m back in the basement shop. Luckily, I have a stash of picture frames there and in the garage shop.
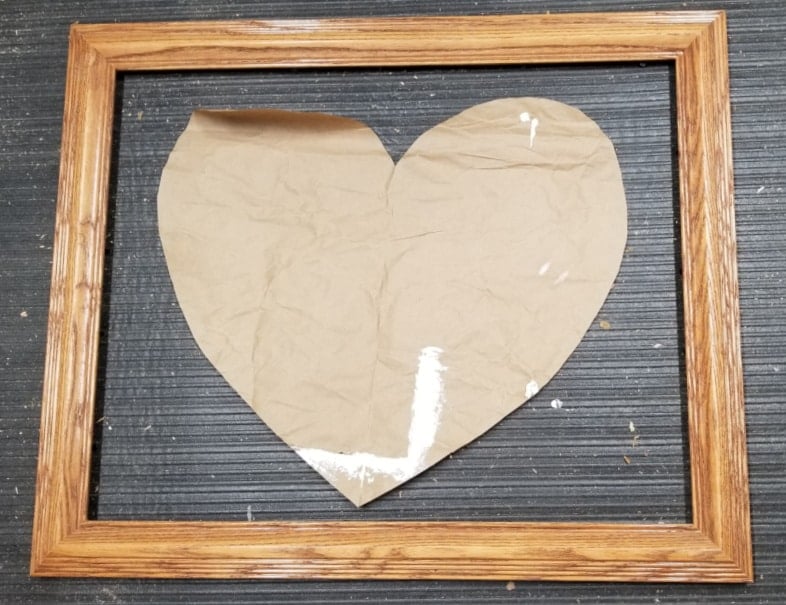
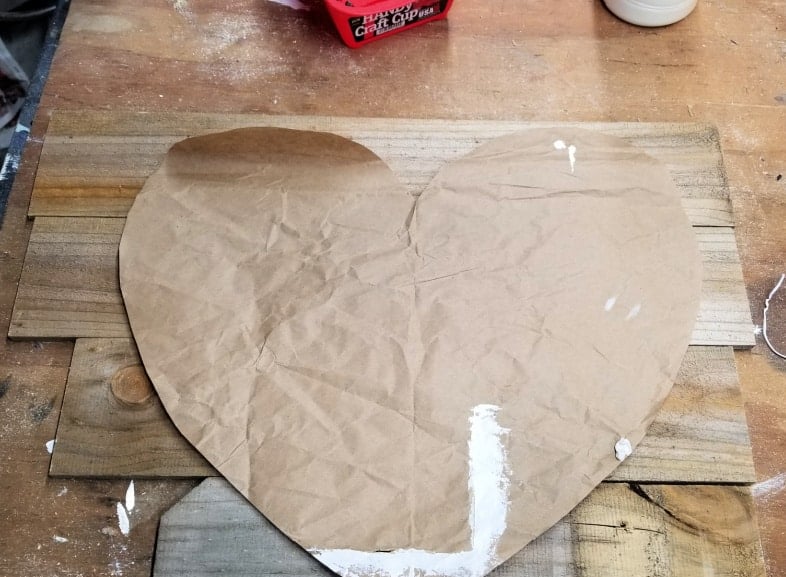
Do you save that brown paper from Amazon shipments? I do. You can see that this paper had already been used for painting when I grabbed it to cut out a paper heart. Imagine my surprise when it fit perfectly in this reclaimed wooden frame!
Add Reclaimed Wood to fit the Frame
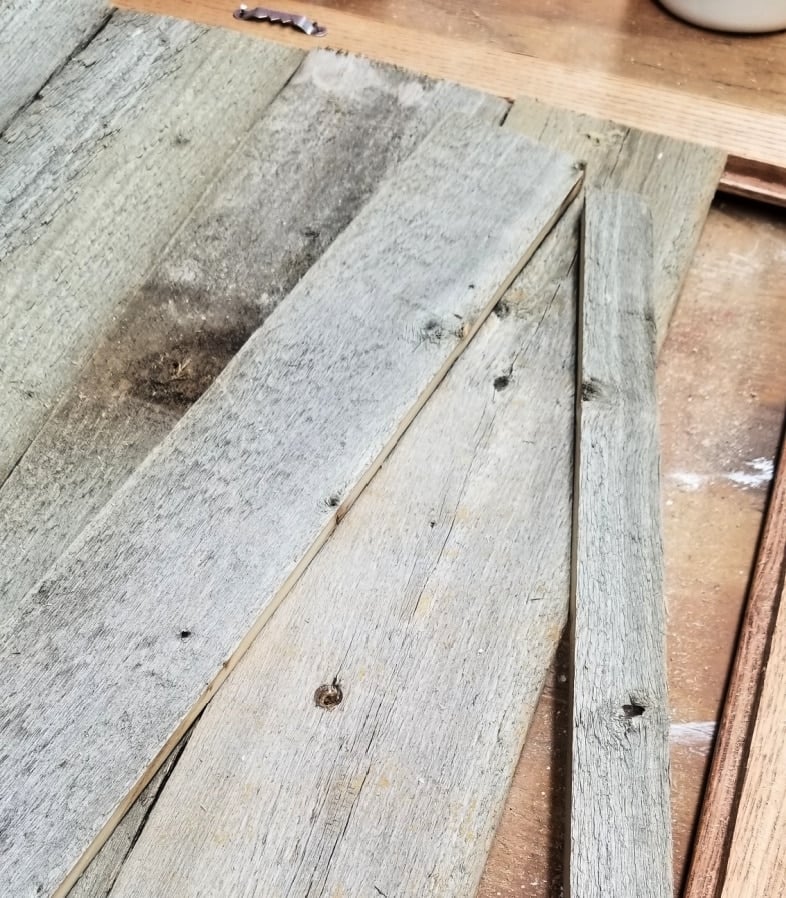
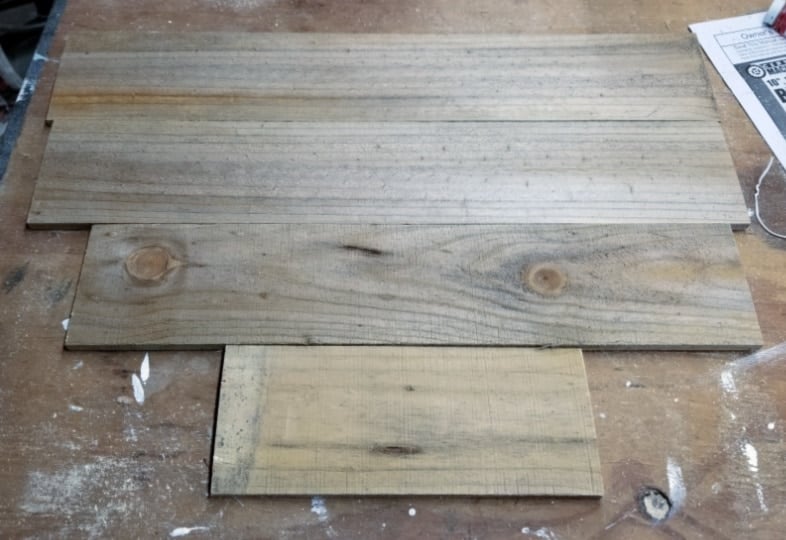
Now, you could use pallet wood for this project, but I didn’t have any in the basement. But I did have reclaimed fencing handy. I cut the pieces to fit the wooden frame, then had to rip the last piece on the table saw.
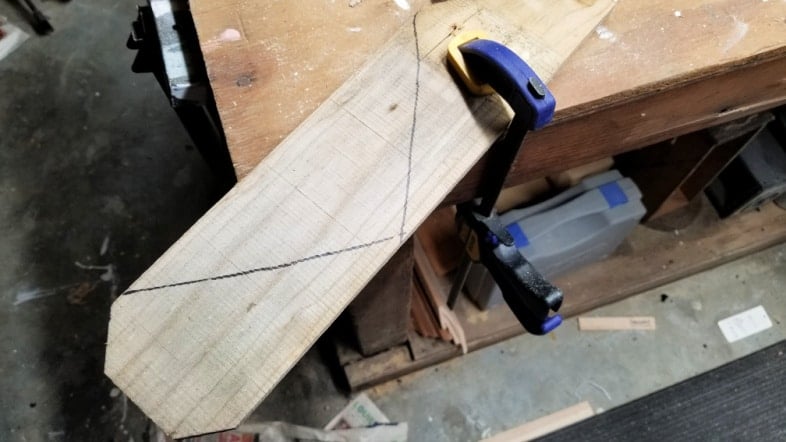
Design-Trace Heart
Impatient, I cleared only one corner of my workbench to create this reclaimed-wood heart. As I work on more projects in the coming weeks, I hope to organize the basement shop as I go.
You can see that the scrap pieces of thin fencing would be perfect to make a heart shape.
I think we all learned in school that you simply fold a piece of paper and cut it to make a heart. Hearts can be of any size—wide, narrow, tall, or short. Mine was sort of a general heart shape.
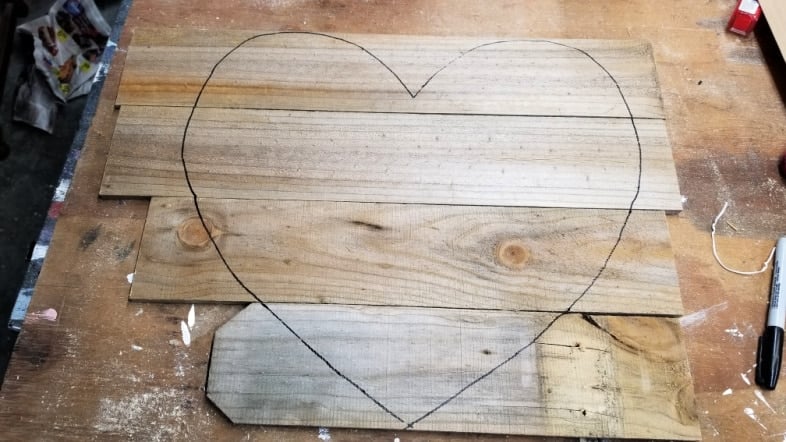
I chose a Sharpie to trace my paper heart pattern. I felt it would give me a better line for cutting. The pattern was traced onto the backs of the reclaimed fence boards.
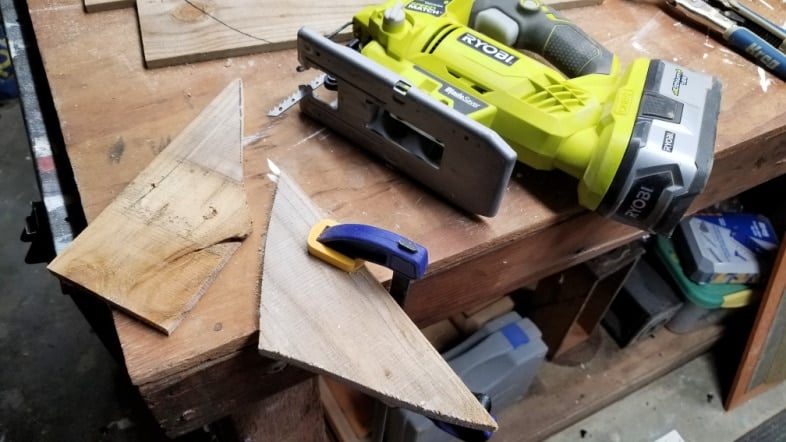
Cut Reclaimed Wood Heart
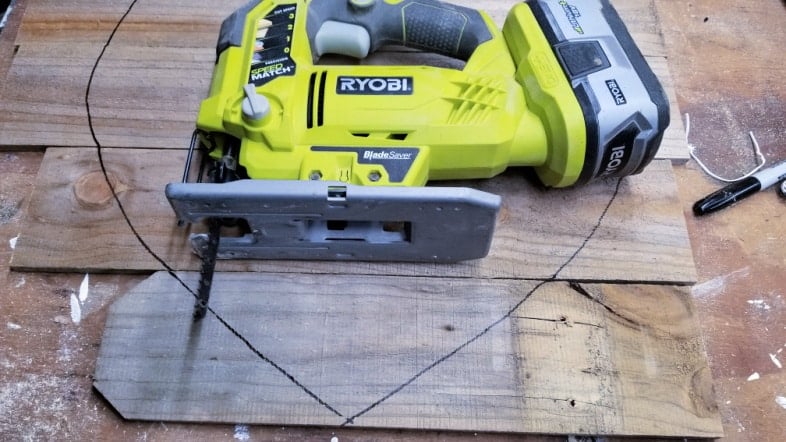
Most of my tools are kept in the garage. I do have a corded jigsaw in the basement, but I chose to bring my Ryobi in from the garage for this project. Cutting the boards separately is how Joan did it, and I found it worked best!
I had to make another trip to the garage to get my quick clamps. Usually I keep some in the basement, but I had borrowed them recently. Can you see how much easier it will be to cut the wooden heart individually?
Quickly, the lower portion of the wooden heart was already finished.
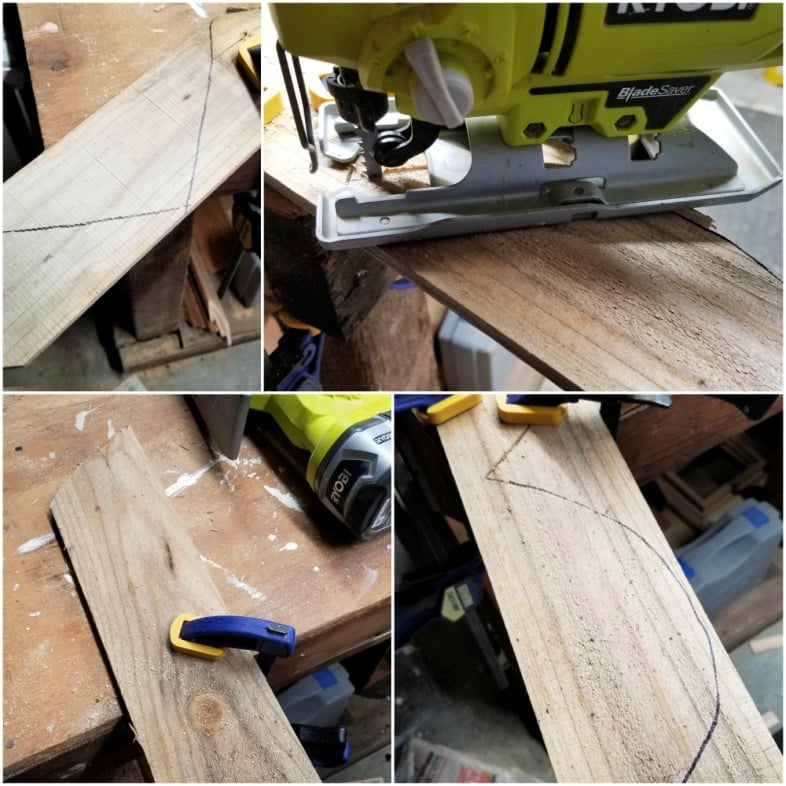
Each board was so easy to cut individually. The curved part of the heart was the most challenging, only because I had to get creative with the clamping.
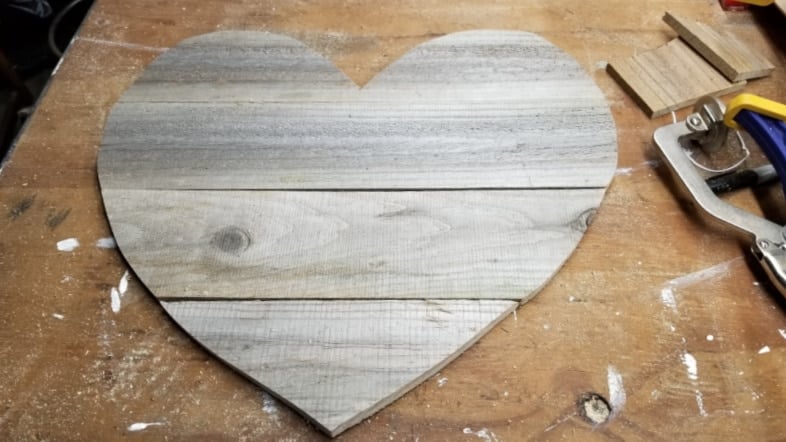
It all fits perfectly!
Paint Wood Heart Pieces
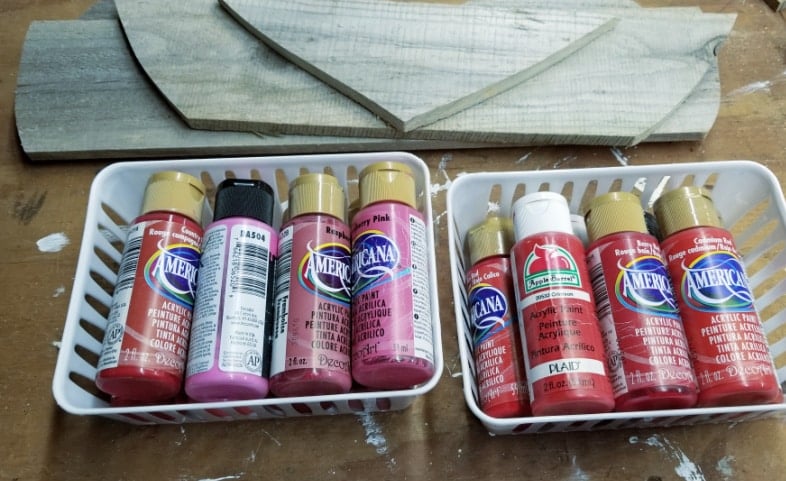
I chose some pinks and reds from my DIY Paint Shelf to paint the reclaimed wooden pieces.
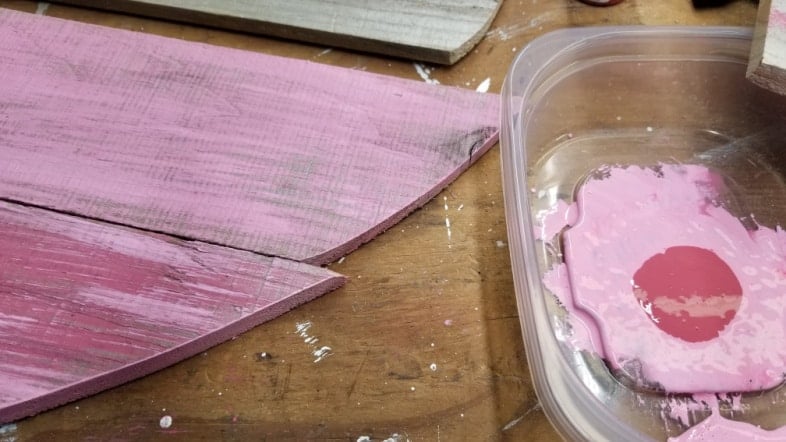
So, start with your lightest color. That way, you can add darker colors to your palette as you go. Of course, I used my favorite chip brush to create a dry-brush effect on the wood’s patina. In addition, it works best dampen your brush bristles to thin the paint a little.
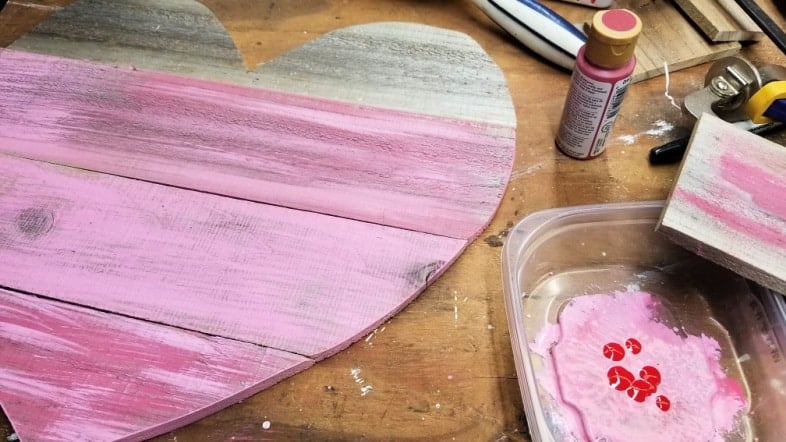
Finally, I added a little red, stippling the brush and keeping a light hand while painting the top portion.
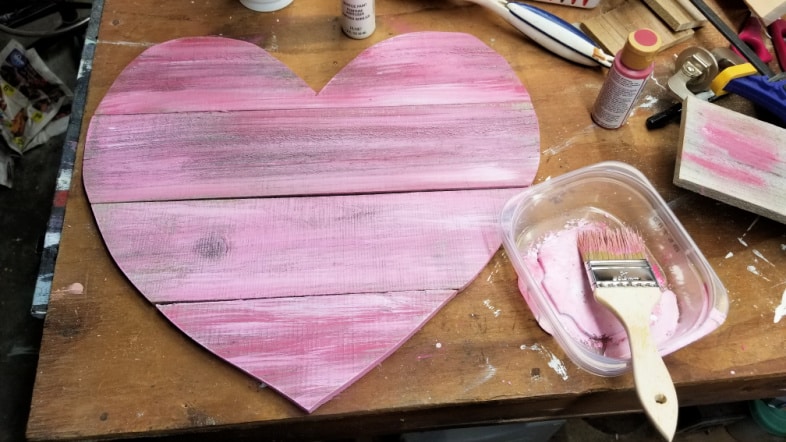
In the end, I added a little white paint here and there to give some definition. The white paint was added to the tub I had been using all along. I don’t do this kind of painting very often, but I have to say that I was loving how it was turning out!
Paint Picture Frame
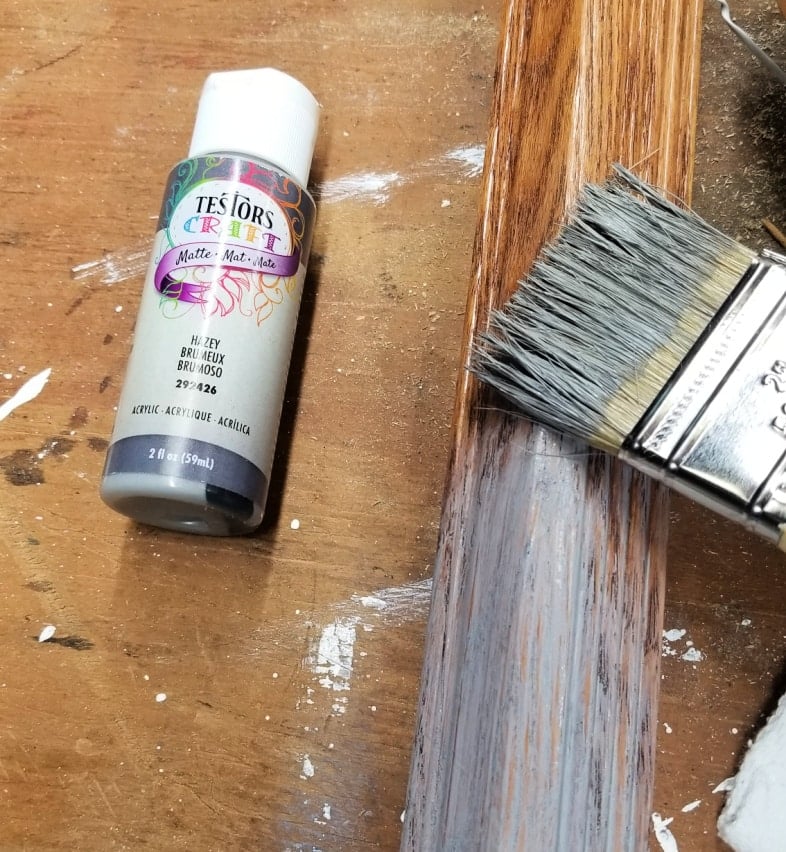
To tone down the frame, I chose a shade of gray craft paint. I painted two light coats over the entire frame.
How to Hold Fence Boards in Frame
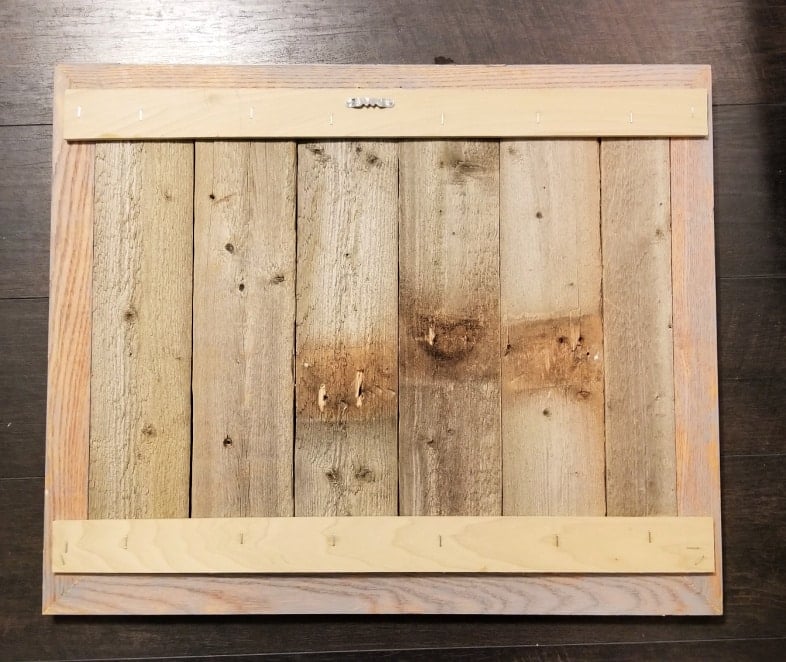
Scrap wood was stapled in place on the back side of the frame to hold fence boards in the frame.
Sand Wood Heart Pieces
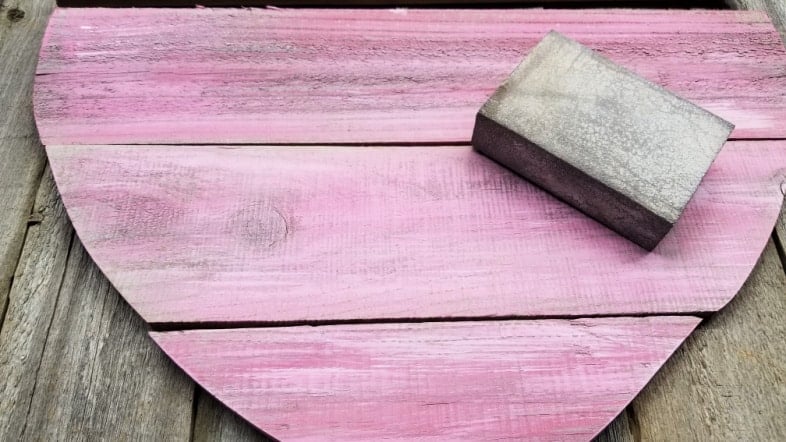
Can you see which part of the wooden heart has been sanded? The lower 2 sections. I did this to just smooth it all out a little.
Attach Wood Heart to Background Boards
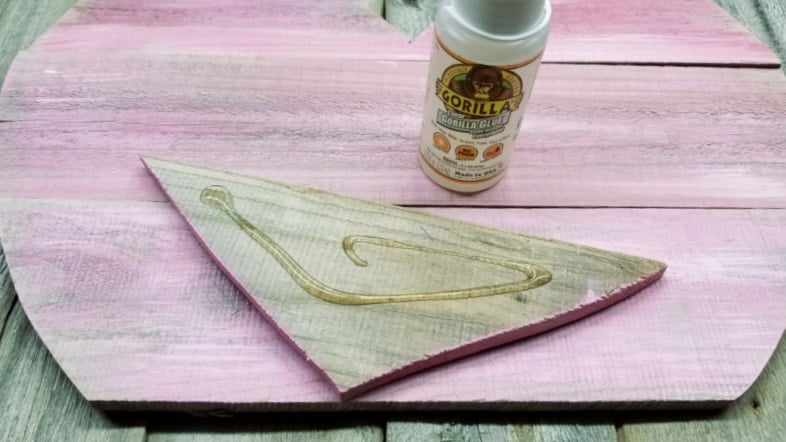
I used original Gorilla Glue—you know the kind you have to damp & clamp?
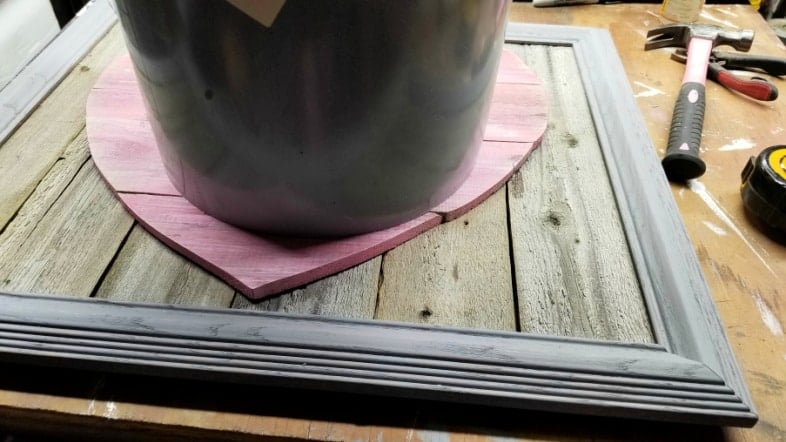
If your project is difficult to clamp, use a heavy object, such as a paint bucket, to hold your pieces in place while the glue sets.
Embellish Frame and Reclaimed Wood Heart
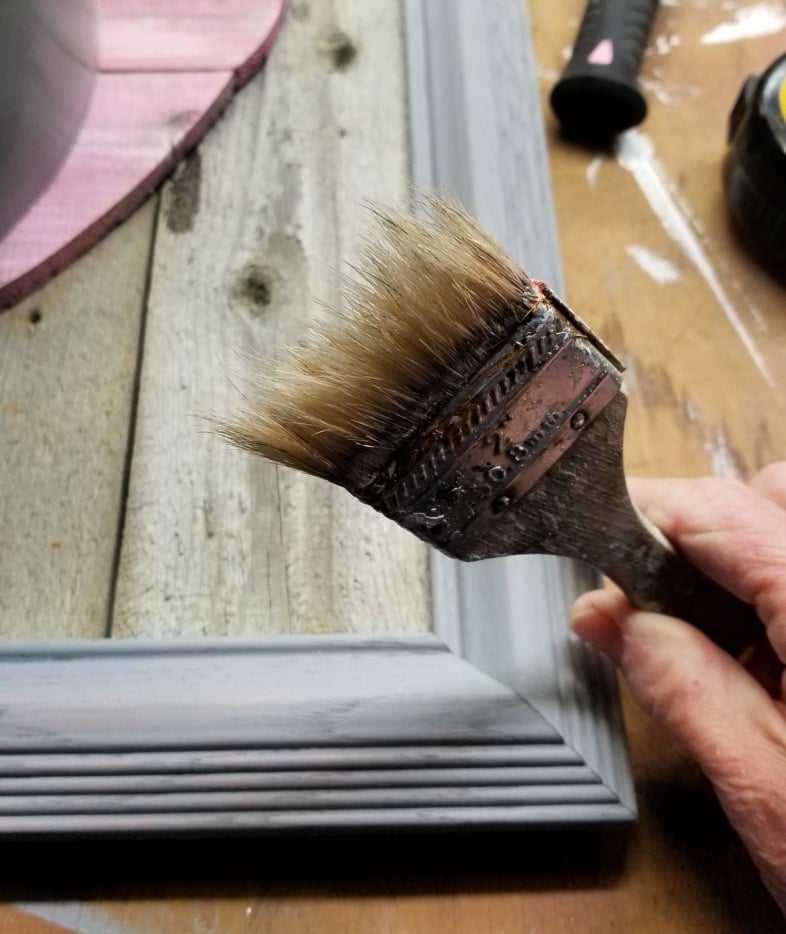
This old chip brush is my absolute favorite for adding highlights or a dry-brushed effect. Do you see those feathery bristles? I used it to add white highlights to the gray frame.
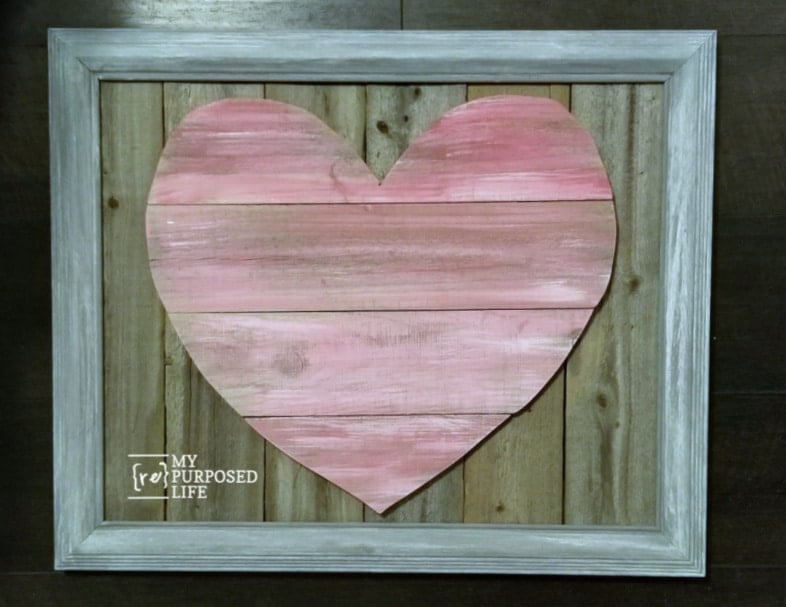
Do you think I should have whitewashed the background boards?
All You Need is Love
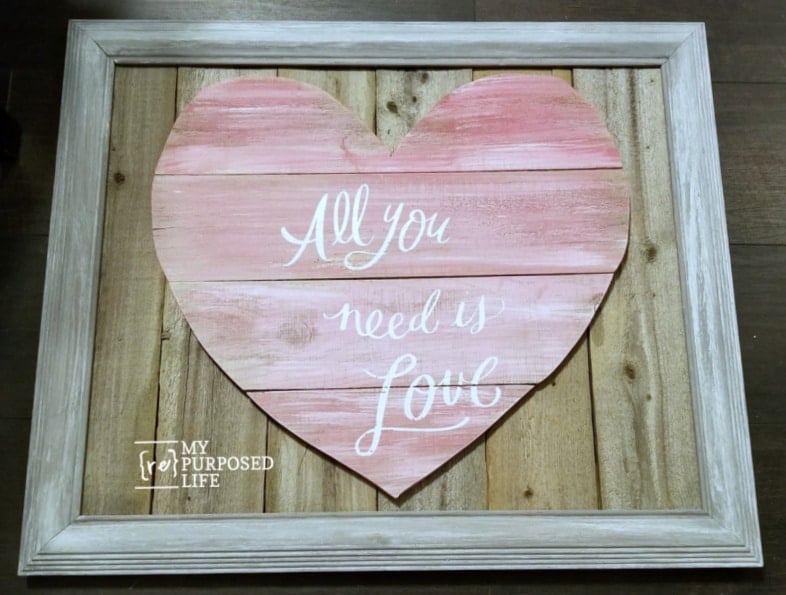
I used a Chalk Couture transfer to add some LOVE! ![]()
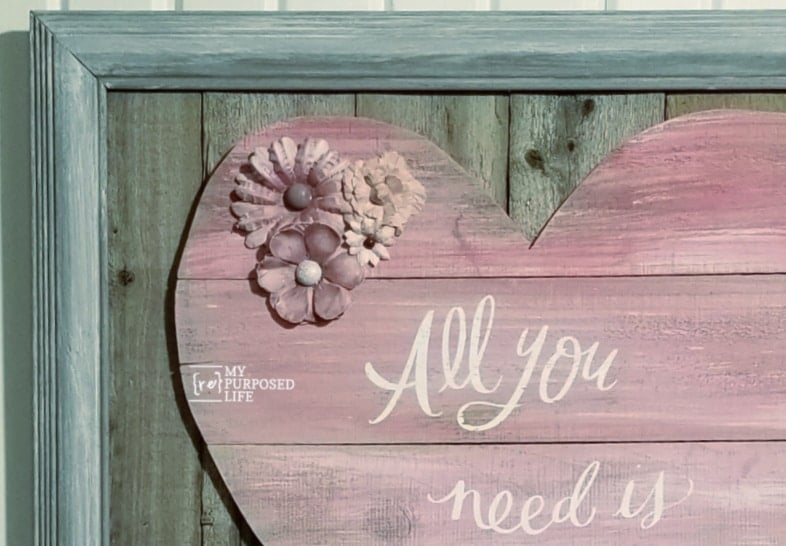
Lastly, I added some paper flowers to embellish the reclaimed wooden heart!
Reclaimed Wood Heart Valentine’s Project

I think this reclaimed wood heart is perfect for Valentine’s Day, or just to show someone how much you love them. Don’t you agree we all could use a little more LOVE?
If you love quick projects that use what you already have on hand, this reclaimed-wood heart is a good one to keep in your back pocket. It works as seasonal decor, a small handmade gift, or a sweet accent tucked onto a shelf or in a vignette. Be sure to save this idea so you can come back to it whenever a little rustic charm feels like just the thing.
This technique isn’t just for Valentine’s Day, check out my Rustic Fall Pumpkin article.
Sharing with Donna’s New Upcycle Ideas — so many great ideas!
I would LOVE for you to save and share this project on Pinterest.
Have you made a reclaimed wood heart?
gail
FABULOUS upcycle, Gail!
I’d love for you to join us over at the Creative Crafts Linky Party every Wednesday through Sunday
https://creativelybeth.com/creative-crafts-linky-party/
Followed and Pinned!
Creatively, Beth
Dollar stores sell paper hearts of many sizes to use as templates
That’s a great tip Michael! Thank you for sharing that with us!
gail
Love this project.
Thanks Marie! I appreciate you taking the time to check out this fun Valentine decor.
gail
Love it. Fabulous job.
Really cute!
Gail,
I love this! Your reclaimed wood heaart is one of the prettiest I’ve ever seen, and I love the way you framed it, and I love the color you got. The flower embellishments look gorgeous!!!!!!! Just outstanding!!!
Barbara,
Your comment made my day! I really struggle with embellishments. I don’t generally have an “eye” for that. Thank you so much!!!
gail
Great post! I was particularly interested in cutting the heart in separate pieces…so much easier. THANKS!!
I’m so happy you found this project tutorial helpful. In my opinion, cutting them separate is what sets this apart from some other tutorials. 🙂
I hope you get a chance to make your own easy reclaimed cut out project. I plan to do another someday with either a bear or a moose.
gail
really like this! love how you finished it off.
Thanks so much Nova. Sometimes I miss projects that “got away”. 🙂
gail
Gail,
I just love this reclaimed wood heart. And the distressed paint job fits the old wood perfectly. Love the floral decorations you attached and the clean white paint. This is a piece I would keep for years! Stupendous!
Barbara,
Thank you so much for your kind comment. I don’t feel comfortable embellishing projects because I don’t really have an “eye” for it. But I do love how the flowers turned out. I ran it past my friend Debbie from Refresh Restyle because she is sooo good at that decor stuff!
thanks again,
gail
Hi Gail,
I love this project, it’s pretty yet rustic. I love the shades of pink on the heart. I adore the frame, it brings everything together. Your so talented, I love that your so confident using tools and working with wood. Thanks for the easy- to-follow tutorial. As you said it doesn’t have to be just for Valentines Day, it wouldn’t look out of place being up all year. Love makes the World go round.
T.D.C.
xxx
Thanks so much for your sweet comment. I really do love working with wood in all aspects. Sometimes I get a little nervous when I use something I haven’t used for awhile, for example the router. But, I just take my time and use all the safety precautions and move forward. 🙂
Love does make the world go round, all you need is LOVE!
gail
The heart is perfect the way it is! I think a white wash might take my focus away from the heart. Also, the flowers brought it to the next level – Brava!
awww, your comment made me smile Rich! Thanks so much for your kindness.
gail
Oh, how sweet this is. I did one last year without the fabulous reclaimed lumber. It’s cute, just not wonderful. I used very watered down acrylic paint to make like a stain. I like that it’s got a backing and framed. Might have to find some weathered wood. Wood here is eaten by termites before it weathers. We’re so dry and sunny. I used my Cameo silhouette to make a stencil that said love is all you need. But of course it left a few places to touch up. Unlike the chalk couture.
Thank you Jennie. I really love how this all came together. It helps that I have so much junk on hand. 🙂
How sad that you can’t get true weathered wood. These are the fence boards that I use to use for making wedding signs. I only have a few left, and was so happy that I found a use for the smaller boards. Because of the rough boards, the chalking wasn’t perfect, to make it look good–I simply sanded all the wording slightly. voila! perfectly rustic!
gail