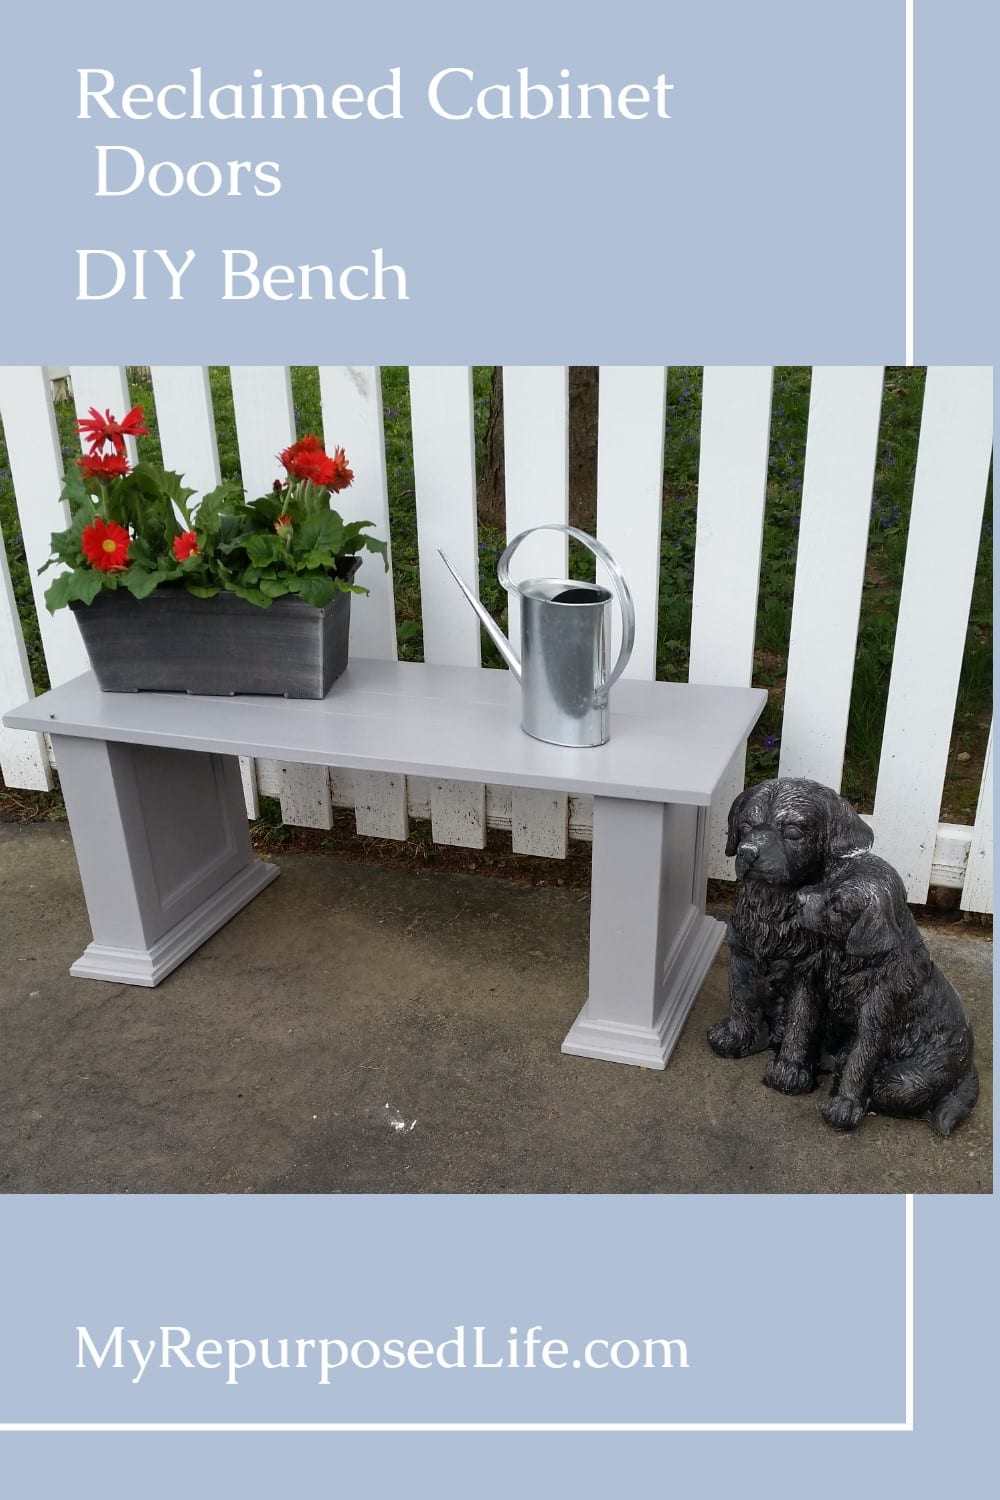
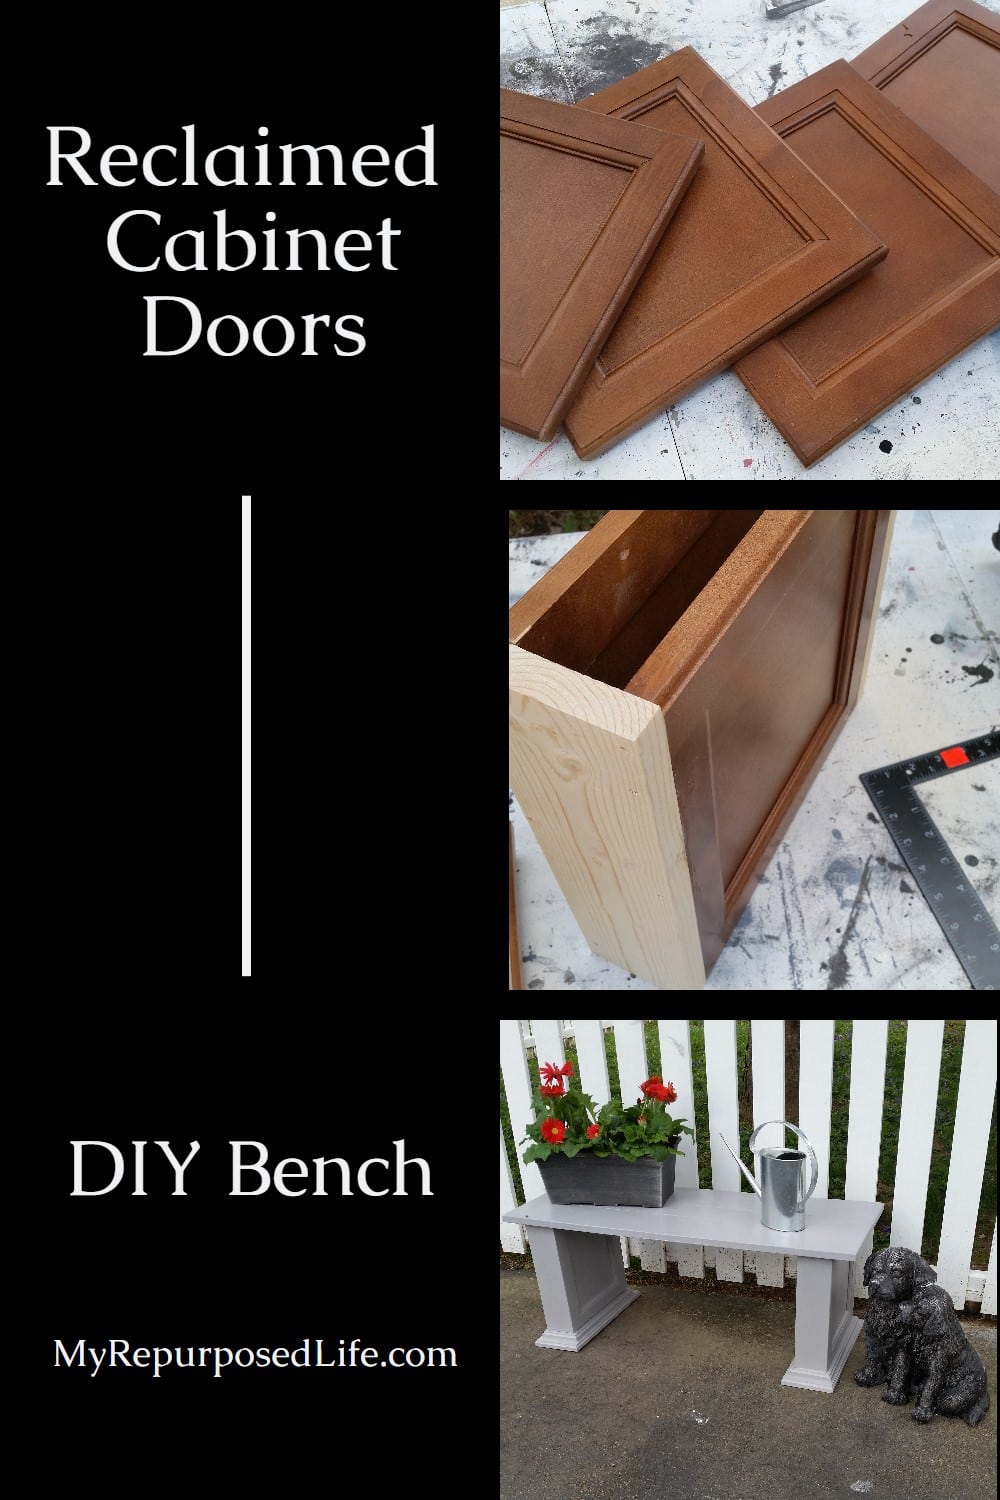
Repurposed Cabinet Door Bench
As an Amazon Associate, I earn from qualifying purchases.

Today’s project is something I’ve never done before. I made a small cabinet door bench. After I saw a bench on pinterest that had some sides with detail, I remembered that I had many of these cabinet doors in my shed.
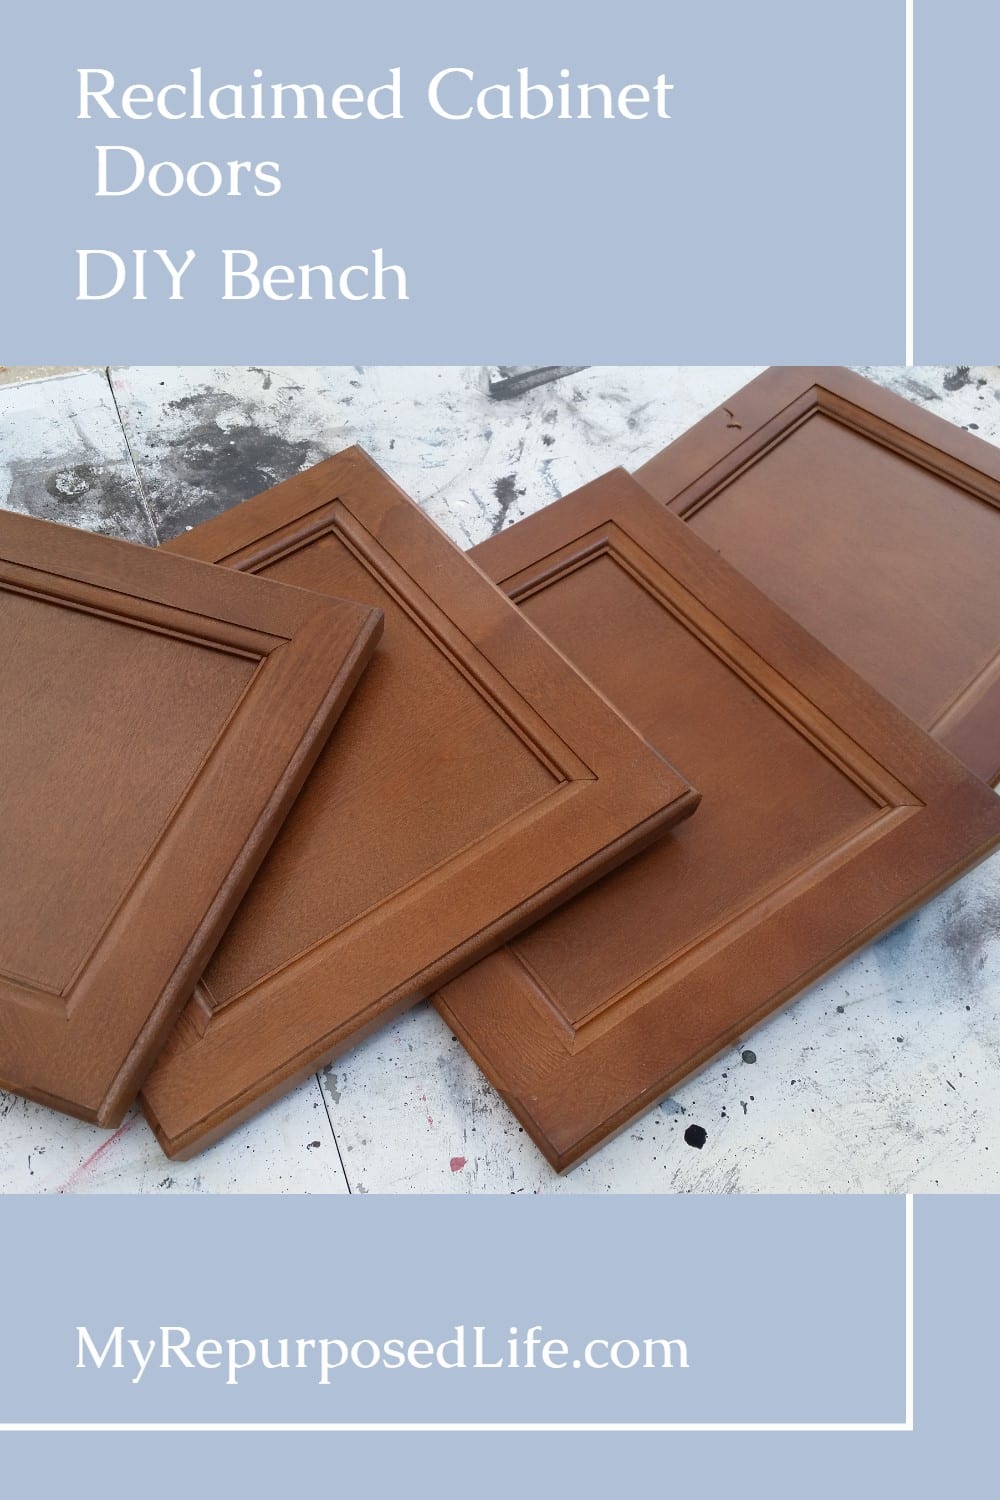
ReStore Cabinet Doors

I bought about 20 of these a couple of years ago for $1 each. At the bottom of this post, I’ll share the other projects I made using these bargain cabinet doors.
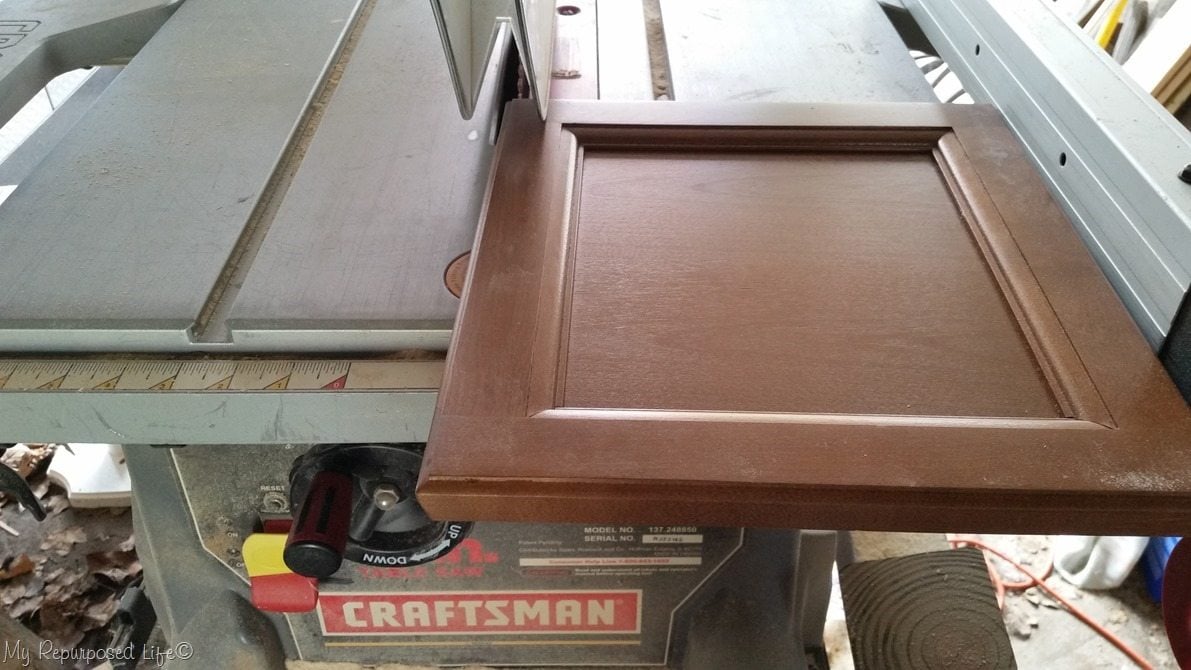
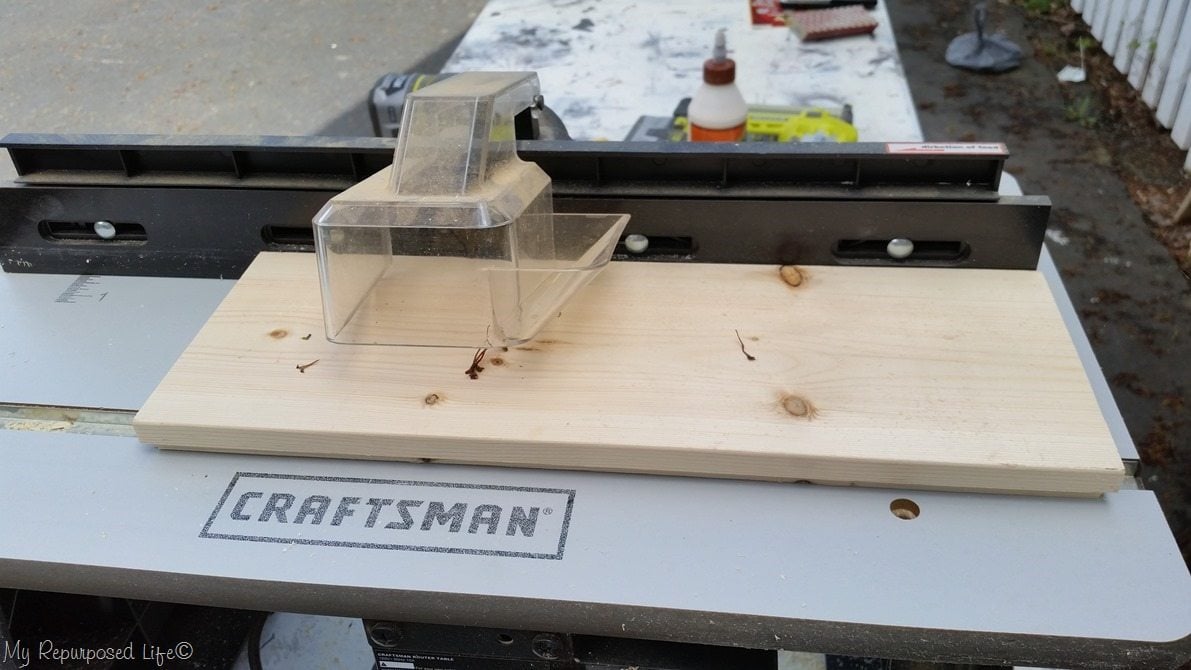
Because two sides of the doors had a beveled edge (or slant) I had to trim them slightly on the table saw. All four sides needed to be squared off. Hindsight 20/20, I should have trimmed all four sides up against that small edge. I’ll share later why I should have done this.
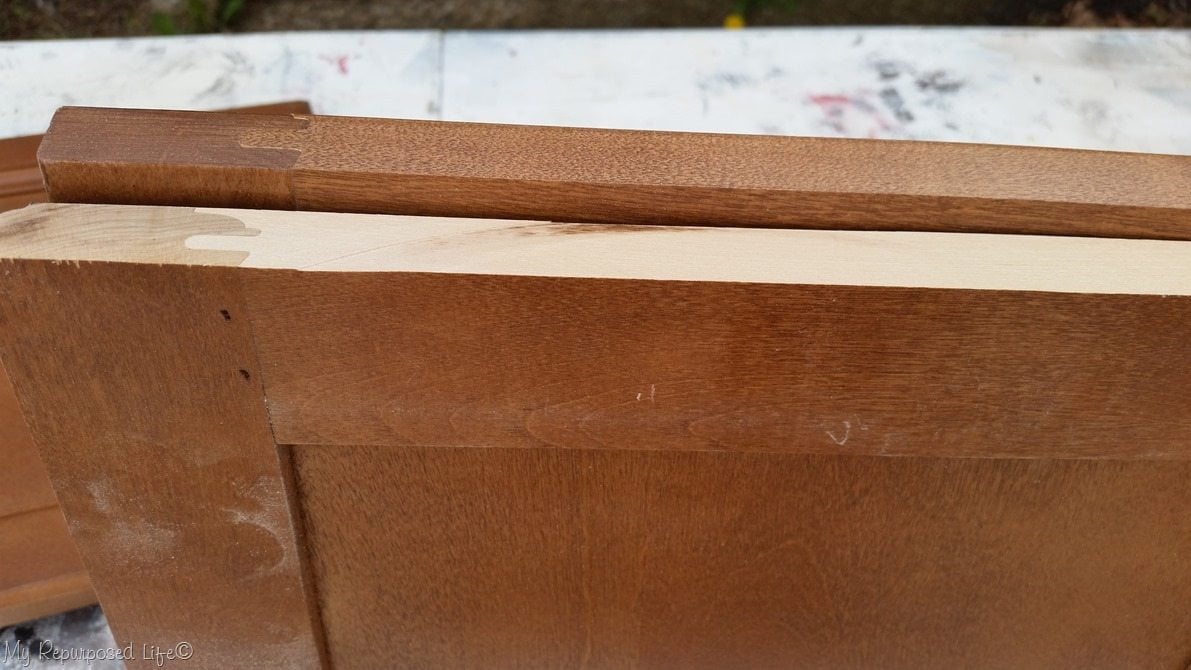
You can see I removed only a small portion. of the edge.
Visit the My Repurposed Life Amazon Store to shop my favorite items.
Designing the Bench
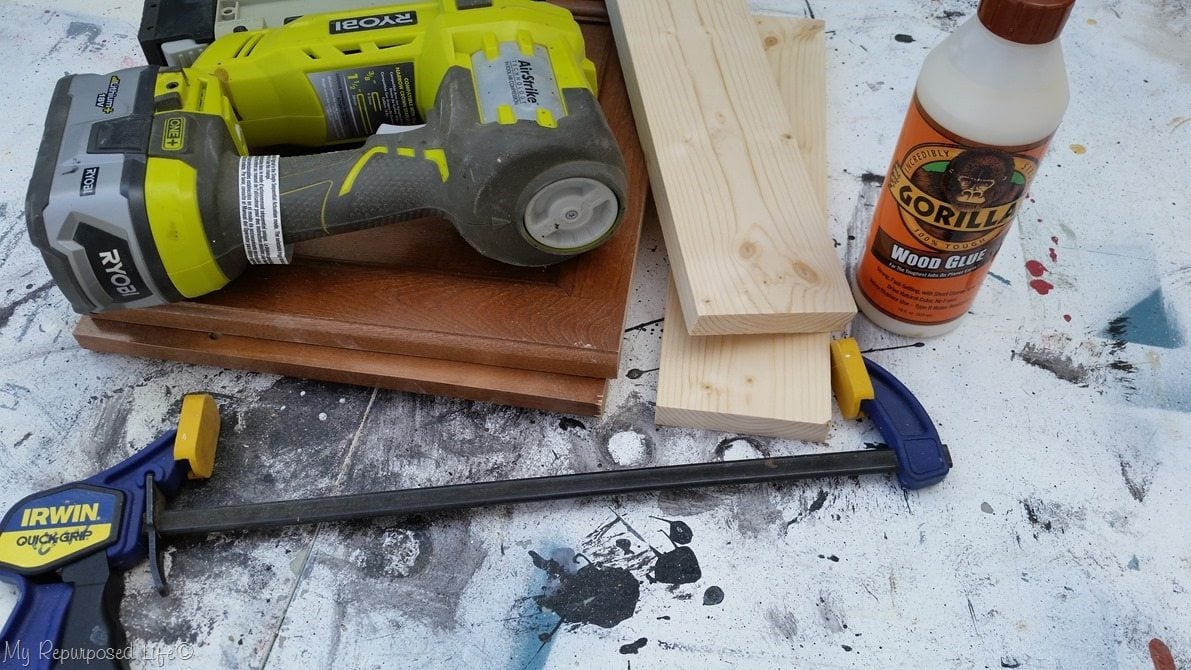
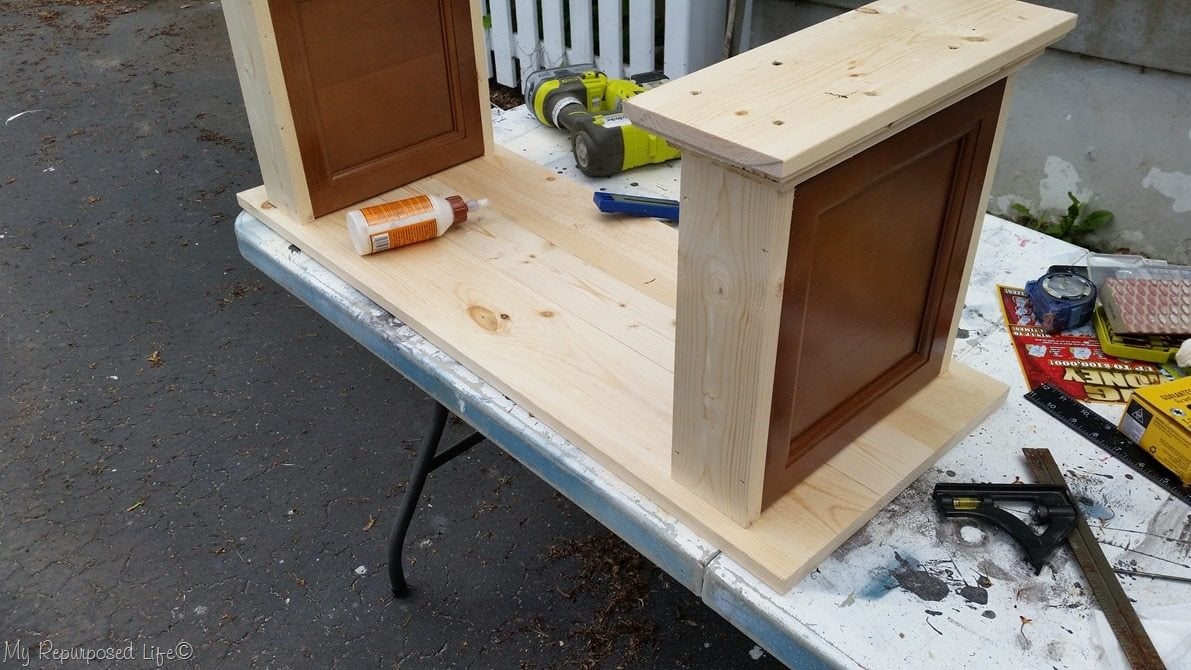
To make the left and right side of bench base I needed two cabinet doors, two small pieces of 1×4, quick clamps, gorilla wood glue and my nail gun. I was definitely making this up as I went along. ![]()
Left and Right Leg Components
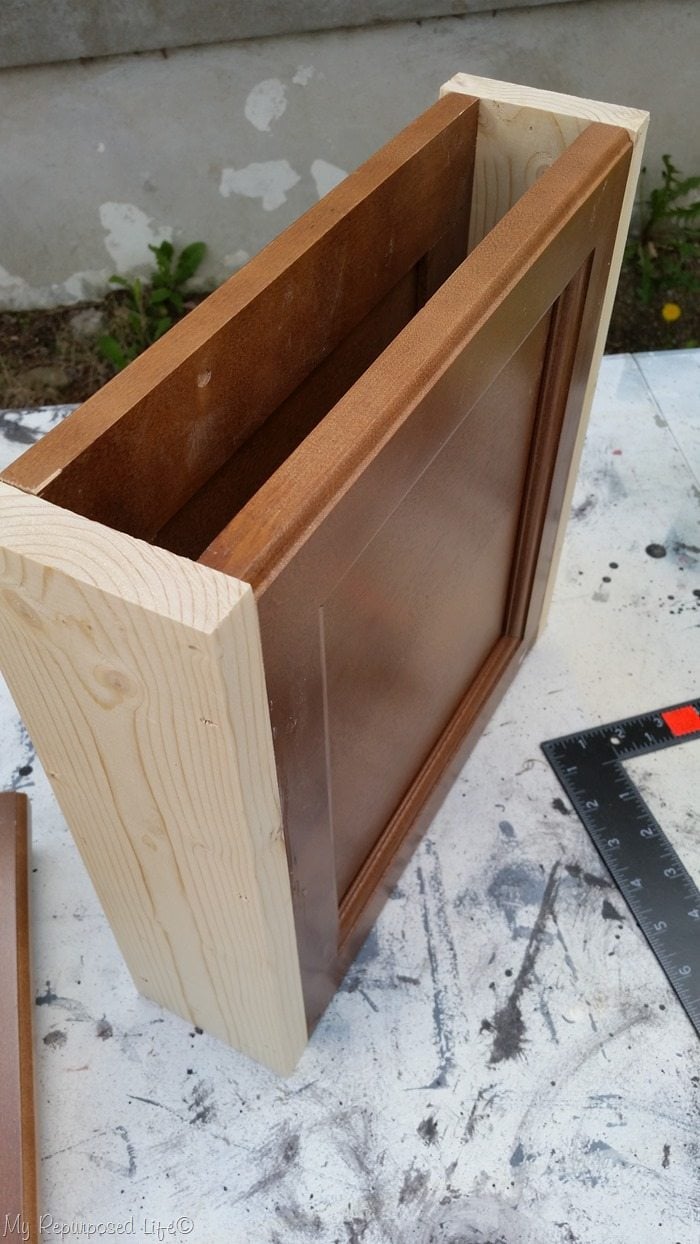
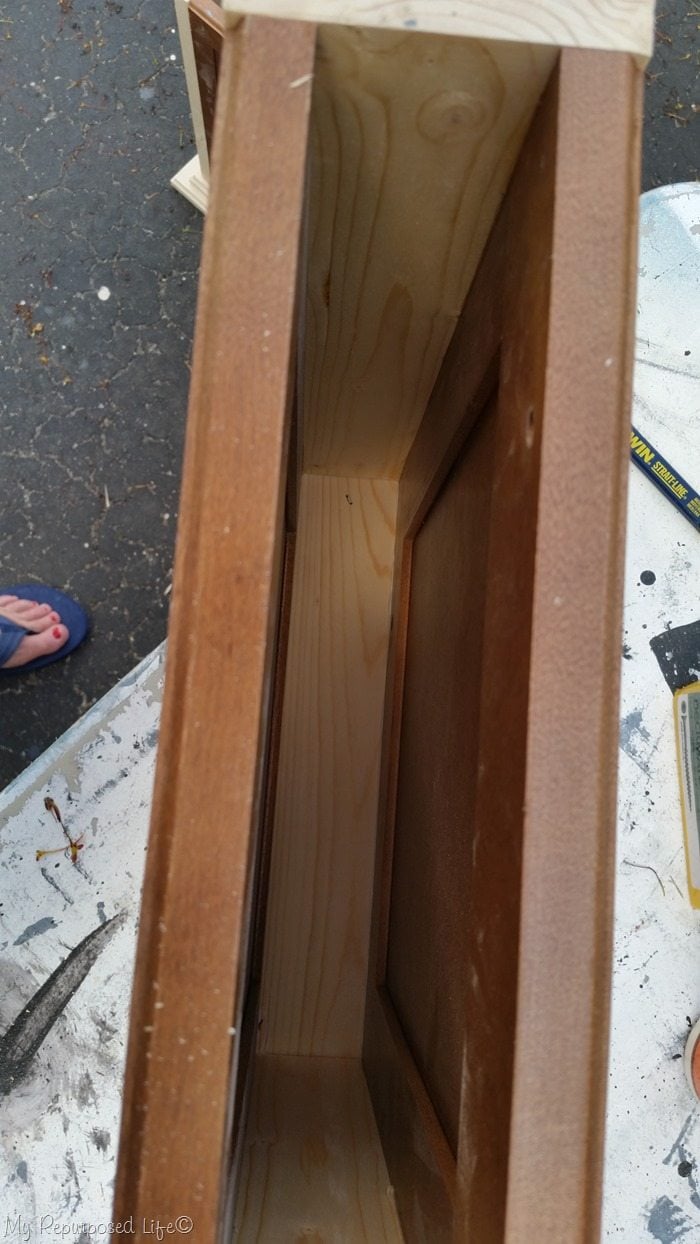
Spreading the wood glue, carefully clamping, and shooting the brad nails left me with a little boxed in section.
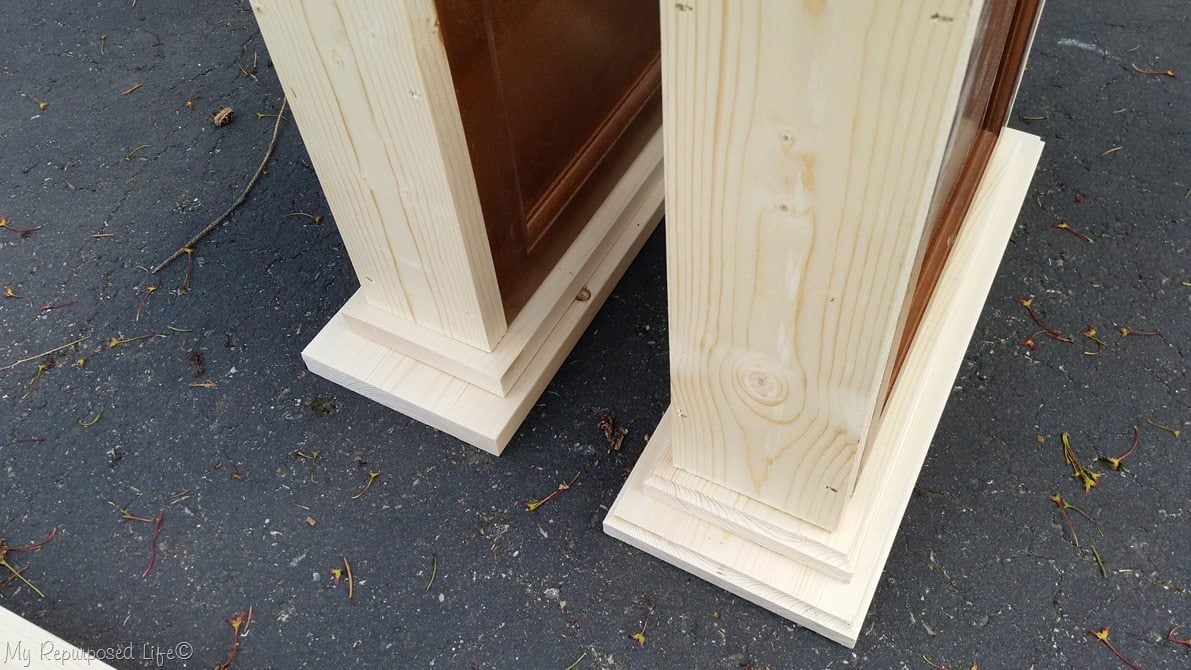
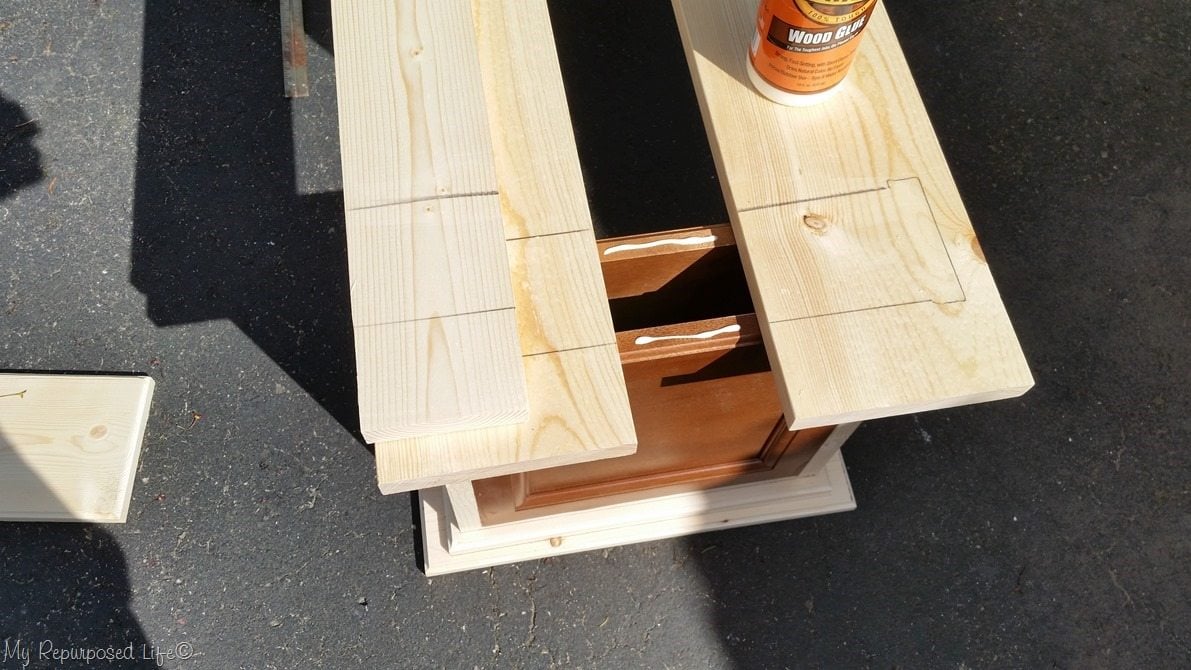
Using some scrap 1×6’s I added some height to the bench as well as making the base of the bench supports look nicer. You can see the difference of these two. The one on the right has already received the router treatment.
Router Table
I really didn’t want to drag out the router table, but I knew that the base would look so much better if I dressed it up a little.
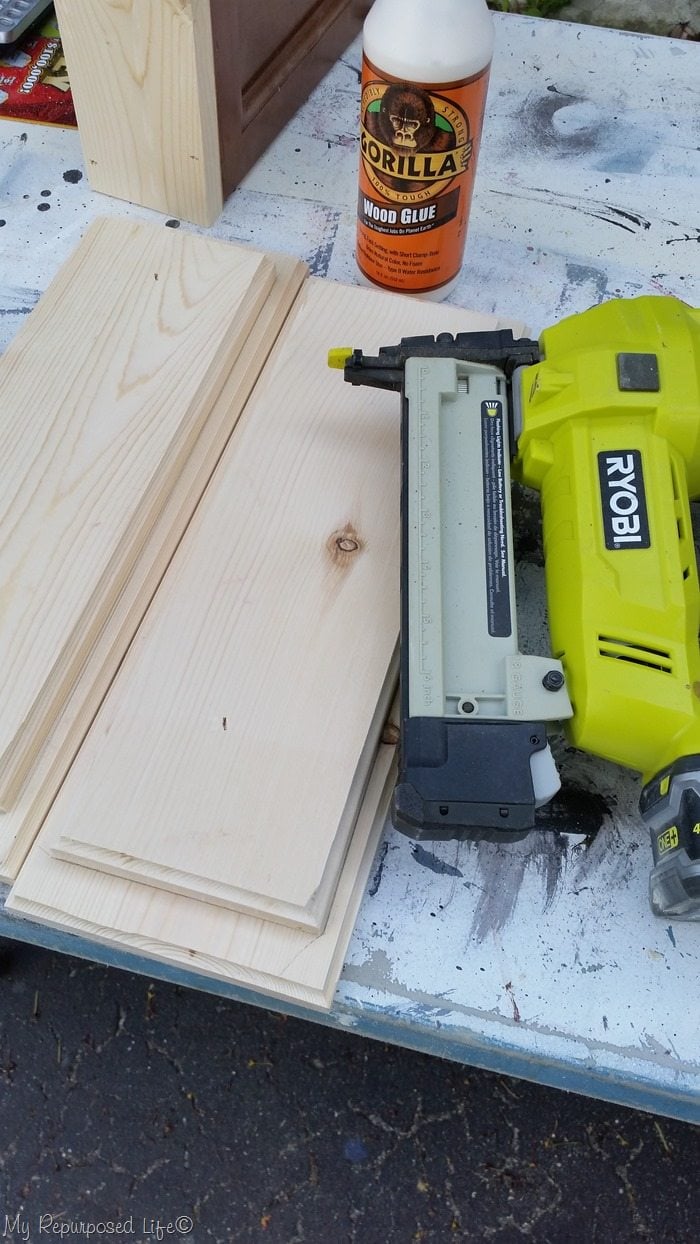
I love using my nail gun as a glorified clamp!After I spread the wood glue, I popped in a couple of brad nails to hold the pieces together—so much easier than trying to secure screws. The glue makes the pieces slip. The brad nails hold everything secure for the next step.
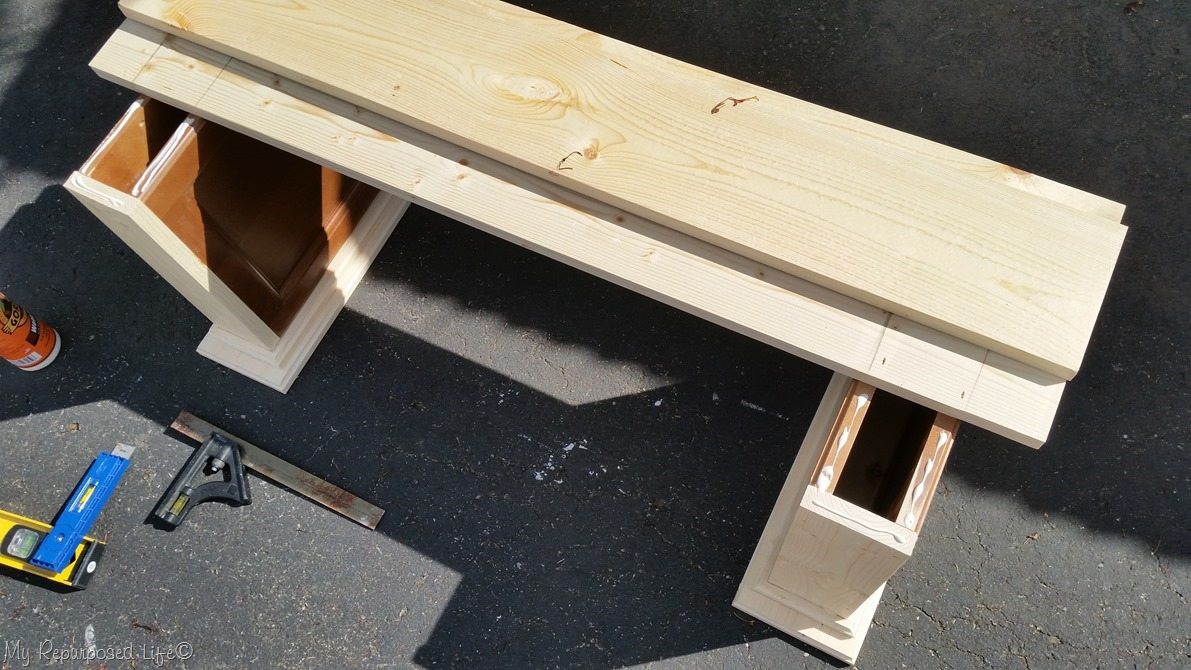
Draw Outline of Legs
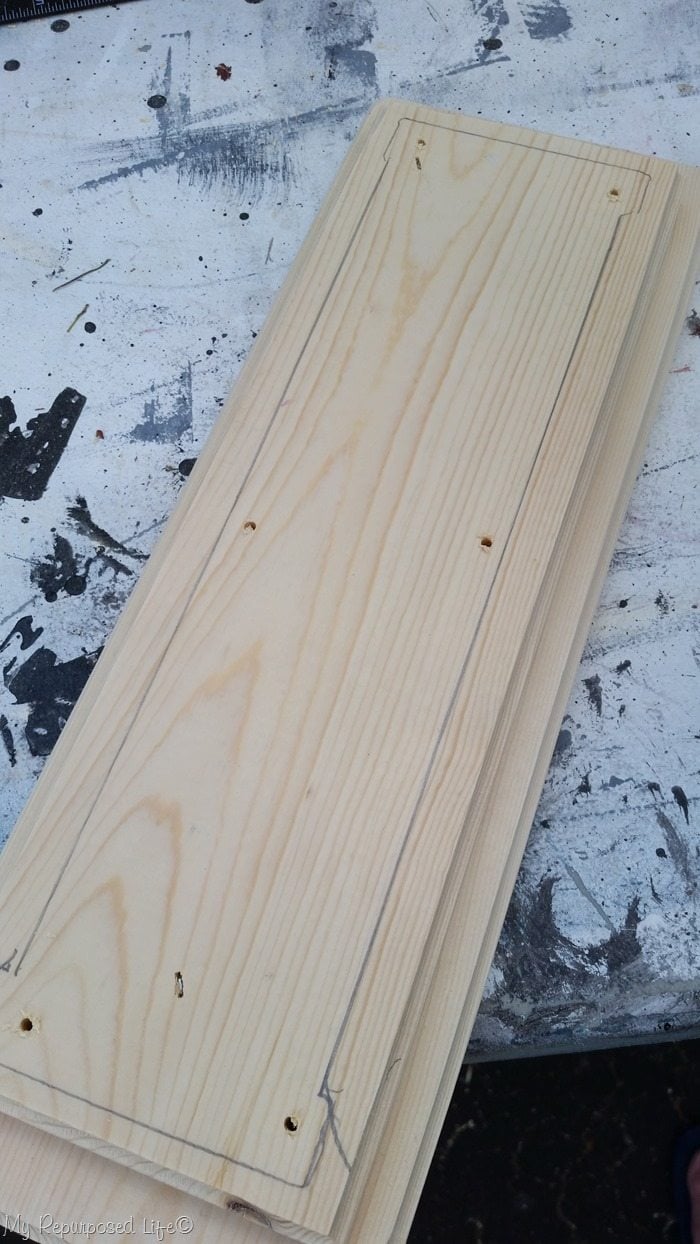
Tracing the outline of the base on the top board helps me know where to drill the pilot holes that will secure the base to the support.
Secure Legs to Base
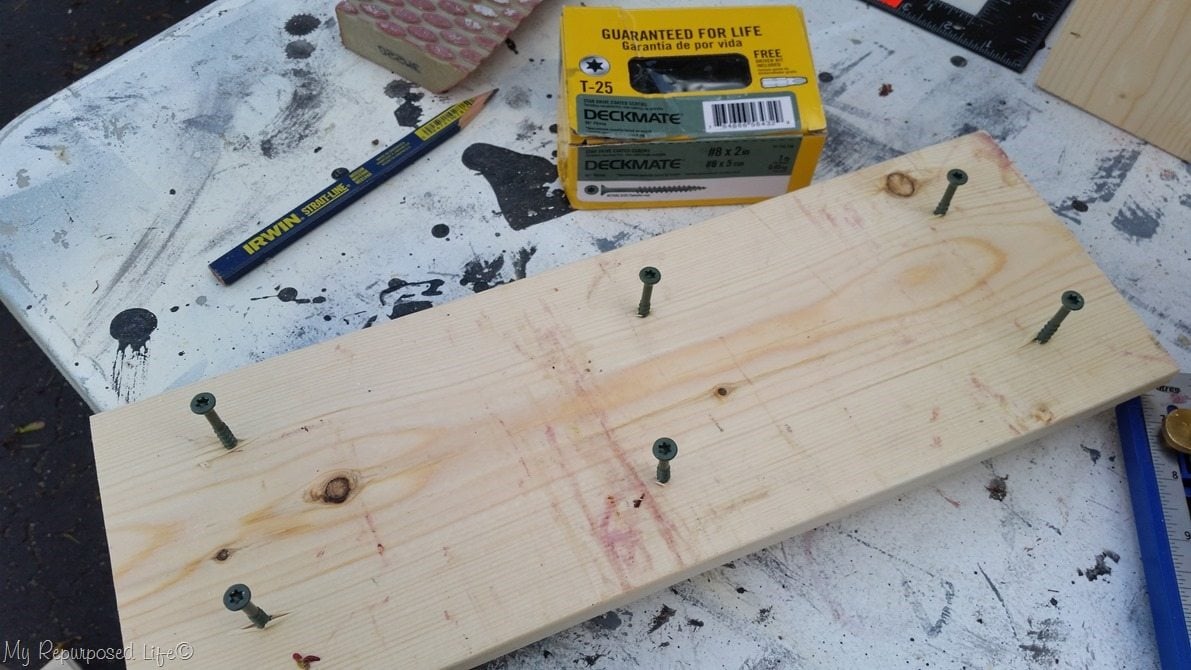
I started all of the wood screws to make it easier to attach the base to the support.
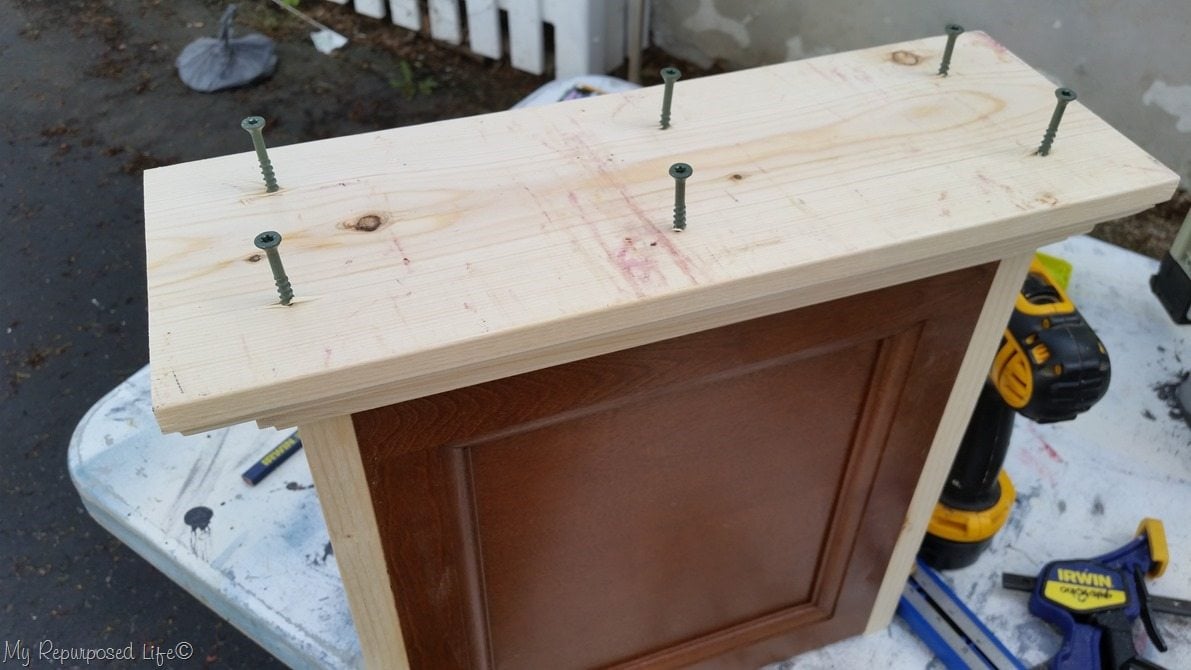
Using more wood glue and these strong wood screws will give a great hold for the bench supports.
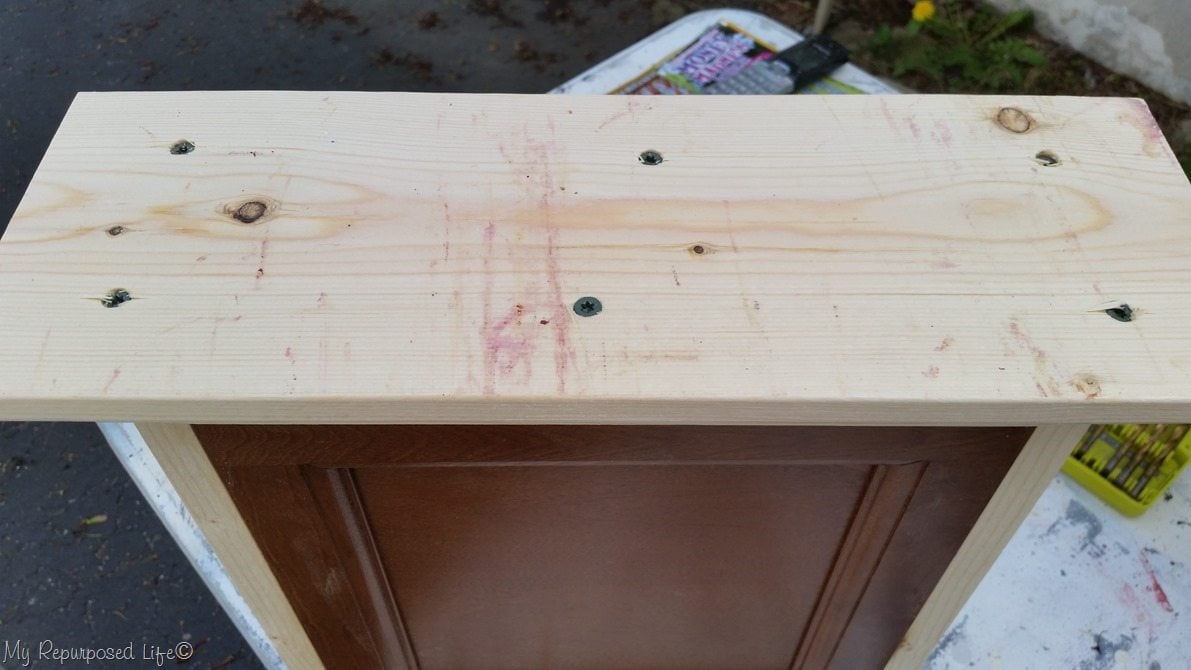
The soft wood allows me to easily countersink the wood screws so the base will rest flush on the floor.
You can see by looking down into the bench support that the screws are securely positioned perfectly thanks to tracing the outline and pre-drilling the pilot holes.
Cabinet Door Bench Base
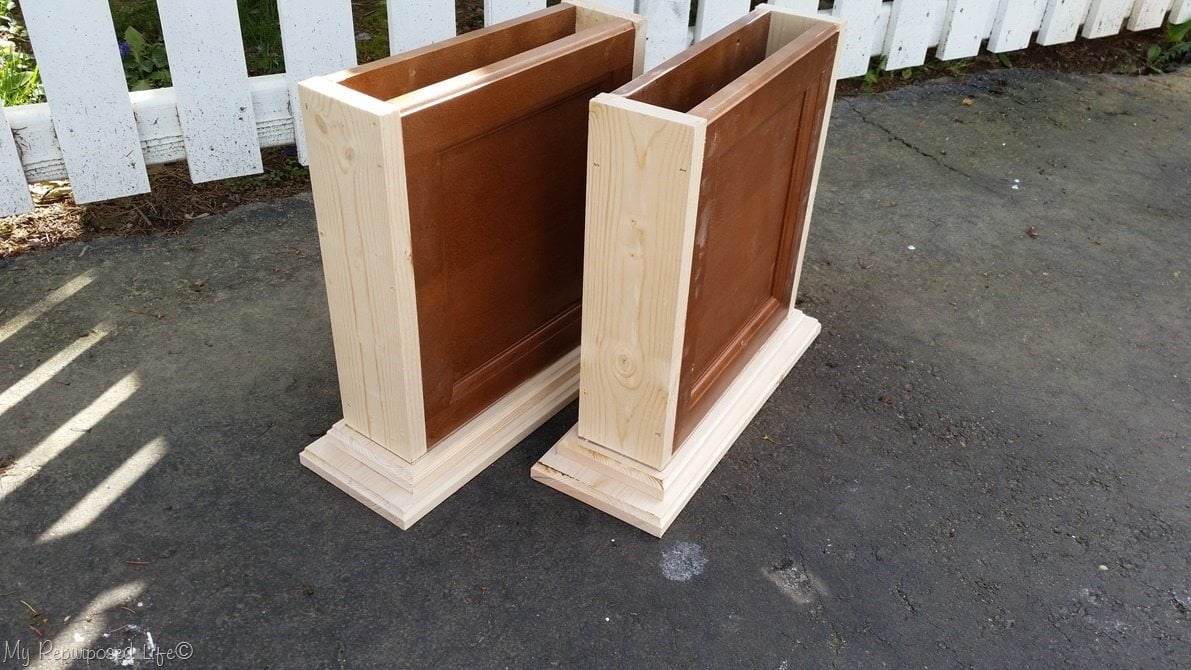
Pretty cool, eh? This part of the project went really smoothly and quickly.
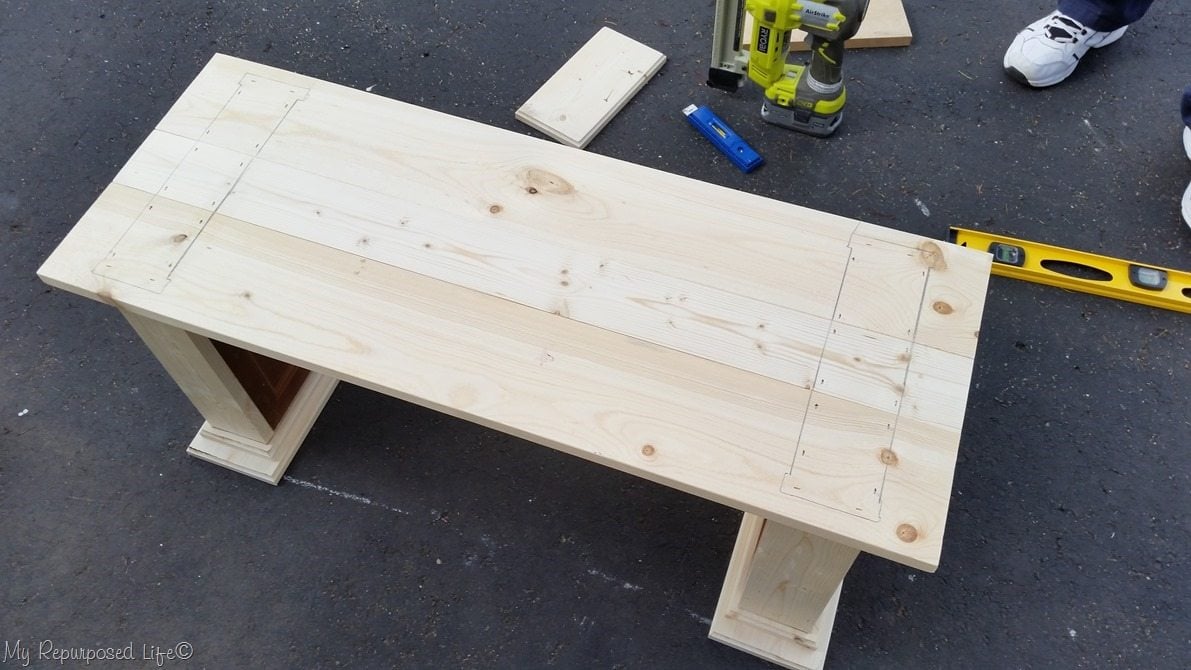
Attach Bench Seat
I found this was the easiest way to figure out the placement of the bench supports onto the bench seat which consists of two 1×6’s and one 1×4.

To get the spacing equal on the right and left support I used my kreg multi-mark tool and my combination square. After getting them perfect, I traced around the edges with a carpenter’s pencil.
Attach Seat with Wood Glue
There is only one spot in my driveway that is level enough to work on a project like this. See how I have traced around the edges? That will guide me when I go to shoot the staples that will hold the seat in place (as well as the wood glue). I chose to do the middle board first, gluing and stapling each end to keep the supports from shifting.
I repeated the process with the front and back bench seat boards. Glue and staple.
Tracing really made all the difference! I wouldn’t have been able to hit the center of those cabinet doors and 1x’s had I not traced the outline.
Cabinet Door Bench Ready For Paint
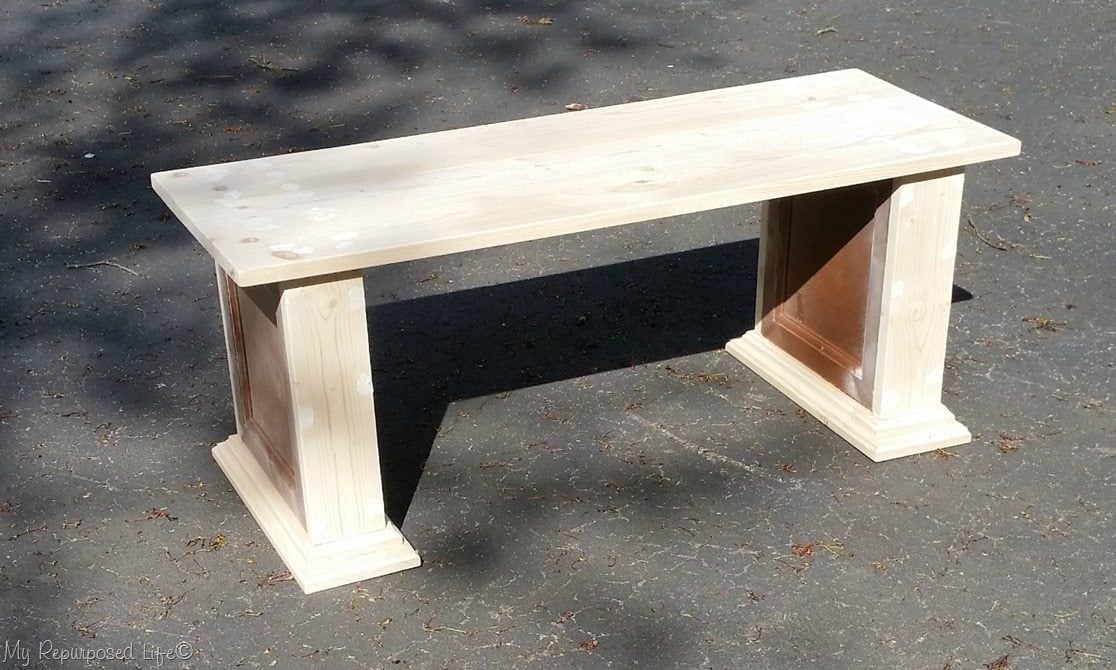
I used spackling to patch the small staple dents.
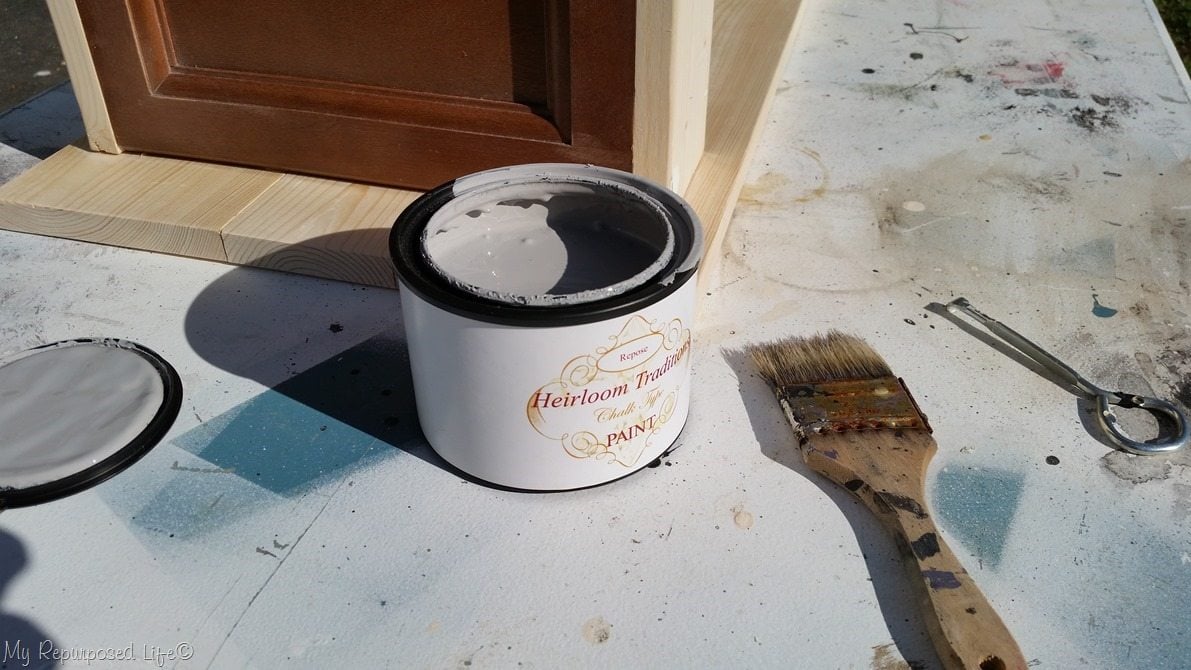
Heirloom Traditions chalk type paint in the color Repose was chosen to keep the bench a nice neutral color. (use the promo code MYREPURPOSEDLIFE to get this month’s deal from HTP) The paint was applied with a cheap chip brush. I always start painting my projects upside down.
I did two coats of the Repose on the bench.
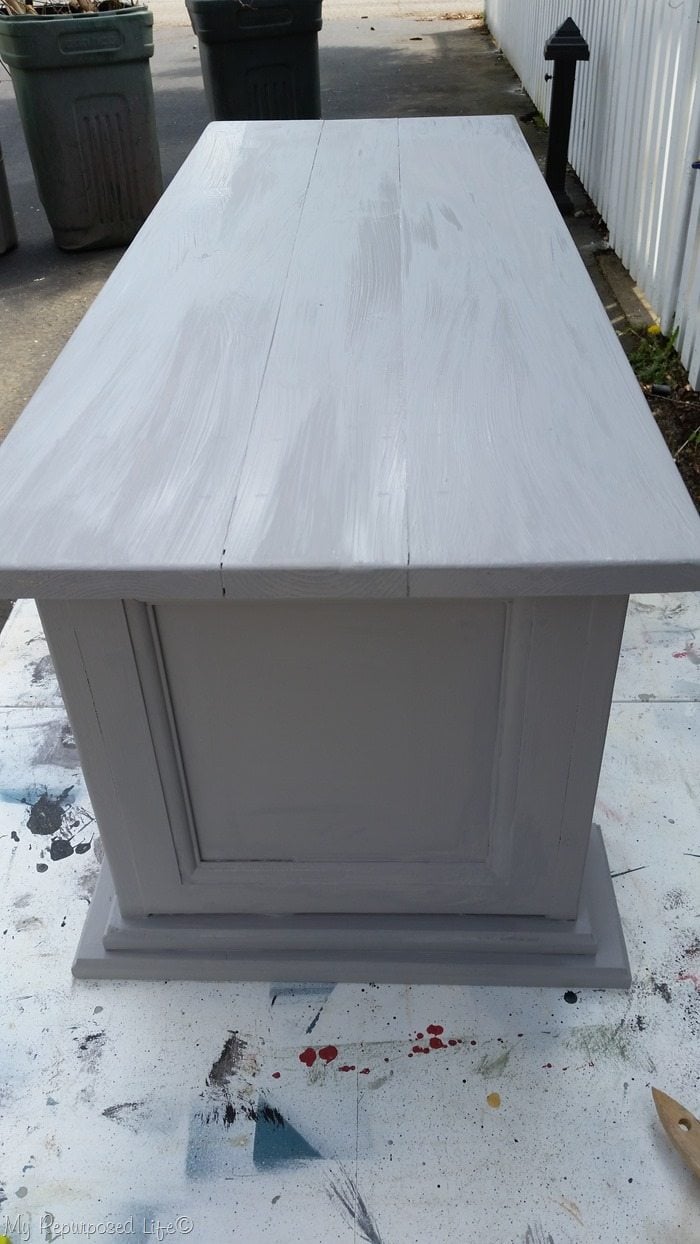
Pretty Gray Bench
This is the bench after two coats of chalk type paint, but no wax yet.
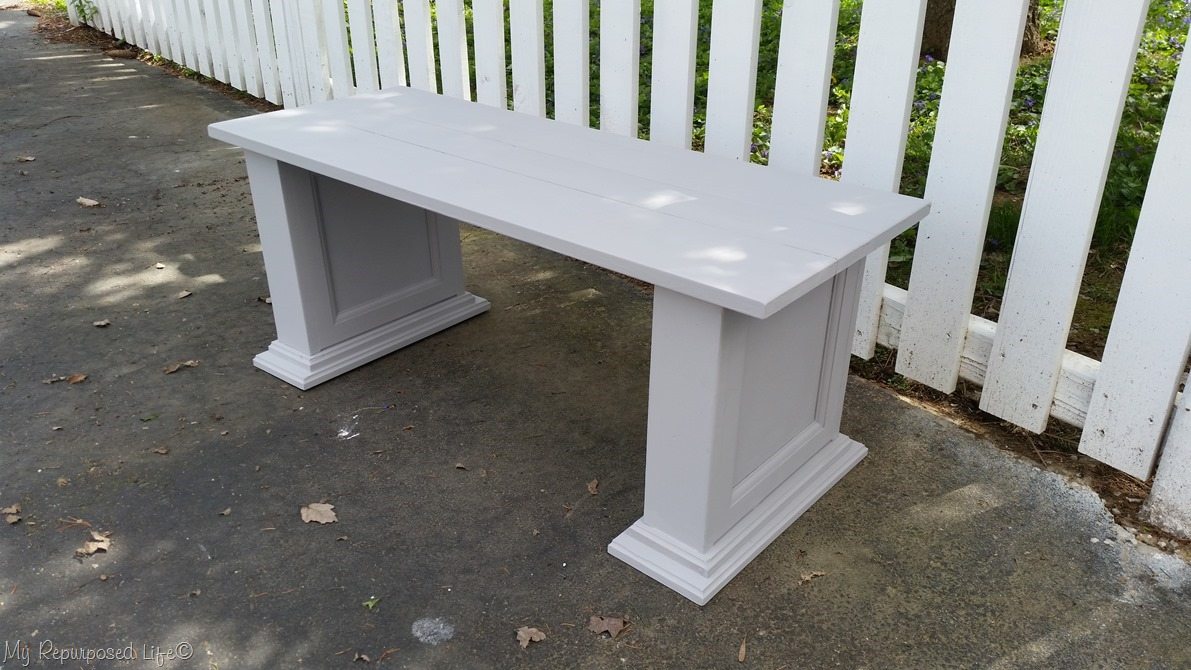
I used clear wax from Heirloom Traditions along with one of their wax brushes. I buffed the wax with a soft cloth.
In this photo, you can see how the wax changes the hue of the color. See the small portion of the support that got some wax on it while I was doing the underside of the bench seat.
Earlier I mentioned that I should have trimmed all the edges of the cabinet doors. See the small gap where the cabinet door meets the underneath side of the bench seat? I don’t think it’s something anyone will notice, but sure wish I had cut it.
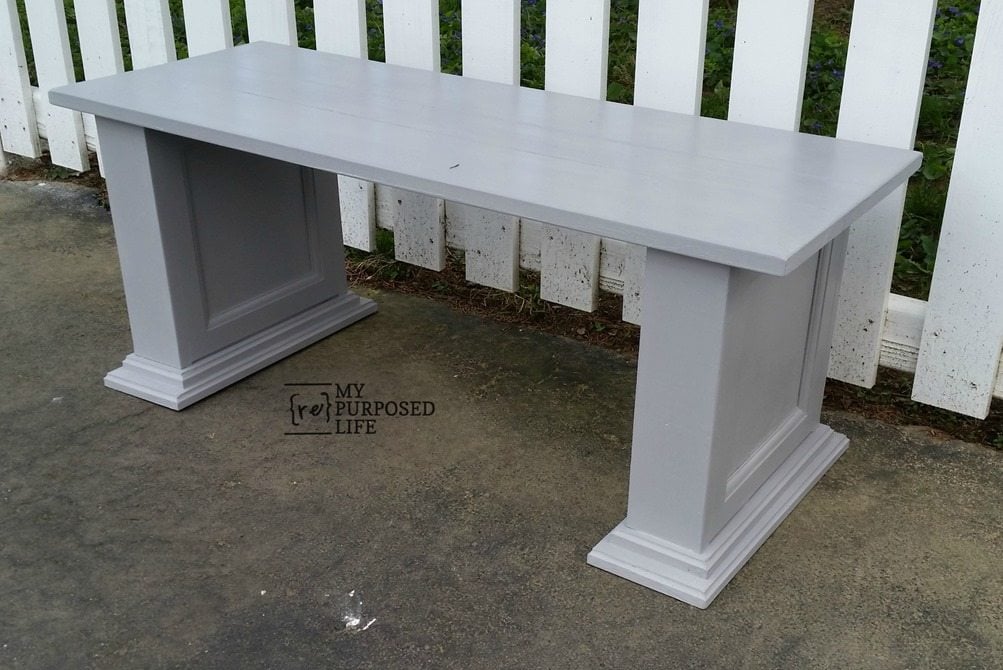
Here is the finished bench after it was waxed. This was a really fun project.
DIY Cabinet Door Bench

I think this bench is very versatile—great for outdoor seating, extra seating indoors, or even makes a great coffee table for the patio.
PIN IT!
What do you think? Do you love benches as much as I do?
Here are the other projects I did with these cabinet doors.
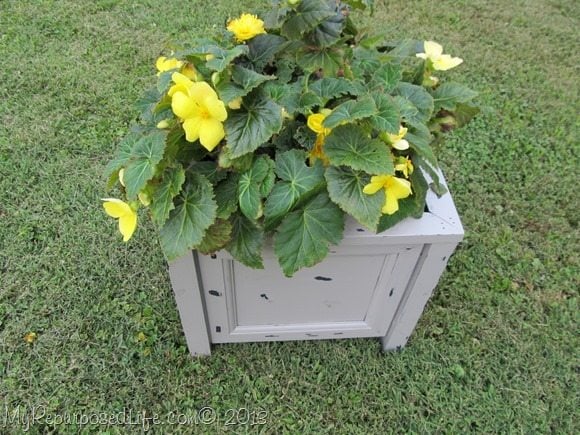
Planter made from $1 cabinet doors
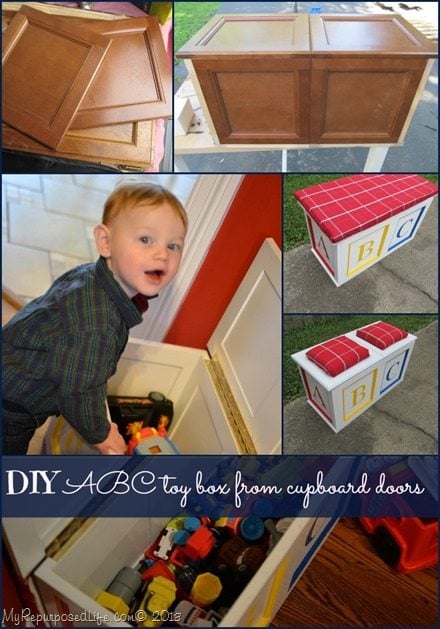
ABC Toy Box made from Repurposed Cabinet Doors.
Have you repurposed cabinet doors? If you’re looking for ideas, maybe the projects below will get your creative juices flowing.
[categorythumbnaillist 359]
i really love how this turned out. great re-purpose of those cabinet doors.