• Skip to primary navigation
  • Skip to main content
  • Skip to primary sidebar
  • Start Here
  • Shop Favorites
  • About
    • Welcome To My Repurposed Life Home of Repurposed Furniture
    • More About Gail
    • Disclosure
    • Privacy Information
  • Gallery
    • Repurposed Furniture
  • Repurposed Items
    • Building Supplies
    • Miscellaneous Household Items
    • Picture Frame/Chalk Board
  • DIY
    • Home Reno
    • outdoor living
    • Painting
    • Shop Talk
    • Tips for Around the House
    • Build It
      • Furniture
      • Home Decor
      • Storage
    • Crafts
      • Dollar Store
      • Easy
      • Holidays Seasonal
  • Furniture
    • Chair
    • Desk
    • Dresser/Chest
    • Headboard | Bed Parts | Cribs
    • Kids Furniture
    • Table
    • Kids Furniture
My Repurposed Life® Rescue Re-imagine Repeat
menu icon
go to homepage
subscribe
search icon
Homepage link
  • About
  • Start Here
  • Project Index
  • Furniture
  • Subscribe
    • Email
    • Facebook
    • Instagram
    • Pinterest
    • RSS
    • Twitter
  • ×

    Home » Repurposed Furniture » Repurposed Door into a Trunk

    Repurposed Door into a Trunk

    Published by Gail | Published April 18, 2012 | Updated June 2, 2022
    As an Amazon Associate I earn from qualifying purchases.

    Pin
    Share
    Tweet

    I love to do repurposed door projects. This door was a very heavy exterior door. My friend Cathy and I curbed it a couple of years ago. I still remember the day we picked it up. We were in a borrowed truck, parked going uphill! We really struggled to get this baby into the truck, it’s been stored, just waiting for me to get to it.

    So, while working on this project it was not easy for me to carry, and even more difficult for me to cut it down.
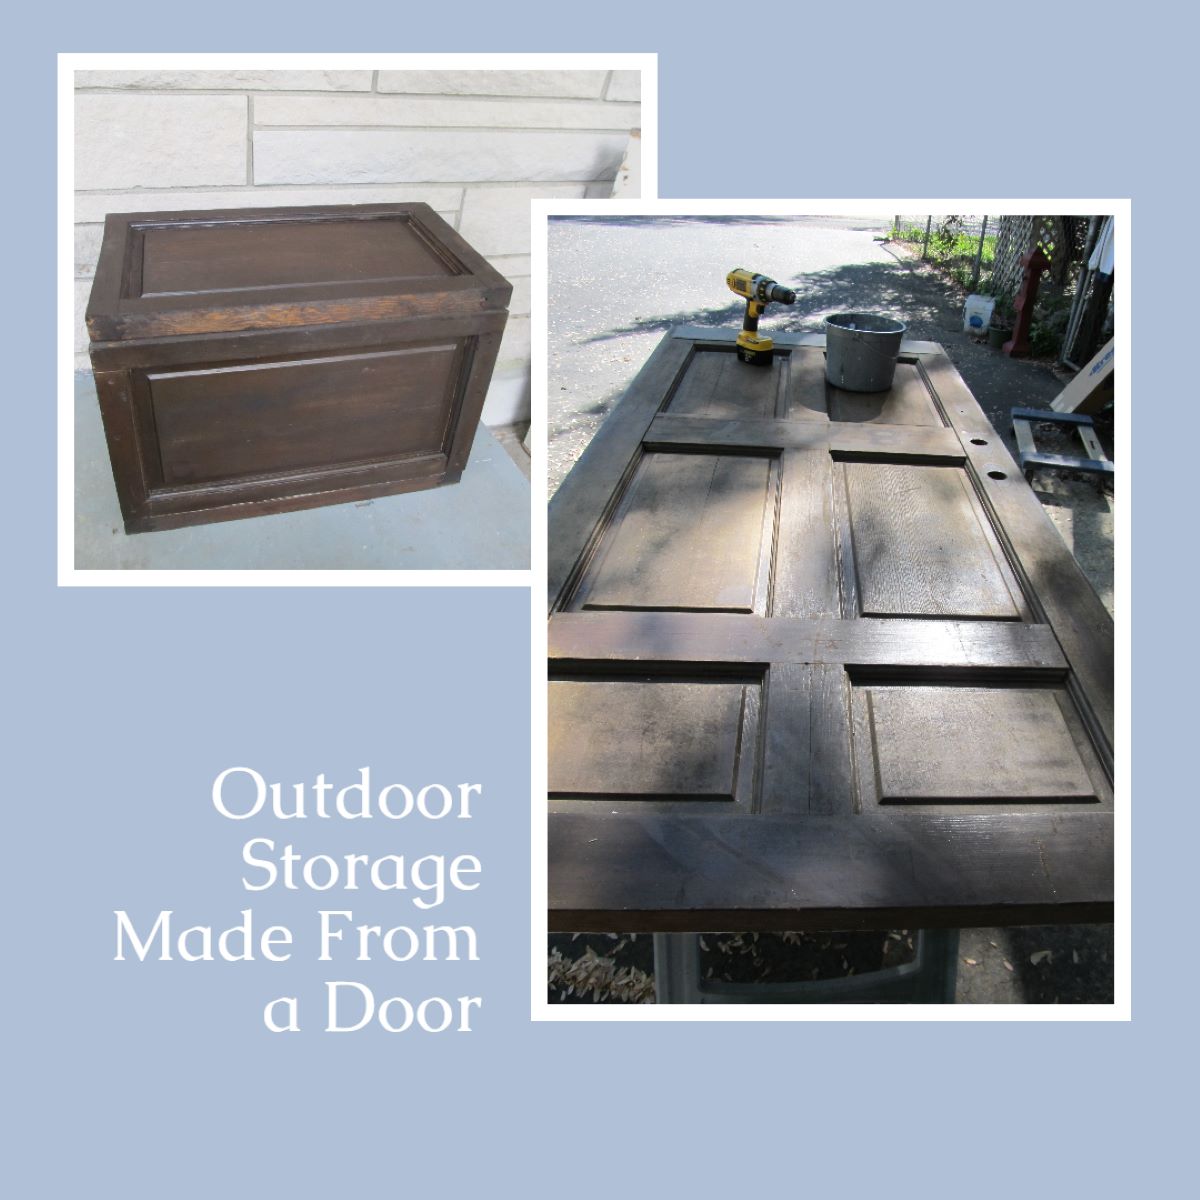
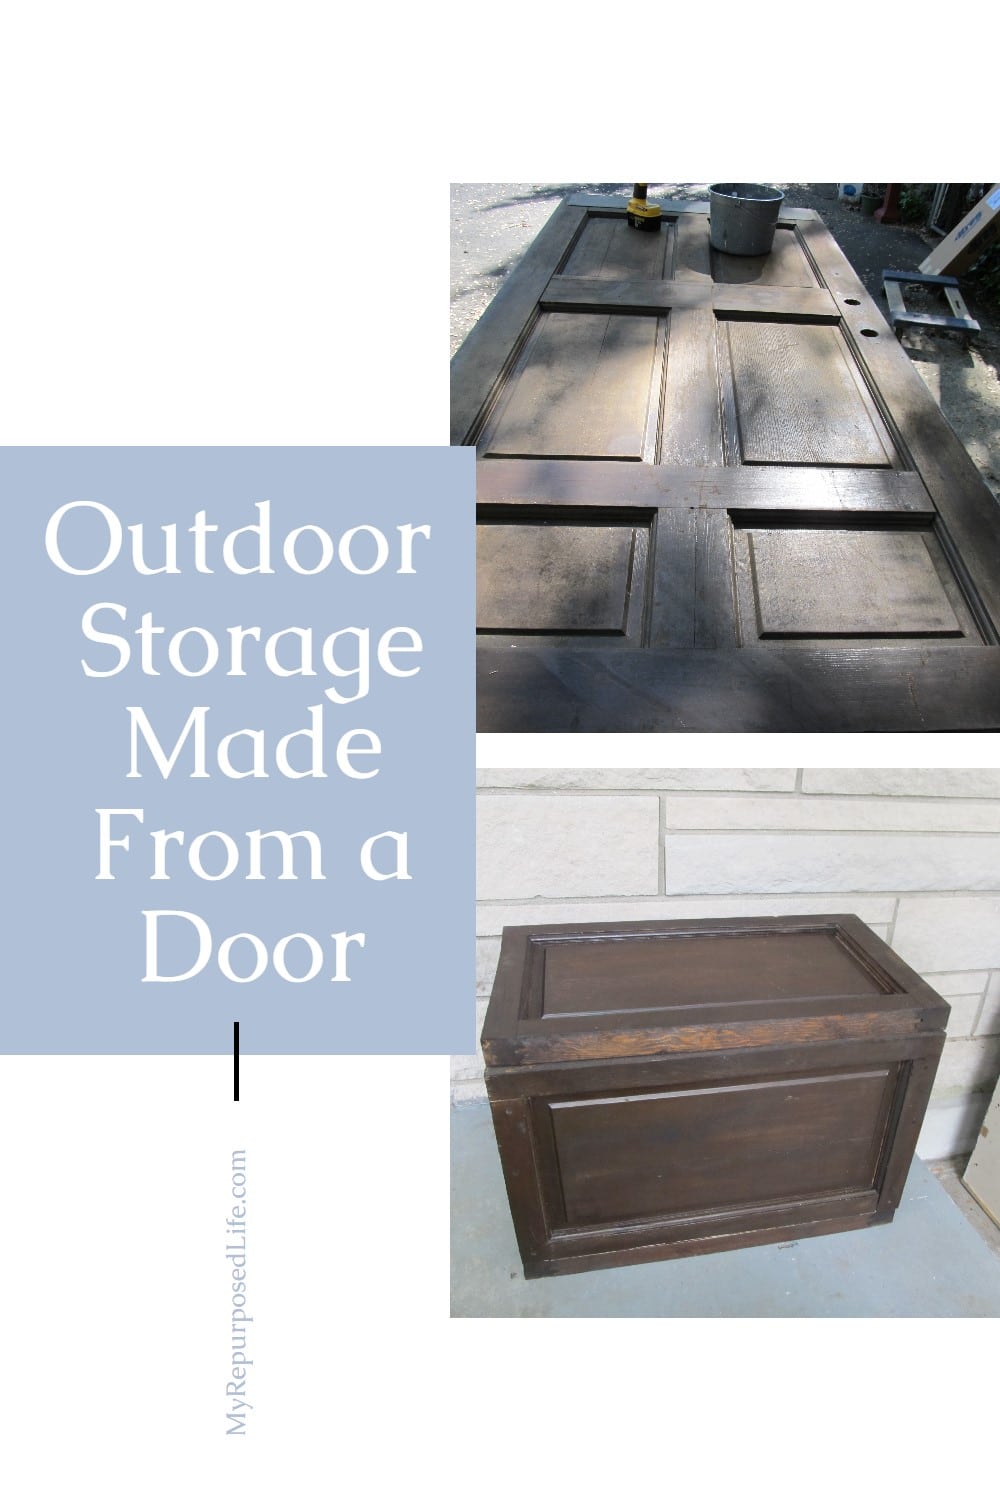
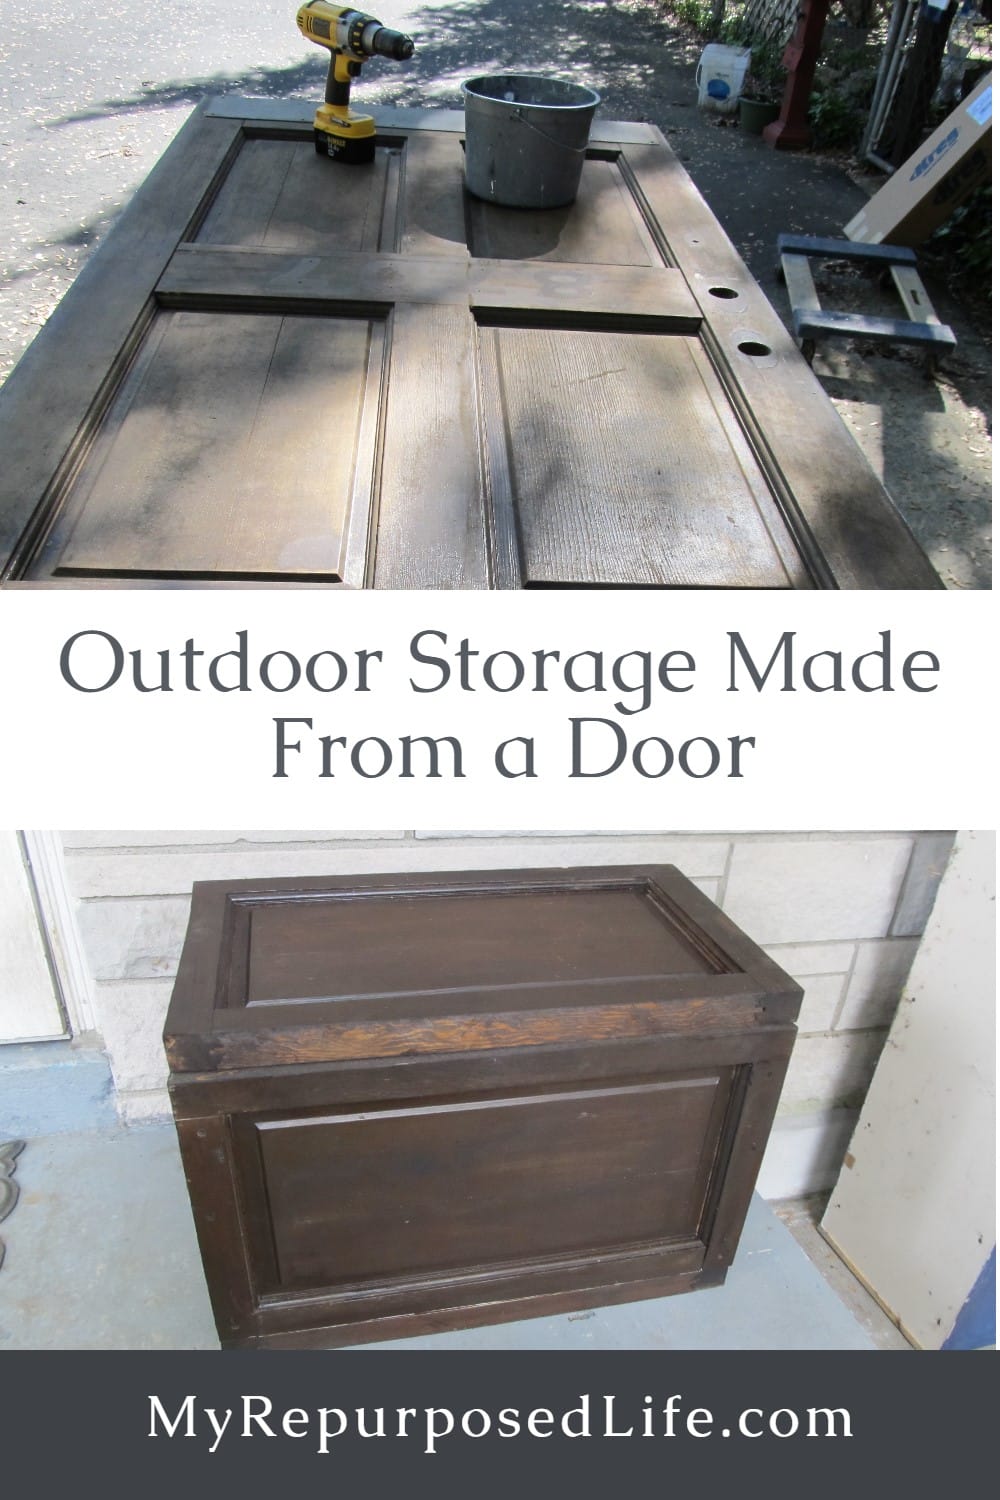
    repurposed door into a trunk


    I did get it cut, but it was a very long drawn out affair.

    Related Content: Turn a door into a bench!
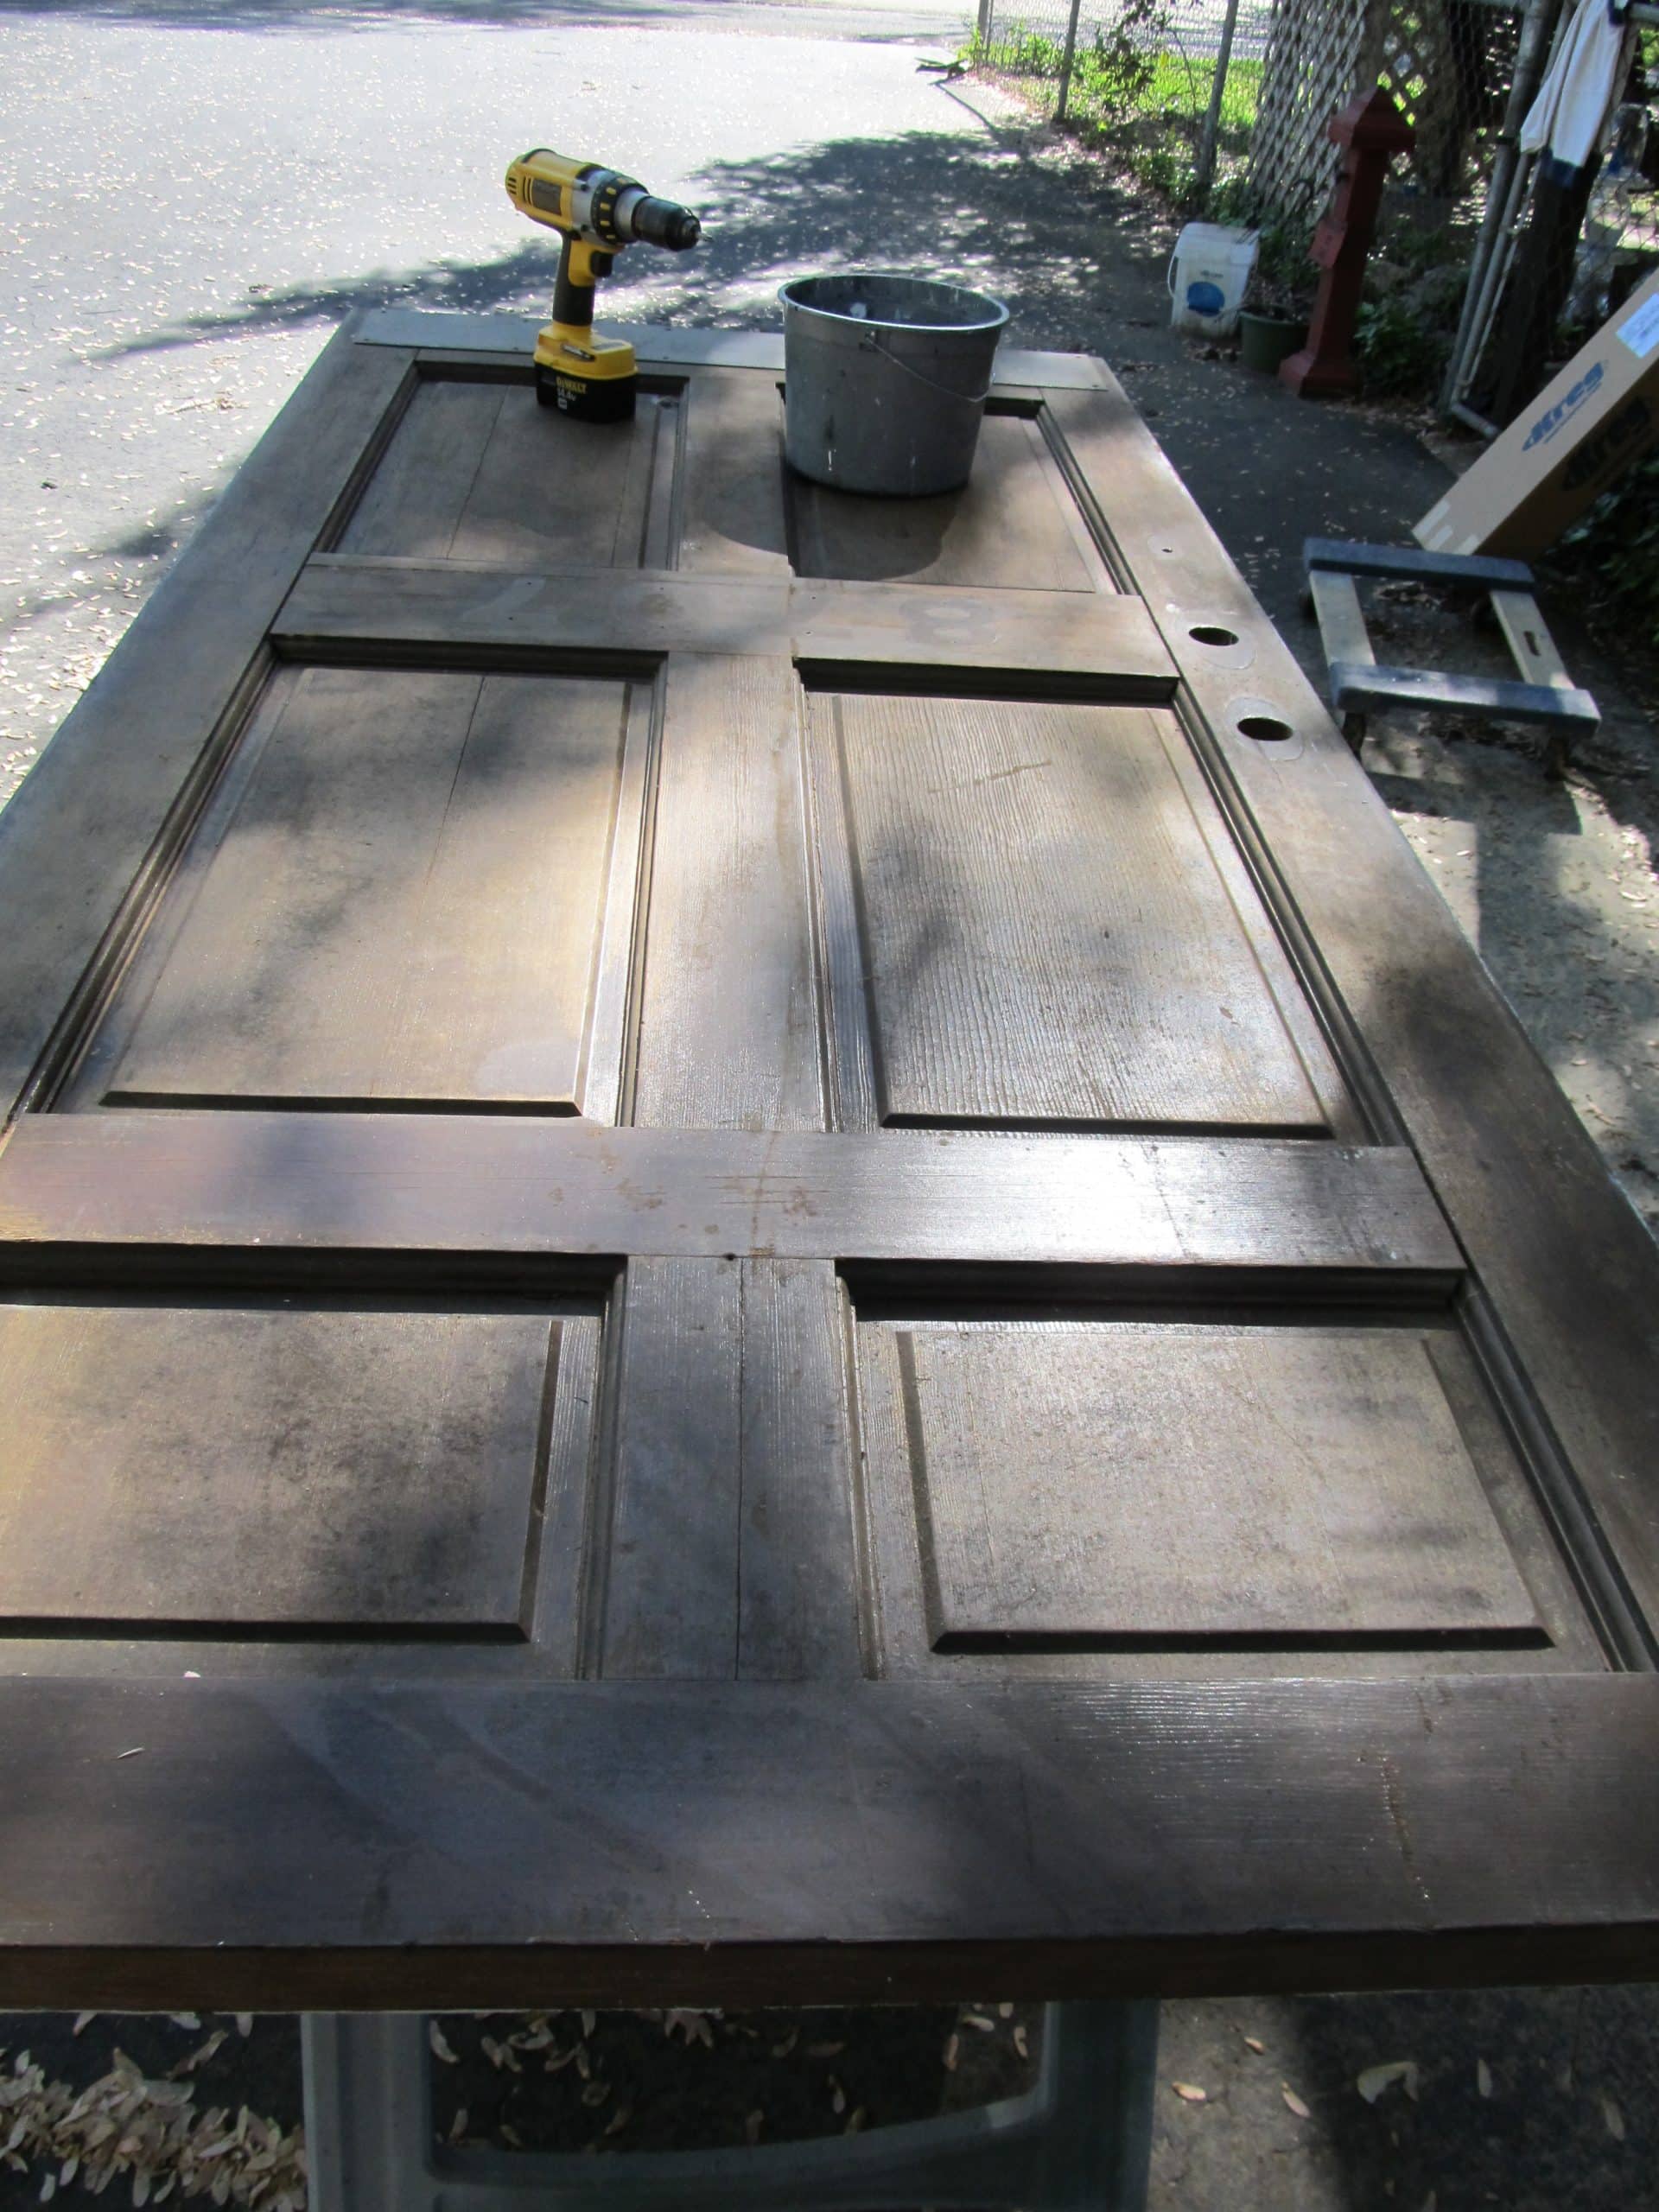
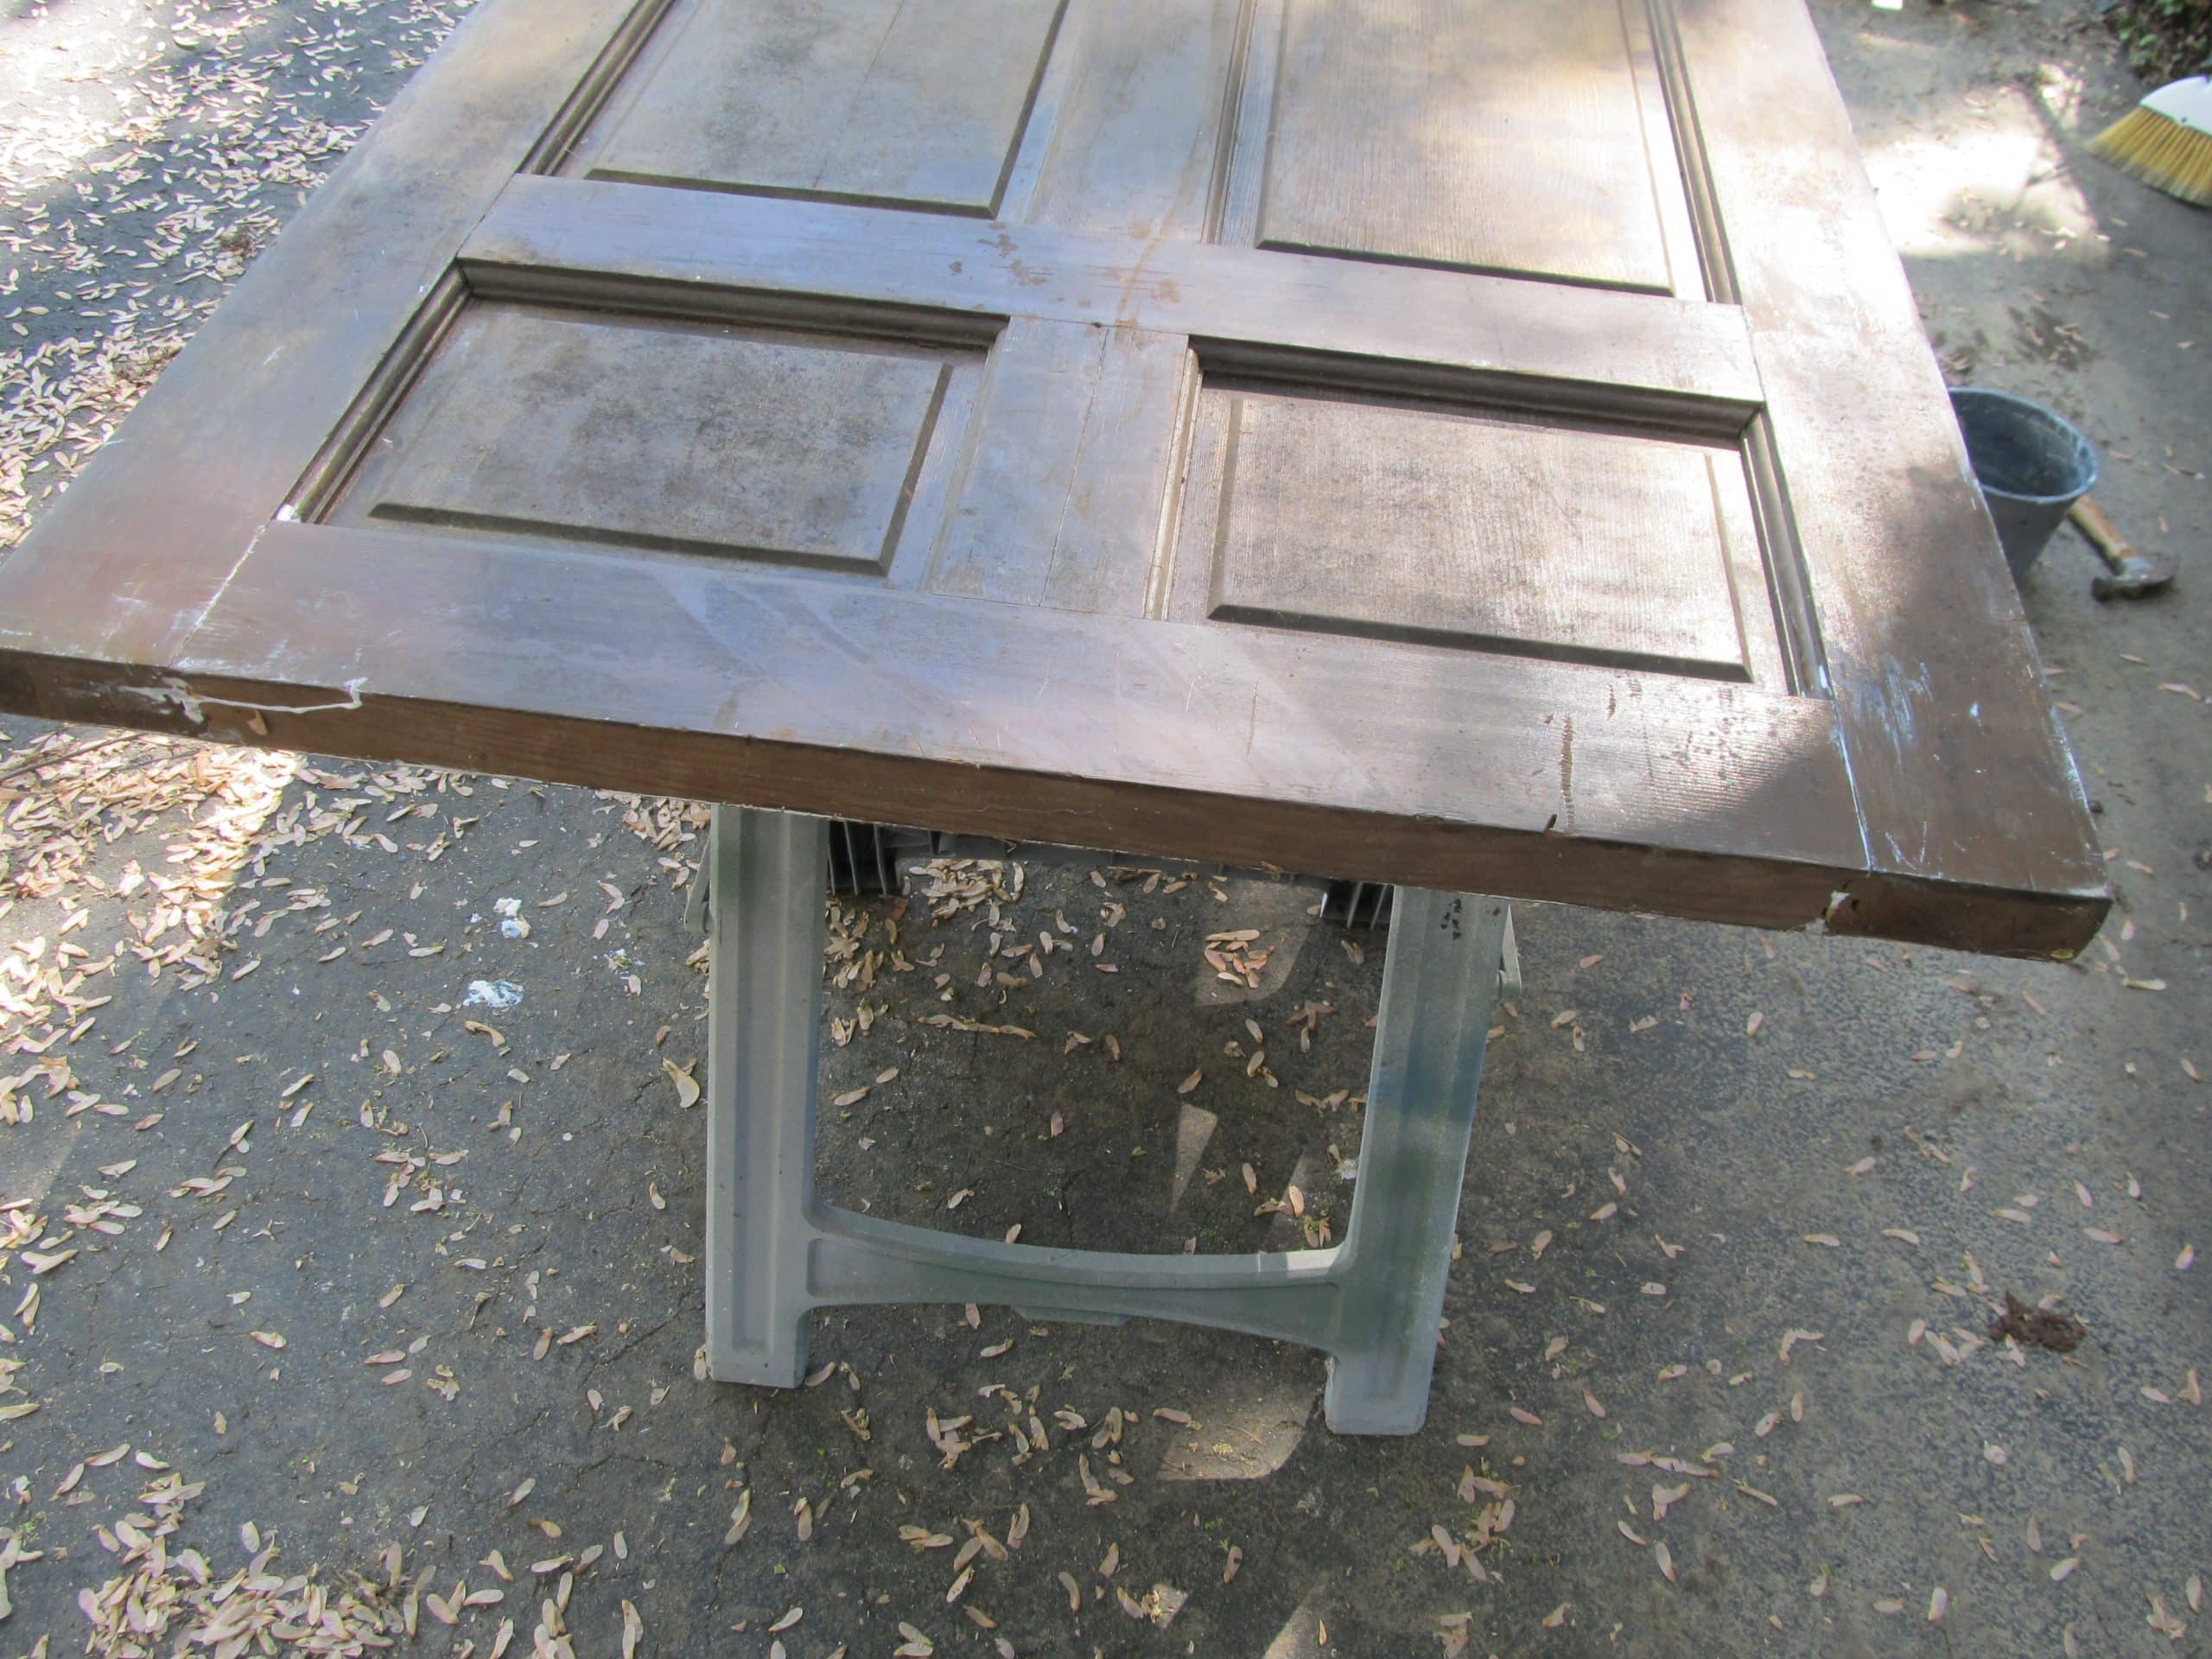
    door repurposed into a trunk (5)Because this door was so heavy it was difficult to lift onto the saw horses.

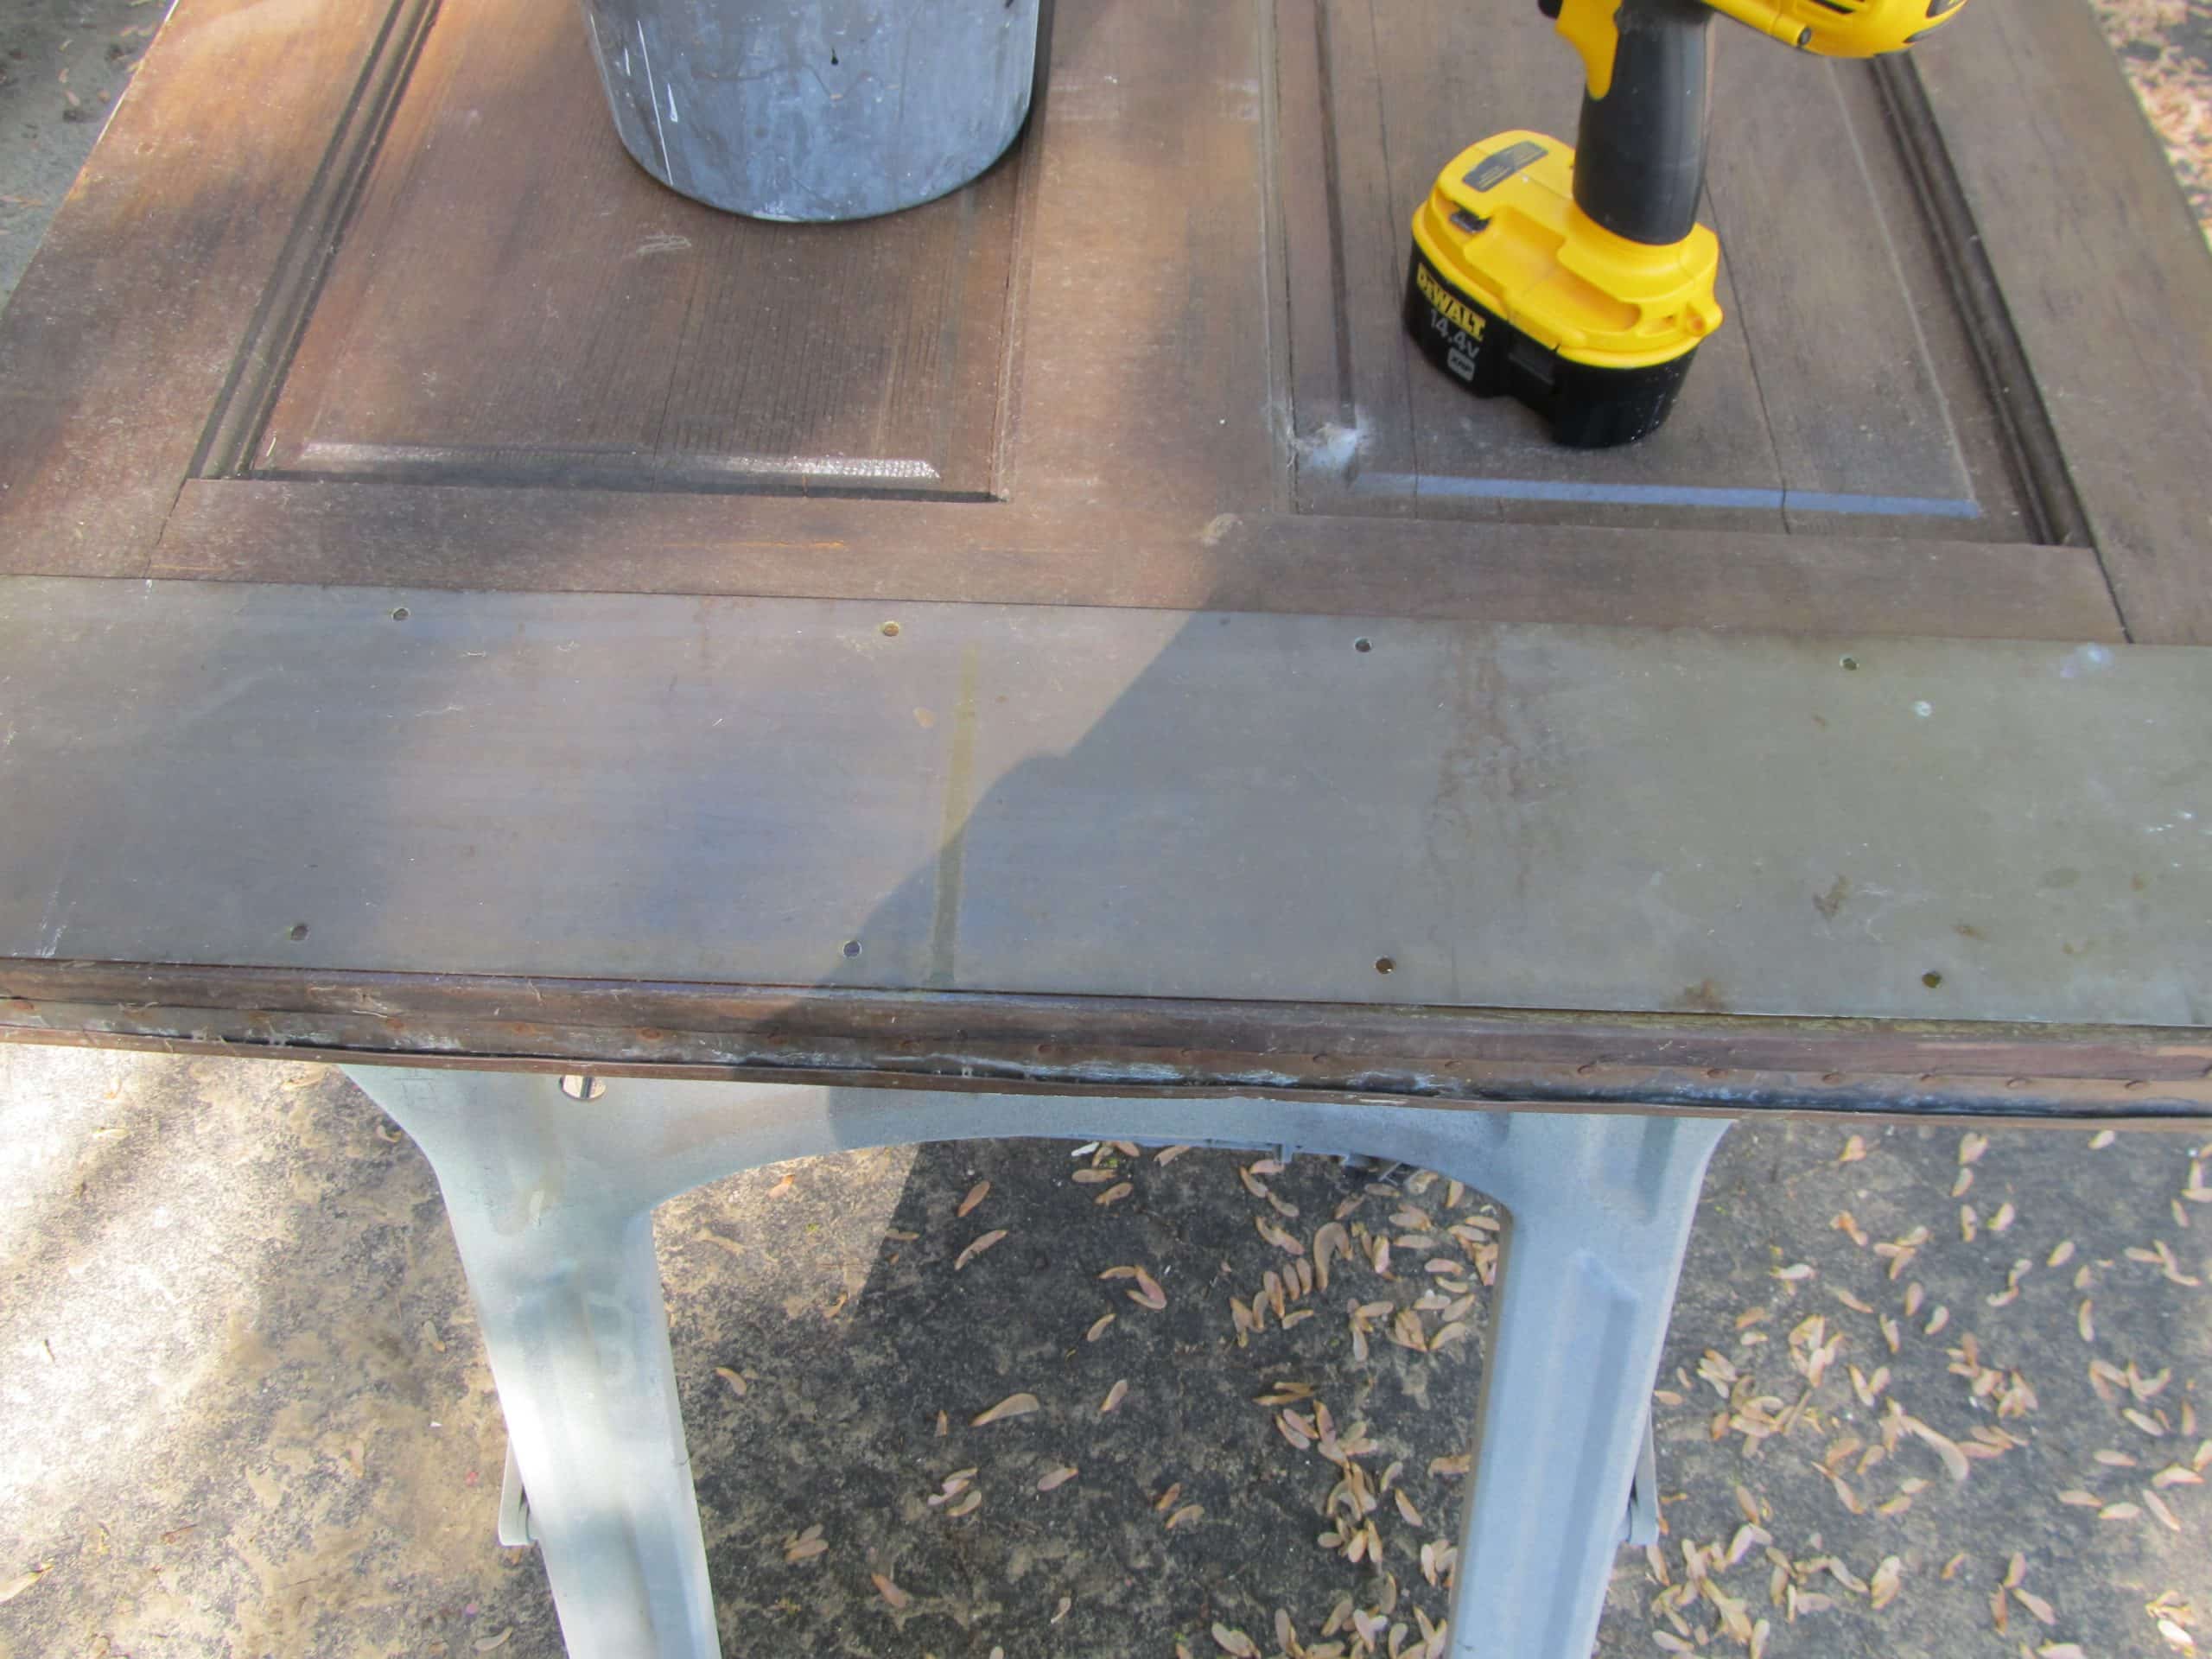
    door repurposed into a trunkThe first step was to remove the metal kick plate.

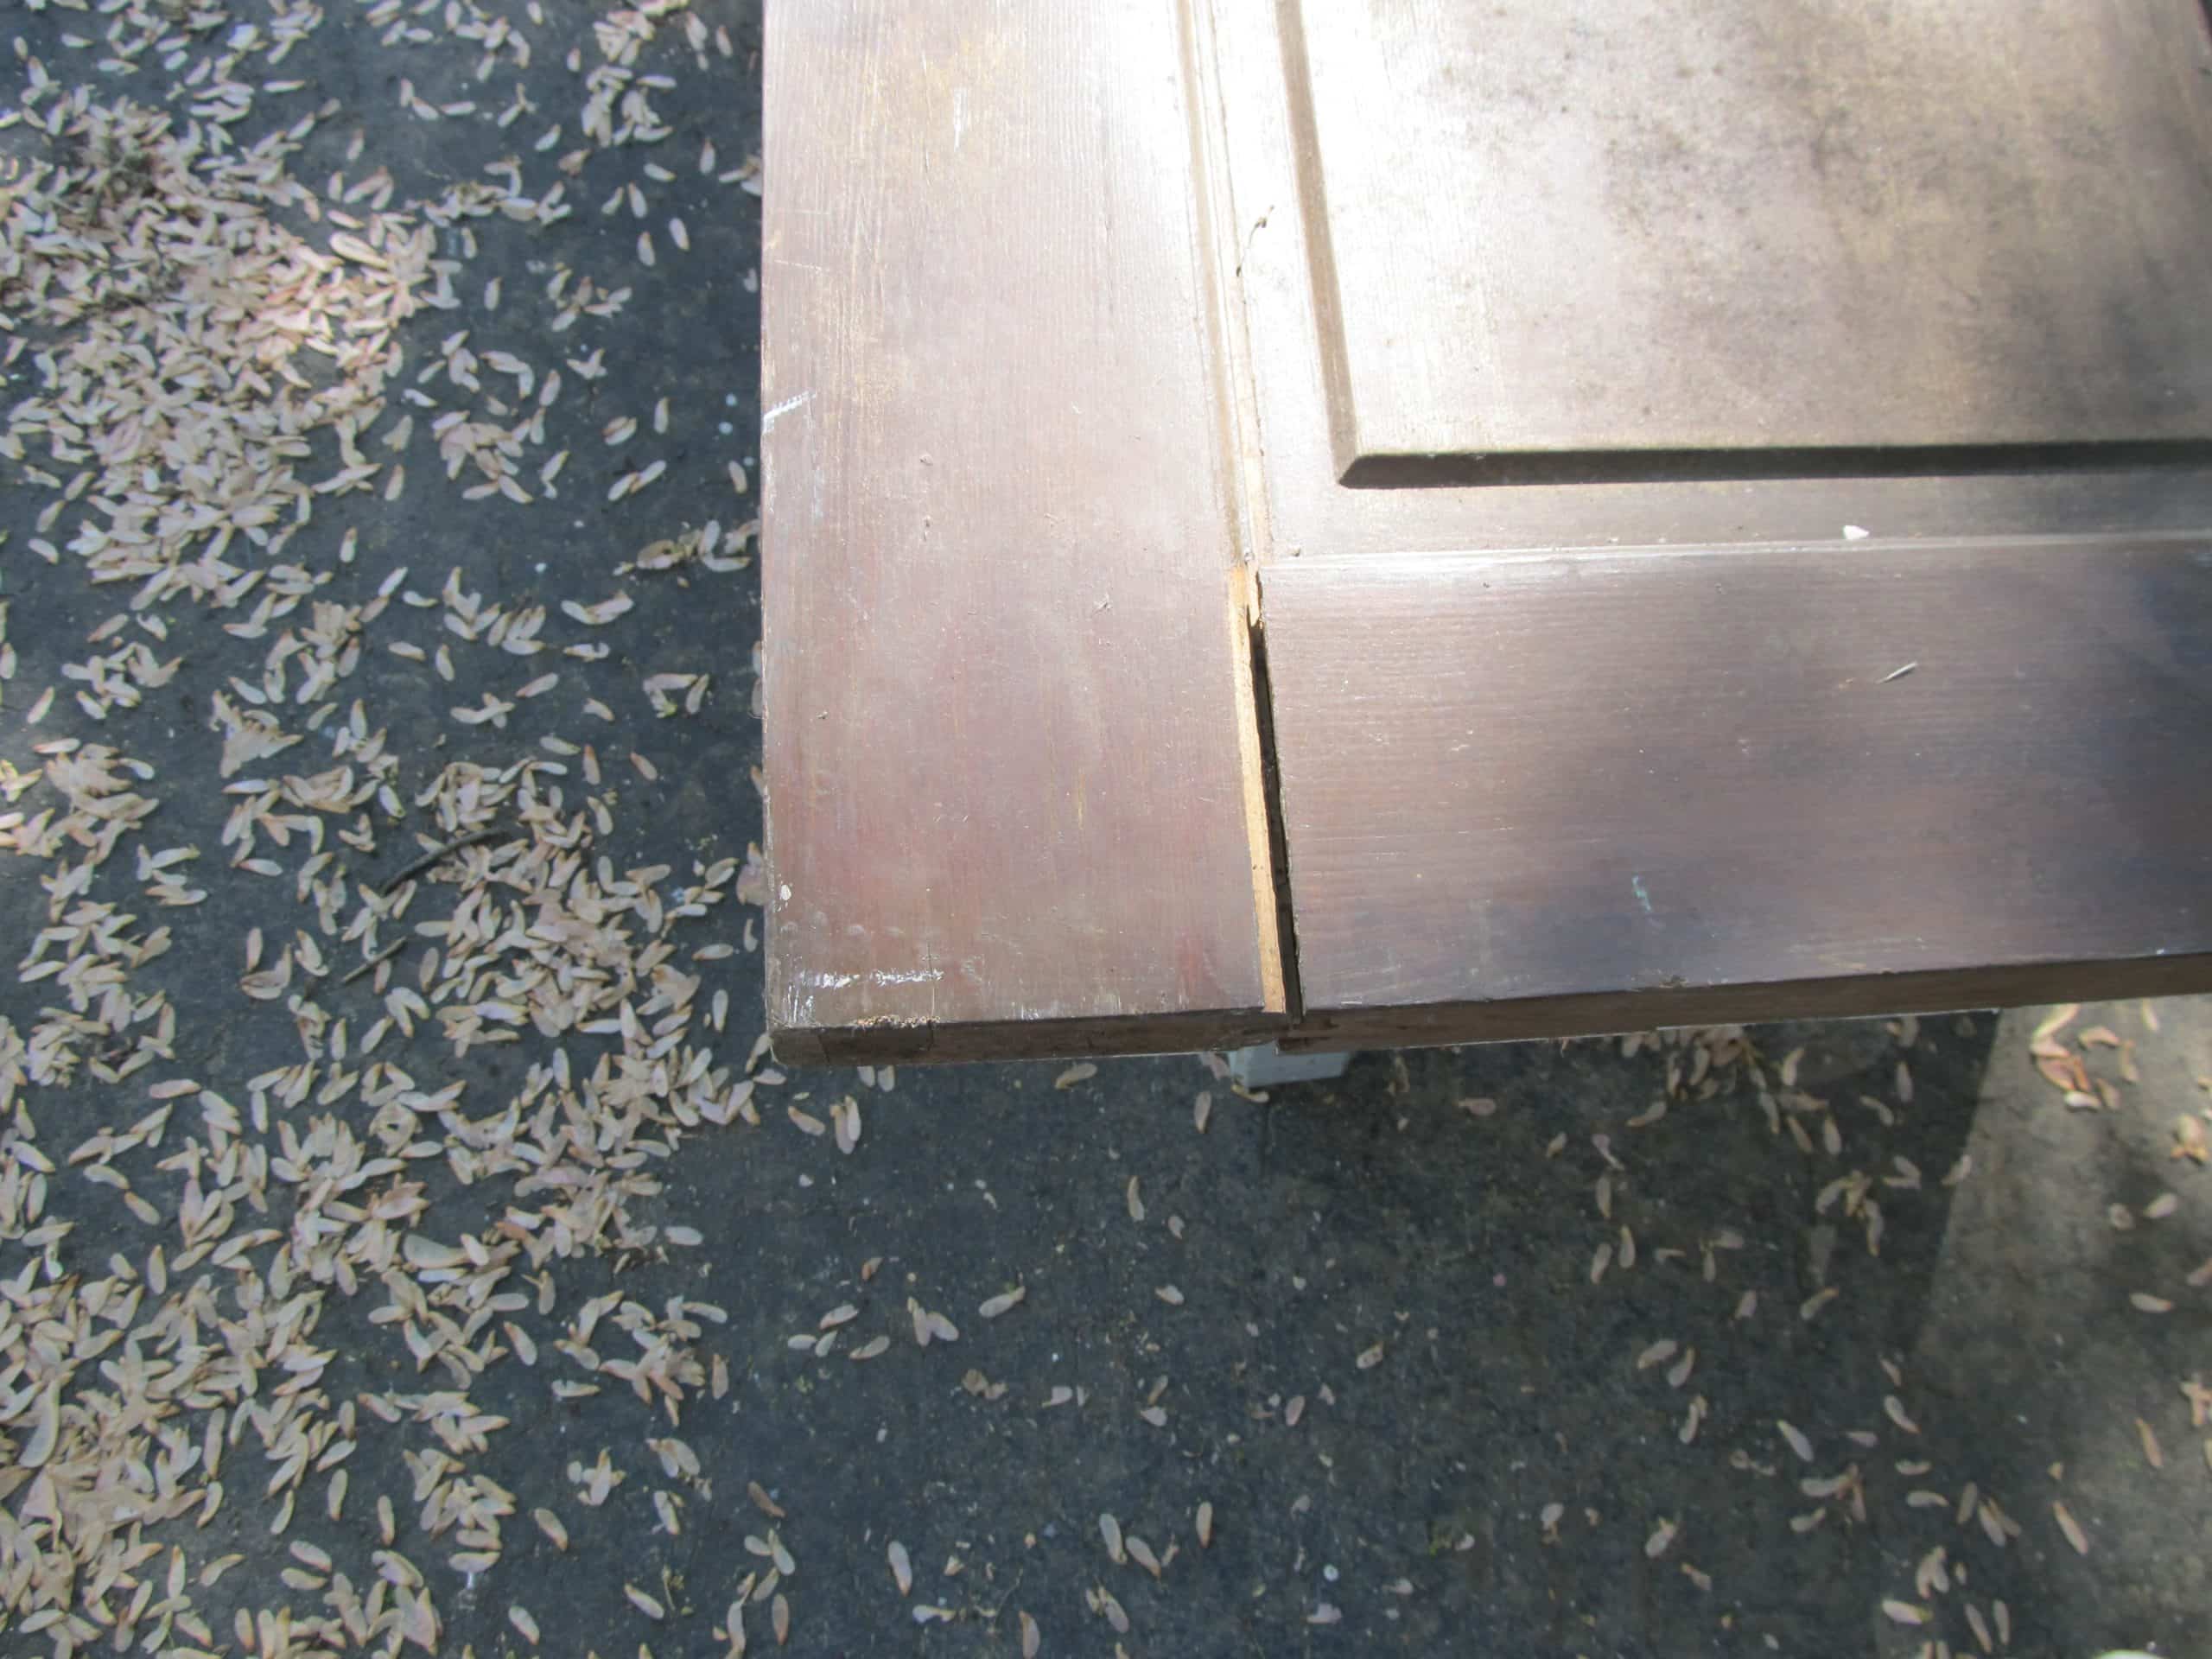
    door repurposed into a trunk (4)Upon closer inspection I notice that some of the joints have become loose.
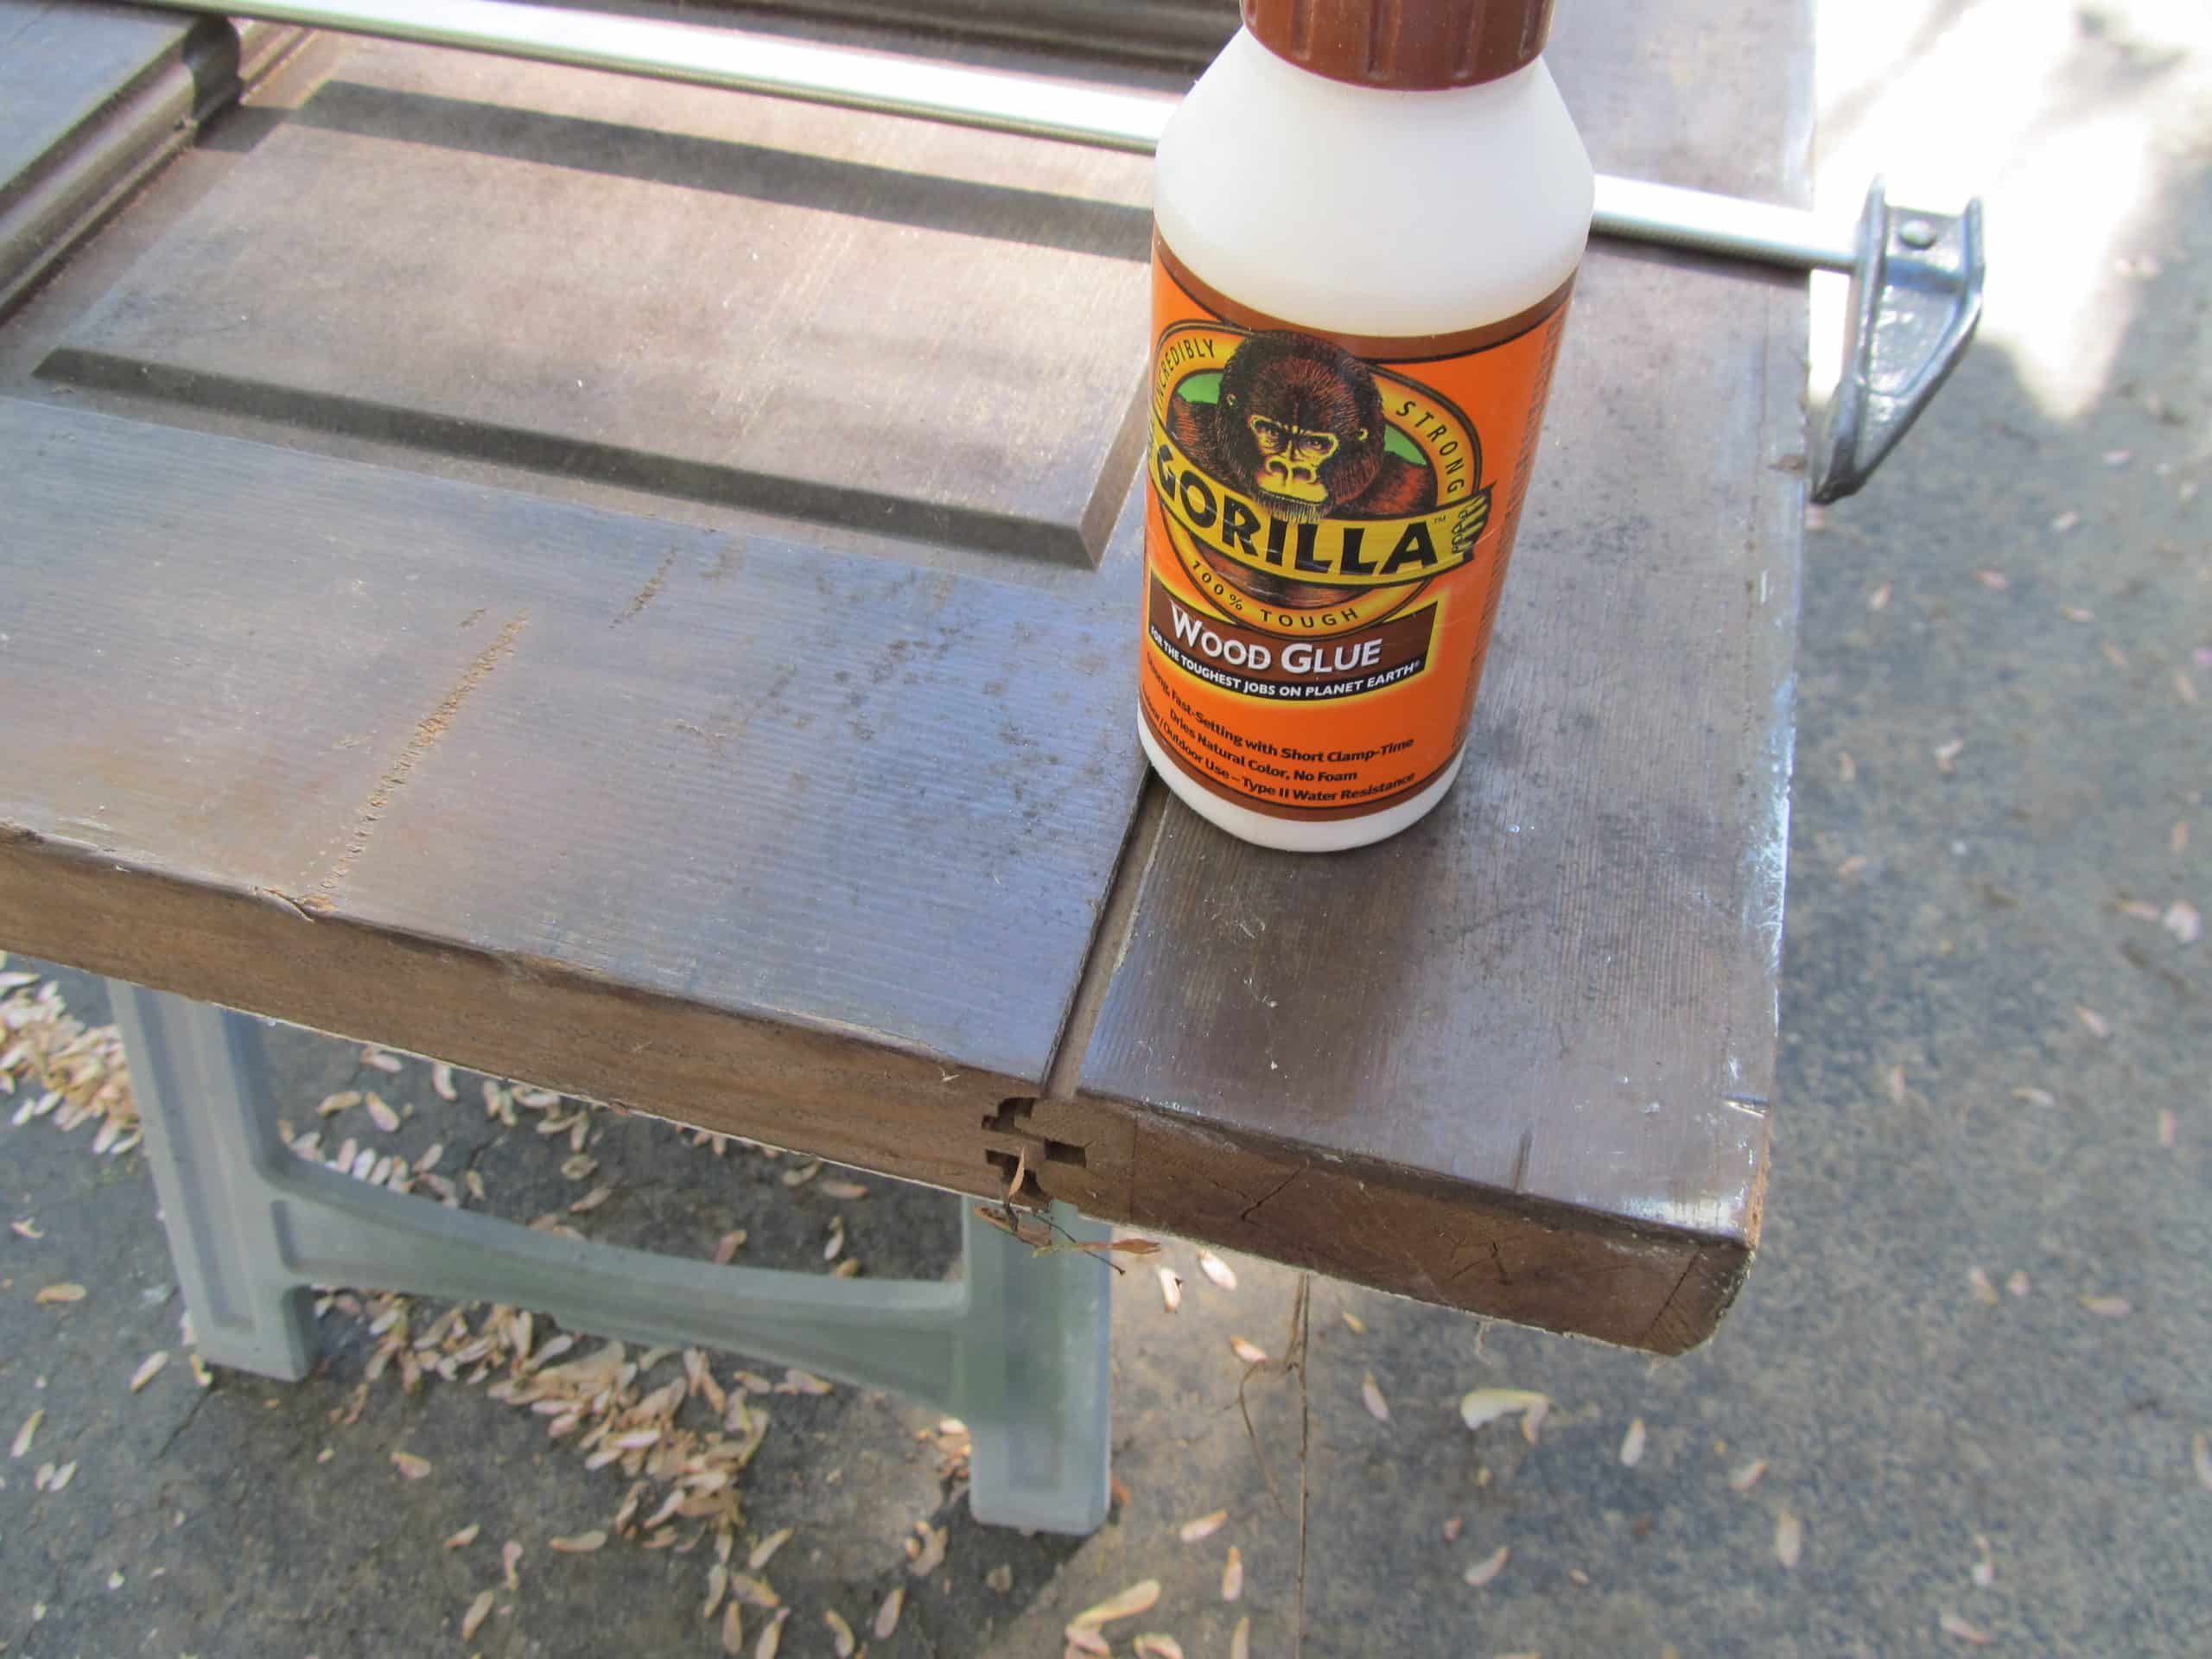
    door repurposed into a trunk (6)I of course reach for the Gorilla Wood Glue and some clamps.
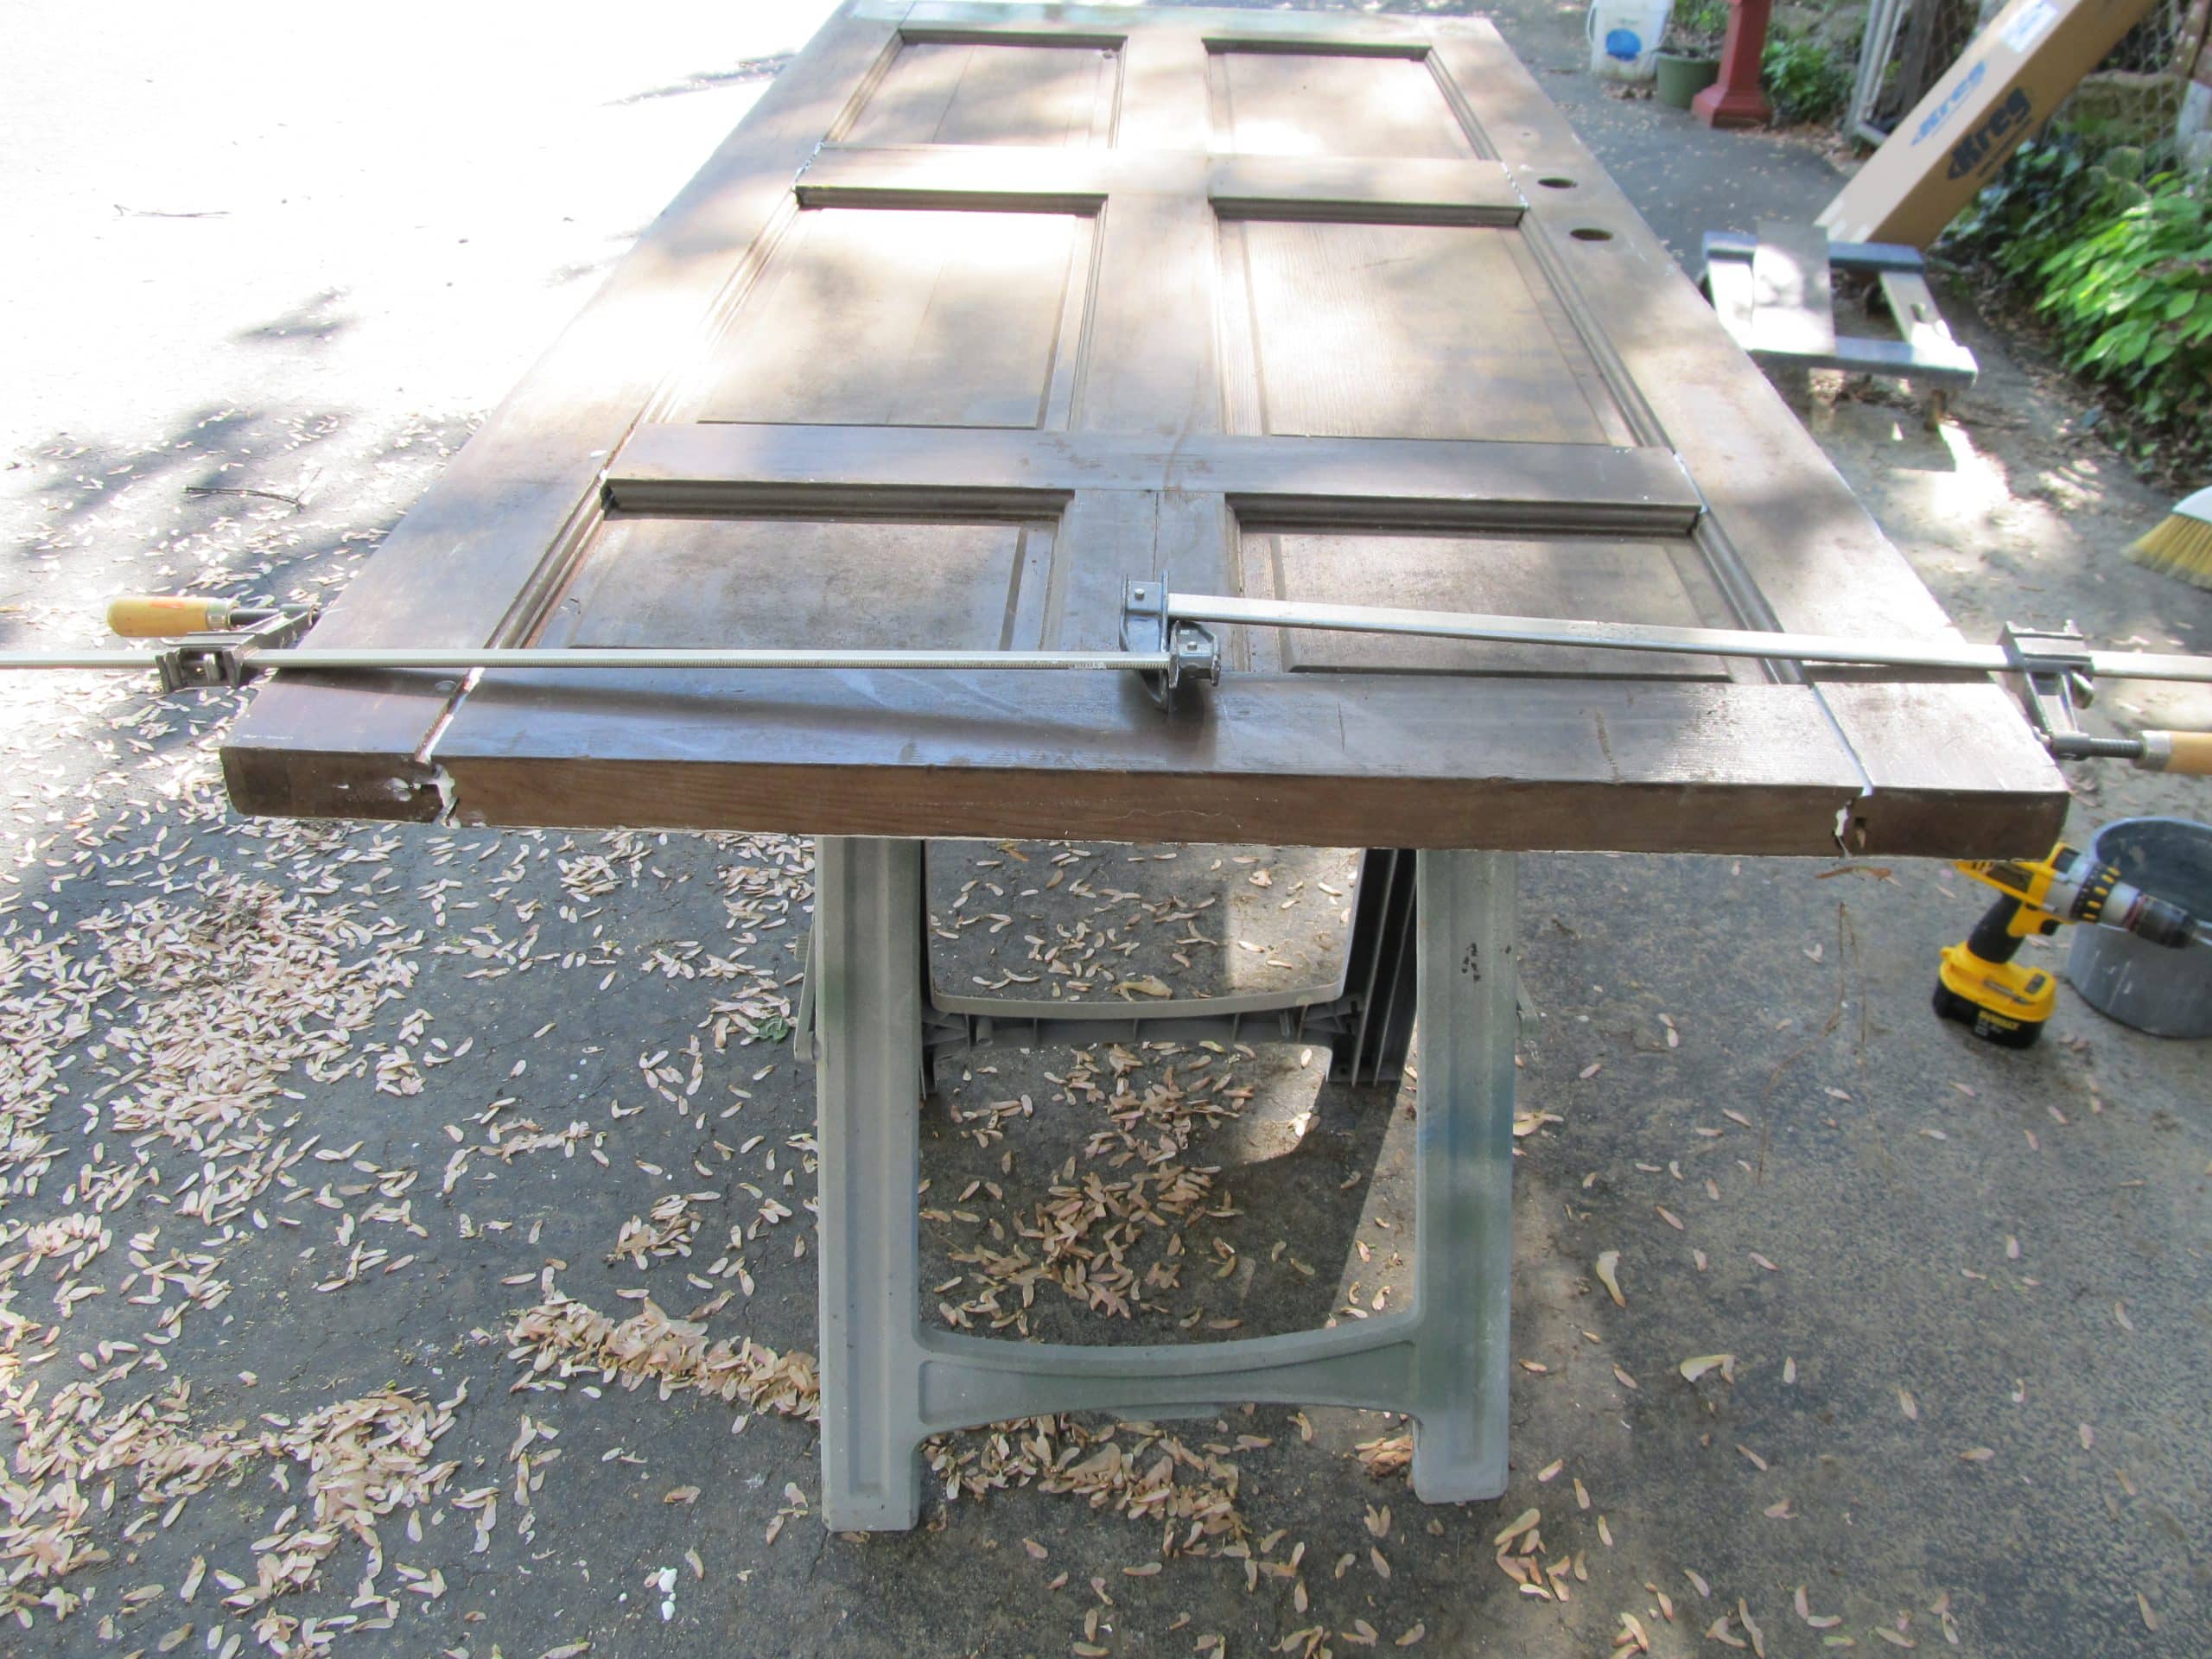
    door repurposed into a trunk (7)Because the door is so wide, I use my double clamp method. That was a no-go. If you look closely you can see that there is quite a gap on both sides. I was unable to draw the joints together. That leads me to plan B.

    door repurposed into a trunk (10)I hope I can explain how I did this. I had squirted the glue in, but the clamps would not pull the joints together. I lugged the door off of the sawhorses and set it on the ground. I then proceeded to pick up the door and SLAM it down onto the driveway. Over and over again I slammed it until the joints closed up. Then I wiped off the excess glue.

    door repurposed into a trunk (11)BACK up onto the sawhorses it went. You can see that the joints are much better now.
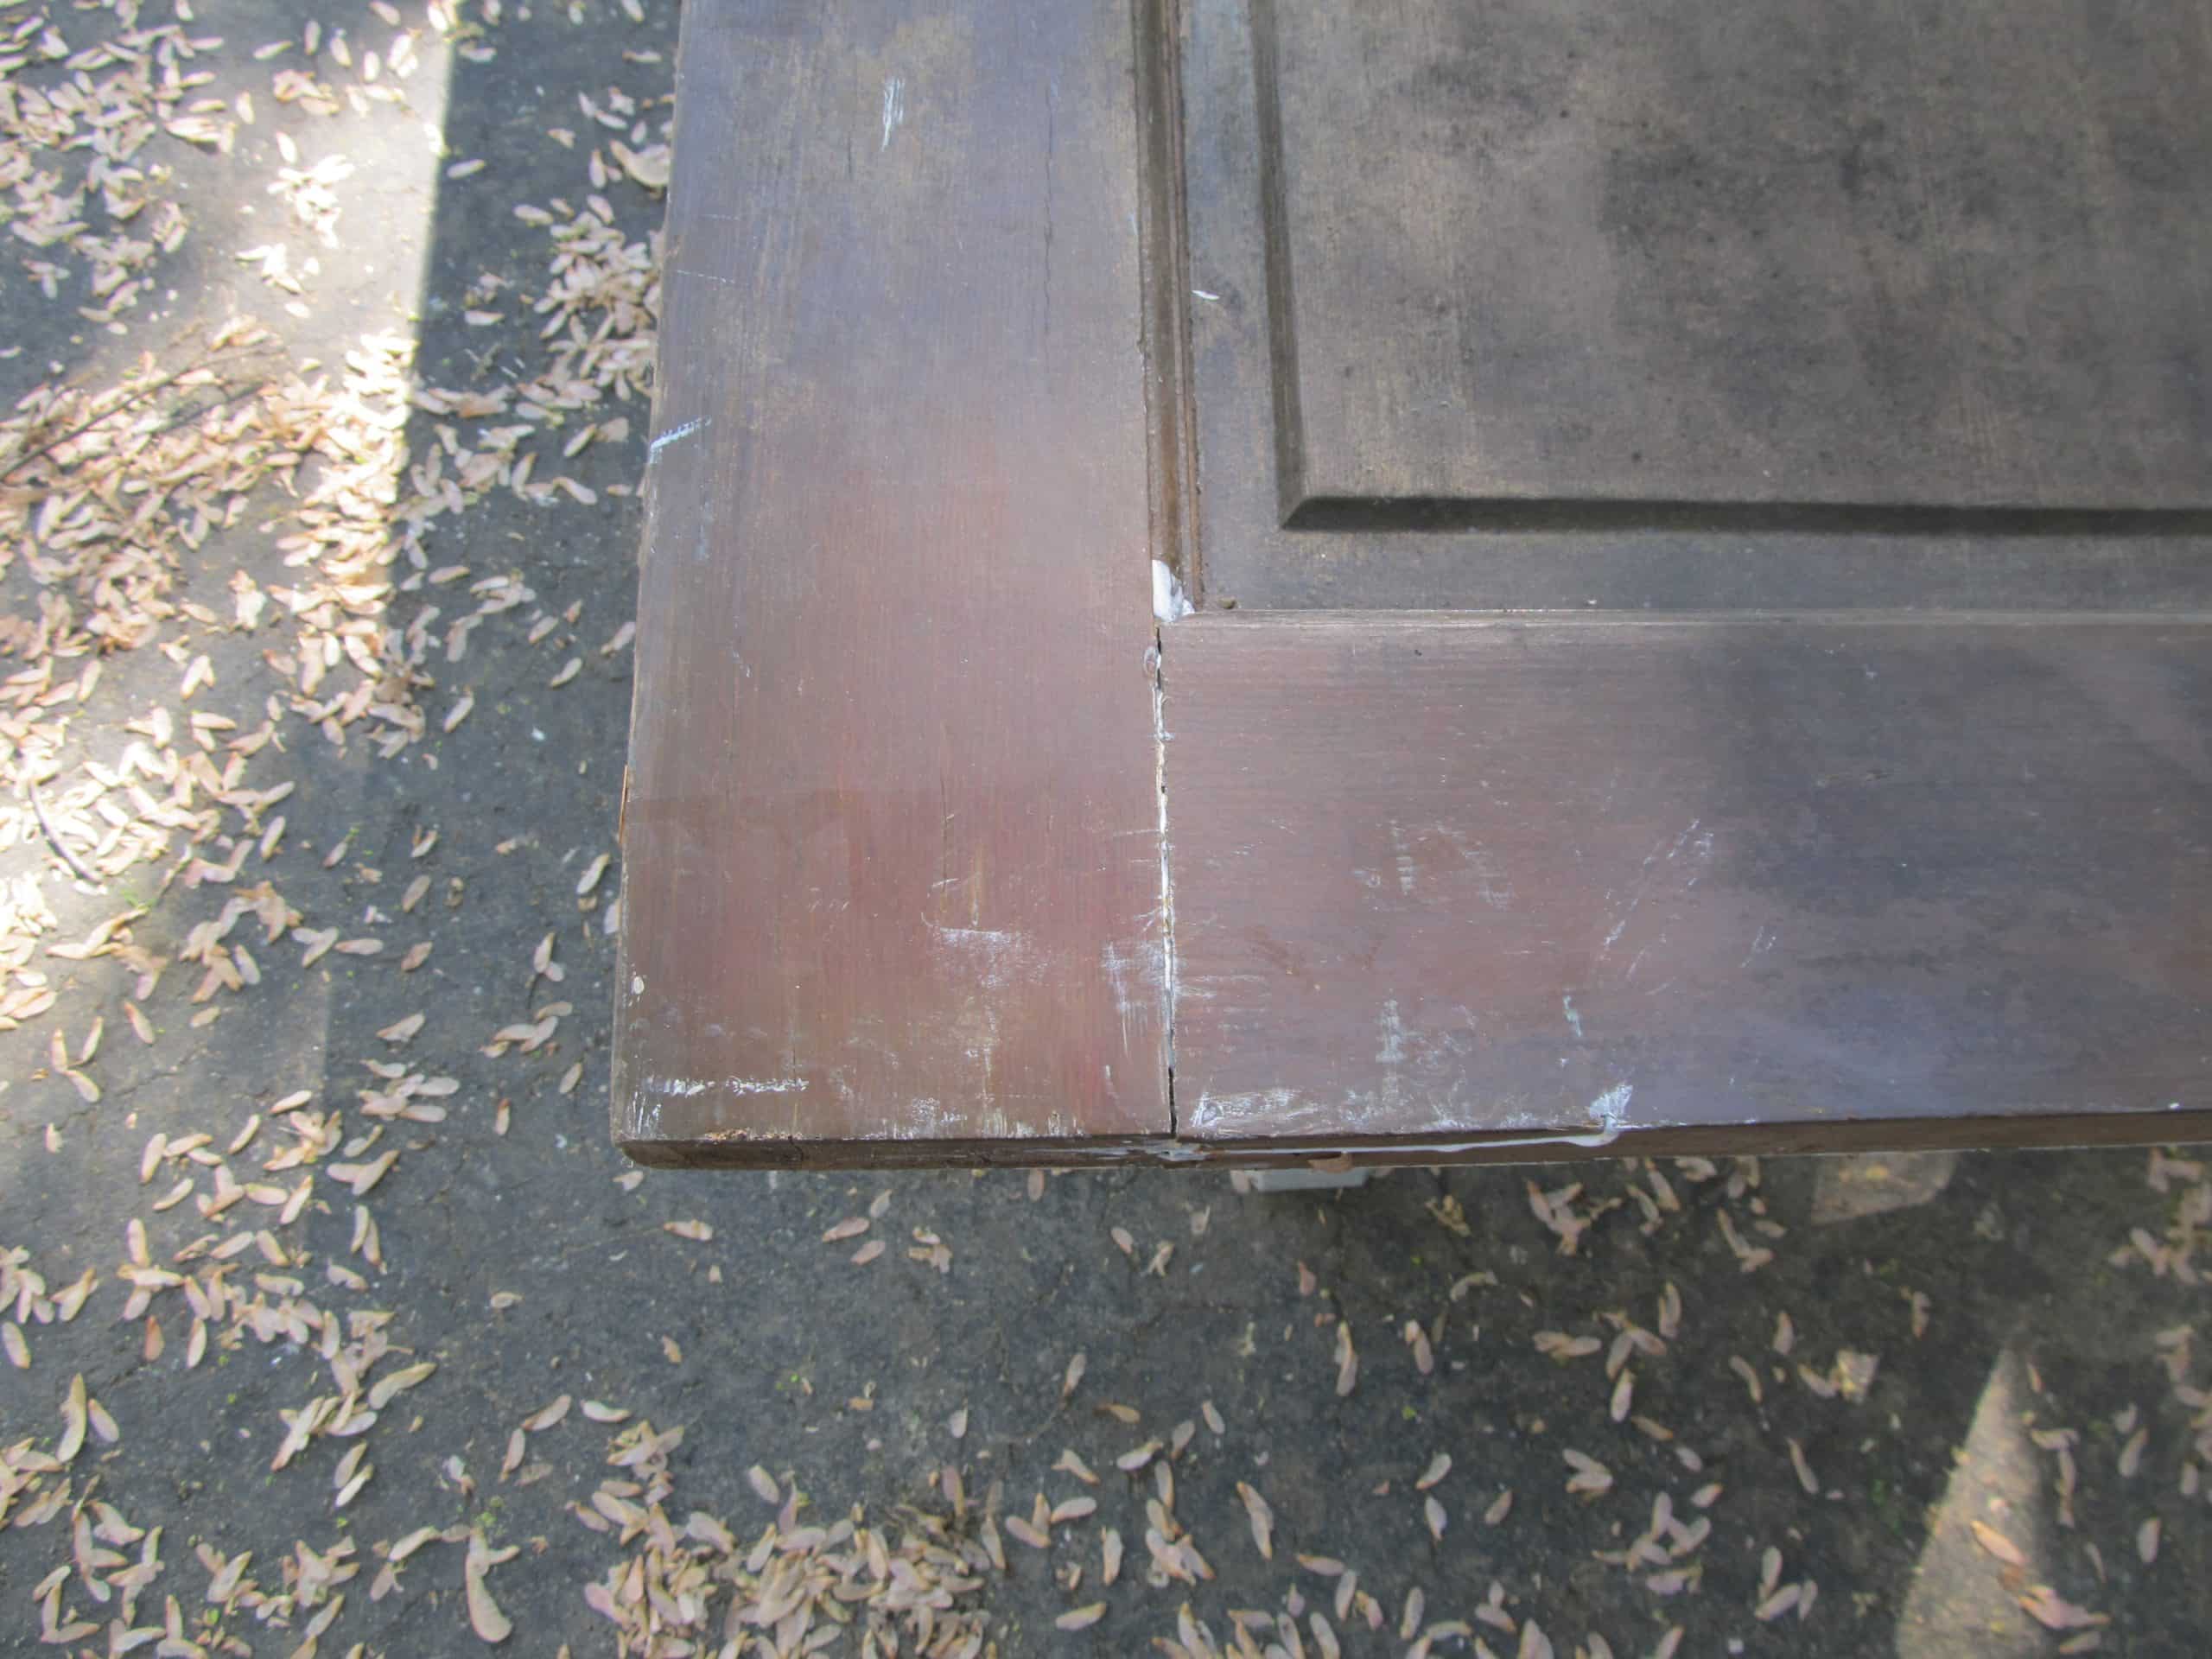
    door repurposed into a trunk (12)Close-up.

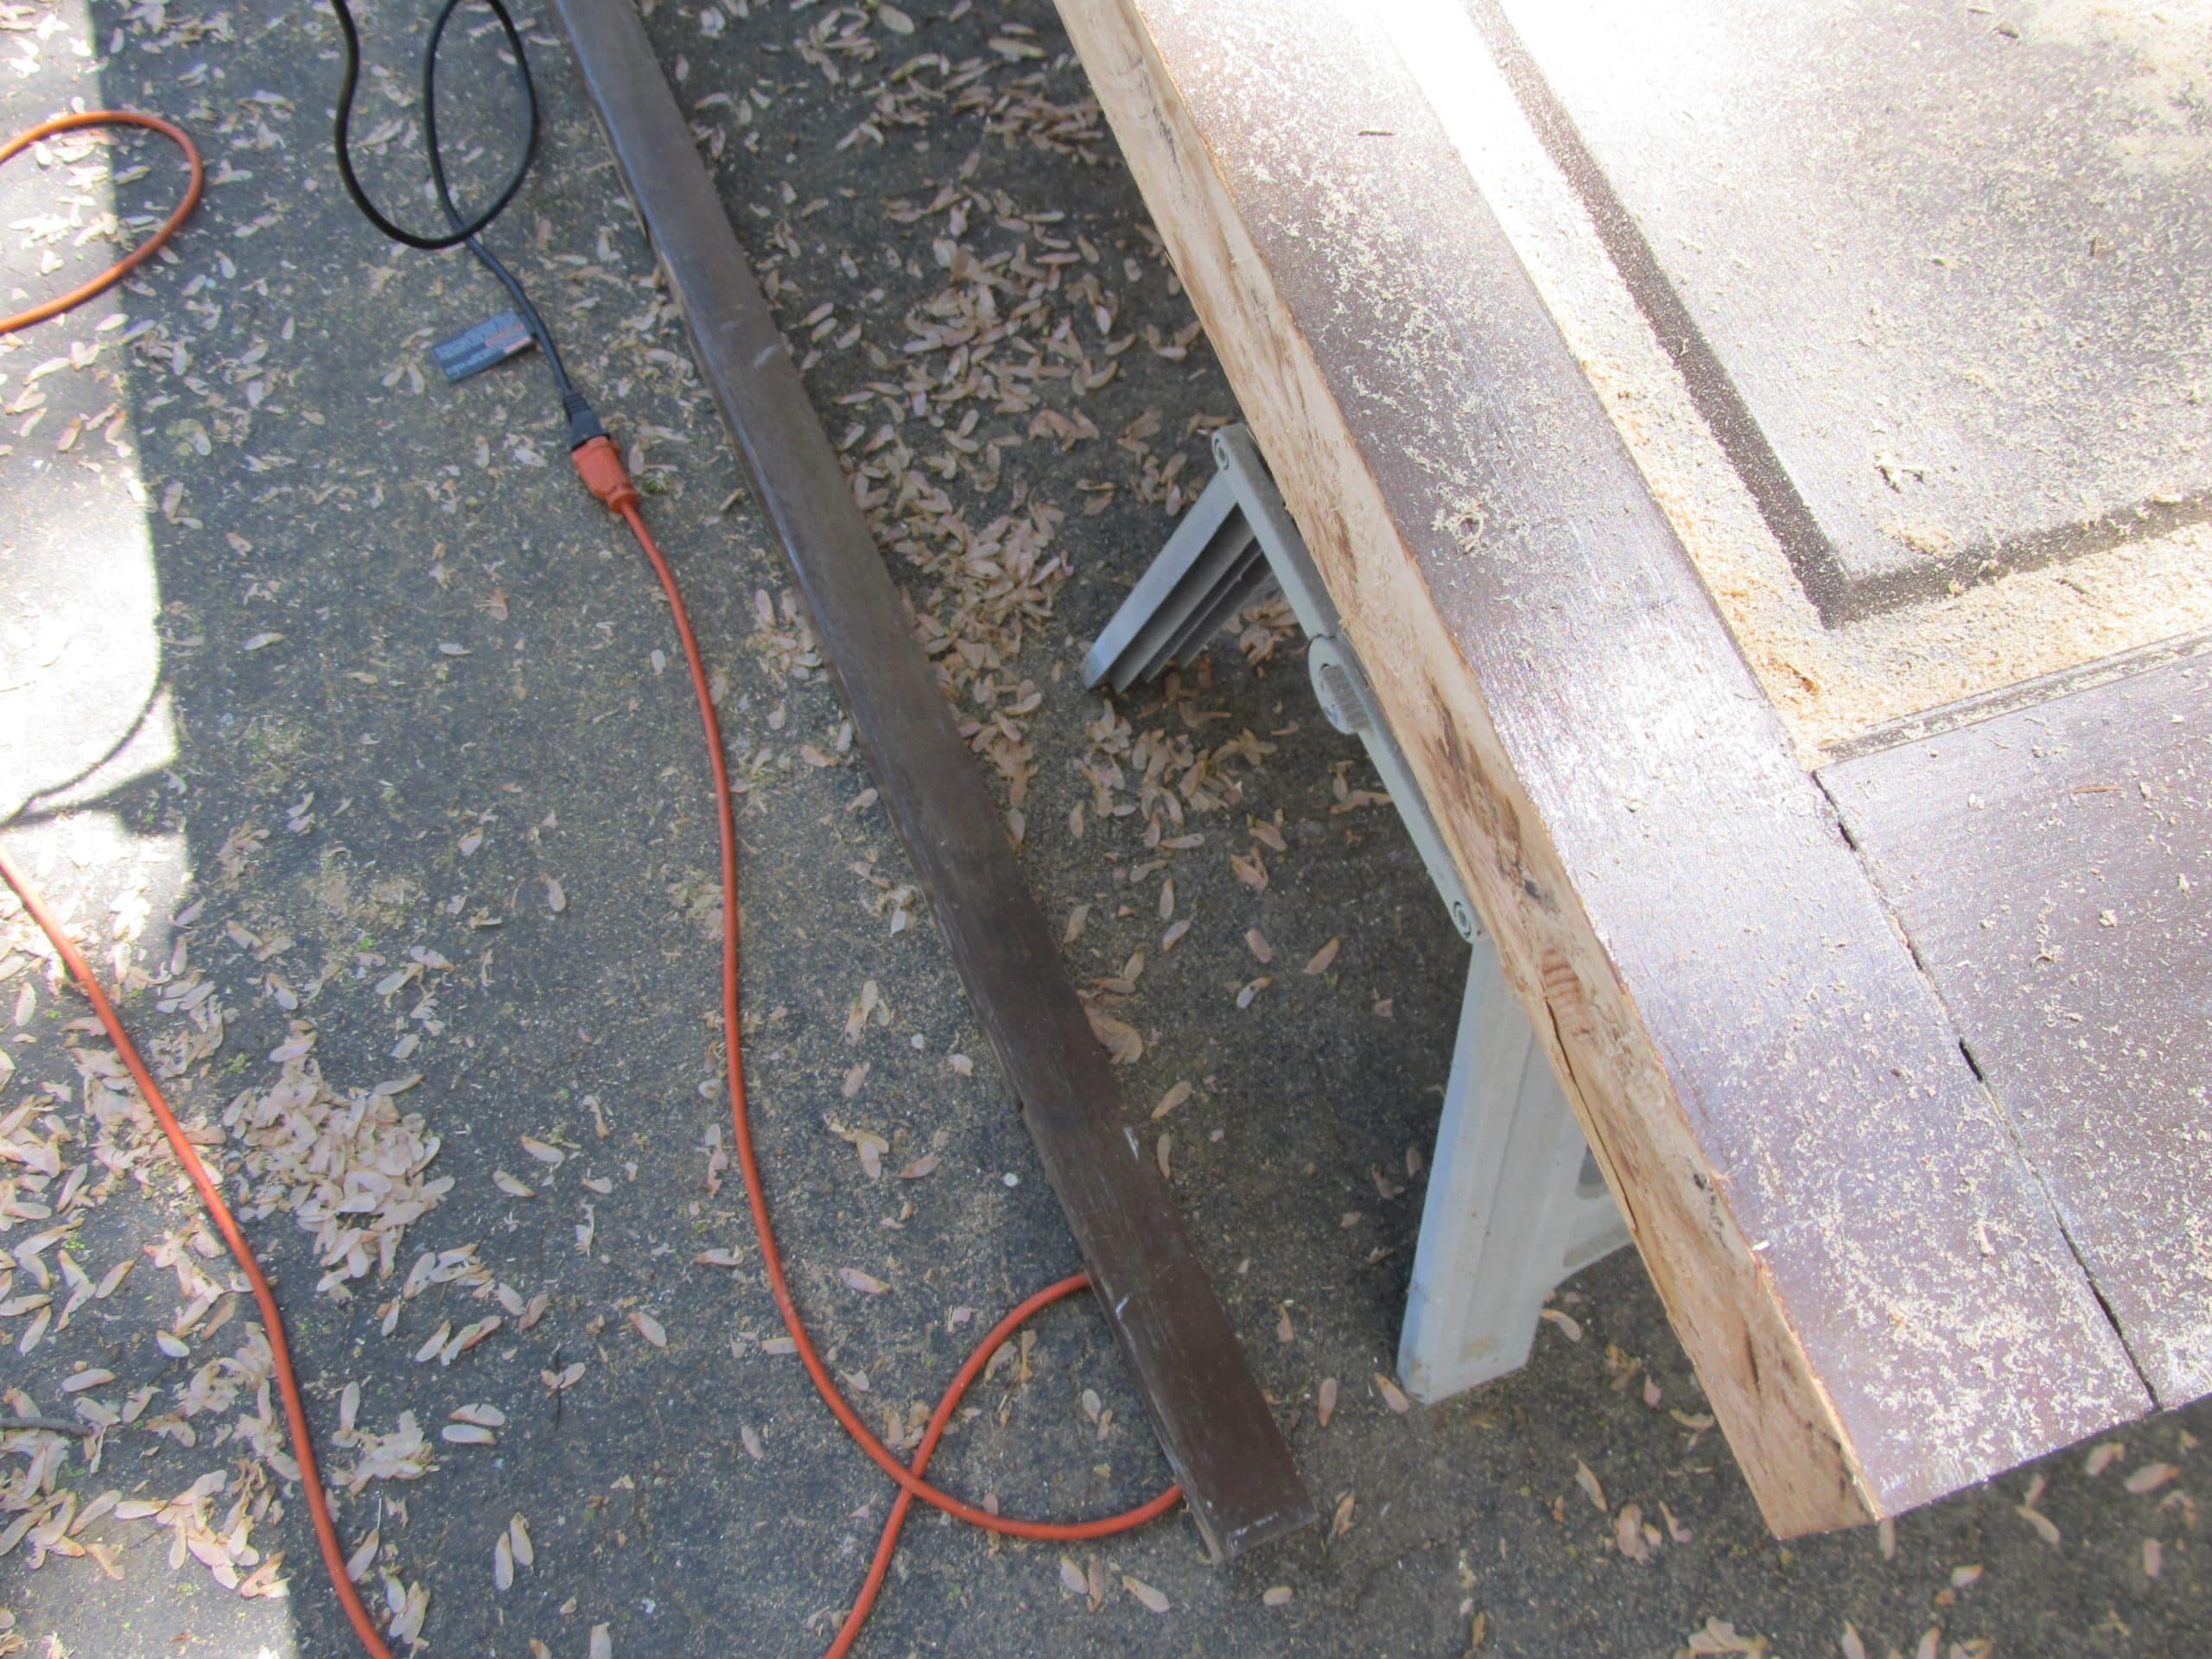
    door repurposed into a trunk (13)To make a trunk (chest) the panels need to be all the same size. I had to trim some off of each side, top and bottom. You can see the large piece I cut off laying on the driveway.

    door repurposed into a trunk (14)For most of the cutting I used my circular saw and the Kreg Rip Cut (meant for ripping full sheets of plywood). Note: The Kreg Rip Cut helped me with this job, but I would be willing to bet that it would work a lot better ripping a piece of ½ plywood as opposed to cutting this massive door.

    NOT pictured… after I got the door cut into smaller sections, I cut the two smaller “square” panels on the table saw. There is no way I could have used my table saw to cut all of these panels.

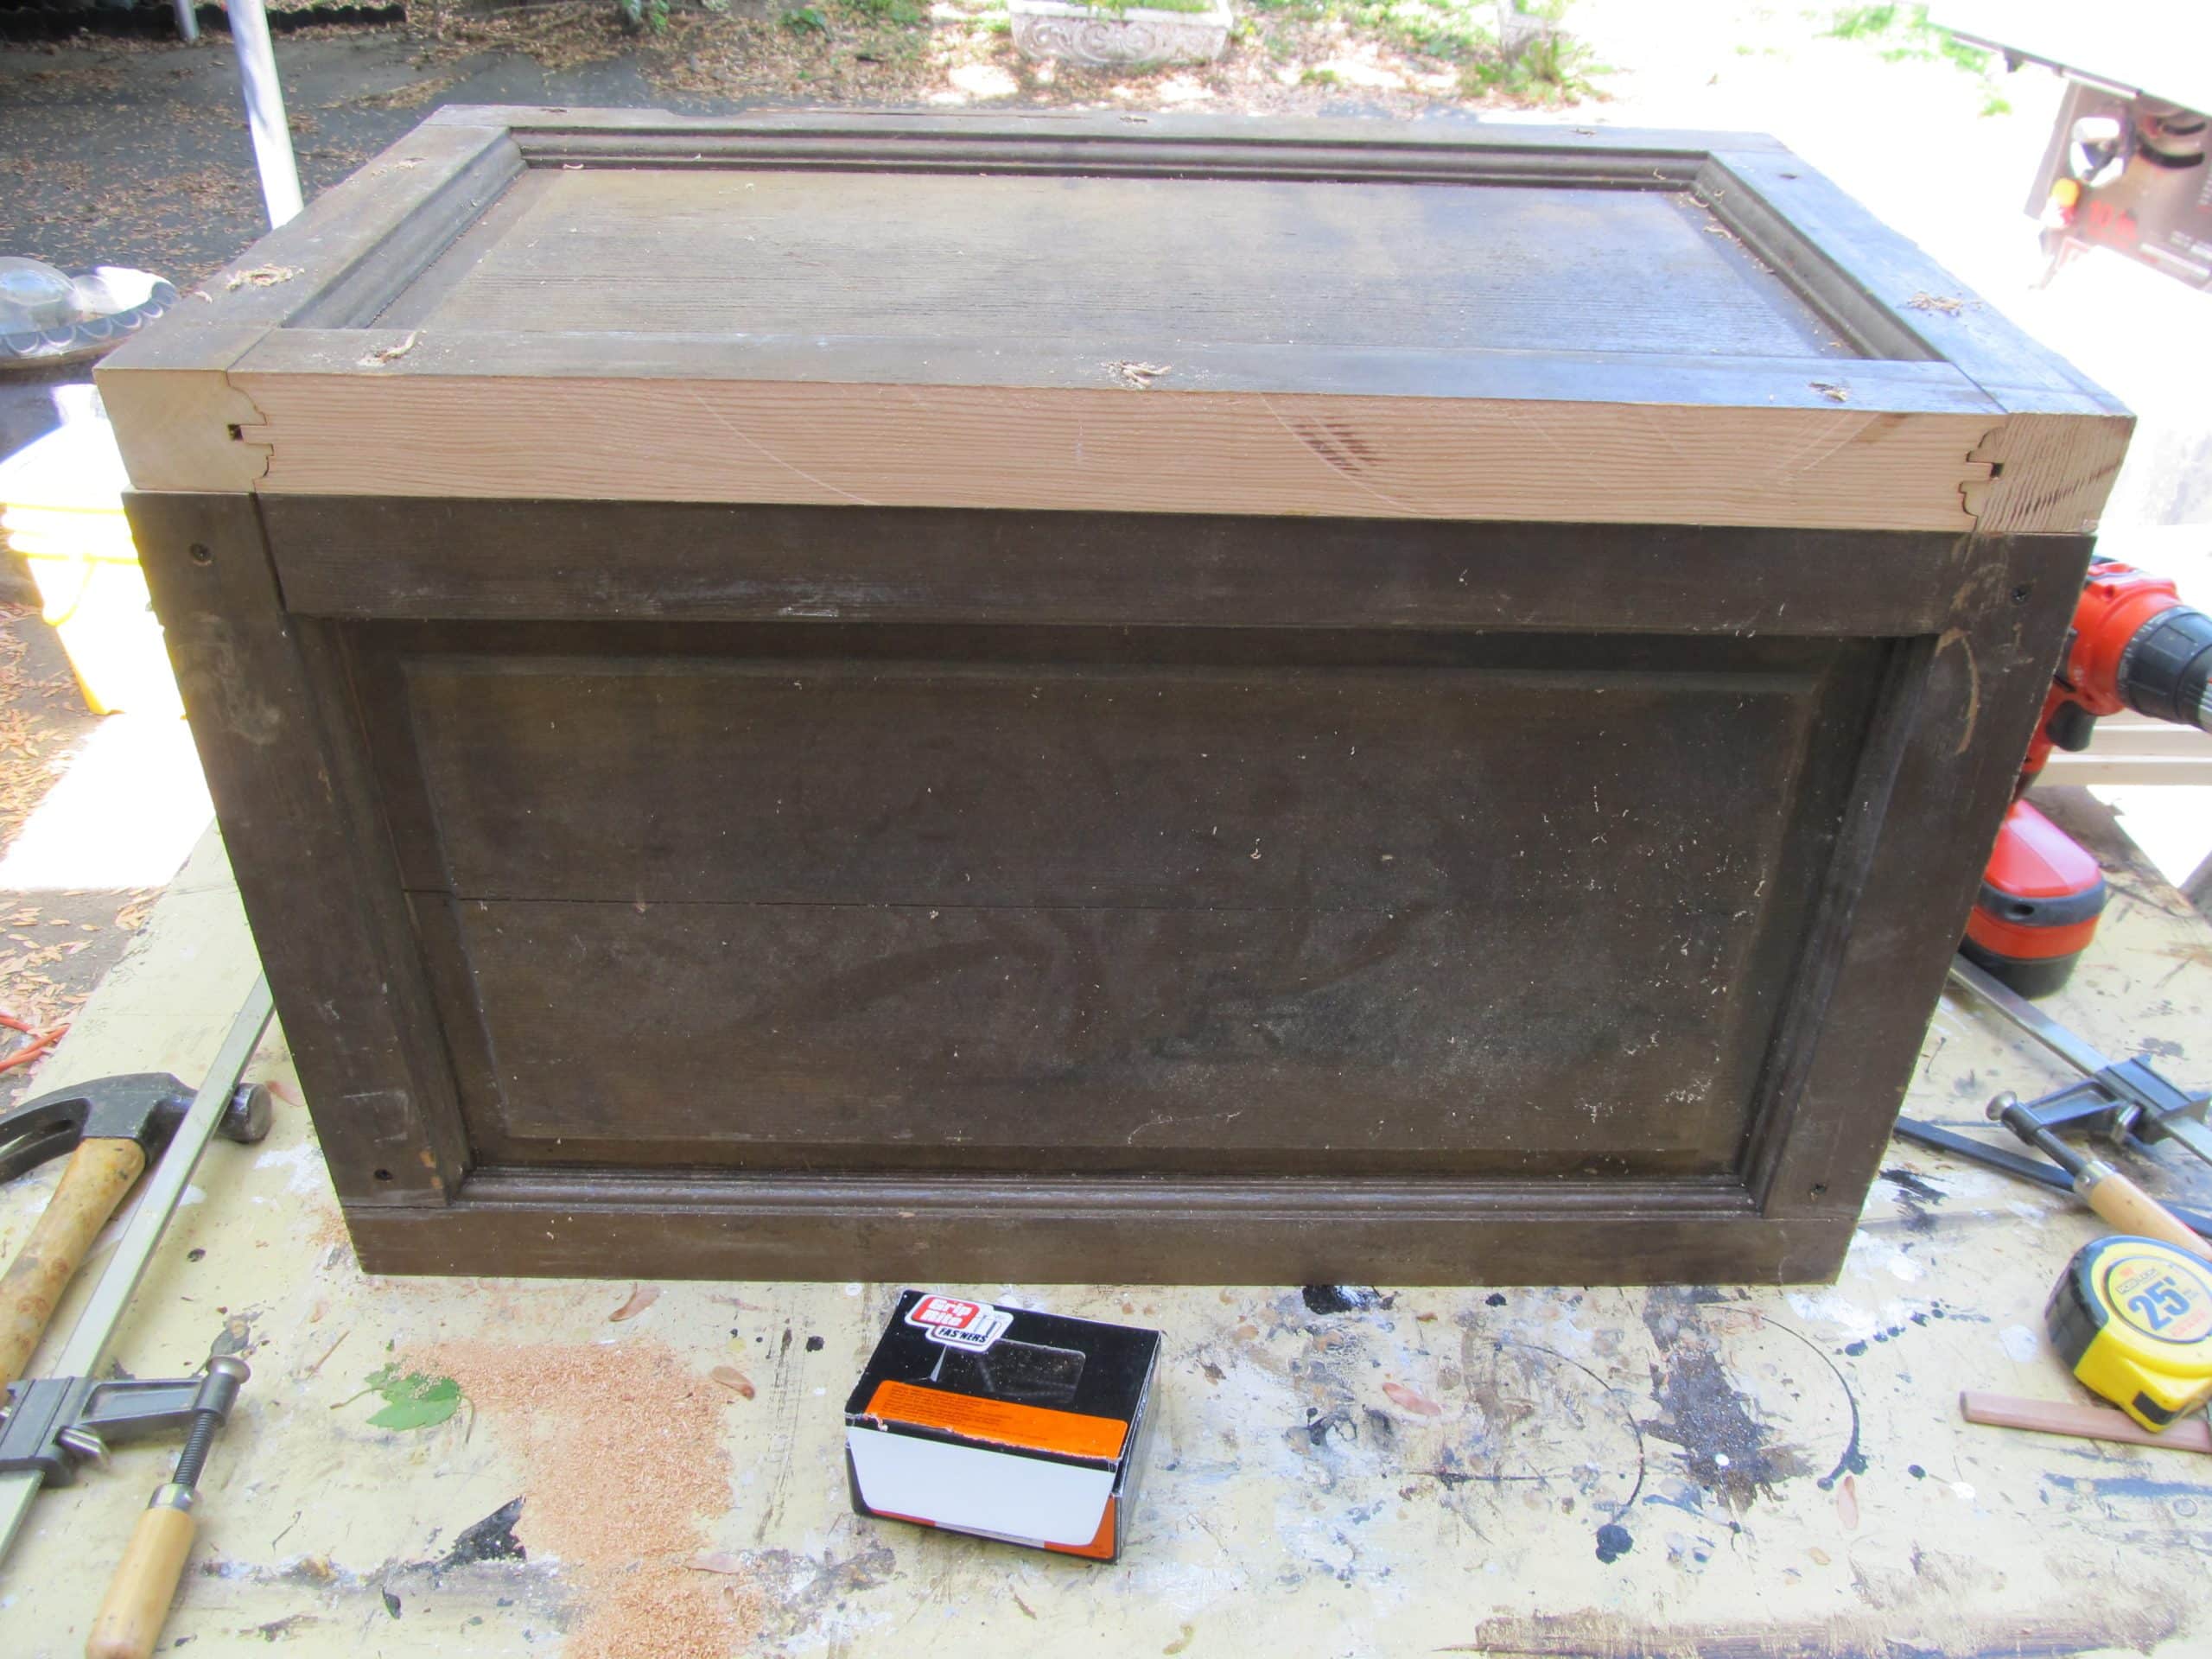
    door repurposed into a trunk (15)After I got all my panels cut in relatively all the same size-HA- who am I kidding? None of these panels were the same size. I nearly scrapped the entire project at this point. Had I intended to sell this, I would have tossed it. However, I was making this to keep, so I went forward. I used the best looking panels for the front and the top.

    door repurposed into a trunk (18)I used the “crooked as a dog’s hind legs” panels for the back and the bottom. (They won’t be seen where I’ll be using this trunk)

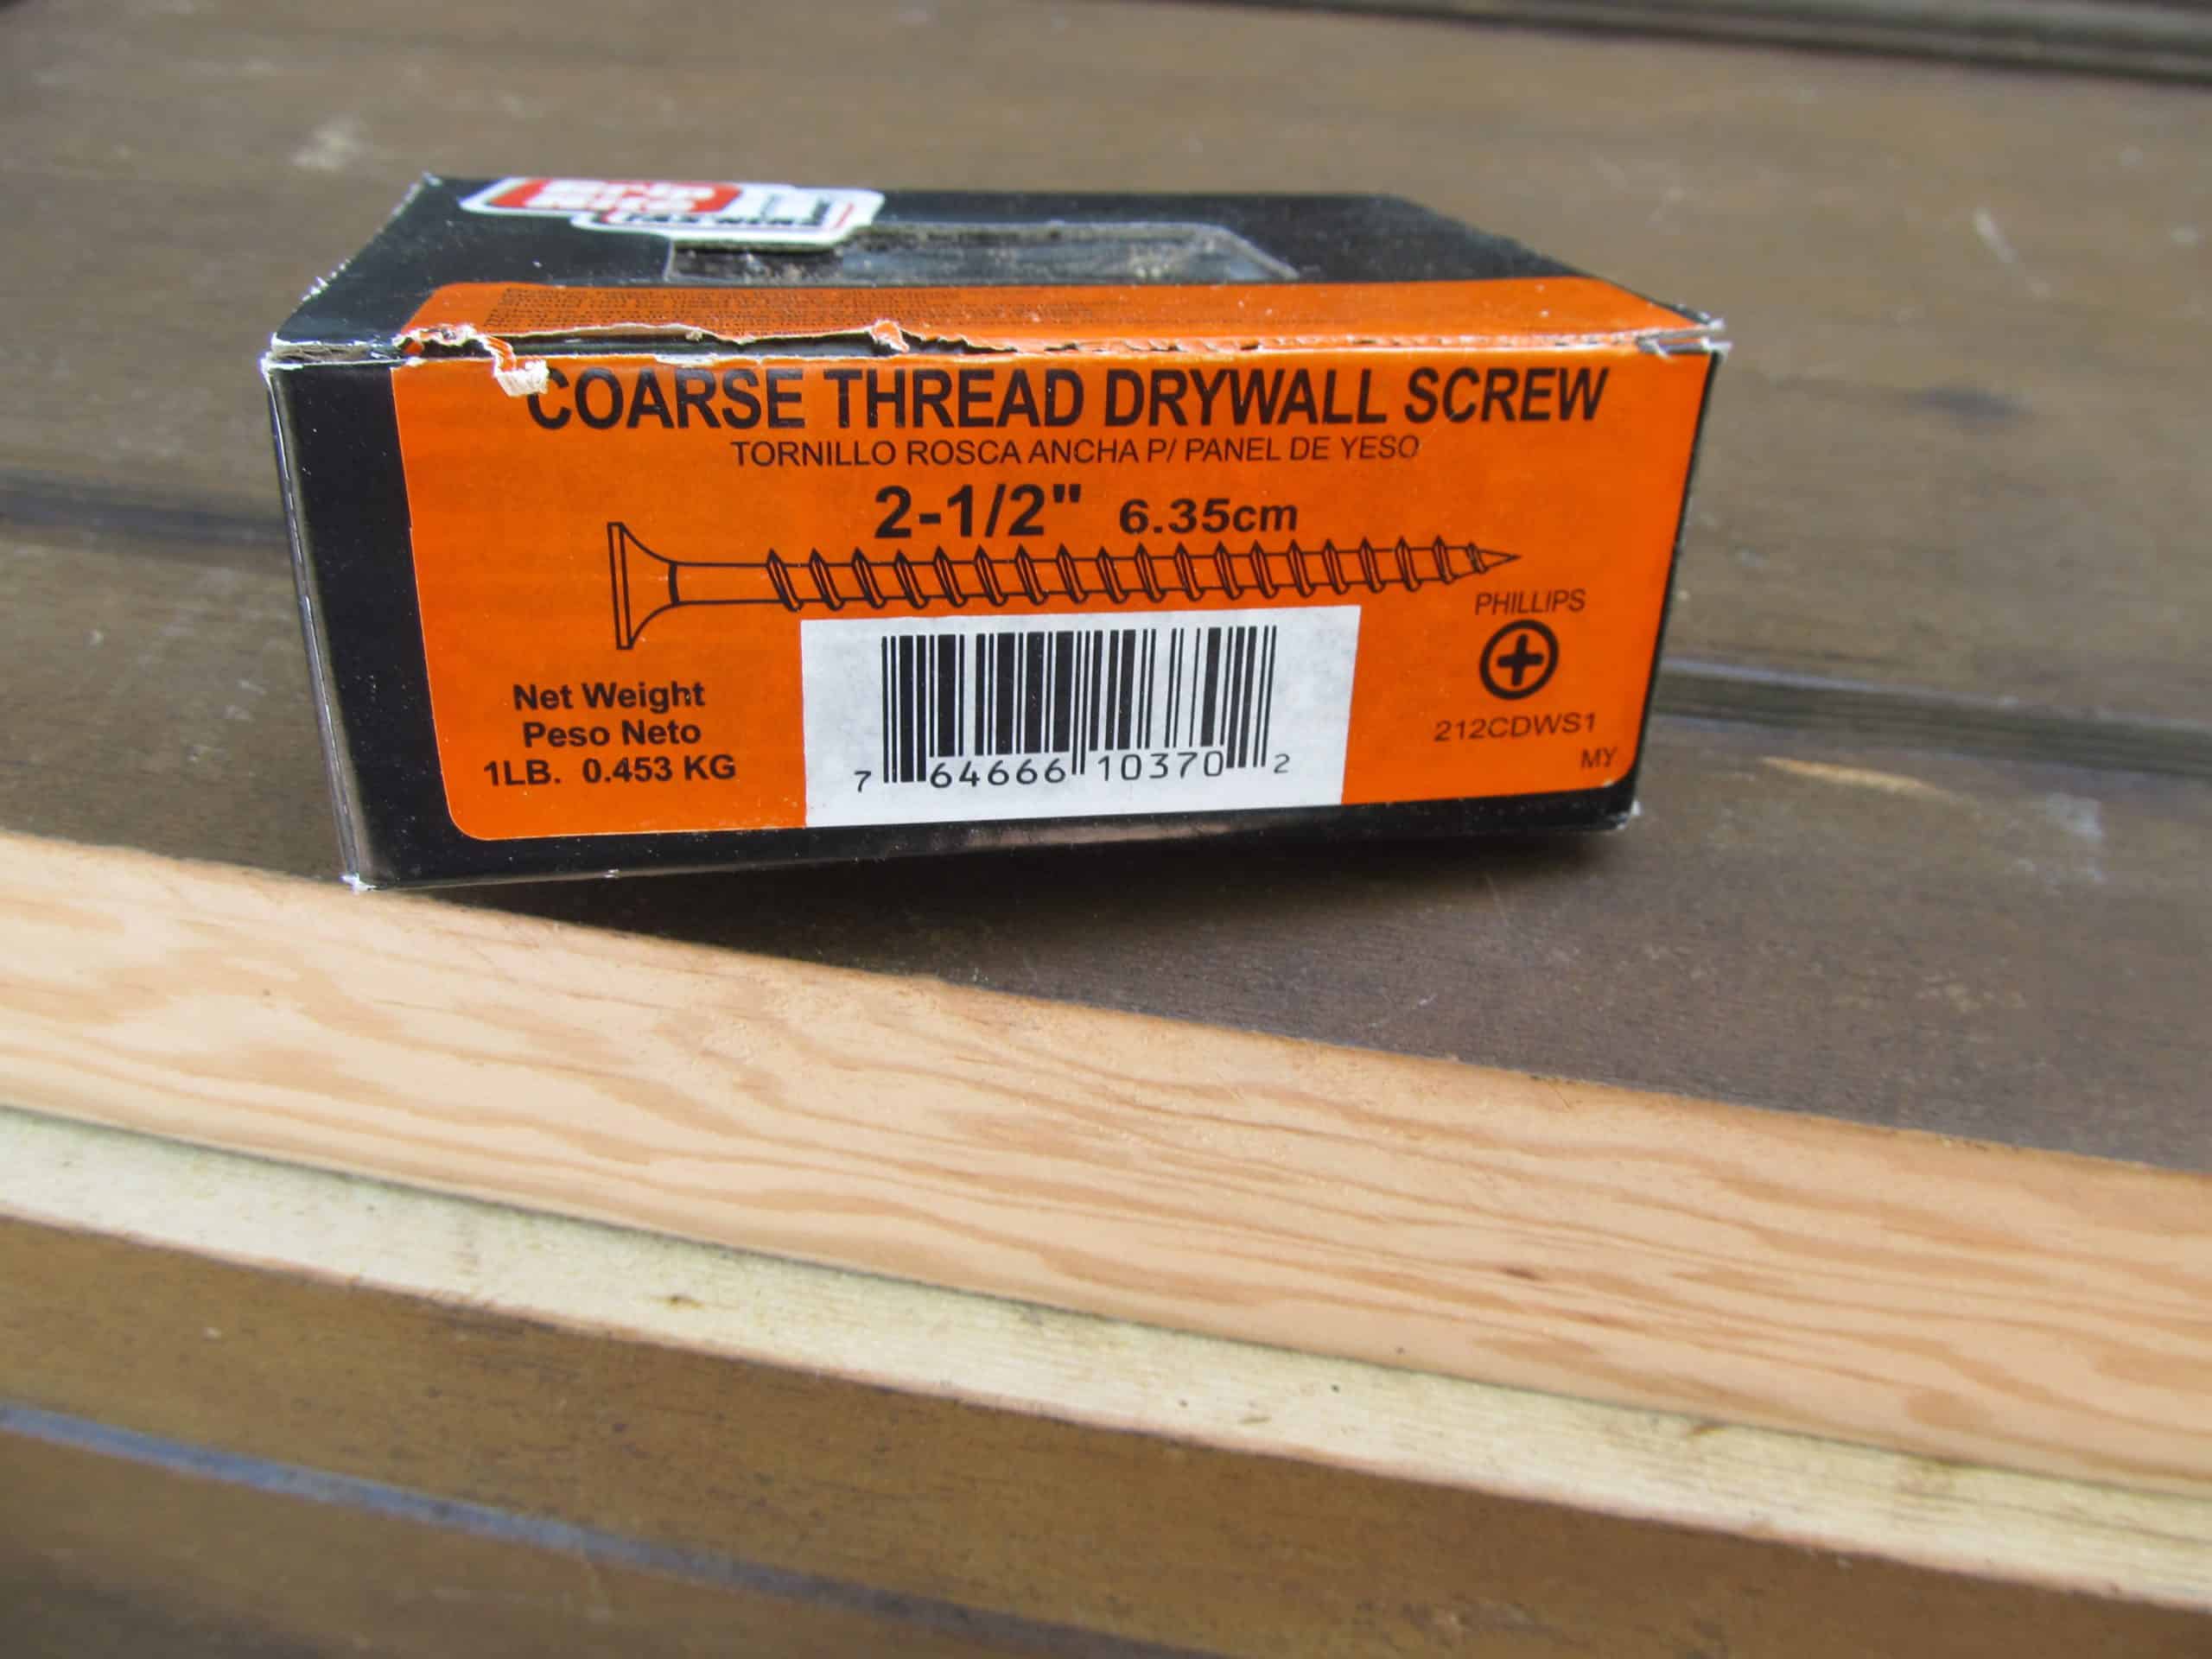
    door repurposed into a trunk (21)I use drywall screws for all of my projects. I brought out the big daddies for this project.

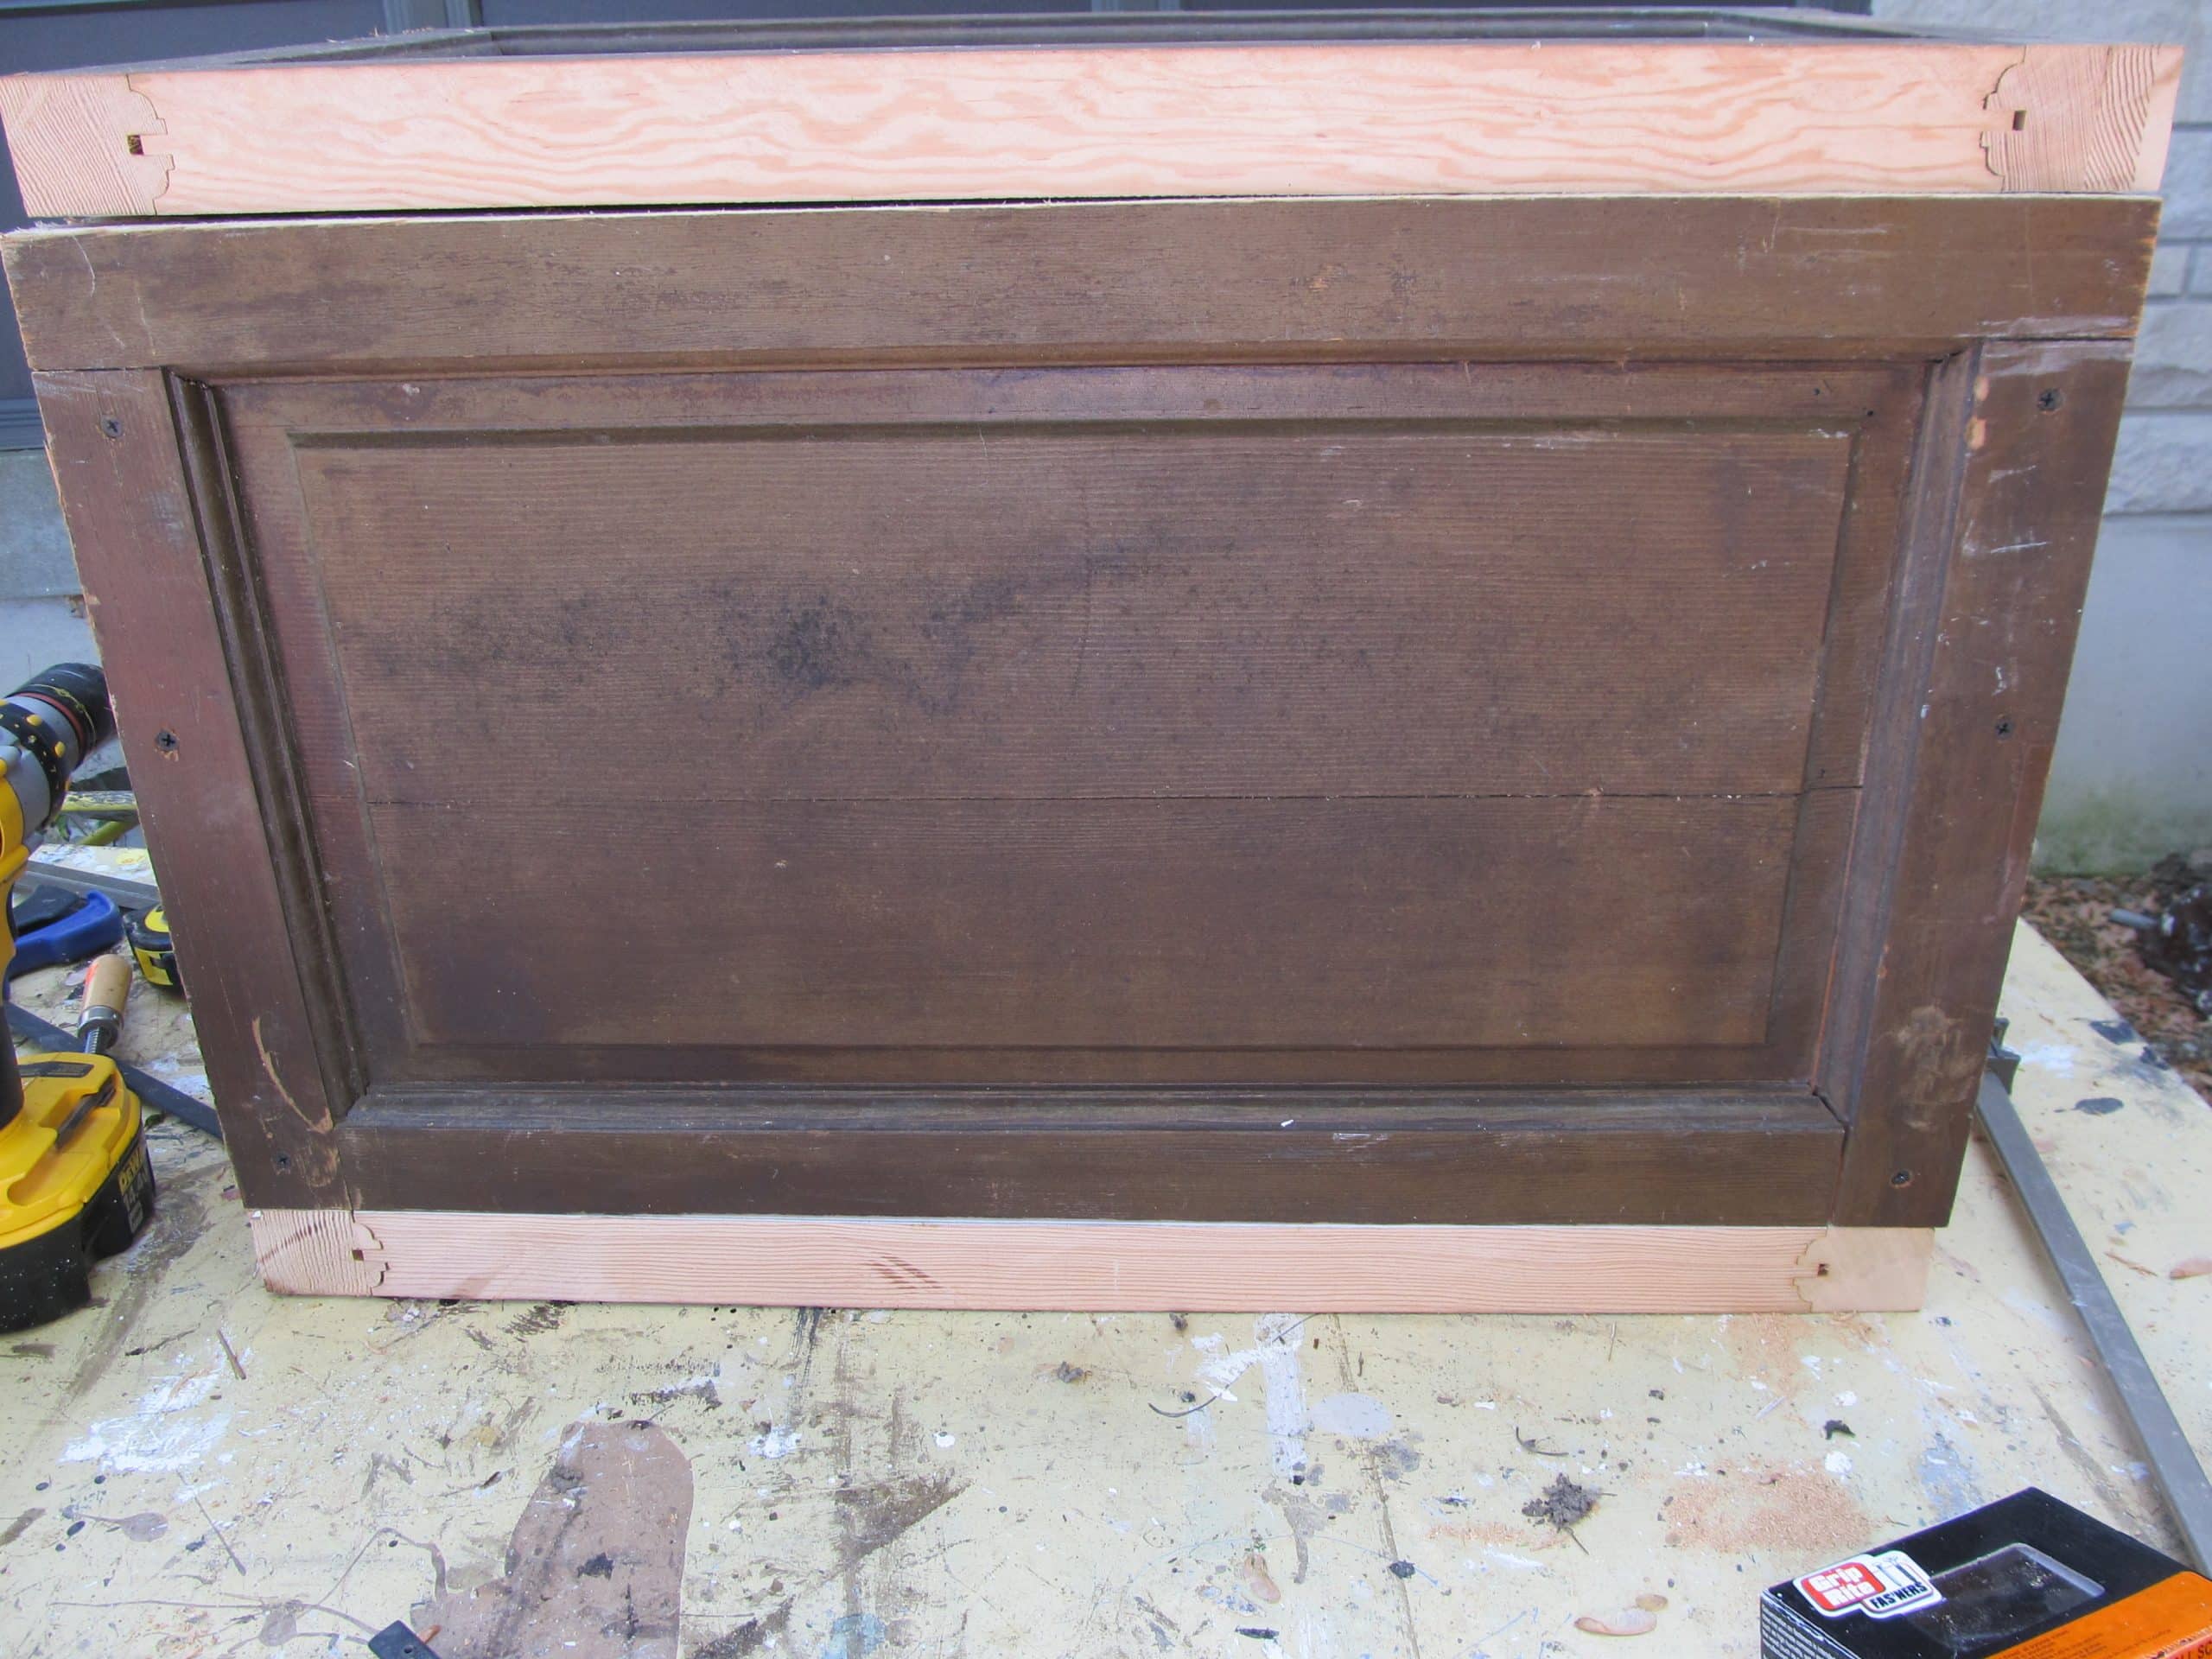
    door repurposed into a trunk (24)I used three screws on all sides.

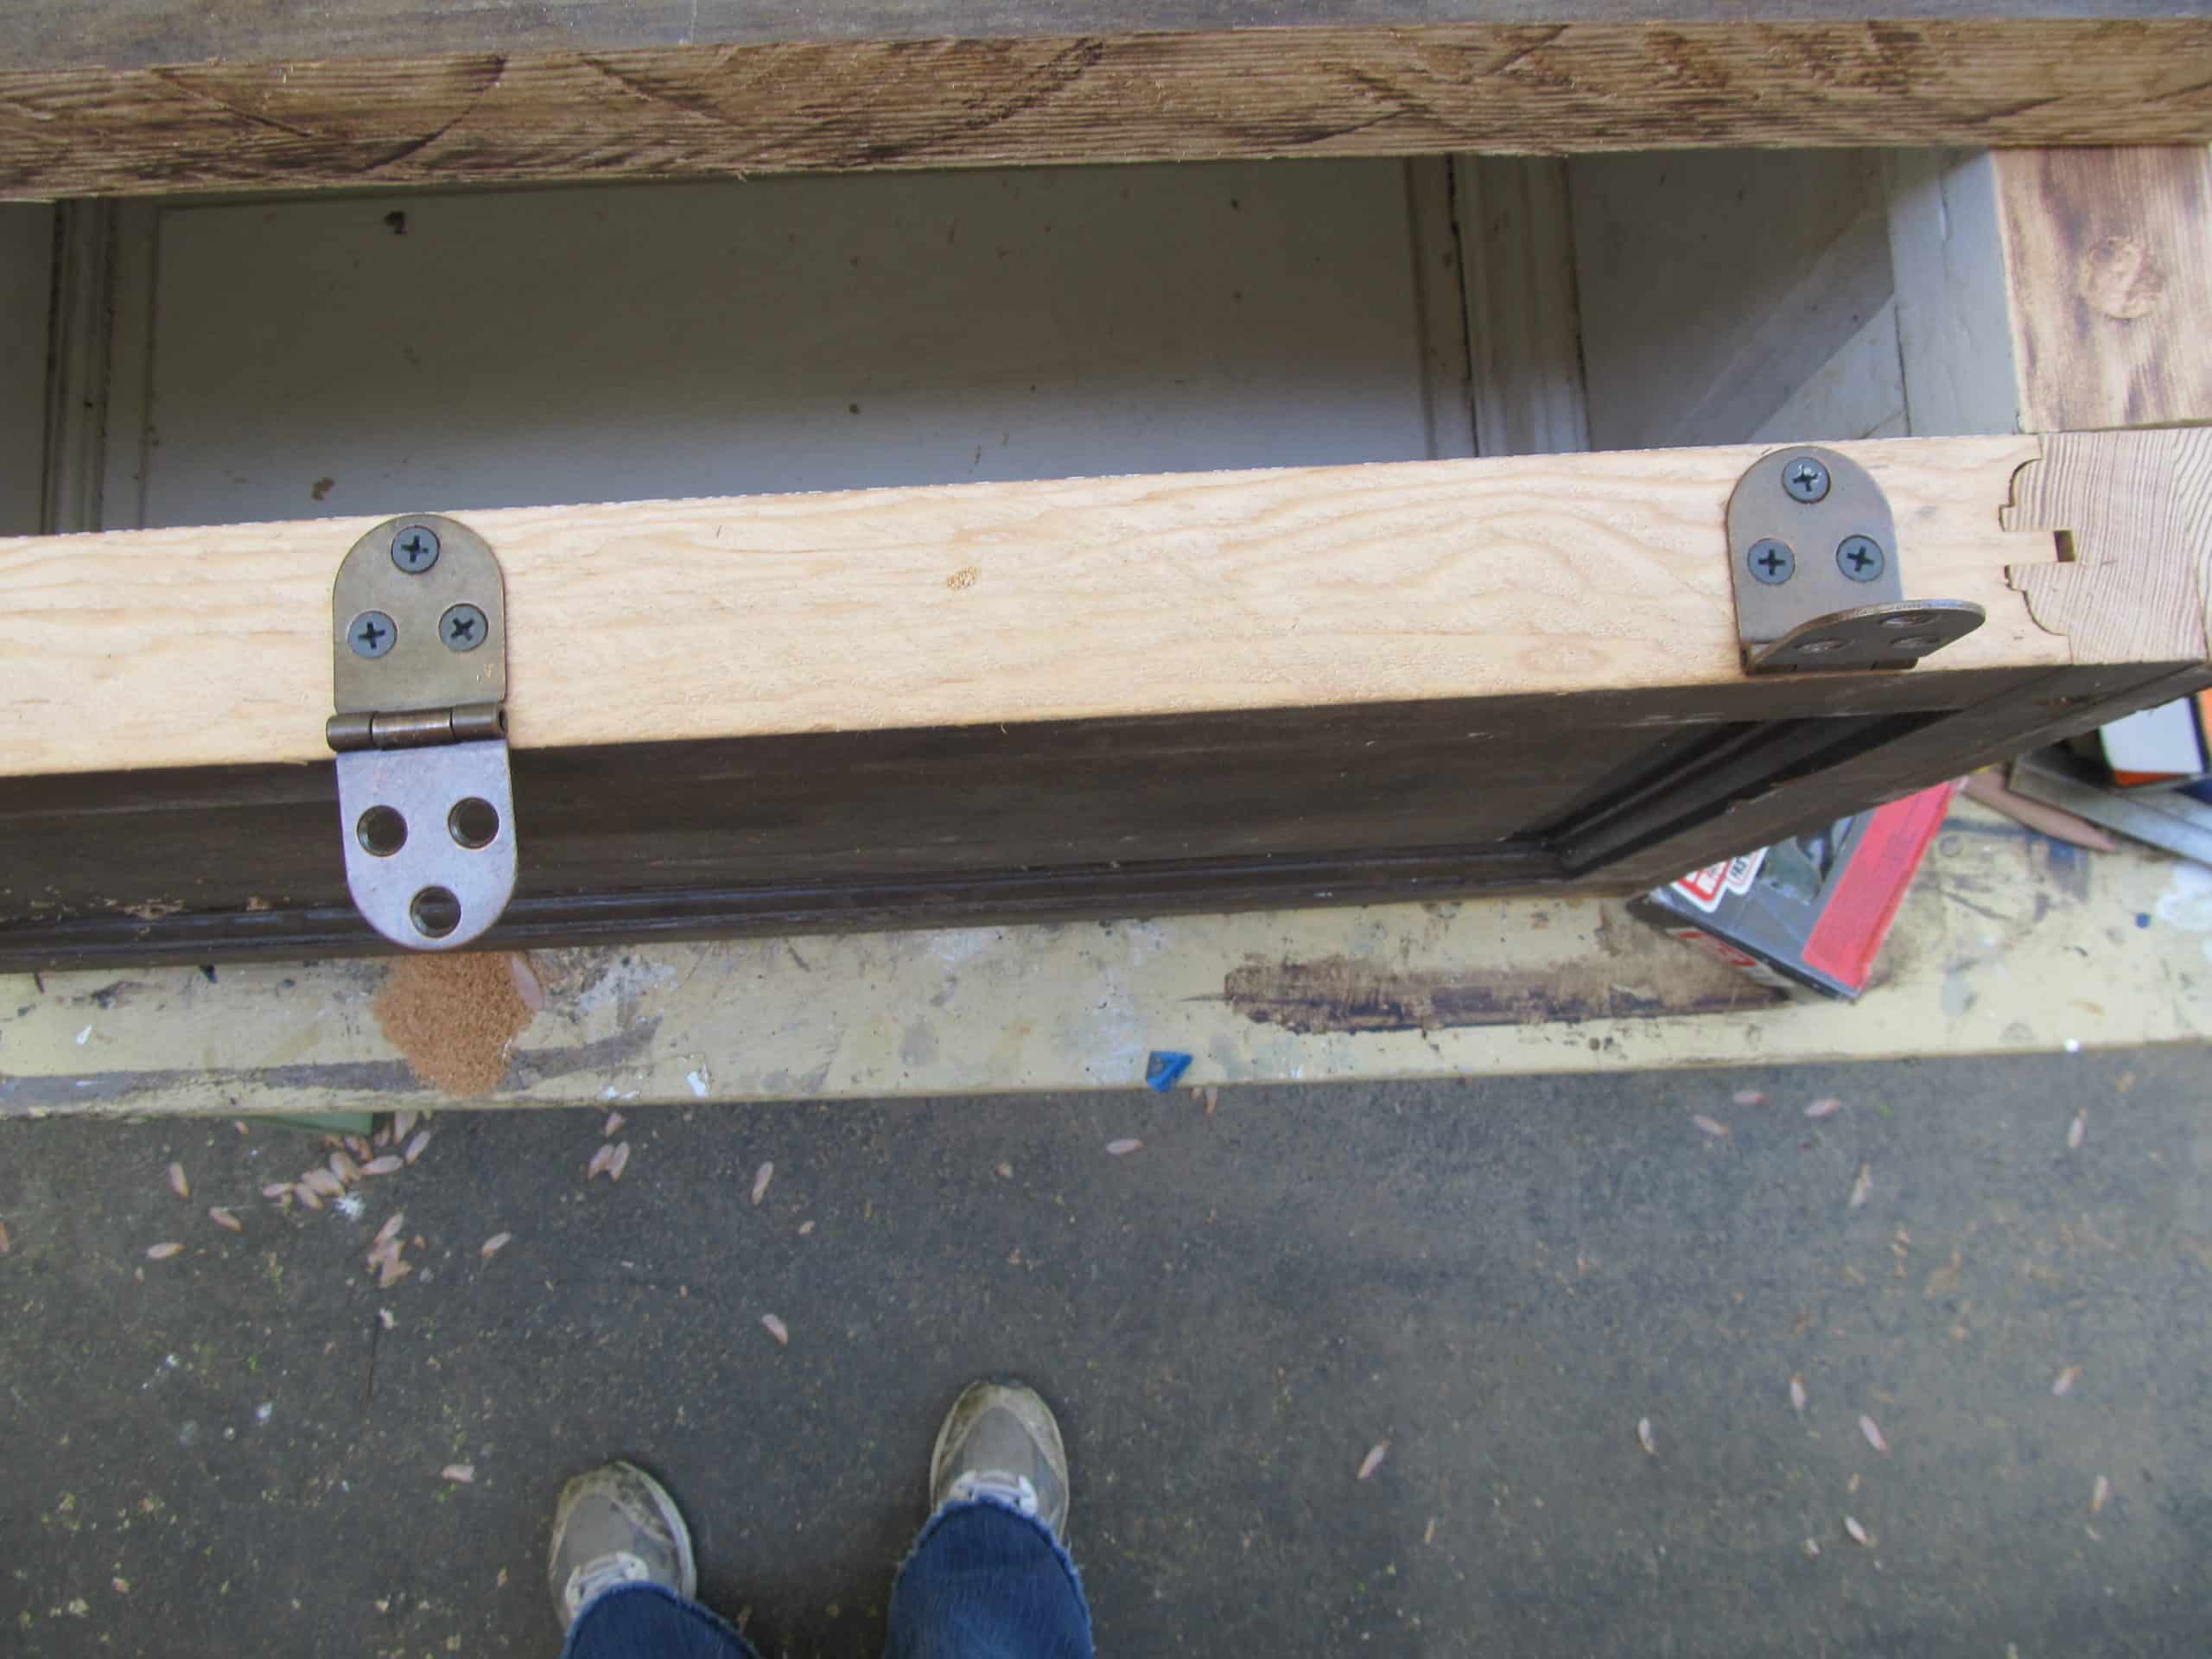
    door repurposed into a trunk (19)These hinges are so sturdy. I removed them from some sewing machine cabinets.

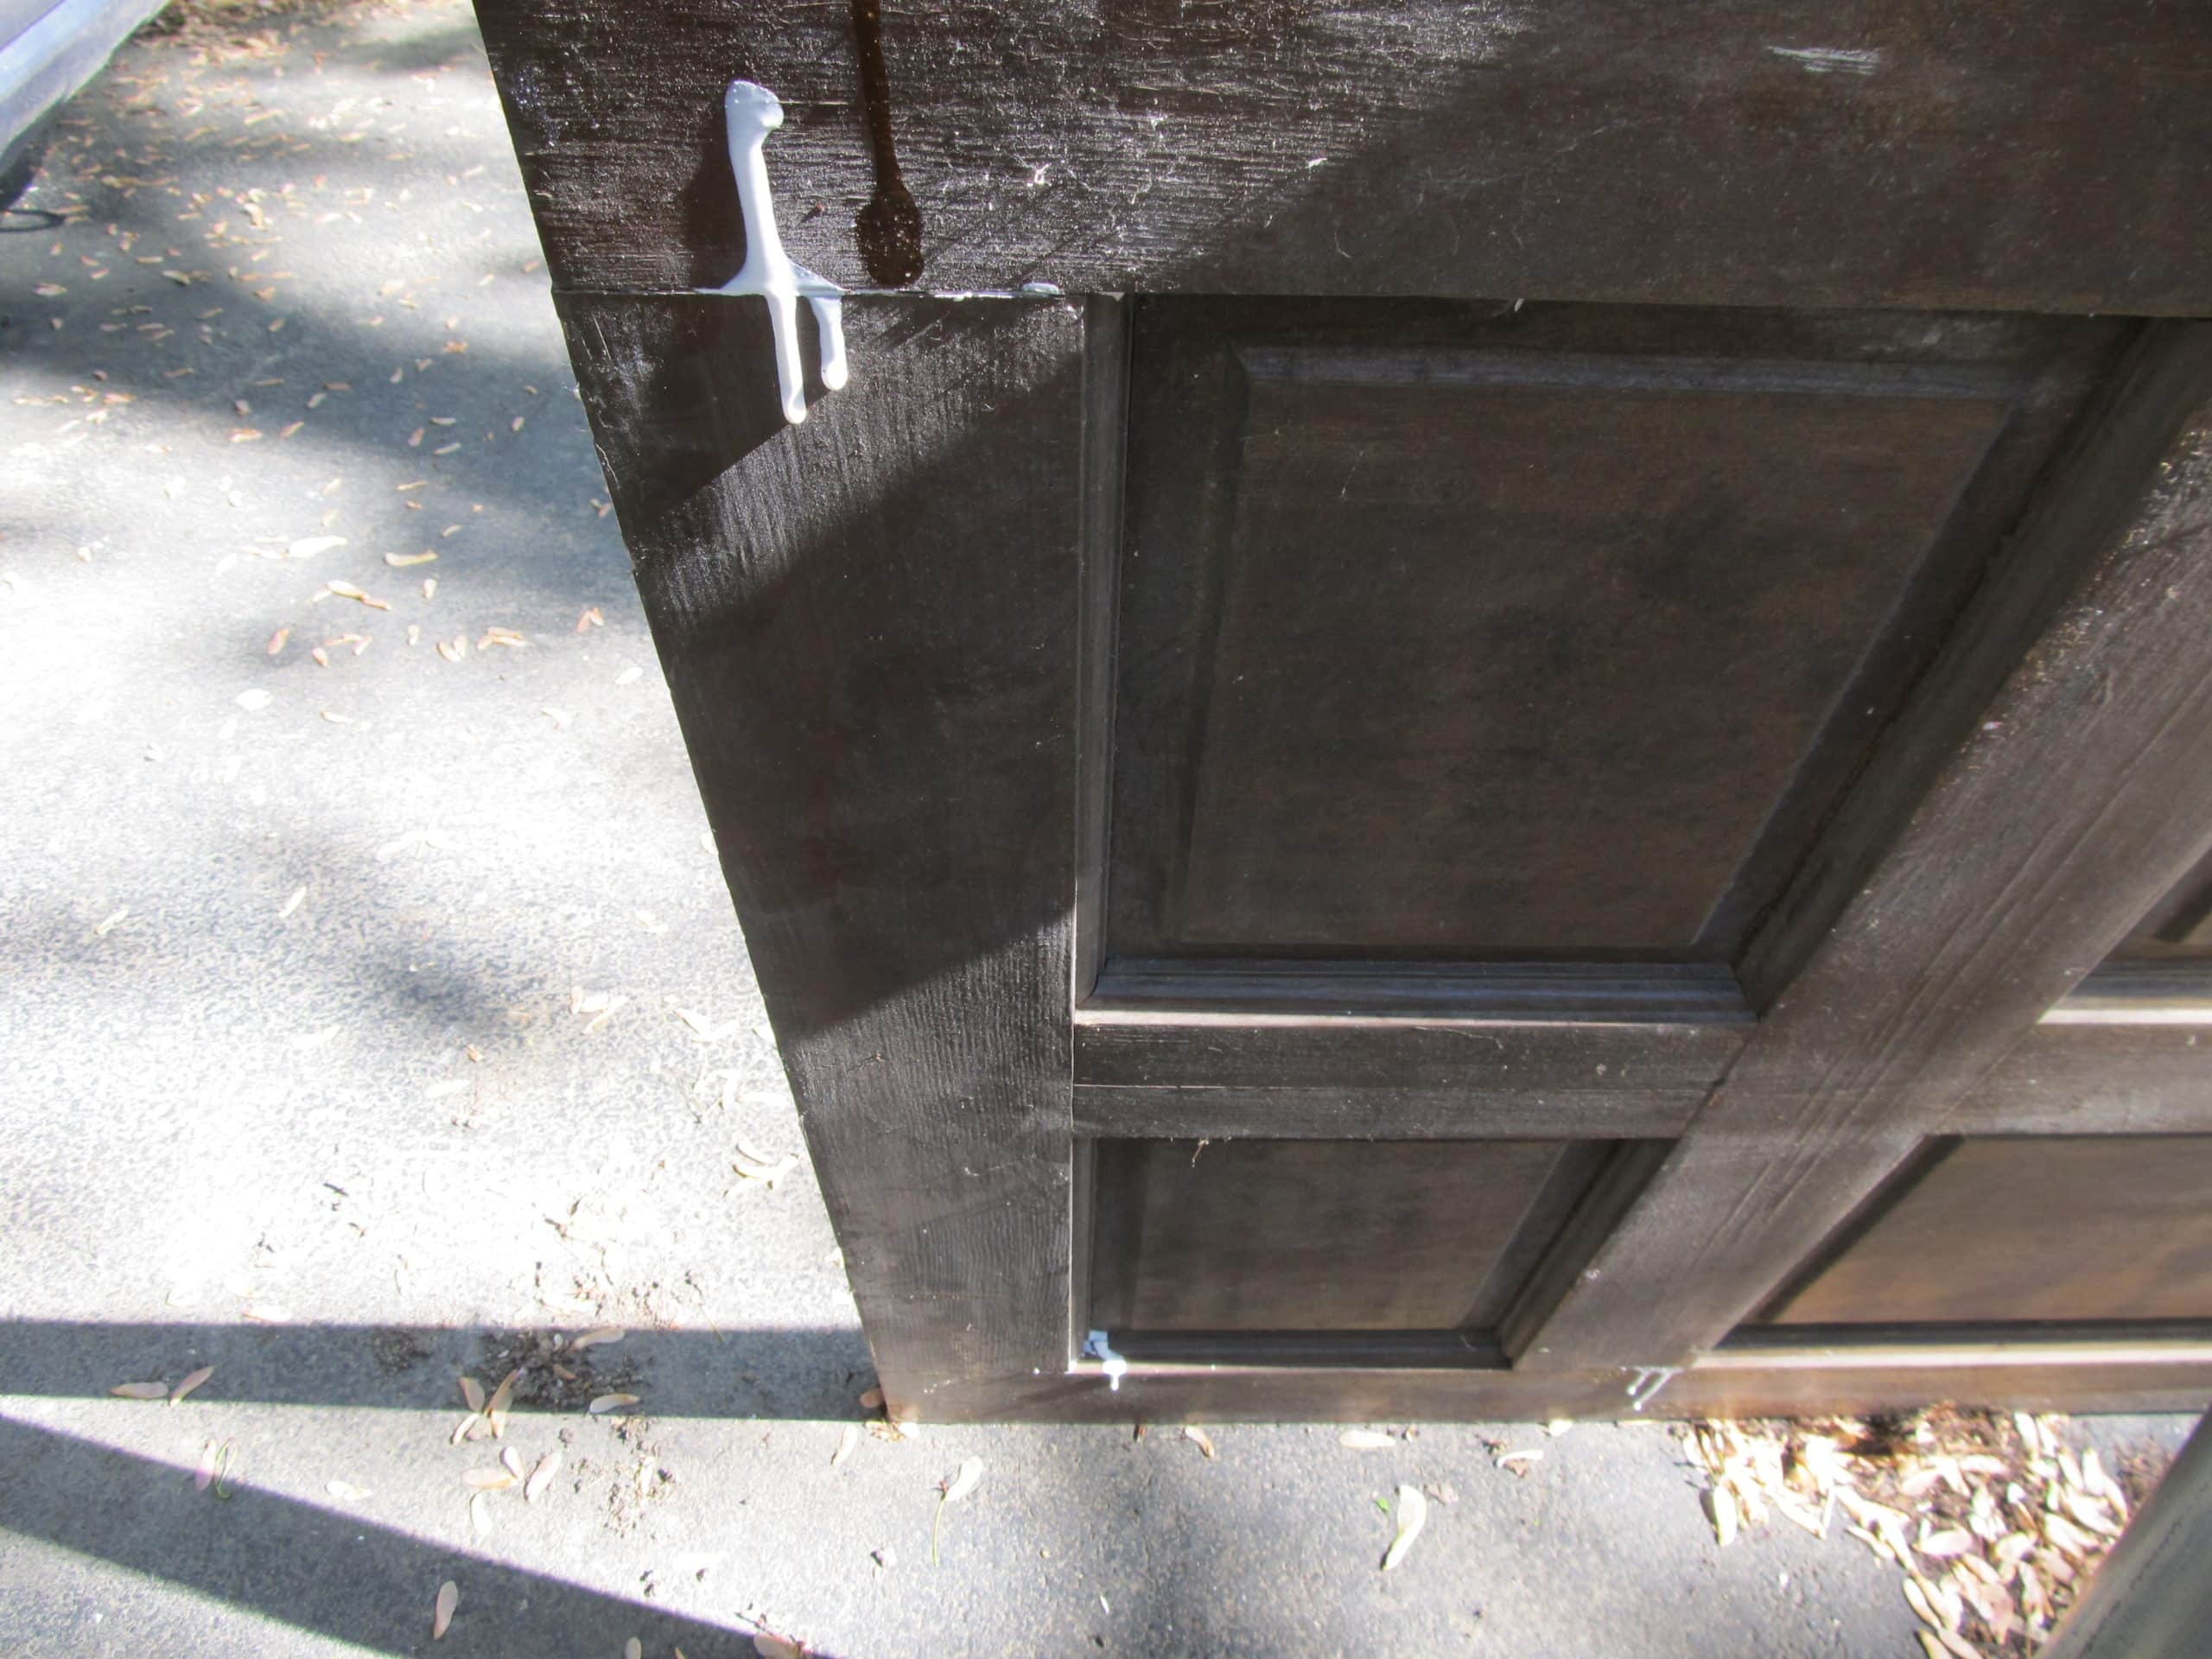
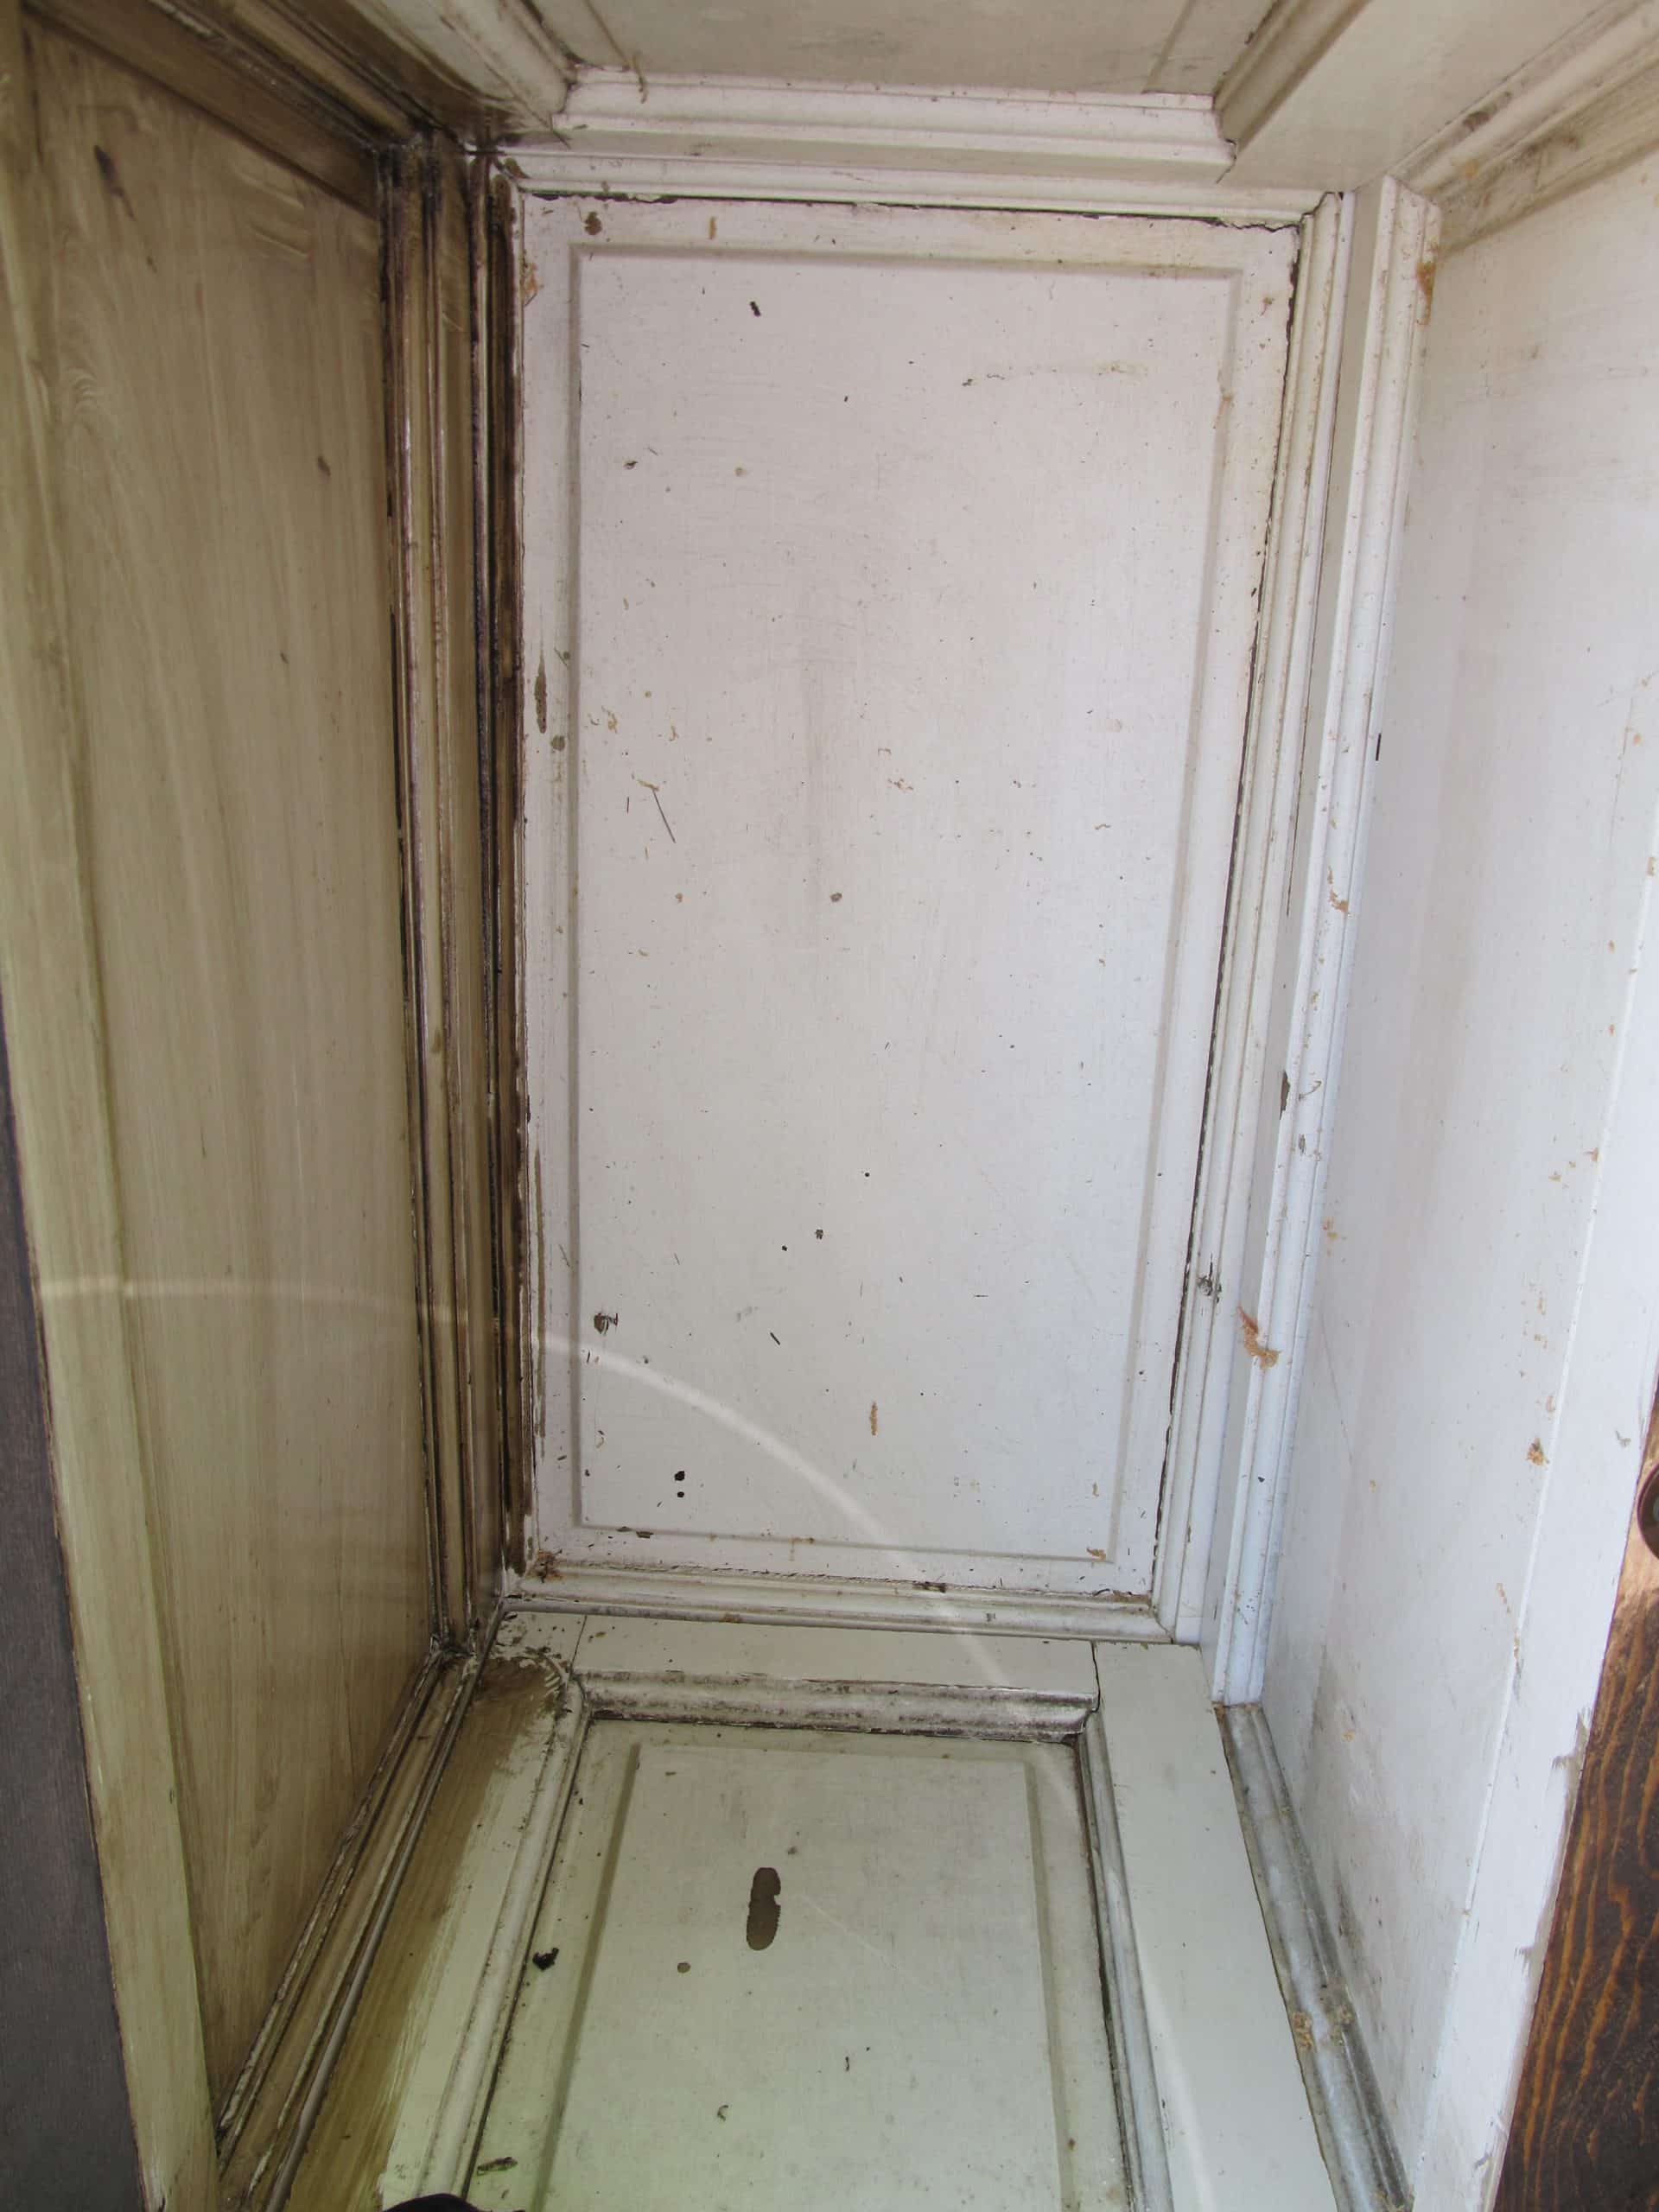
    door repurposed into a trunk (25)I applied a coat of Minwax Jacobean to the entire trunk inside and out. You can see that the door was white on one side. Here I have applied the stain to the left panel.
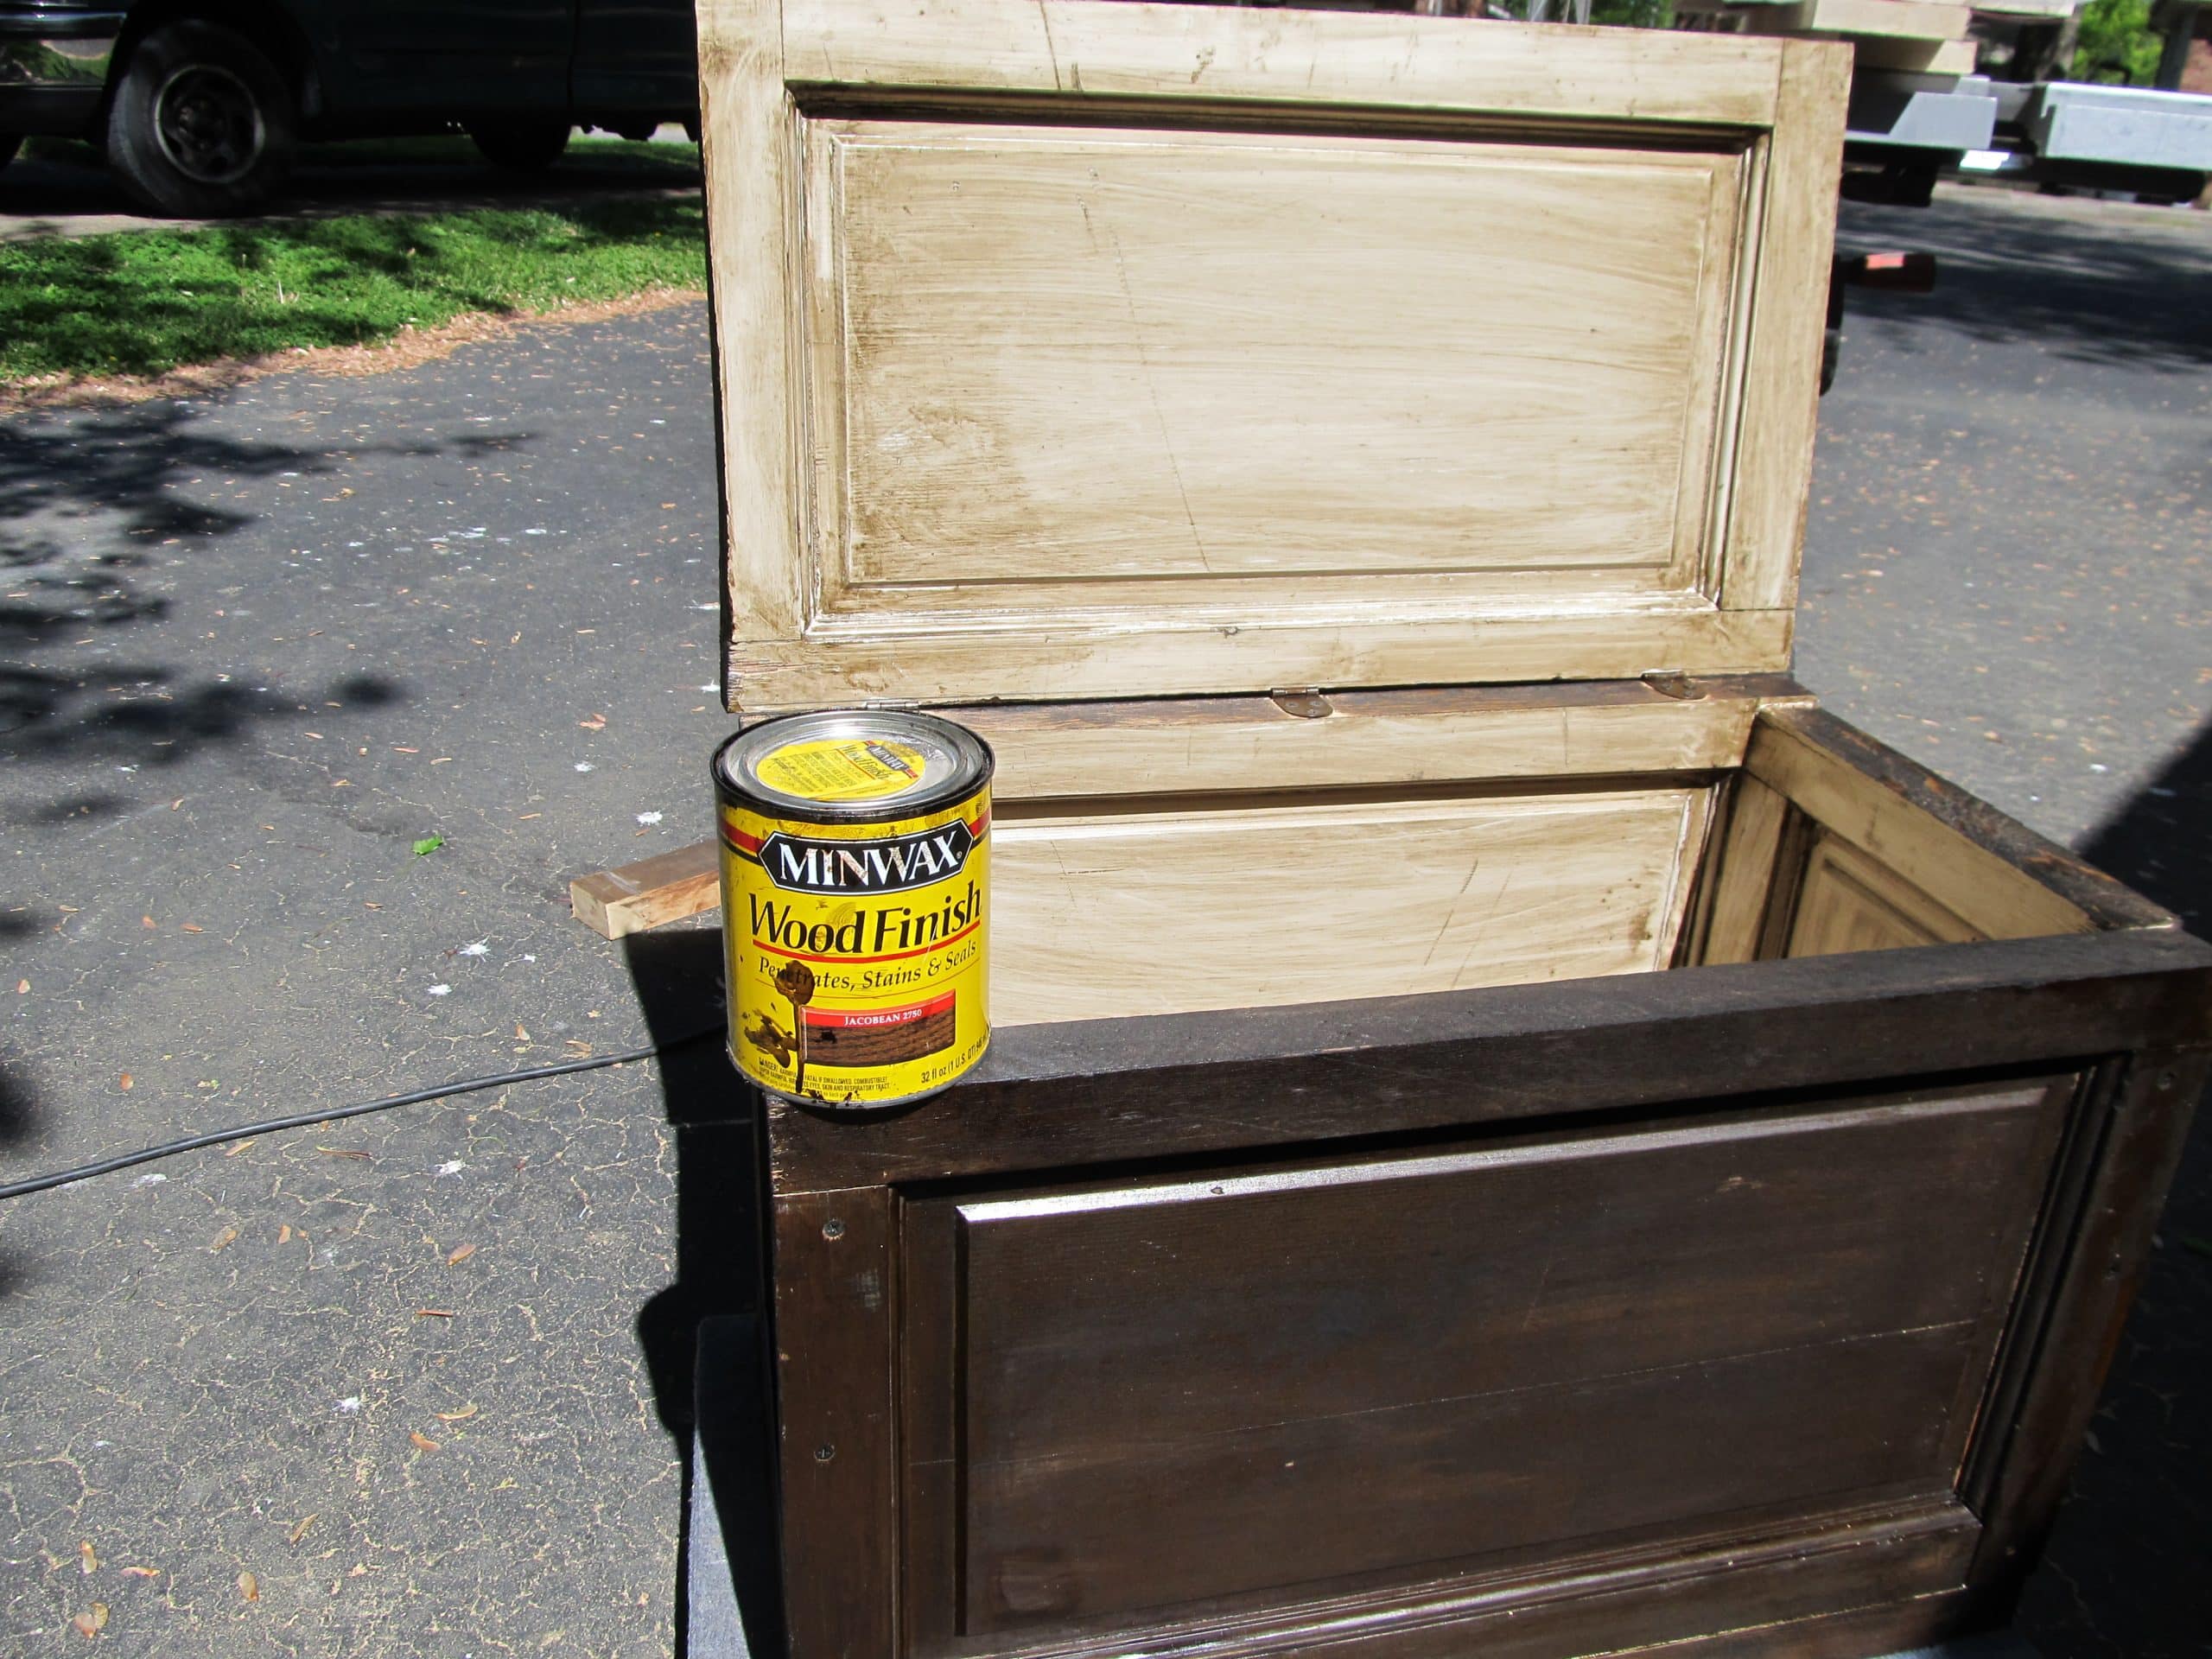
    door repurposed into a trunk (27)The stain helped even out the wood tones, making the “new cuts” match the original door a little better.
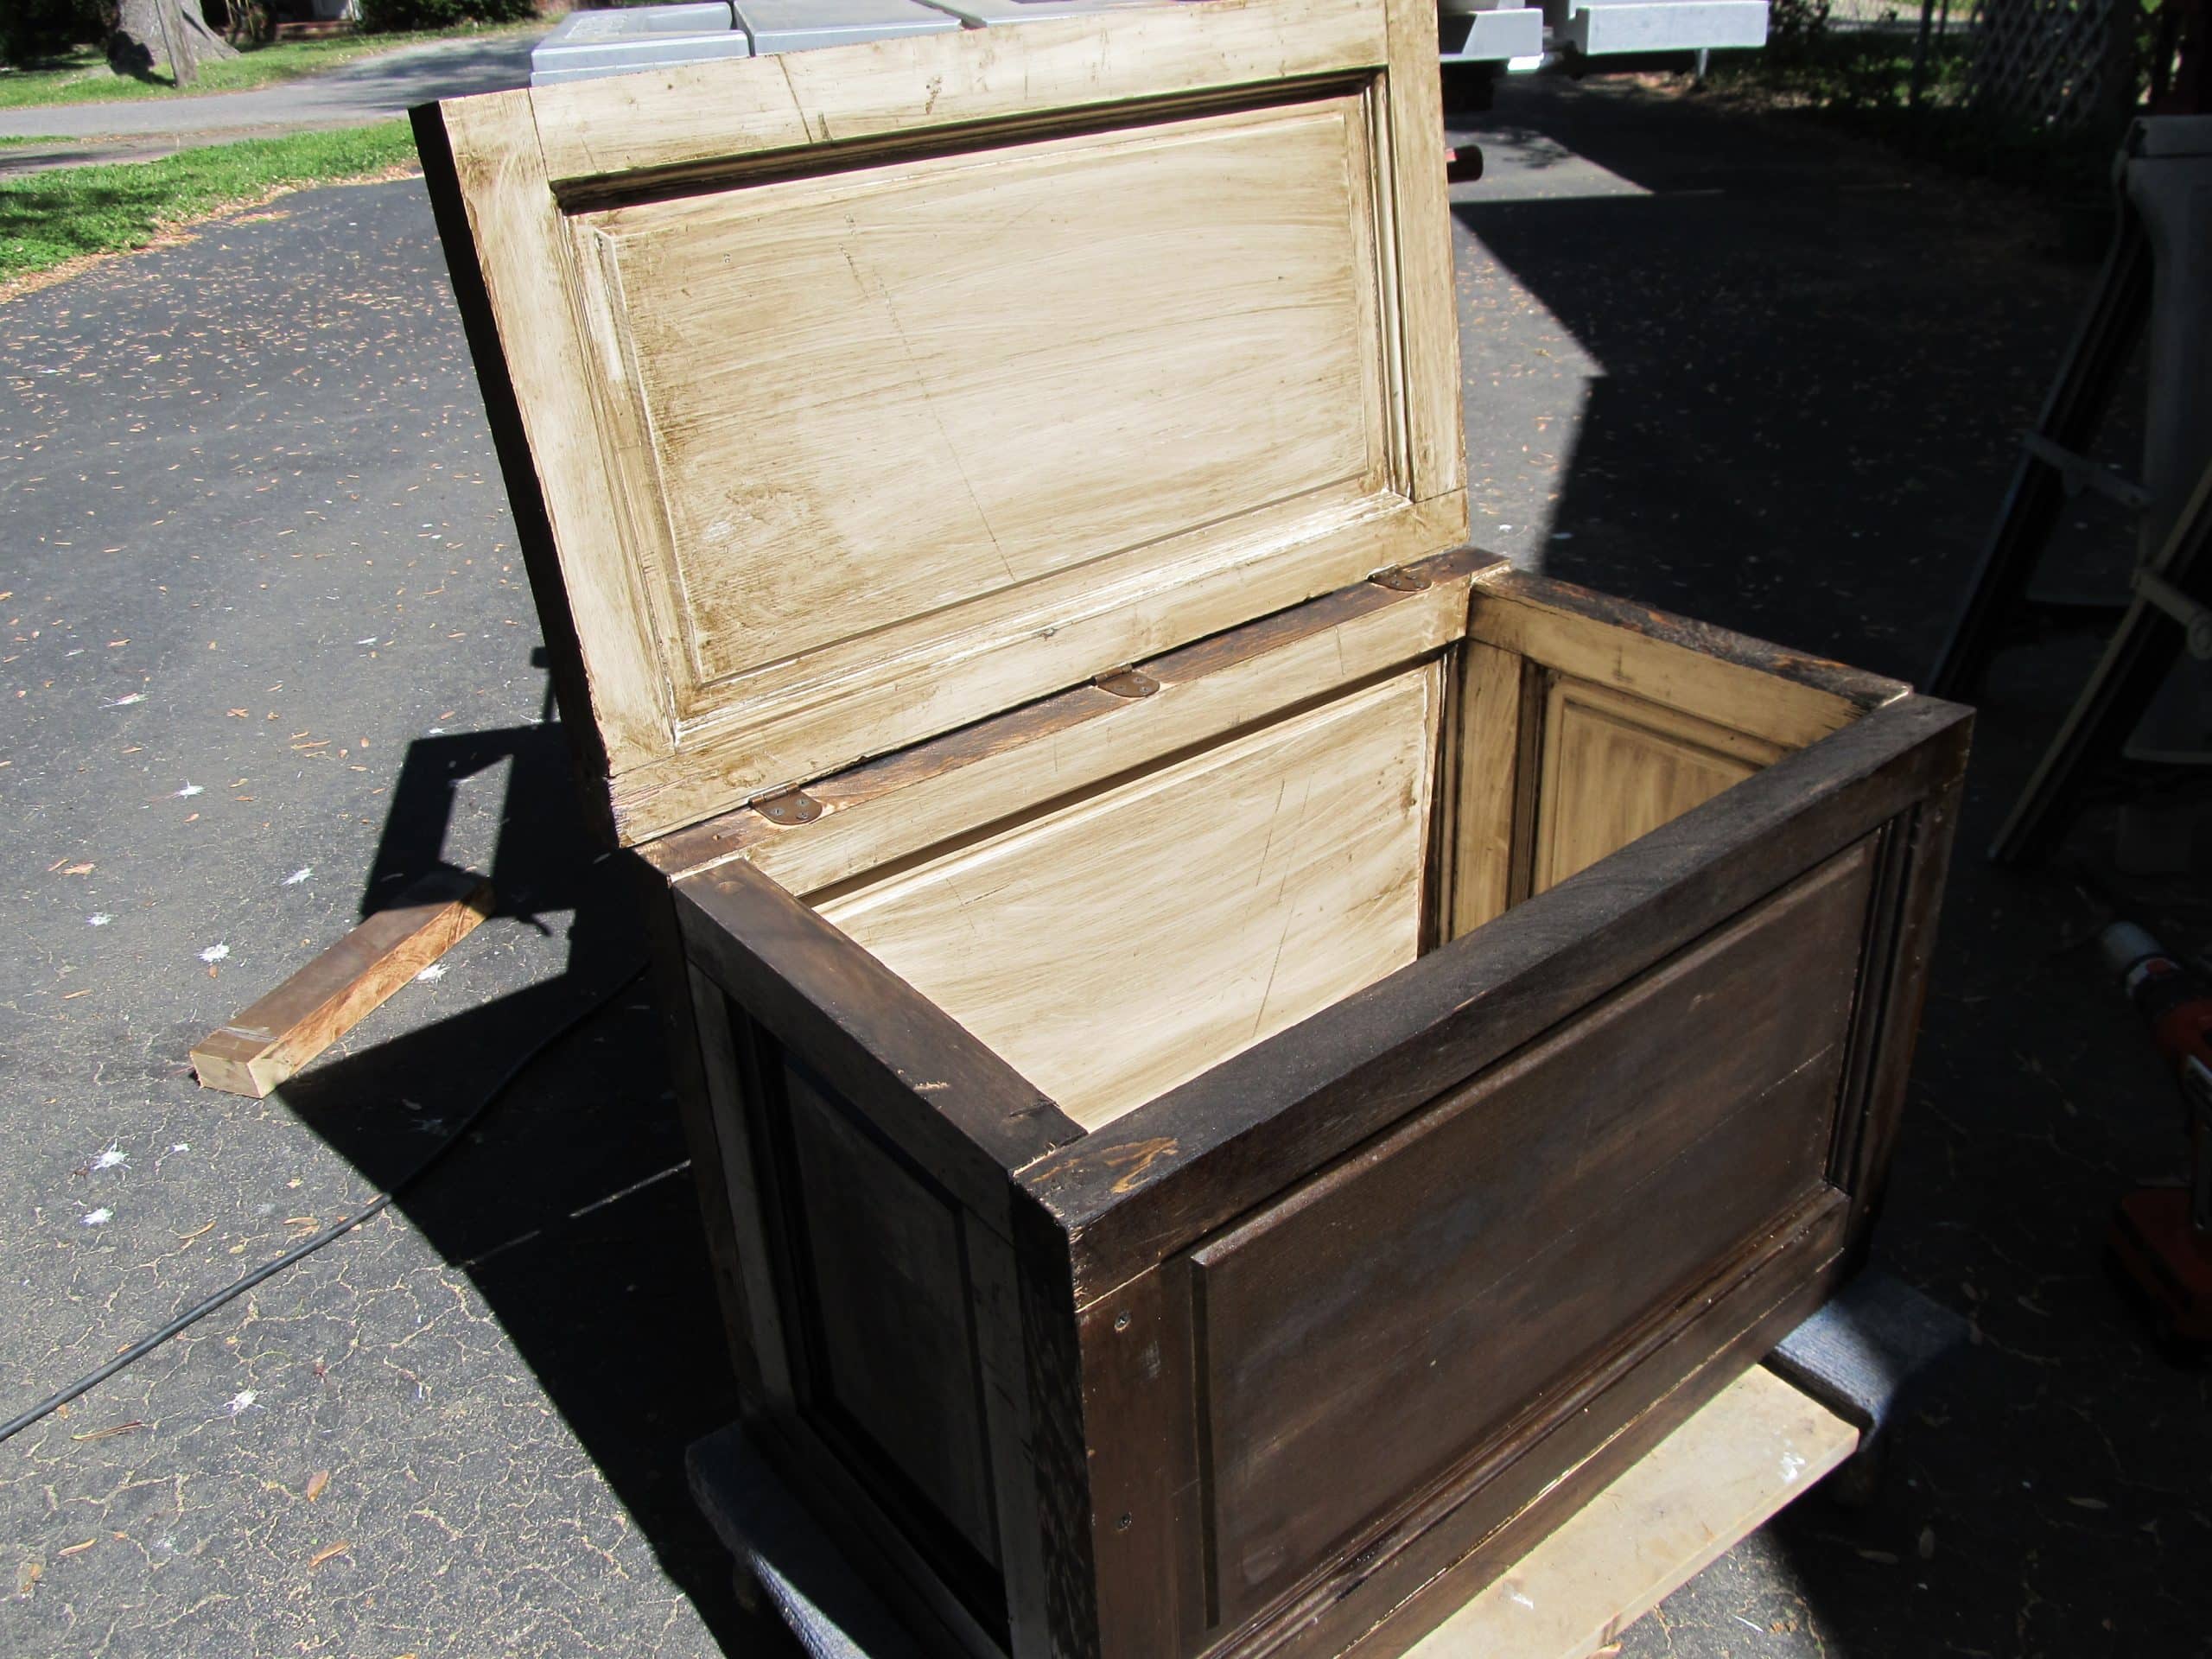
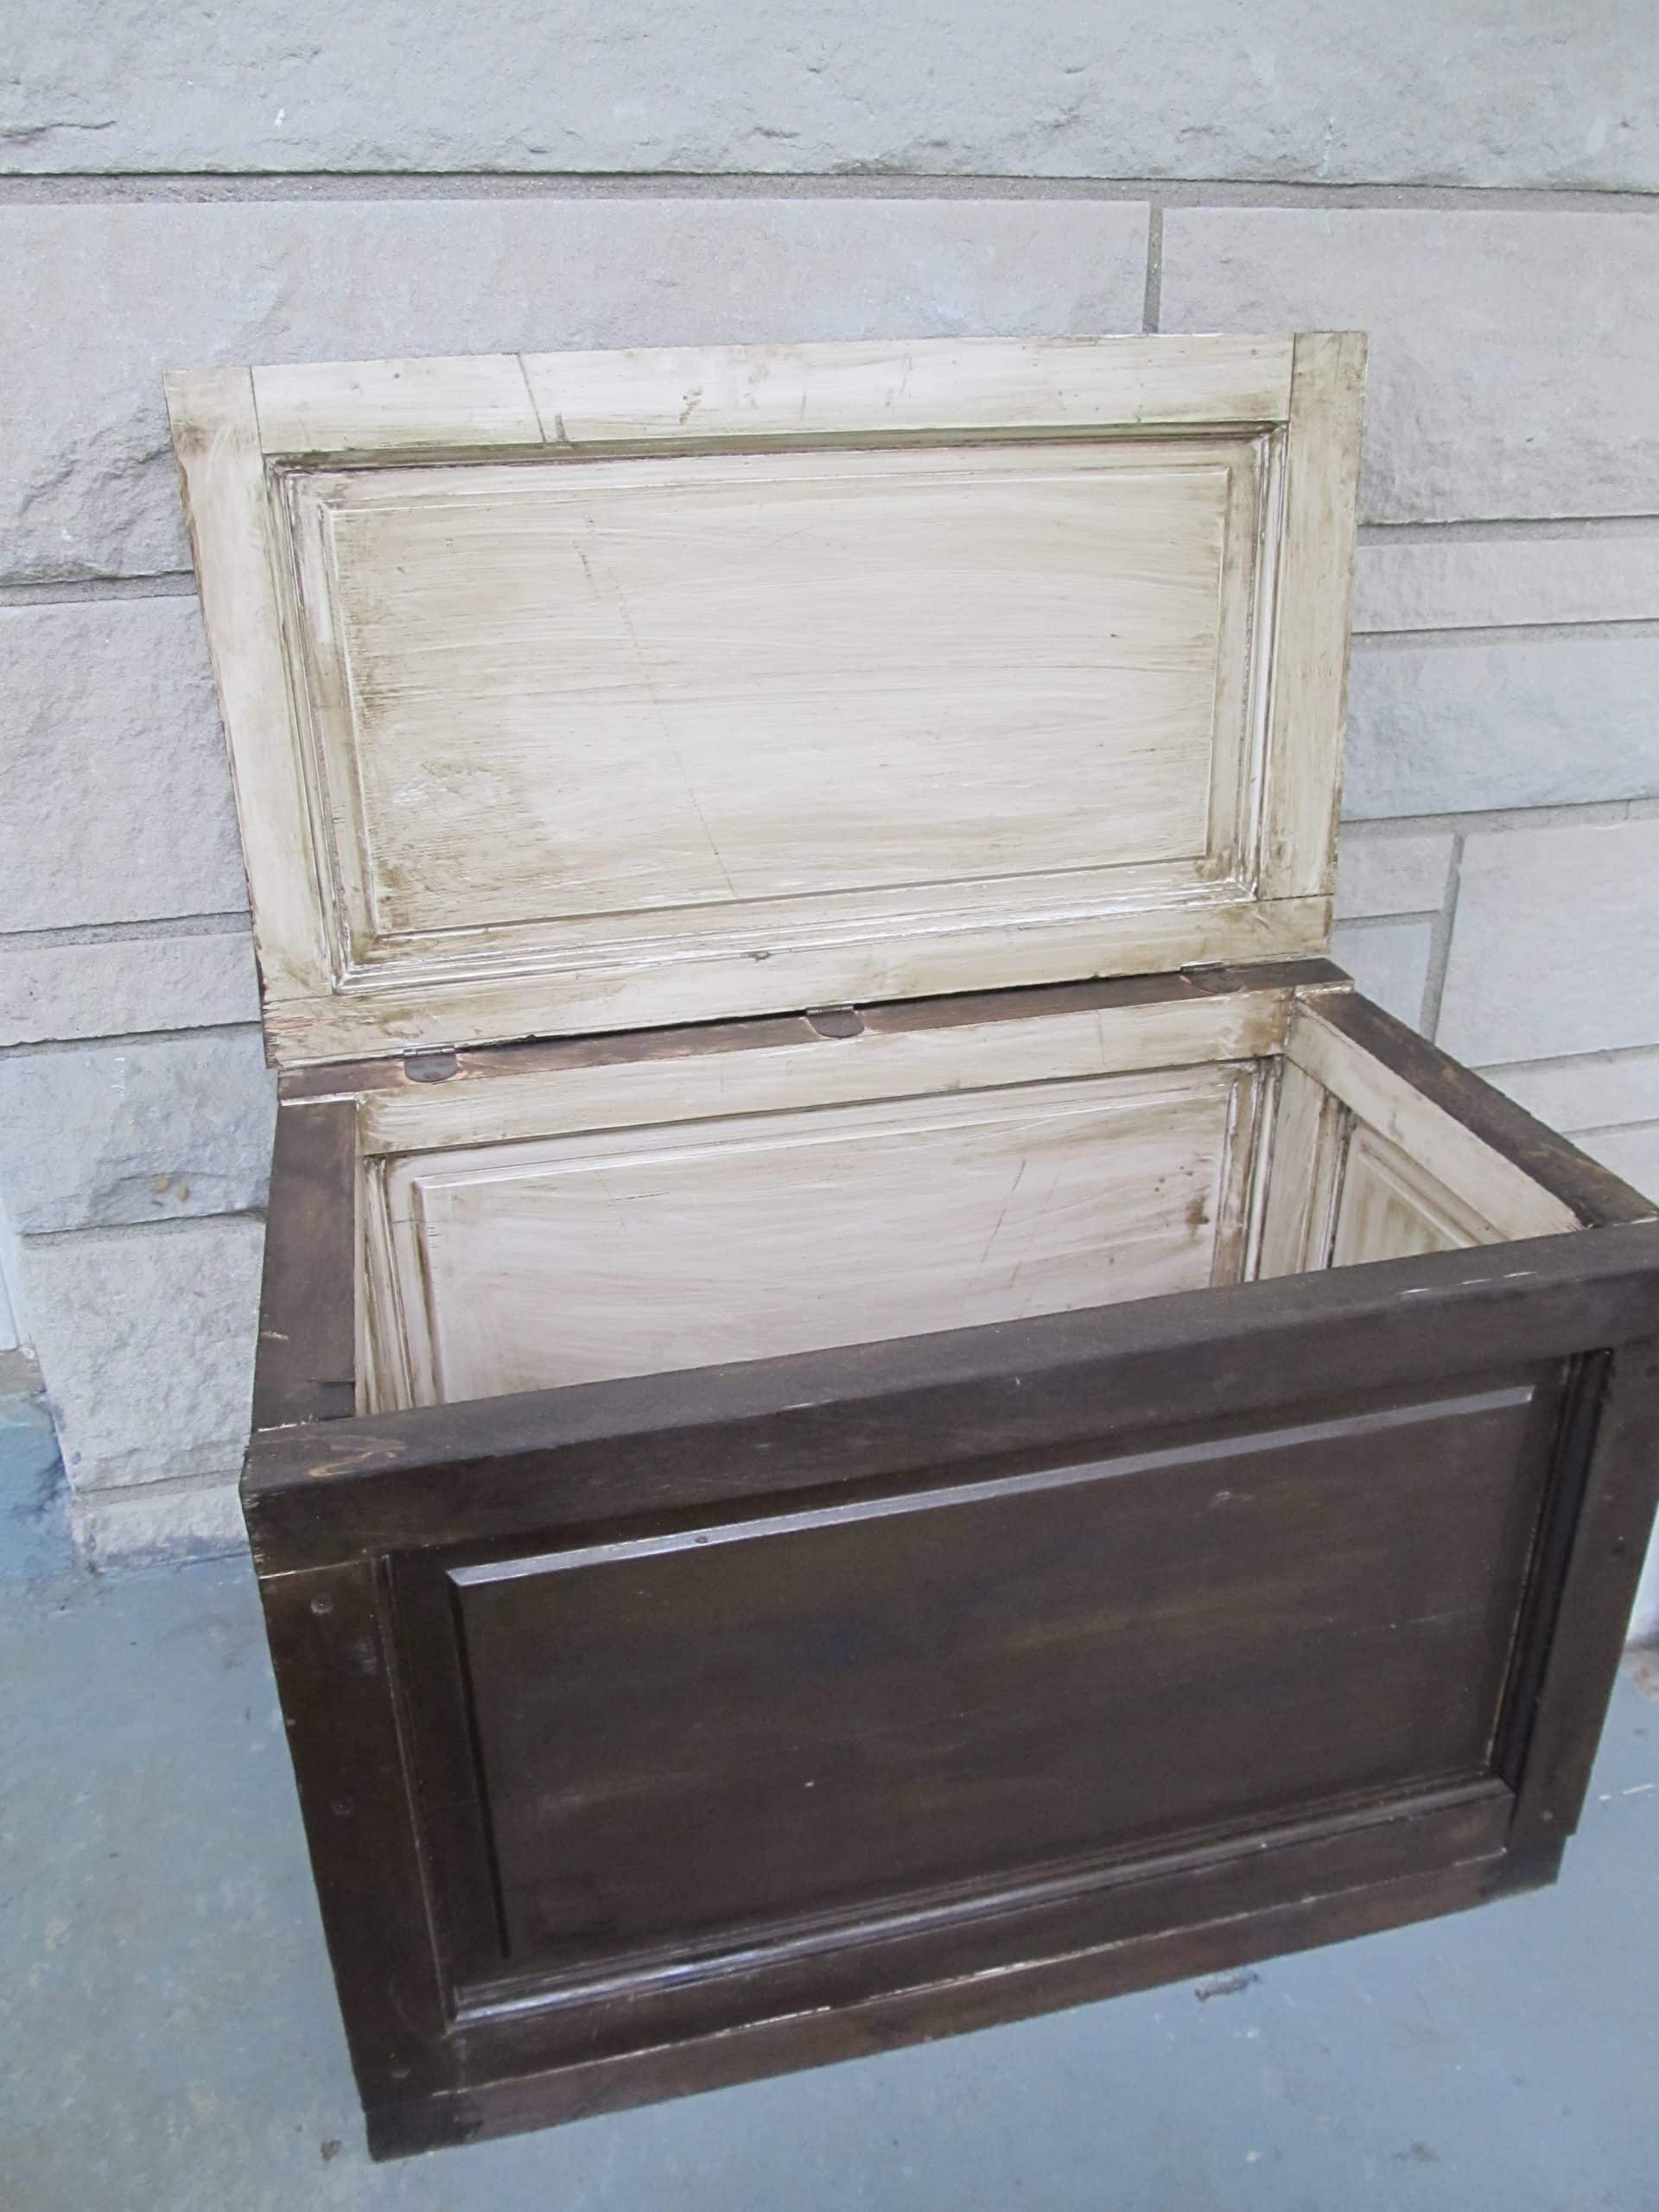
    door repurposed into a trunk (29)It sort of looks “rustic” in all of it’s crookedness. I have it on a furniture dolly so I can move it. This thing is HEAVY.

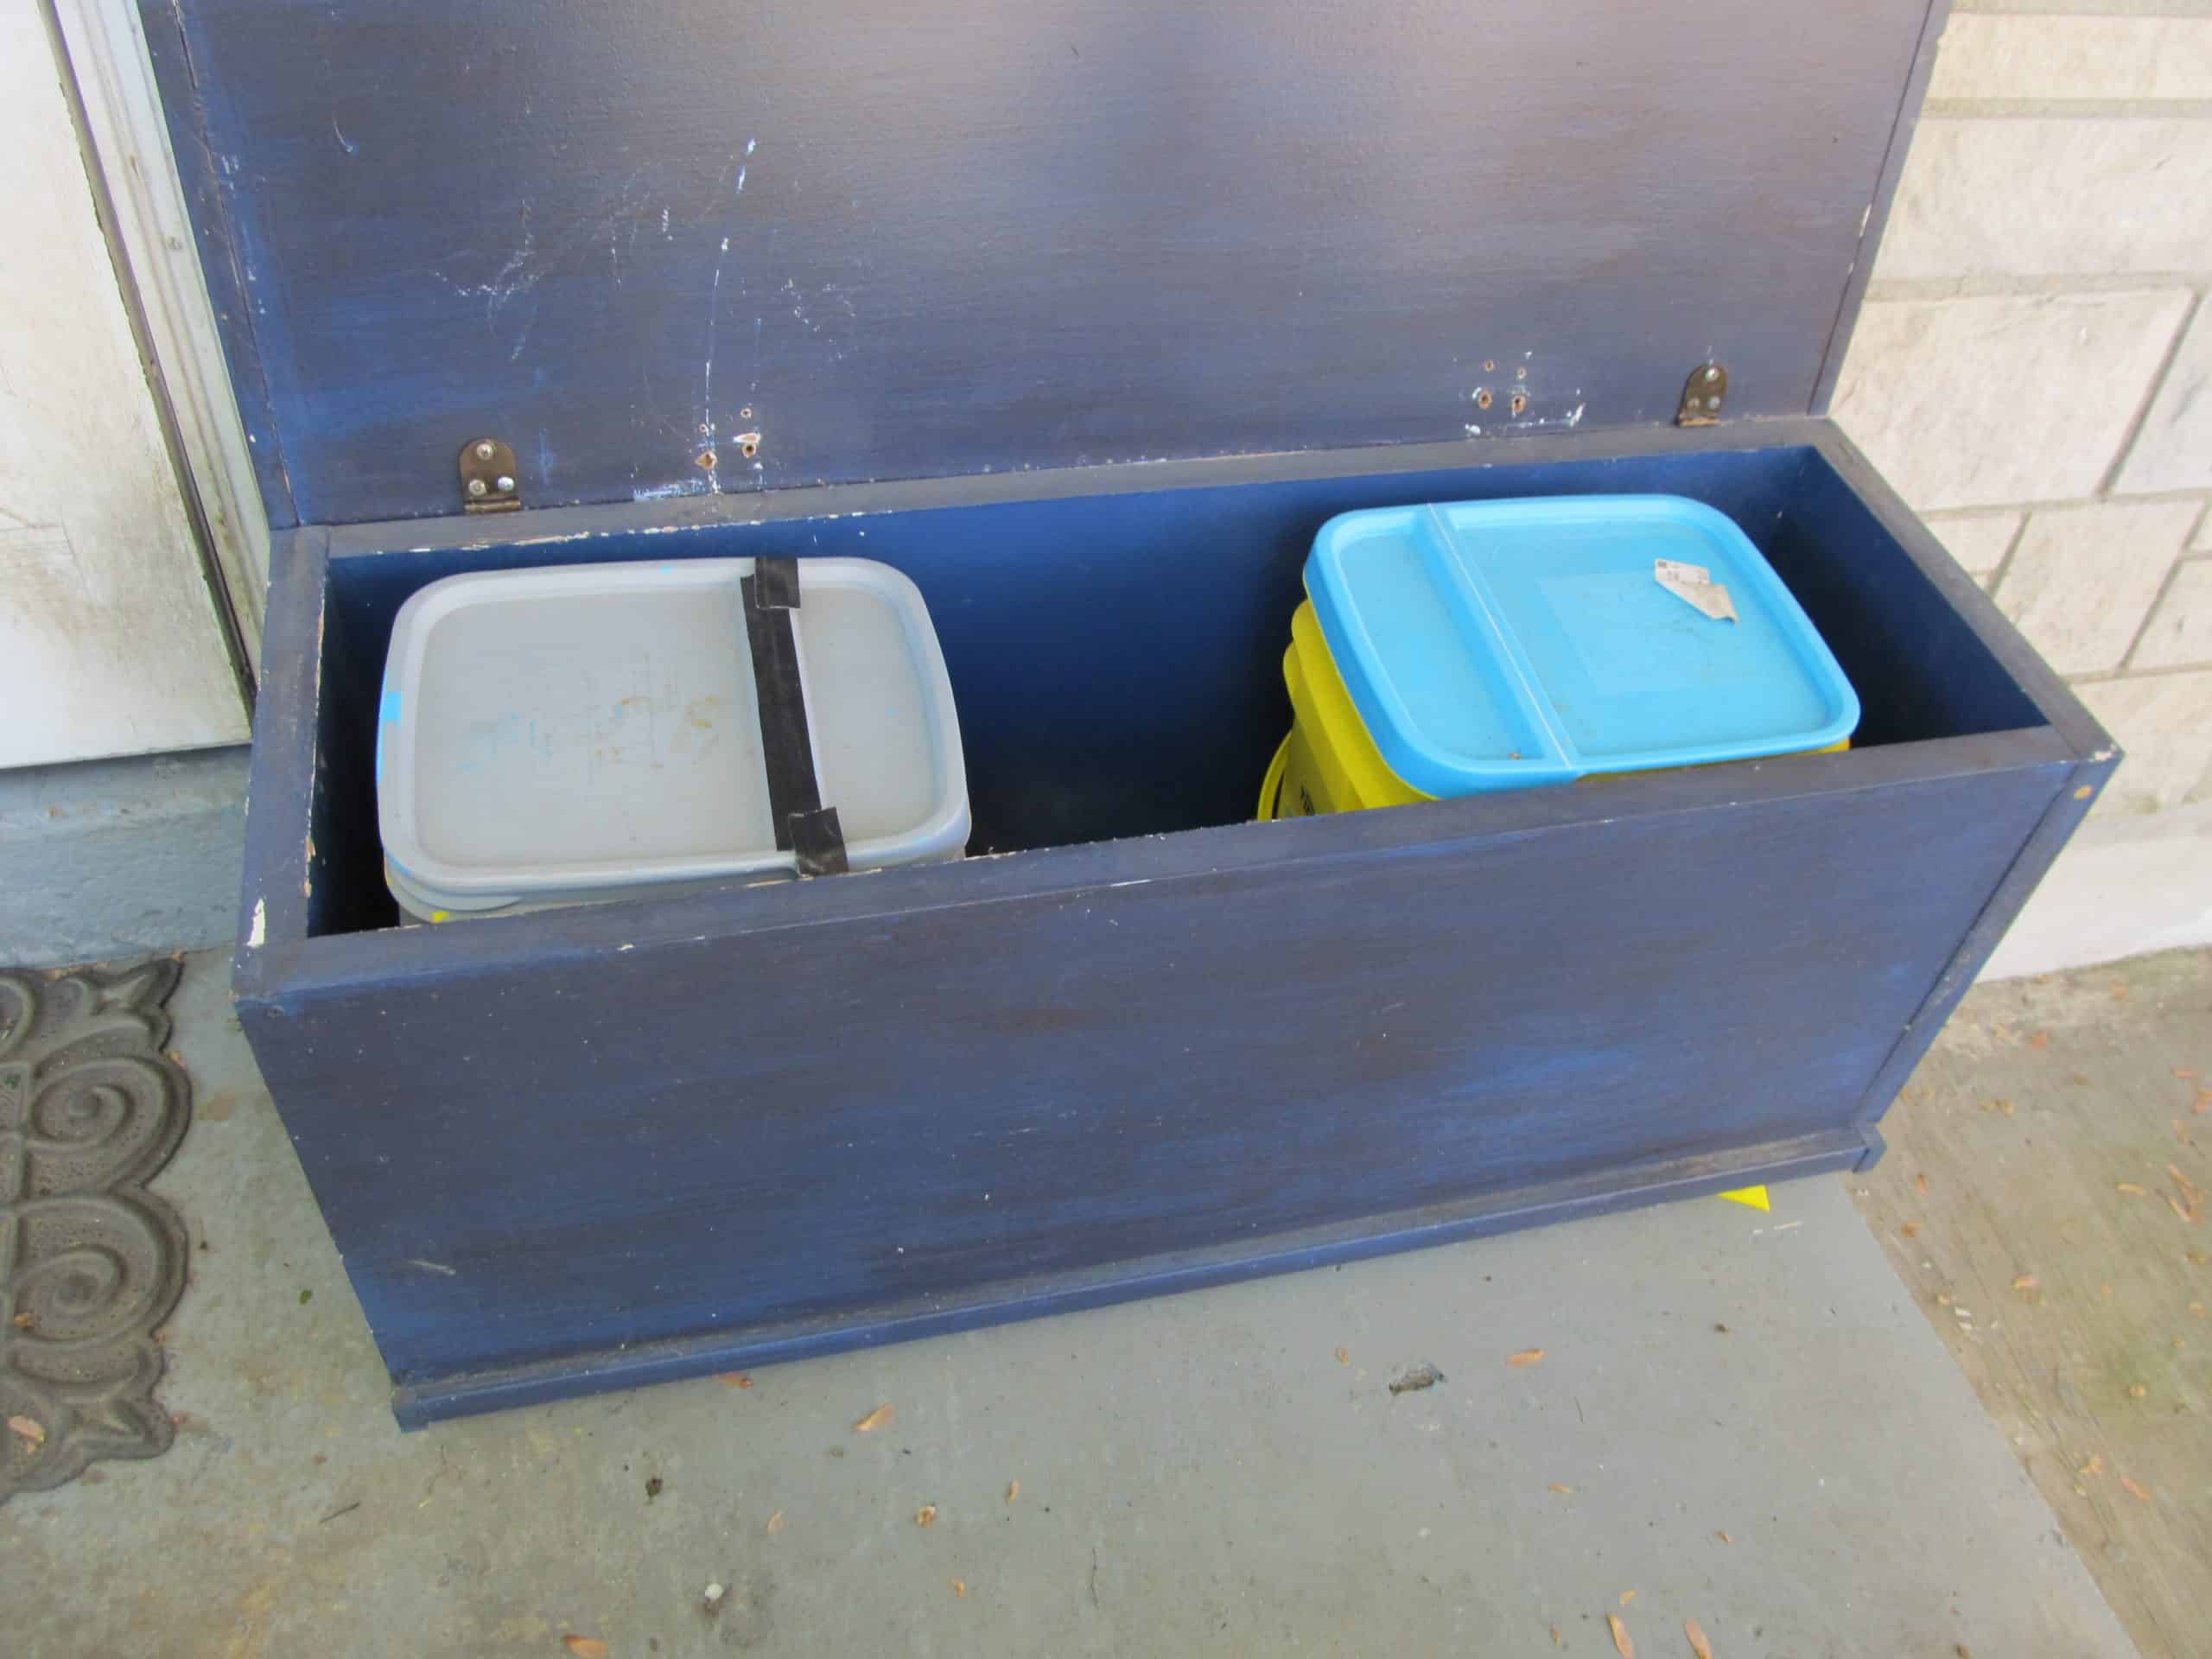
    door repurposed into a trunk (31)This is the chest the new “rustic” trunk will be replacing. I made this one a long time ago, I don’t think I ever even blogged about it. I’ve never been happy with it. I used hollow core bi-fold doors to make it. I made it large enough for three buckets, and you can see that it barely fits on the porch.

    repurposed-door-into-a-trunkYep, my new trunk fits much better.

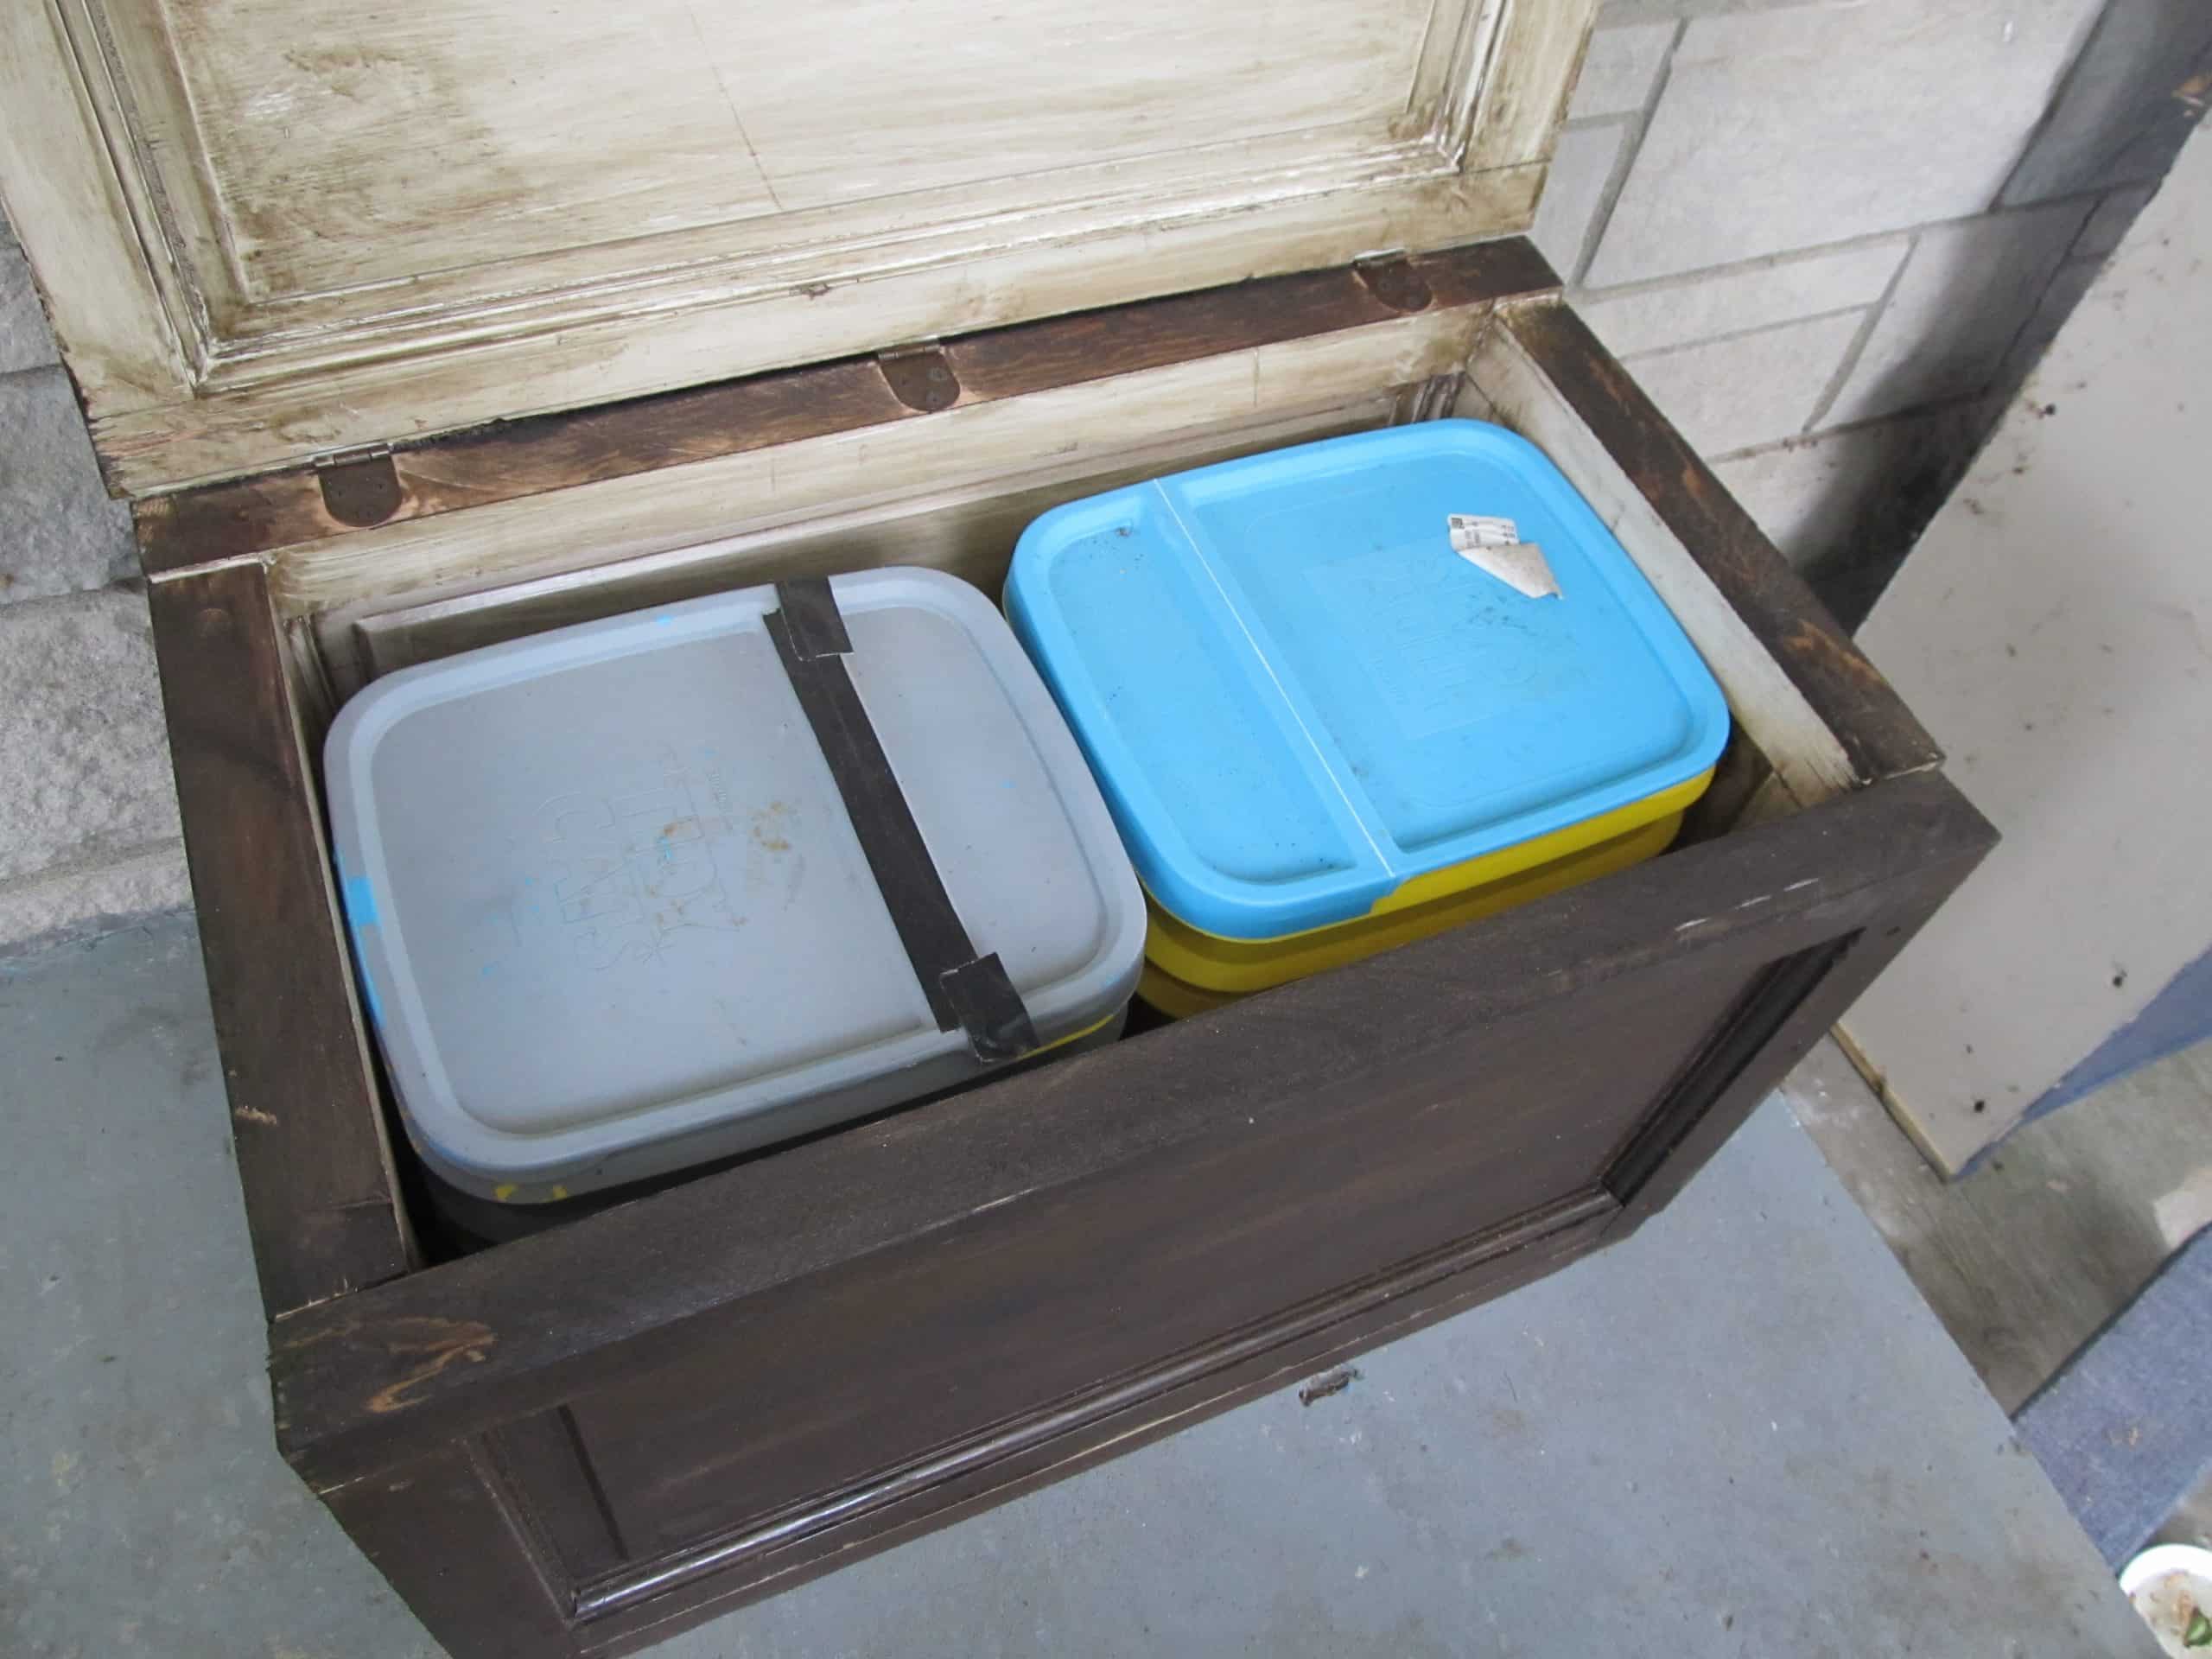
    door repurposed into a trunk (37)I made sure that it would hold two buckets.
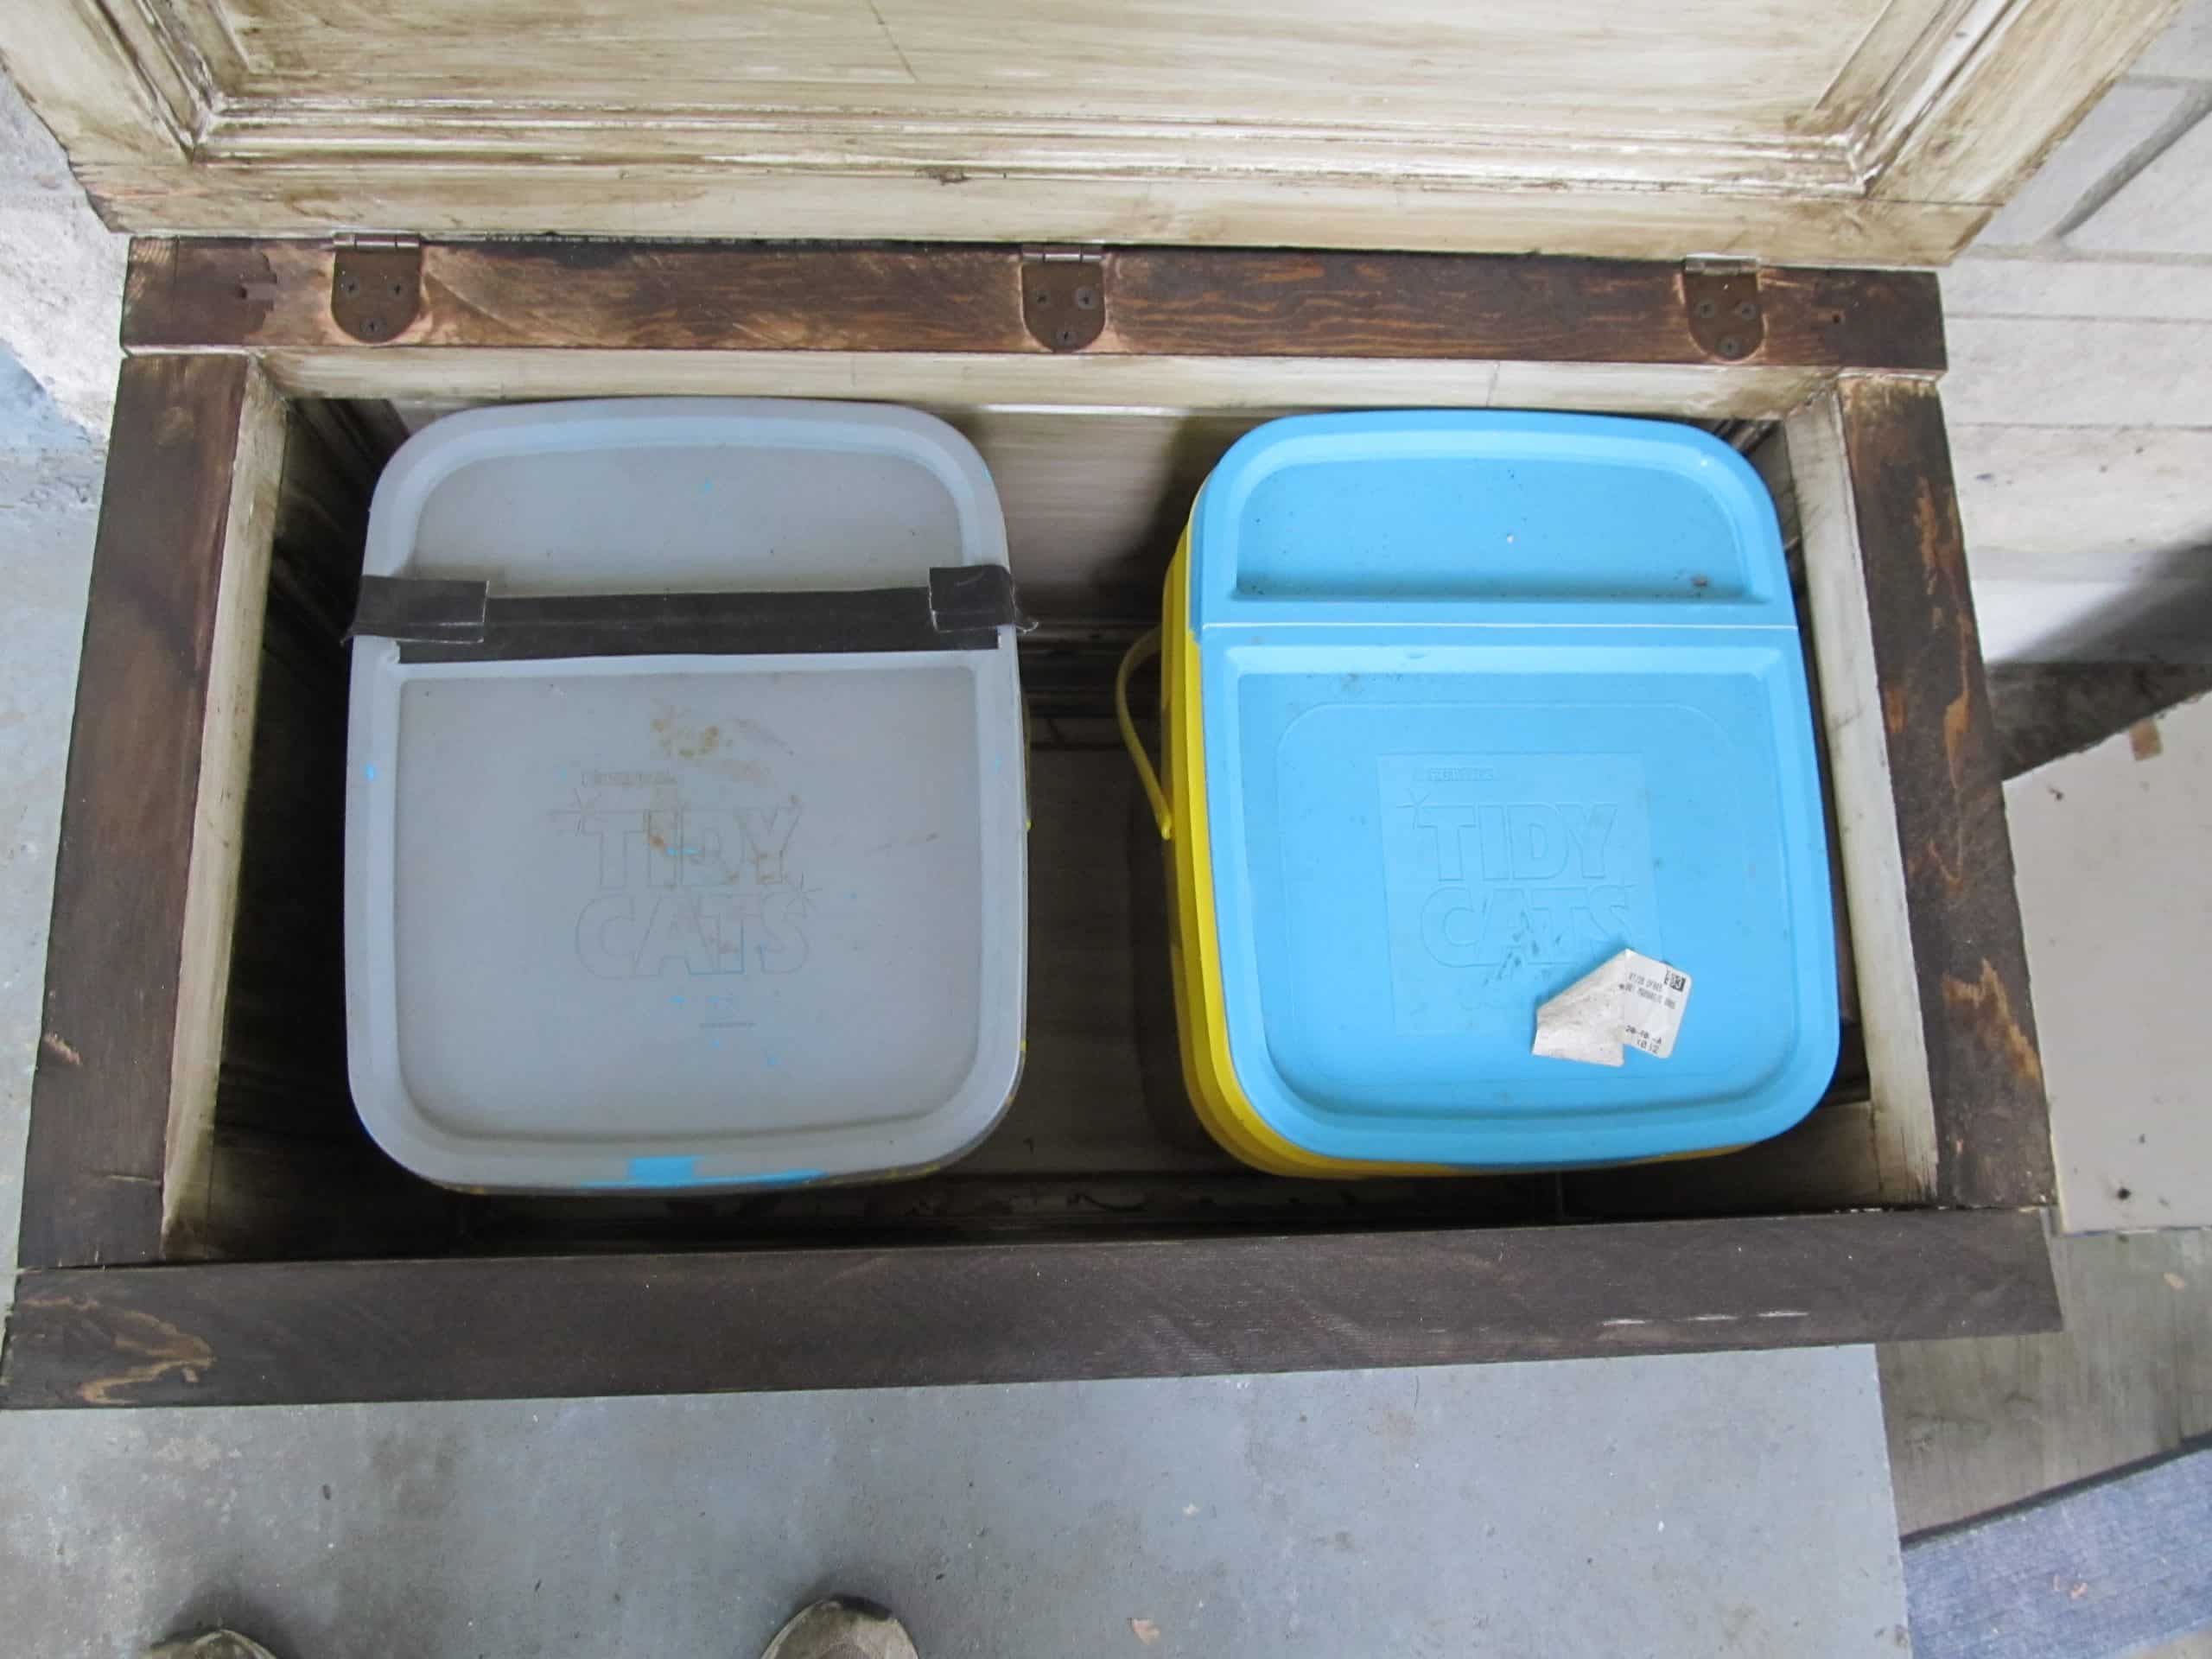
    door repurposed into a trunk (40)Want to see what’s inside the buckets? Are you sure?
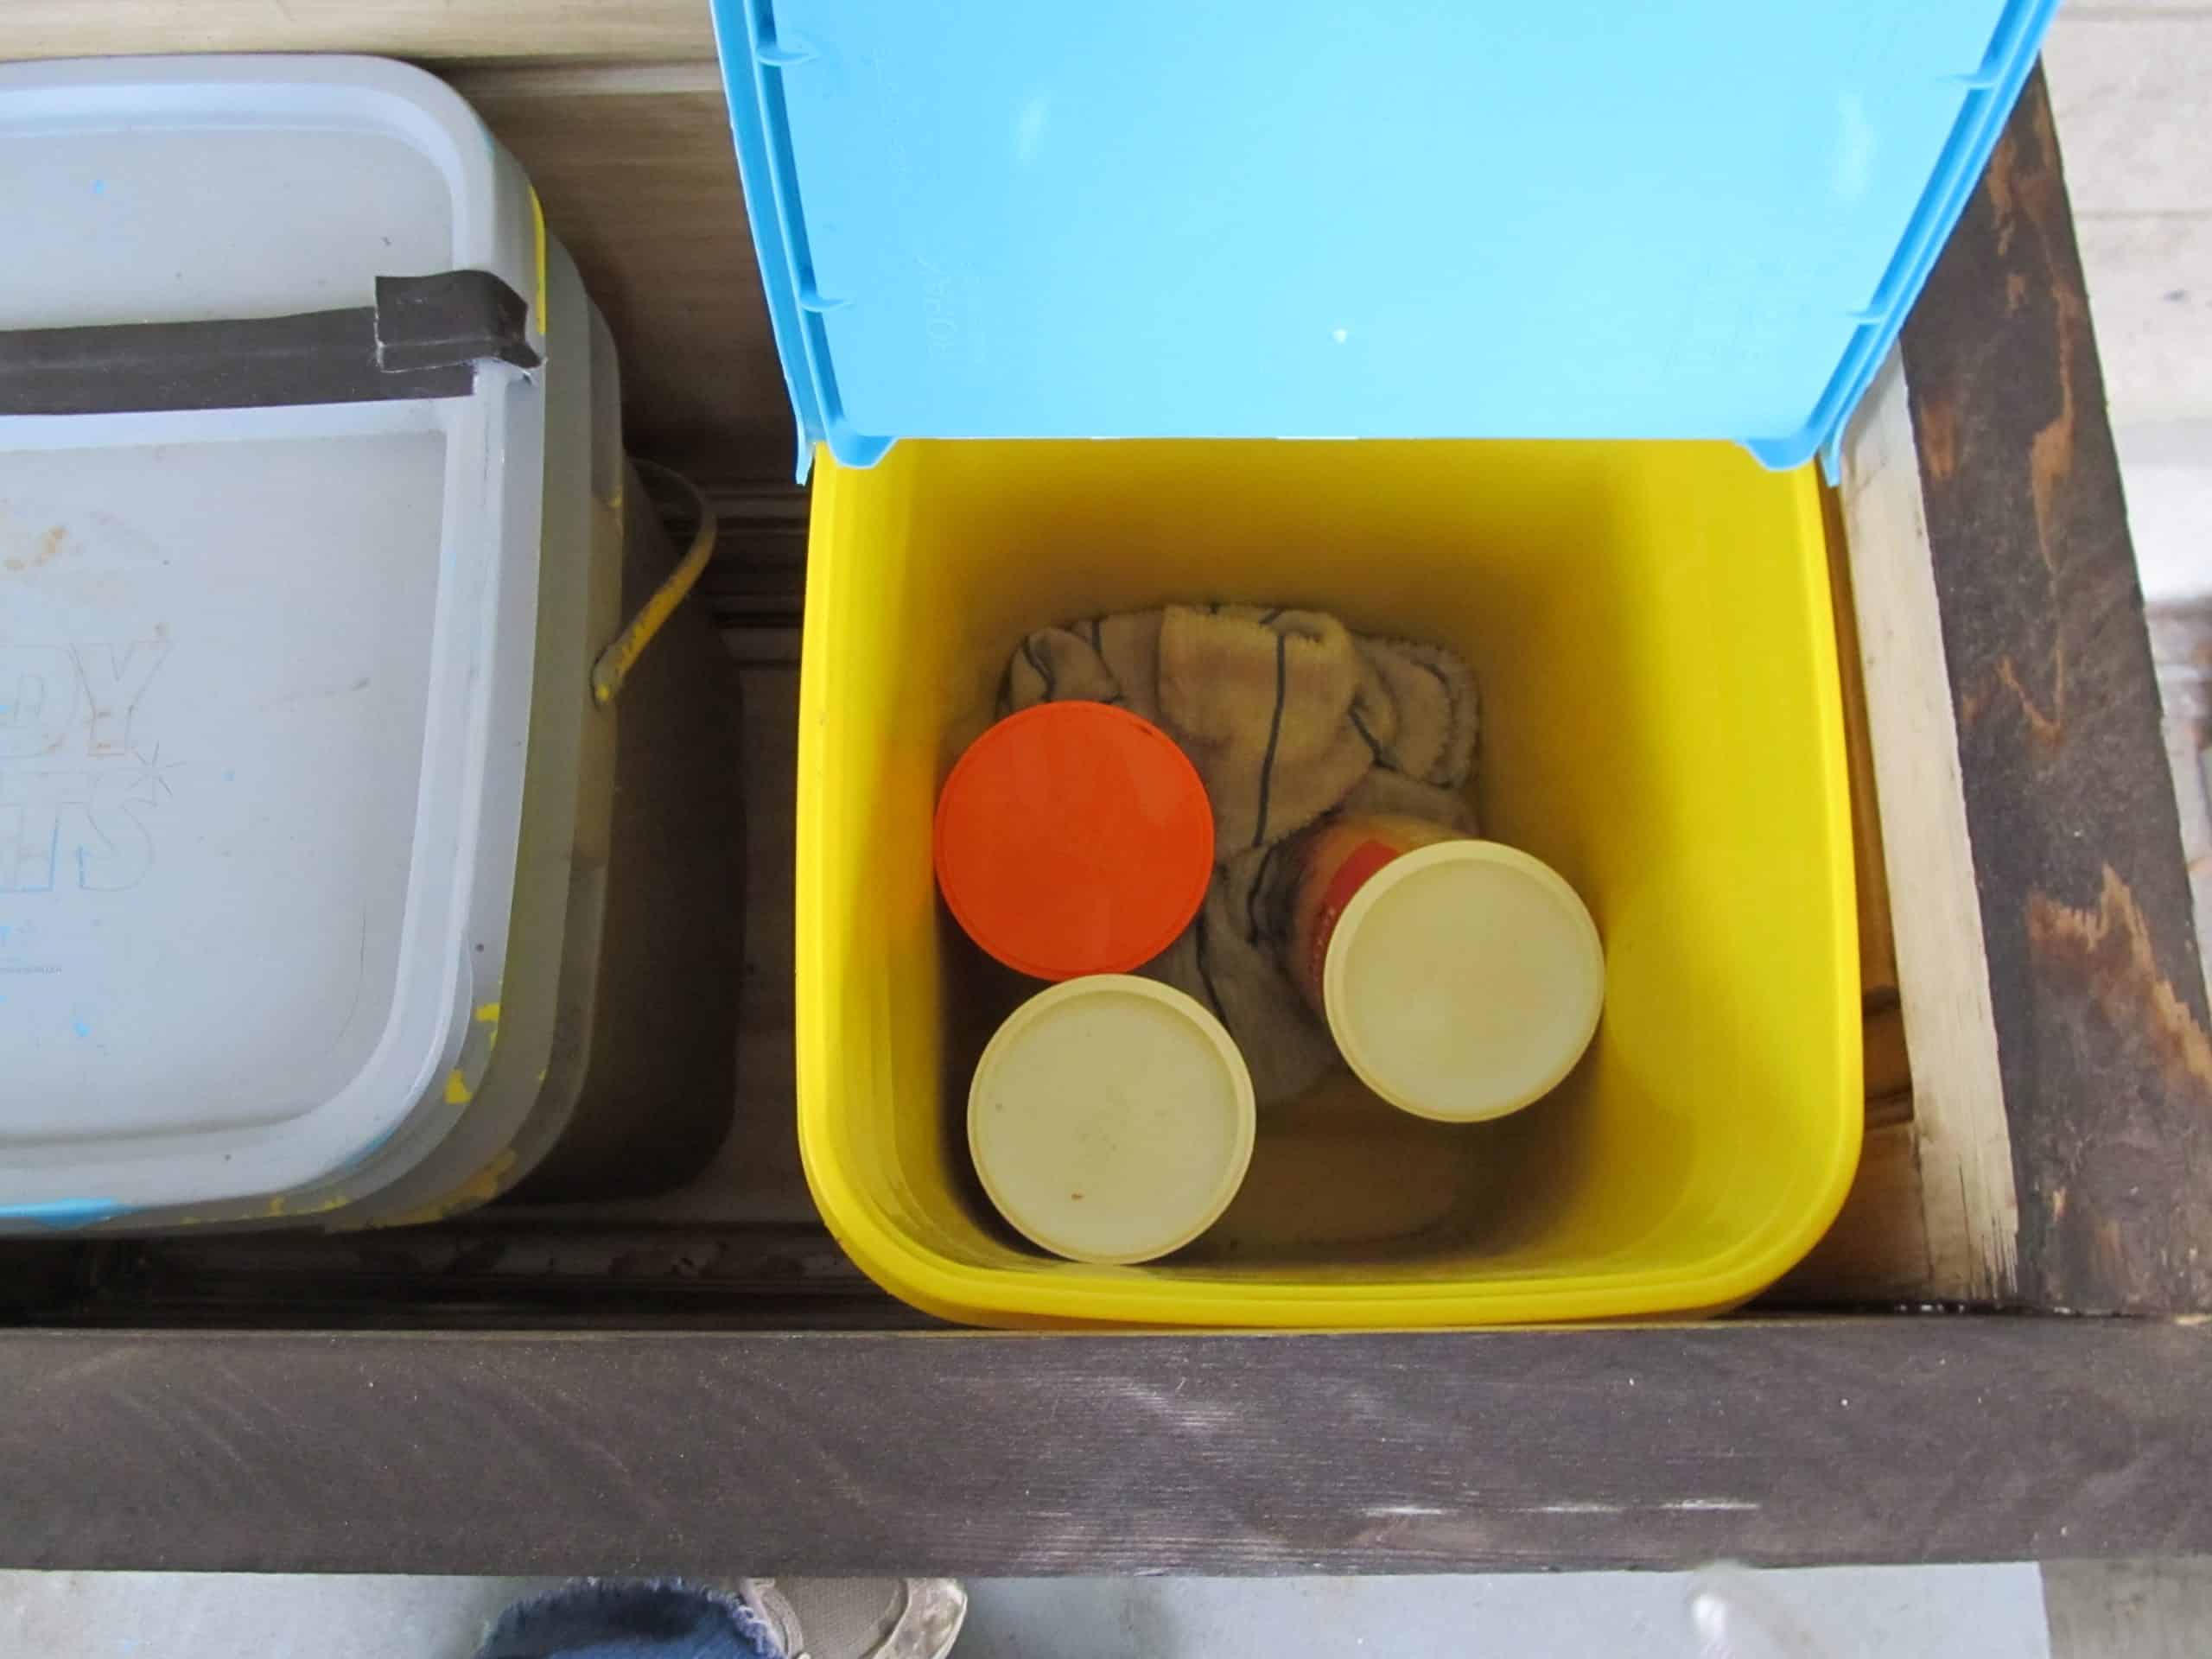
    door repurposed into a trunk (41)hahaha  I’ll only show you inside this one. It holds items for my fish pond, a couple of cans of food. The can with the orange lid holds my rubber gloves that I wear when I clean the fish pond. It’s not that I’m girlie or anything, but doing all the woodworking, I usually have random cuts on my hands… so I feel like gloves are necessary. WHY are they in the can? Because I store ALL of my gloves in some sort of container. I hate spiders! I’m always afraid that when I put on a pair of gloves, there might be a spider in there. Why do I need to keep the fish food in a bucket? Critters! Once I lost a brand new can of fish food to a raccoon or possum.

    The bucket on the left? ewwy bags of kitty poo poo. Take my word for it, you don’t need to look in there.

    repurposed-door-into-a-trunkYep, I’m liking my rustic (crooked) trunk. The lid doesn’t quite sit right, but that’s okay because this project didn’t cost me a penny! I already had everything I used.

    repurposed-door-into-a-trunkI plan to put a handle on it, and possibly some casters on the bottom of it? As I was rolling it to the porch on the furniture dolly it occurred to me that it would be great to have wheels on it.

    I don’t know if I will ever attempt to cut another solid (exterior) door again. This was tough. Did I mention it took me almost 3 days just to cut it apart? My saw kept getting hot, so I had to take my time, and let it rest.

    Whew! This was a long post. Those of you who read it all, thank you! You rock!

    gail

    UPDATE:  Becky from Beyond the Picket Fence kindly sent me some leather pieces, so the trunk now has a handle!
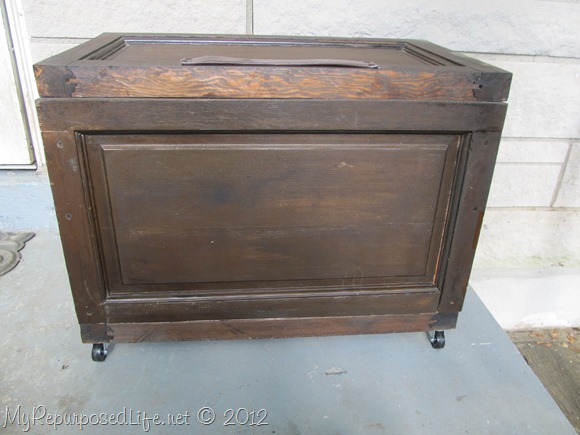
    repurposed-door-into-a-trunkAs you can see, I also added the wheels. Loving it!

    HookingupwithHoH

    Print Friendly, PDF & Email
    Pin
    Share
    Tweet

    Related Content:

    • Army Footlocker into Coffee Table with Storage
      Army Footlocker into Coffee Table with Storage
    • Old Door : Project Ideas
      Old Door : Project Ideas
    • Storage Bench Made From A Dresser
      Storage Bench Made From A Dresser
    • Repurposed DIY Projects from 2020
      Repurposed DIY Projects from 2020
    • Finish Max Paint Sprayer Storm Door
      Finish Max Paint Sprayer Storm Door
    • Sliding Barn Door for the Bathroom
      Sliding Barn Door for the Bathroom

    Reader Interactions

    Comments

      See comments Cancel reply

      Your email address will not be published. Required fields are marked *

      This site uses Akismet to reduce spam. Learn how your comment data is processed.

    1. Donna S. Martin

      September 03, 2014 at 1:42 pm

      I have just left my grandparents farm house that was sold. Wish I would have taken a door to use for this purpose. Maybe I'll ask new owners for one after all ...

      Reply
    2. Dixie Hatton

      September 03, 2014 at 9:19 am

      I love this project, I have a door very much like this in my shed and looks like I will have a new trunk!

      Reply
    3. Shelley

      September 03, 2014 at 6:59 am

      I love it 🙂 And I have "body slammed" things to the ground to bring them together myself, Ha!

      Reply
    4. Trishanna @ AHomesteadHeart

      December 18, 2012 at 5:13 pm

      Love the trunk. My grandpa made one for my mom out of old barnwood, and I've been looking for an idea for one. After your description, I don't think I'll tackle such a heavy door though! I really LOVE the idea of gloves in containers. I have a small farm, and I use gloves a LOT - and I am always afraid there will be a spider in there! I probably look a bit maniacal, slapping the gloves like crazy, hoping to dislodge it if it's in there before I put them on. I think I'll look around for an unused container! Great idea!

      Reply
    5. Debra Howard

      April 23, 2012 at 3:53 am

      This turned out so cool! What a great idea.
      Debbie

      Reply
    6. Becky@Beyond The Picket Fence

      April 19, 2012 at 6:46 pm

      Gail--I love this--it turned out so great! I curt a door 10 years ago to do this and never did. Part of it became my live simply door knob coat hook. Now you have inspired me to try it again. I need longer clamps too, the metal pipe kind. We have them at work, I need a set at home. Happy building!

      Reply
    7. Debilou ~ Mississippi Mama

      April 19, 2012 at 4:14 pm

      very cool trunk, Gail. Ive never even thought of putting gloves in something to keep those little creepy crawlys out. Good idea.

      Reply
    8. Sharon @ Elizabeth & Co.

      April 19, 2012 at 12:14 am

      Oh geez Gail, three days just to cut that door. You are one persistent girl! And the end result is amazing! I think the casters would make it extra cool!

      Reply
    9. Lori C

      April 19, 2012 at 12:01 am

      It came out cool! And who cares if its a little wonky? Its suppose to be rustic, and rustic stuff is wonky!! I agree, some casters are a good idea, just make sure one is locking so it doesn't roll off the porch and down the street! (love that you keep your stuff, trash & poop 'neat', I do the same!) Now: time to revamp the old one?

      Reply
    10. Julie @ followyourheartwoodworking

      April 18, 2012 at 8:47 pm

      That is a cool trunk you made!
      Maybe you already know this but, if you set your circular saw to only cut part way through, (for example only cut half the thickness) you can then lower it and make your cuts in two or three passes. I often do that with my router, sometimes wood is just too thick for the cutter to do it all at once.

      Reply
    11. Stephanie

      April 18, 2012 at 8:36 pm

      This was worth the 3 day adventure you took to make it! I love it! Yeah, I thank you for not showing the poo...lol I say go for the casters, it's a grand idea. It is a beautiful re-purposed project, I just love the style of door, much better than your old bin.

      Reply
    12. Rose @ Confessions of a Curbshopaholic

      April 18, 2012 at 8:11 pm

      Glad to see I wasn't the only one chucking at the "vision" of you slamming that door up and down in your driveway! ;-0
      Love this idea...who knew you could make a trunk out of a door? never woulda thunk it.

      Reply
    13. Korrie@RedHenHome

      April 18, 2012 at 6:46 pm

      Great project, Gail! I think casters on the bottom are a great idea.

      Reply
    14. Amy@BuffaloRoam

      April 18, 2012 at 6:17 pm

      Holy crap. That's some vision, you got there! Love it!

      Reply
    15. Meari

      April 18, 2012 at 6:11 pm

      Very cool repurposed project! You could put wheels on the bottom, then it wouldn't need a dolly. 🙂

      Reply
    16. I Play Outside The Box

      April 18, 2012 at 5:39 pm

      Wow.....you're the one who ROCKS!

      Reply
    17. Sue

      April 18, 2012 at 5:19 pm

      Is this what you call a Diy'ers workout -stomping heavy doors in the driveway ;o)? The chest looks really great!
      Have agreat rest of the week,
      Sue

      Reply
    18. Midwest Cottage and Finds!

      April 18, 2012 at 4:57 pm

      sooo.. everytime my adult daughter comes over to help me garden I have to put her golves on first because she is afraid a spider will be in the fingers of the gloves!! I need to get a glove container...and what do you do with the kitty poo? I KNOW there has to be an explanation!!
      btw--trunk looks AWESOME!!
      chris

      Reply
    19. Sandi @ The Primitive Skate

      April 18, 2012 at 4:46 pm

      I Love it Gail! I think you did an awesome job. Have a wonderful day!

      Reply
    20. Proper Prim

      April 18, 2012 at 4:09 pm

      On your porch?????... it would be in my house, crocked it or not. Love this.

      You better get locks on your wheels, those pesky racoons are clever little suckers...lol.

      Hugs, Deb

      Reply
    21. Toqua's Crafts

      April 18, 2012 at 3:21 pm

      Oh my gosh Gail!
      What a WONDERFUL idea for that ol' door! Definitely it needs some wheels! I like how it turned out... it's full of character with all of it's crookedness.

      Reply
    22. Julie, RN

      April 18, 2012 at 3:16 pm

      I love repurposing old doors too! This was a cool idea and worth the hard work.

      Reply
    23. ArtBeatPhotography

      April 18, 2012 at 2:18 pm

      OK .. LOVE this. And you are totally my project twin. What looks like a "fast ok this will ROCK" project becomes a groaning, tossing down tools in frustration affair. You worked through it and came out with a great end product. Way to go!!!!
      Side note: I am the same way with spider and my gloves. :/ I am allergic to the beasties so when I get bitten I am sick as a blinkin' dog. I am super freaky about where I leave my gloves and yard shoes. Really don't dig the idea of anaphylactic shock in the morning as the way to start my day...

      Reply
    24. Betsy@My Salvaged Treasures

      April 18, 2012 at 1:40 pm

      Good for you for stickin' to it. this was definitely an industrial size job and it turned out great. Had to laugh at you slamming down the door; whatever it takes, right? I don't think any critter will be getting into this box. Great job Gail.

      Reply
    25. Peggy

      April 18, 2012 at 1:30 pm

      Gail,

      You never cease to amaze me!! You definitely won't have any issues with the critters getting into this container. And I love the idea of storing your gloves in closed containers. I just give mine a vigorous shake which has resulted in the glove landing somewhere in the yard more than once.

      Have a great day! Now I'm off to try and come up with some decor for the family room and dining room. The house MUST be DONE before graduation when the masses descend upon us!

      Reply
    26. Anne

      April 18, 2012 at 12:52 pm

      This is my favourite piece of yours so far!! Great job!

      Reply
    27. Paula

      April 18, 2012 at 12:49 pm

      It looks lovely. You are so talented and creative. What would you do in reverse? I have a h.u.g.e wooden trunk/chest. It is 25x25x63 and it is heavy. I paid $5 for it at a local garage sale about 6 years ago. I've stored blankets in it, and at one time the kids had all their toys in it. We even used it as bench seating around our kitchen table/island. Now it is sitting empty in our lower level. pretty much in the way of everything. I thought about taking it apart and using the wood for other projects, but my husband disagrees. Any advice?

      Reply
    28. Cassie @ Primitive & Proper

      April 18, 2012 at 12:34 pm

      i love this idea! so clever and unique and i love the rustic look!

      Reply
    29. Terri

      April 18, 2012 at 12:10 pm

      Love reading your posts...I felt like I was right there with you while you were going one on one with this HEAVY door...had a few good chuckles. Sorry, I couldn't help myself!

      Anyhoo, it turned out great, as always and love that it was "free ninety nine"!

      Oh, and thank you for not sharing the kitty pooh

      Reply
    30. Steph

      April 18, 2012 at 11:57 am

      Great Job! Gail. Although I still have visions of you slamming the door on the pavement to get the joints back together. To passersby you must have looked like a crazy lady working out your frustrations. Lol! I do like your trunk so now I have to keep my eye out for old paneled doors. Thanks for the inspiration.

      Reply
    31. Beth

      April 18, 2012 at 11:37 am

      The design of this chest is much better than the previous chest you had. I commend you for hanging in there to get this beast done. 😉 That looks like no small feat!

      Reply
    32. Full Circle Creations

      April 18, 2012 at 11:15 am

      Great post. I know exactly what you experienced getting that old door cut apart! They were made to last! Wheels are a must!

      Holly

      Reply
    33. Gail

      April 18, 2012 at 11:02 am

      I like the finished product. Wheels would be a great idea.

      Reply
    34. Mugwhy

      April 18, 2012 at 8:18 am

      OMGosh I just have to go and find myself a door. What a great idea and looks terrific. Also love the idea of keeping your gloves in a container, I've already gone and put my gardenting gloves in an old coffee tin.

      Reply
    35. Kat

      April 18, 2012 at 11:00 am

      That is one cool trunk!! And you were very brave using an old heavy door. Good Grief. It's a wonder you didn't kill the saw. One good thing- it'll outlive you and the next 5 generations! Wheels or casters are a must. I've got 3 trunks, the smallest is the heaviest and has no casters, but it does have a padded seat top. Kudos to you on this one!

      Reply

    Primary Sidebar

    Hi, there! I’m Gail Wilson, the author and mastermind behind My Repurposed Life. I’m obsessed with finding potential in unexpected places and believe that with a little hard work and imagination, any old thing can be made useful again—myself included! I hope you’ll enjoy the journey and pick up a few tools along the way… literally!

    More about me →

    Join Our Mailing List

    ​

      Click the topics you're interested in below:

      Subscribing above means you agree to our Privacy Policy​

      Footer

      ↑ back to top

      SEEN ON

      Might I Suggest

      • Start Here
      • Furniture Makeovers

      Newsletter

      • Sign Up! for emails and updates

      About

      • Gail's Favorites on Amazon
      • About

      As an Amazon Associate I earn from qualifying purchases.

      Copyright © 2023 My Repurposed Life · Privacy Policy · Disclosure