Repurposed Door into a Trunk
As an Amazon Associate, I earn from qualifying purchases.
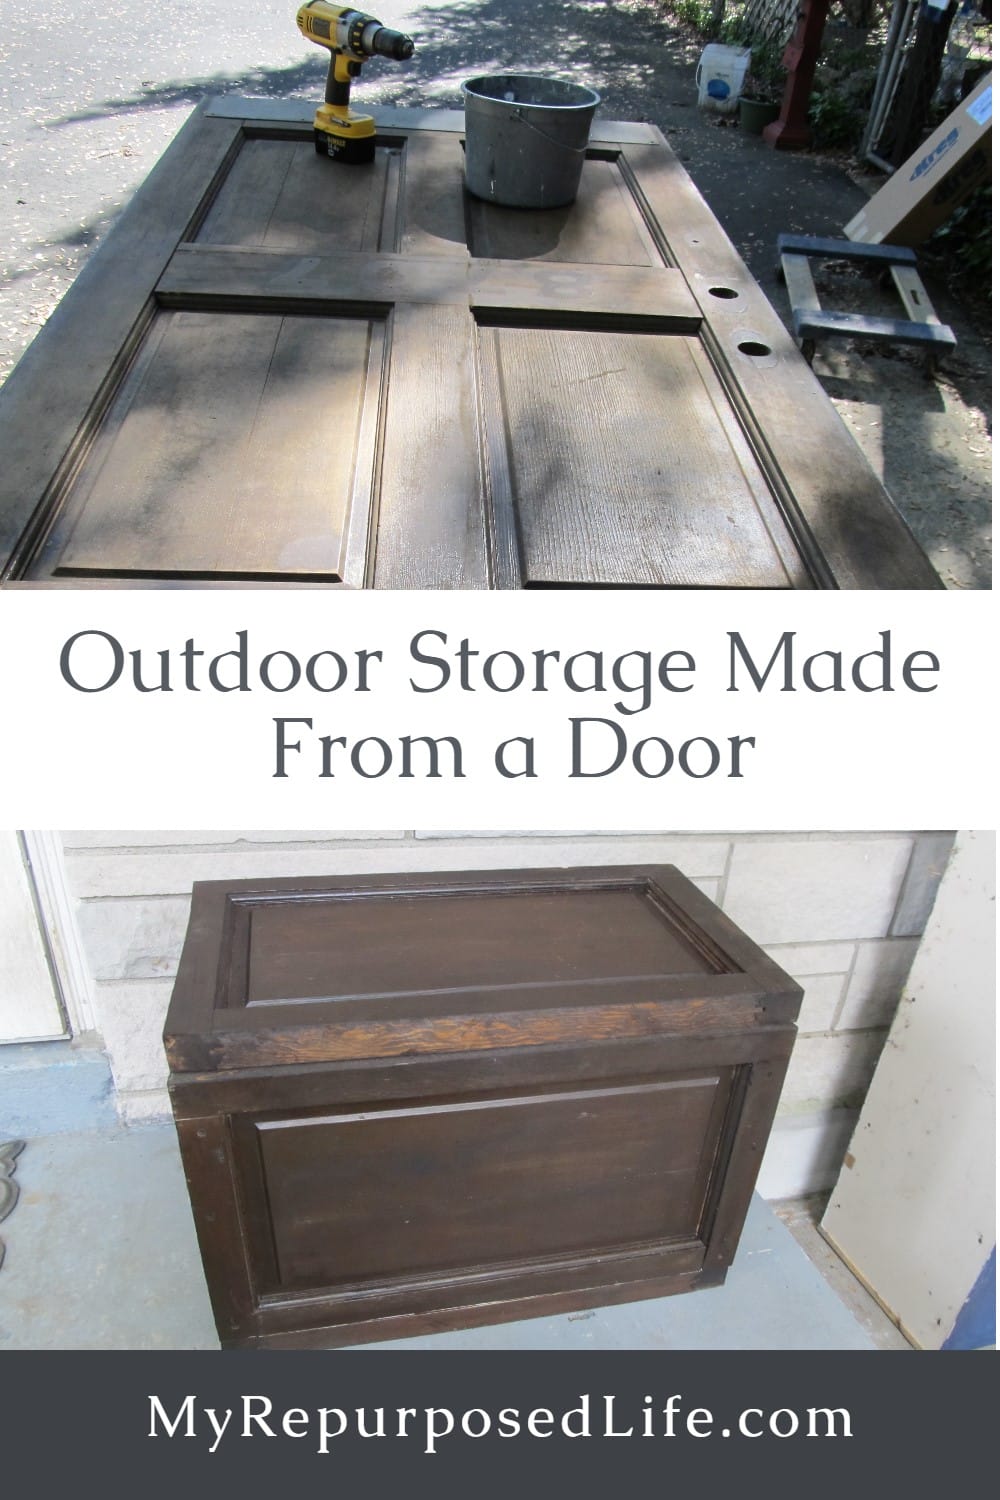
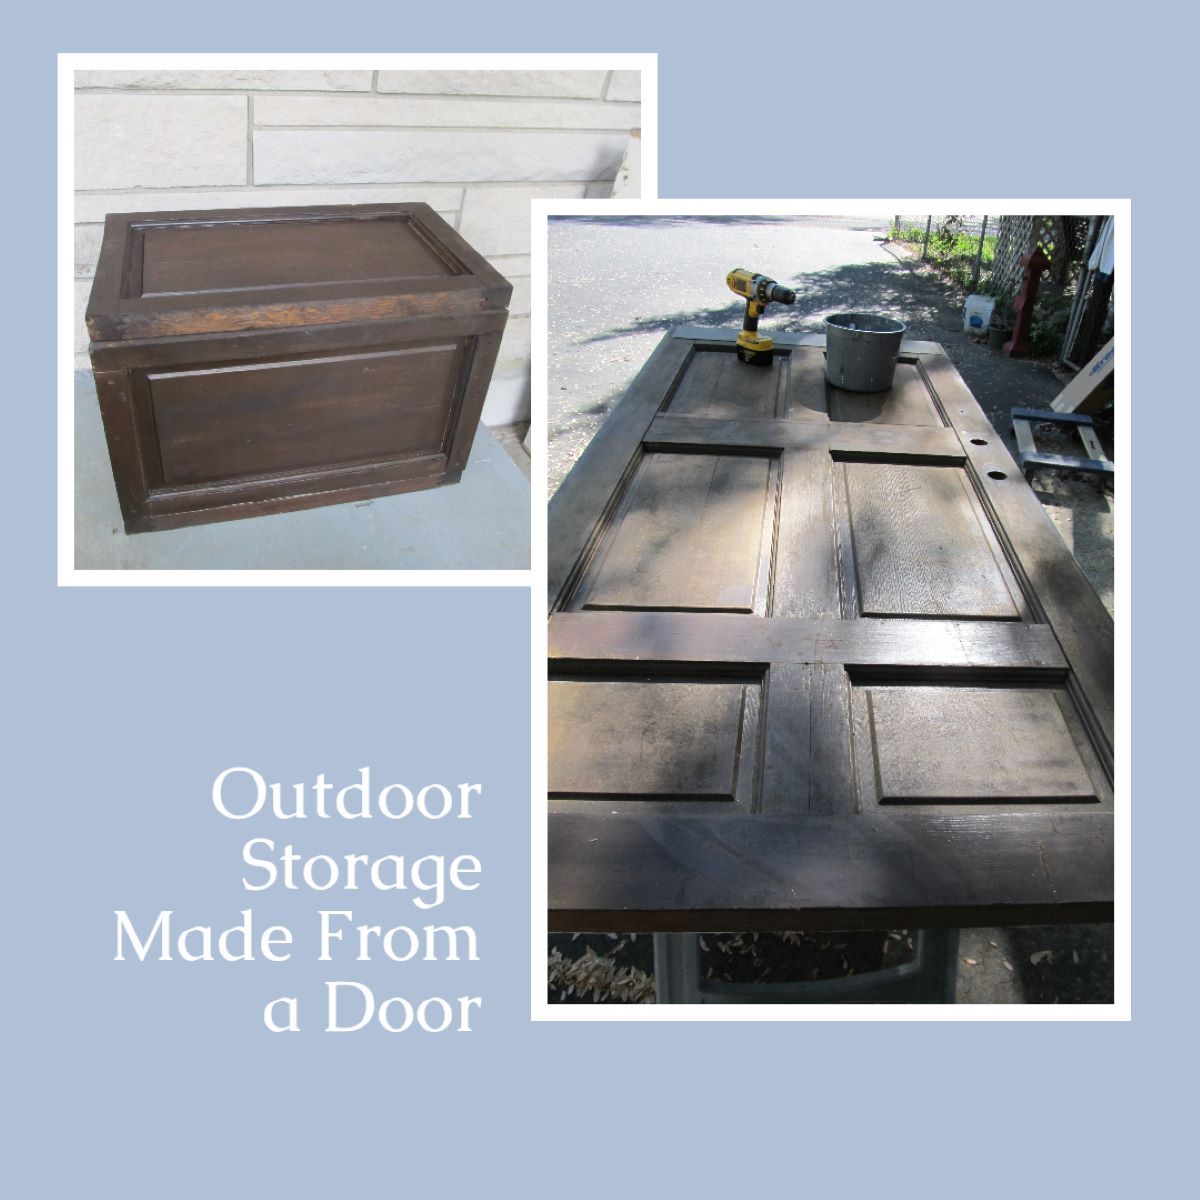
Wow! A trunk made from a door? I love to do repurposed door projects. This door was a very heavy exterior door. My friend Cathy and I curbed it a couple of years ago. I still remember the day we picked it up. We were in a borrowed truck, parked going uphill! We really struggled to get this baby into the truck, it’s been stored, just waiting for me to get to it.
So, while working on this project it was not easy for me to carry, and even more difficult for me to cut it down.


I did get it cut, but it was a very long drawn out affair.
Related Content: Turn a door into a bench!
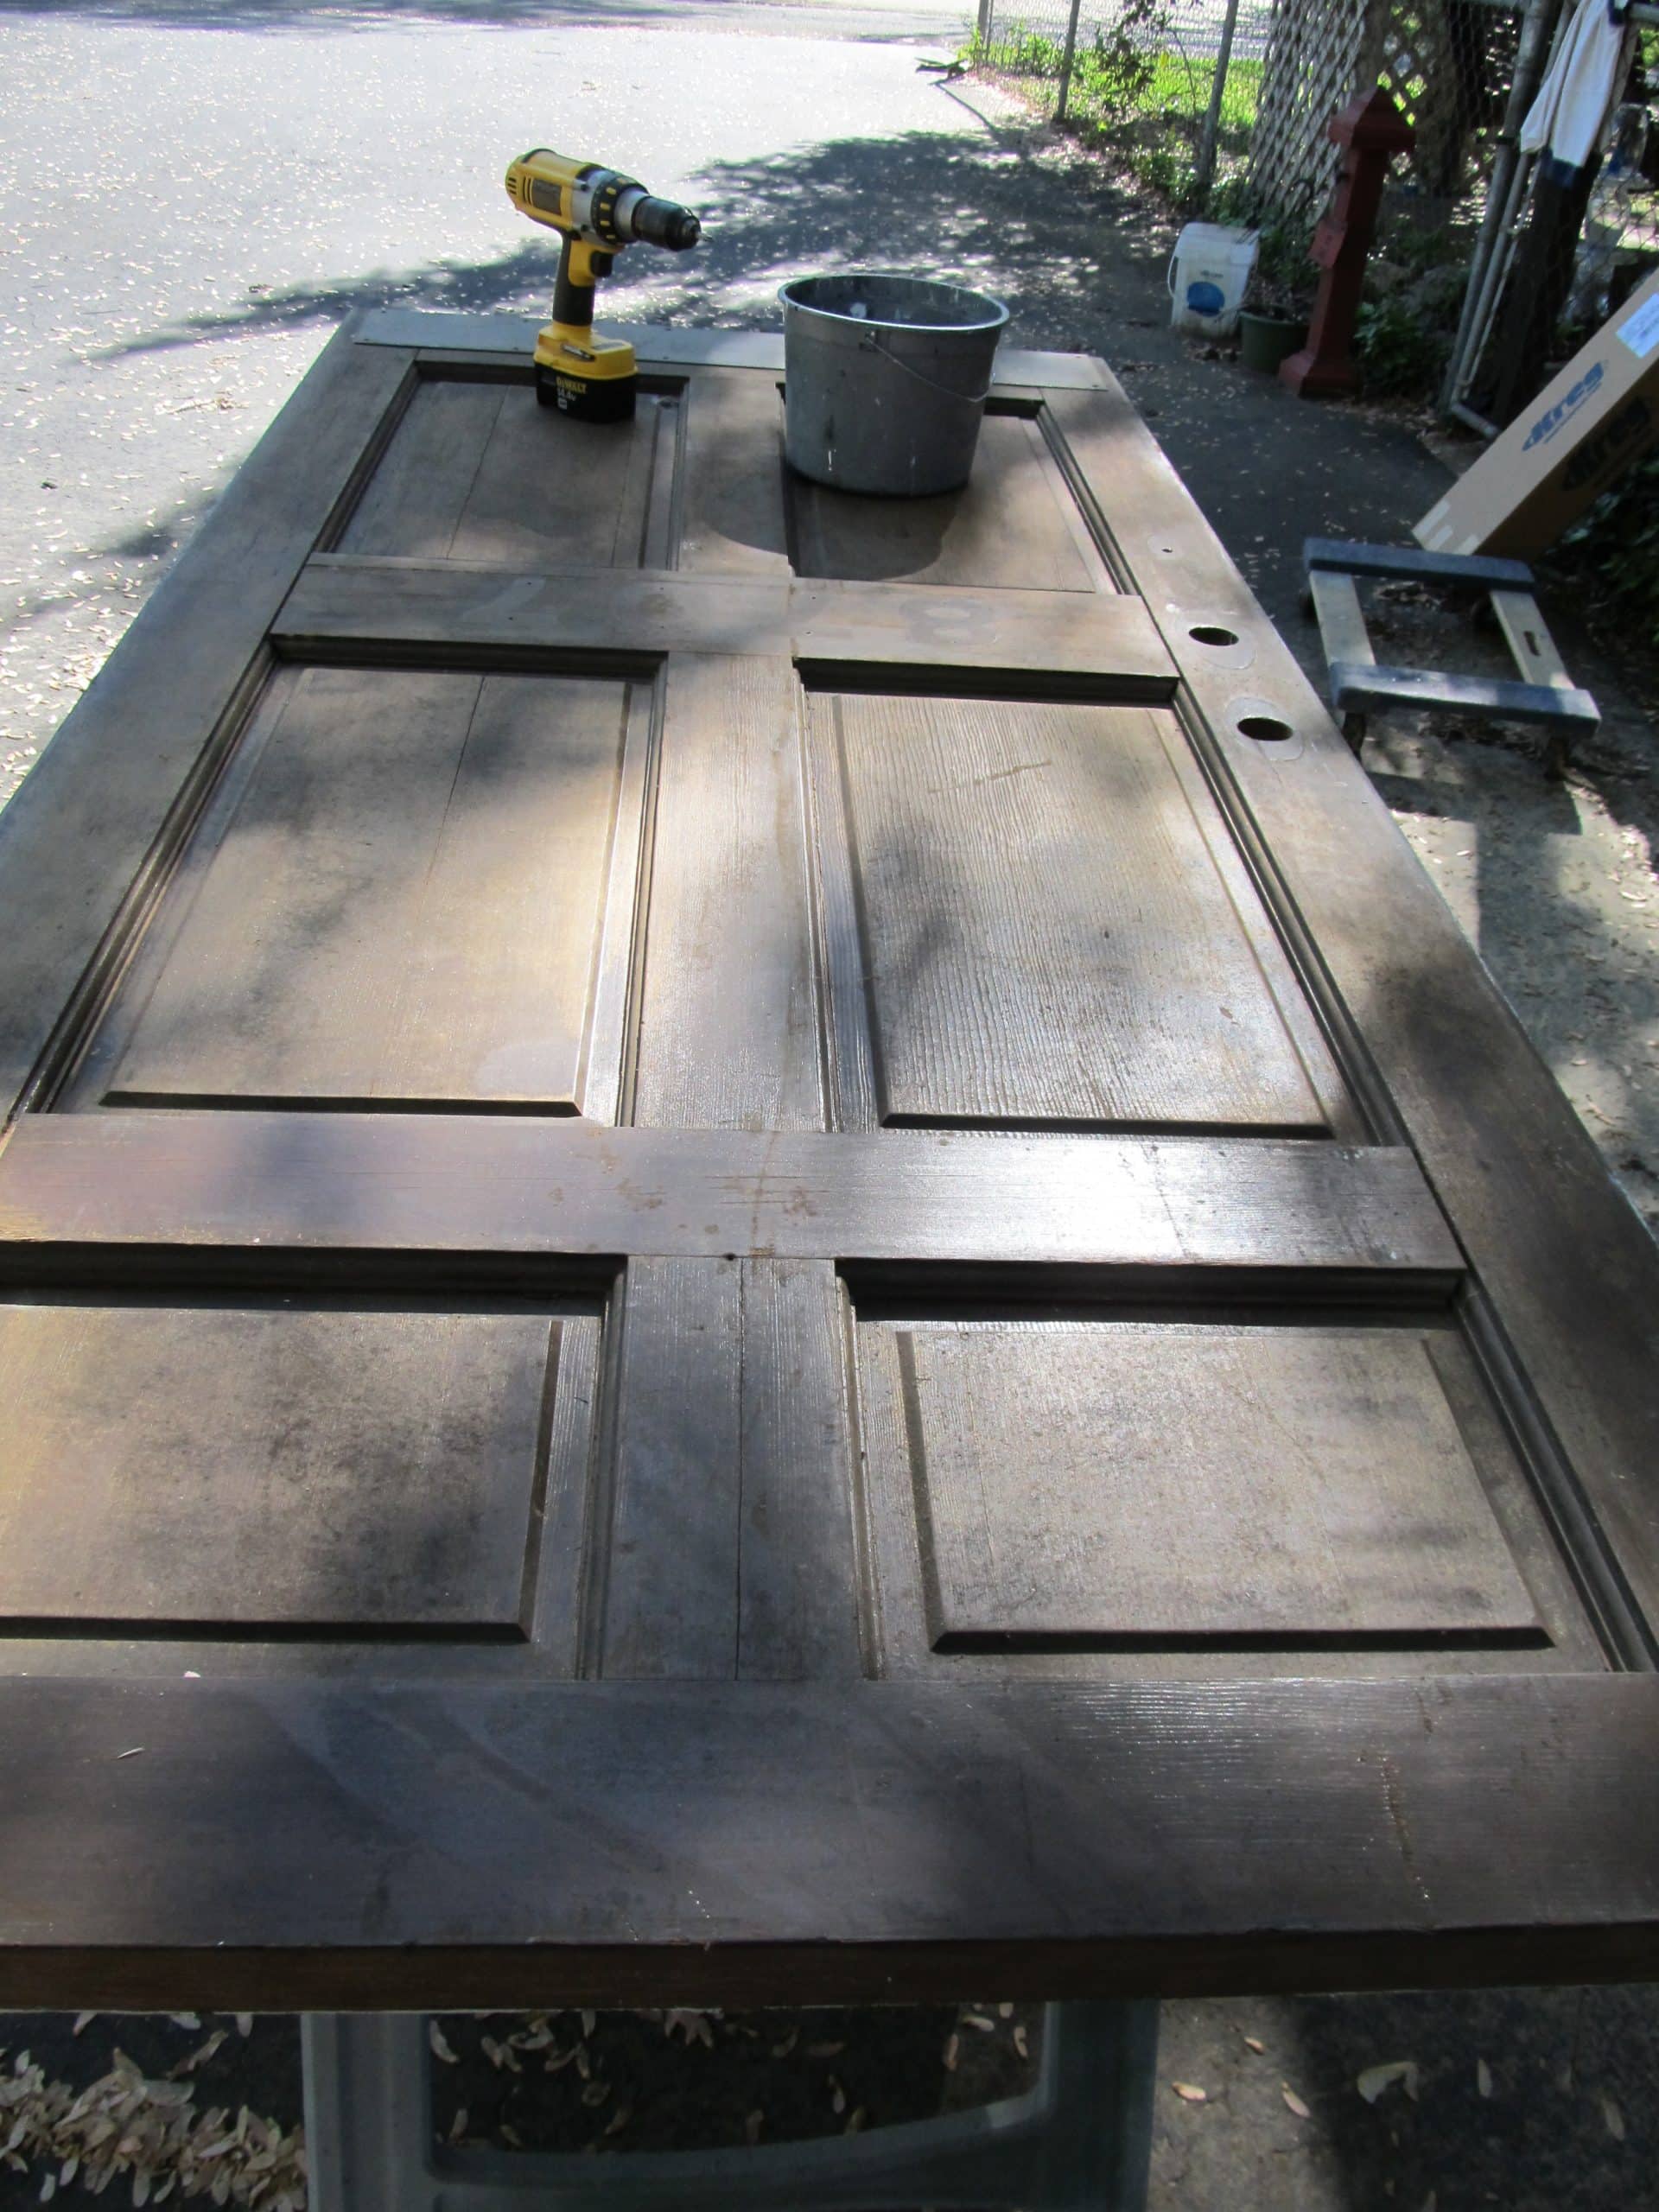
Because this door was so heavy it was difficult to lift onto the cheap saw horses. I have made my own Easy 2×4 Sawhorses that are very sturdy.
Prepare Door For Trunk Project
The first step to do this trunk made from a door project was to remove the metal kick plate.
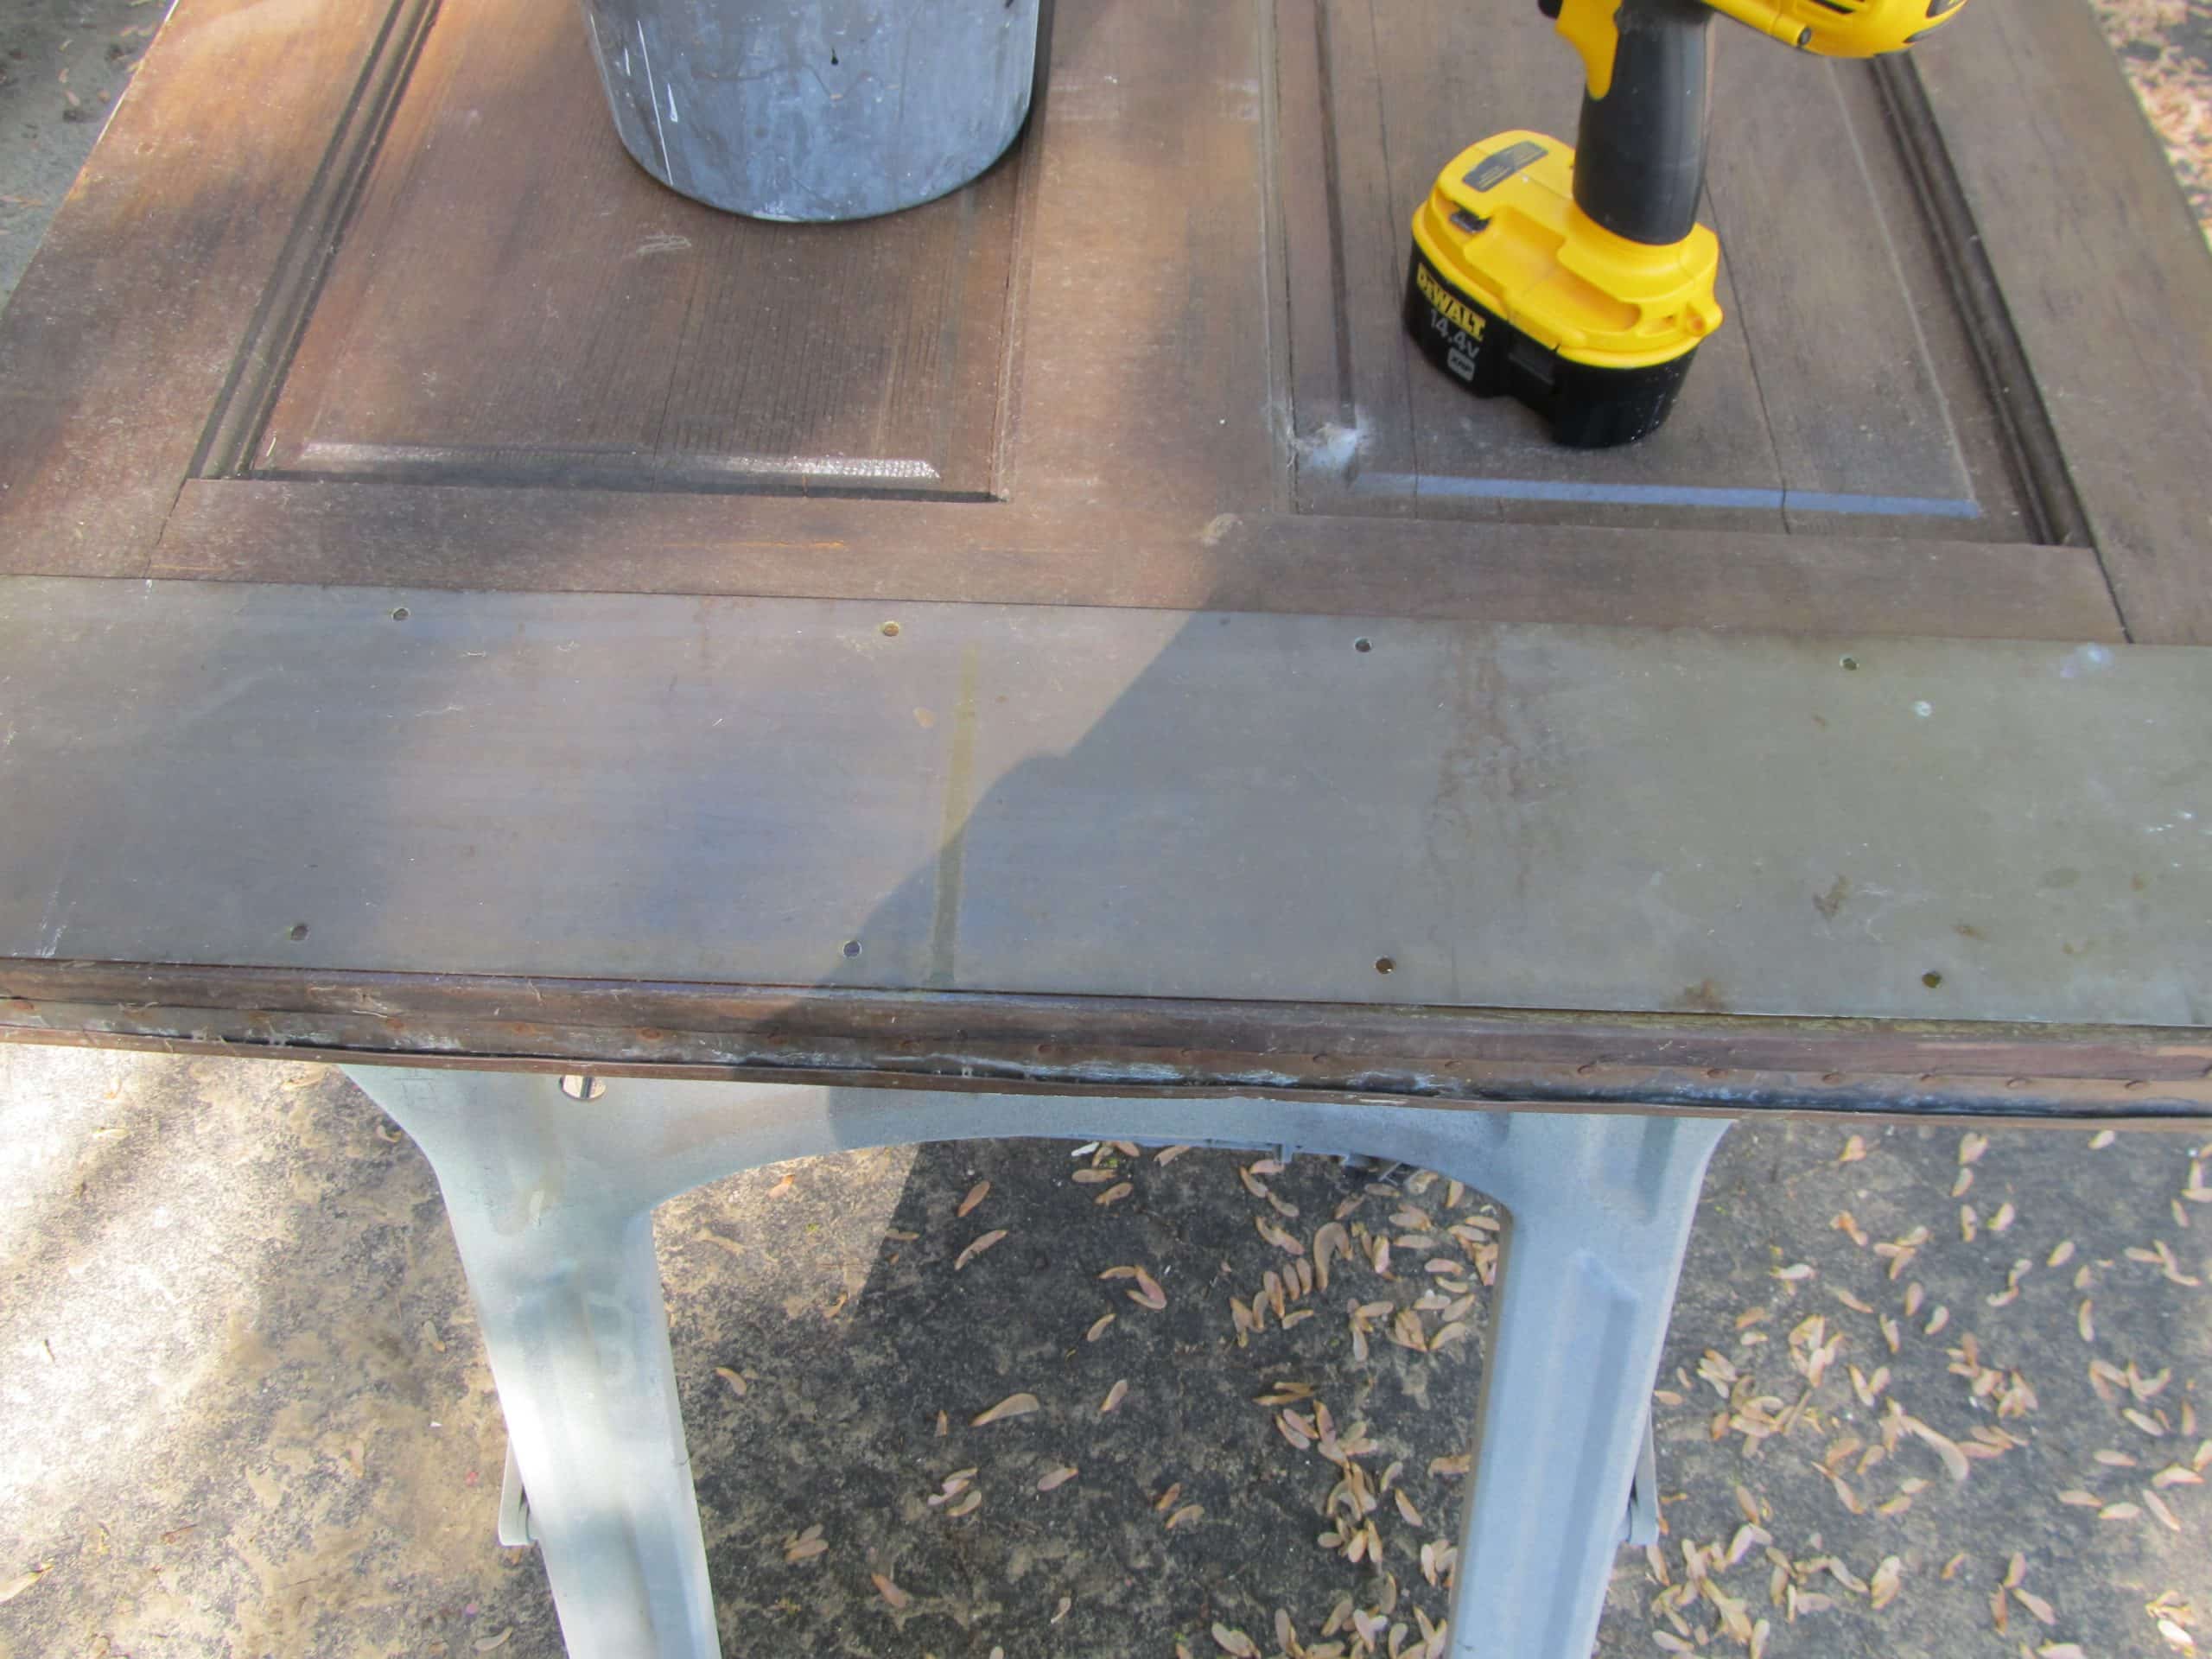
Upon closer inspection I notice that some of the joints have become loose.
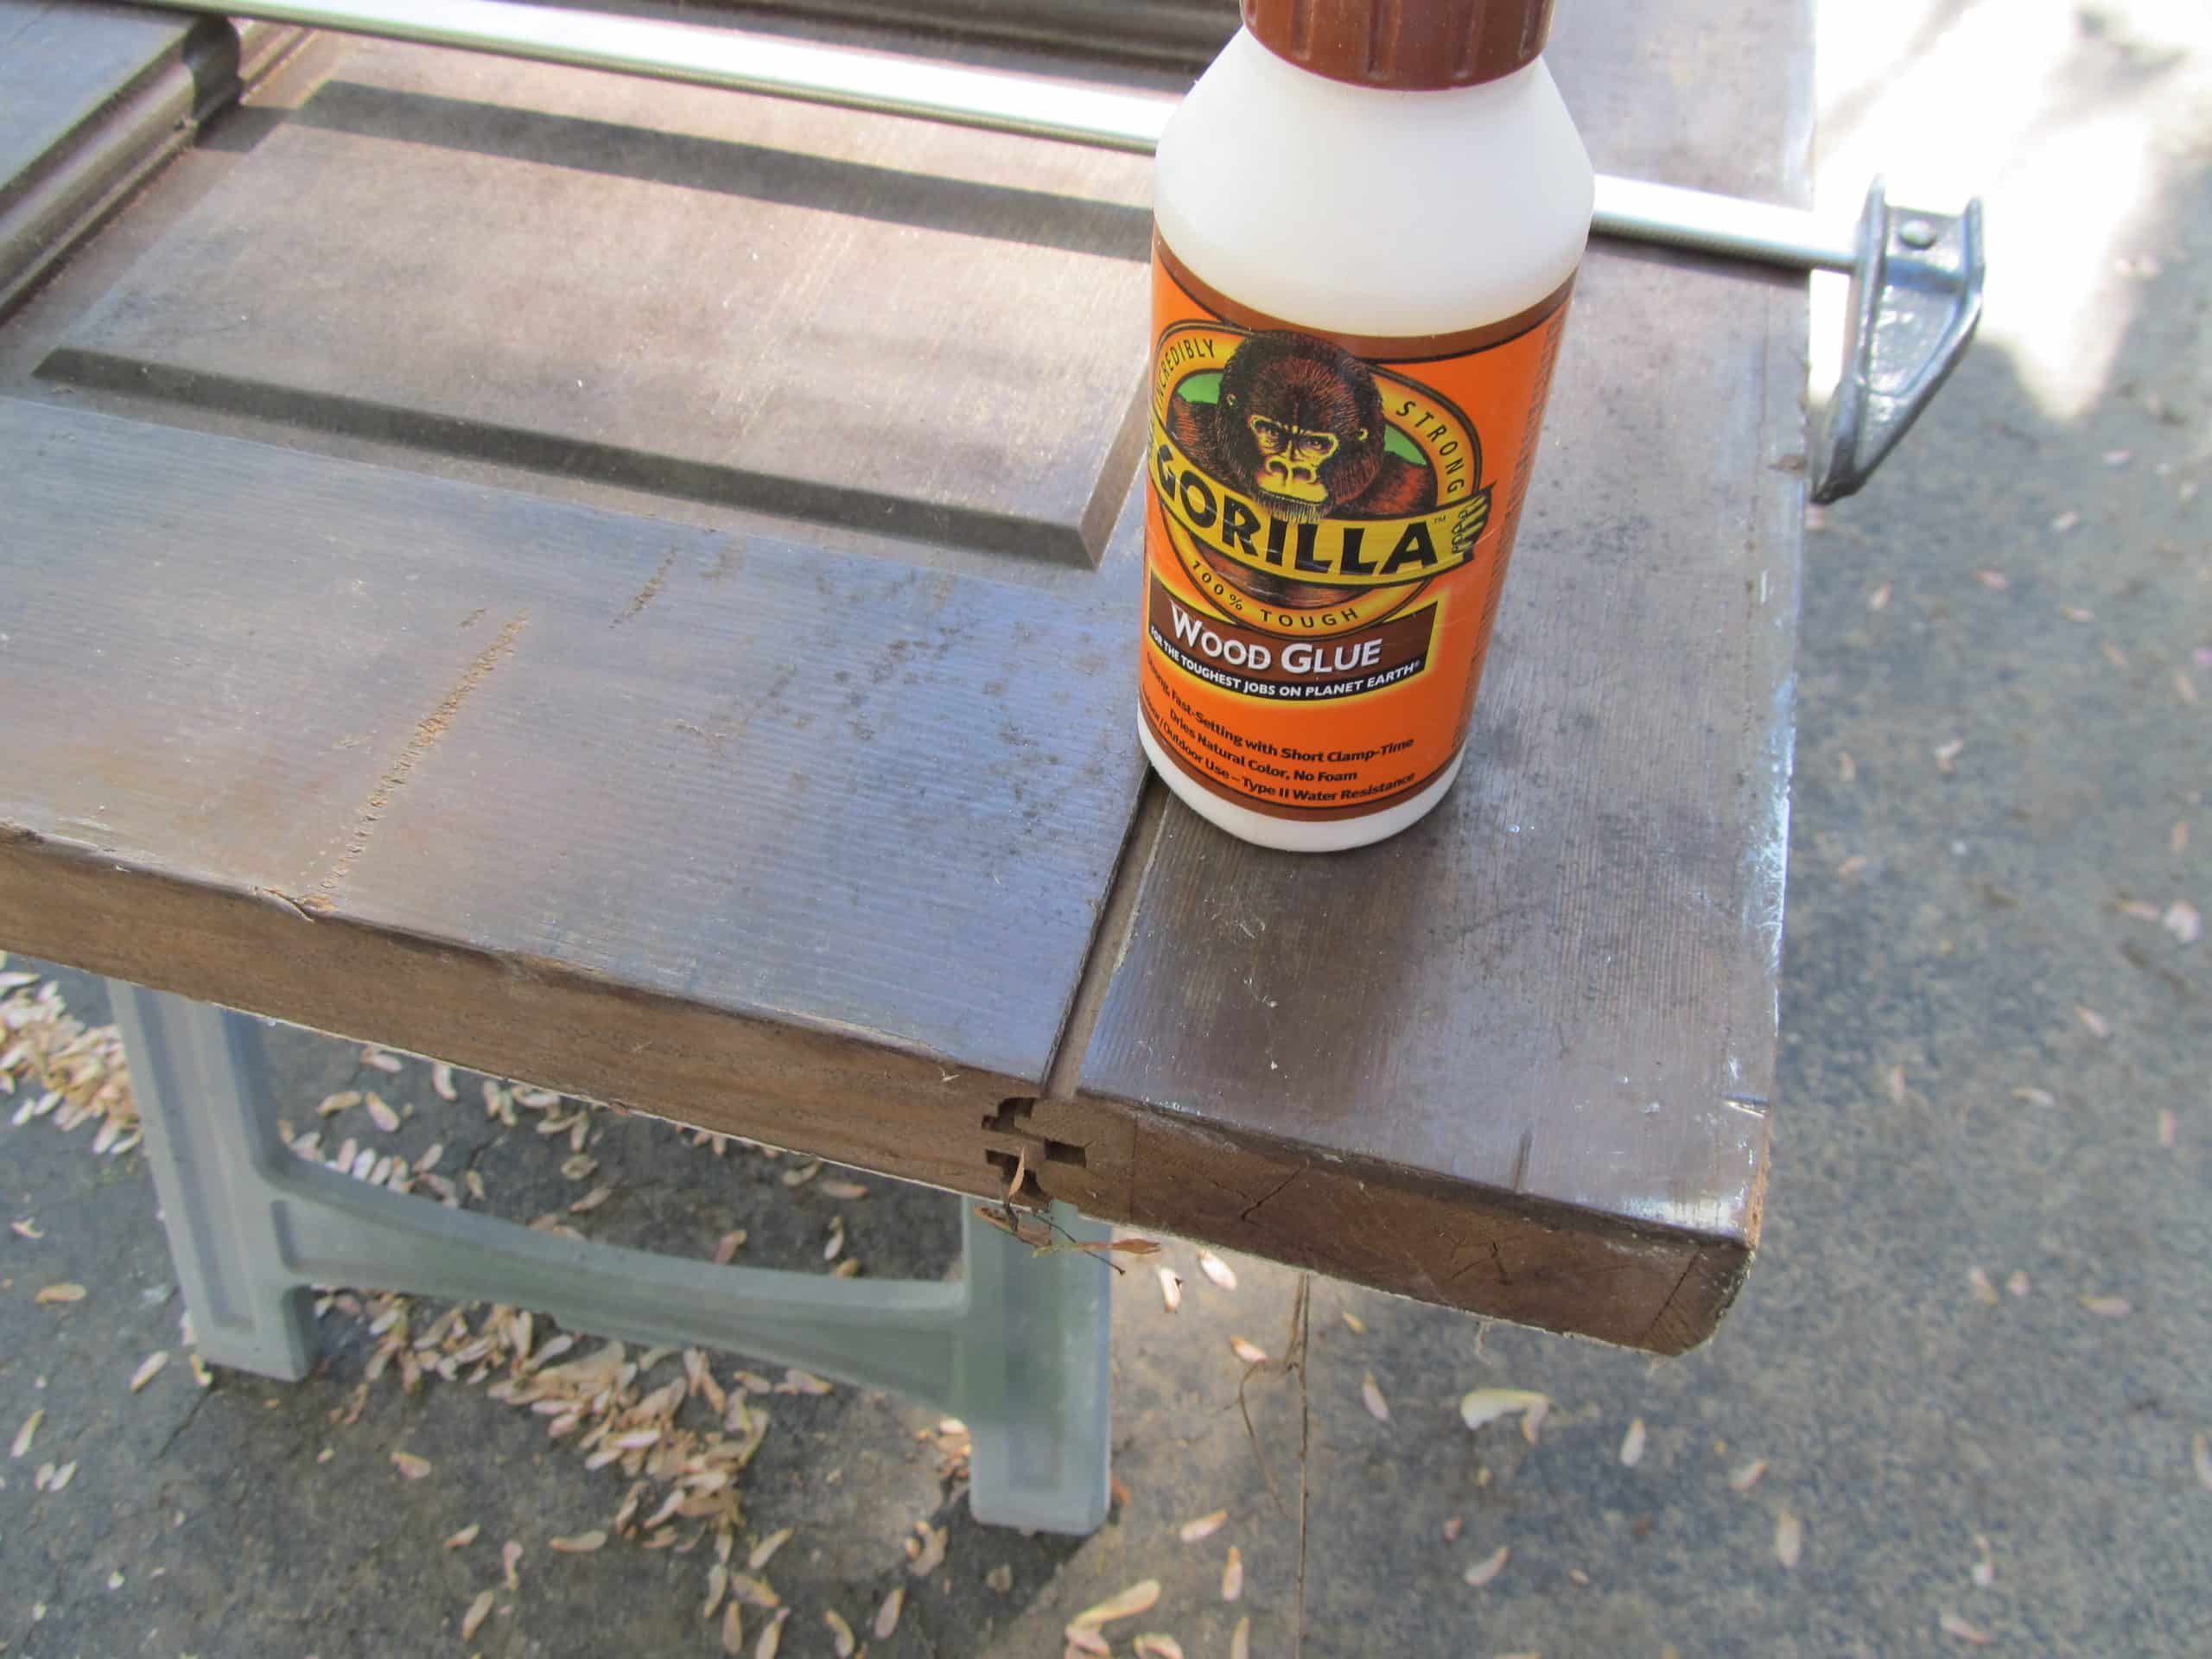
I of course reach for the Gorilla Wood Glue and some clamps.
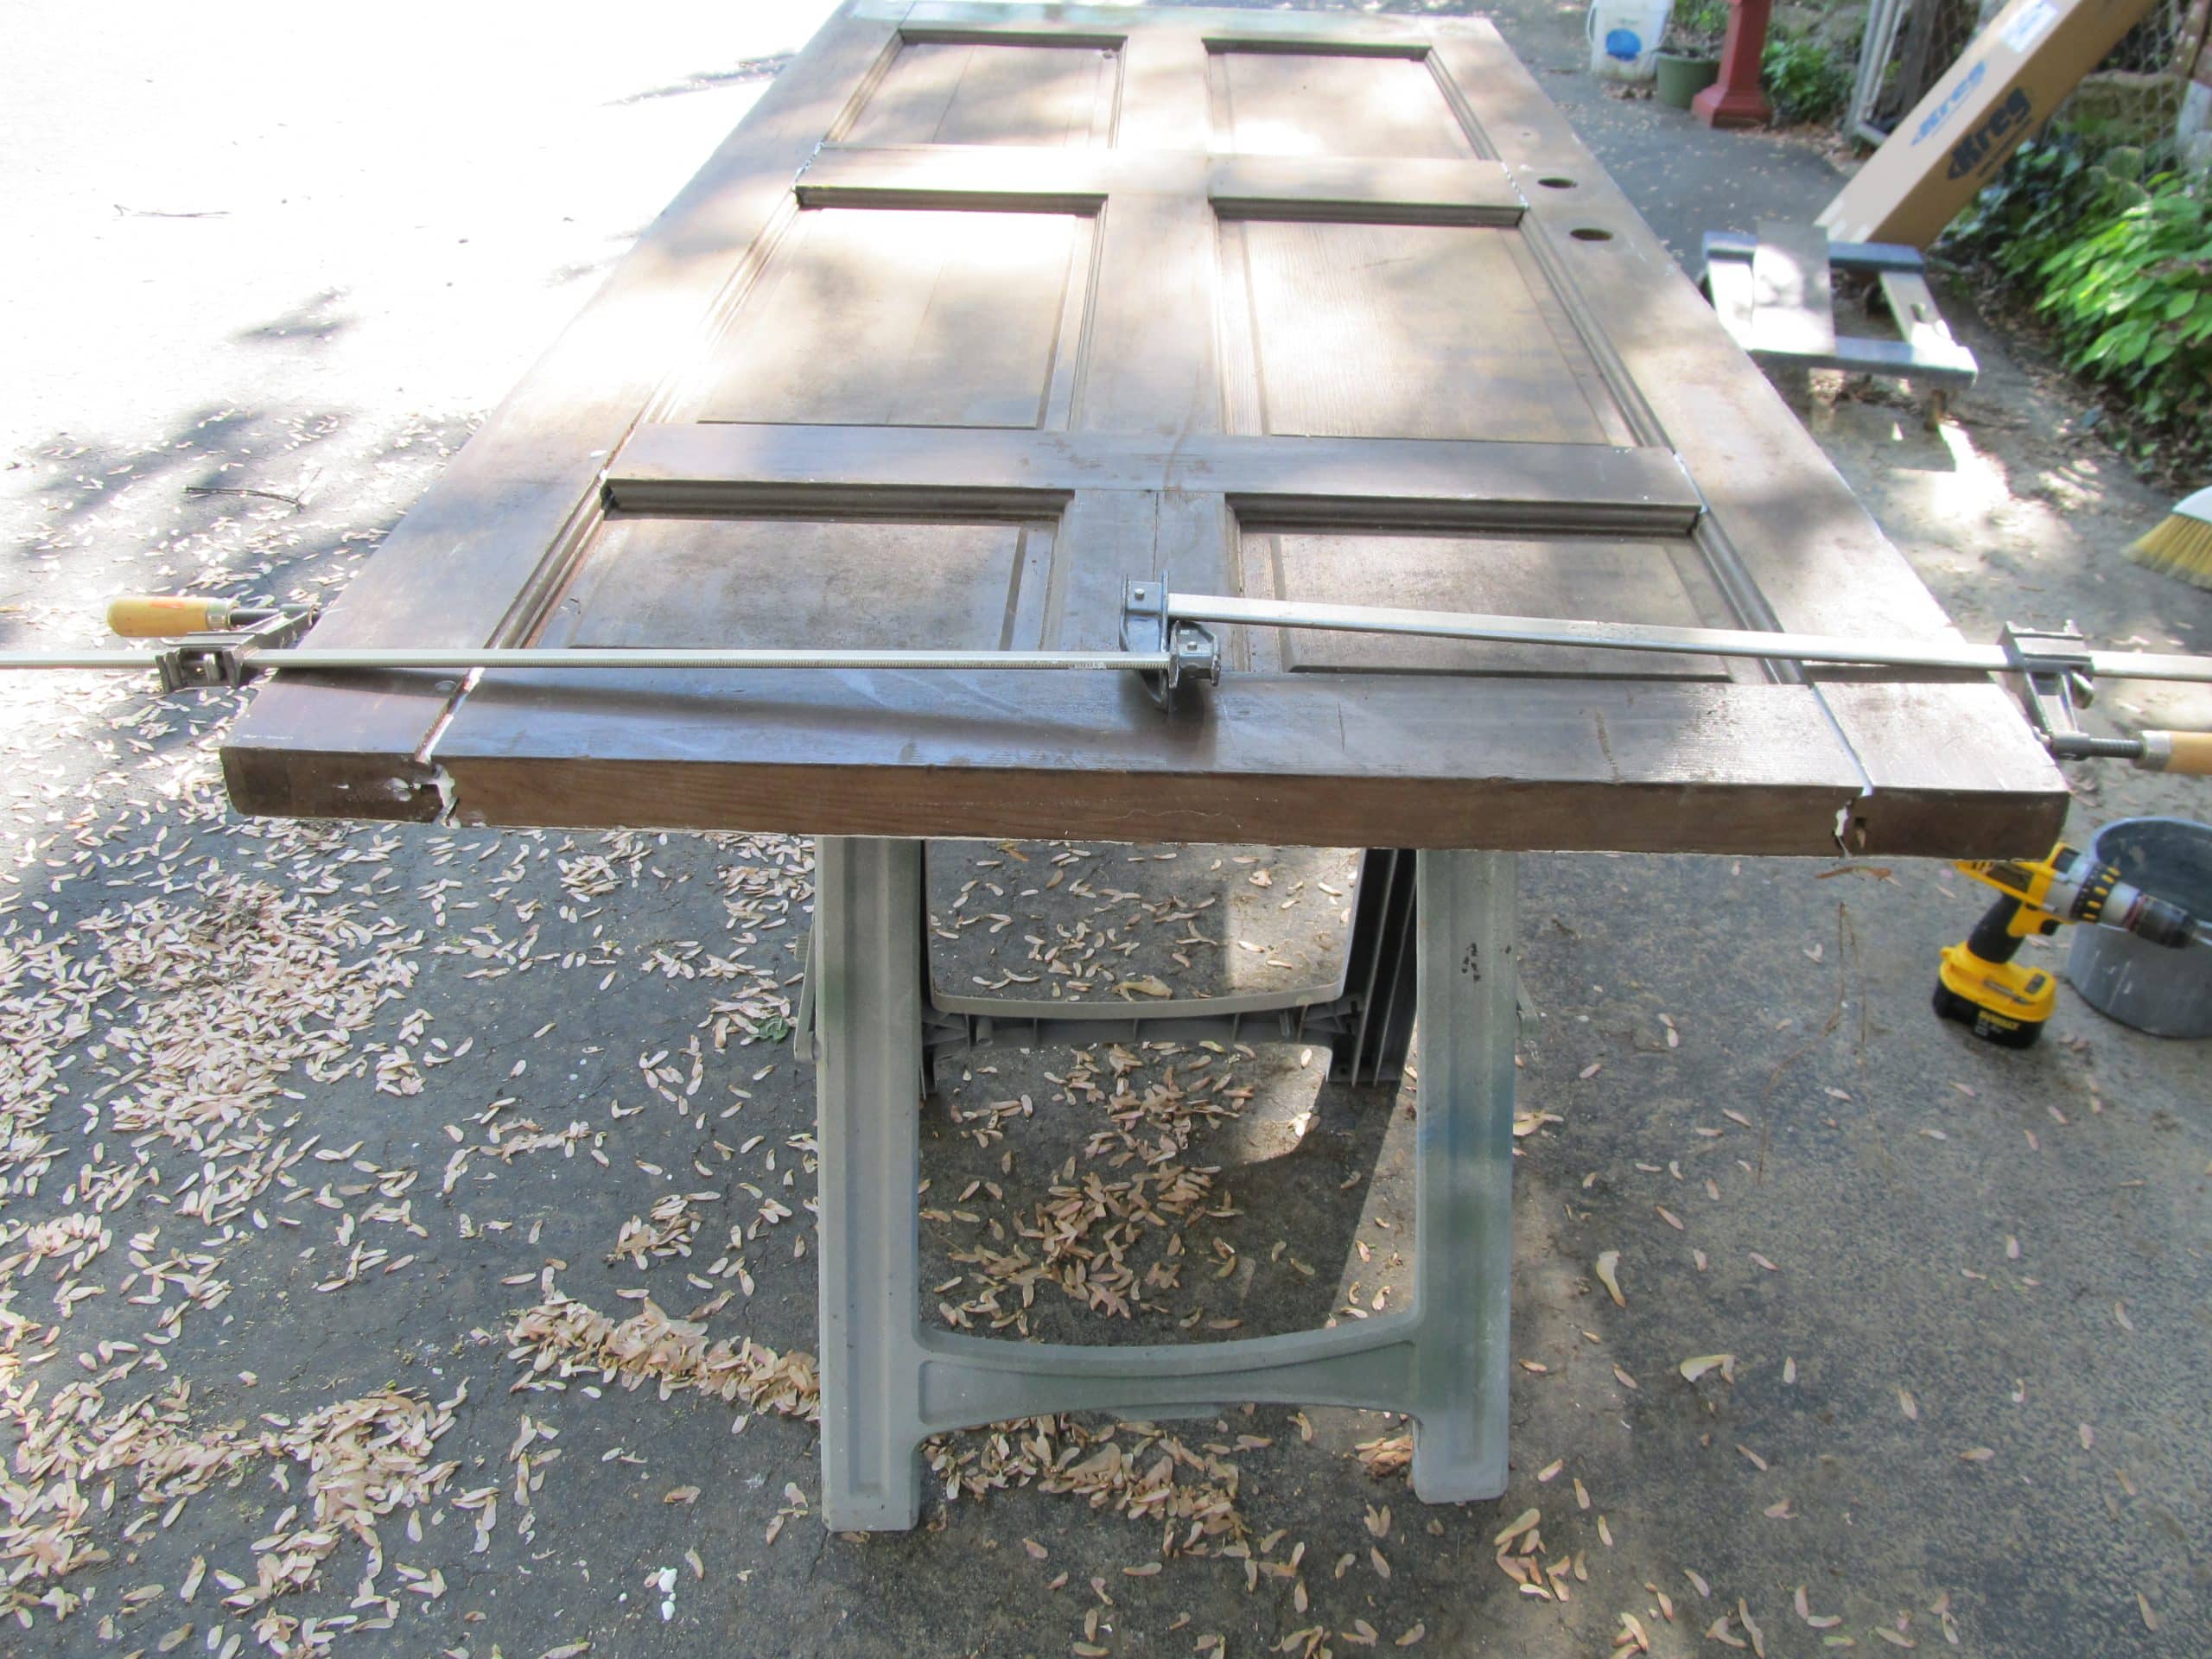
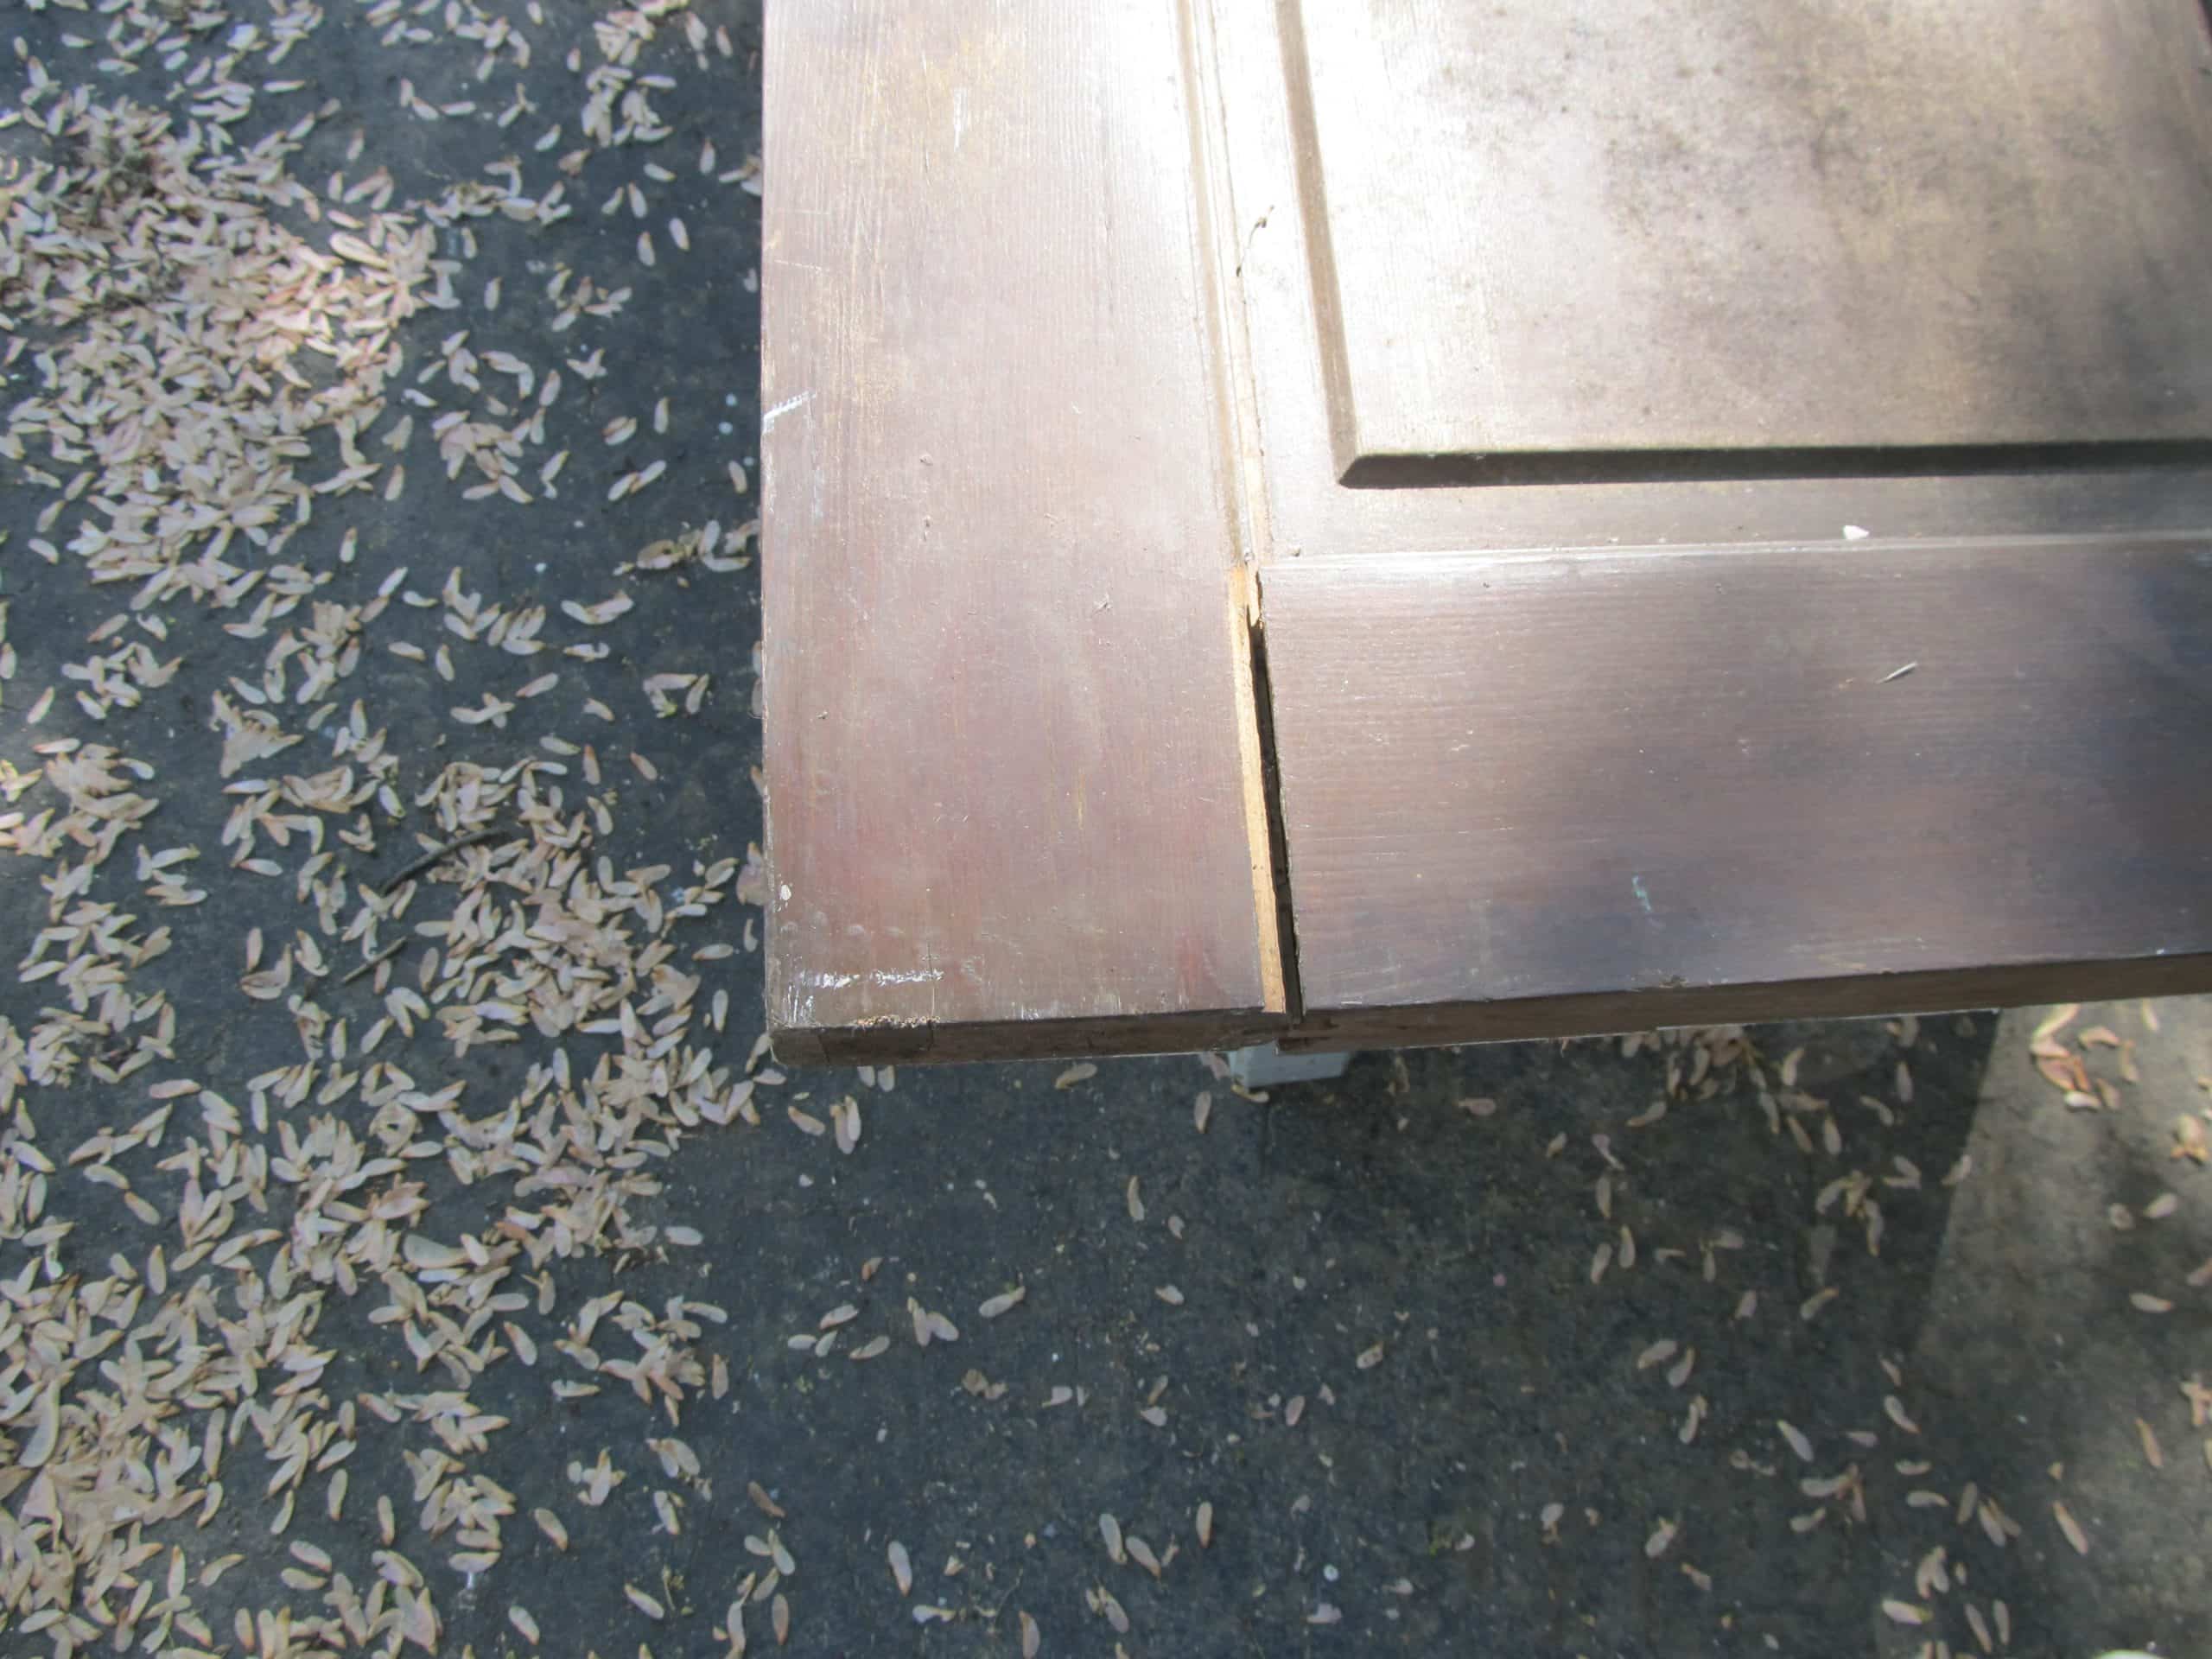
Because the door is so wide, I use my double clamp method. That was a no-go. If you look closely you can see that there is quite a gap on both sides. I was unable to draw the joints together. That leads me to plan B on the trunk made from a door.
I hope I can explain how I did this. First, I had squirted the glue in, but the clamps would not pull the joints together. So, I lugged the door off of the sawhorses and set it on the ground. Then I proceeded to pick up the door and SLAM it down onto the driveway. Over and over again I slammed it until the joints closed up. Finally, I wiped off the excess glue.

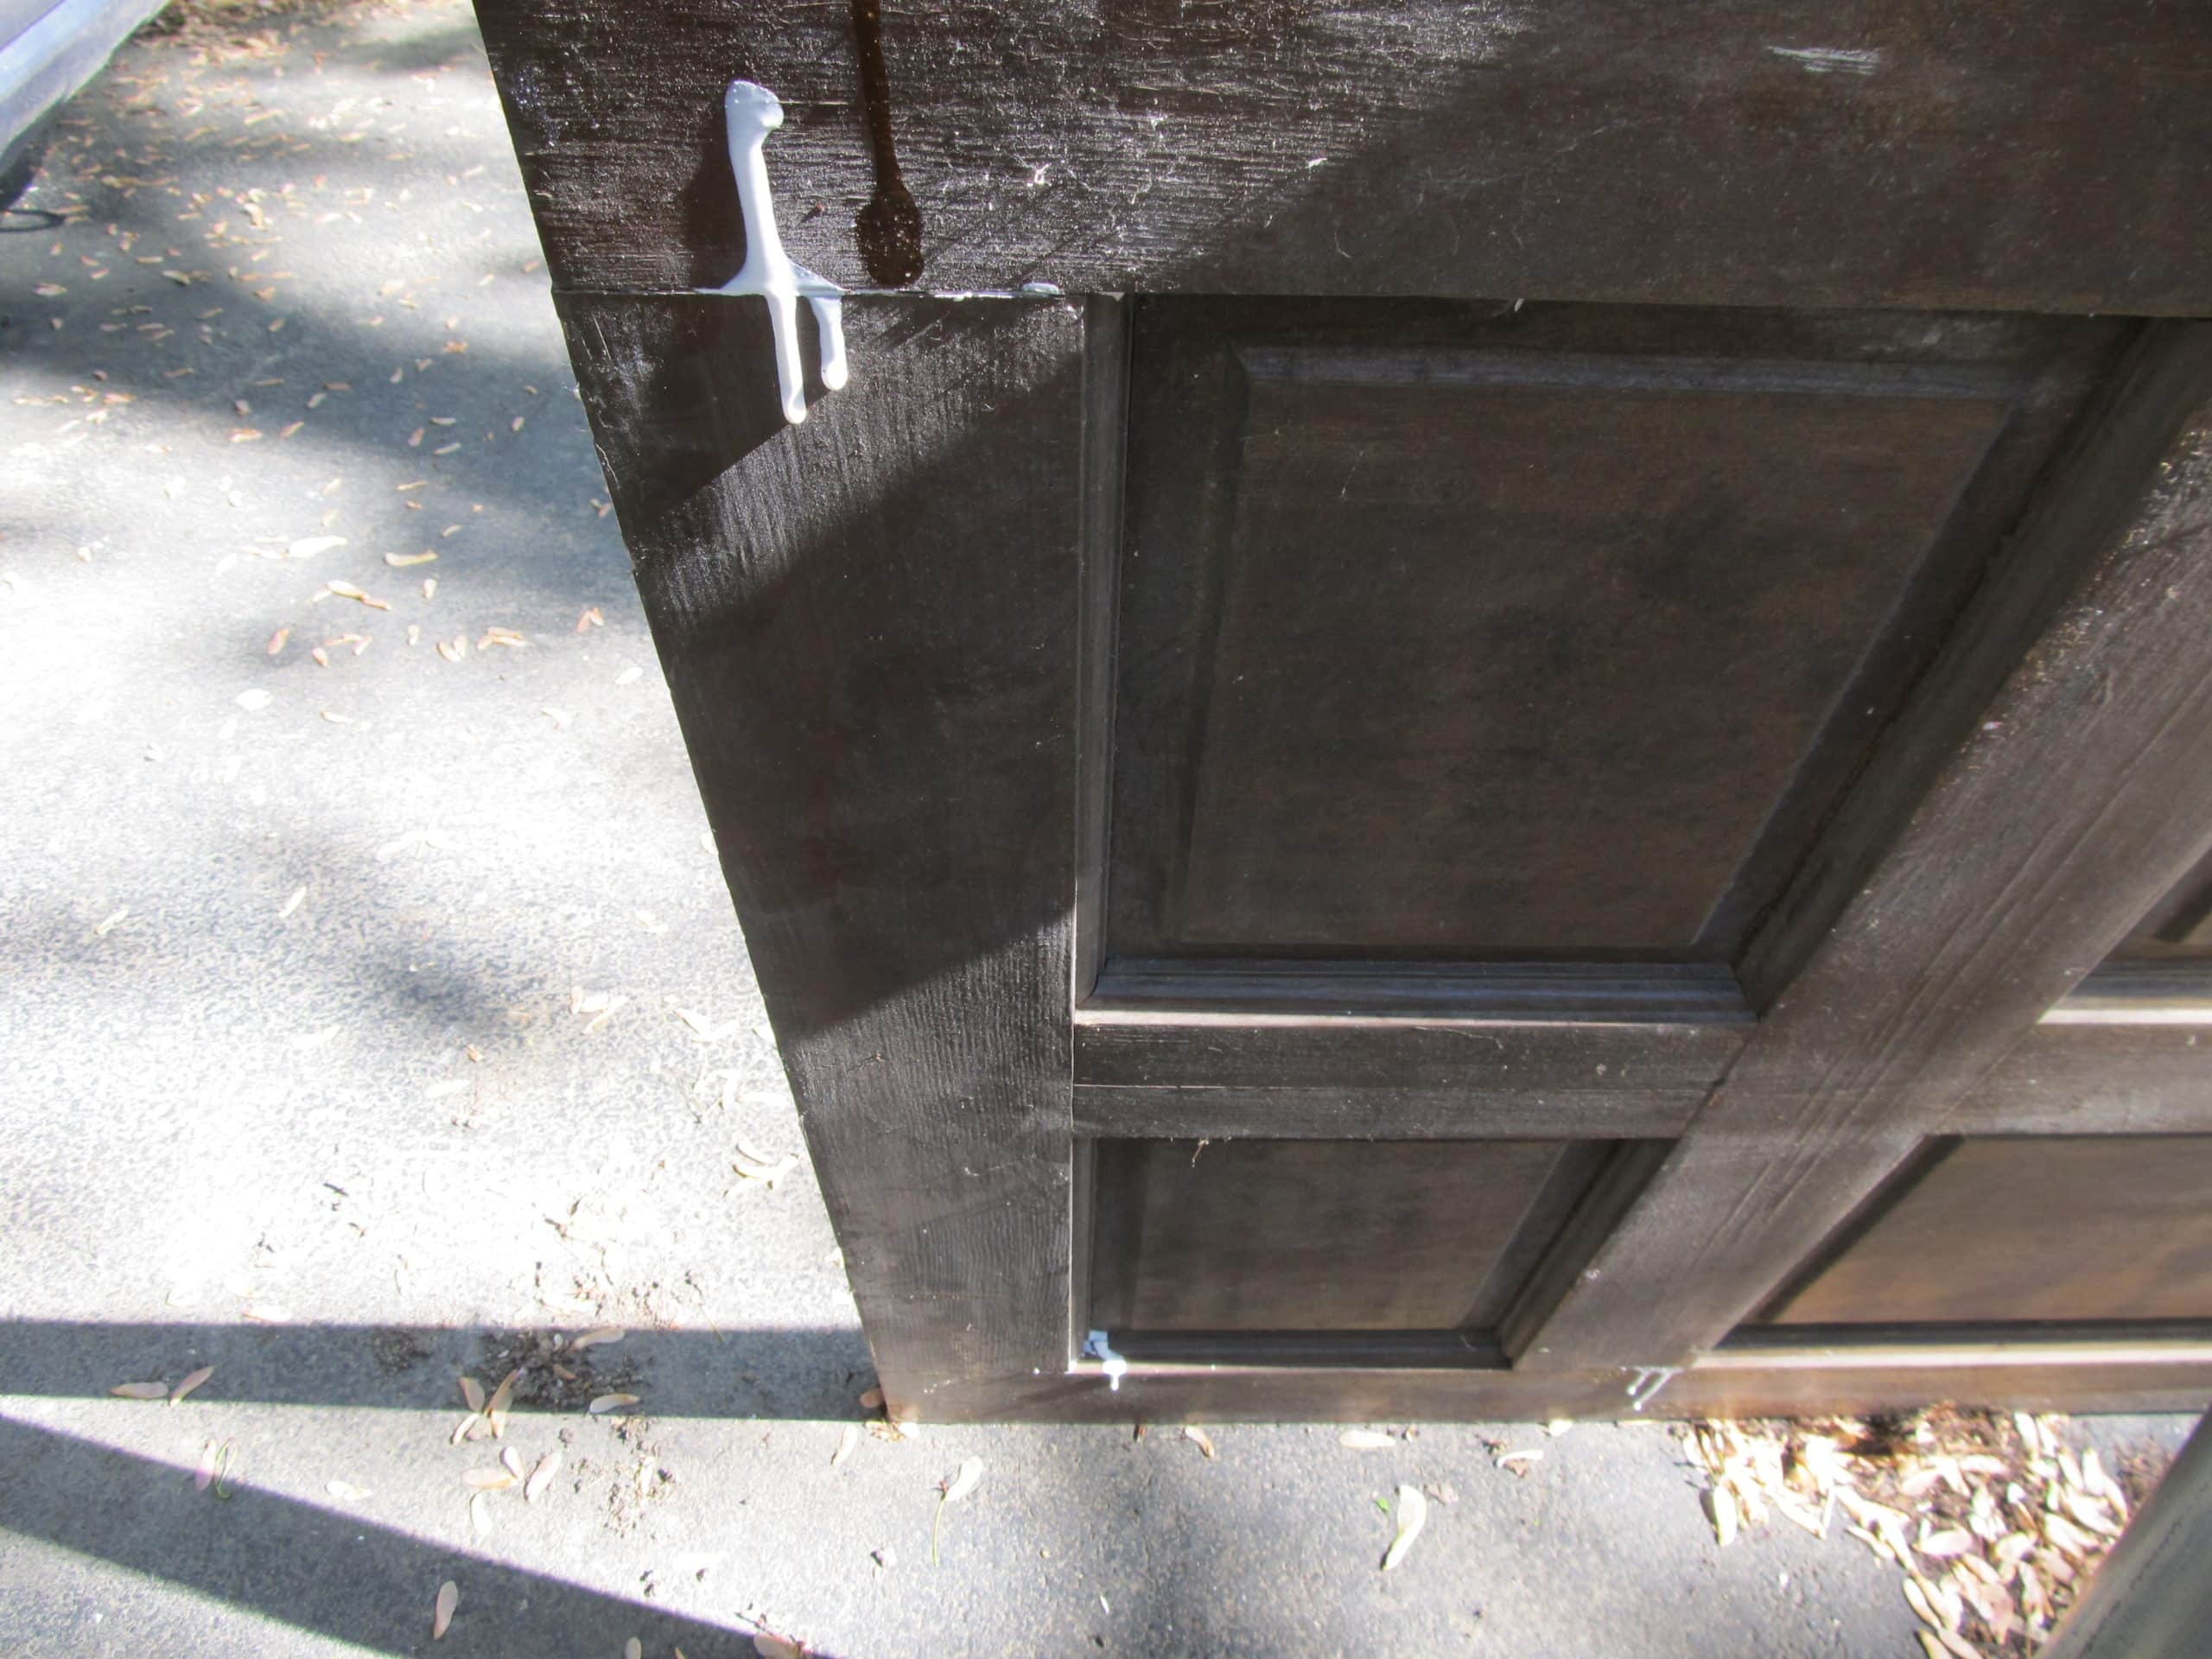
BACK up onto the sawhorses it went. You can see that the joints are much better now.
Close-up.

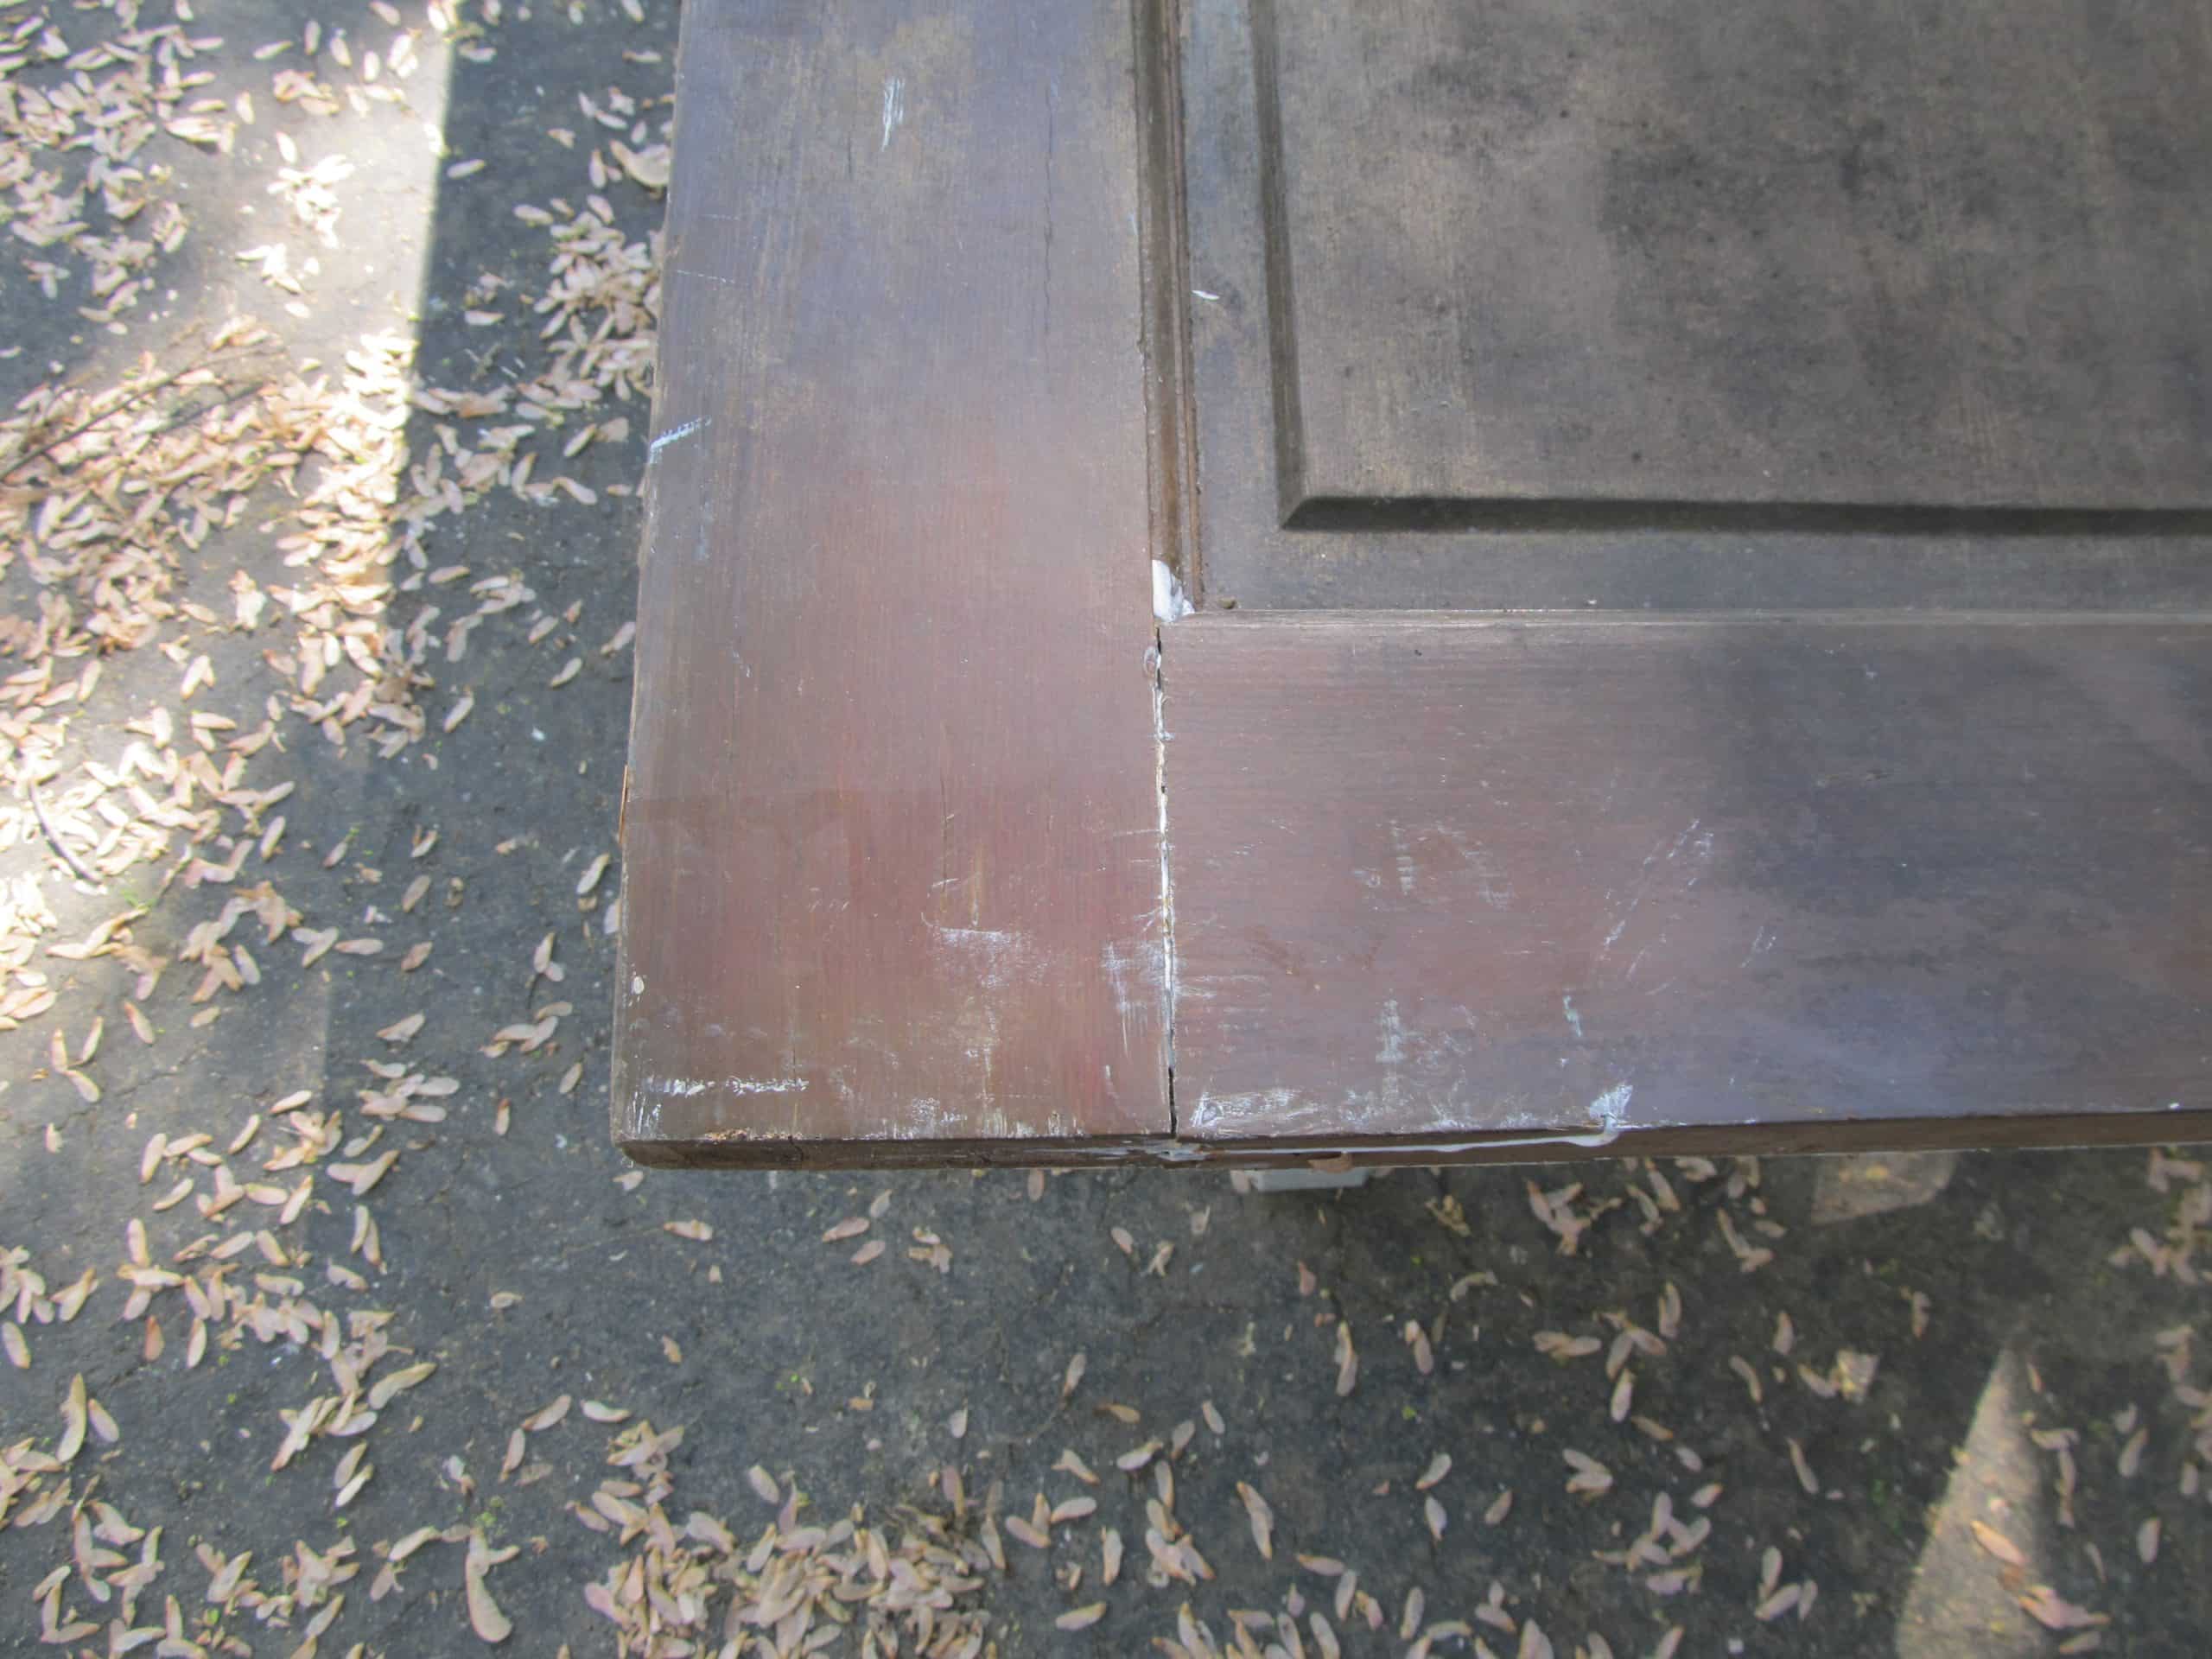
To make a trunk (chest) the panels need to be all the same size. I had to trim some off of each side, top and bottom. You can see the large piece I cut off laying on the driveway.
Cut Door Panels

For most of the cutting I used my circular saw and the Kreg Rip Cut (meant for ripping full sheets of plywood). Note: The Kreg Rip Cut helped me with this job, but I would be willing to bet that it would work a lot better ripping a piece of 1/2 plywood as opposed to cutting this massive door.
NOT pictured… after I got the door cut into smaller sections, I cut the two smaller “square” panels on the table saw. There is no way I could have used my table saw to cut all of these panels.
Assemble Trunk Made From Door
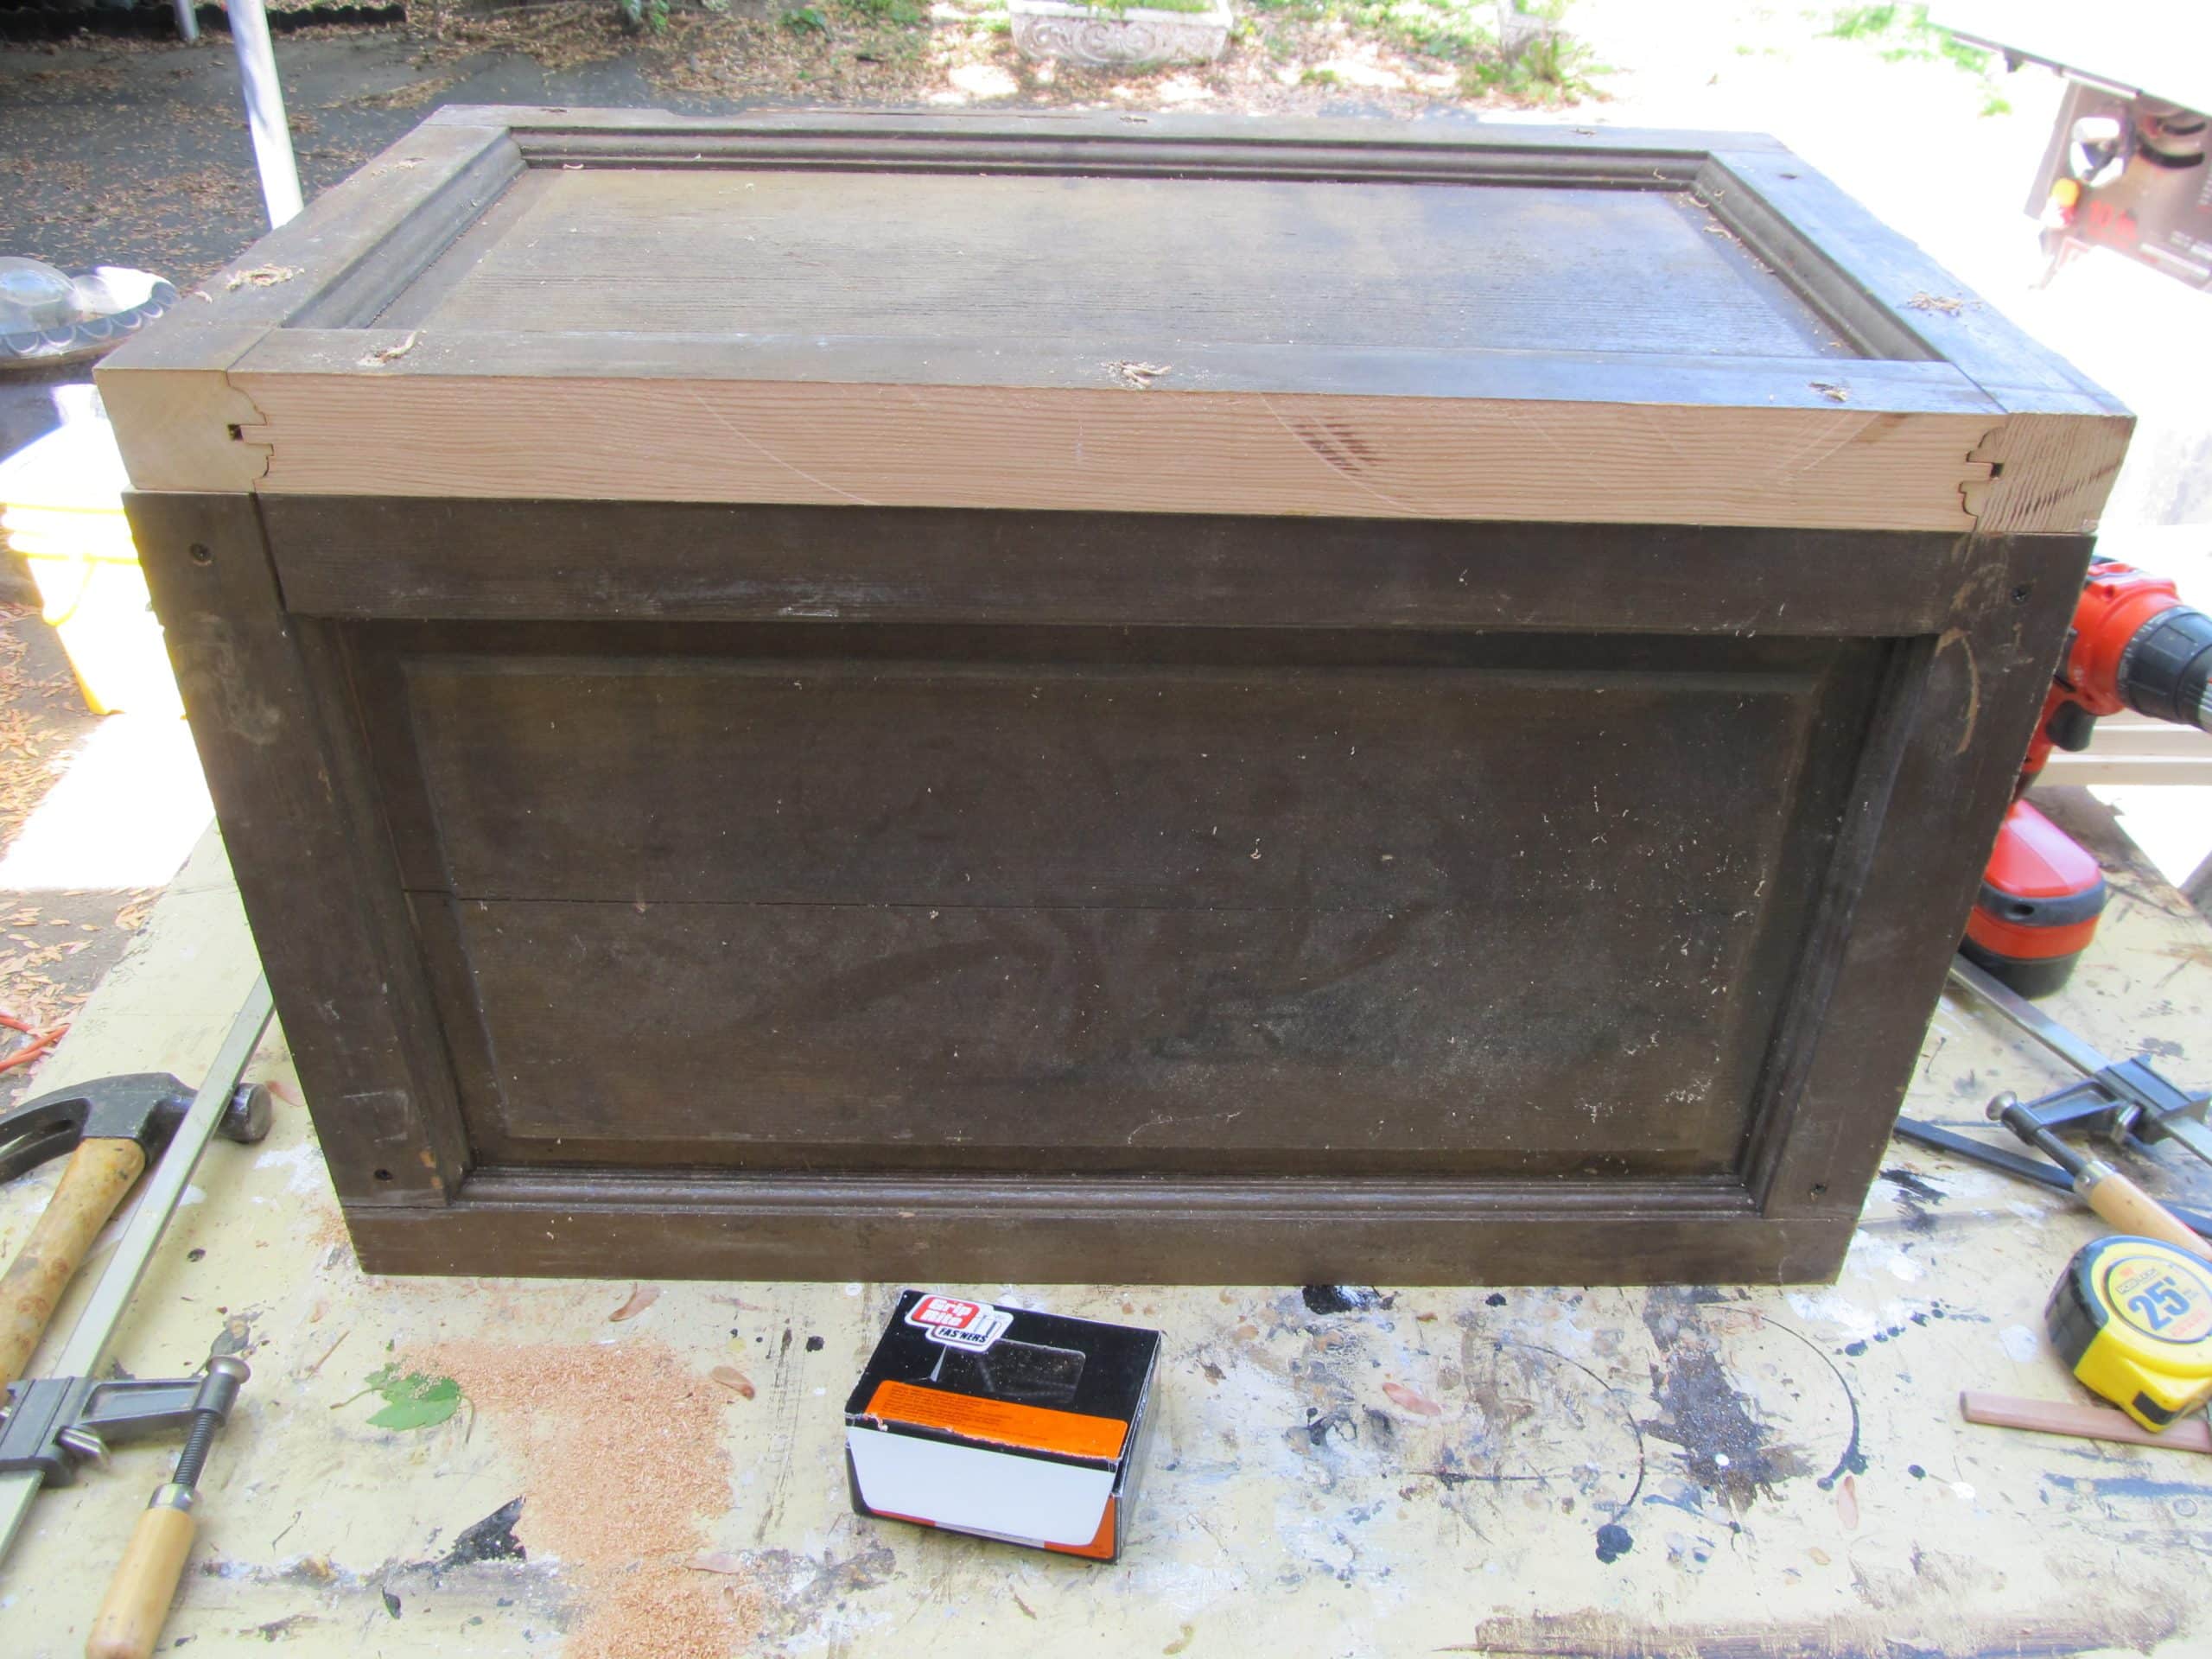
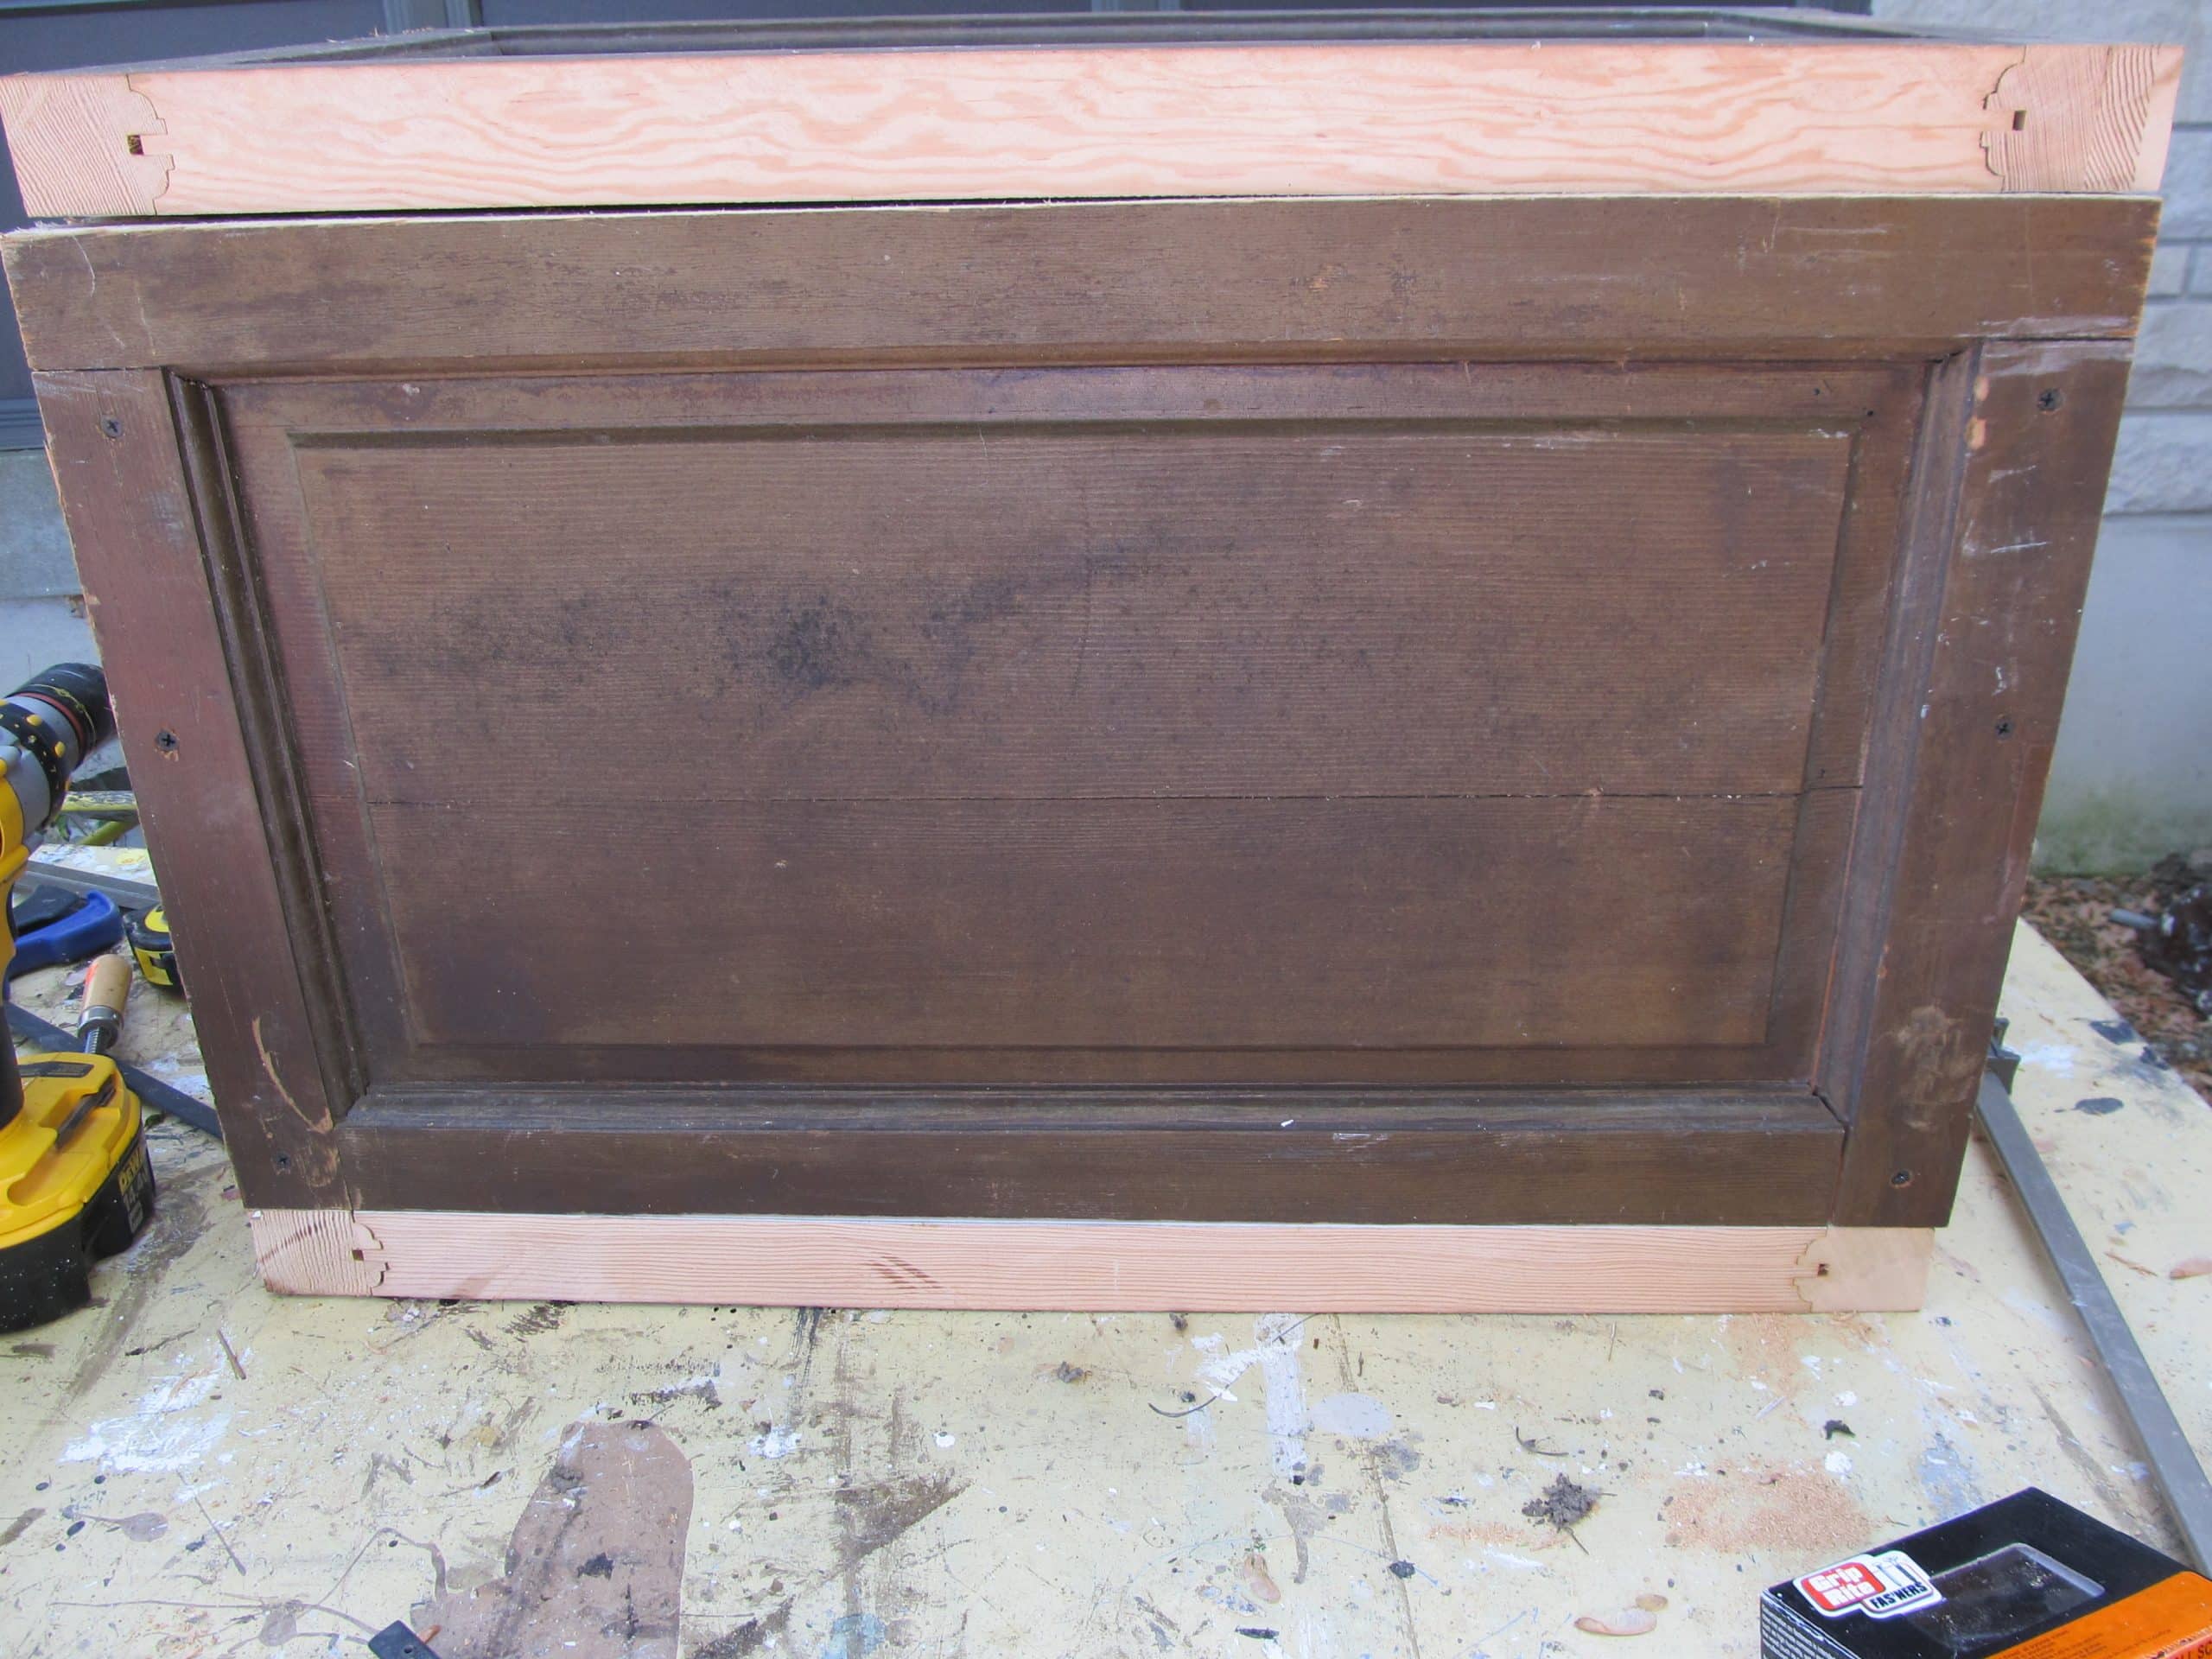
After I got all my panels cut in relatively all the same size-HA- who am I kidding? None of these panels were the same size. I nearly scrapped the entire trunk made from a door project at this point. Had I intended to sell this, I would have tossed it. However, I was making this to keep, so I went forward. I used the best looking panels for the front and the top.

I used the “crooked as a dog’s hind legs” panels for the back and the bottom. (They won’t be seen where I’ll be using this trunk)
Can I use Drywall Screws for Wood?
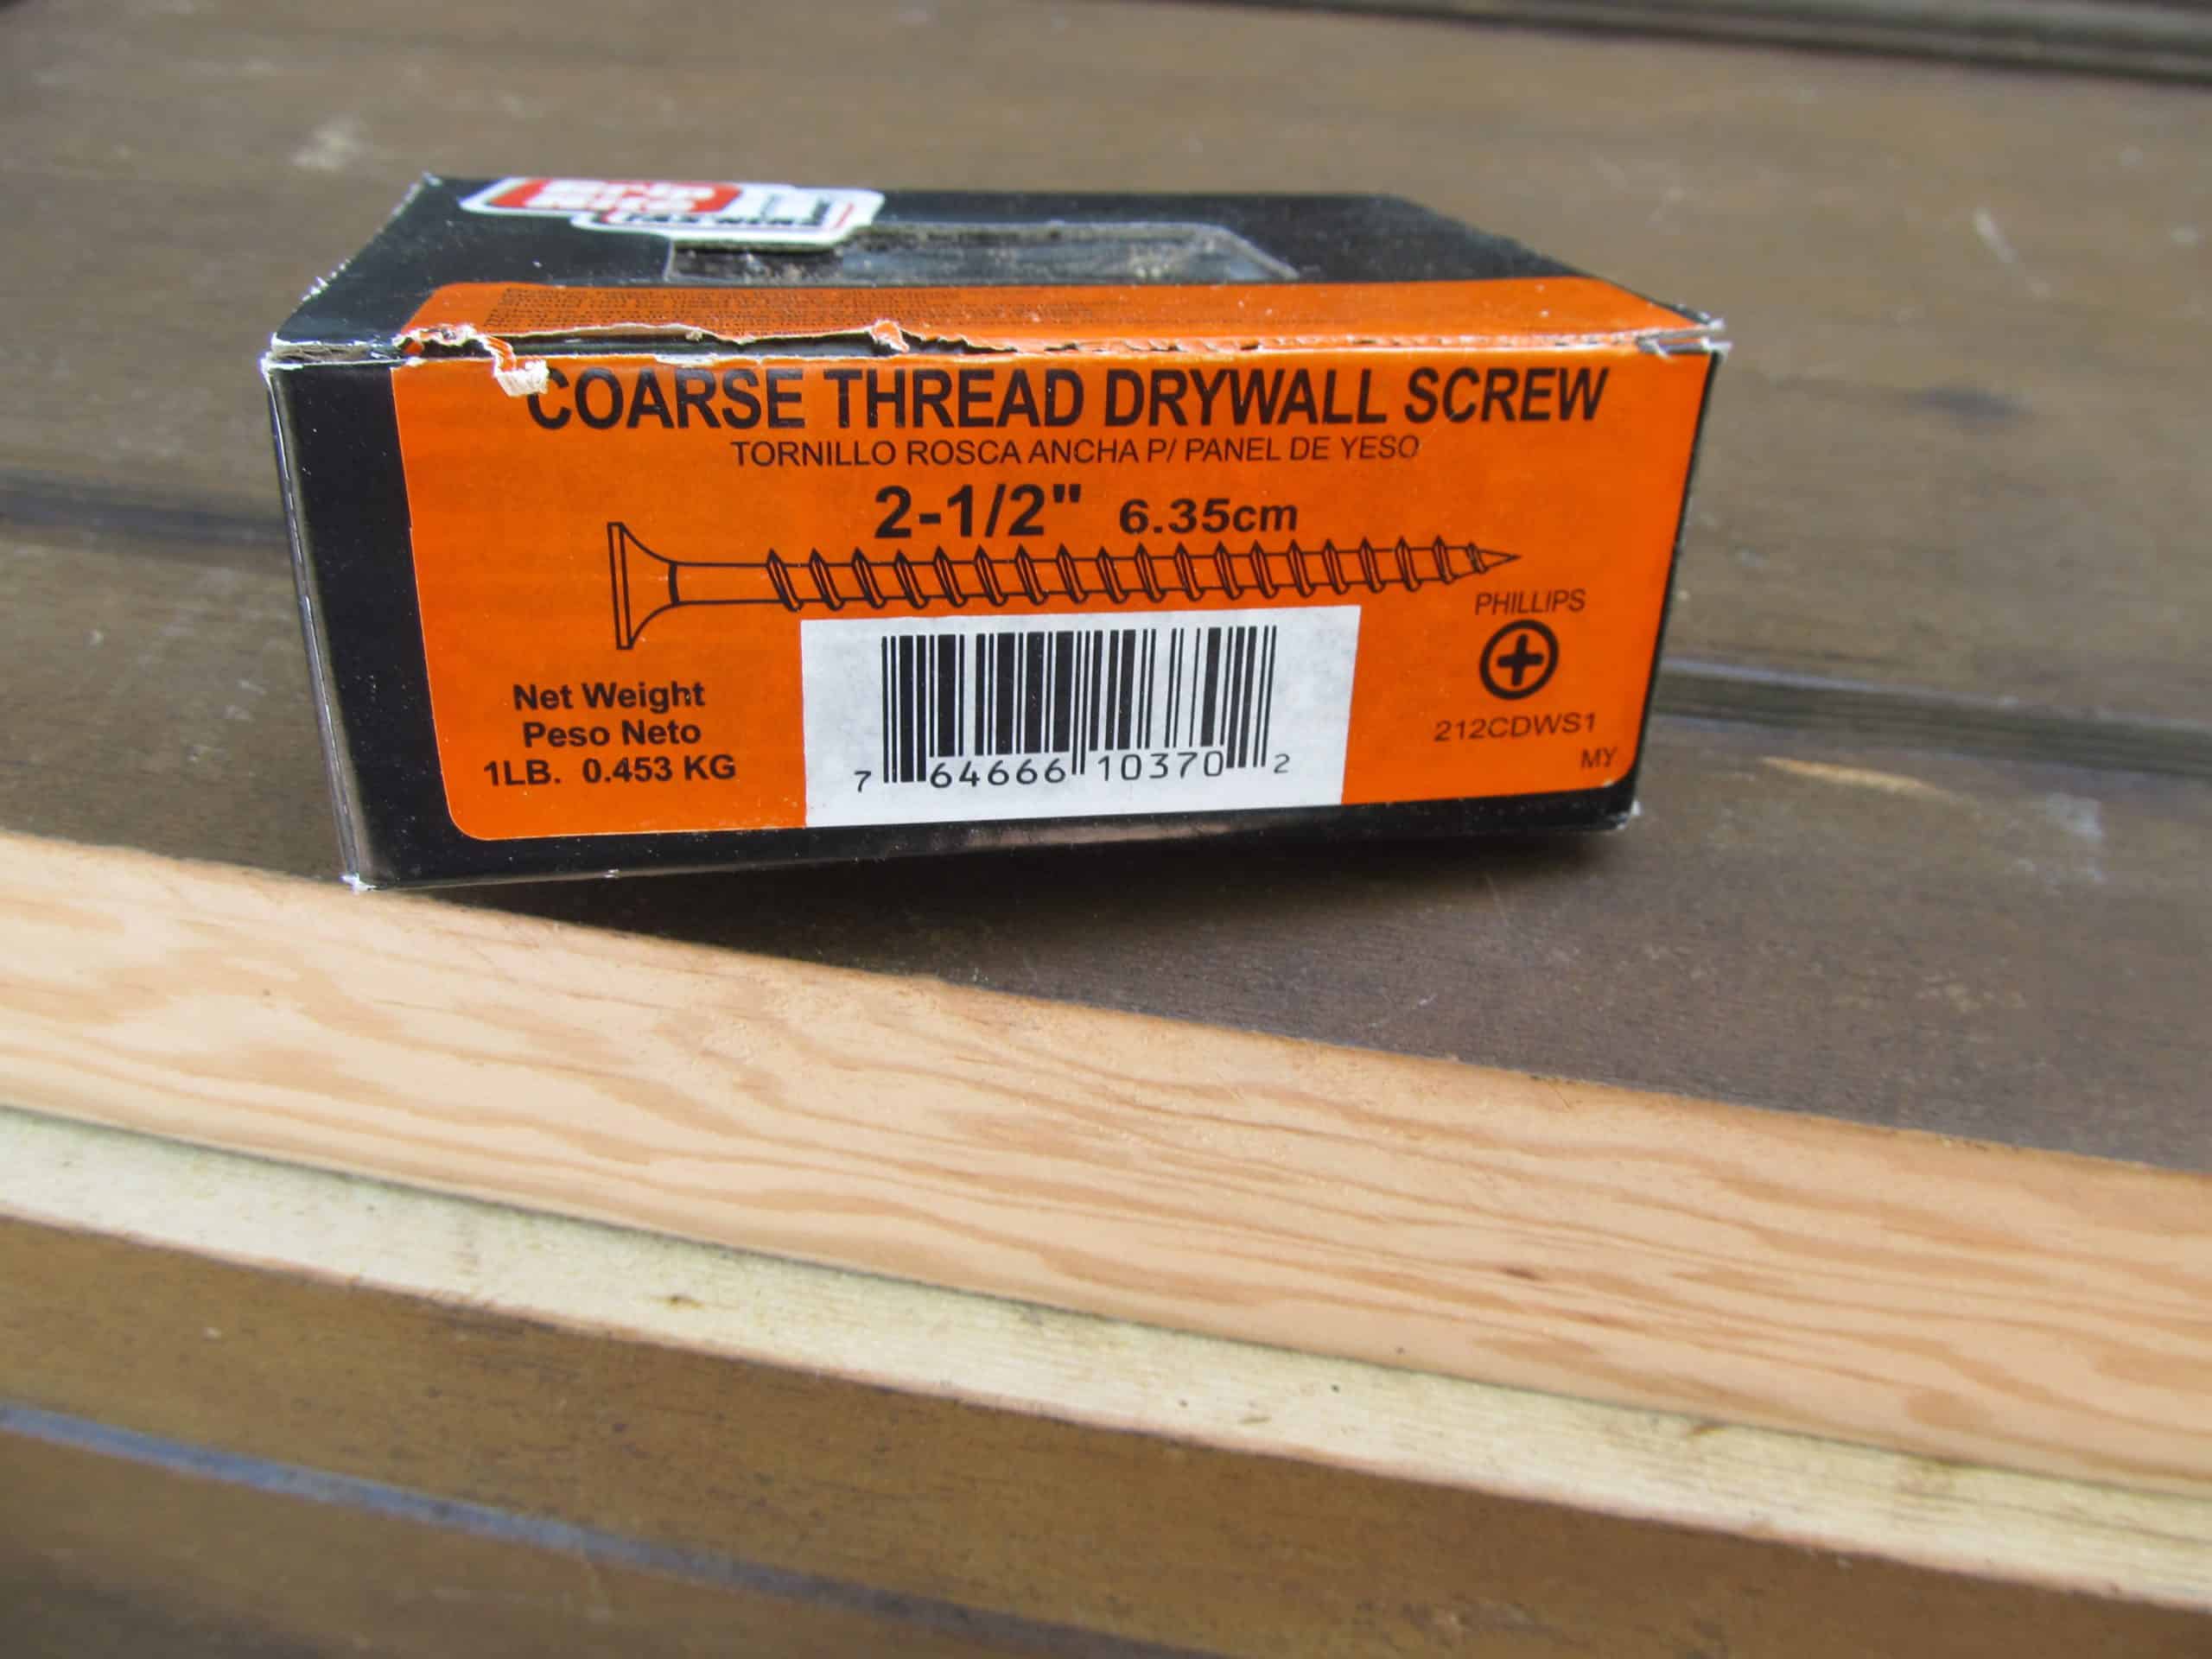
I use drywall screws for all of my projects. I brought out the big daddies for this project.
Edited to add: I know a lot of people frown upon using drywall screws for building projects. However this trunk made from a door is still being used outdoors eleven years later. So, you “can” use drywall screws, but if I were to do it today, I would use wood screws.
I used three screws on all sides.
Use Reclaimed Hinges
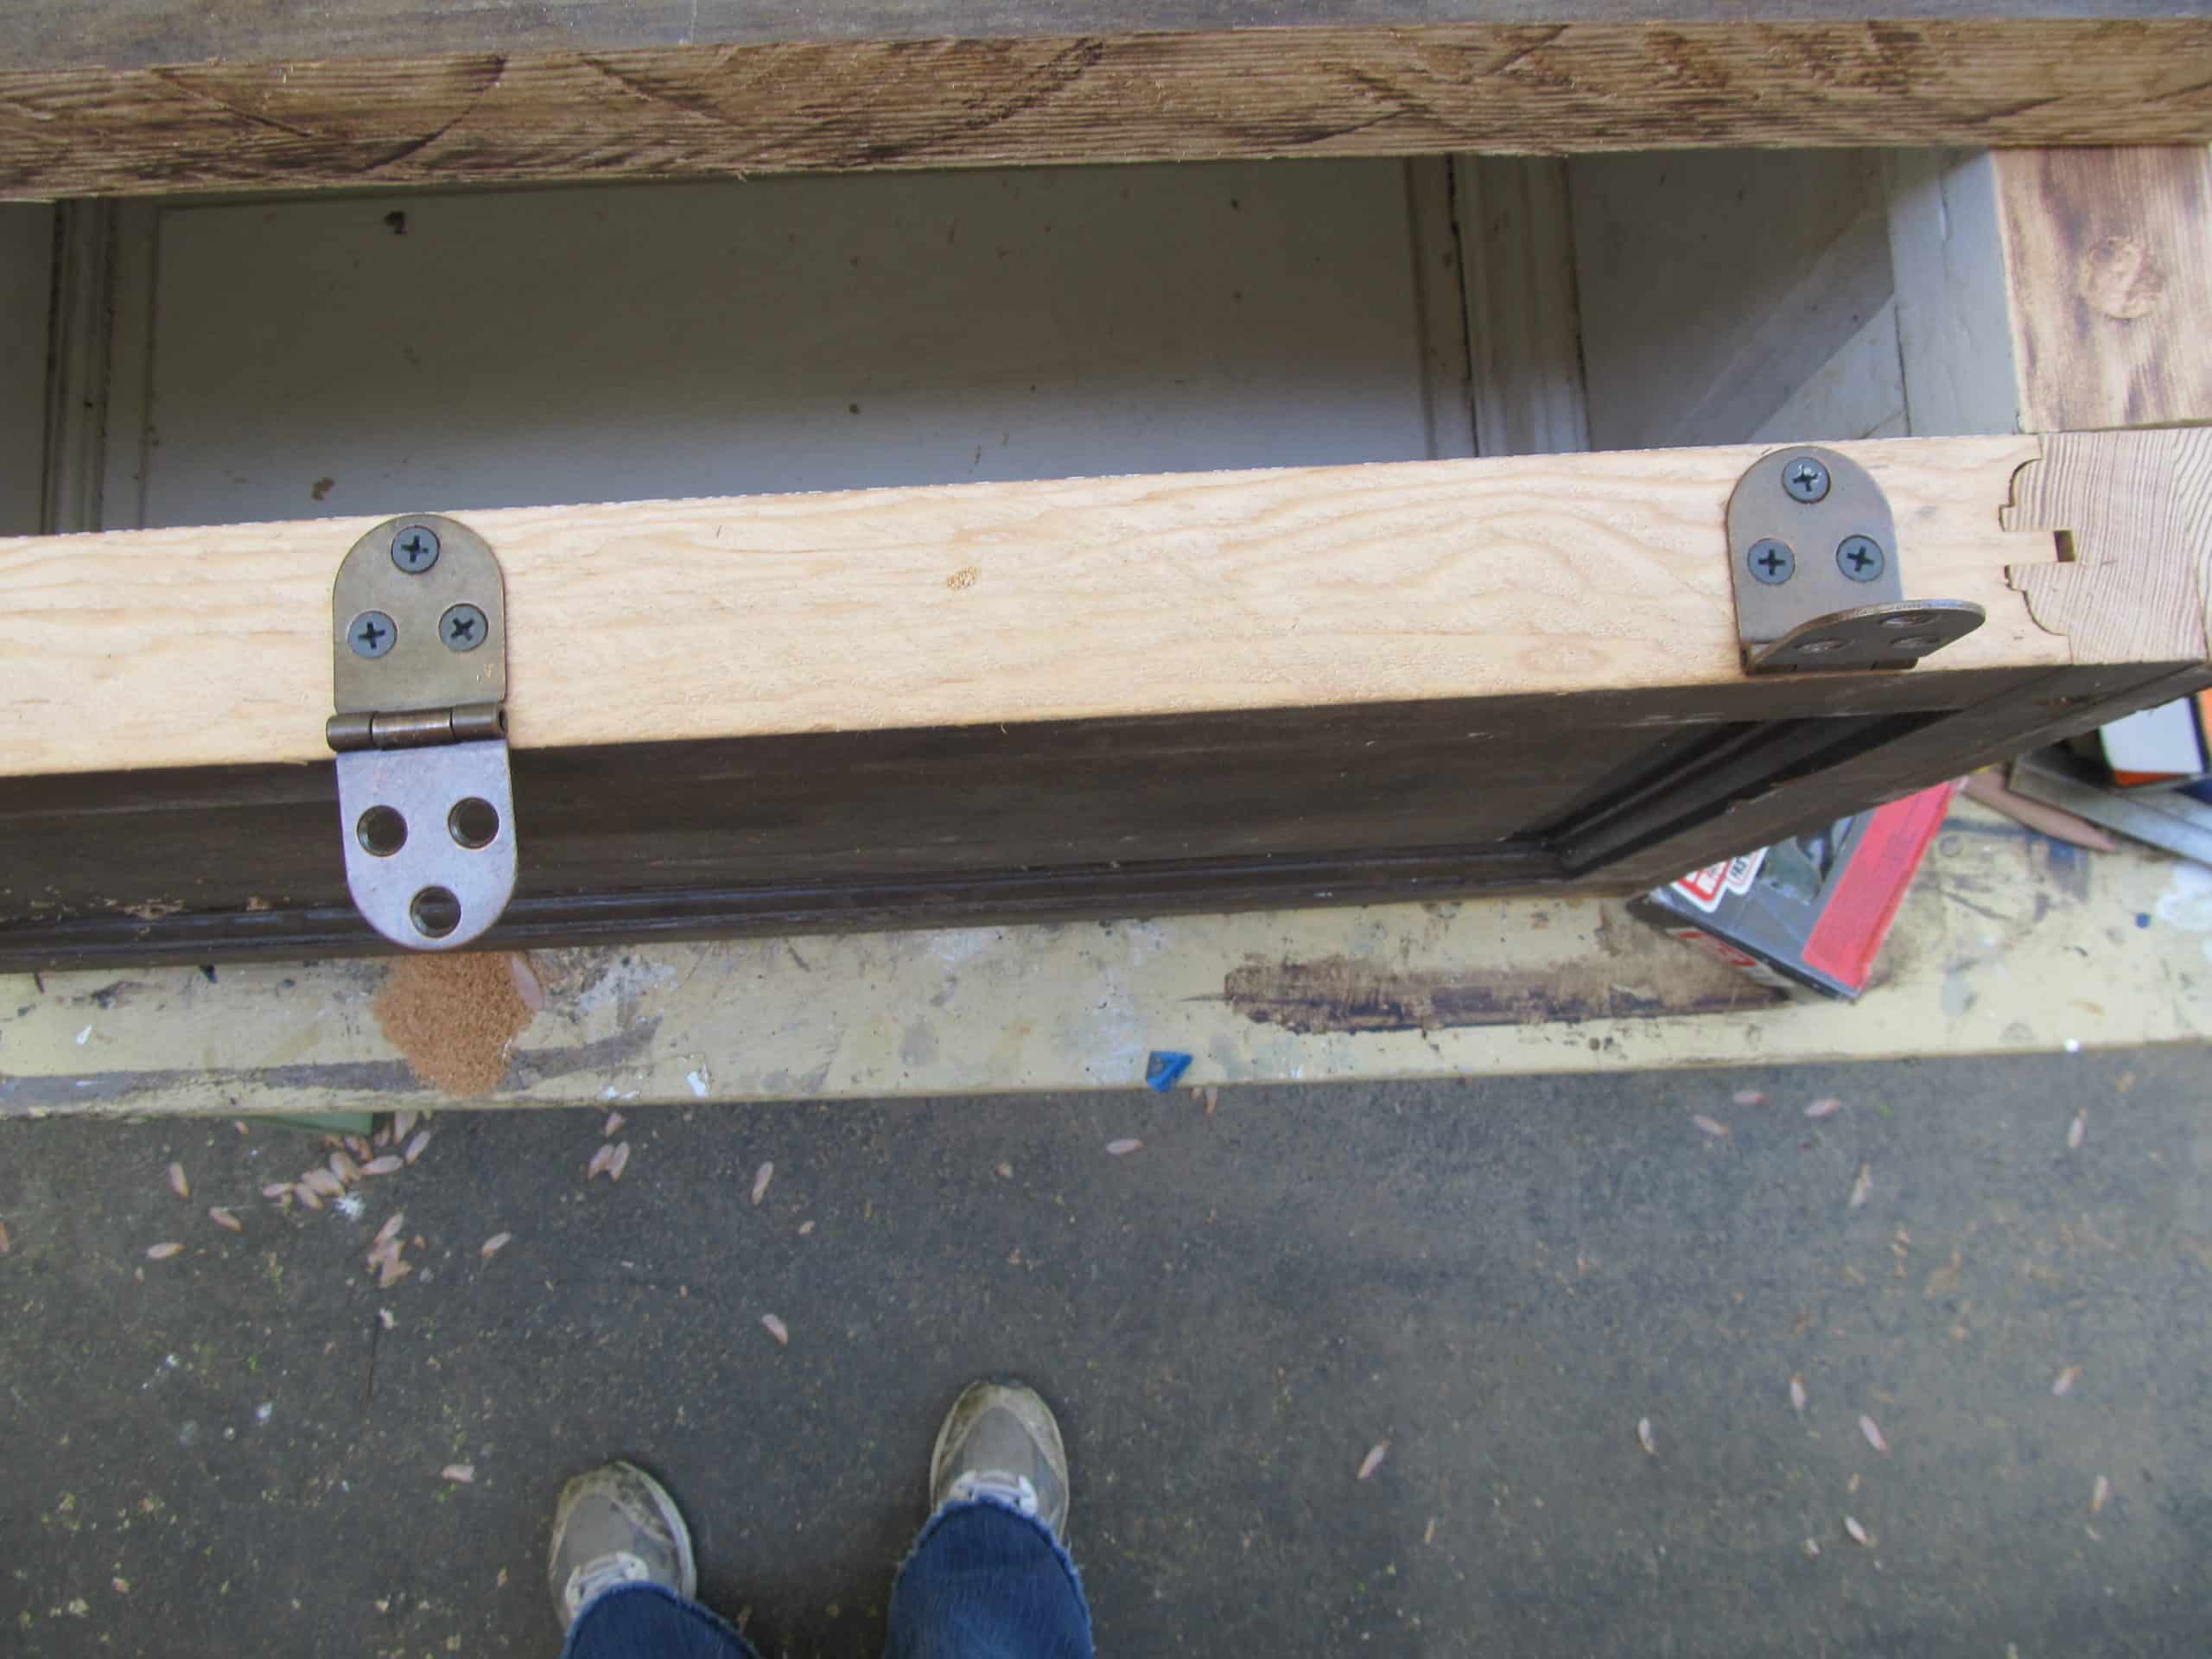
These hinges are so sturdy. I removed them from some sewing machine cabinets.
Minwax Gel Stain
I applied a coat of Minwax Jacobean to the entire trunk inside and out. You can see that the door was white on one side. Here I have applied the stain to the left panel.
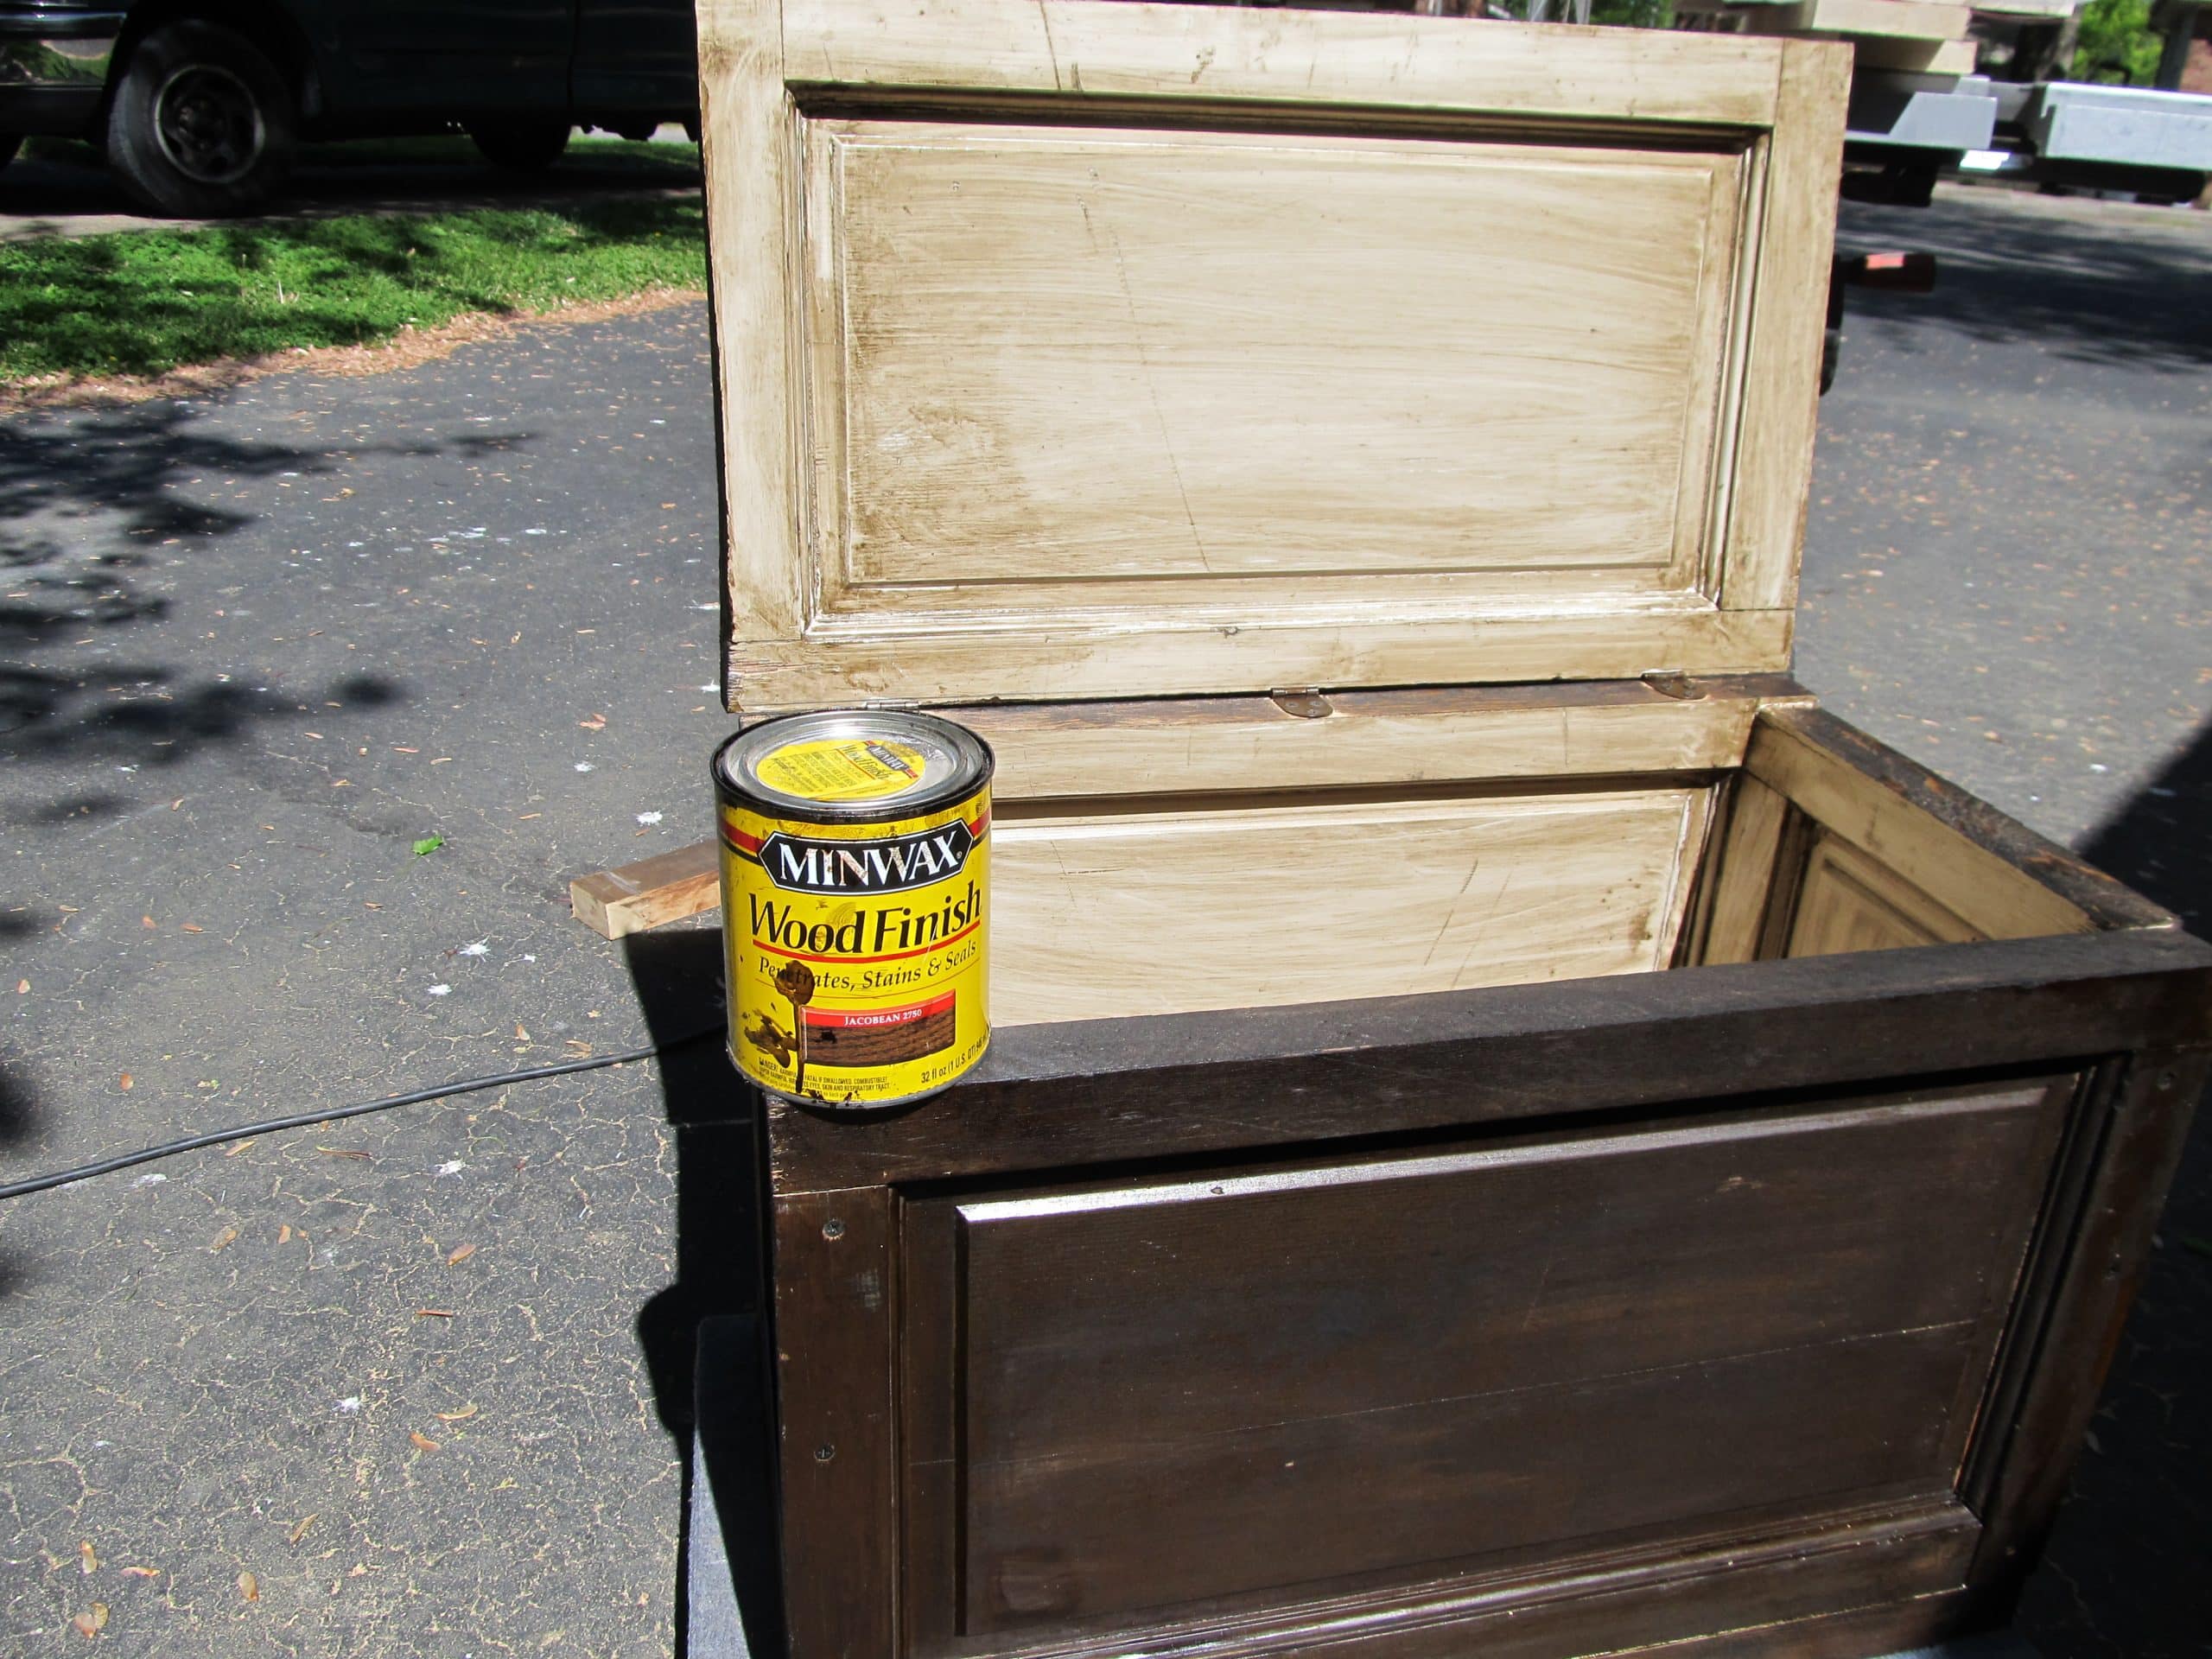
The stain helped even out the wood tones, making the “new cuts” match the original door a little better.
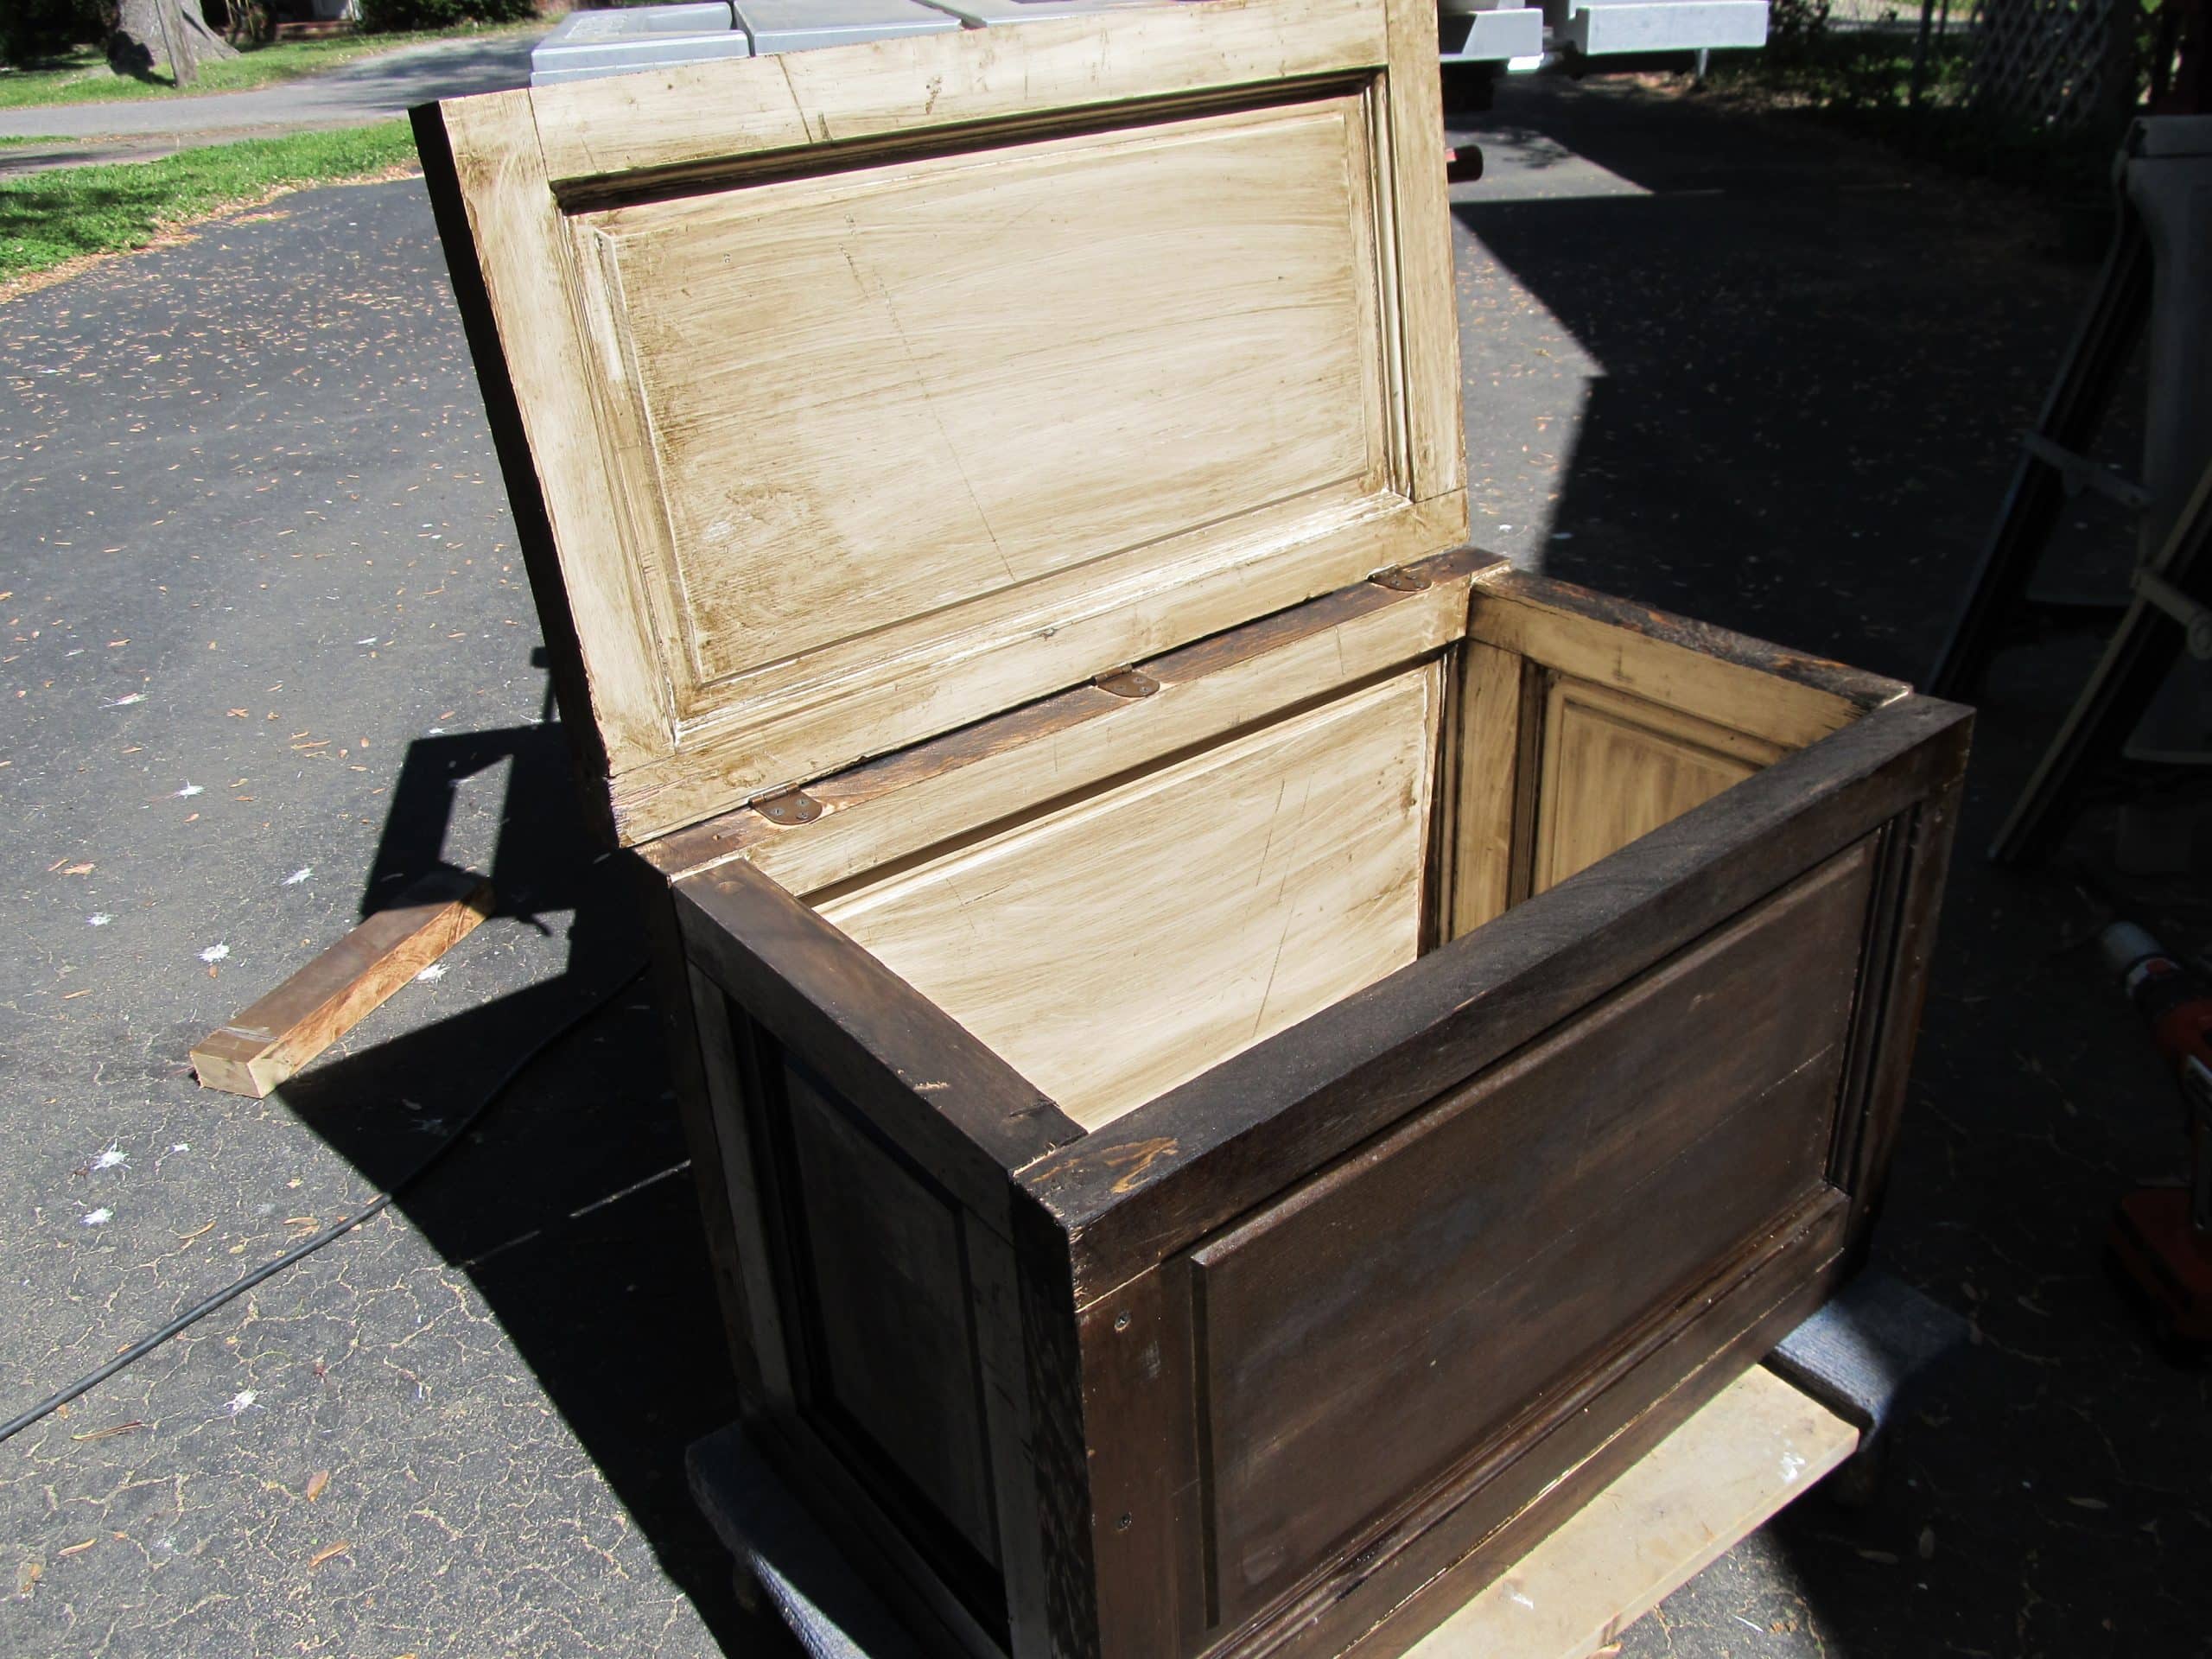
It sort of looks “rustic” in all of it’s crookedness. I have it on a furniture dolly so I can move it. This thing is HEAVY. Because the trunk is made from a very sturdy exterior door, it’s going to hold up for a really long time!
This is the chest the new “rustic” trunk will be replacing. I made this one a long time ago, I don’t think I ever even blogged about it. I’ve never been happy with it. I used hollow core bi-fold doors to make it. I made it large enough for three buckets, and you can see that it barely fits on the porch.
New Trunk Made From a Door | Outdoor Storage Solution
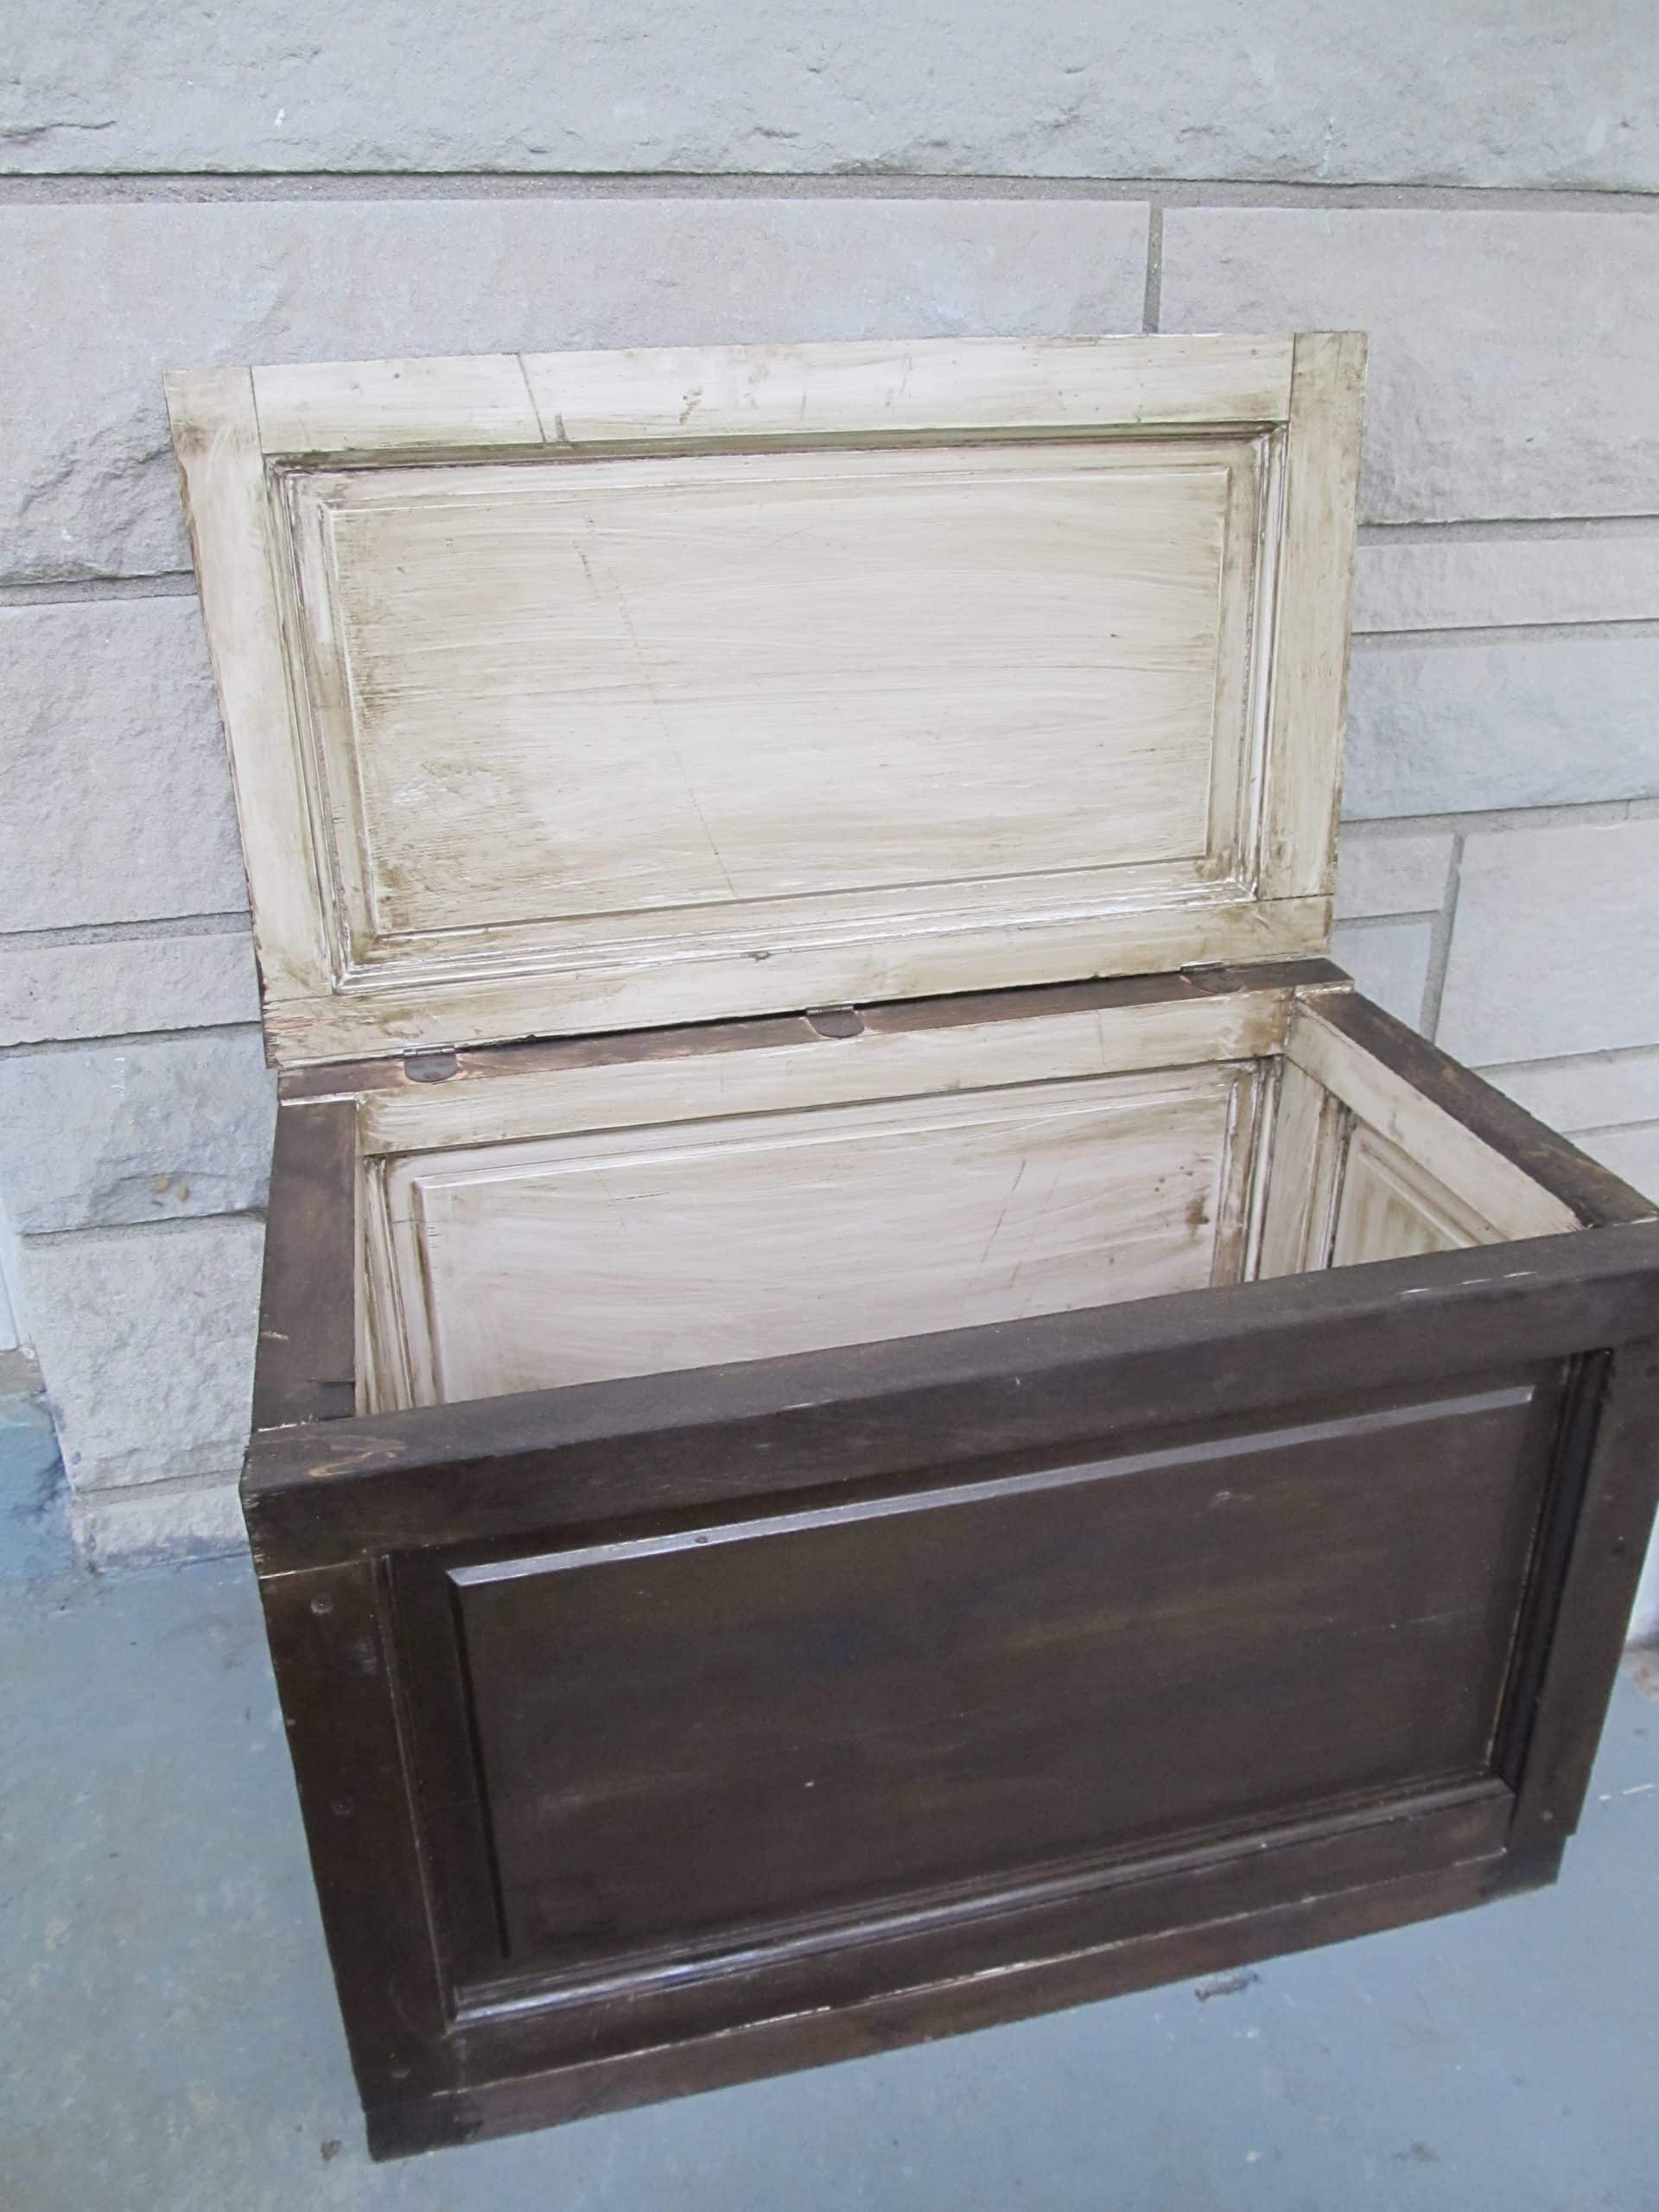
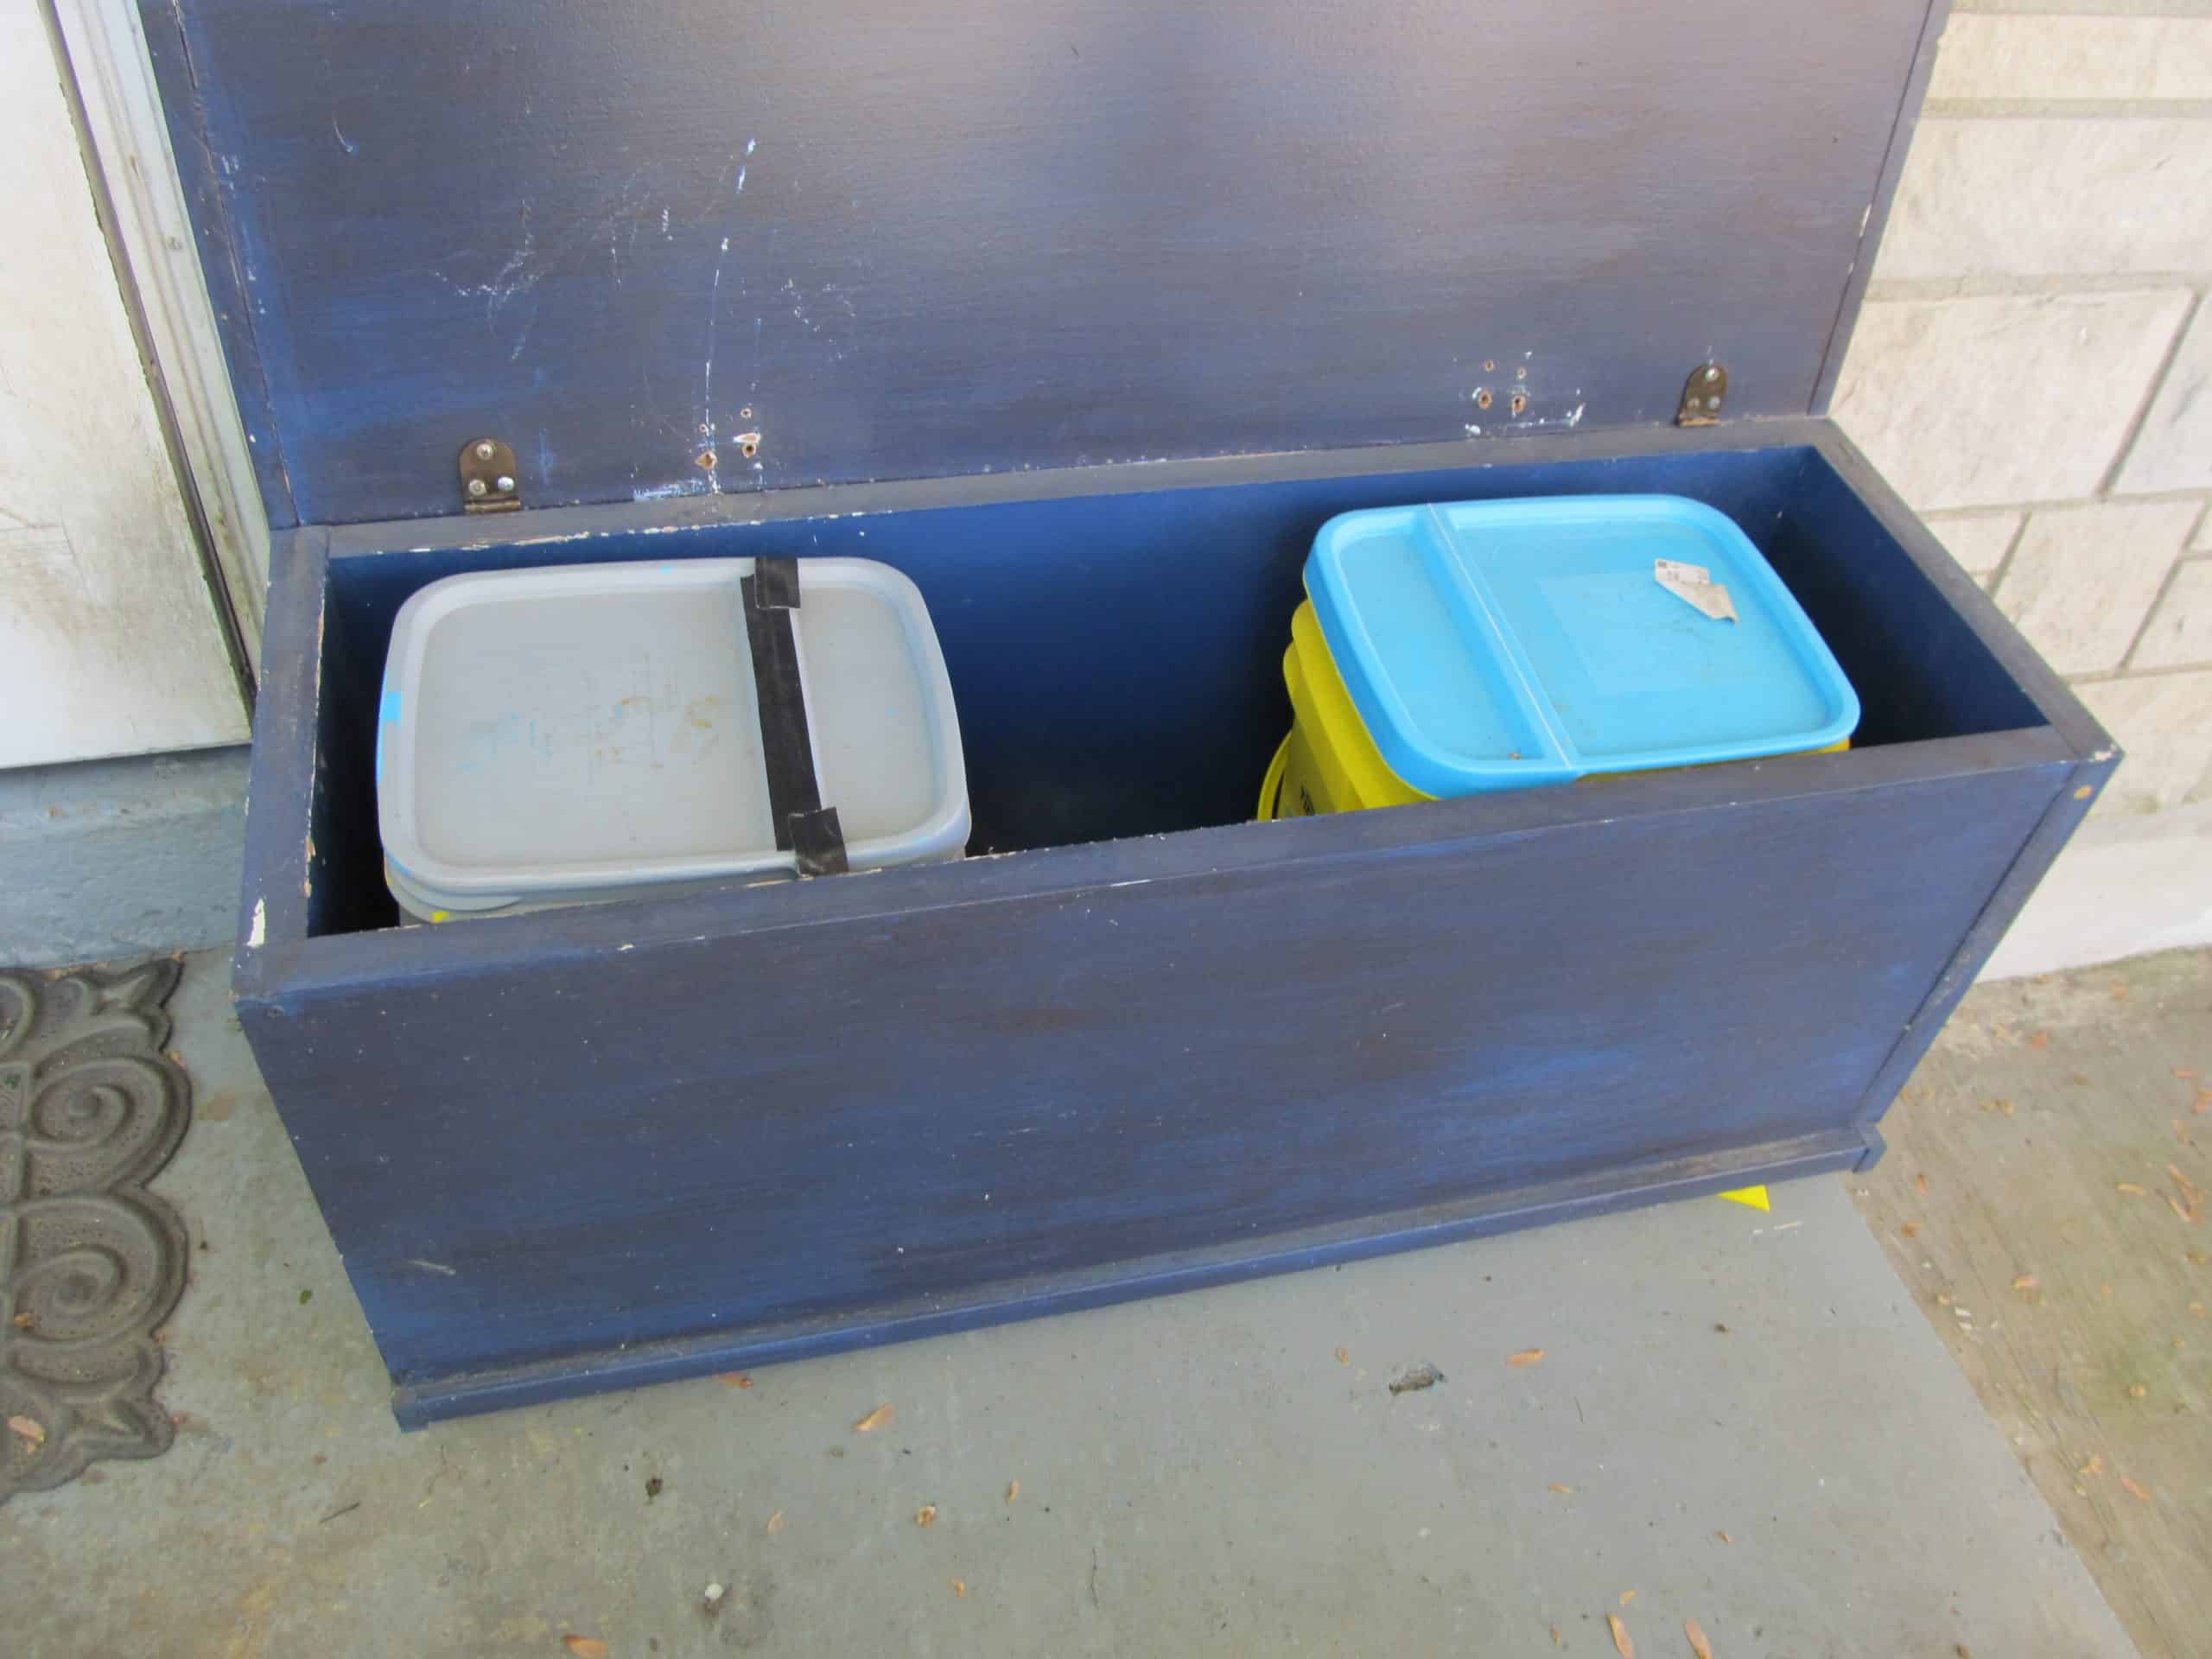
Yep, my new trunk fits much better.
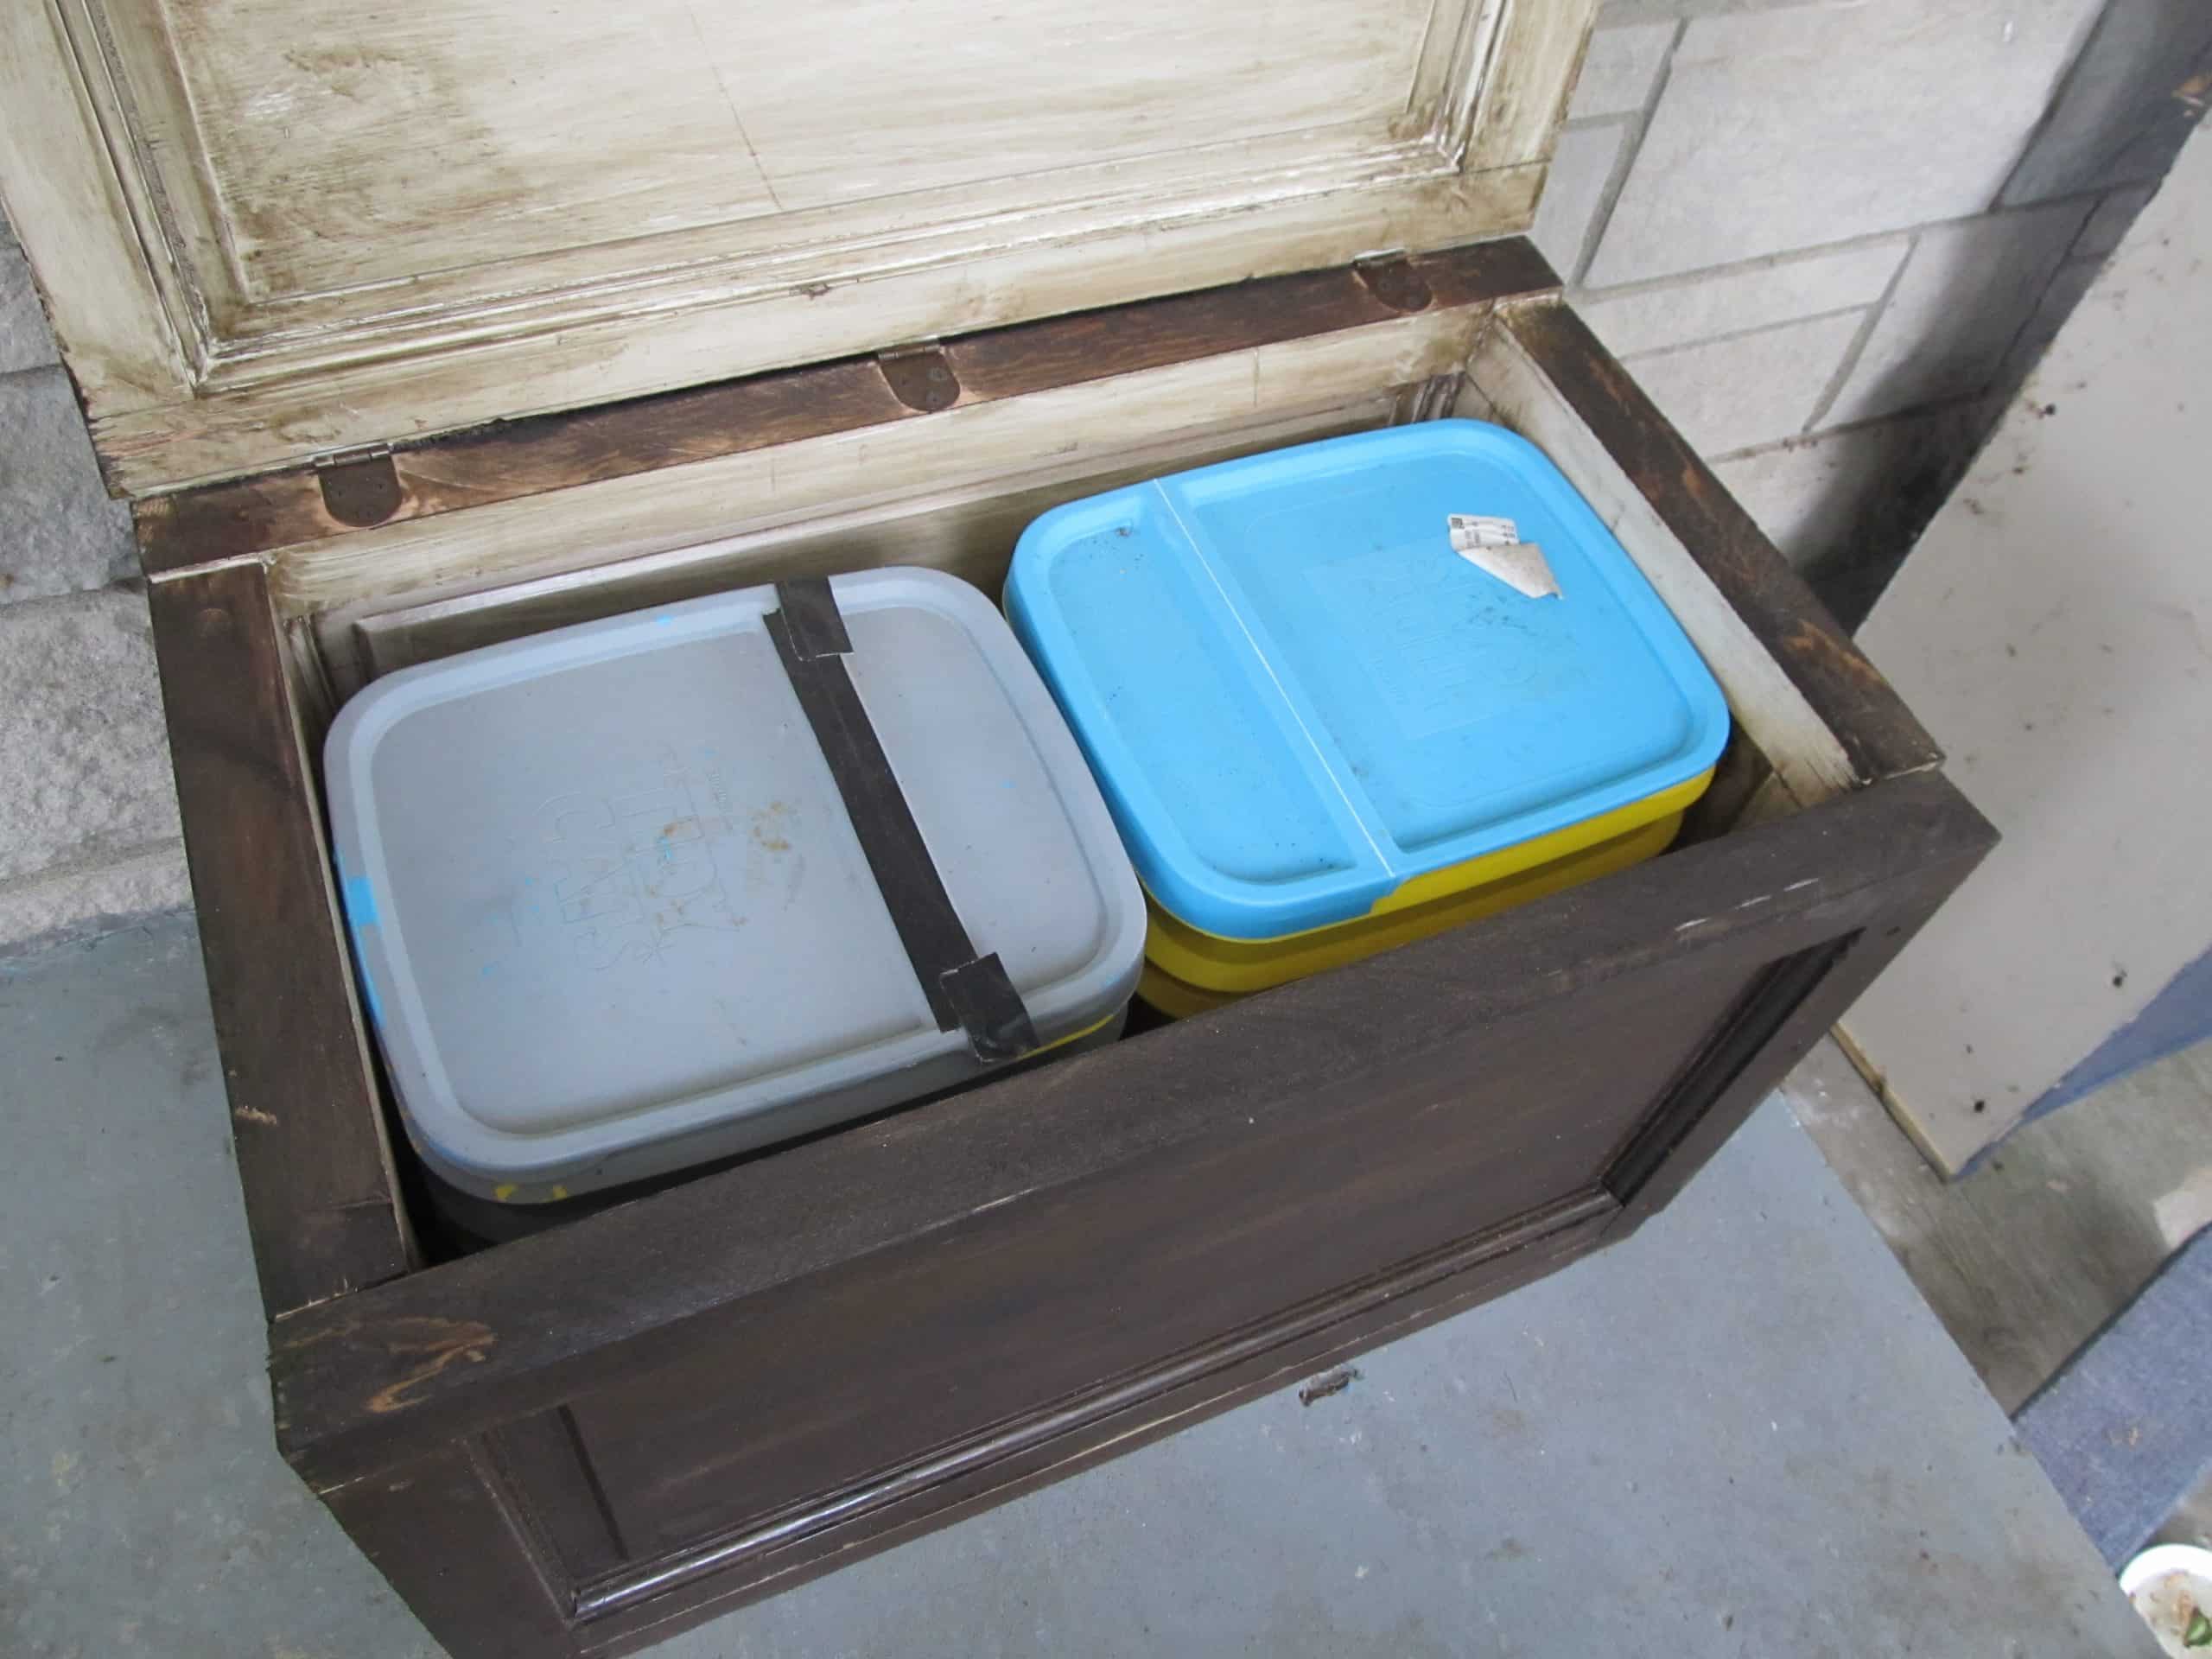
I made sure that it would hold two buckets.
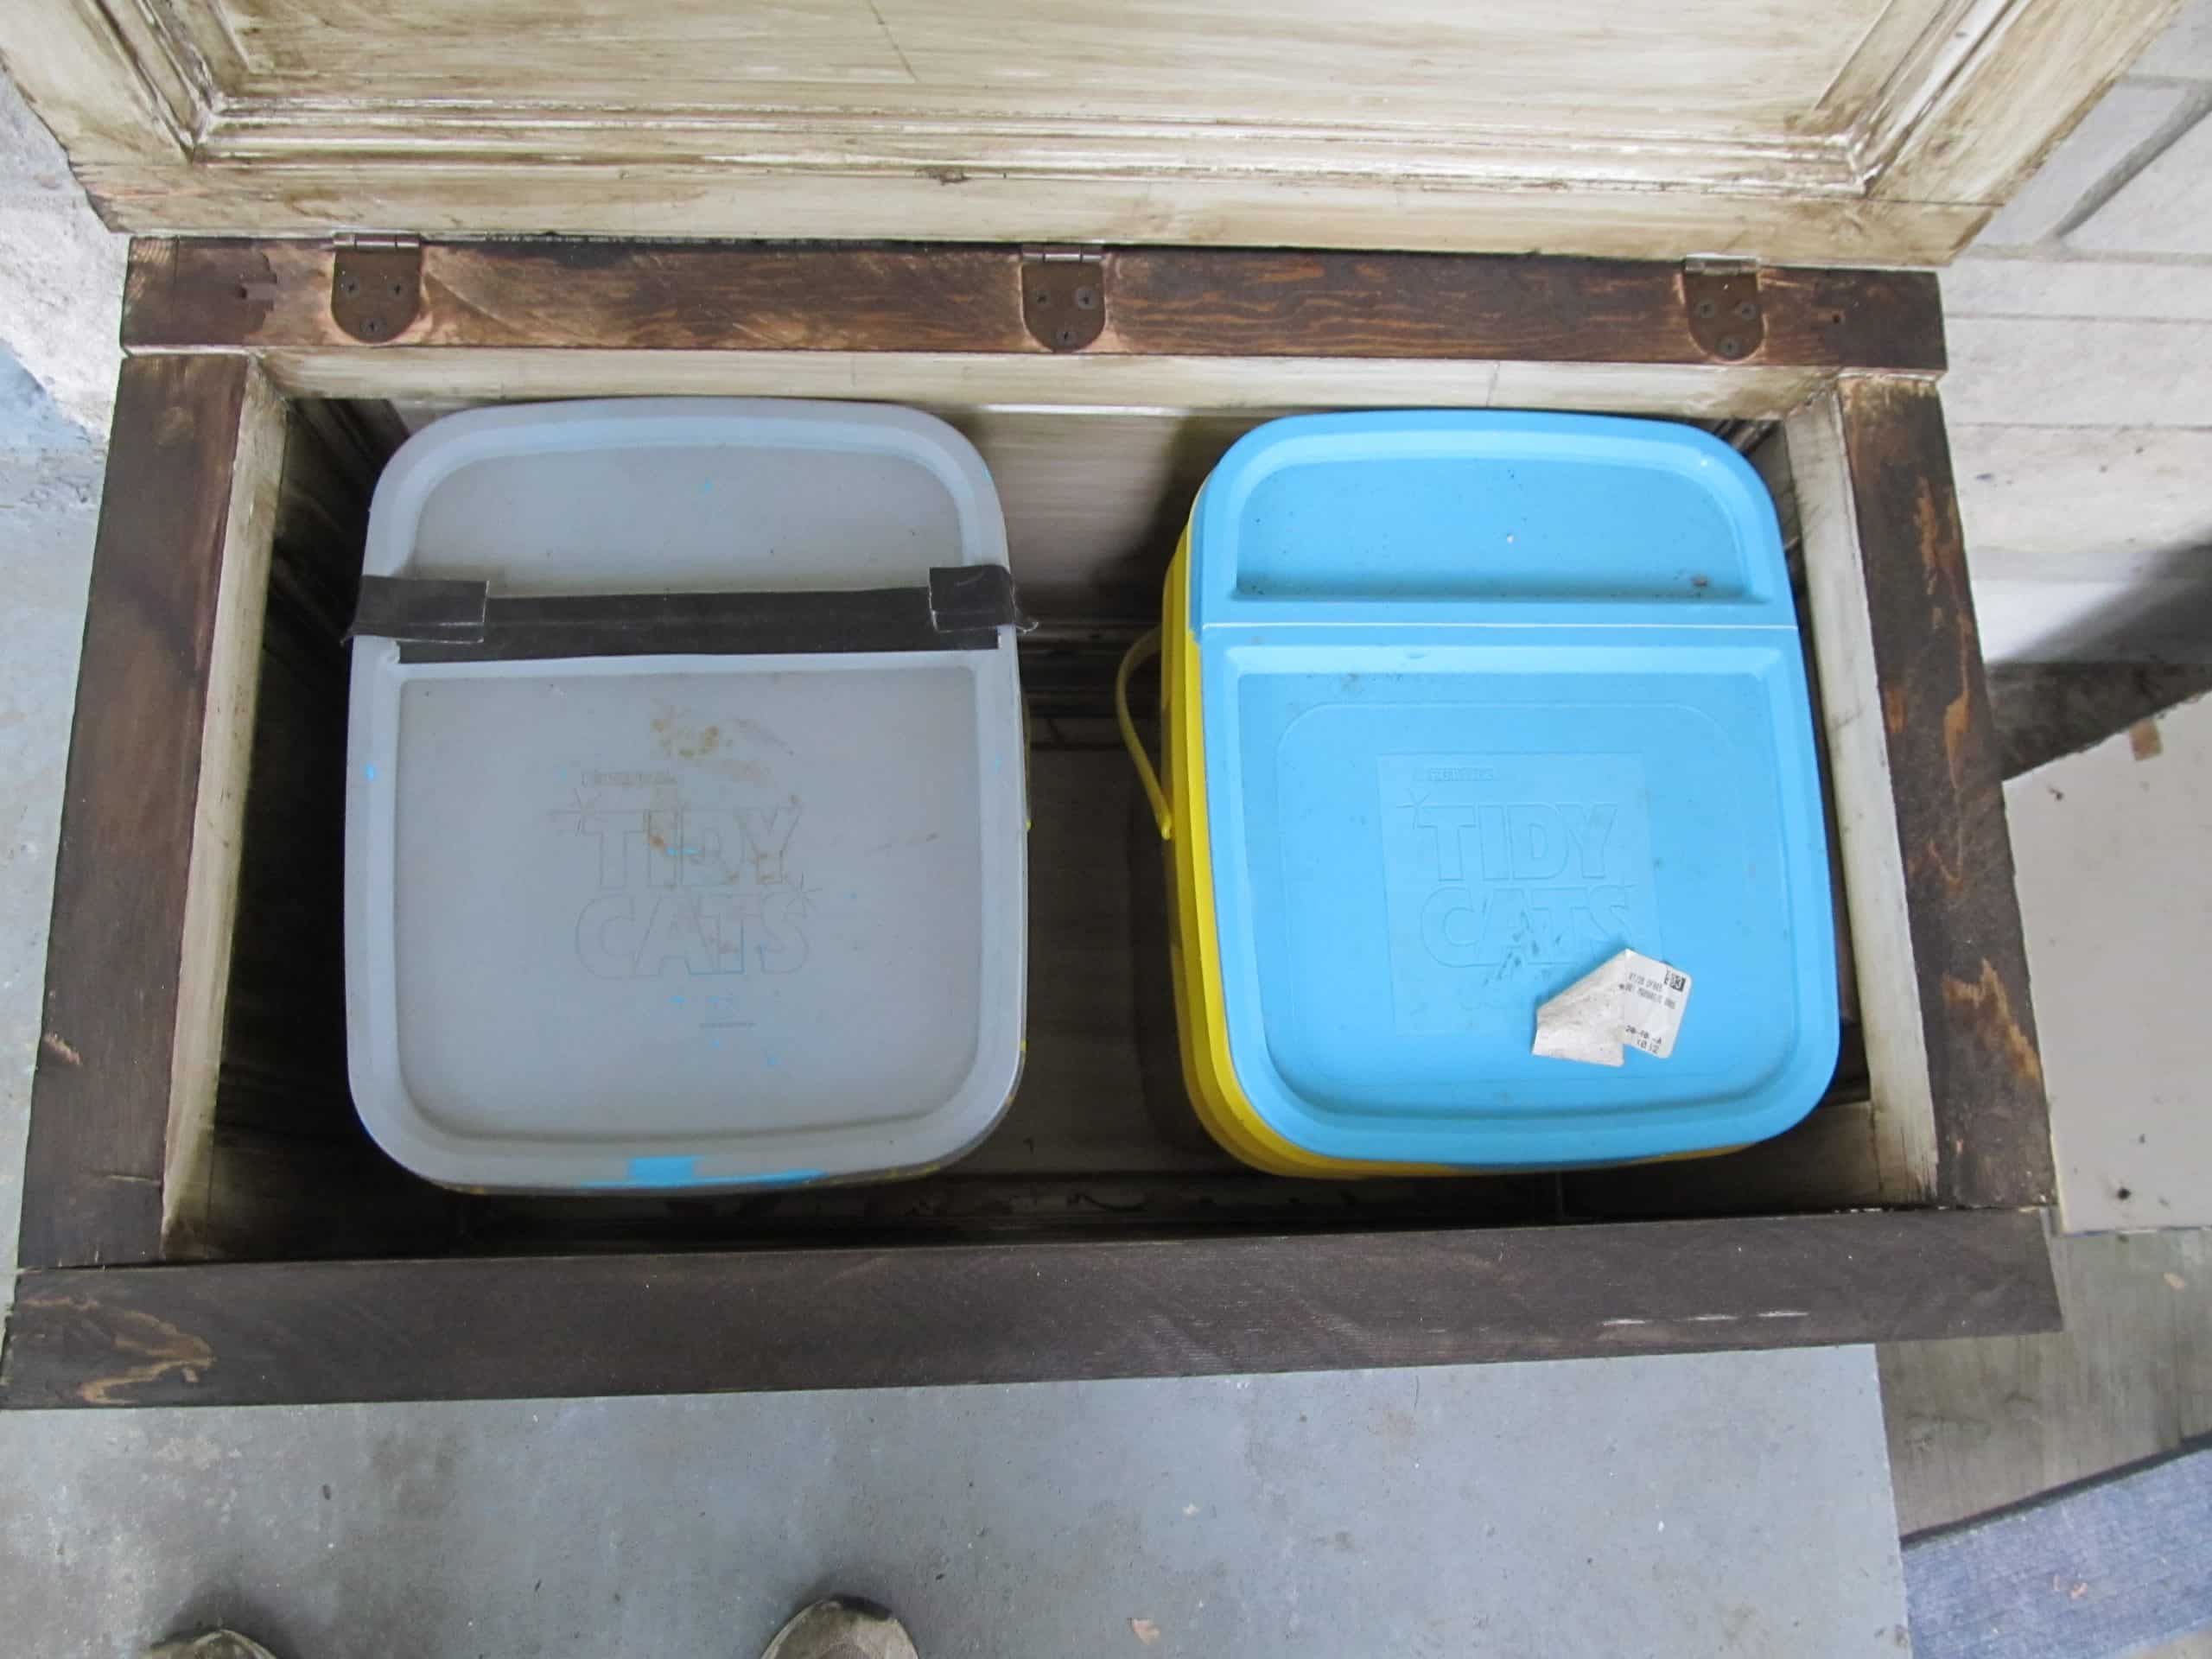
Want to see what’s inside the buckets? Are you sure?
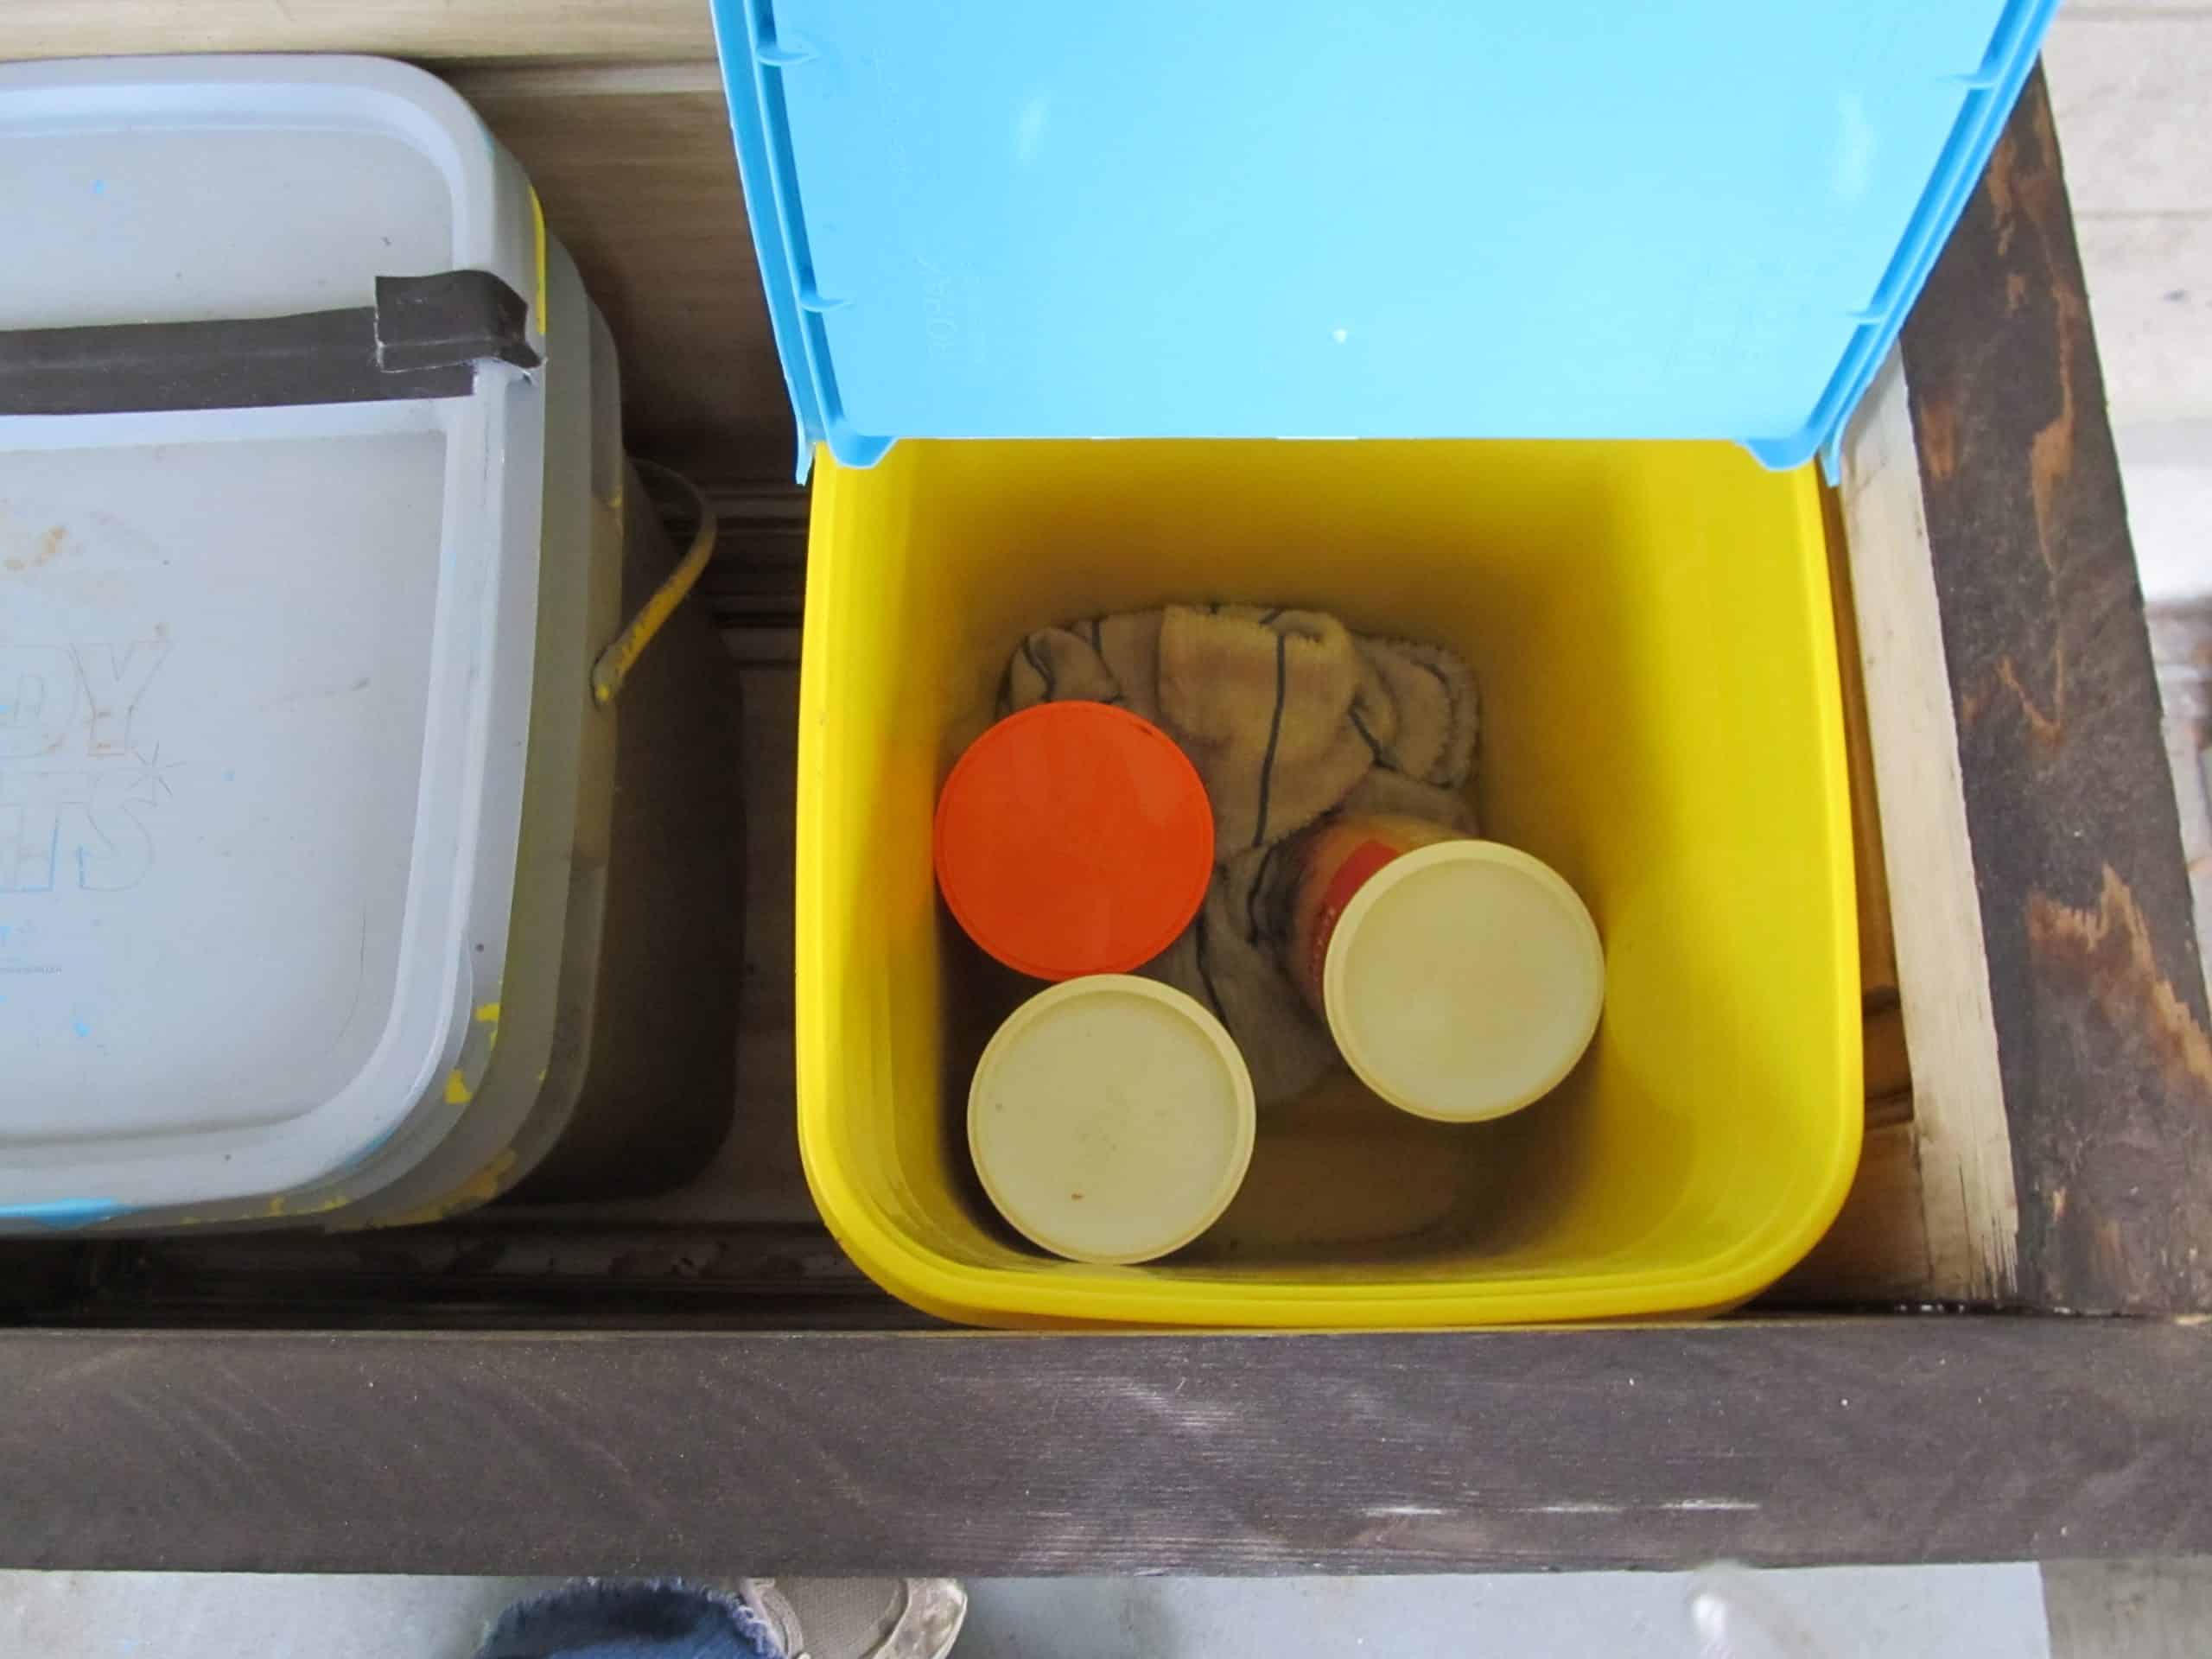
hahaha I’ll only show you inside this one. It holds items for my fish pond, a couple of cans of food. The can with the orange lid holds my rubber gloves that I wear when I clean the fish pond. It’s not that I’m girlie or anything, but doing all the woodworking, I usually have random cuts on my hands… so I feel like gloves are necessary. WHY are they in the can? Because I store ALL of my gloves in some sort of container. I hate spiders! I’m always afraid that when I put on a pair of gloves, there might be a spider in there. Why do I need to keep the fish food in a bucket? Critters! Once I lost a brand new can of fish food to a raccoon or possum.
The bucket on the left? ewwy bags of kitty poo poo. Take my word for it, you don’t need to look in there.
Exterior Panel Door into a Trunk
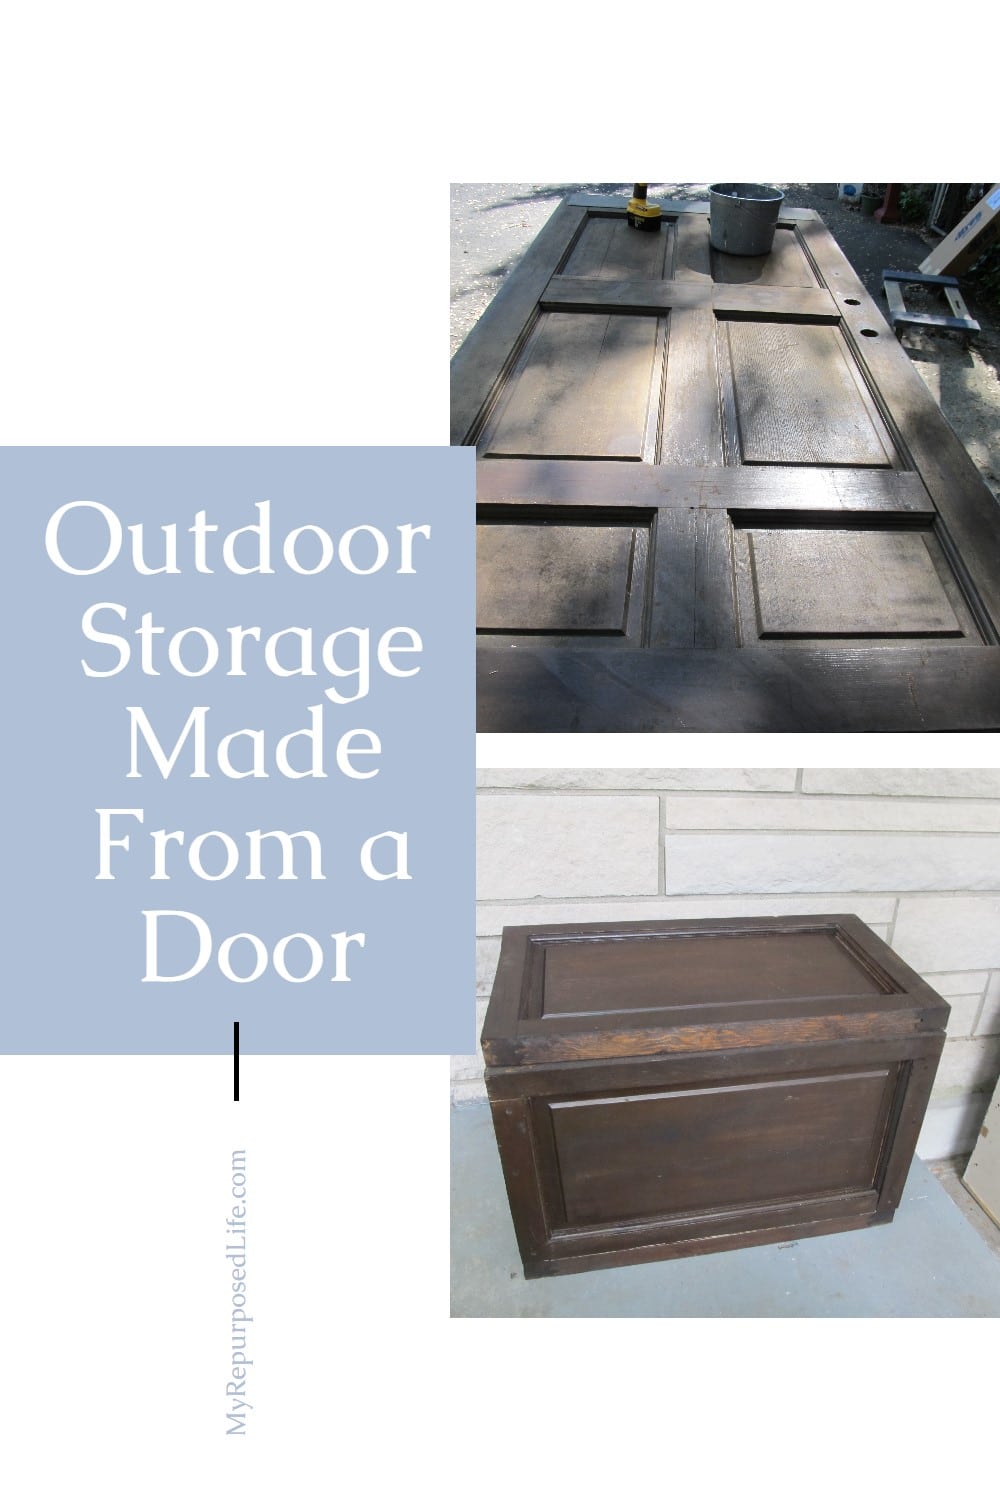
Yep, I’m liking my rustic (crooked) trunk. The lid doesn’t quite sit right, but that’s okay because this project didn’t cost me a penny! I already had everything I used.
I plan to put a handle on it, and possibly some casters on the bottom of it? As I was rolling it to the porch on the furniture dolly it occurred to me that it would be great to have wheels on it.
I don’t know if I will ever attempt to cut another solid (exterior) door again. This was tough. Did I mention it took me almost 3 days just to cut it apart? My saw kept getting hot, so I had to take my time, and let it rest.
Whew! This was a long post. Those of you who read it all, thank you! You rock!

gail
UPDATE: Becky from Beyond the Picket Fence kindly sent me some leather pieces, so the trunk now has a handle!

As you can see, I also added the wheels. Loving it! Have you ever made a trunk from a door?

I have just left my grandparents farm house that was sold. Wish I would have taken a door to use for this purpose. Maybe I’ll ask new owners for one after all …
I love this project, I have a door very much like this in my shed and looks like I will have a new trunk!
I love it 🙂 And I have “body slammed” things to the ground to bring them together myself, Ha!
Love the trunk. My grandpa made one for my mom out of old barnwood, and I’ve been looking for an idea for one. After your description, I don’t think I’ll tackle such a heavy door though! I really LOVE the idea of gloves in containers. I have a small farm, and I use gloves a LOT – and I am always afraid there will be a spider in there! I probably look a bit maniacal, slapping the gloves like crazy, hoping to dislodge it if it’s in there before I put them on. I think I’ll look around for an unused container! Great idea!
This turned out so cool! What a great idea.
Debbie
Gail–I love this–it turned out so great! I curt a door 10 years ago to do this and never did. Part of it became my live simply door knob coat hook. Now you have inspired me to try it again. I need longer clamps too, the metal pipe kind. We have them at work, I need a set at home. Happy building!
very cool trunk, Gail. Ive never even thought of putting gloves in something to keep those little creepy crawlys out. Good idea.
Oh geez Gail, three days just to cut that door. You are one persistent girl! And the end result is amazing! I think the casters would make it extra cool!
It came out cool! And who cares if its a little wonky? Its suppose to be rustic, and rustic stuff is wonky!! I agree, some casters are a good idea, just make sure one is locking so it doesn’t roll off the porch and down the street! (love that you keep your stuff, trash & poop ‘neat’, I do the same!) Now: time to revamp the old one?
That is a cool trunk you made!
Maybe you already know this but, if you set your circular saw to only cut part way through, (for example only cut half the thickness) you can then lower it and make your cuts in two or three passes. I often do that with my router, sometimes wood is just too thick for the cutter to do it all at once.
This was worth the 3 day adventure you took to make it! I love it! Yeah, I thank you for not showing the poo…lol I say go for the casters, it’s a grand idea. It is a beautiful re-purposed project, I just love the style of door, much better than your old bin.