Dresser Table
As an Amazon Associate, I earn from qualifying purchases.
The weather has not been very cooperative lately. I have an unfinished project to show you today, but I’d like your thoughts about dresser ideas and how to finish it out.
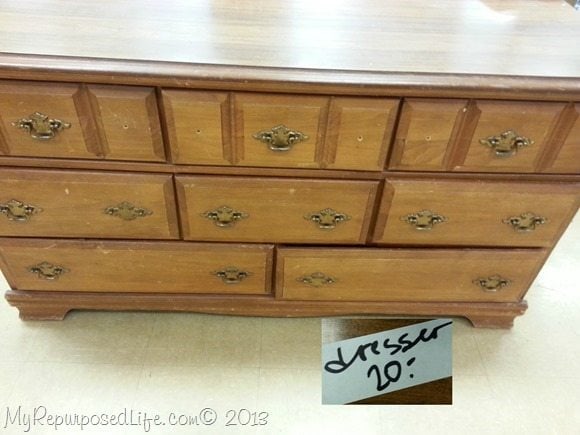
Do you remember this dresser I picked up recently? It was more than I usually pay, but I knew I would get 2 projects out of it, so I felt justified in paying $20 for it.
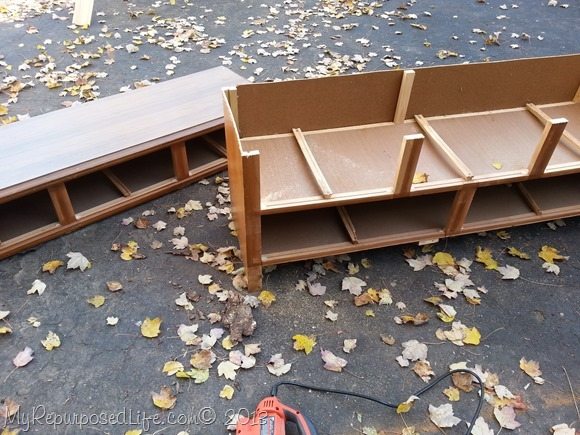 As soon as I got it off the truck, I started cutting it apart to make the 2 projects.
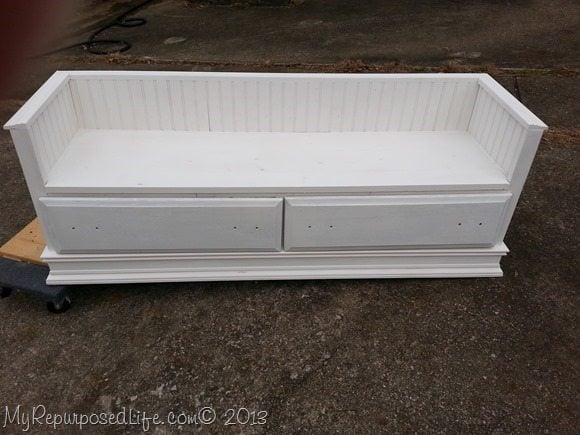 This is project #1, a kid’s bench made from the bottom part of a dresser. It is still not finished. I’m looking for some fun fabric for pillows, so I’ll know what color to paint the hardware.
Today, I’m going to show you what I did with the top of the dresser.
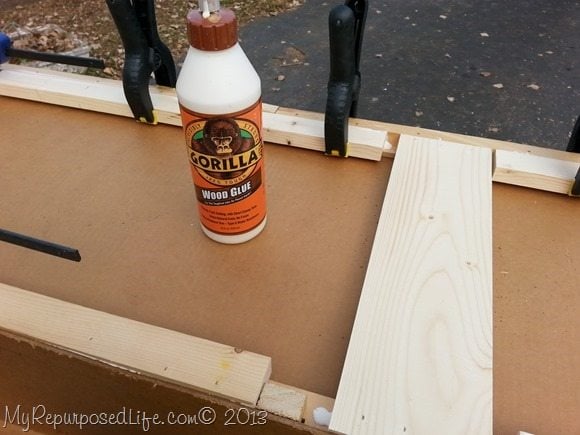
This is the bottom of the dresser top that I cut off. It needs a base. In order to give it a base I need to beef it up a little so that I’ll have a way to secure the base. I used some scrap lumber pieces and Gorilla Wood Glue.
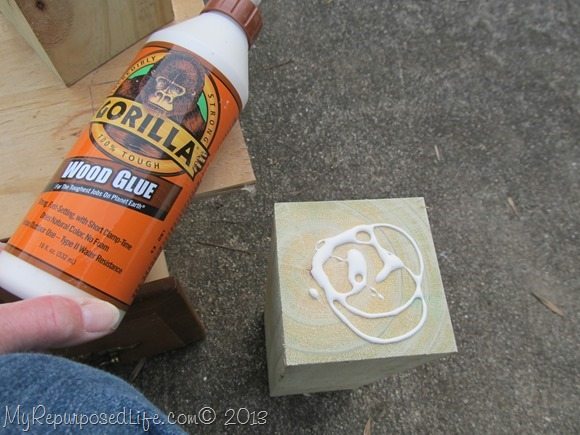
I wanted this table to be chunky, not dainty, so I used 4×4’s for legs. I used Gorilla Wood Glue and screws to hold the legs in place.
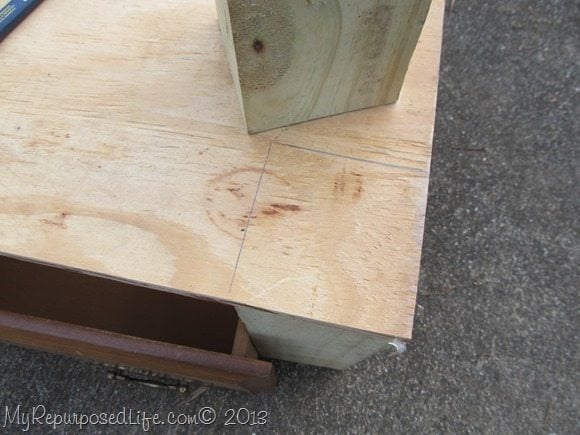 I use a scrap piece of 4×4 block to mark the area, so I’ll know where to put the screws.
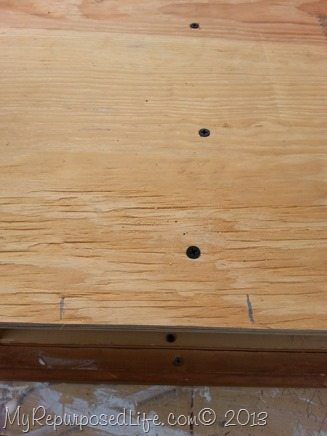 After attaching all four legs, I used screws to secure a piece of plywood to complete the base.
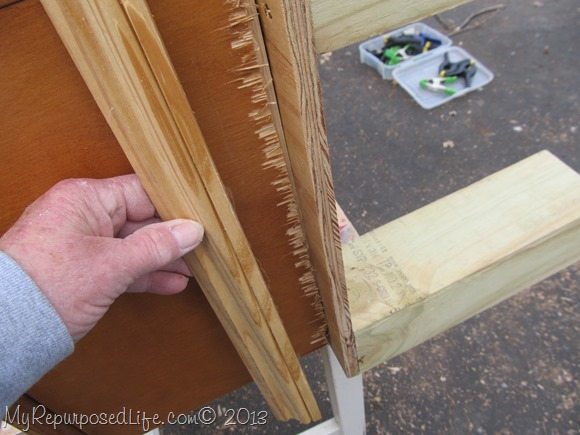 To cover up the chipped veneer, I selected some scrap trim pieces I had laying around.
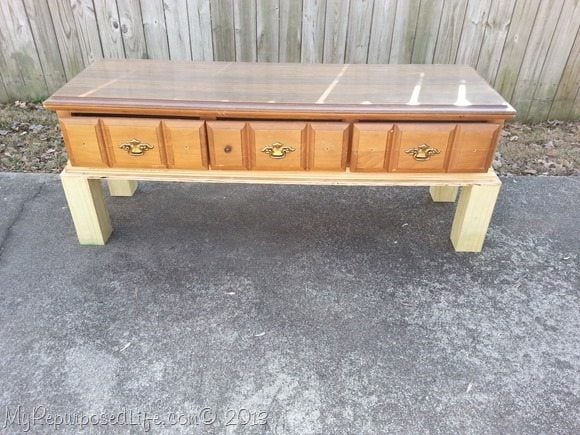 I purposely put the legs all the way to the edge…
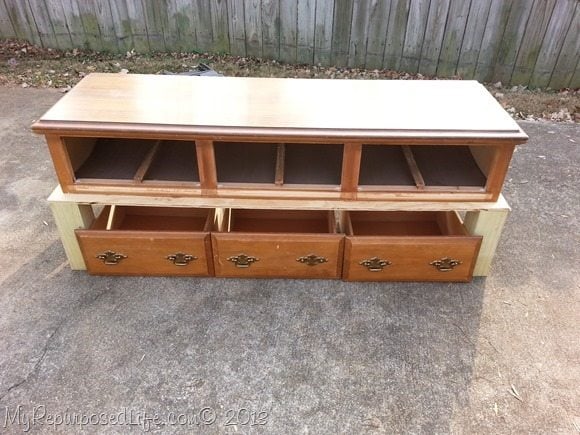 . . . so I could use all three drawers as seats (storage) underneath.
This stage was at the beginning of December when we had some warm(ish) weather. Then it turned cold, and I had to store it away.
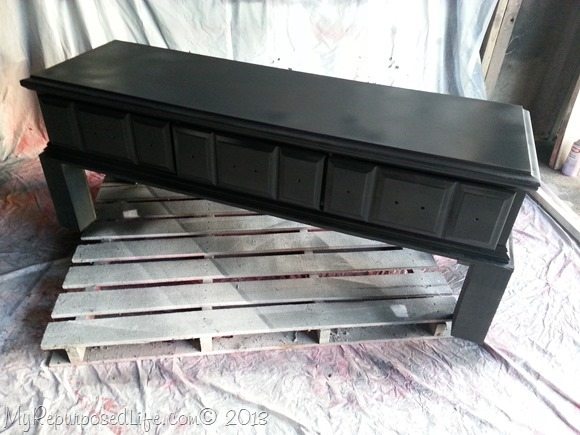 When the weather warmed up enough to paint, (a couple of days after Christmas) I gave it a quick coat of some DIY Chalky Primer with my HomeRight Finish Max .
I never really liked having the legs all the way to the edge. I didn’t look how it looked so boxy.
When I started working on the drawer/seats, I realized all three of them were not going to fit after all.
Time for plan B
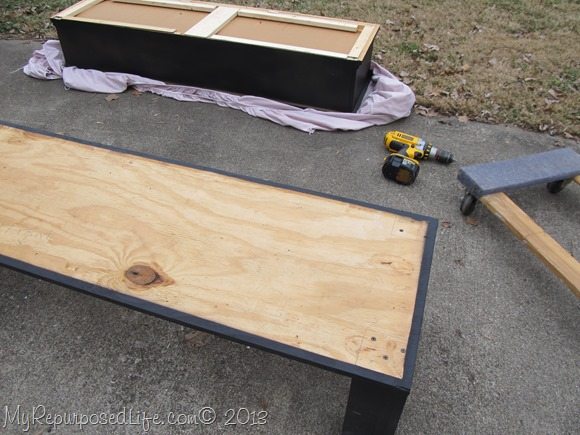 I removed the table from the base, then I removed all four legs. It wasn’t easy to do since I used the Gorilla Wood Glue, but I knew I would never be happy with it the way it was.
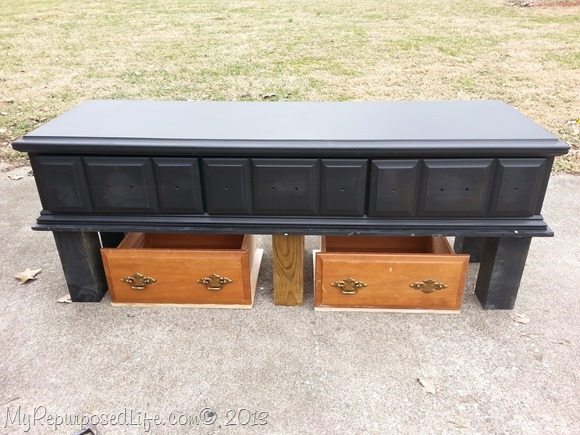 This is a dry fit to see if I like the legs—thinking about adding two more in the middle.
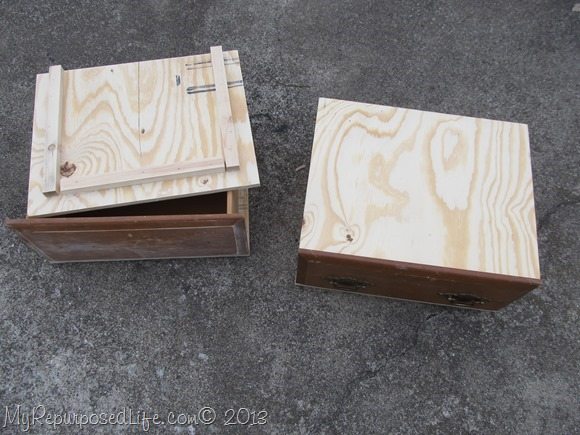 Meanwhile, I start finishing off the drawers. I added plywood to the bottom (so I can add wheels). Because it’s going to be for kids, I really didn’t want to hinge it because of fingers getting smashed, and the lid possibly being abused and coming off. I decided to have a lift off lid.
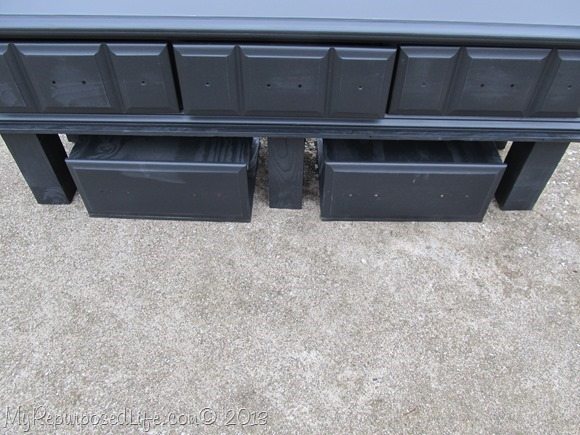 This is right after painting it. I didn’t want to shut the drawers because the were still a little tacky. You can see that I decided to add two more legs in the middle.
The weather turned cold again, so it is in storage for now.
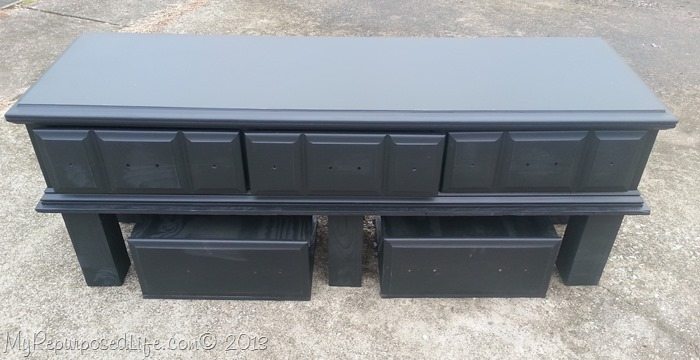 The seats will have wheels. This will make a great table for kids to sit or stand at. I have two ideas to finish it off. One idea would be a chalkboard table, the other being a Lego table. My cousin had mentioned she might be looking for one, so I got to thinking with all the storage this might make the perfect Lego table. We’ve never really had many Legos around here, so I need to figure out how to paint it and finish it off. The dresser drawers sort of look Lego(ish) don’t you think? I’d like to do some sort of Lego handles for the drawers. Have you ever made anything permanent by gluing Legos together?
I plan to cover the lids to make the seats softer. And of course it will be painted. The black is just a primer.
I’m open to suggestions to finish off this table. Can you think of a better use for it? Maybe a train table? What kind of kids table needs a lot of storage?
Hopefully we will have some warm weather soon so I can finish this project.
gail
see more repurposed dresser ideas here
EDITED TO ADD:
It’s a DIY Lego Table


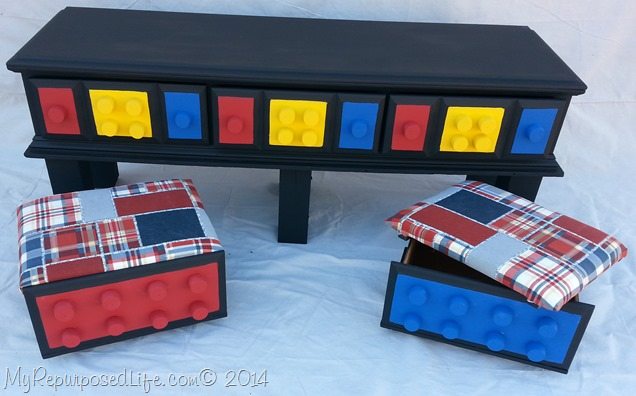
Will make a great Lego table. Maybe just paint each drawer front a bright Lego colour, red blue green white yellow, and leave the rest black?
Kids love Lego and mom’s love somewhere to store them!
It’s amazing what happens to a piece of furniture after you work your magic. Love it!
I saw a table like this several years ago that was turned into a sandbox table. You put up an edge several inches high around the table and then fill it with sand. The edging keeps the sand from coming out, and you can keep all sorts of sand toys in the drawers underneath. Kids LOVE it. We got it for our church’s primary age Sunday School class and they spent much of their time playing there. I was amazed!
Love the two projects. If you add a Lego base I just wouldn’t permanently attach it. So the kids can also do arts and crafts. Also if it’s flip able a car track could be painted on the other side. Or some kind of boardgame design or yard design for a little girls dolls. Love all your ideas. Very inspiring.
I WOULD BUY BOTH PIECES! LOVE THEM!!!! I HAVE TWO UPRIGHT DRESSERS I NEED SOMETHING NEAT DONE WITH BUT I AM NOT CREATIVE, GOT ANY IDEAS?
Thanks for sharing …. this is a great idea !
We have 4 boys… and yes there was a ton of buckets full of Lego in our house. We are a blended family and when we got married, the boys helped to design our wedding cake stand, using Legos. It was nice and colourful and the boys and all our family loved the idea !
It’s been 13 years since we married and the boys are working or in college/university now . The lego days are over for now… till we get some grandkids !
I love the bench and drawers. I may have to do that. Do you plan a cushion later? If it were mine, I’d probably upholster a sheet of plywood and just set it on top of what you’ve got. You probably already already know this. But you can minimize the chipped veneer while cutting by taping it first or using thin scrap clamped over it and cutting both. In this case you may have planned from the start to cover it with more trim.
AWESOME!
This is ADORABLE!! I was also thinking that maybe this could be used for an entertainment piece for a flat screen /DVD/Xbox etc.
Also for like a table by the front door to stash stuff when your coming & going daily; like mittens/hats / little shoes(in drawers) , keys, etc.
Your incredibly talented, definitely makes be more aware in others trash so I can reinvent the “treasure” that lies beneath! Great work, & thanks for sharing!! 🙂
I like the idea of using it for a Victorian doll house. You can put the items for furnishing, lighting, building in the drawers along with glue gun, paint and brushes, etc. Love the idea.
I’m always inspired by you. I’m just a chicken to try a project like this. I have a cheap little plait table for my granddaughter. It has a plain top and then a little insert (with nubs) for legos. Maybe you could make the table really multipurpose by having a craft table with a lego topper. Don’t know where you could buy that, but I’m sure you could find out.
Thanks for all your great posts!
Both pieces came out positively amazing, Gail! Incredible job. Isn’t it one of the best feelings in the world to be able to turn someone else’s “trash” into your very own treasure? I recently found an old wooden desk on the side of the road and, with my husband, transformed it into two nightstands. Keep up the great work, you’re an inspiration to us all!