Repurposed Dresser tv stand
As an Amazon Associate, I earn from qualifying purchases.
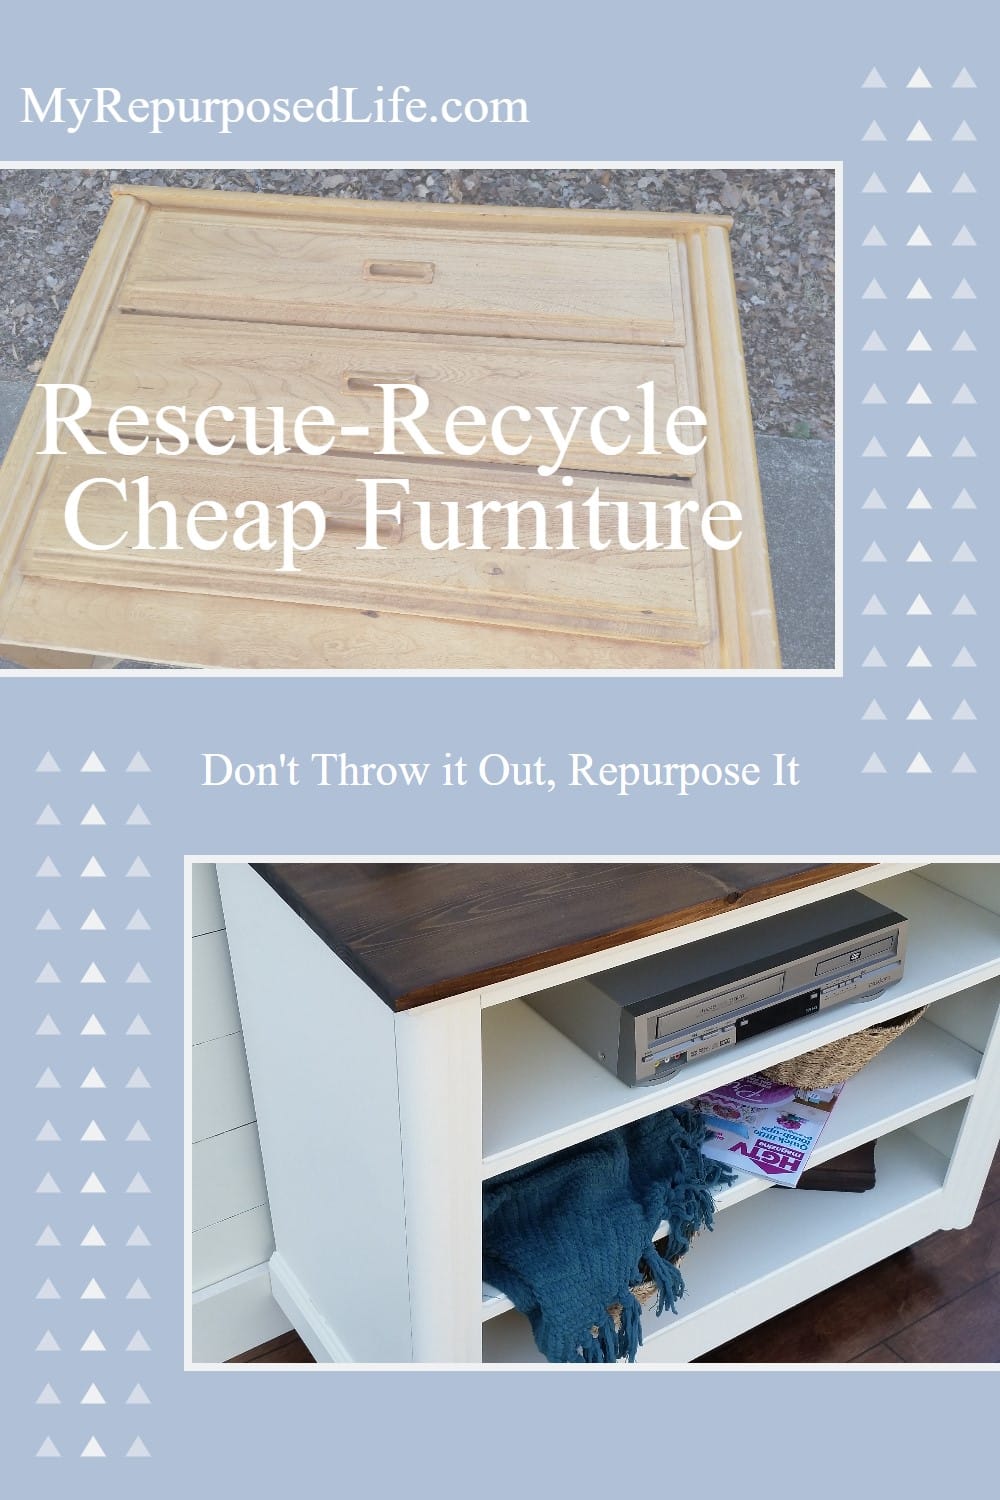
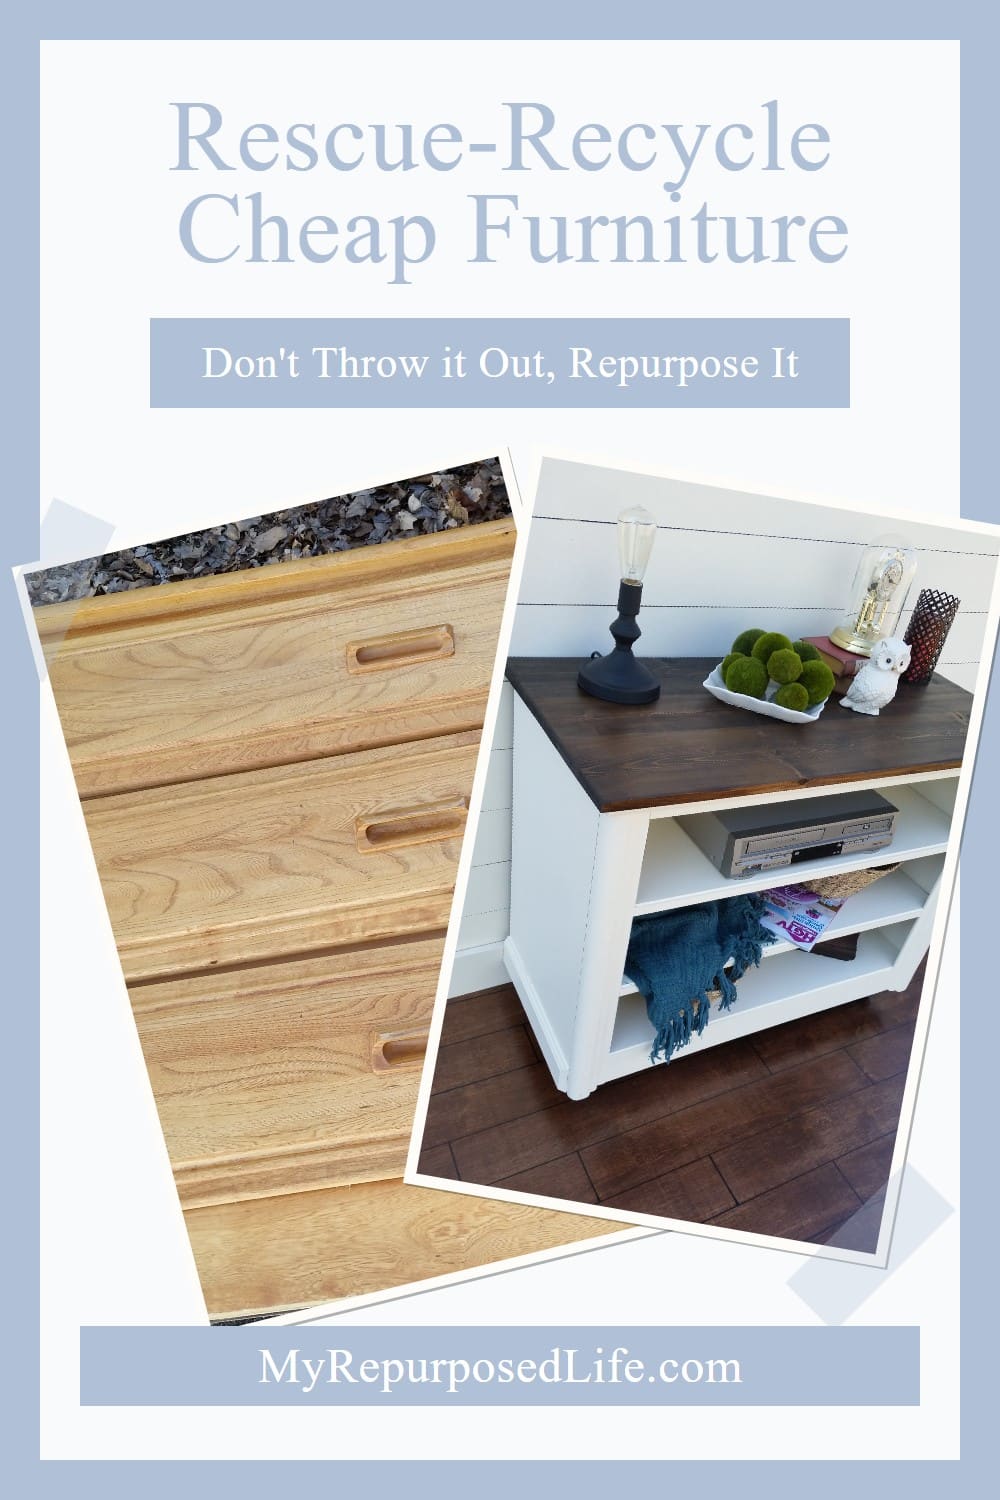
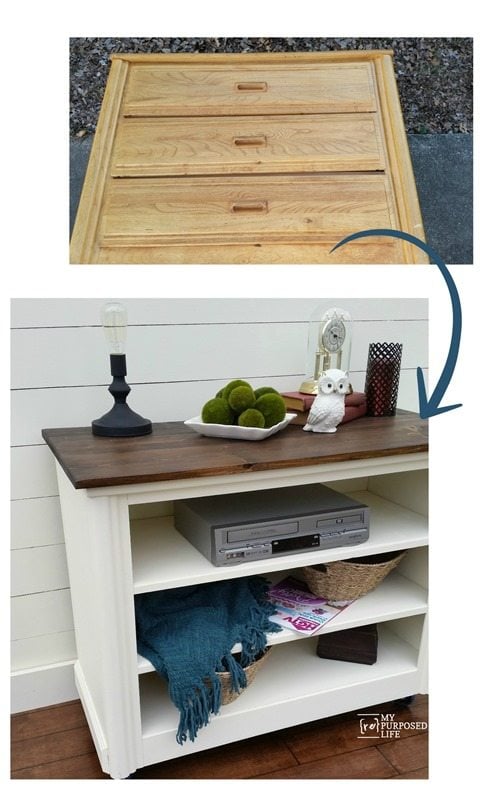
This repurposed dresser TV stand project shows how a plain, dated dresser from the 90’s can be revived with practical changes and simple materials. Instead of letting it sit unused, we removed weak cardboard supports, added sturdy plywood shelves, and gave it a two-tone makeover with chalky paint and a stained plank top. The result is a functional piece of living room furniture with extra storage, strength, and personality.
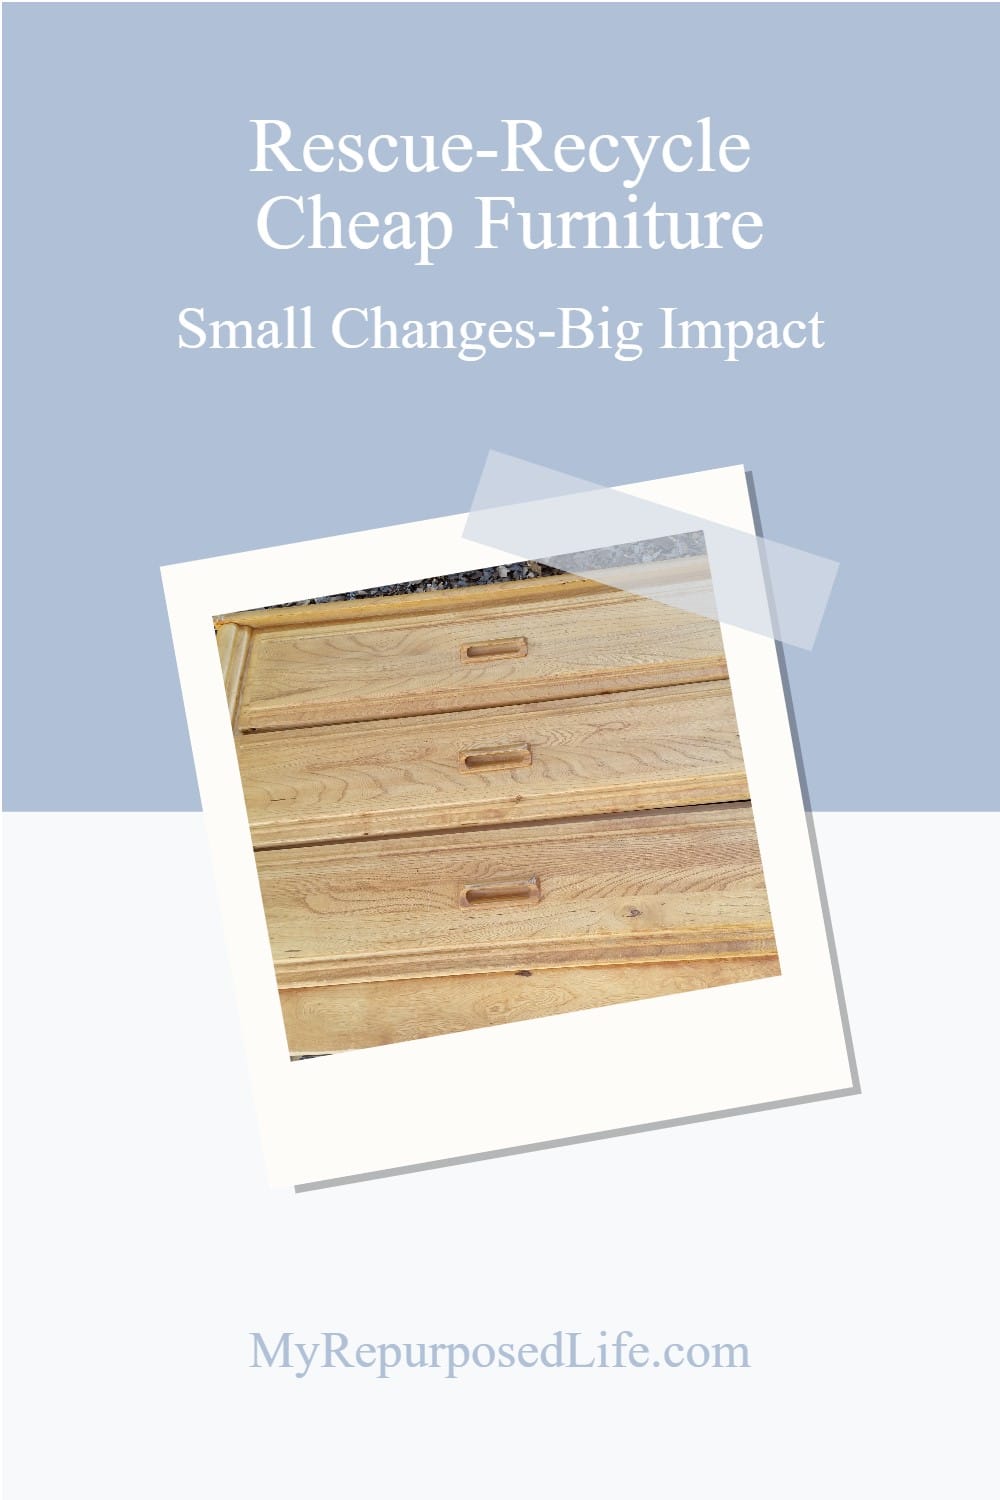
I’m not cutting up any furniture in today’s post. Even so, I think I have some awesome tips for you on making this repurposed dresser TV stand from an old pressed wood piece. It may look like it has nothing to offer, but it still has a lot of purpose left.
Repurposed Dresser TV Stand
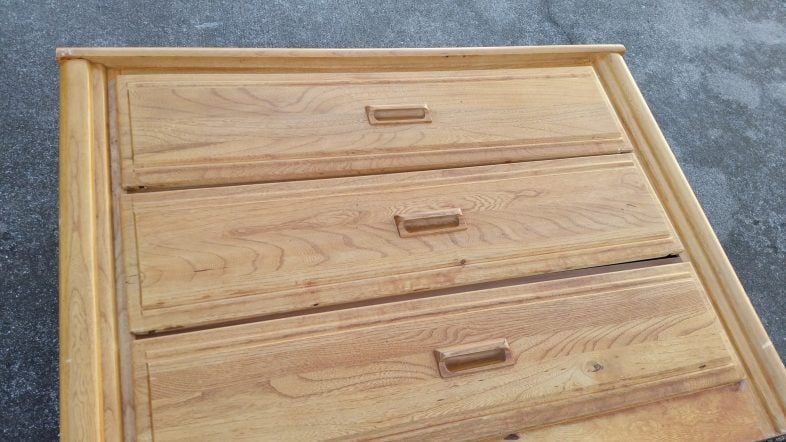
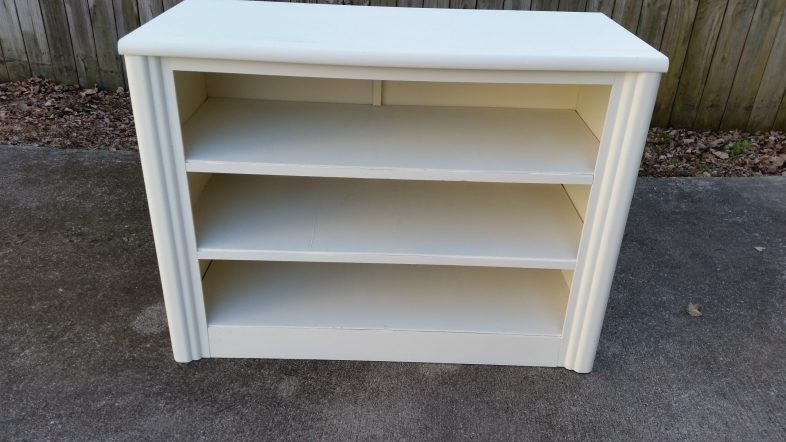
As you all know, I won’t turn down anything for free, so I was happy when this dresser arrived on my doorstep.
How To Dismantle a Cheap Dresser
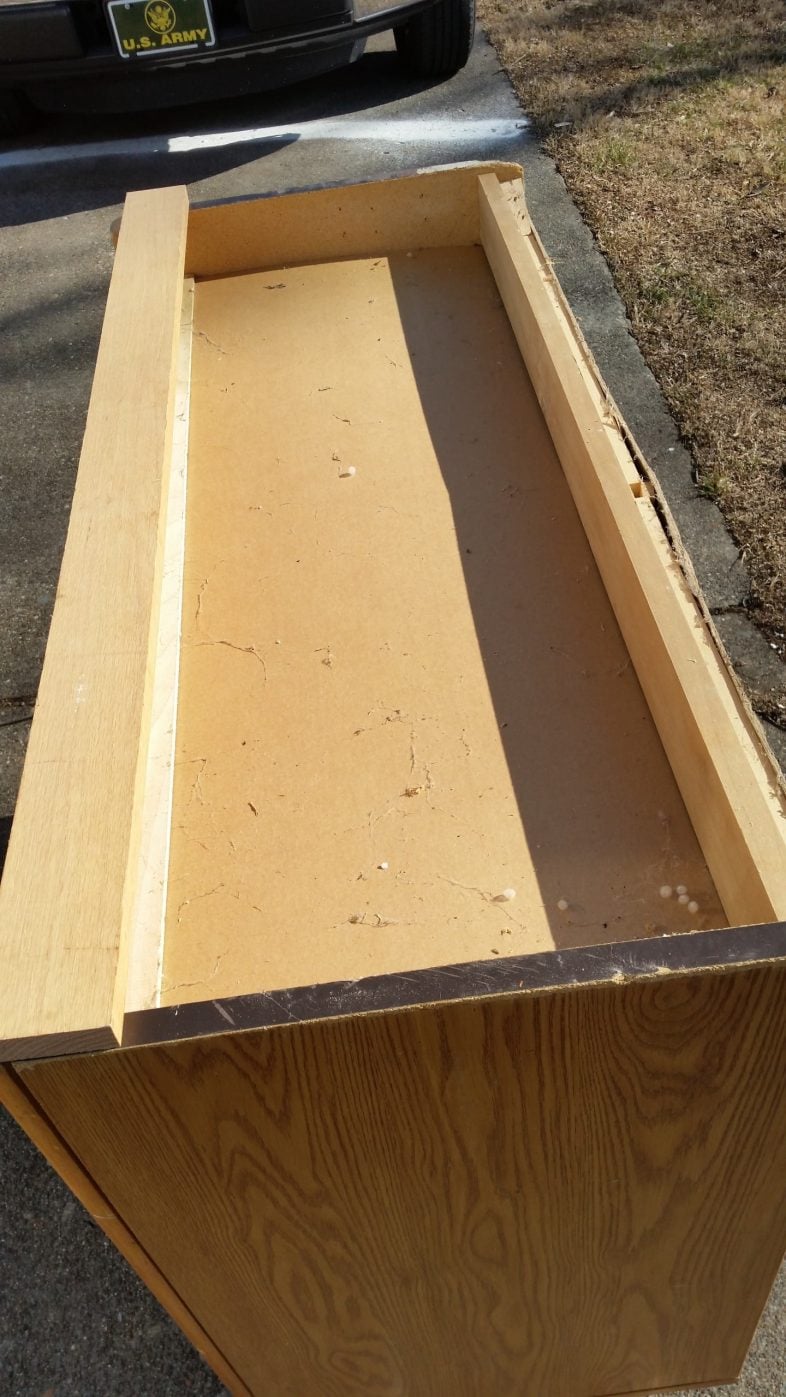
As I’m trying to figure out how to add strength to the bottom, you can see that the pieces separating the drawers are made of cardboard.
I began ripping out the cardboard pieces and the drawer slides.
Of course, I saved the drawer slides and screws because they were in great shape!
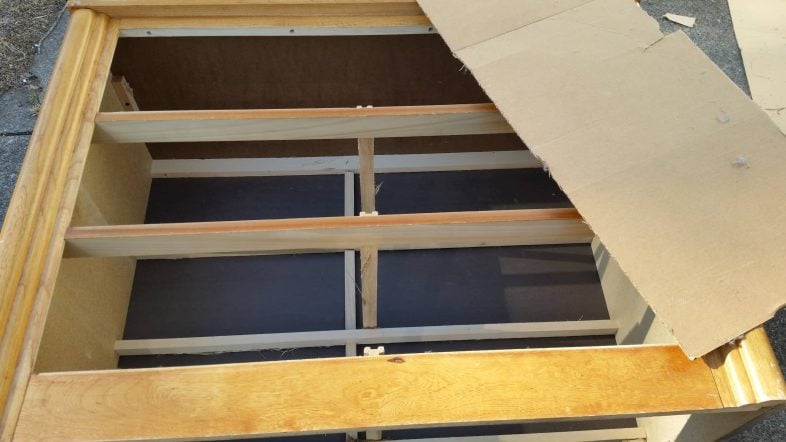
Add Plywood Shelves To The Repurposed Dresser TV Stand
I used thin plywood (underlayment) for the shelves. It was thin enough to slip into the slot intended for the cardboard.
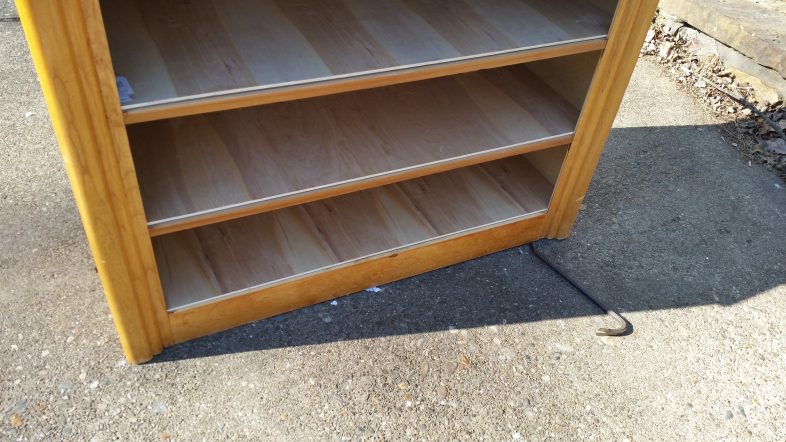
Each shelf is now in place, and I used Gorilla Wood Glue and my Airstrike Staple Gun to secure them.
Paint With a Finish Max Paint Sprayer
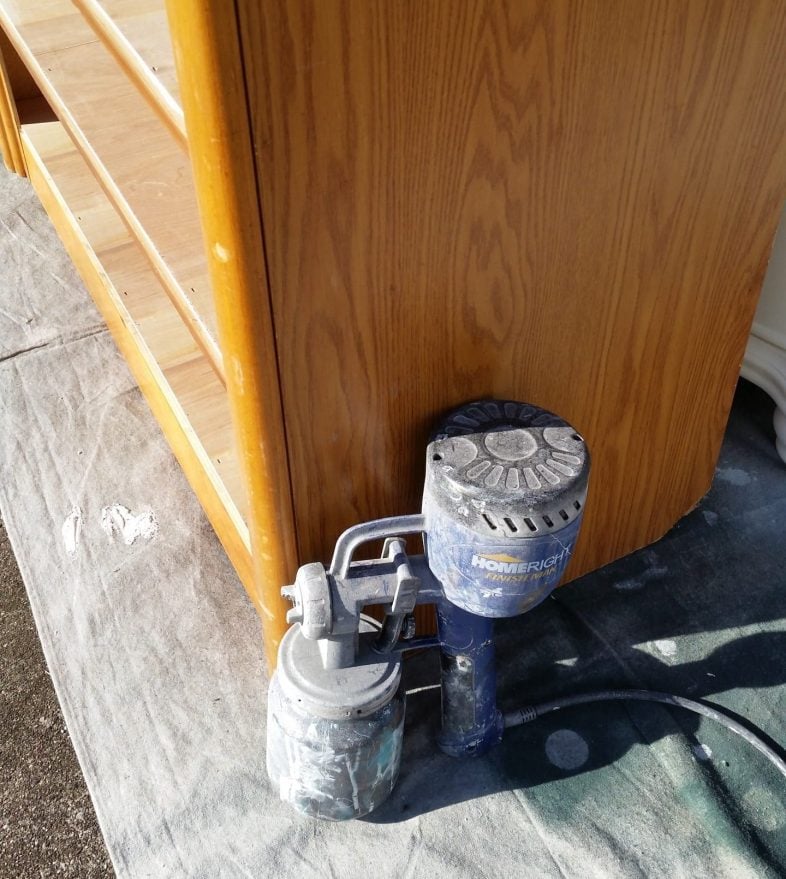
The dresser was ready for a coat of DIY Chalky paint primer (Behr Polished Pearl) with my HomeRight Finish Max. NOTE the damaged area in the back corner.
To get a good angle inside the dresser with the Finish Max, lay it on its back.
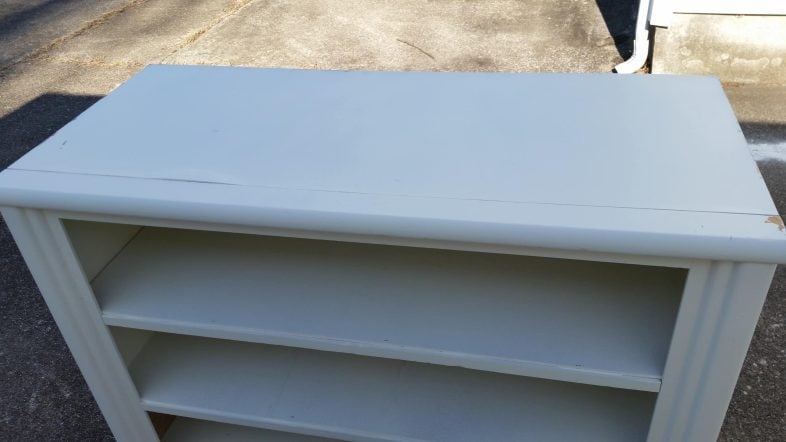
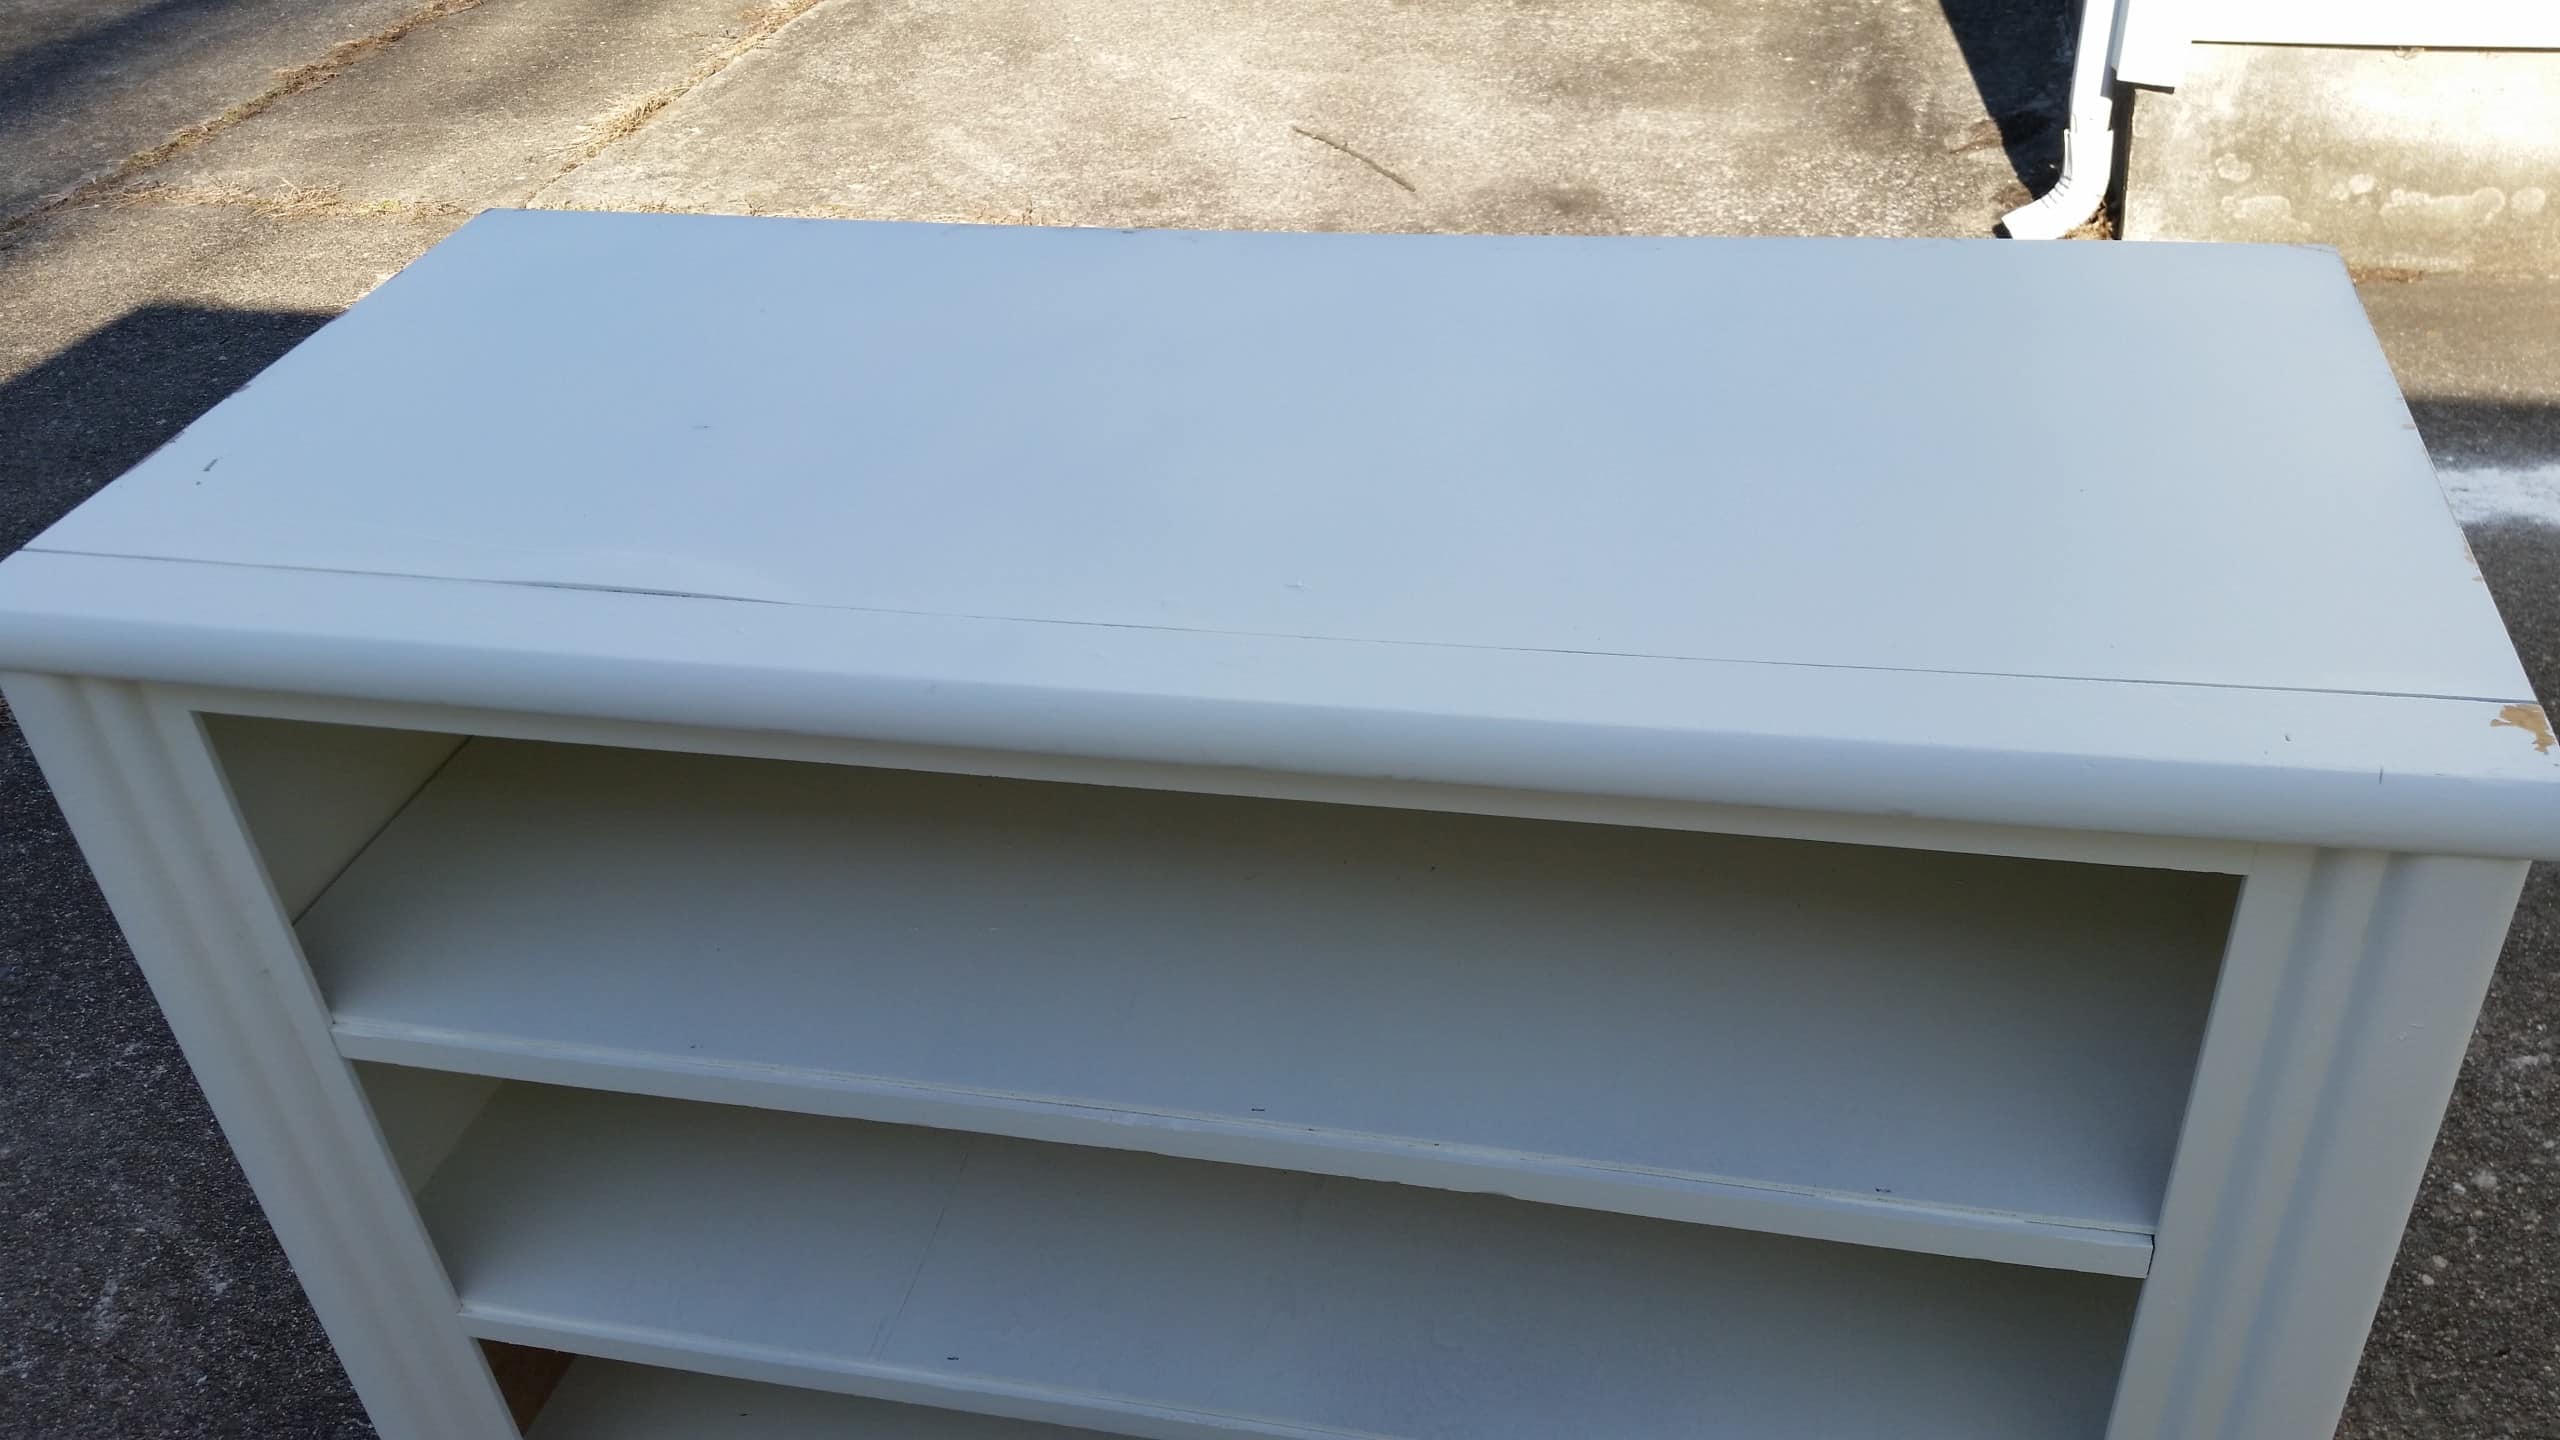
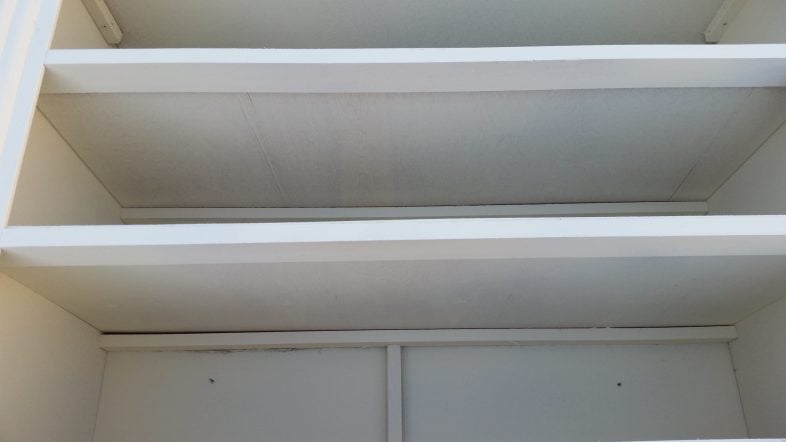
Even after painting the top of the dresser, you can see that it still needed a little TLC.
Add A New Plank Top to The Old Dresser
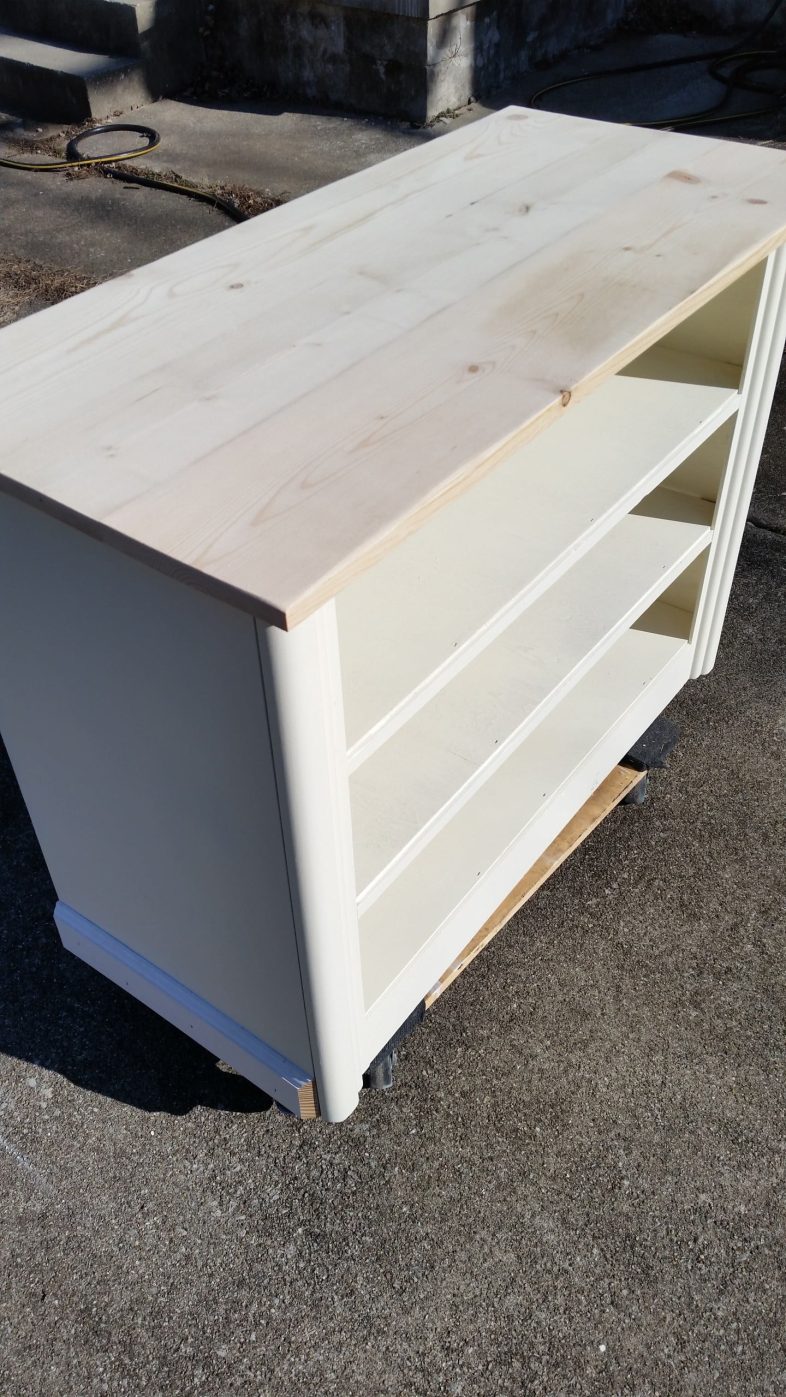
I have added some trim on the bottom (sides) to cover up that pressed board defect I showed you earlier. I am also doing a dry fit of some pine boards for the top.
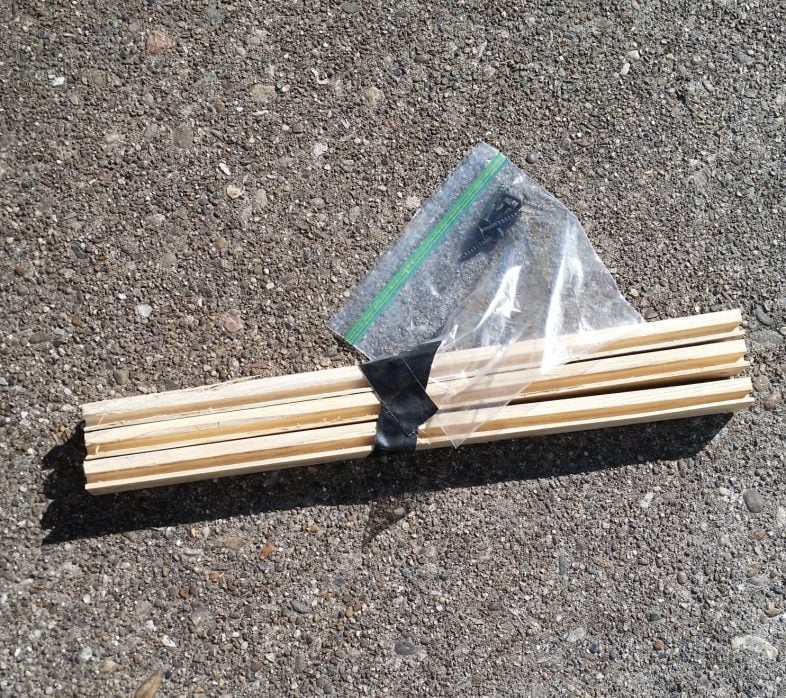
Kreg Jig Pocket Holes for Plank Dresser Top
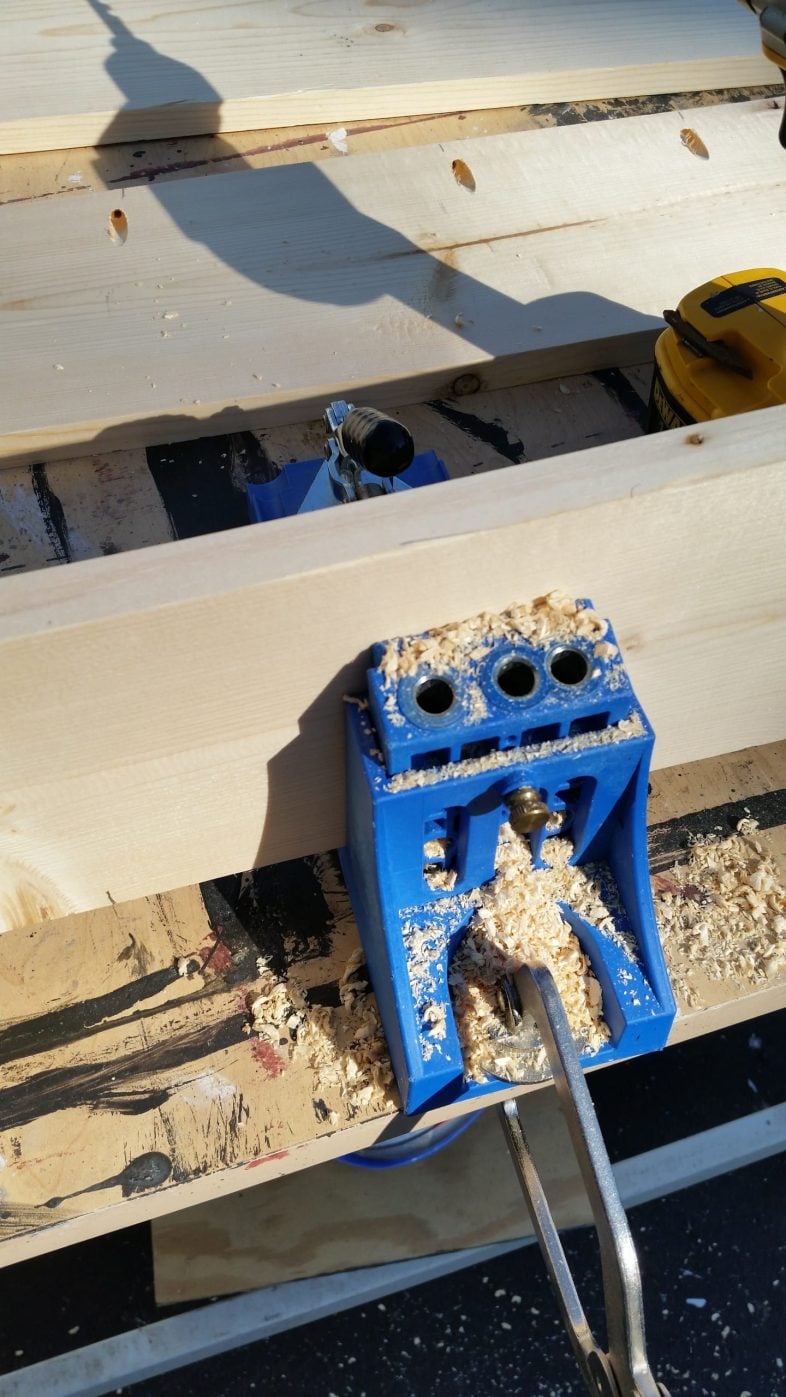
I used my Kreg Jig to drill pocket holes to join the boards.
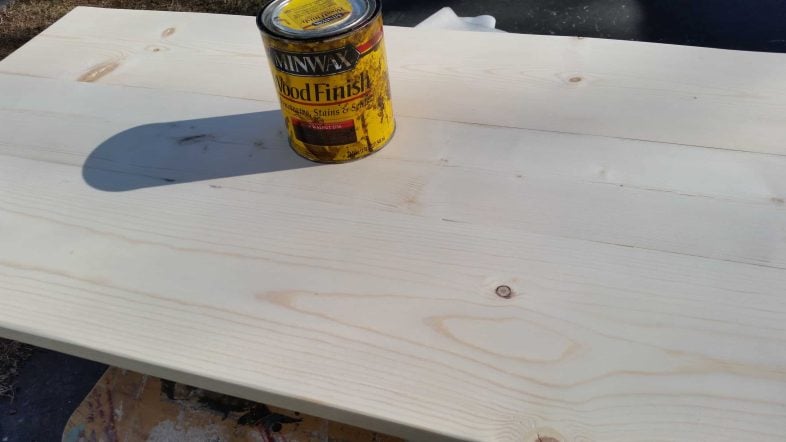
After joining the boards and smoothing them with my orbital sander, I broke out the Minwax Dark Walnut stain.
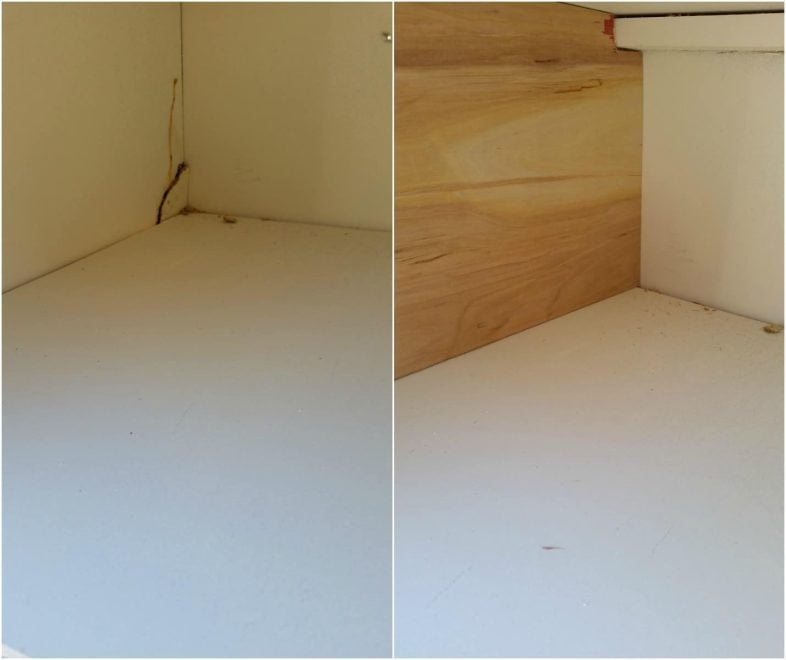
While the stain was drying, I started working on the underside of the dresser so I could make it sturdy enough to add some wheels. Because it was pressed wood, I busted the wood and tried to remove the corner bracewood. It did not affect the piece’s structure, but it sure did “ugly it up.” I cut a piece of scrap (underlayment) plywood to make a false side to cover the bad spot. g.o.n.e.
Strengthen The Dresser Bottom In Order To Add Wheels
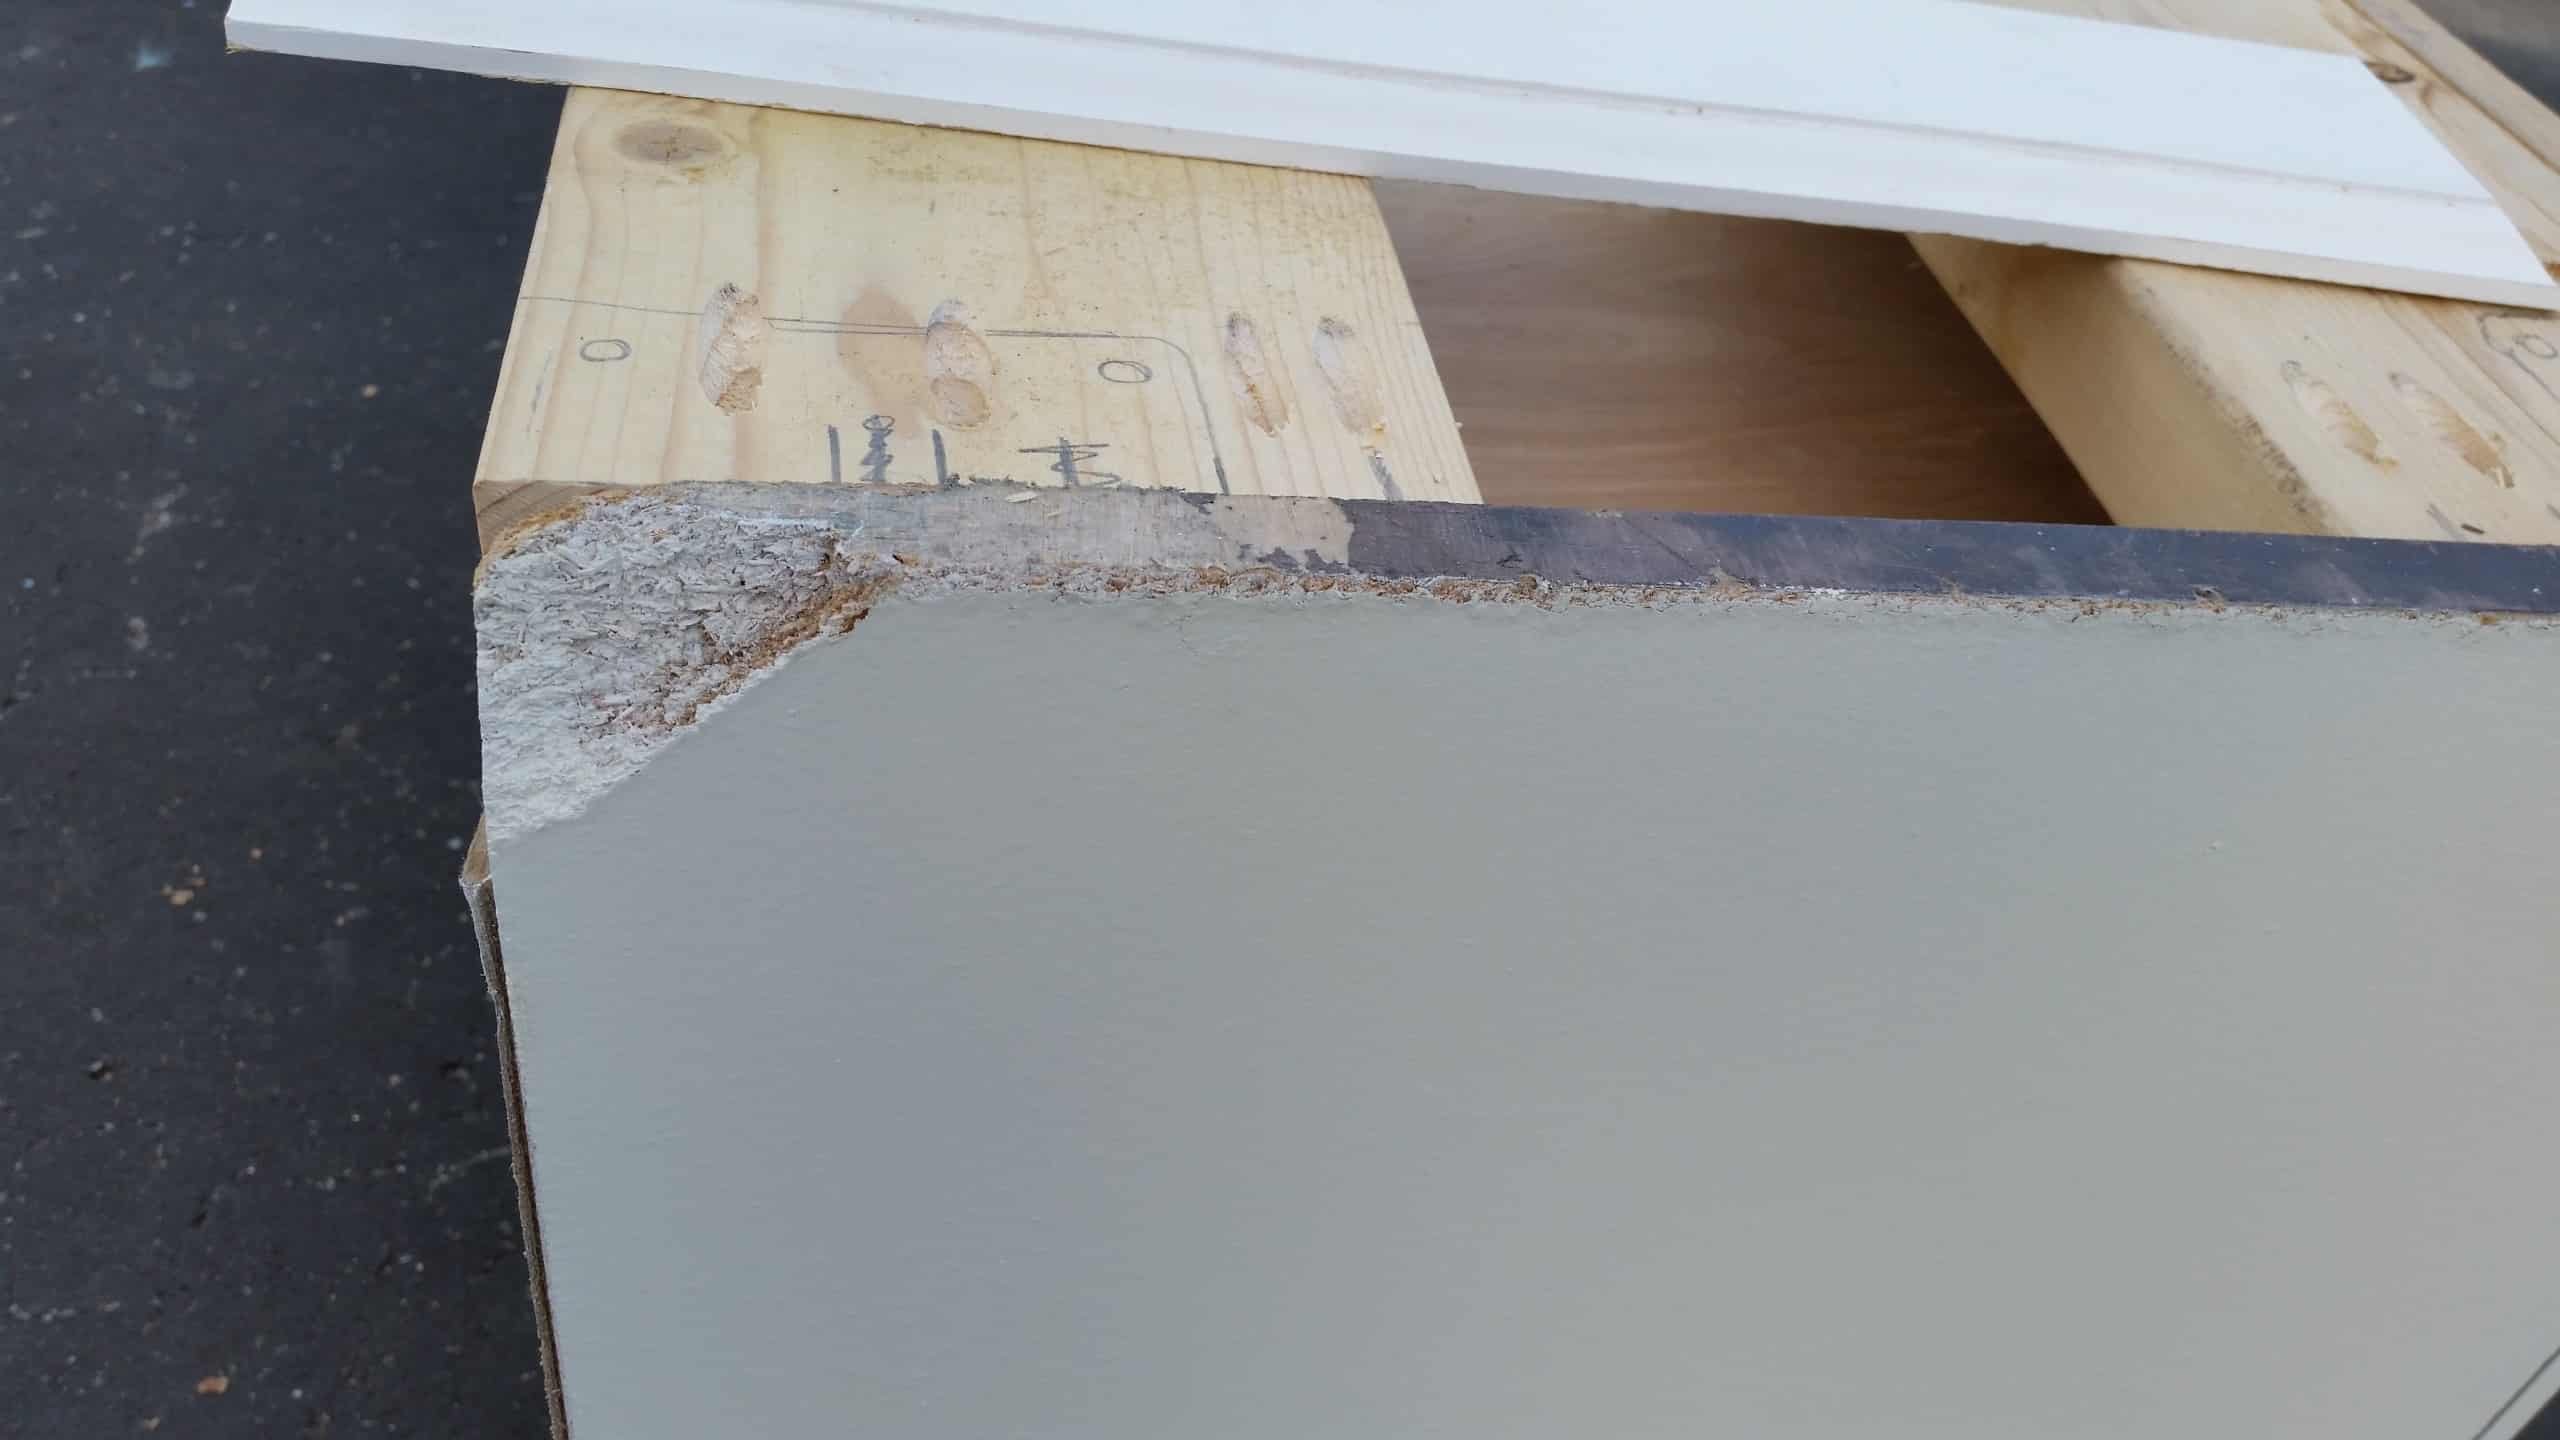
You can see I added some 2×6 pieces across the bottom of the dresser to give it strength and give me a place to attach the wheels. I used pocket holes strategically spaced so that they wouldn’t interfere with the screws holding the wheels on. Had I not planned this process, I might have had trouble attaching the wheels. You can also see the original chipped wood piece. The piece I messed up while removing a very stubborn corner brace I spoke about earlier is not shown.
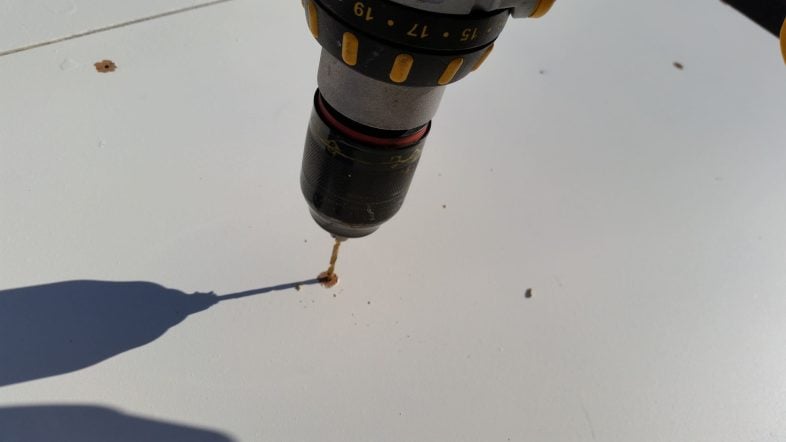
I drilled holes through the pressed wood to prepare the original dresser top for the new pine top.
Attach Plank Top With Wood Glue
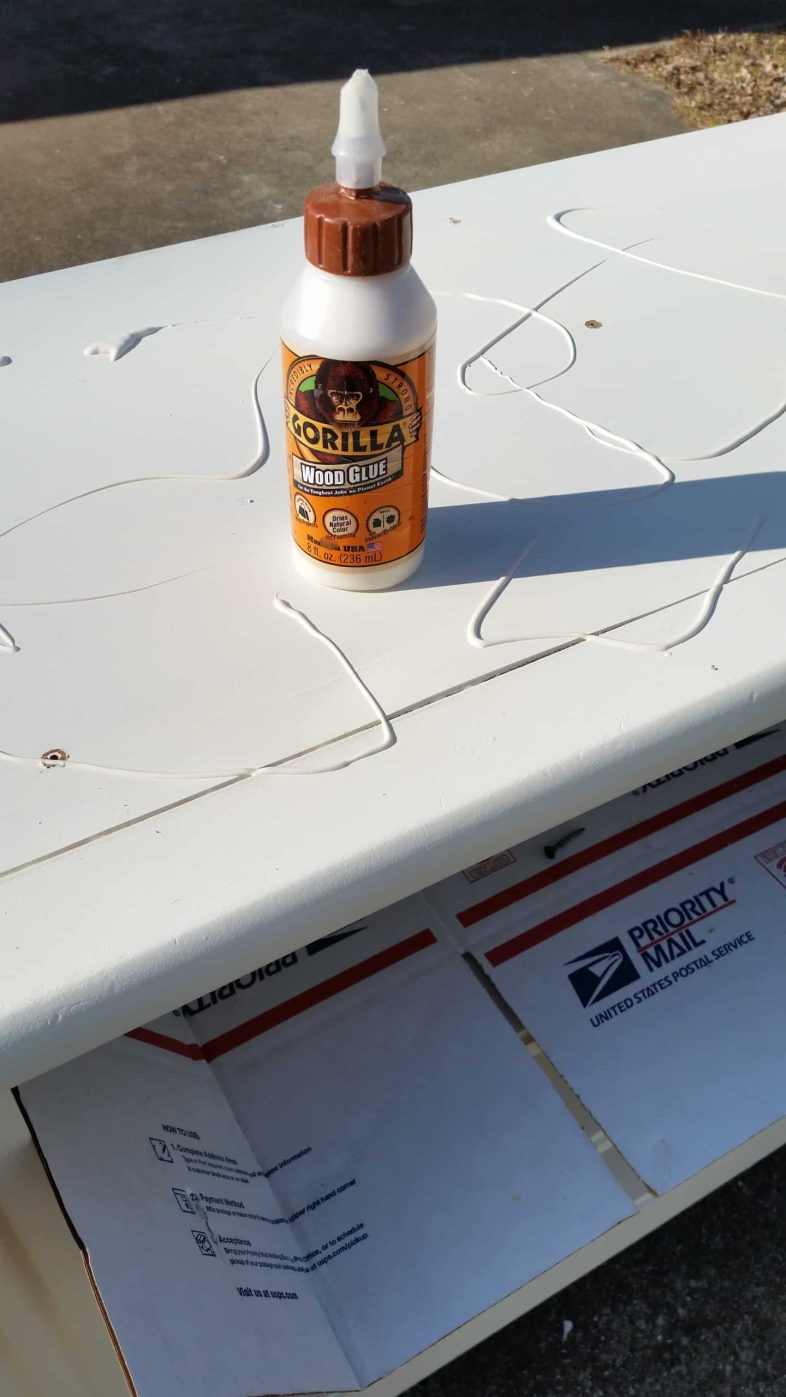
I then used some Gorilla Wood Glue to ensure the new top stayed put. I put the new pine top on and secured it with screws going up from inside the cabinet into the new top.
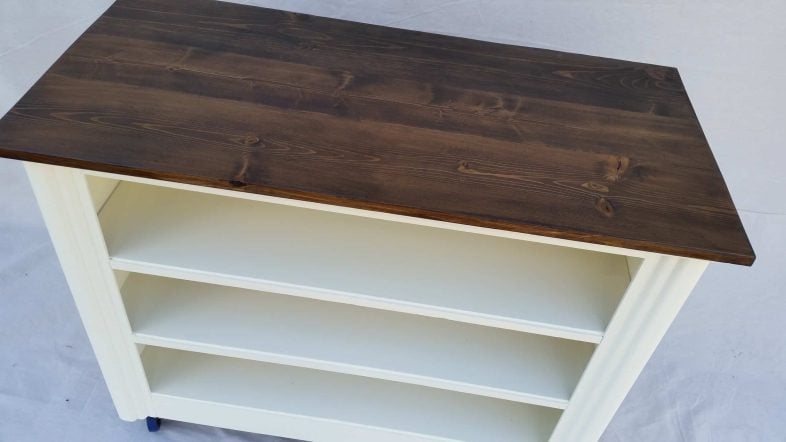
This two-toned look – cream color (or white) and dark stain is still my favorite. My coffee table and kitchen table both sport the same look.

Repurposed Dresser TV Stand
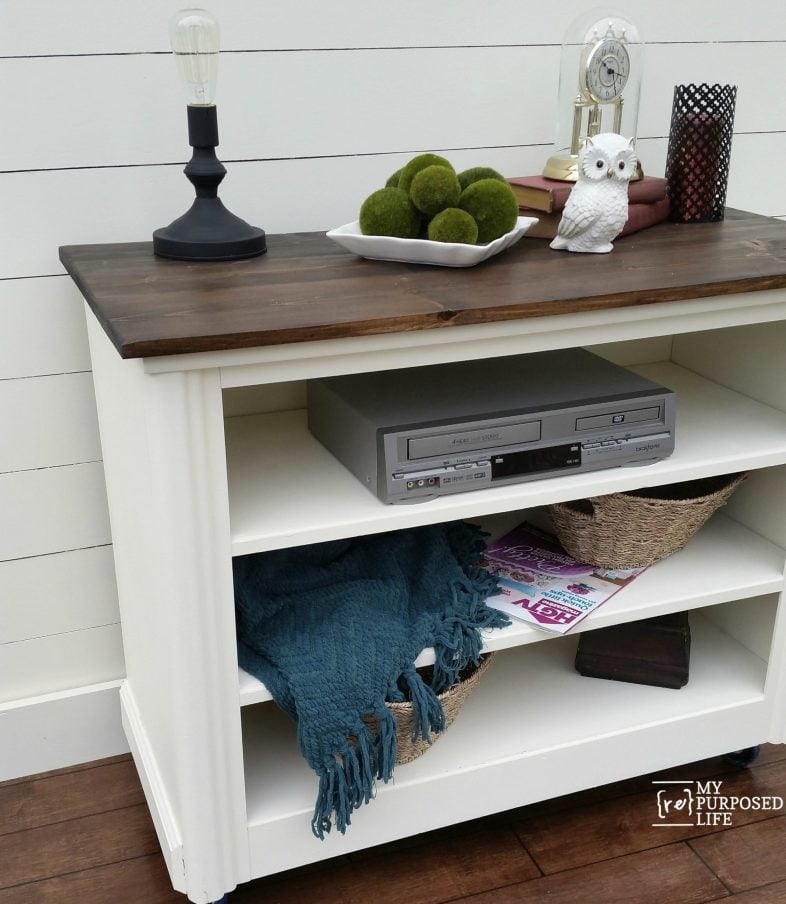
I believe this repurposed dresser TV stand is returning to my friend’s house to hold her TV Components top and her collection of throws/blankets on the shelves.
This makeover added years of usefulness to a once-forgotten dresser. With stronger shelves, a custom plank top and wheels for mobility, it easily houses a TV and media gear while still offering stylish presence. Turn old furniture you already own into something both useful and charming.
This project is sitting on my Easy DIY Faux Hardwood Floor.
This was a pretty simple re-do, but I think it added years to the life of this 90’s dresser. I now have three drawers. Hmmmm, what should I do?
Ready to give your old dresser a new life? Follow the step-by-step guide above and pin this project for later. Want more furniture repurpose ideas like this one? Check out the Repurposed Furniture category on MyRepurposedLife for fresh inspiration and practical builds.
gail
find more great ideas here: Elizabeth & Co Remodelaholic
Now look at dresser! That’s the way you do it
You take the item and prep it for your TV
That wasn’t workin’, that’s the way you do it
Junk for next to nothin’ – TV stand for free
hahah, thanks for a smile Elizabeth! I appreciate your enthusiasm.
gail
You sure prettied that old dresser up, Gail. You do beautful ork. I, too, have a table with Minwax walnut stain on the top, and the sides and doors are white. Nice combination.
This is really cute. Since I bought my house, I have barely had time to look over all the cool projects you do. Do you like the color I chose for my house?
RESPECT for your DIY skills! That is one beautiful transformation and I’d never guess it was the same piece–and what a treat for your friend to get it back that way! Cheers!
What a great save Gail! It doesn’t even look like the same piece. Featured you at our party this morning. Always happy to have you join us!