Upcycled Nightstand with Repurposed Window (door)
As an Amazon Associate, I earn from qualifying purchases.
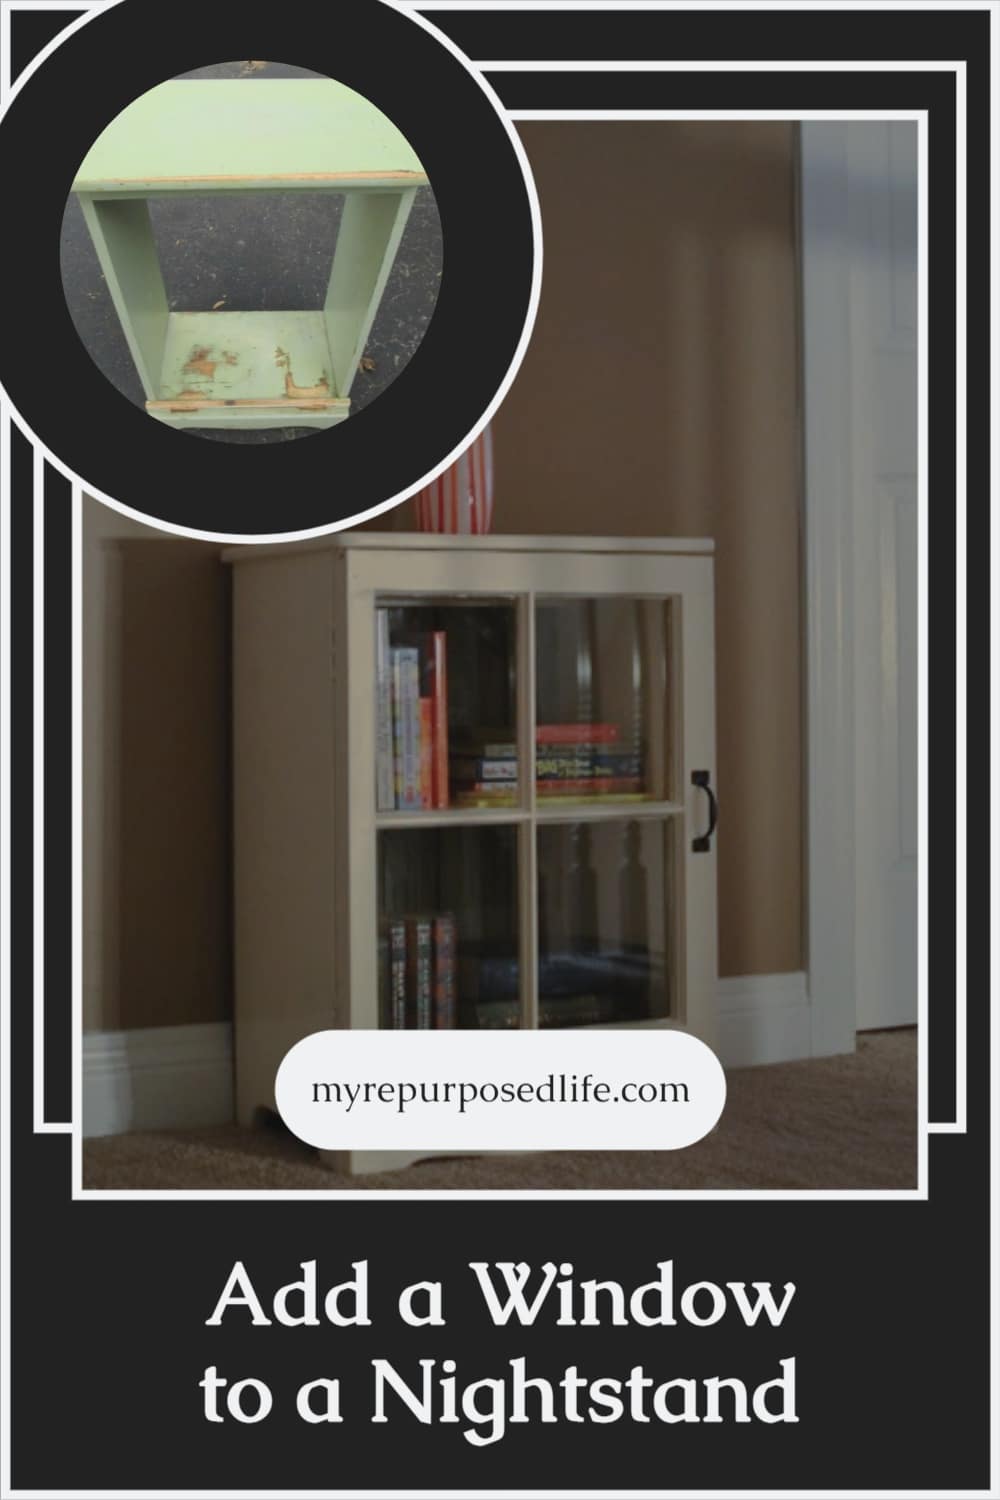
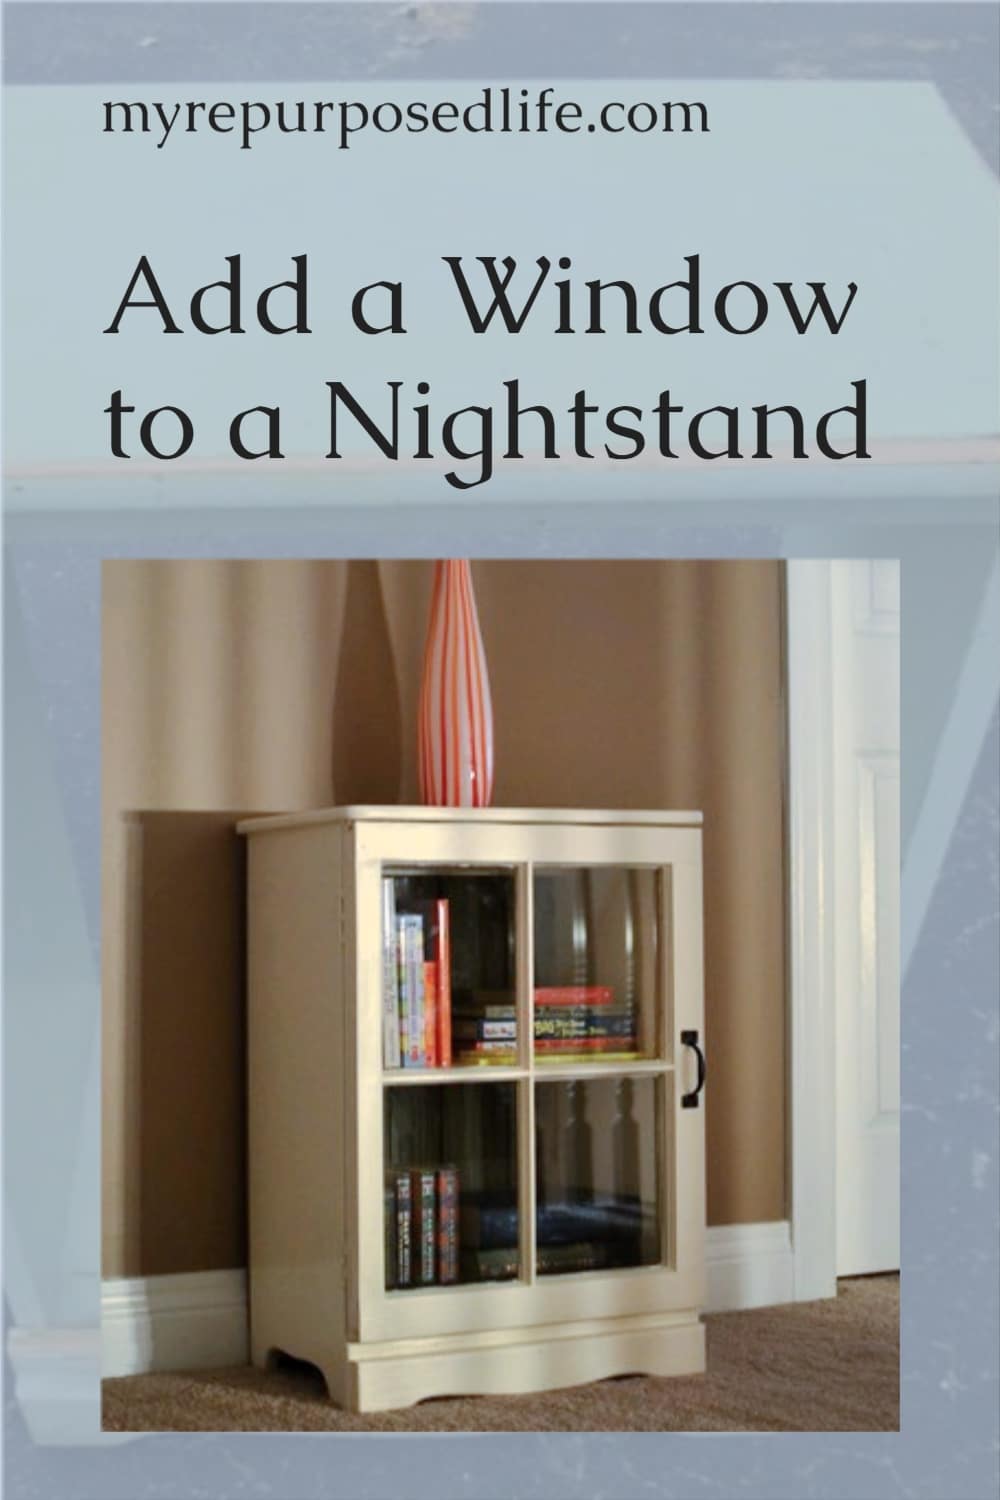
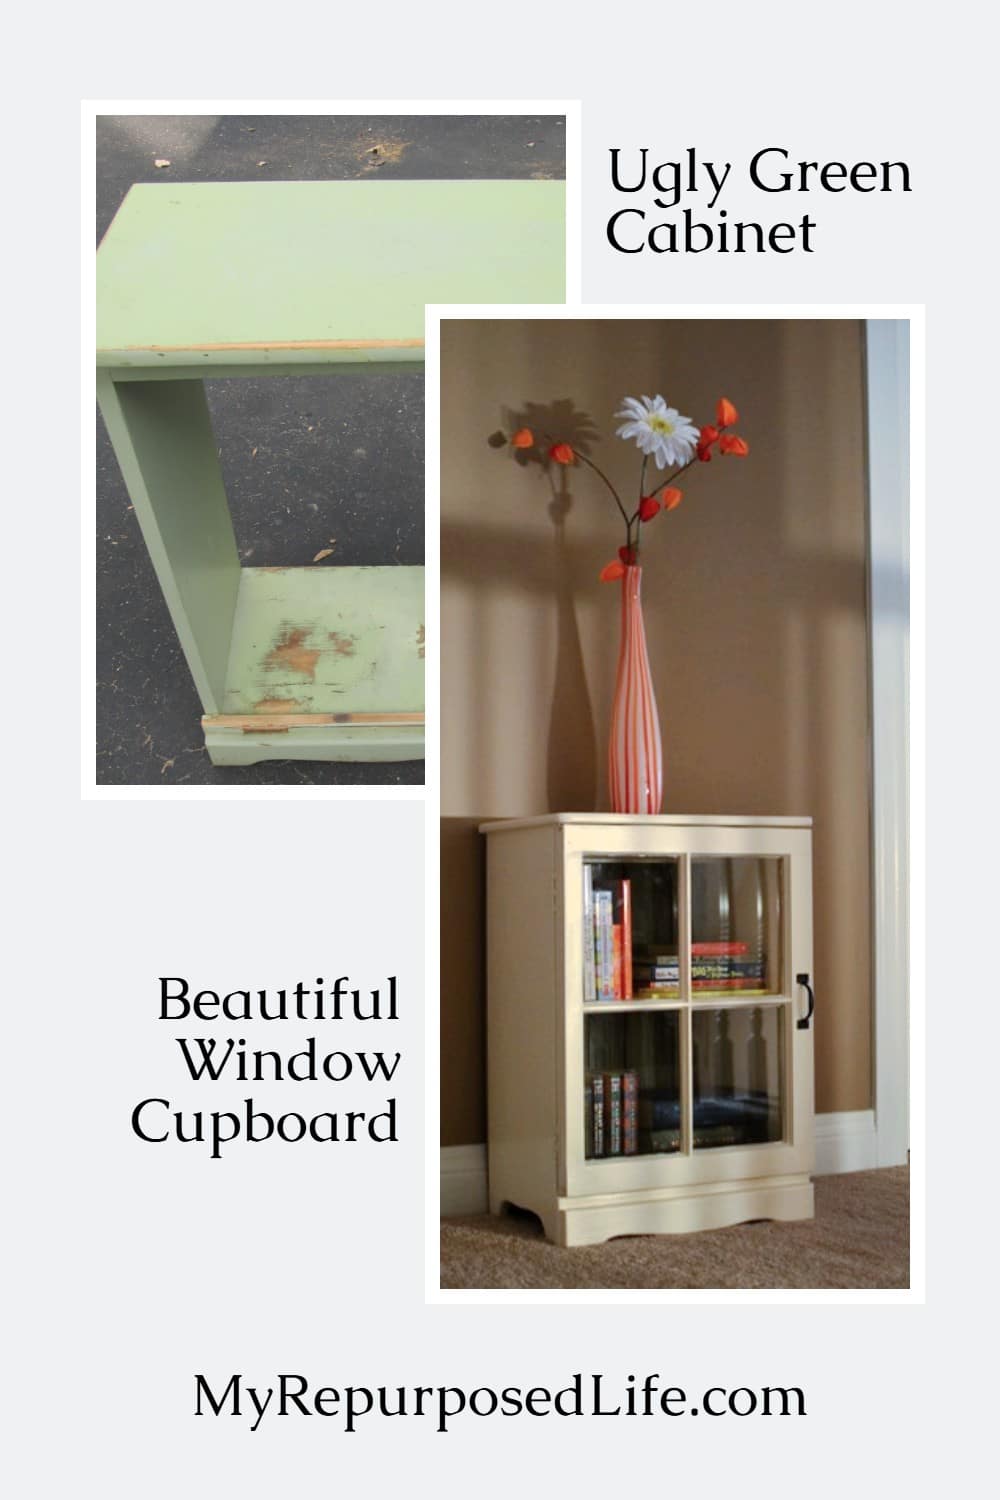
This might have been the ugliest piece of furniture I’ve ever dragged into the shop, but that just made the transformation even sweeter. With a bit of vision (and a whole lot of chalky paint), this sad old nightstand got a brand-new look, featuring a charming window door and a reclaimed wood backing. You won’t believe the before and after on this one!
How to Make a Cabinet With an Upcycled Nightstand
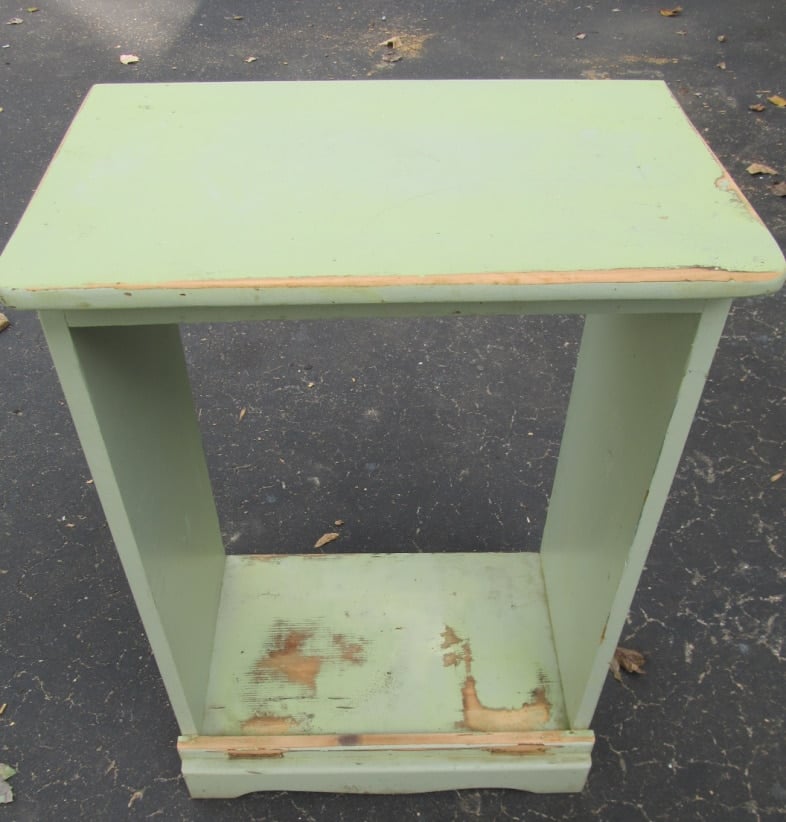
I curbed this nightstand so many years ago. Maybe someone used it for a trash bin because there were hinges on the bottom front. For the first five years, this ugly green cabinet resided in my garage, providing extra storage by utilizing the inside of the cabinet and the top to store paint and other items.
I posted this on my Facebook page while cleaning out the garage, and I asked if I should “keep” or “toss” it. The consensus was to keep it, and there were many great ideas on how to utilize it.
Add a Shelf to the Upcycled Nightstand

The very first thing I did was to give it a quick coat of primer to take away all the ugly, but I couldn’t find a picture before adding the shelf.
The shelf was a simple addition using Kreg Jig pocket holes and screws. You can see that in a bit while it is getting ready for paint.
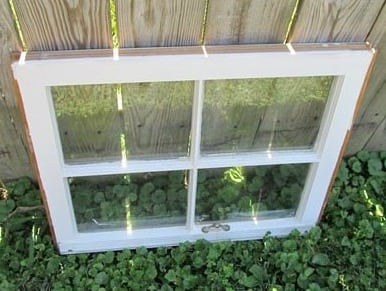
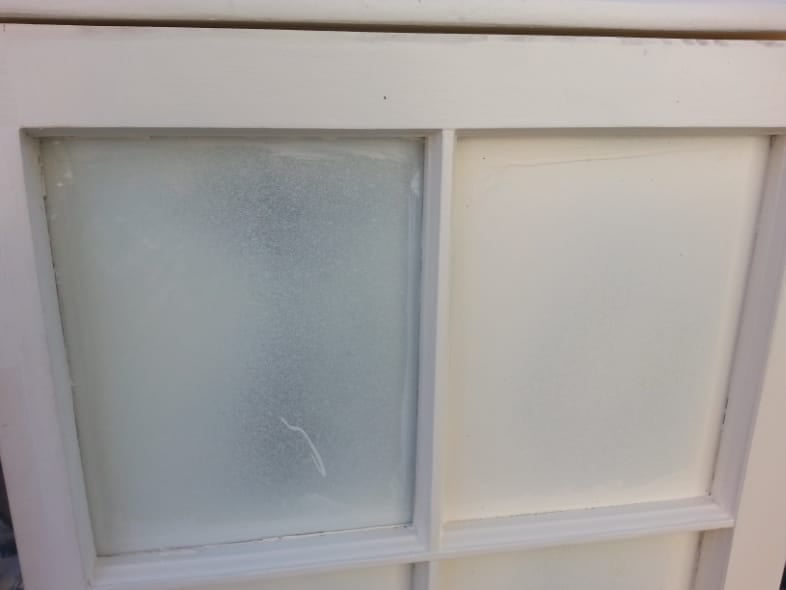
I took the measurements of the cabinet and searched through my stash to find this window that would make the perfect door! So, after choosing this window, I then knew where to add the shelf (shown above).
Paint the Old Nightstand
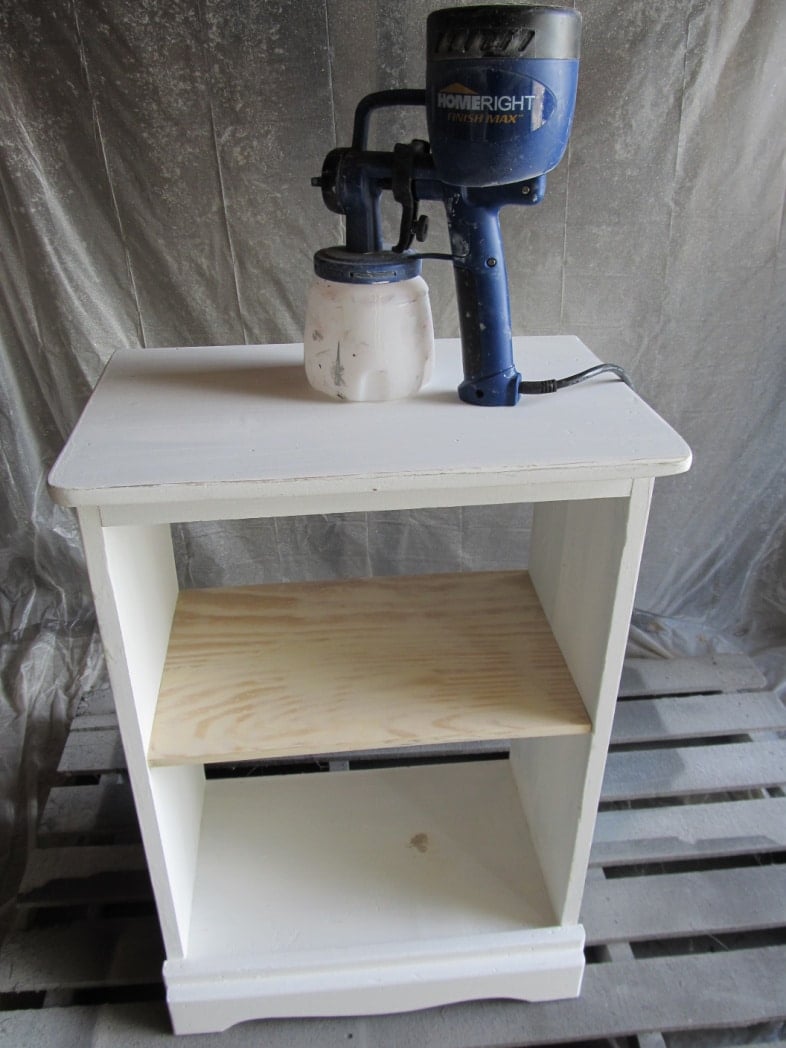
Off it goes to the paint booth. I took the easy road and used my HomeRight Finish Max.
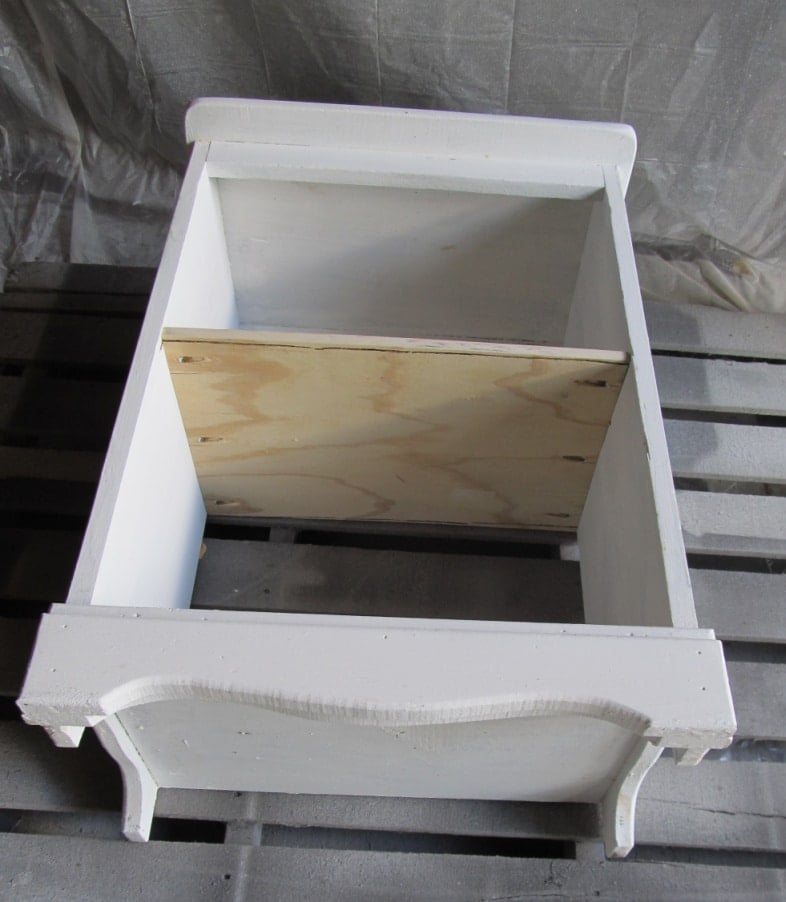
Whenever I use my HomeRight Finish Max Fine Finish Sprayer , I always start by spraying the underside of my pieces. In this picture, you can see I added a shelf to my upcycled nightstand using pocket hole screws.
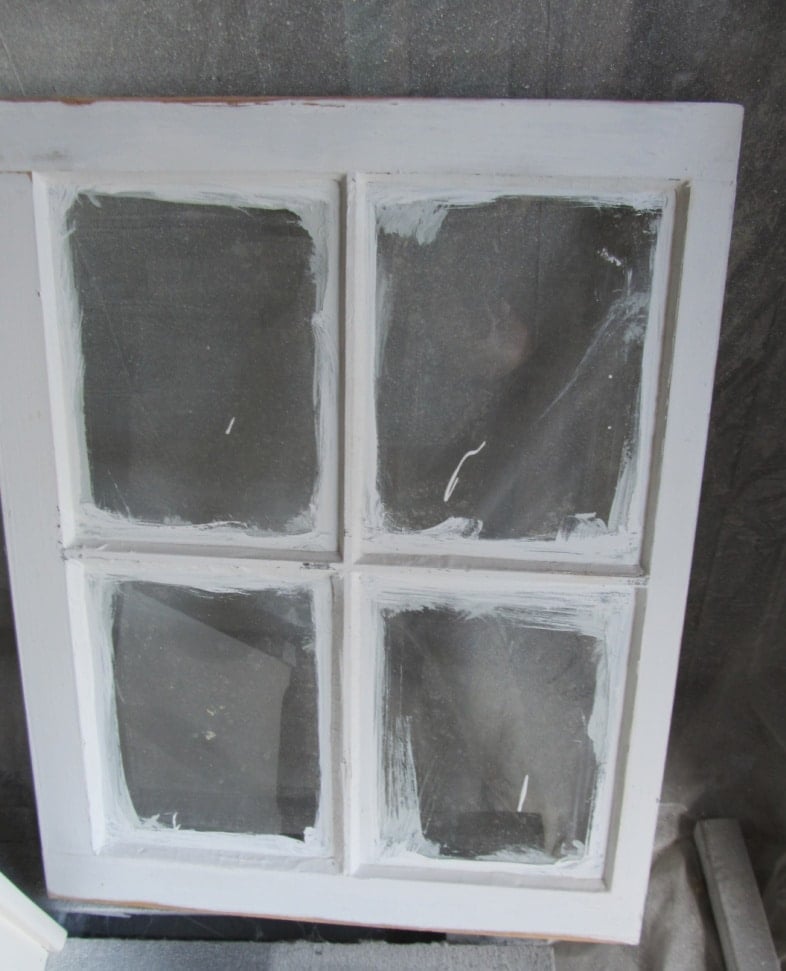
This is the window after I brushed on some white DIY chalk paint primer—it’s ready for the Finish Max treatment.
Use a Paint Sprayer to Paint the Repurposed Window
This is after the Finish Max. Don’t be misled by overspray. The Finish Max has very little overspray, but I knew it would be easier to scrape the paint off if it were thicker. The paint is True Value’s Easy Care (Sugar Sweet), the same I used on the recent kitchen cabinet makeover.
Add Hinges to the Window to Make a Nightstand Cabinet Door
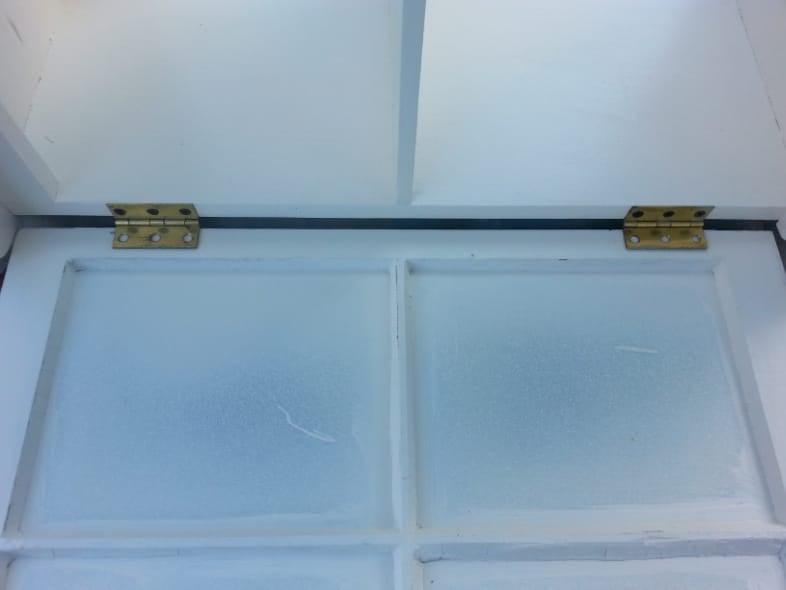
I attached my hinges to the cabinet, then laid the cabinet on its side (raised up with some 2x4s) to attach the hinges to the window. I must say that this was the easiest time I’ve ever had installing hinges.
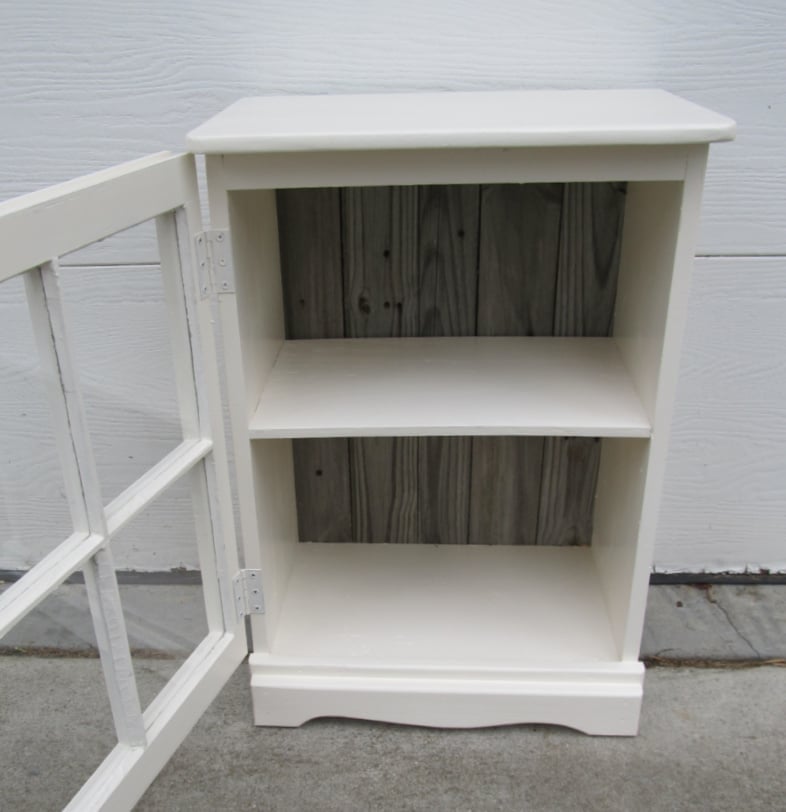
Secure Reclaimed Wood to the Back of the Window Cabinet
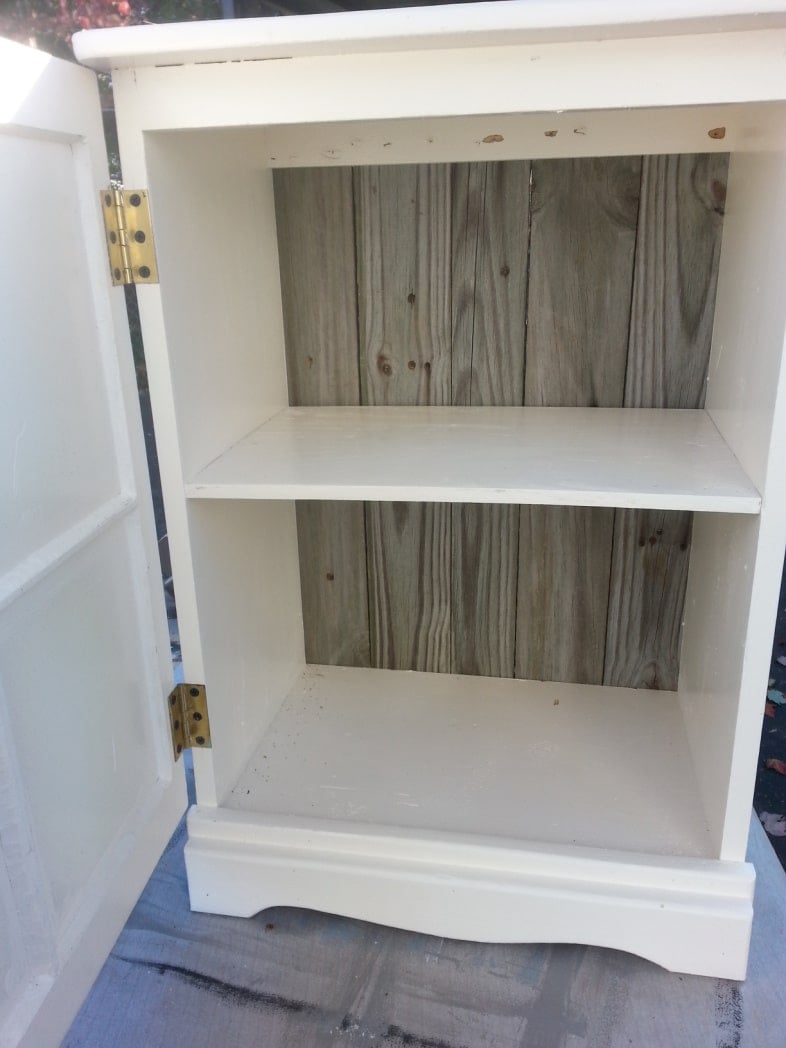
I used some old fencing to enclose the back. If you look closely, you’ll see that the nails used from my nail gun caused some splitting/chipping of the wood at the top. I ended up cutting a small piece of plywood, painting it, and using it to cover this mess. Worked fabulously!
Do you love the charm that the rustic wood adds?
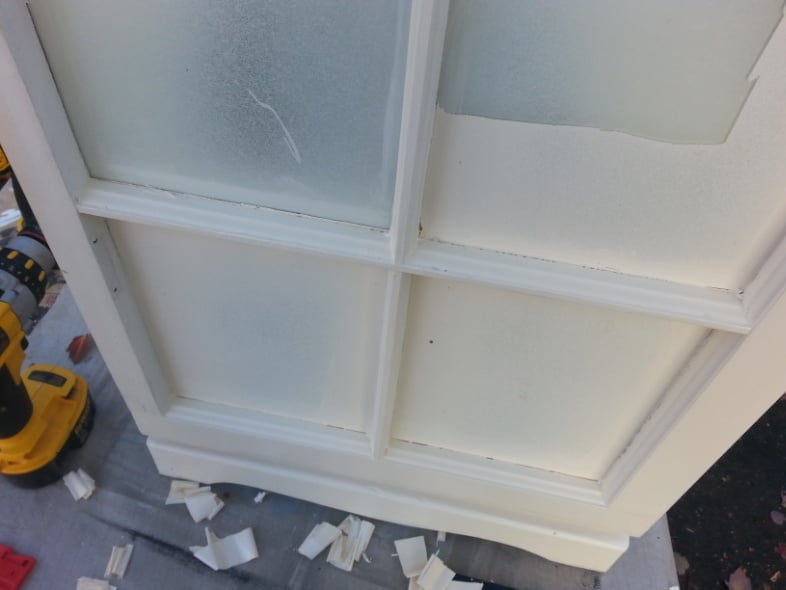
I used a razor blade to scrape off the paint from the window. You can see that the layer of paint easily scraped (peeled) off the window.
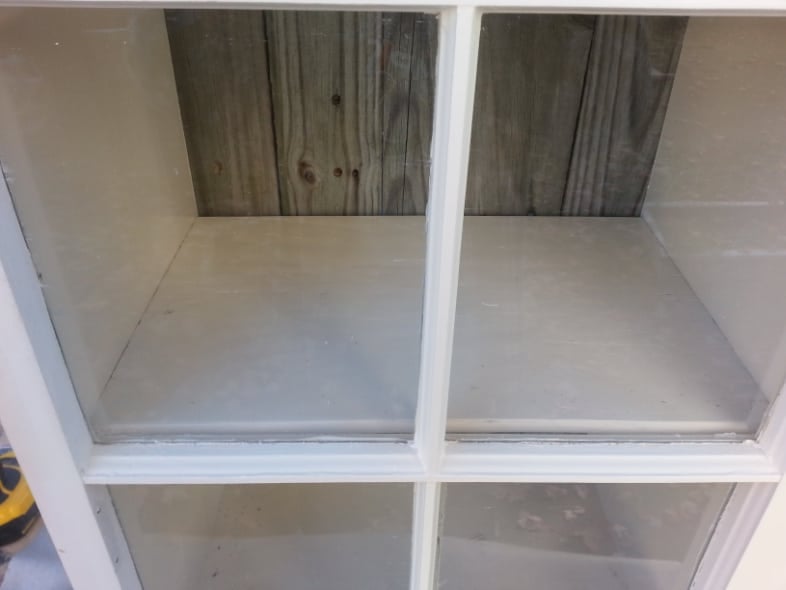
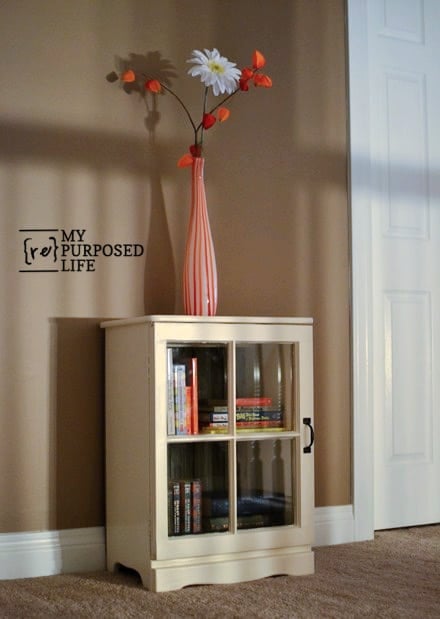
The paint is all gone, and I’m in love with this project!
Paint and Secure the Handle to the Window
I have some handles I got at the restore that are a golden bronze. Oil-rubbed bronze spray paint gave it a quick update, making the upcycled nightstand cabinet look great!
I initially decided to add the rustic fence to help give the back some weight, so that opening the window/door wouldn’t allow it to tip over. However, that wasn’t an issue—the door worked fine without the added weight on the back, but I had already decided the rustic touch would look great.

Now that I’ve shown you my latest project, I’d like to share with you the tools I use when using my Finish Max Fine Finish Sprayer to spray paint.
- Bowl/bucket for water
- Super Finish Max Extra
- Extra paint cup
- Paint stirrer
- Veggie scrub brush
- Cheap Chip Brush (for runs)
- Soup ladle for scooping out paint instead of pouring it.
- Mesh Paint Strainer (not shown)
- Respirator (not shown)
How to clean a paint sprayer
I use the bowl of water to dilute my latex paint and to soak my brushes, etc. As soon as I finish painting, I add water to the extra paint cup to flow clean water through my Finish Max. Usually, I store any leftover paint for touch-ups in a small container with a lid. I use the veggie scrub brush to clean the Finish Max. (see below) The soup ladle is excellent for measuring the paint and adding water to the paint cup for diluting. If my paint is old, I use the mesh paint strainer to make sure I don’t have any lumps in my paint. I always wear a respirator when using my Finish Max in an enclosed area.
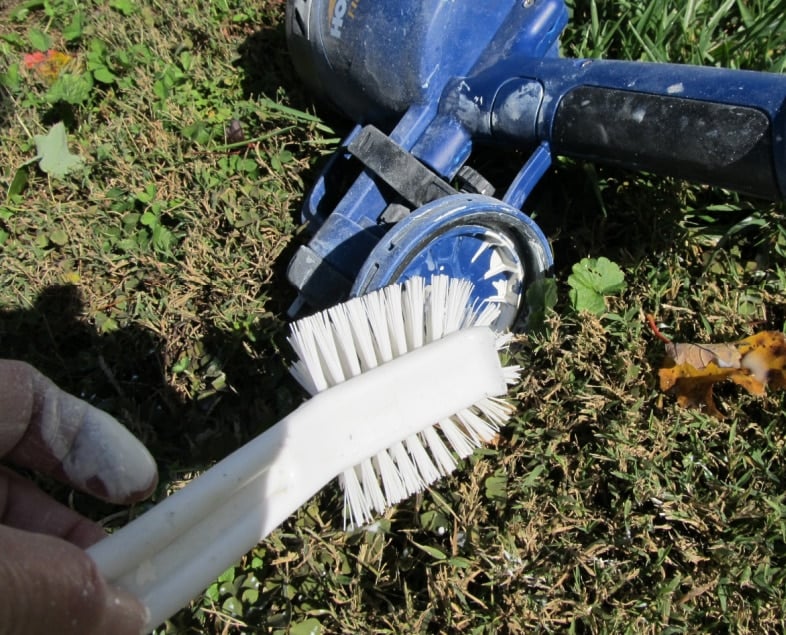
This veggie scrubber does a great job of getting the paint from the rim of the Finish Max. I should have used it on my fingers too!
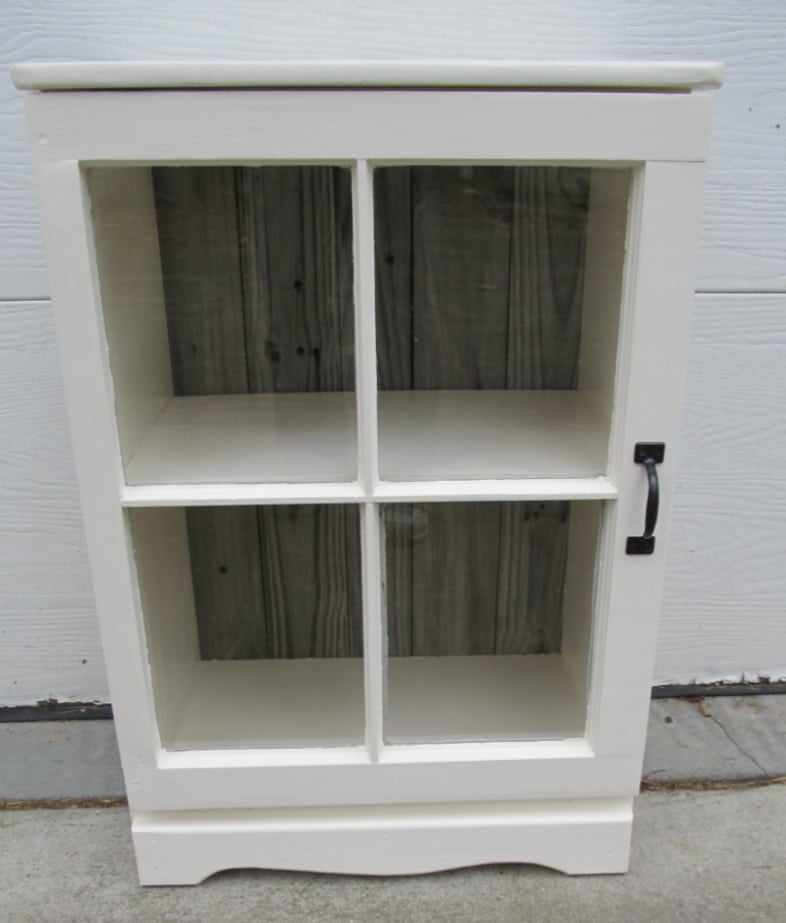
UPDATE: I sold this cabinet, check out how cute it is in use!
Upcycled Nightstand Window Cabinet

Save it for later on Pinterest!
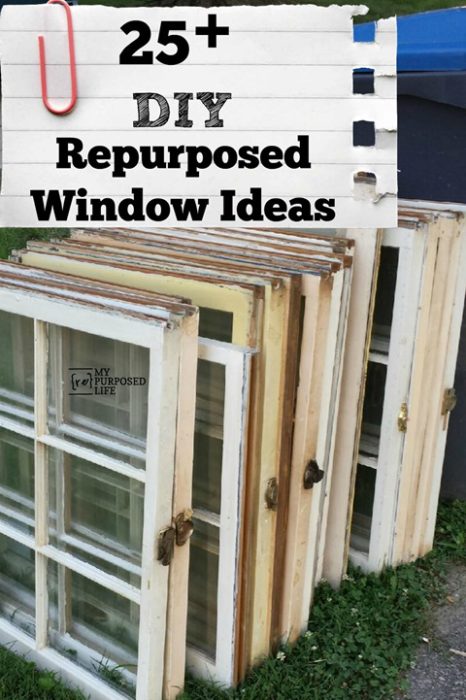
See more DIY Repurposed Window Ideas Here.
Related Content: Free Chest of Drawers Makeover
The doored cabinet is really a beauty now! I wish I had your courage to tacke a project like it. Good job!