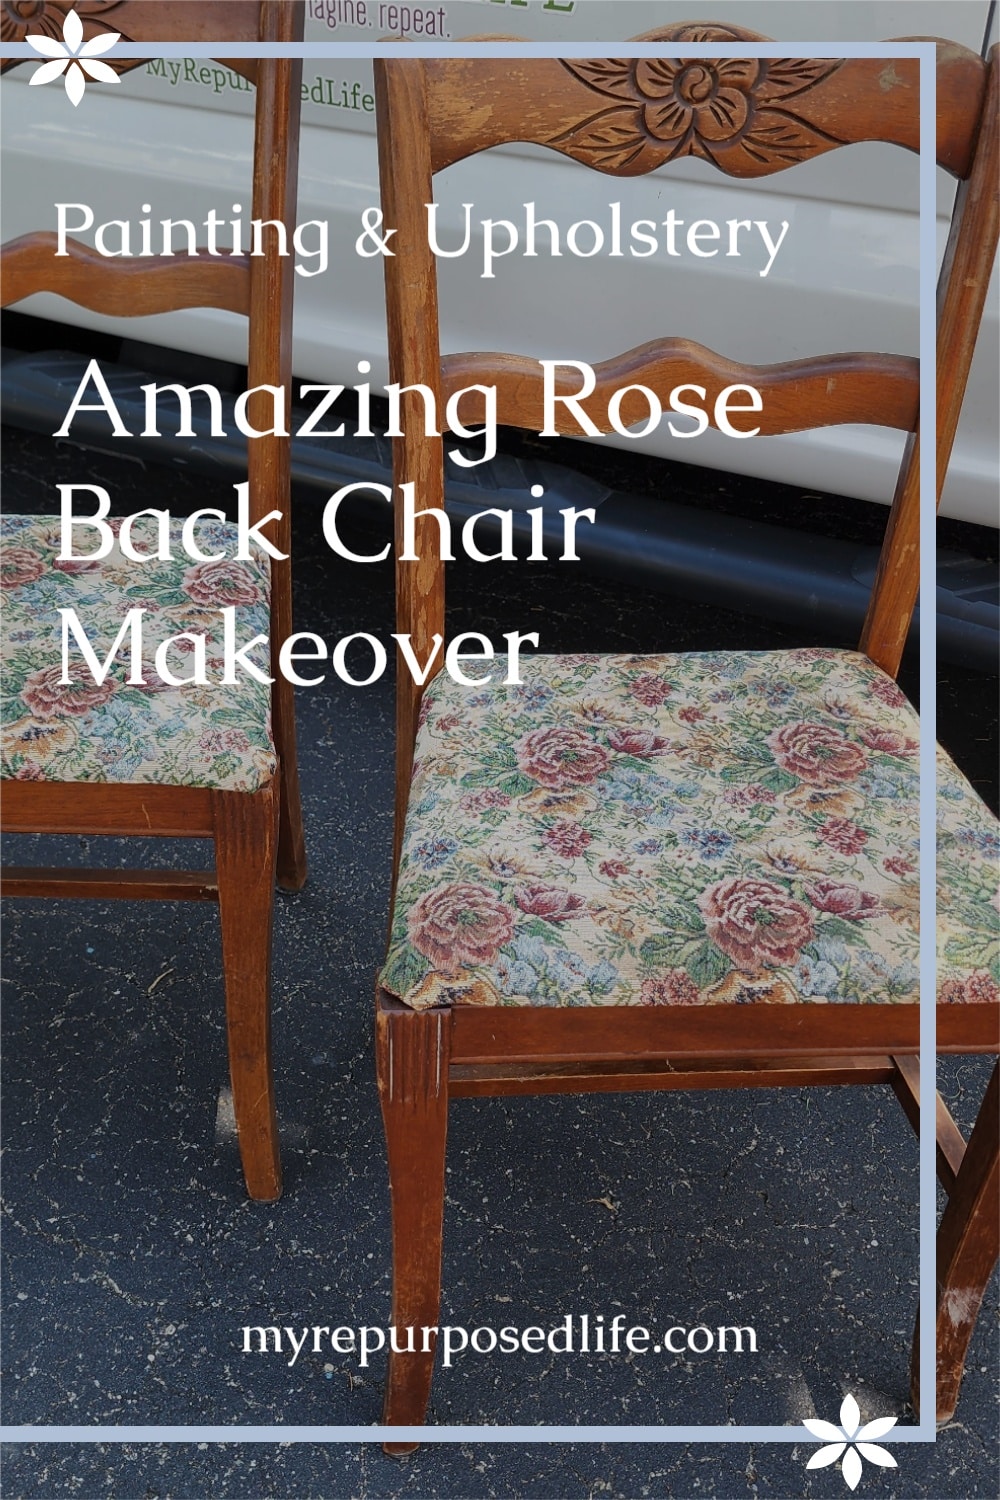
Makeover: Rose Back Chair | Paint and Upholstery
As an Amazon Associate, I earn from qualifying purchases.
In this post, you’ll get step-by-step instructions on how to paint and reupholster an antique rose back dining chair. This is my contribution to the Thrift Store Decor Team, be sure to visit them and check out their awesome projects!
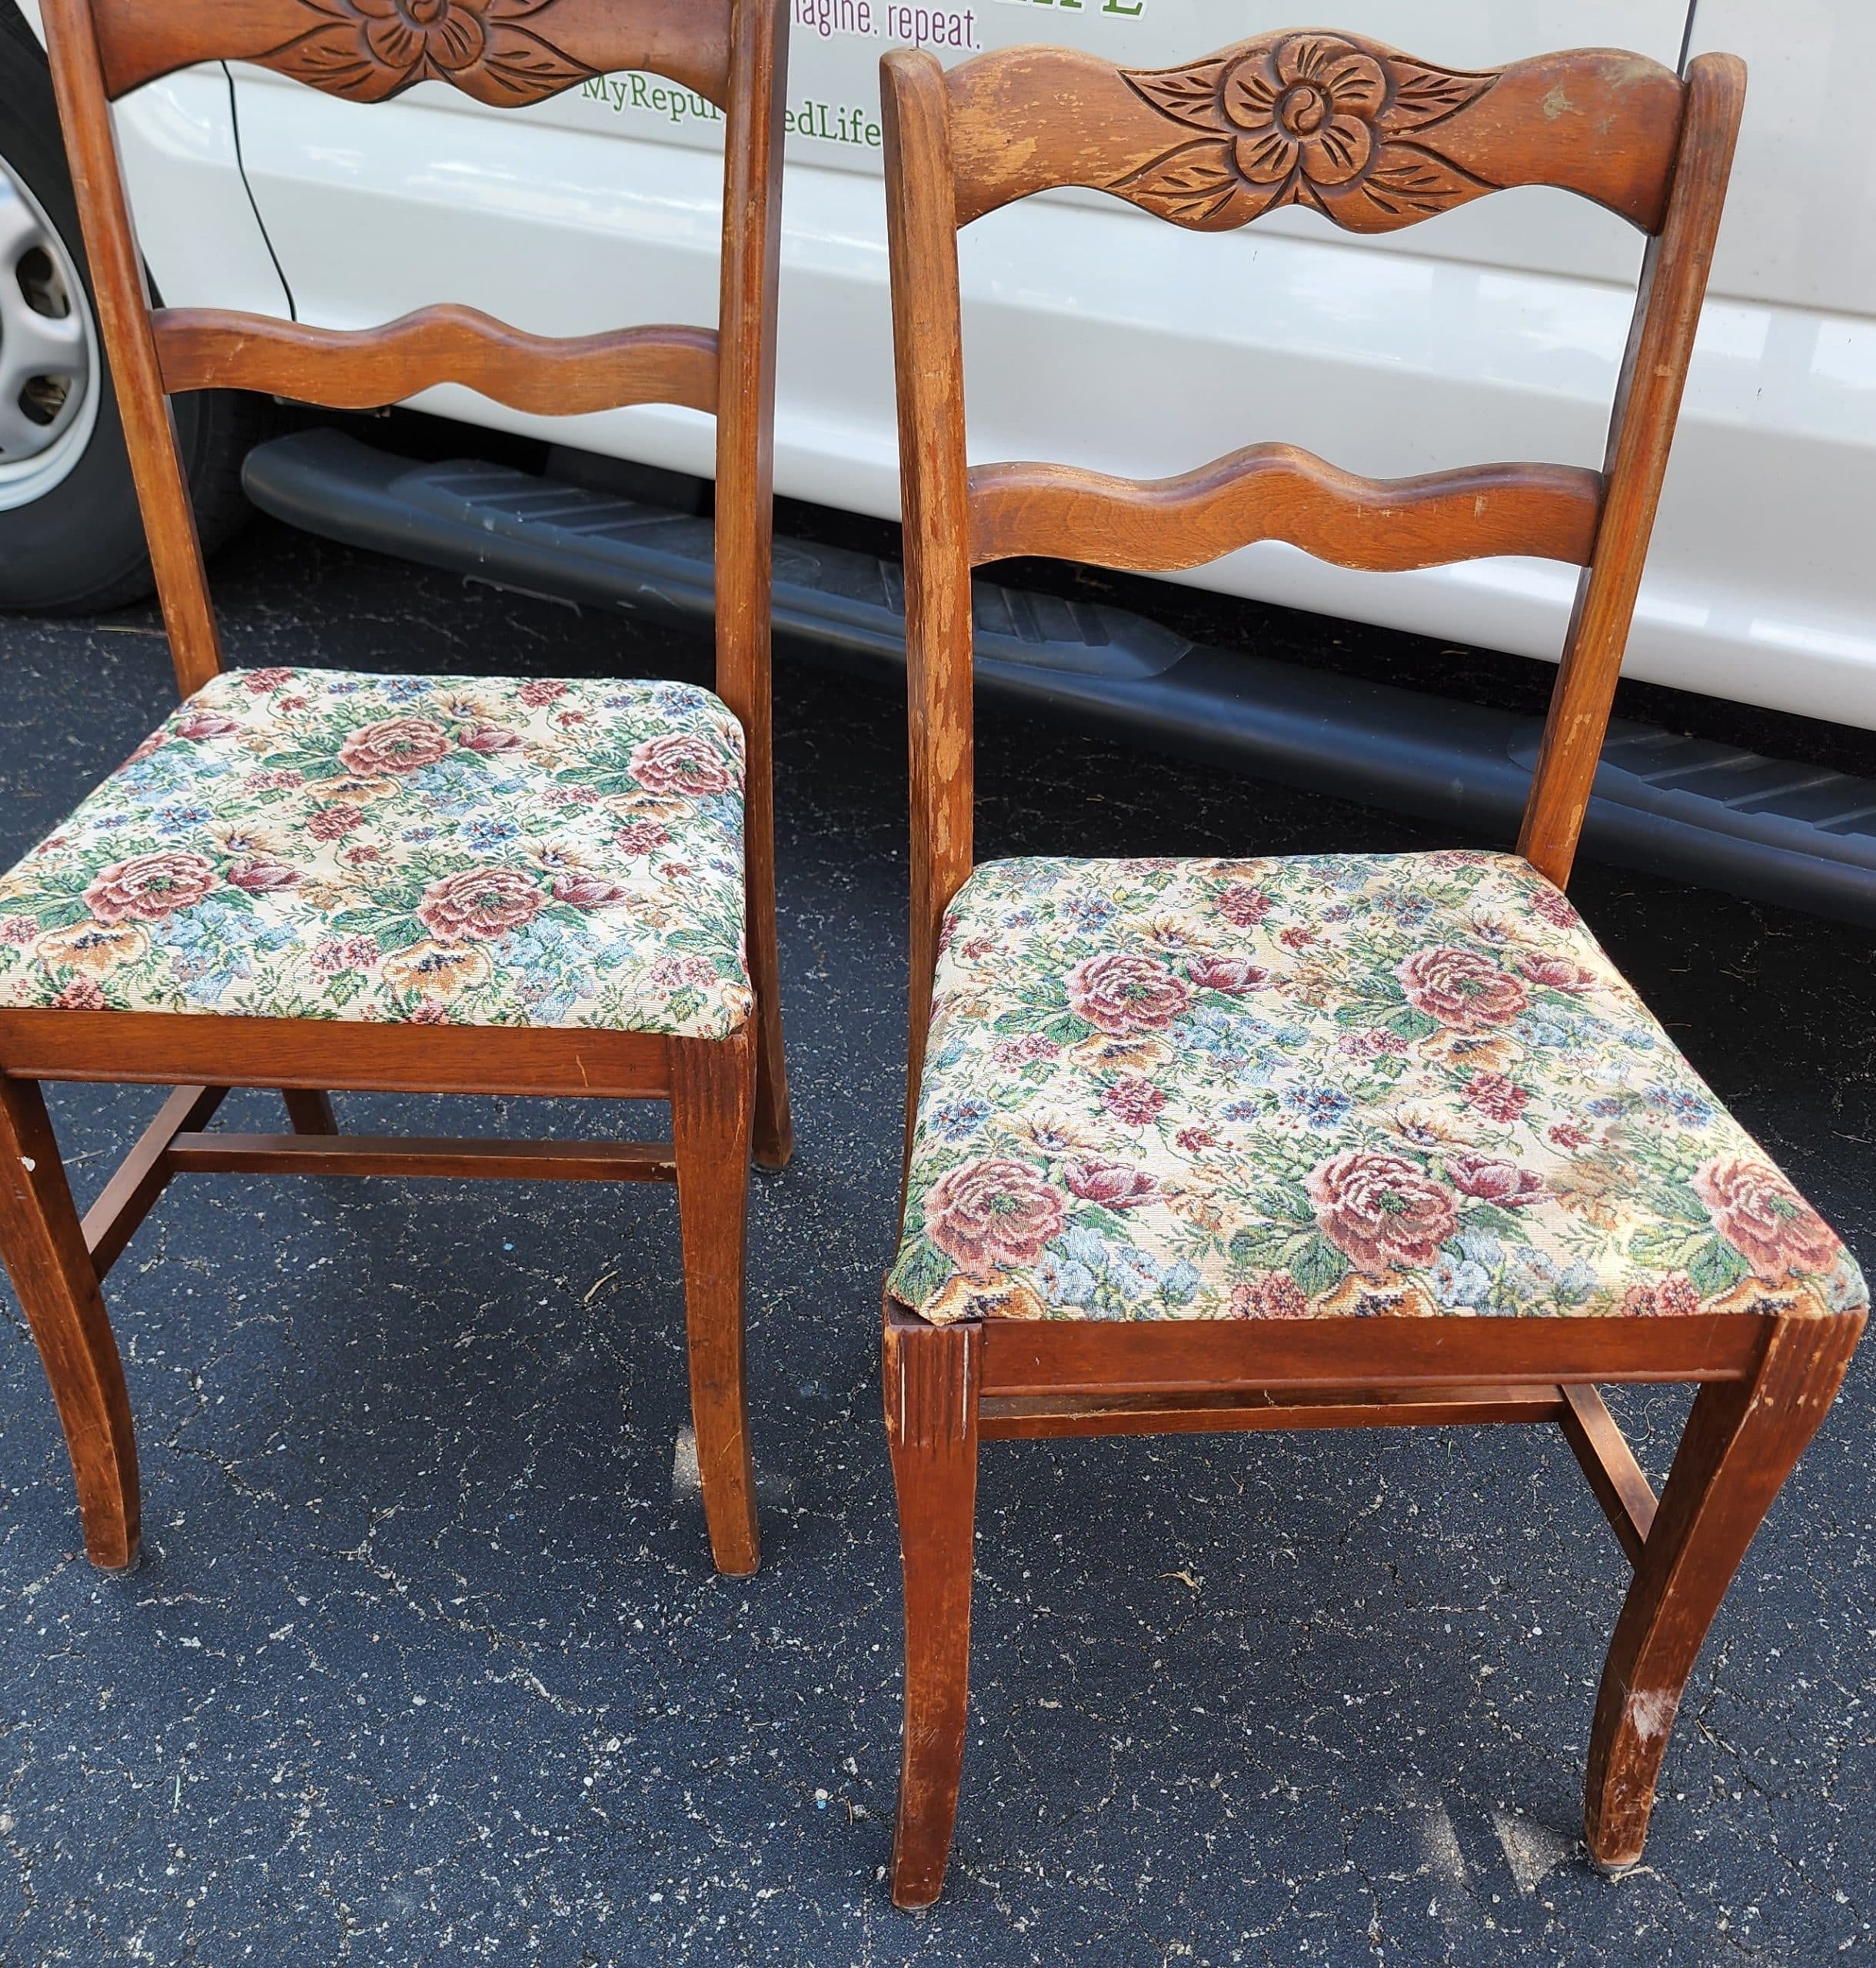
I got a great deal on these vintage rose back wooden chairs from my buddy John at The White Elephant. He knows how much I love doing makeovers on orphan wooden chairs. The rose pattern looks really pretty, but after a little paint they are actually stunning!
see more chair projects here

This is our Thrift Store Day. Be sure to check out all the projects below.
Tools and Materials
- Screwdriver
- Staple Puller
- Deglosser
- Chip Brush
- Latex Gloves
- Scrubby Pad
- Towel or Rag
- Paint
- Foam Roller
- Trim Brush
- Staple Gun
- Staples
- Sanding Sponge
- Plastic Putty Knife
- Double Sided Heavy Duty Tape
- Additional Screws
- Batting
- Fabric (I used an Eifel Tower Print)
- Felt Floor Protector Pads
Granted, you may not need all of these items depending on the condition of your old chairs. You will see the items in my list in the step by step images as I walk you through how I turned those old chairs into new dining room chairs.
Removing the Seat
Many of these antique wooden chairs have flat heads, so you probably will need a flat head screwdriver.
Related Content: Broken Cane Chair Seat
Examining The Wood
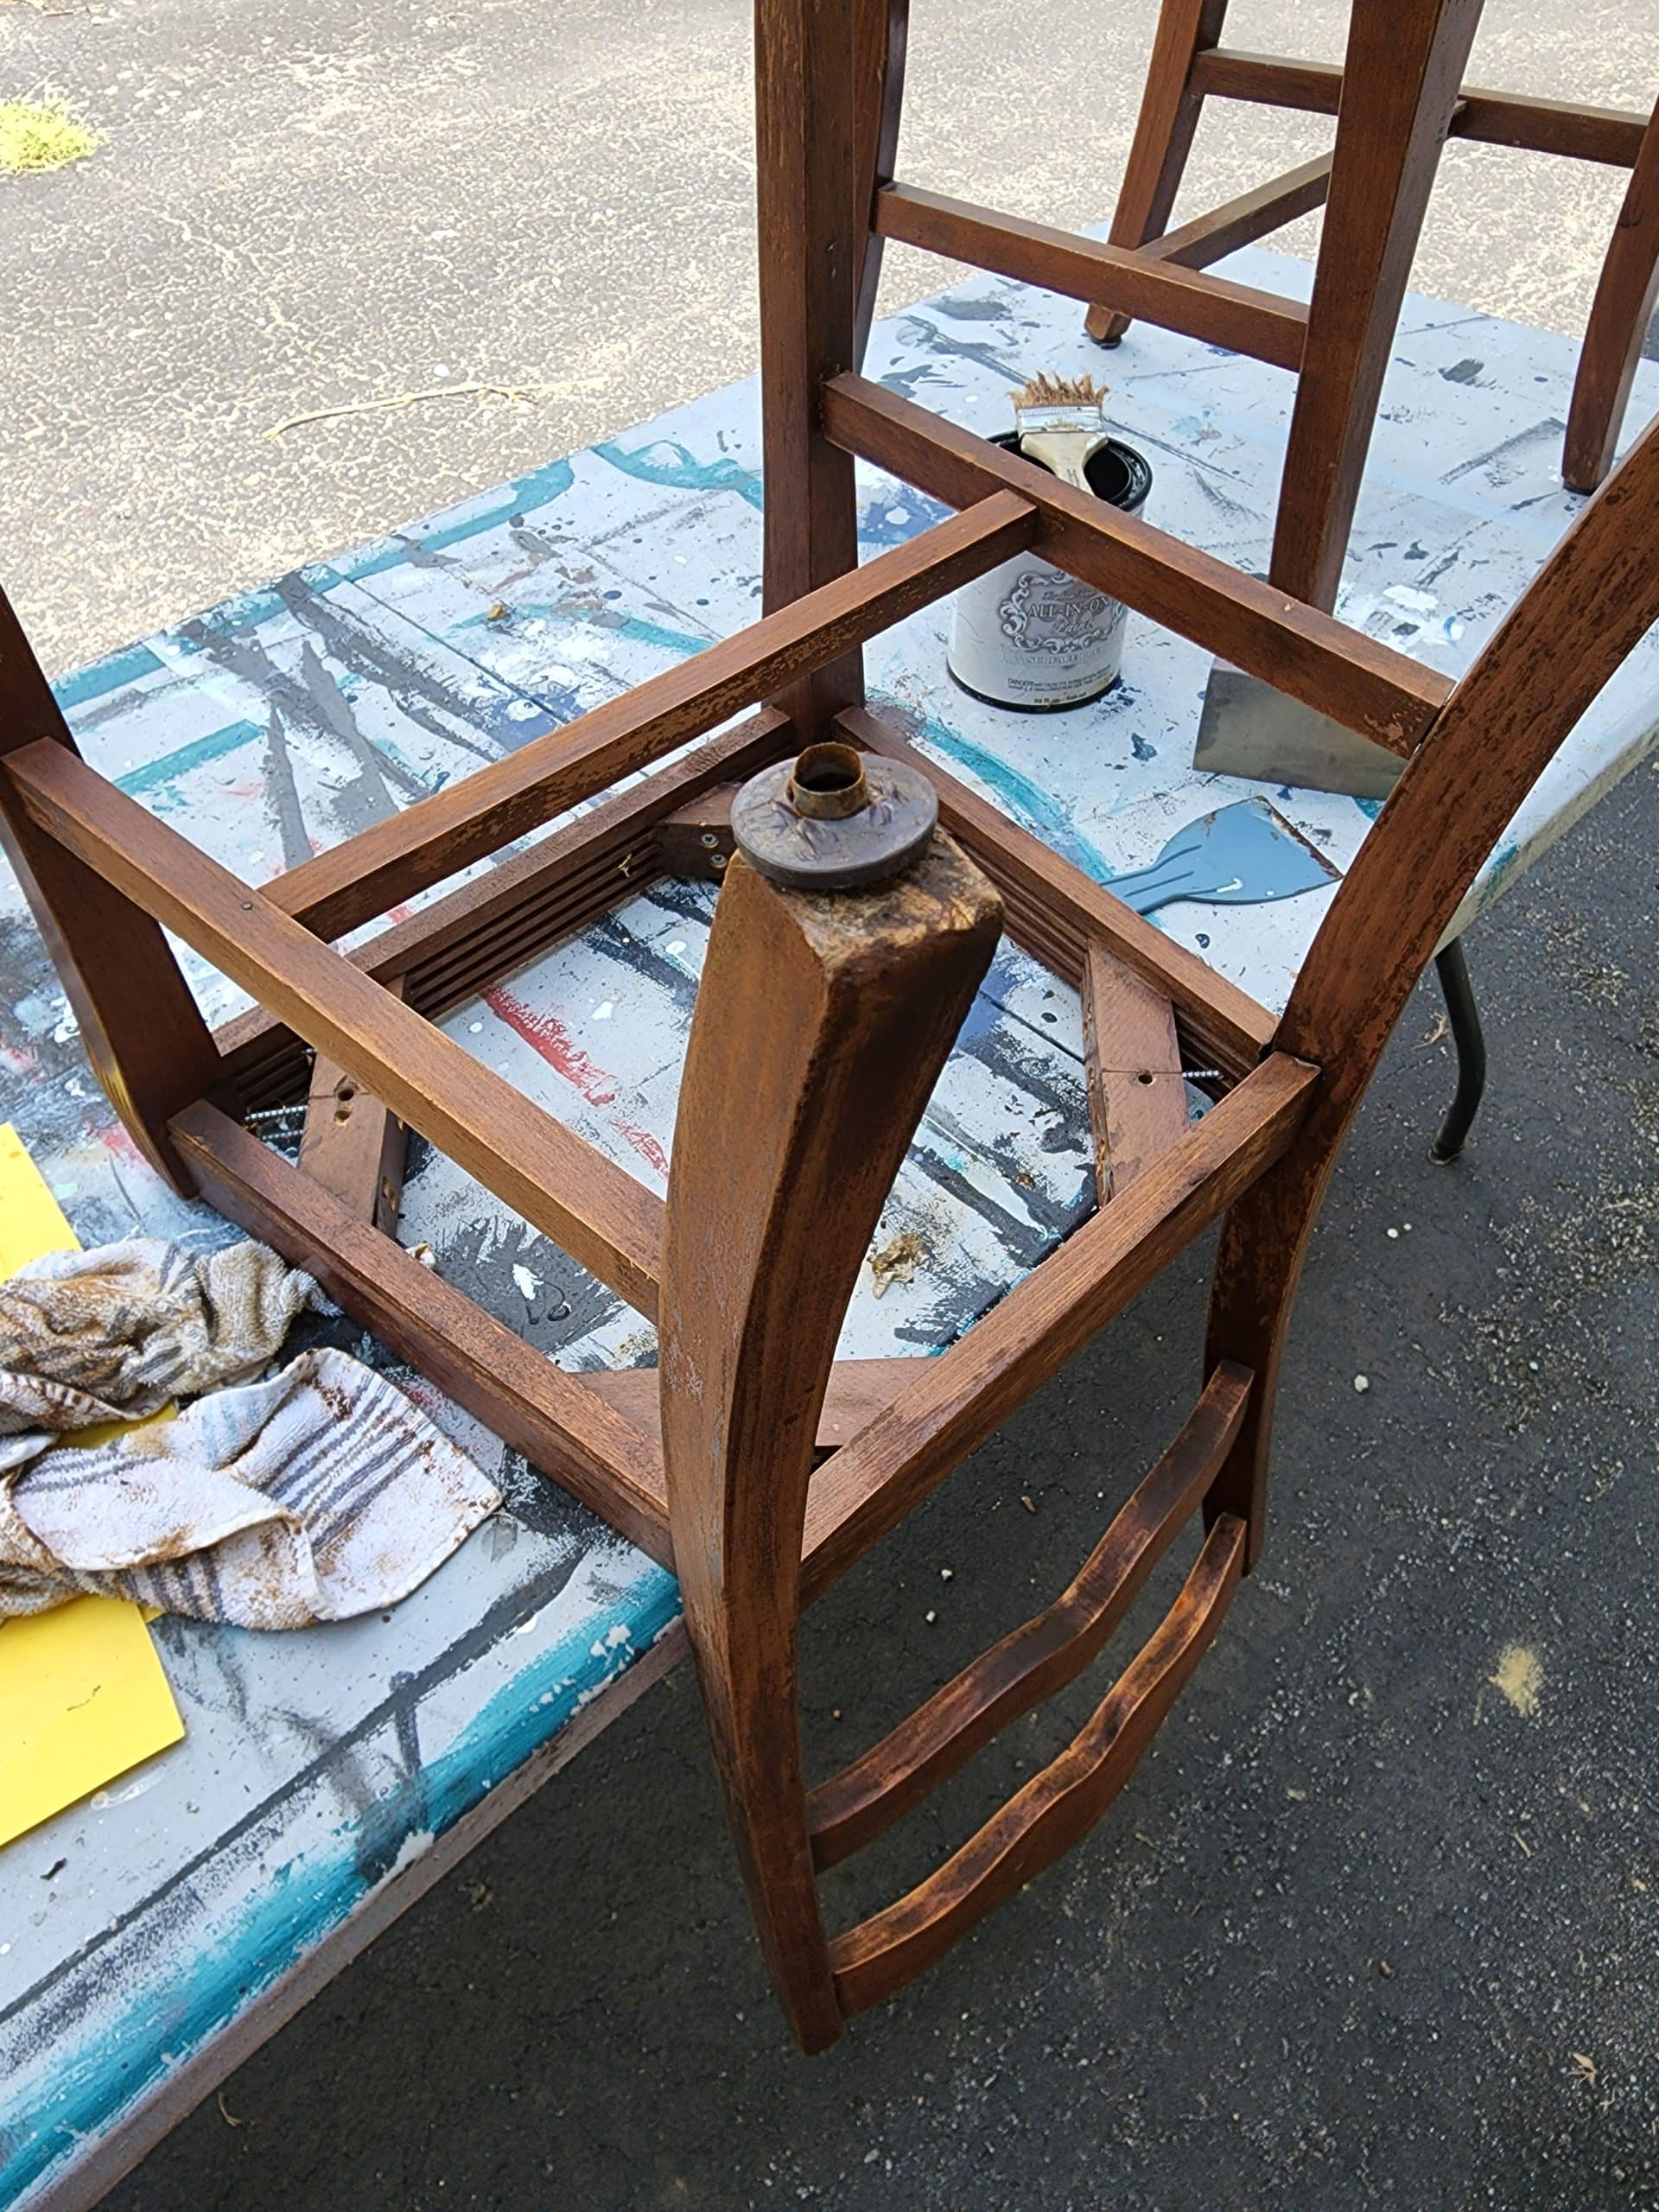
This is a good time to examine the wood for any loose joints or other problems. This was a pretty easy rose back chair makeover. However, I did choose to remove the old floor protectors.
Prepping the Chair for Paint
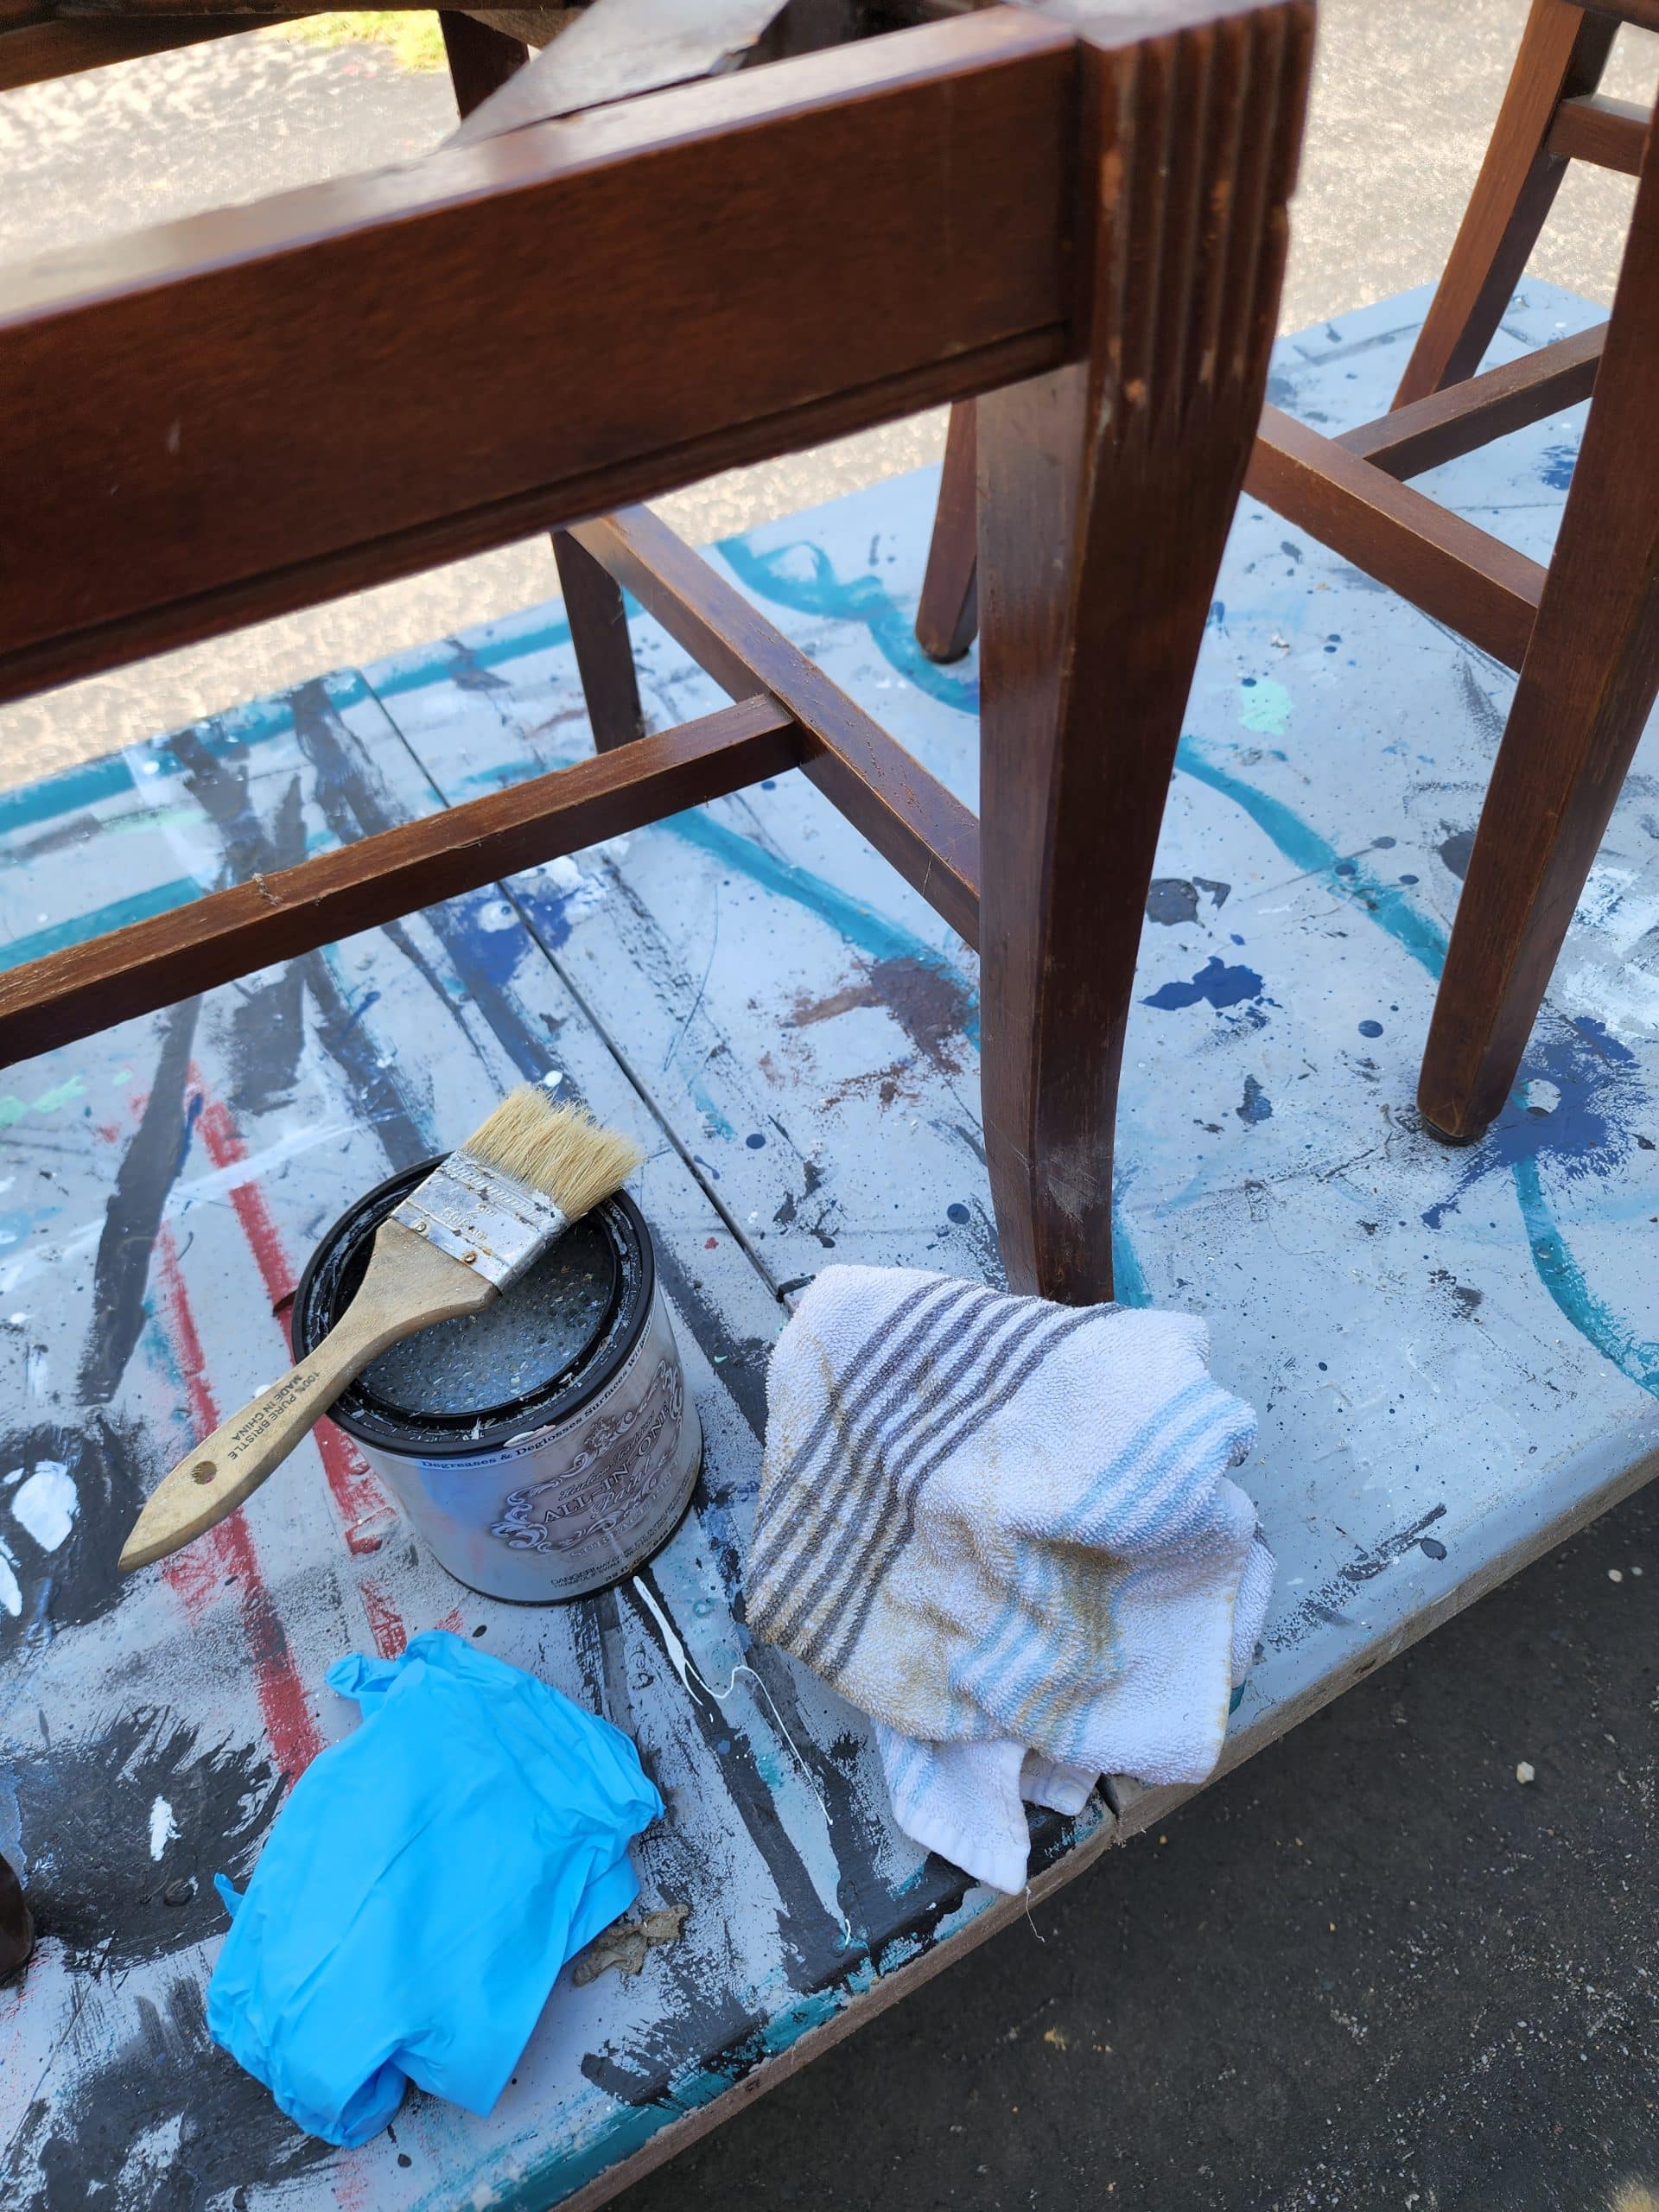
How do I prep wooden furniture for painting? I use Heirloom Traditions Paint Surface Prep (deglosser). First, I apply the liquid prep with a chip brush, scrub the rough places with scrubby pad, and then wipe it down with a rag or towel. I prefer to use latex gloves for this task.
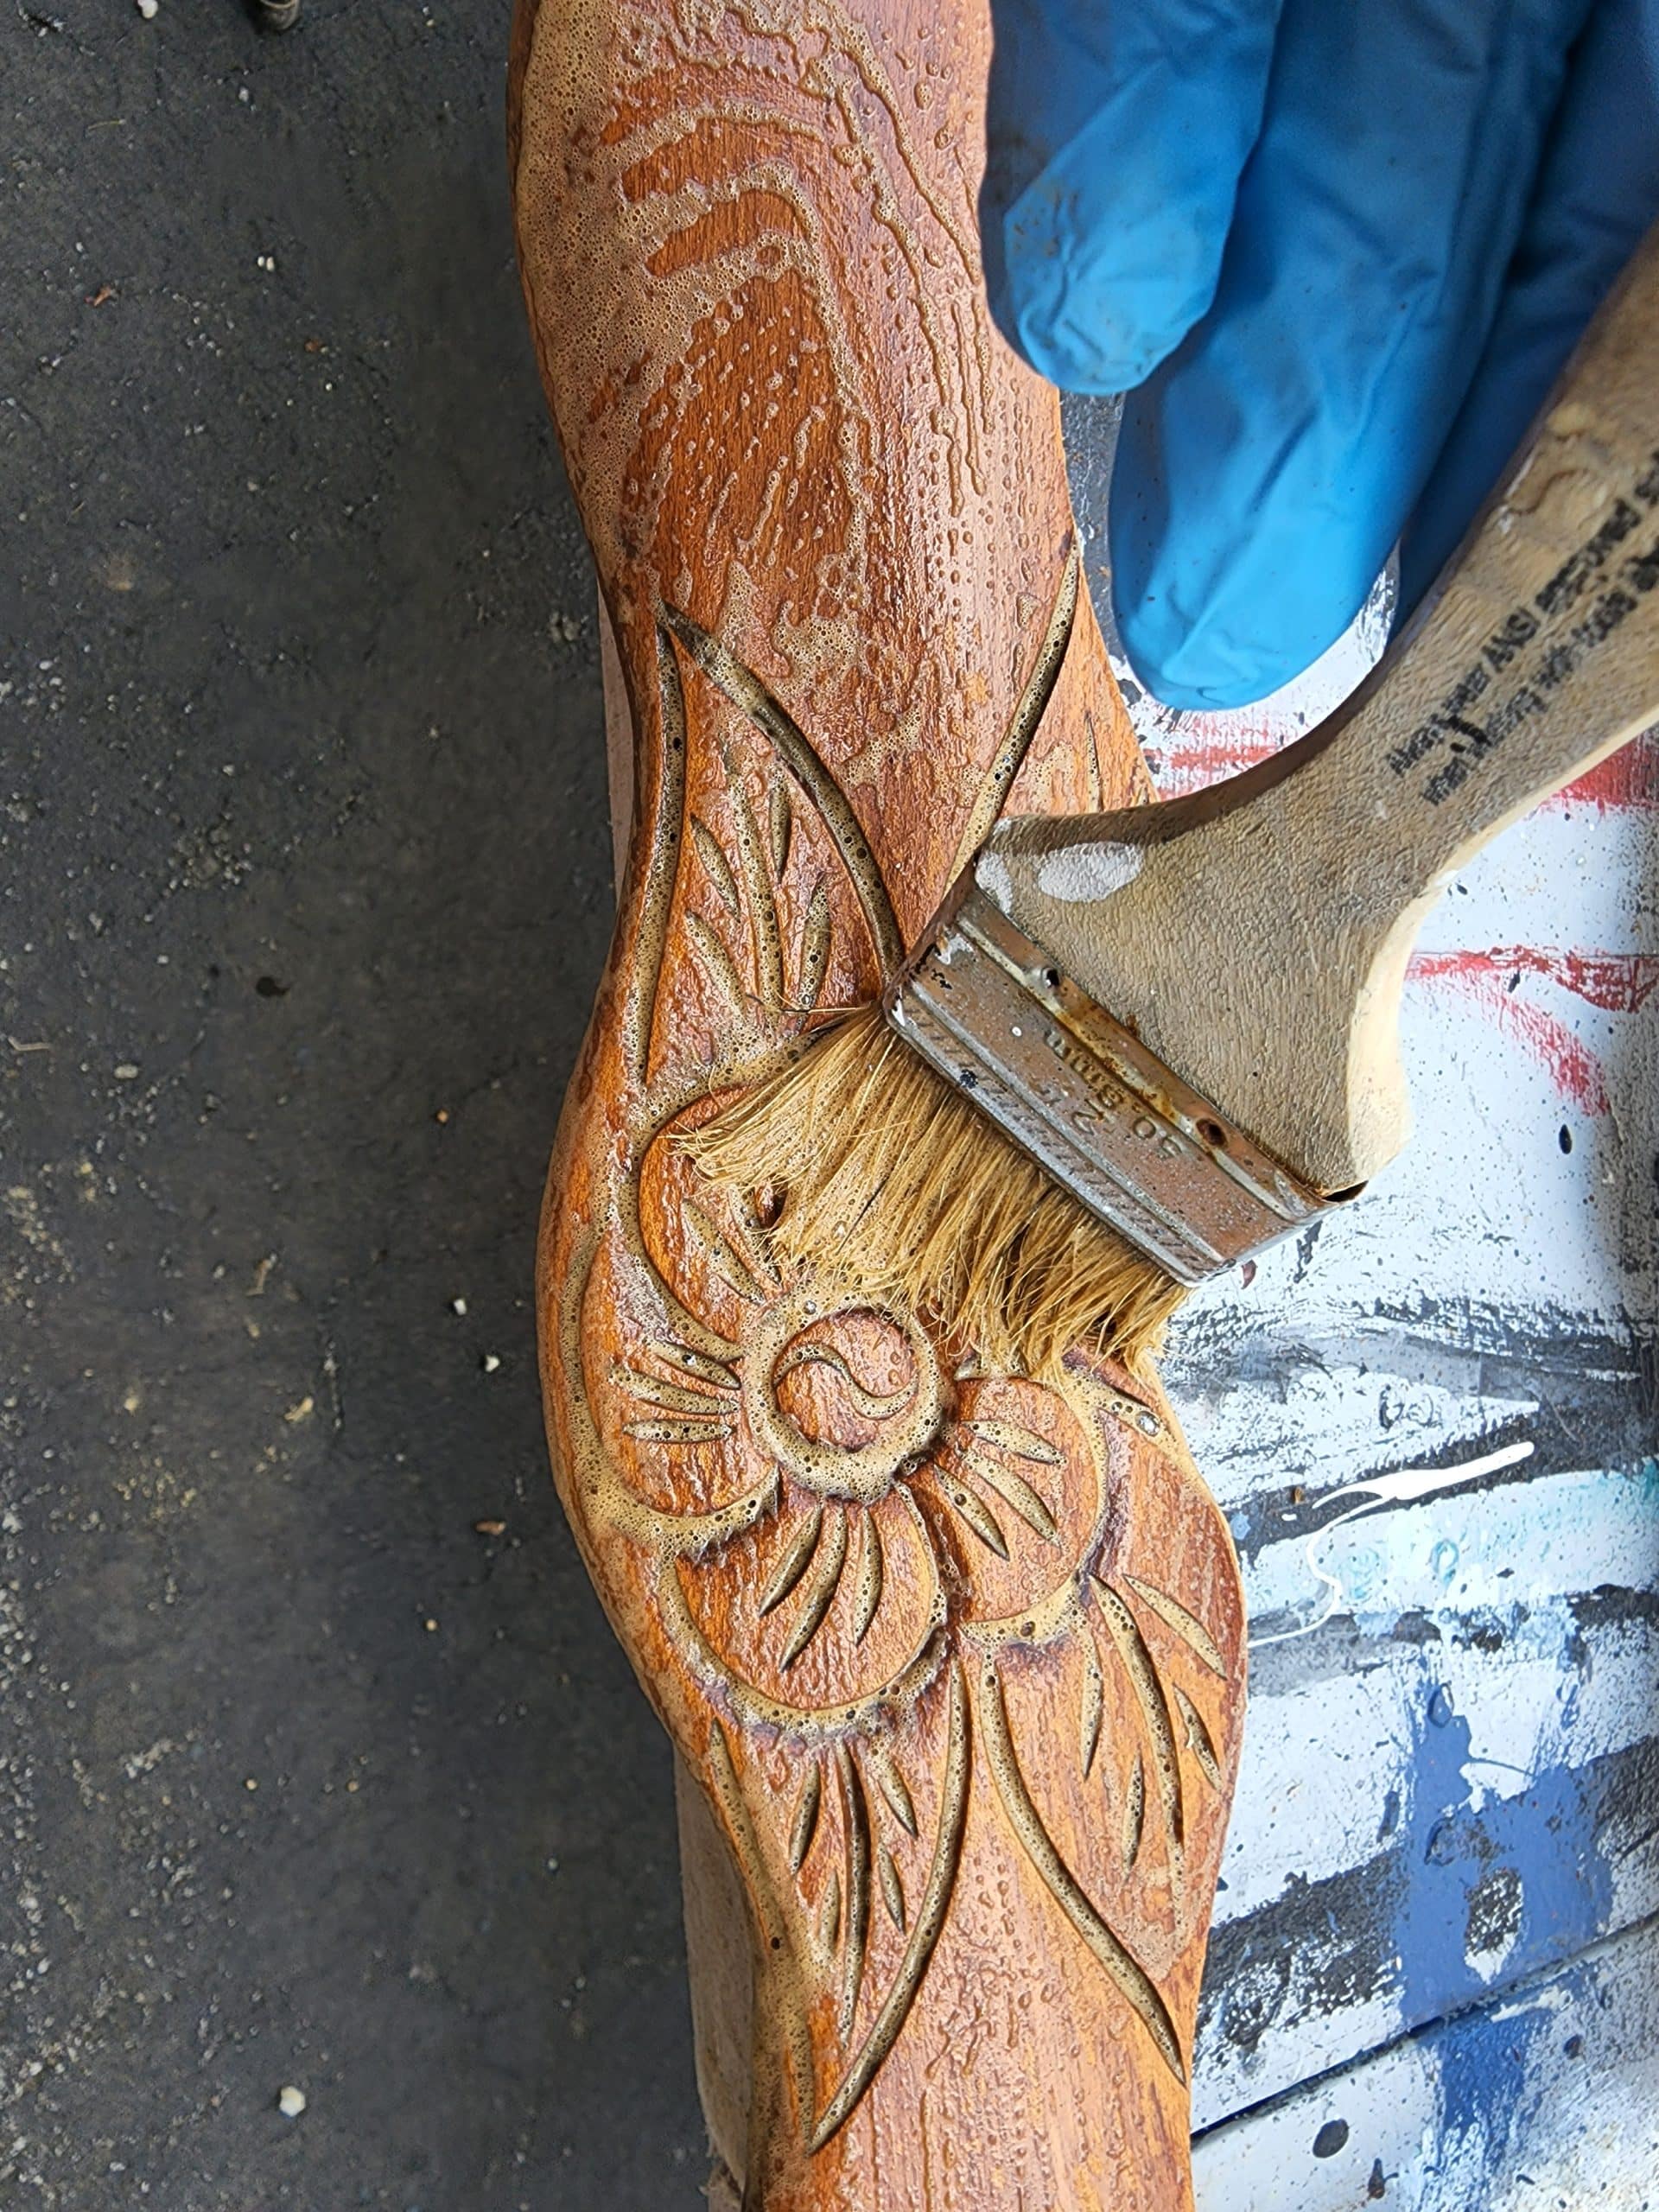
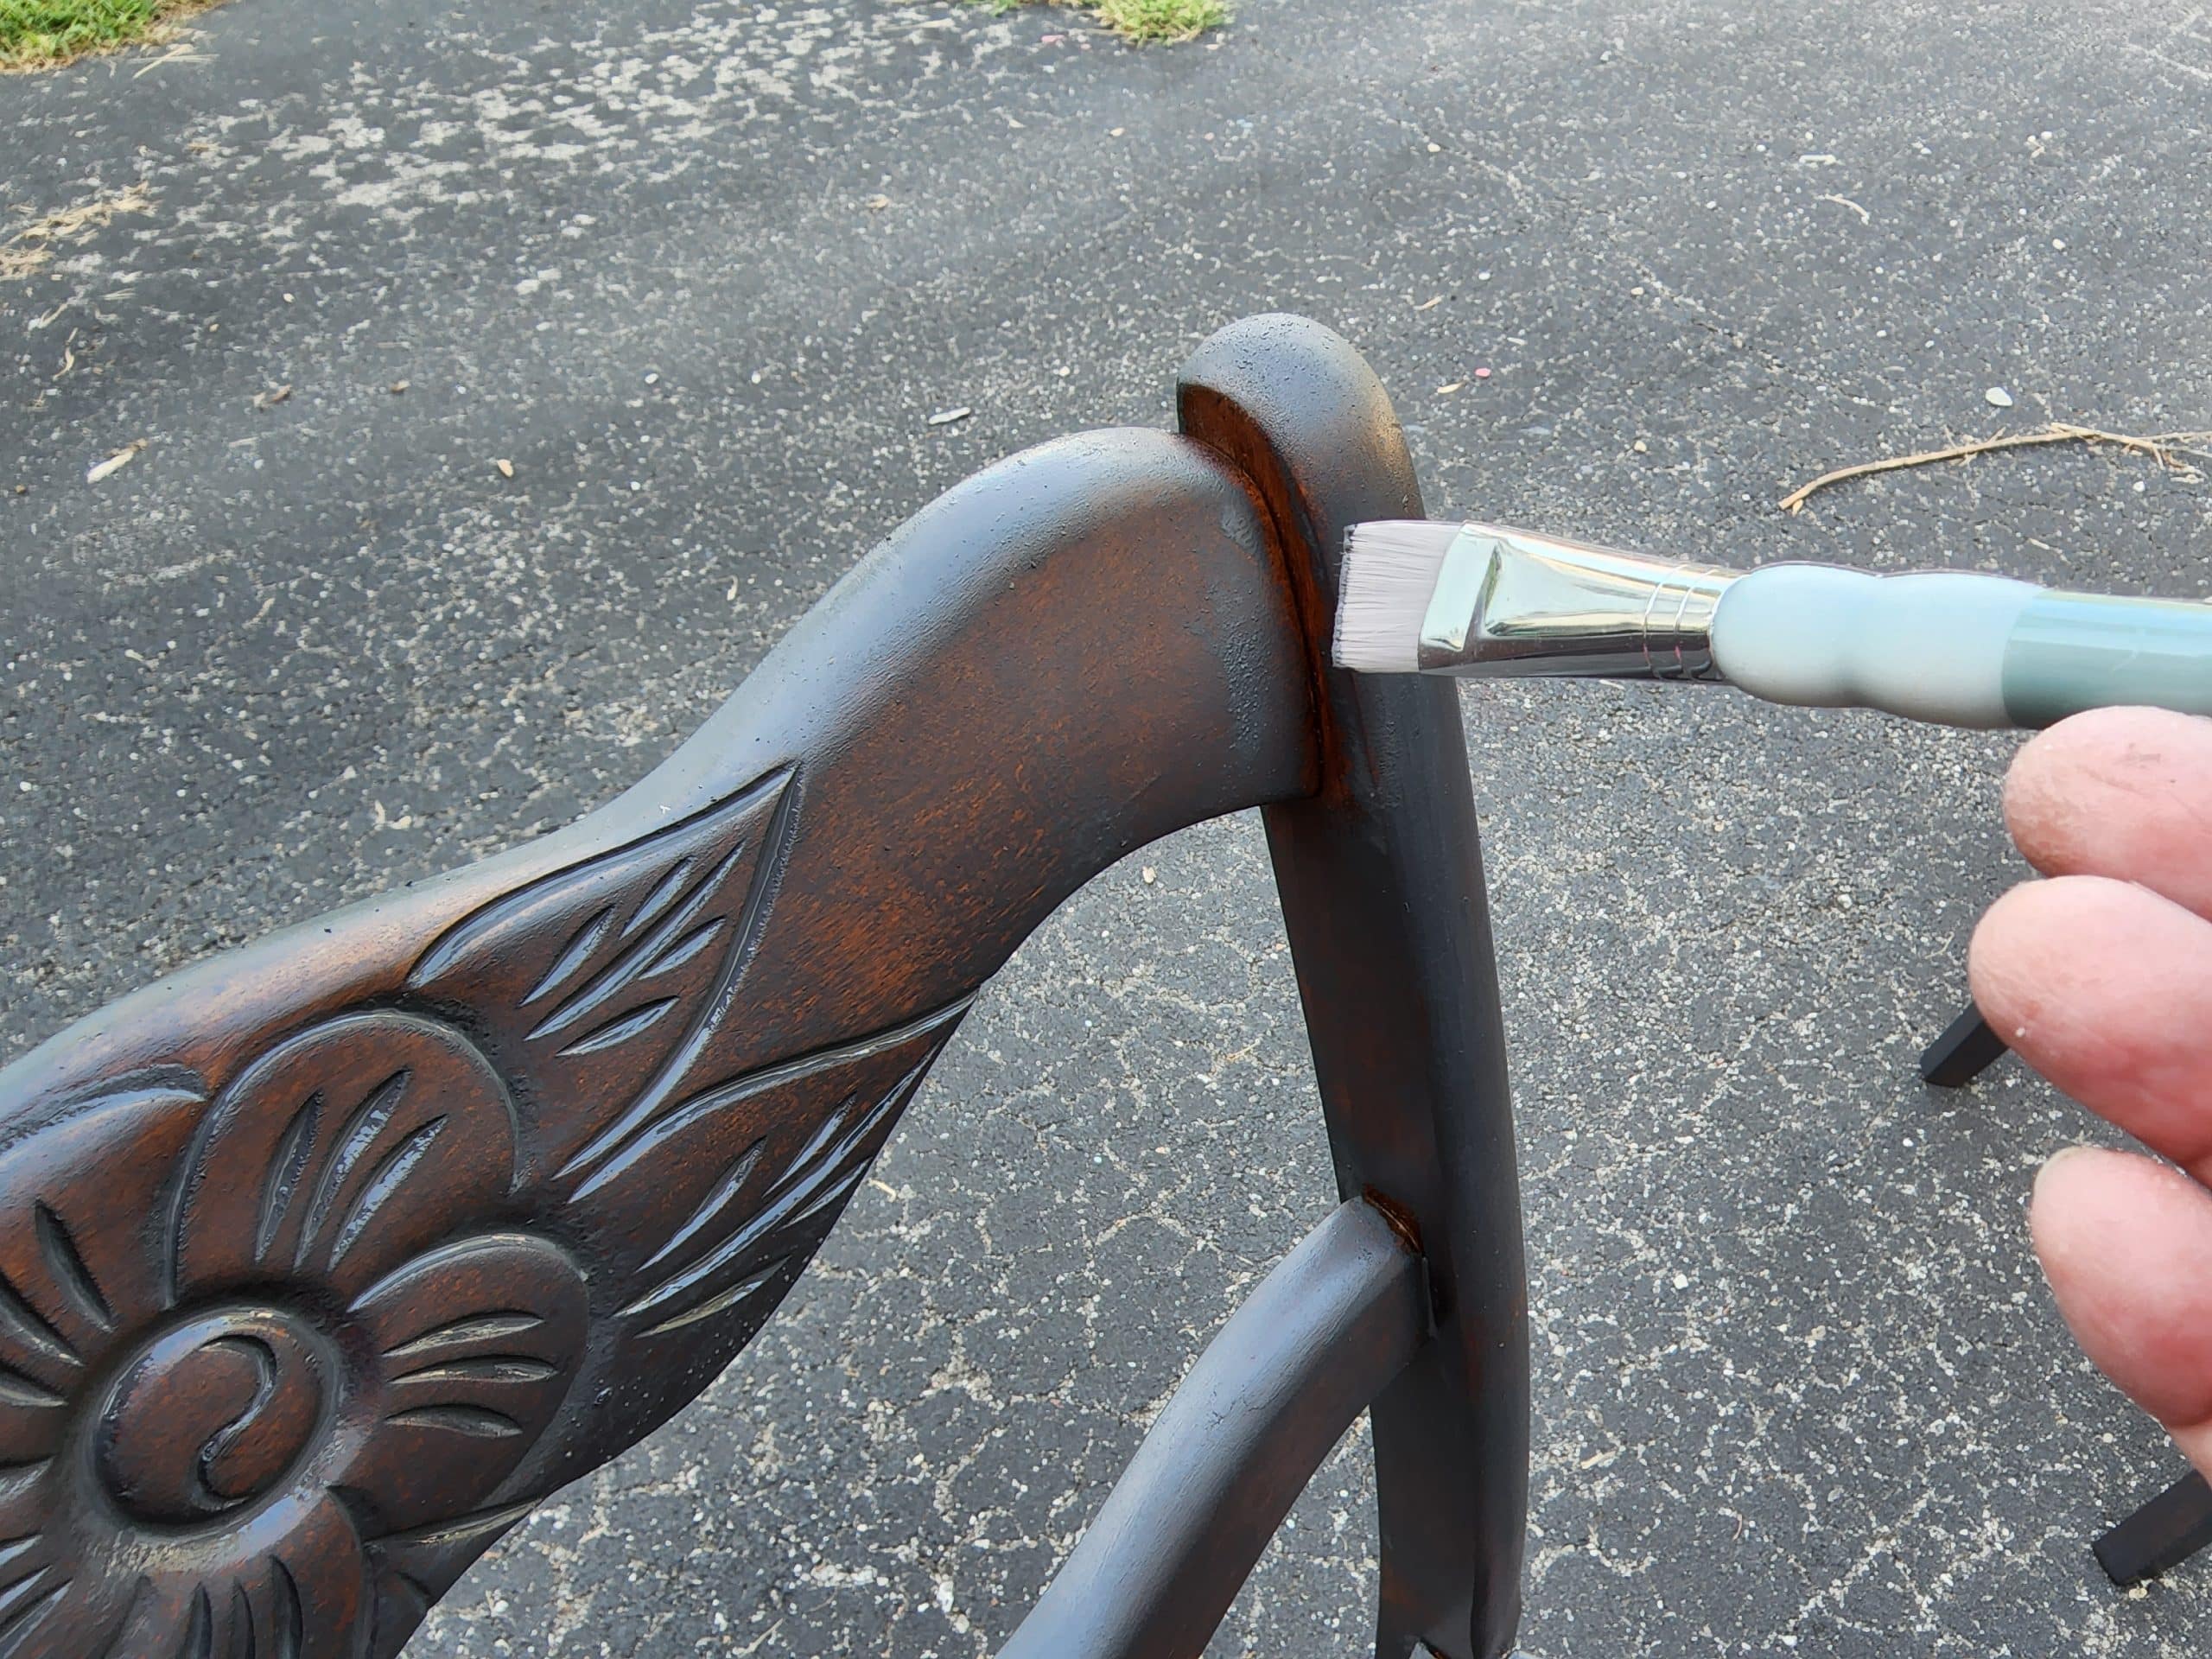
As you can see, the cheap chip brush does an excellent job of getting the deglosser into the crevices. However, there was some buildup of gunk, in the recesses of the rose and leaves on the chair back. That is where the plastic putty knife came in handy. It removed the buildup without gouging the wooden chair.

The screwdriver could be used for this, just be careful NOT to damage the wood.
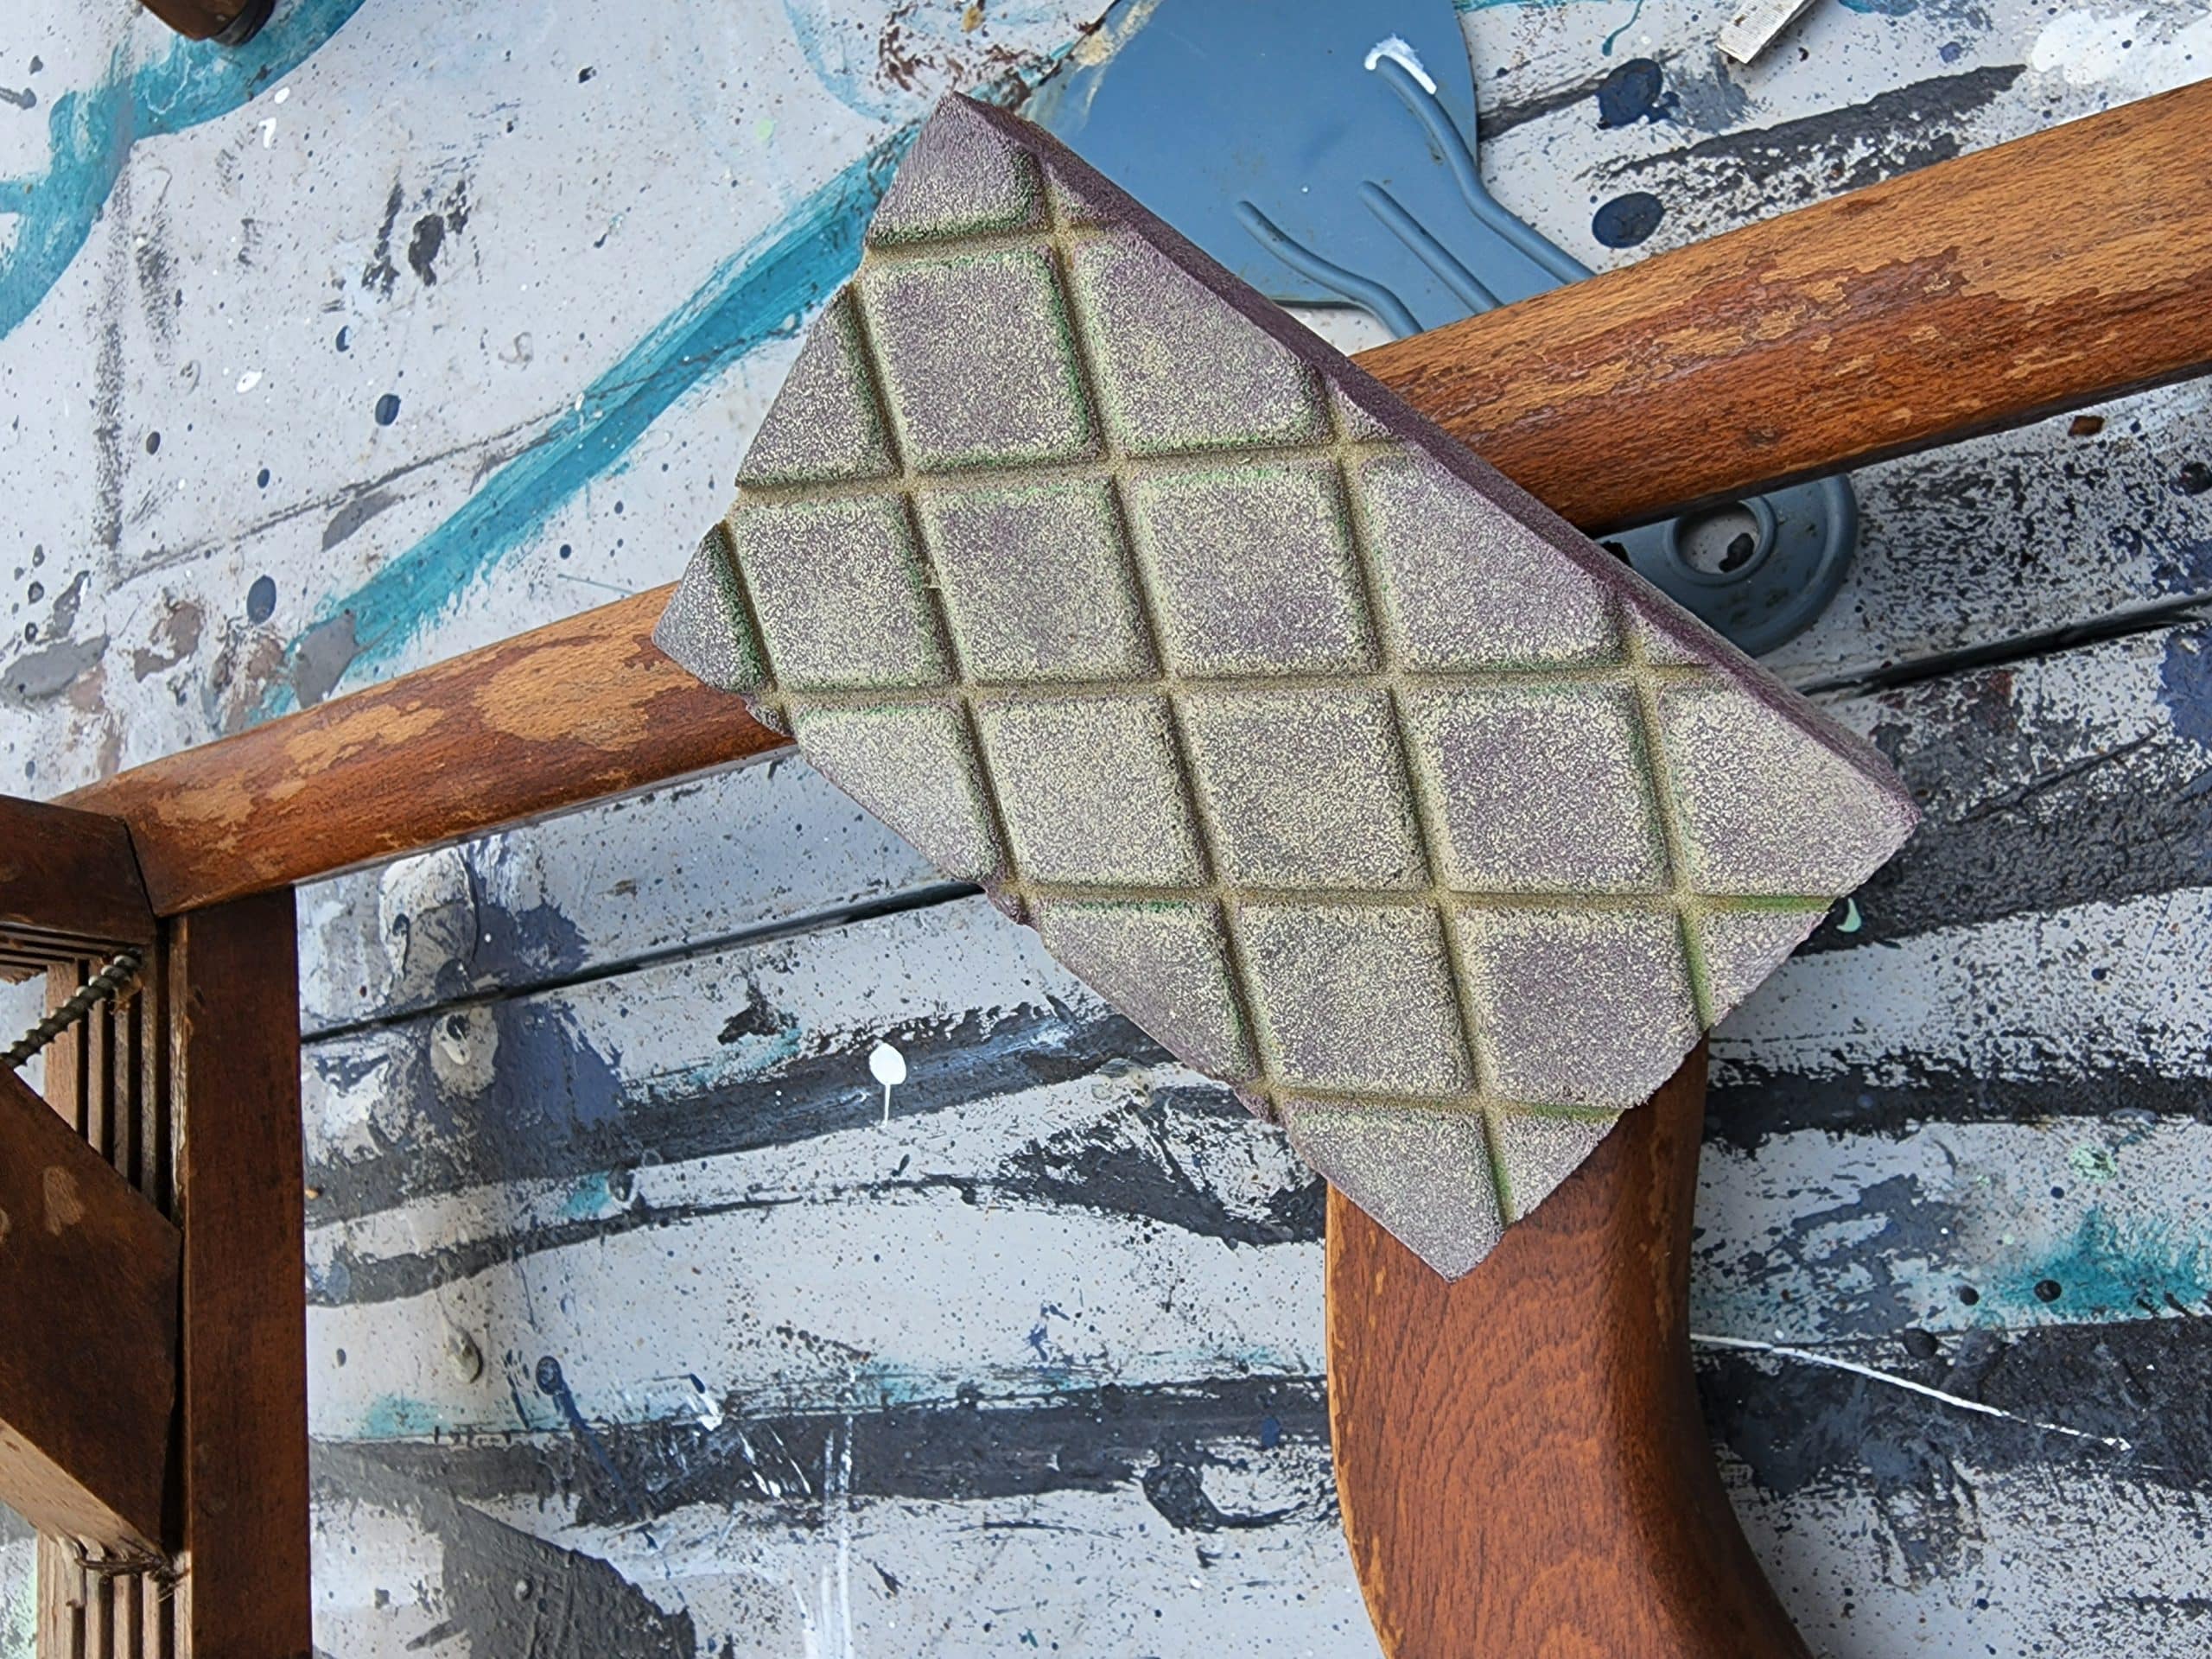
The finish on these antique chairs was rough, as you can see in the photo above. To insure a smooth finish with the paint, the sanding sponge was used to remove any flaking of the original finish.
Painting Furniture with a Foam Roller
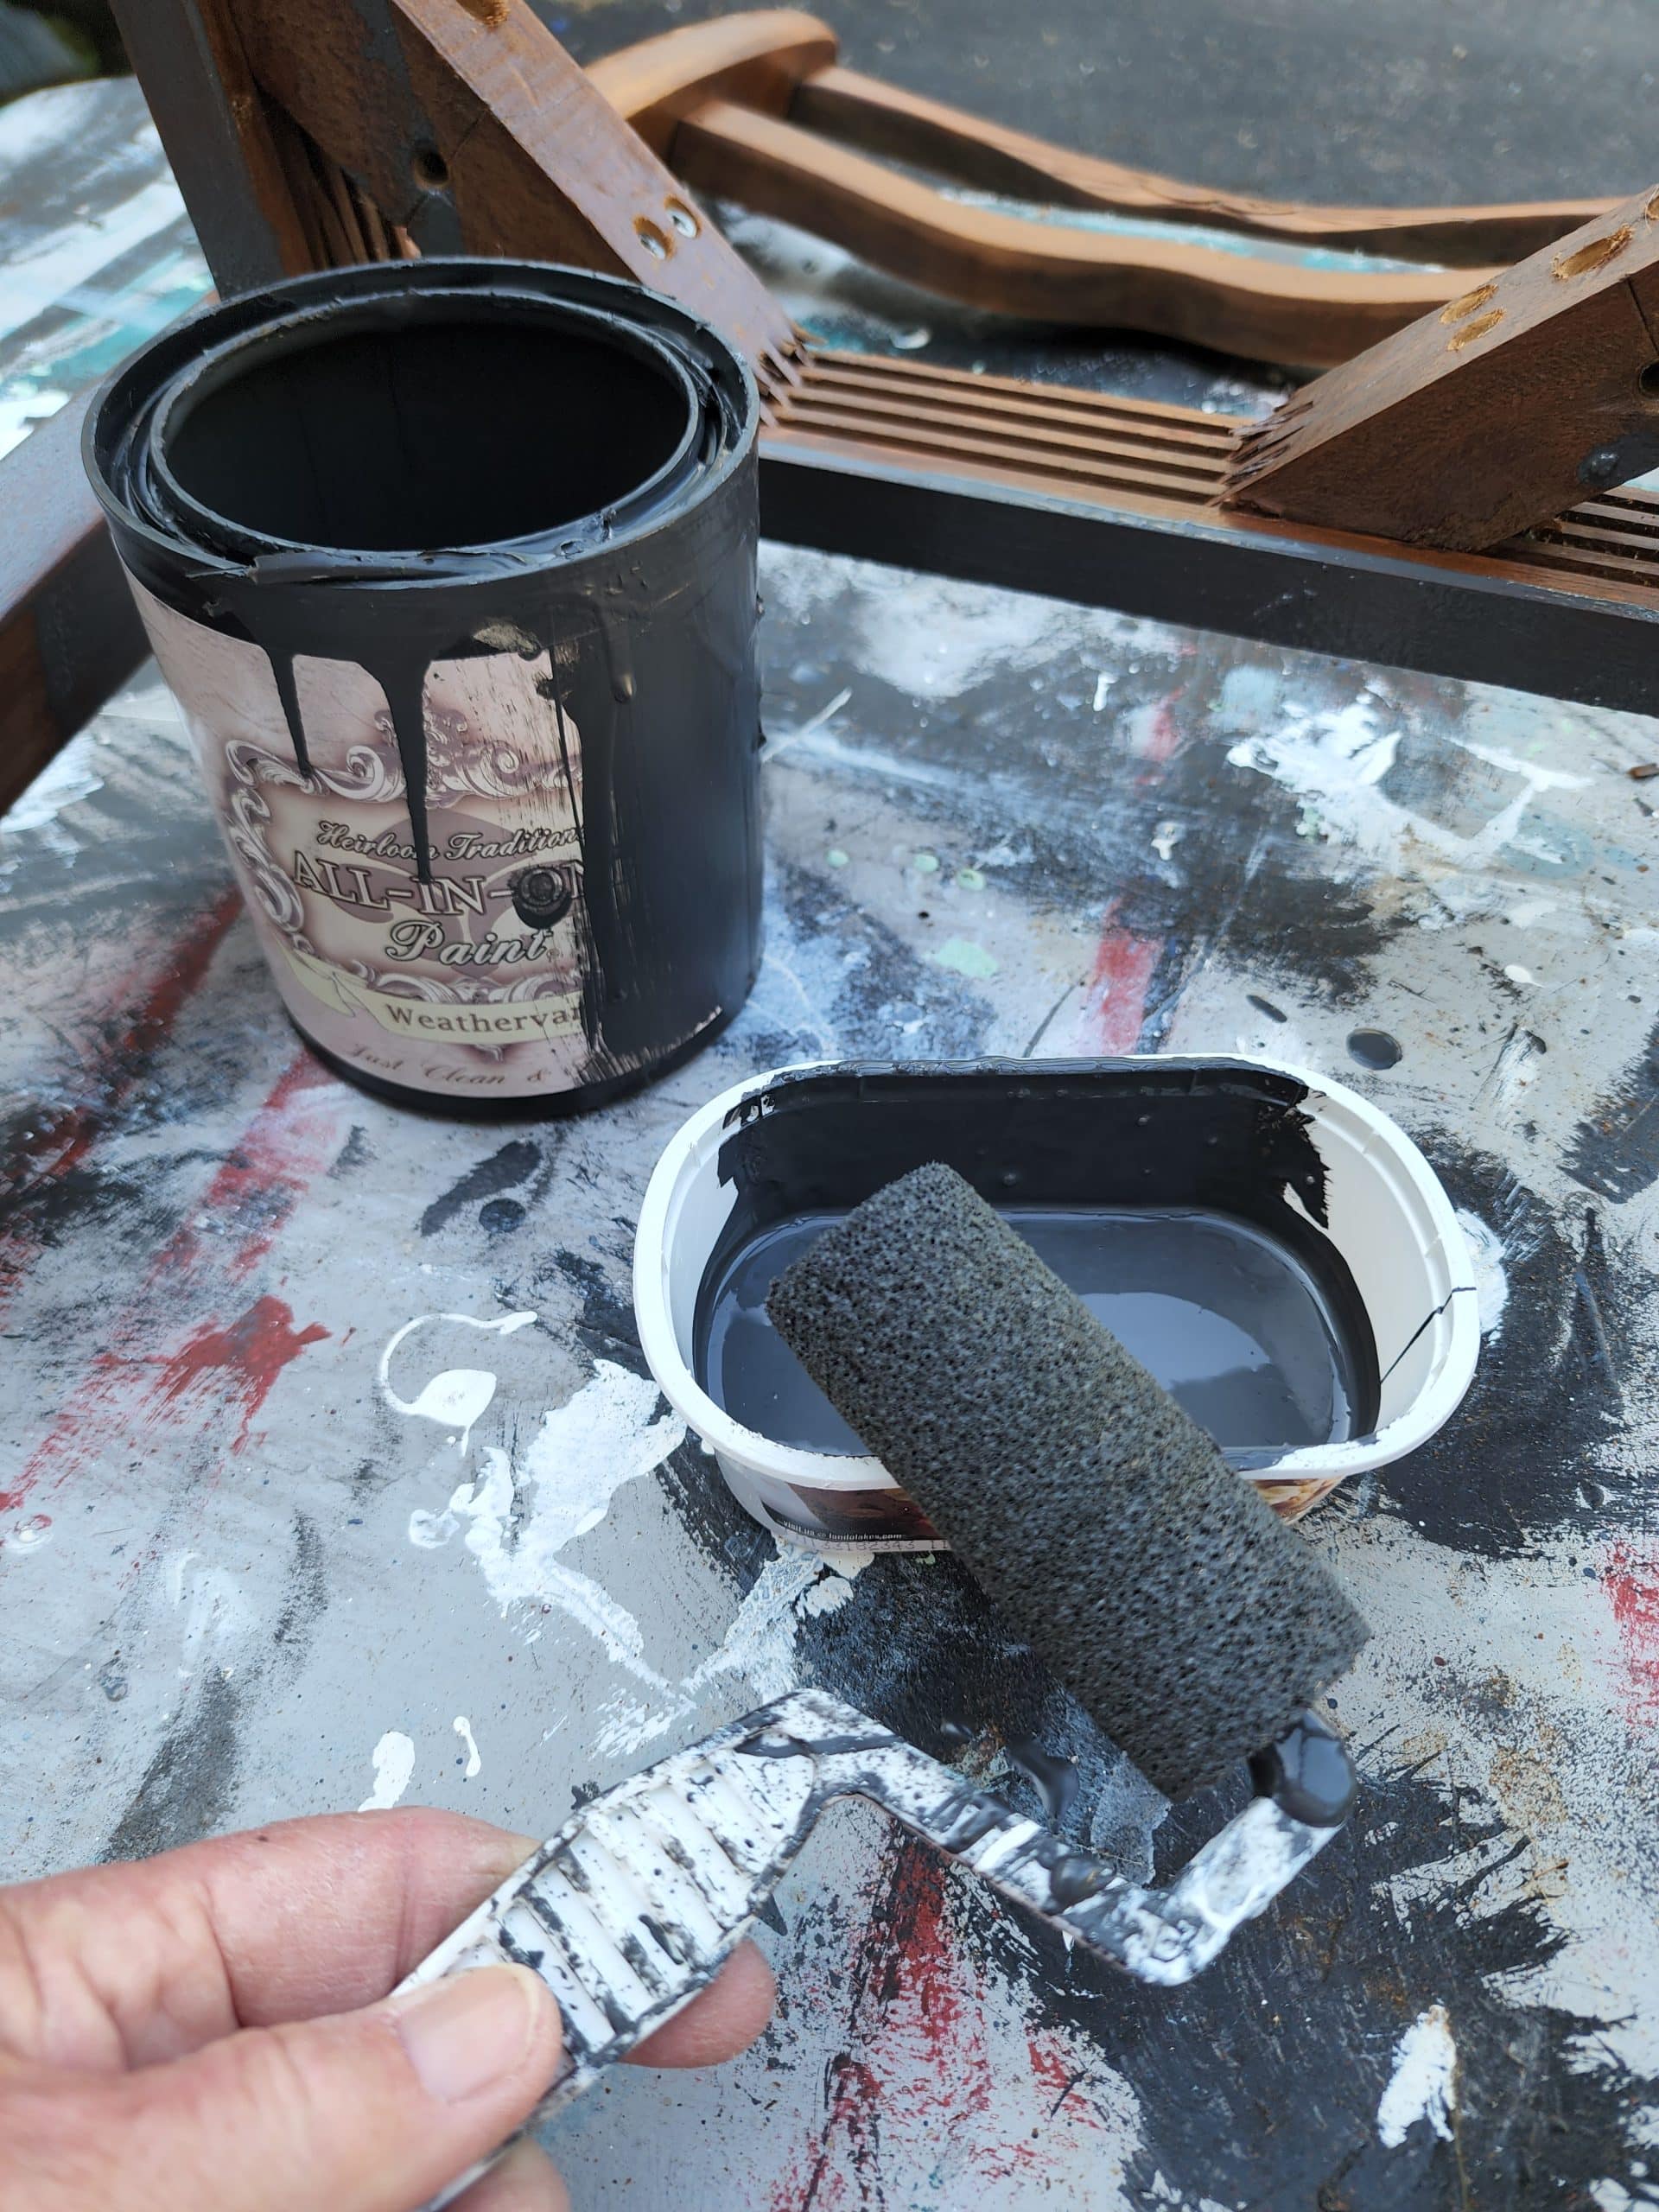
I really like using these High Capacity Foam Pro Foam Rollers for a smooth finish, free of brush strokes.
After the first light coat, I used a small artist’s brush to get to the nooks and crannies where the roller didn’t get.
Rose Back Chairs After First Coat
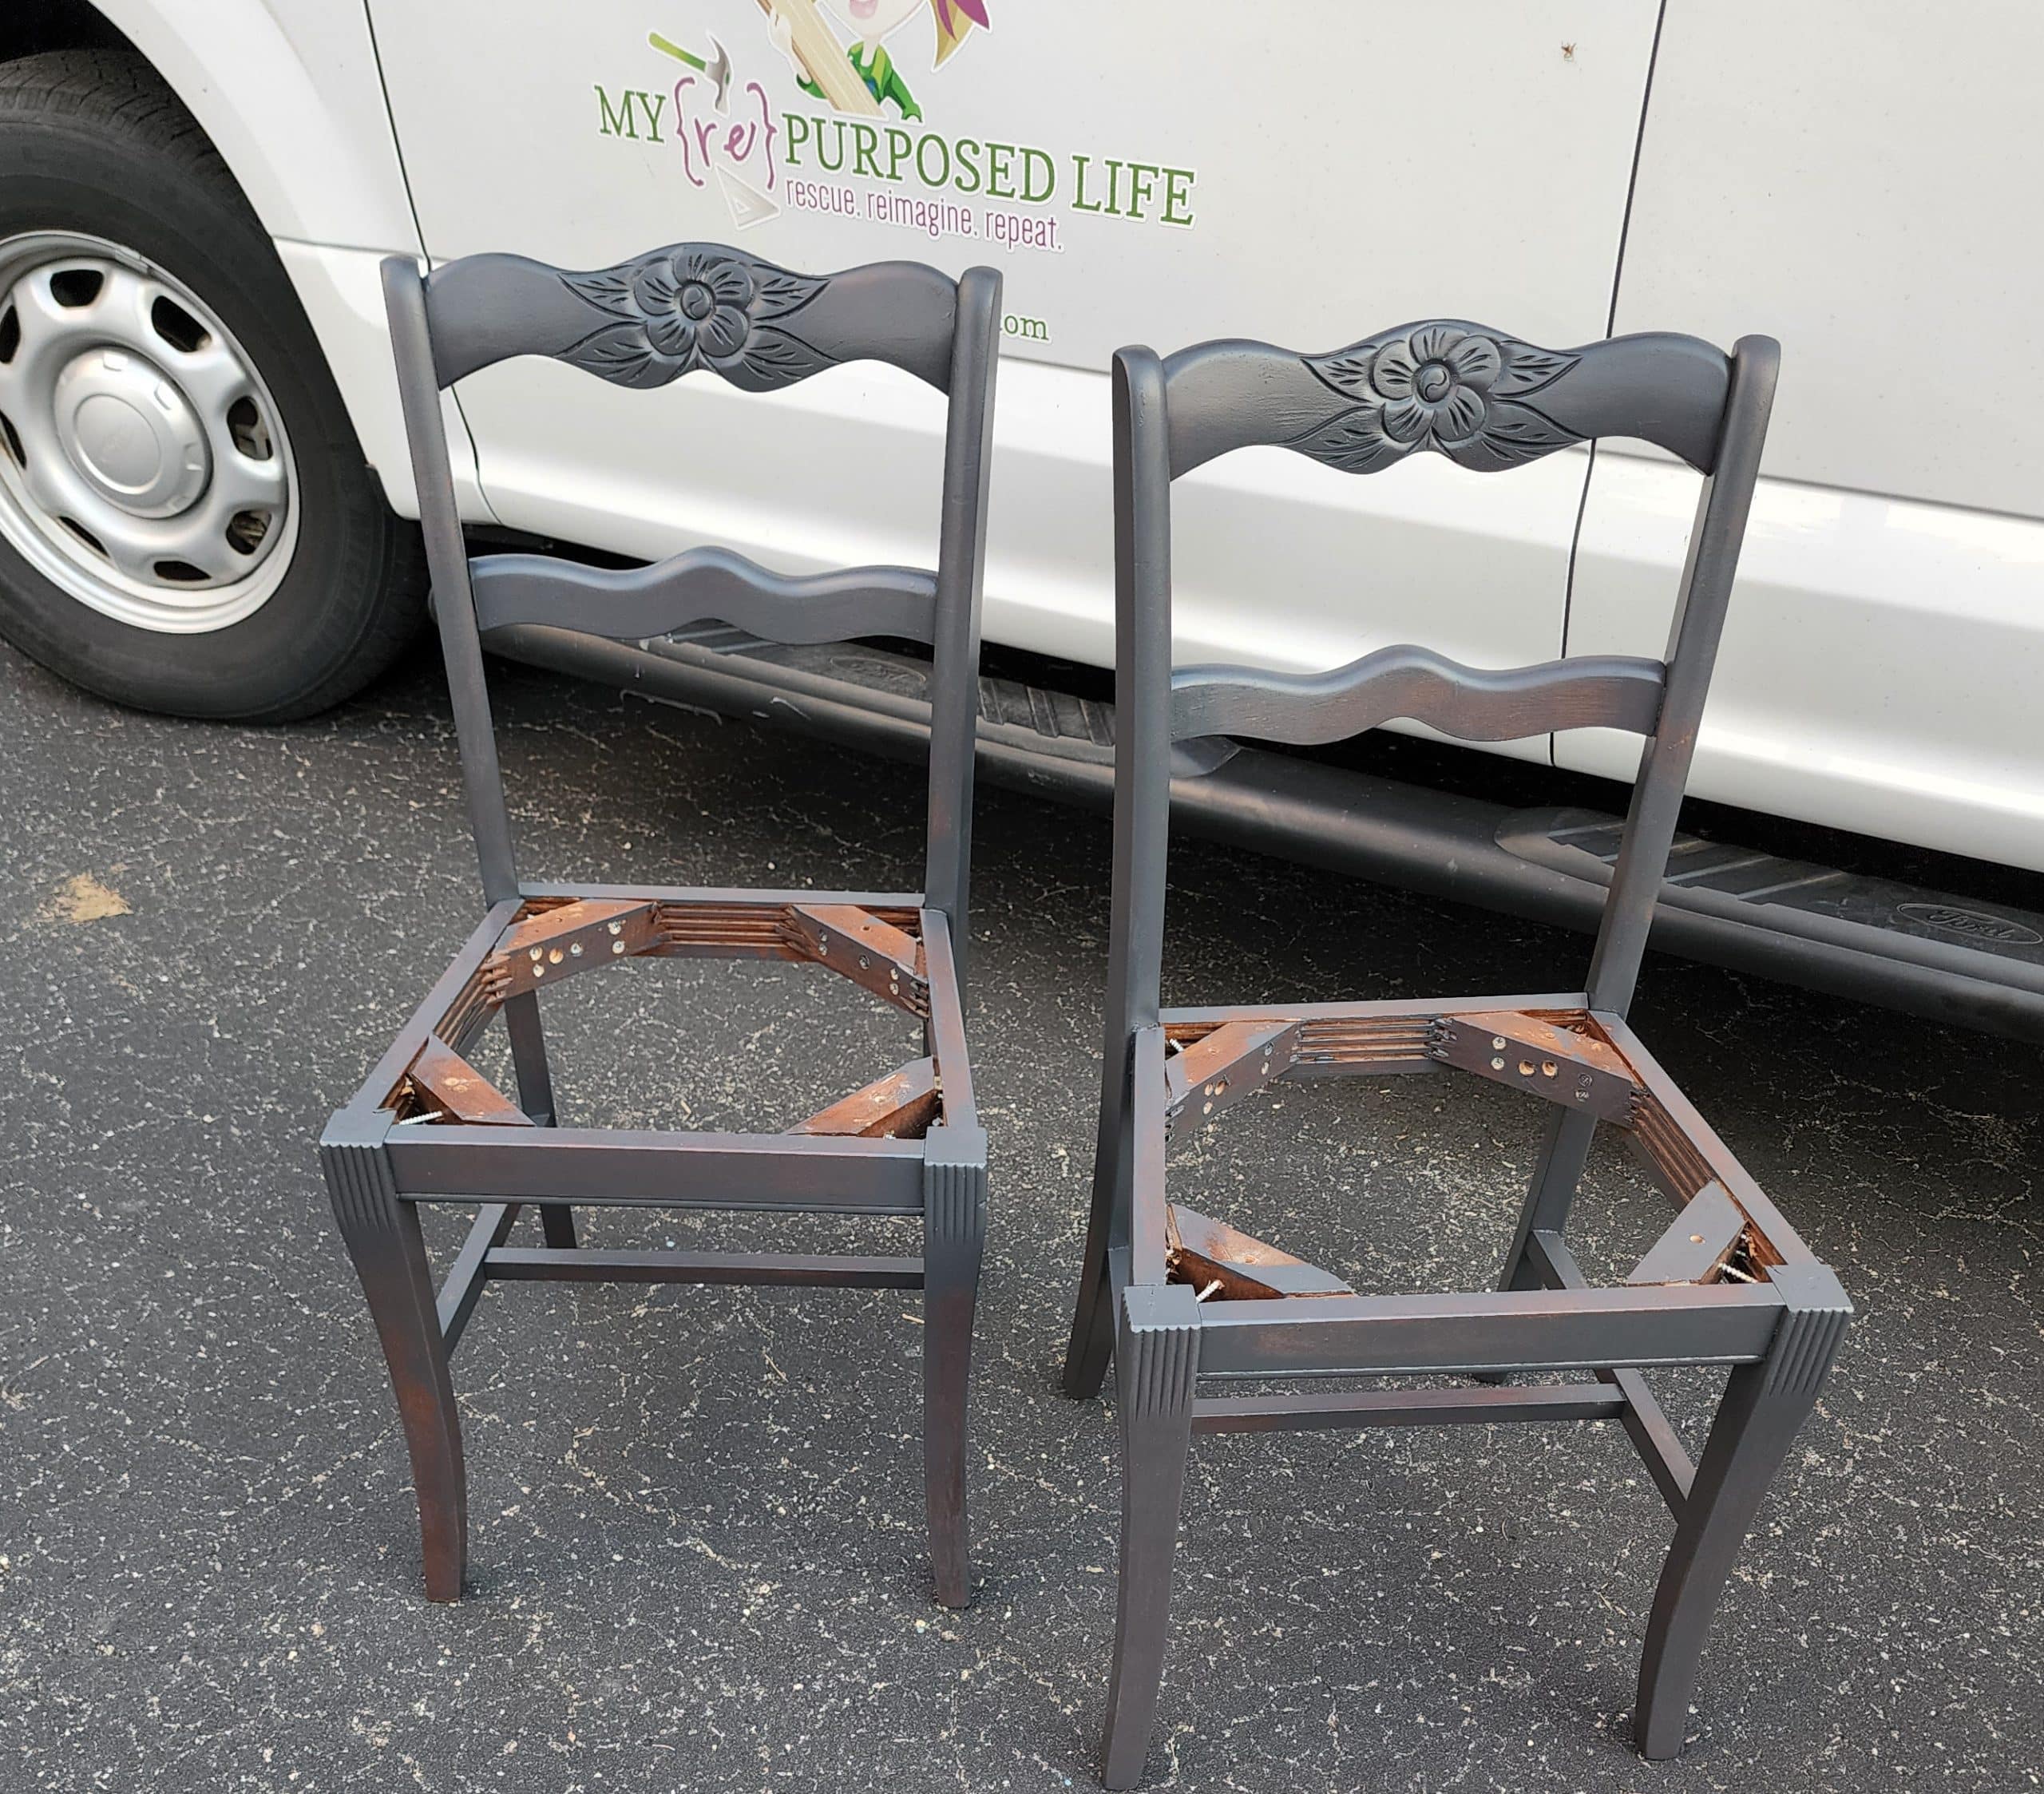
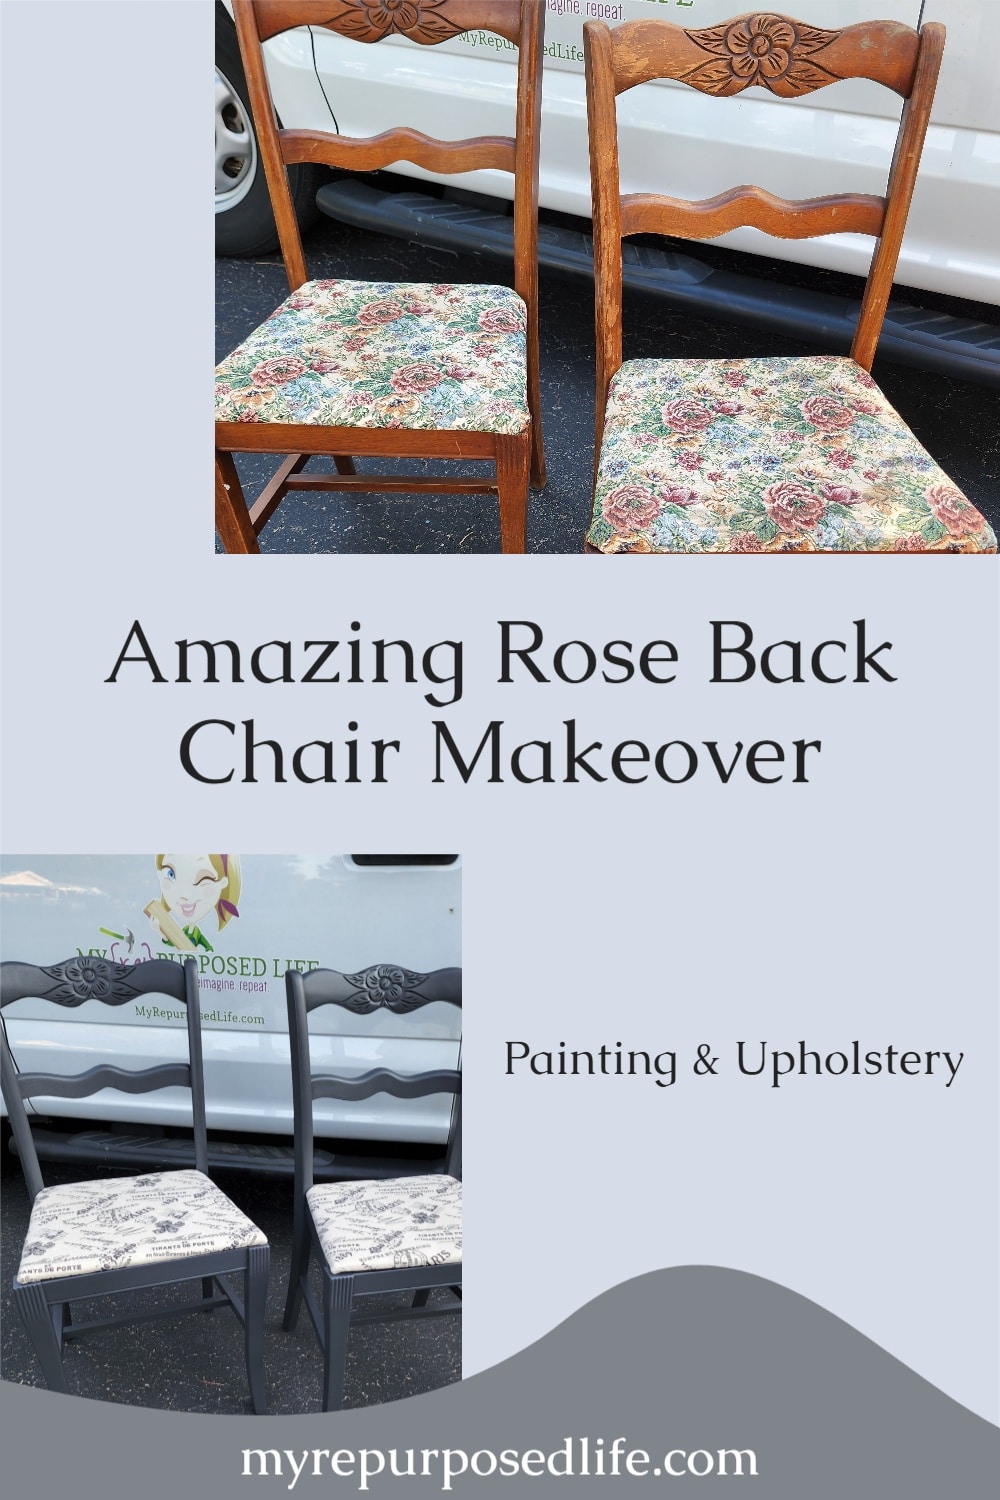
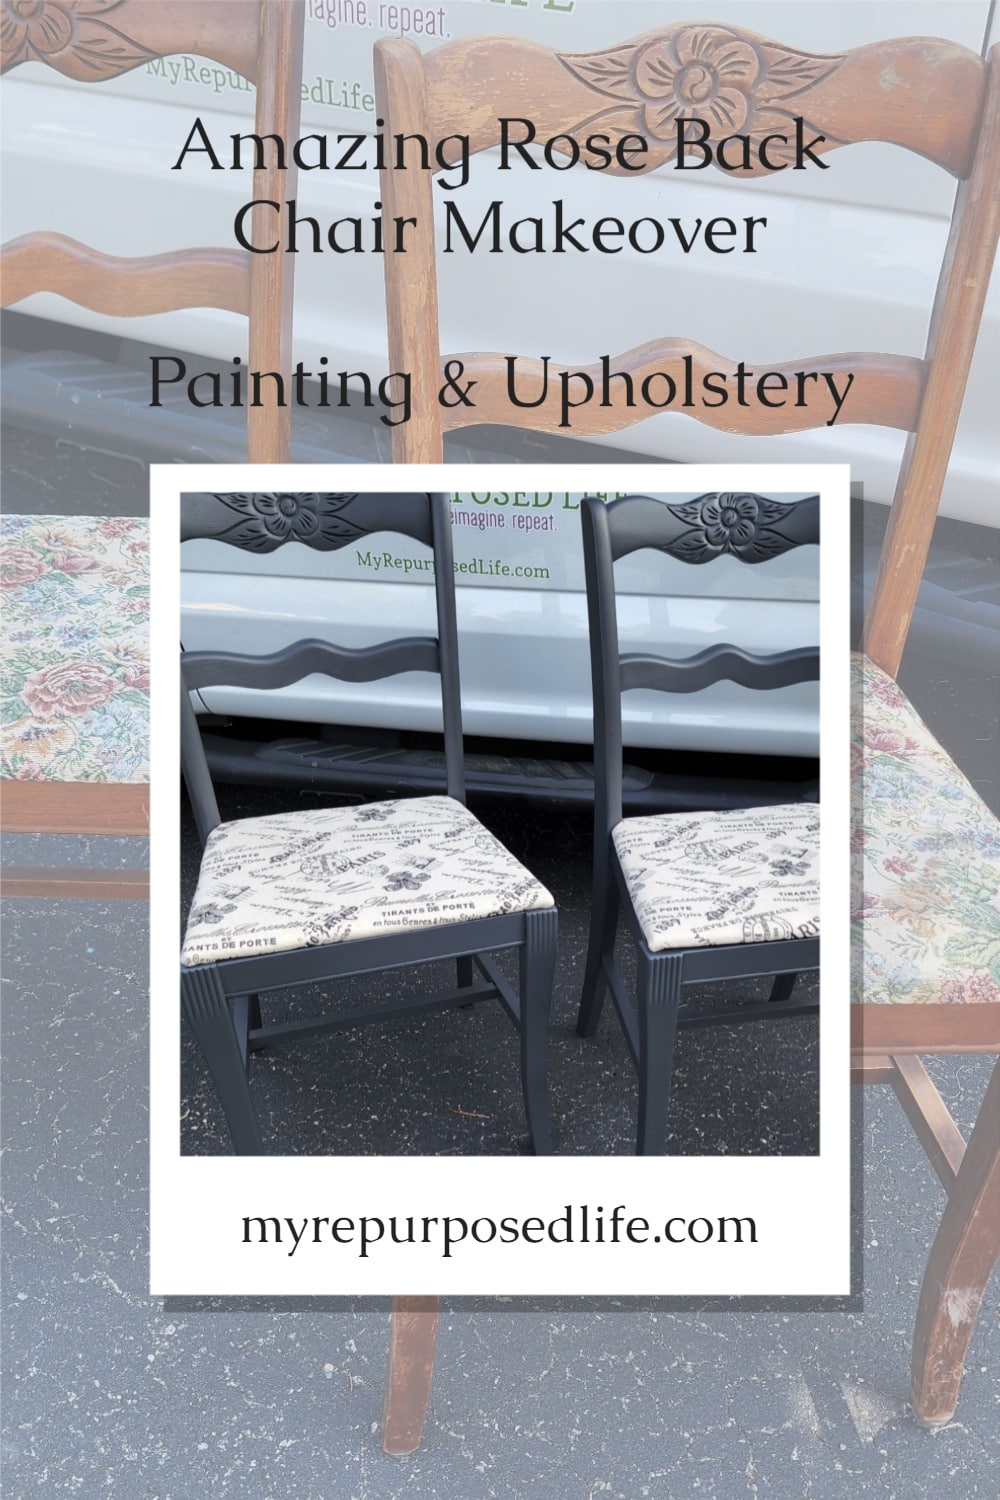
Don’t they already look so beautiful? I thought the rose pattern would disappear with paint, but I actually think it shows up better. What do you think? All in all, I did about 2.5 coats as per usual. The second coat giving better coverage, the half coat was just a touch up coat of areas that needed it.
What is the paint color? I used Weathervane, the same paint I used on the upcycled desk, and the retro star stenciled table. It’s a cross between a satin finish and a slight semi-gloss. It’s very durable!
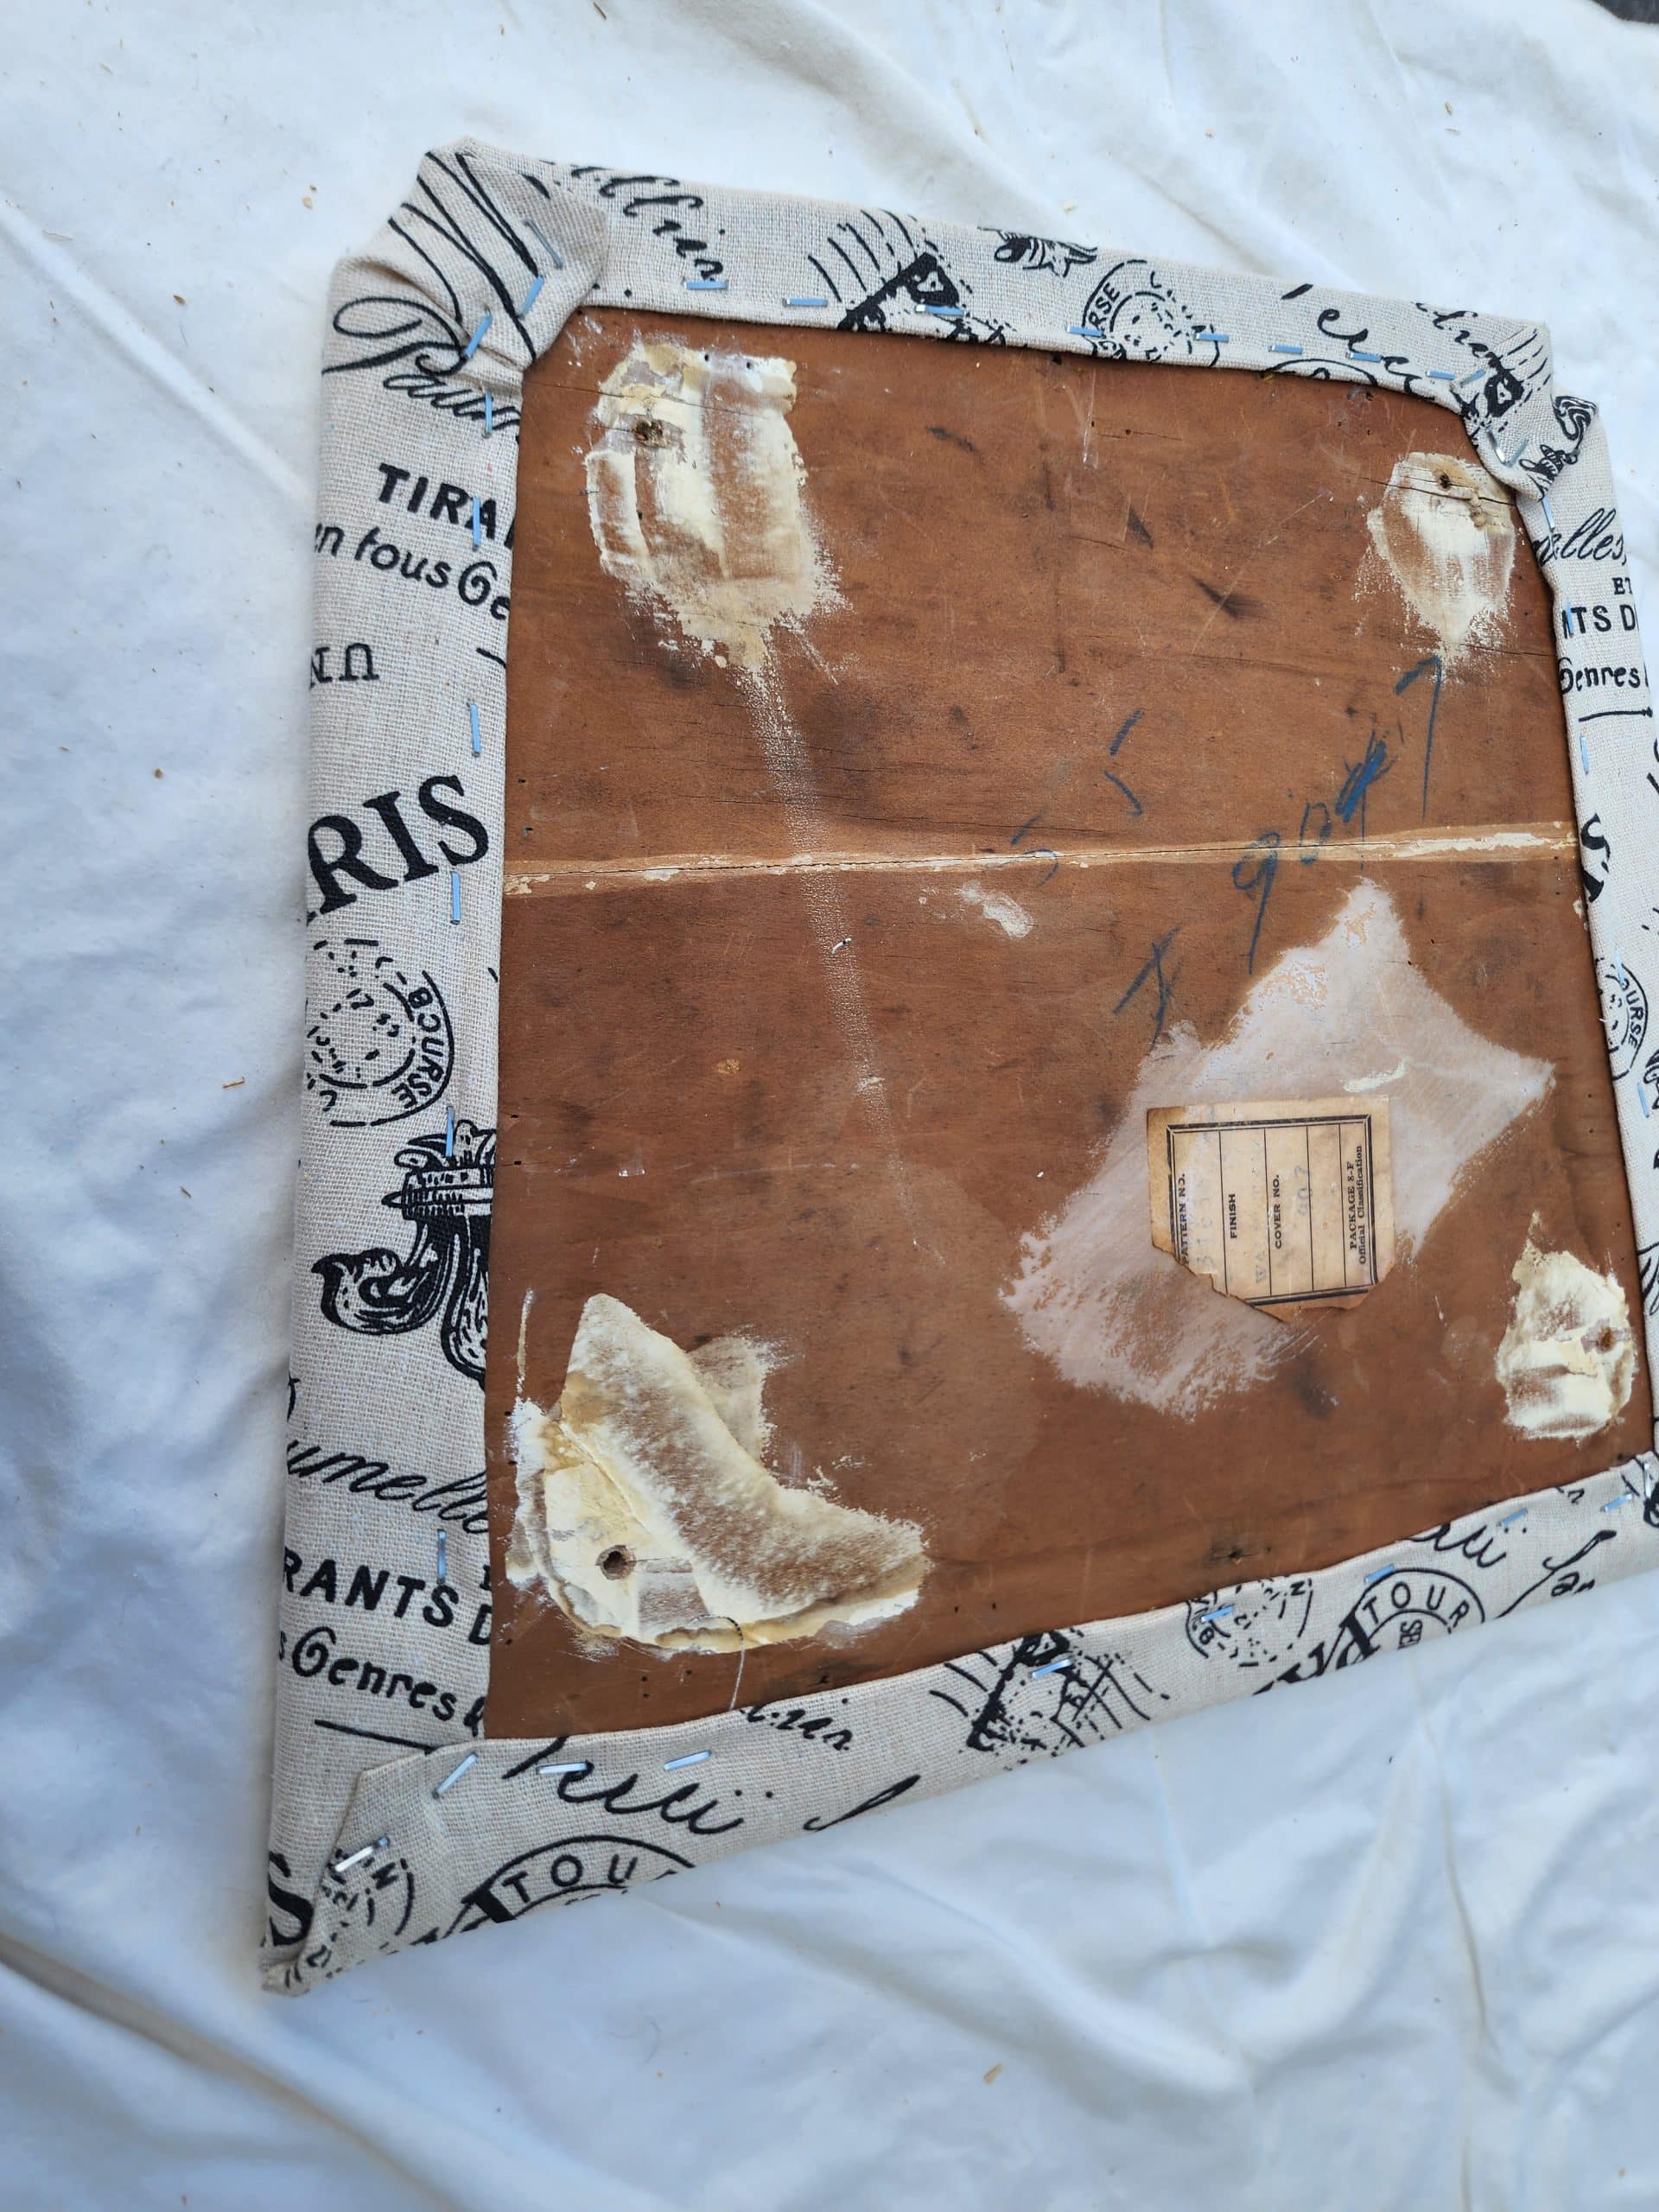
Removing Old Upholstery
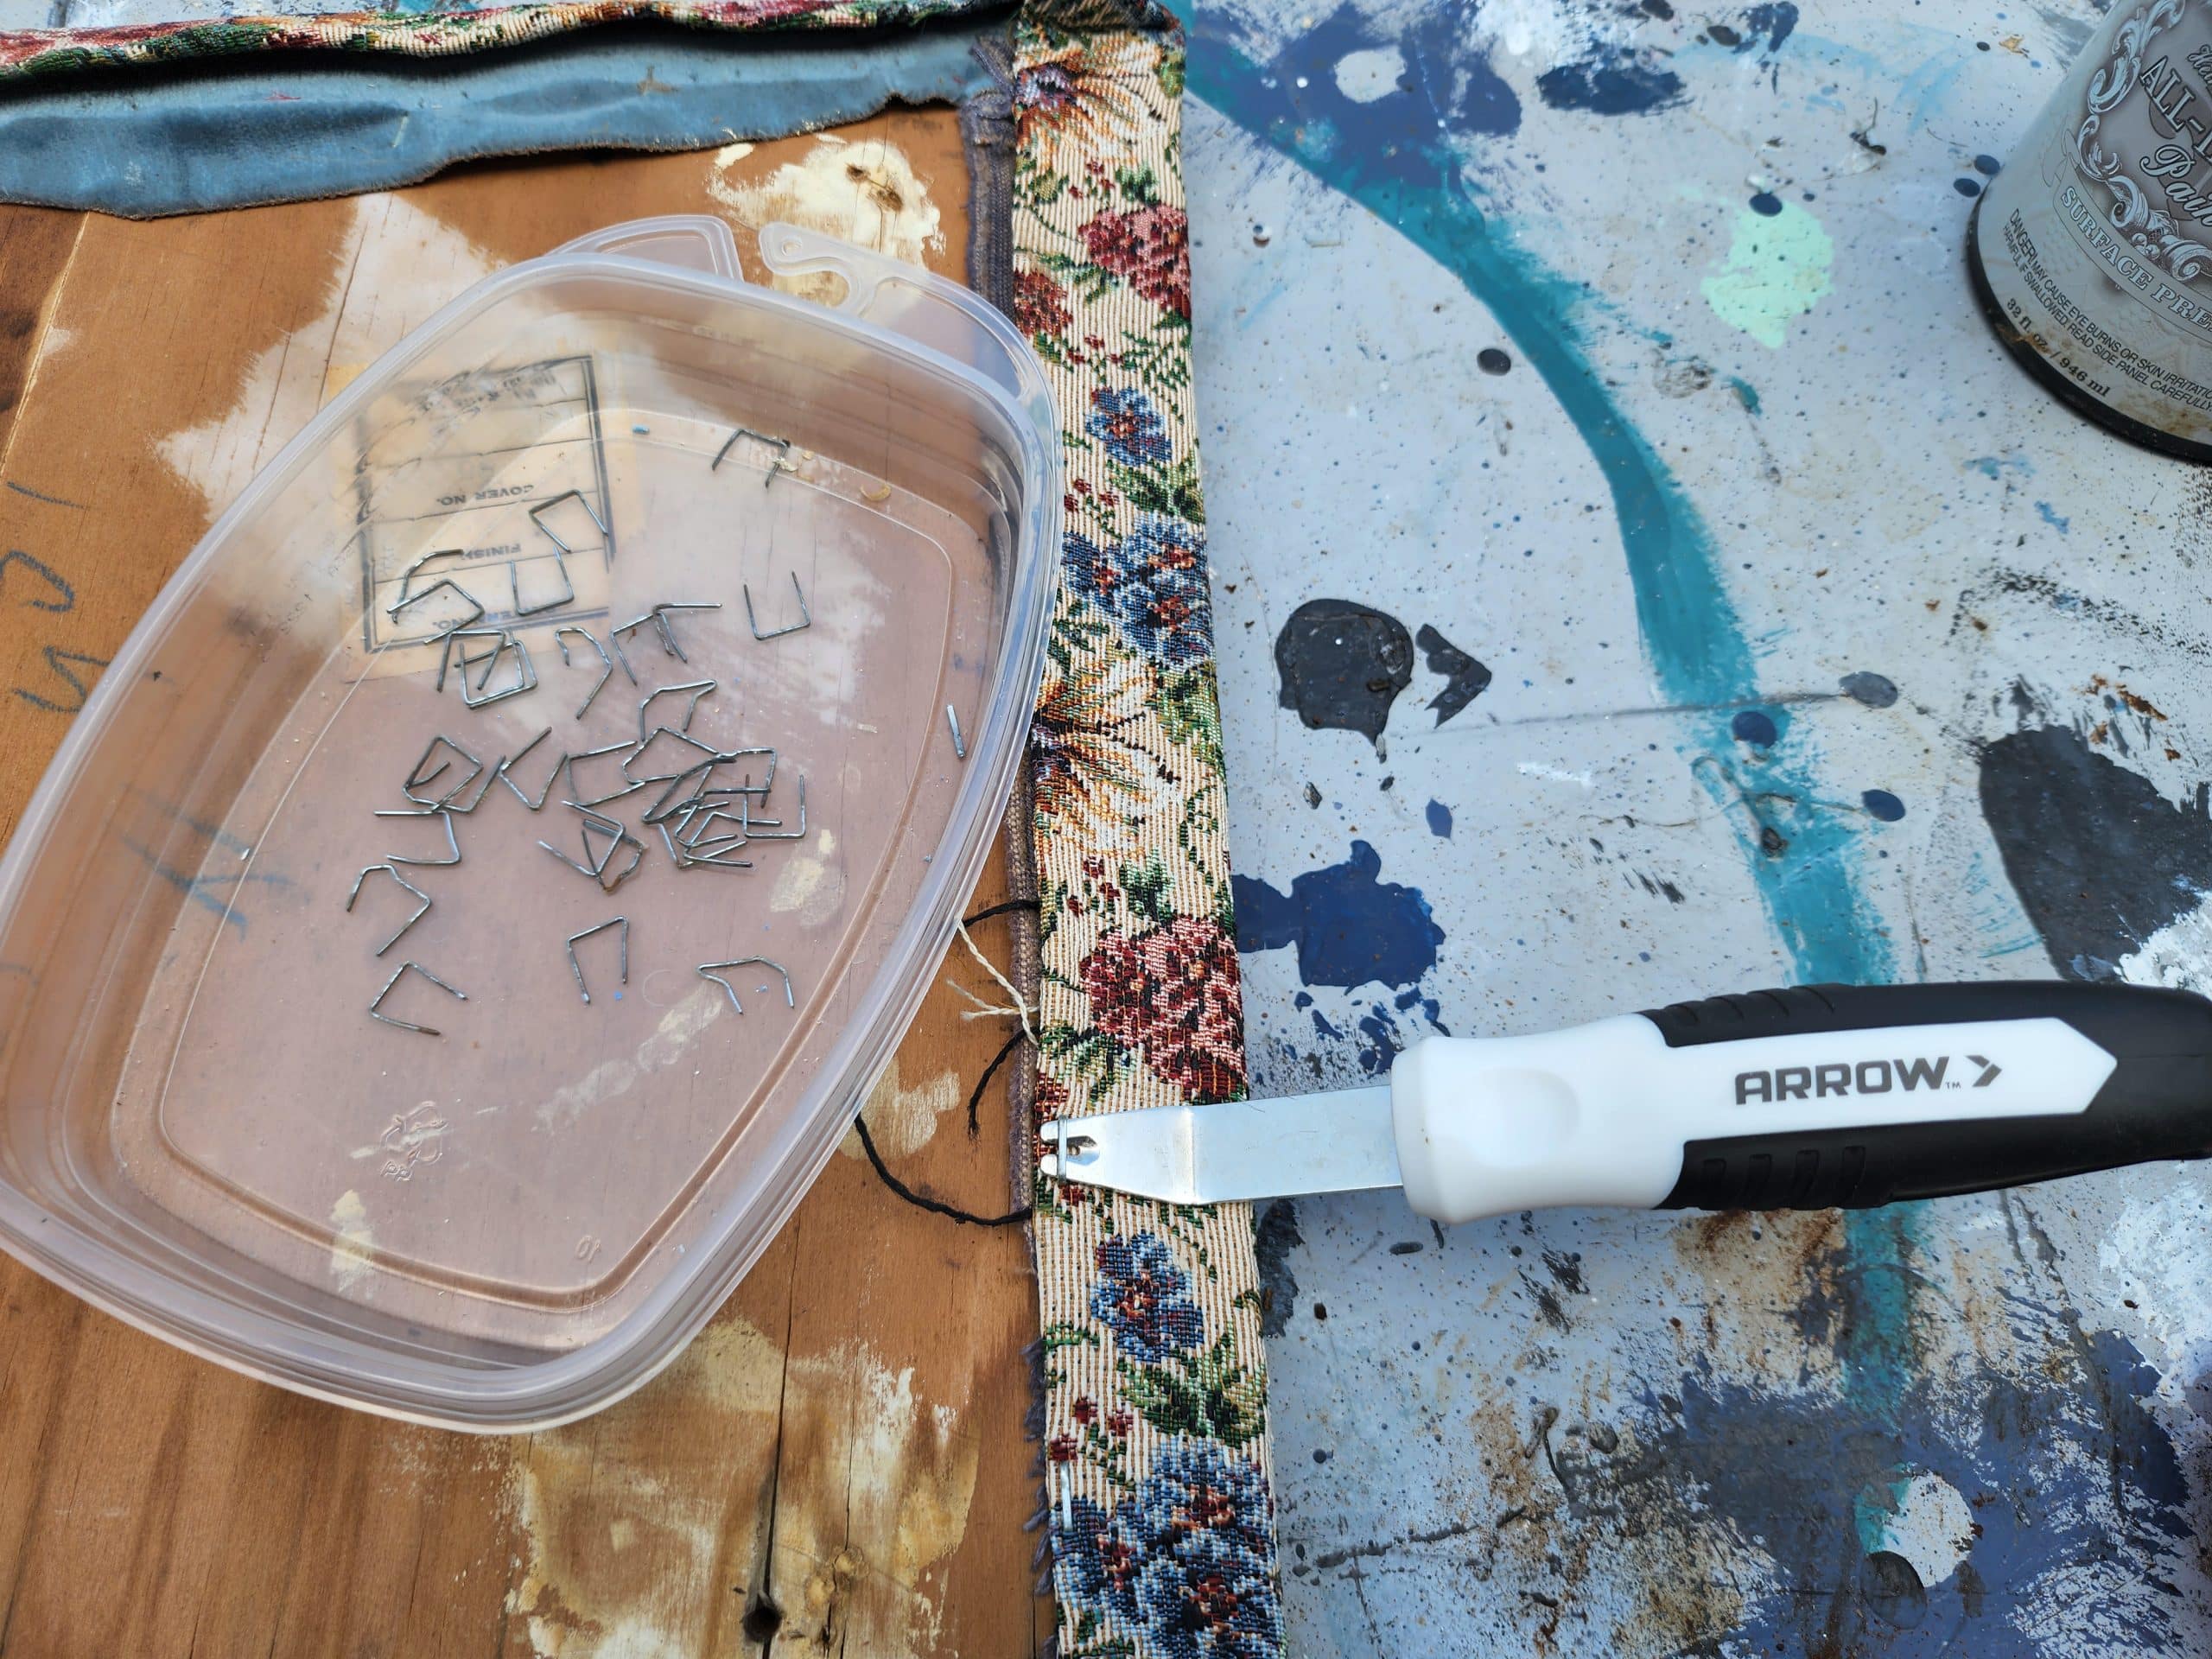
Using this staple puller is definitely a game changer! It made this tedious work on the seat cushion much easier and faster. I find it’s easiest to keep up with old staples if I have something to put them in as I go.
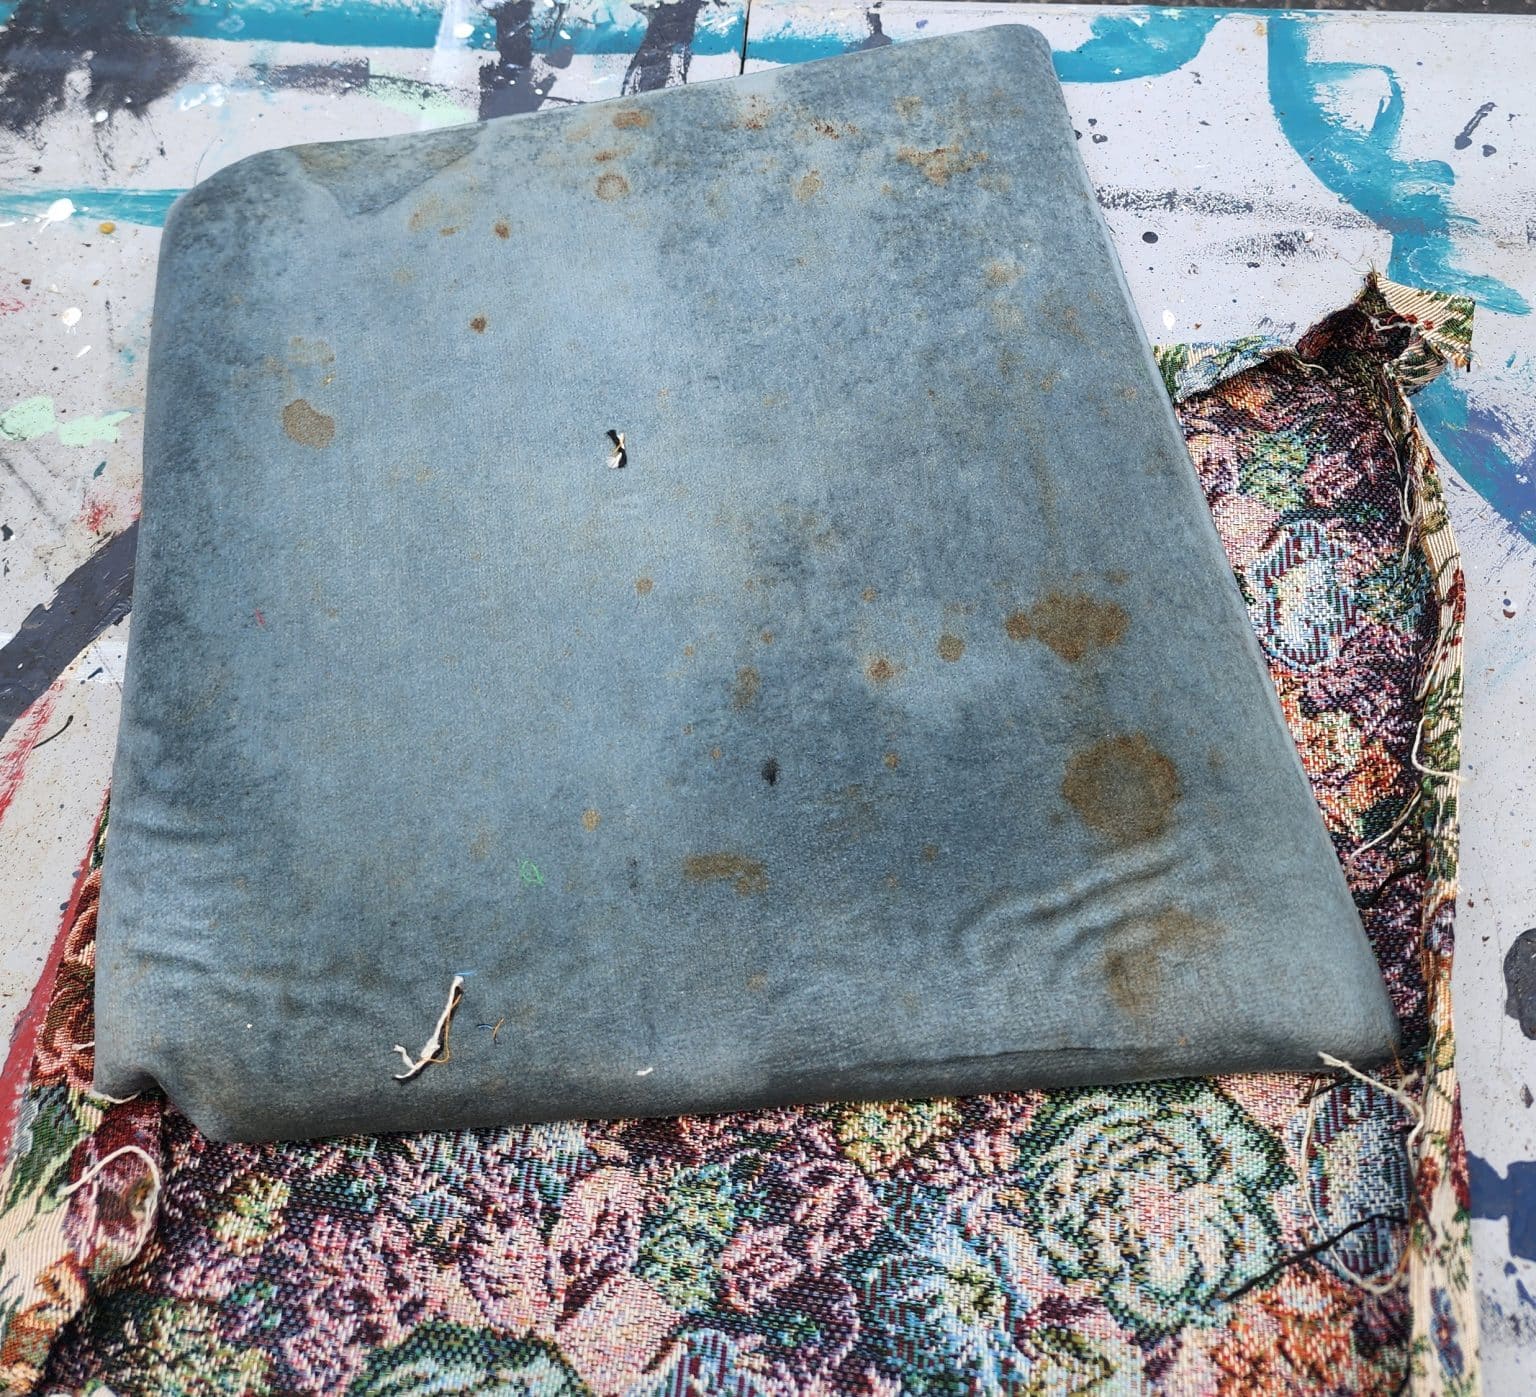
Now, we can see why the seats of the rose back chairs had been reupholstered.
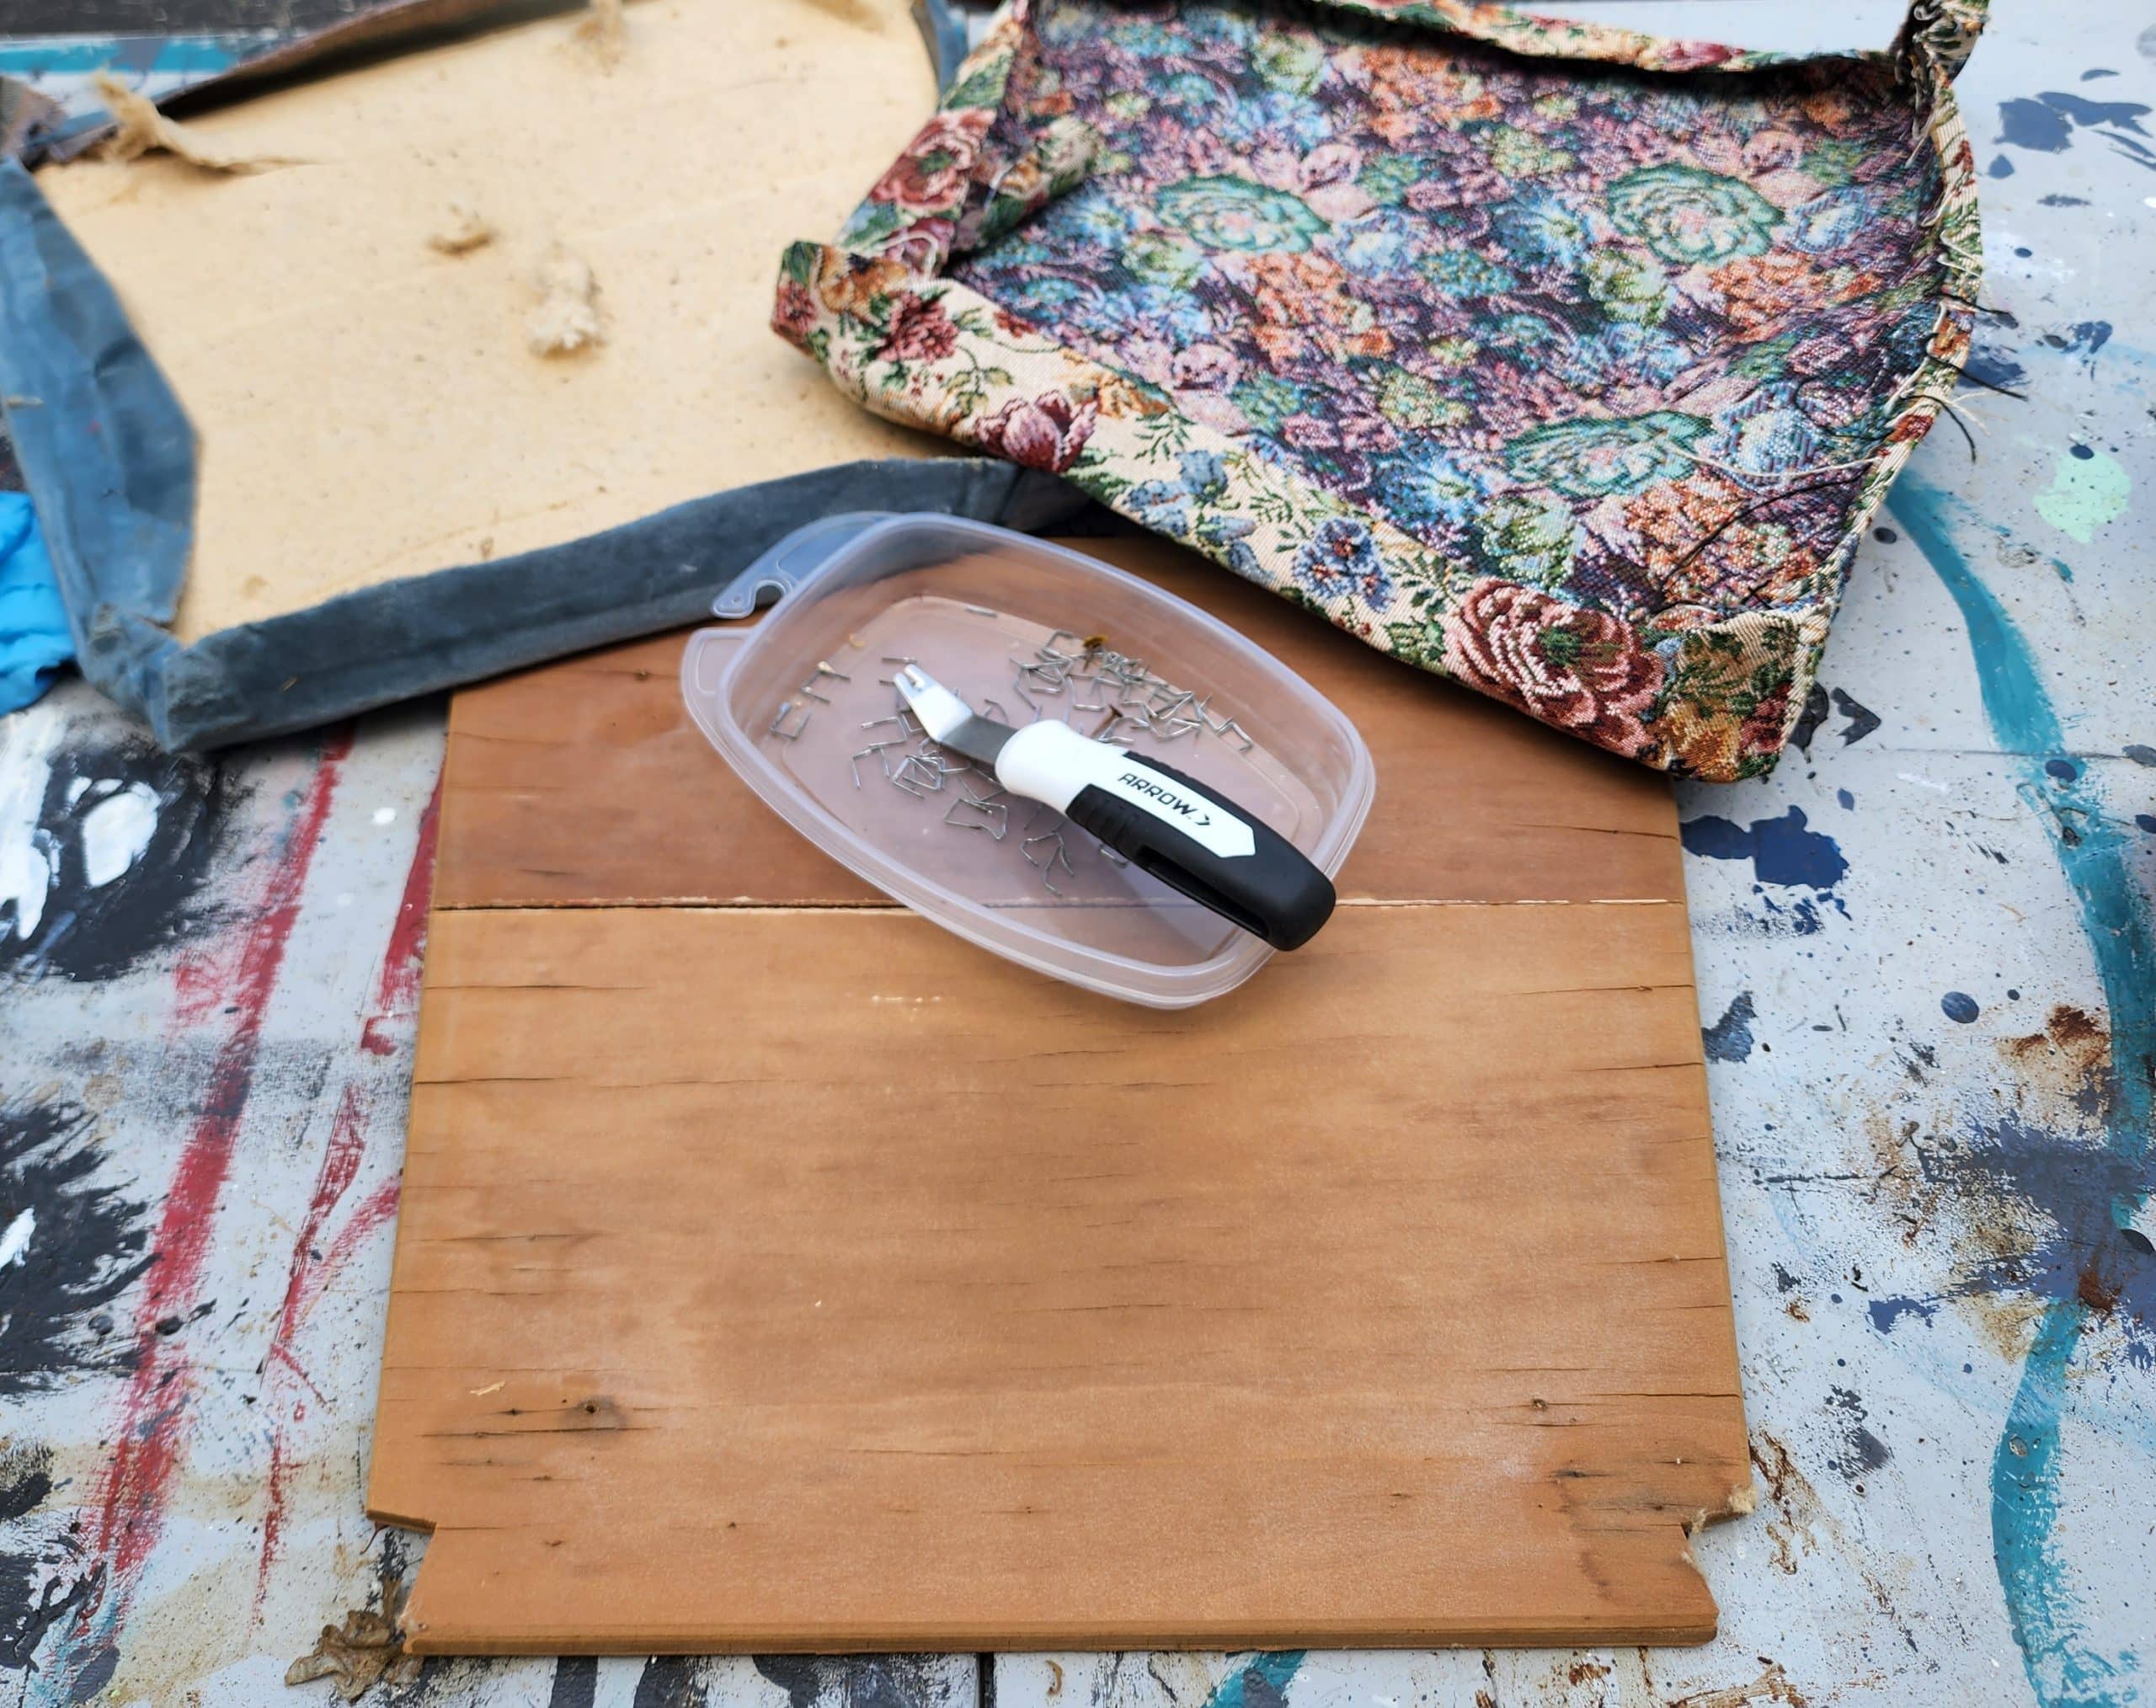
Many times, I will keep the batting, and the original upholstery. But in the case of these antique rose back chairs, everything had to go.
Attaching New Fabric
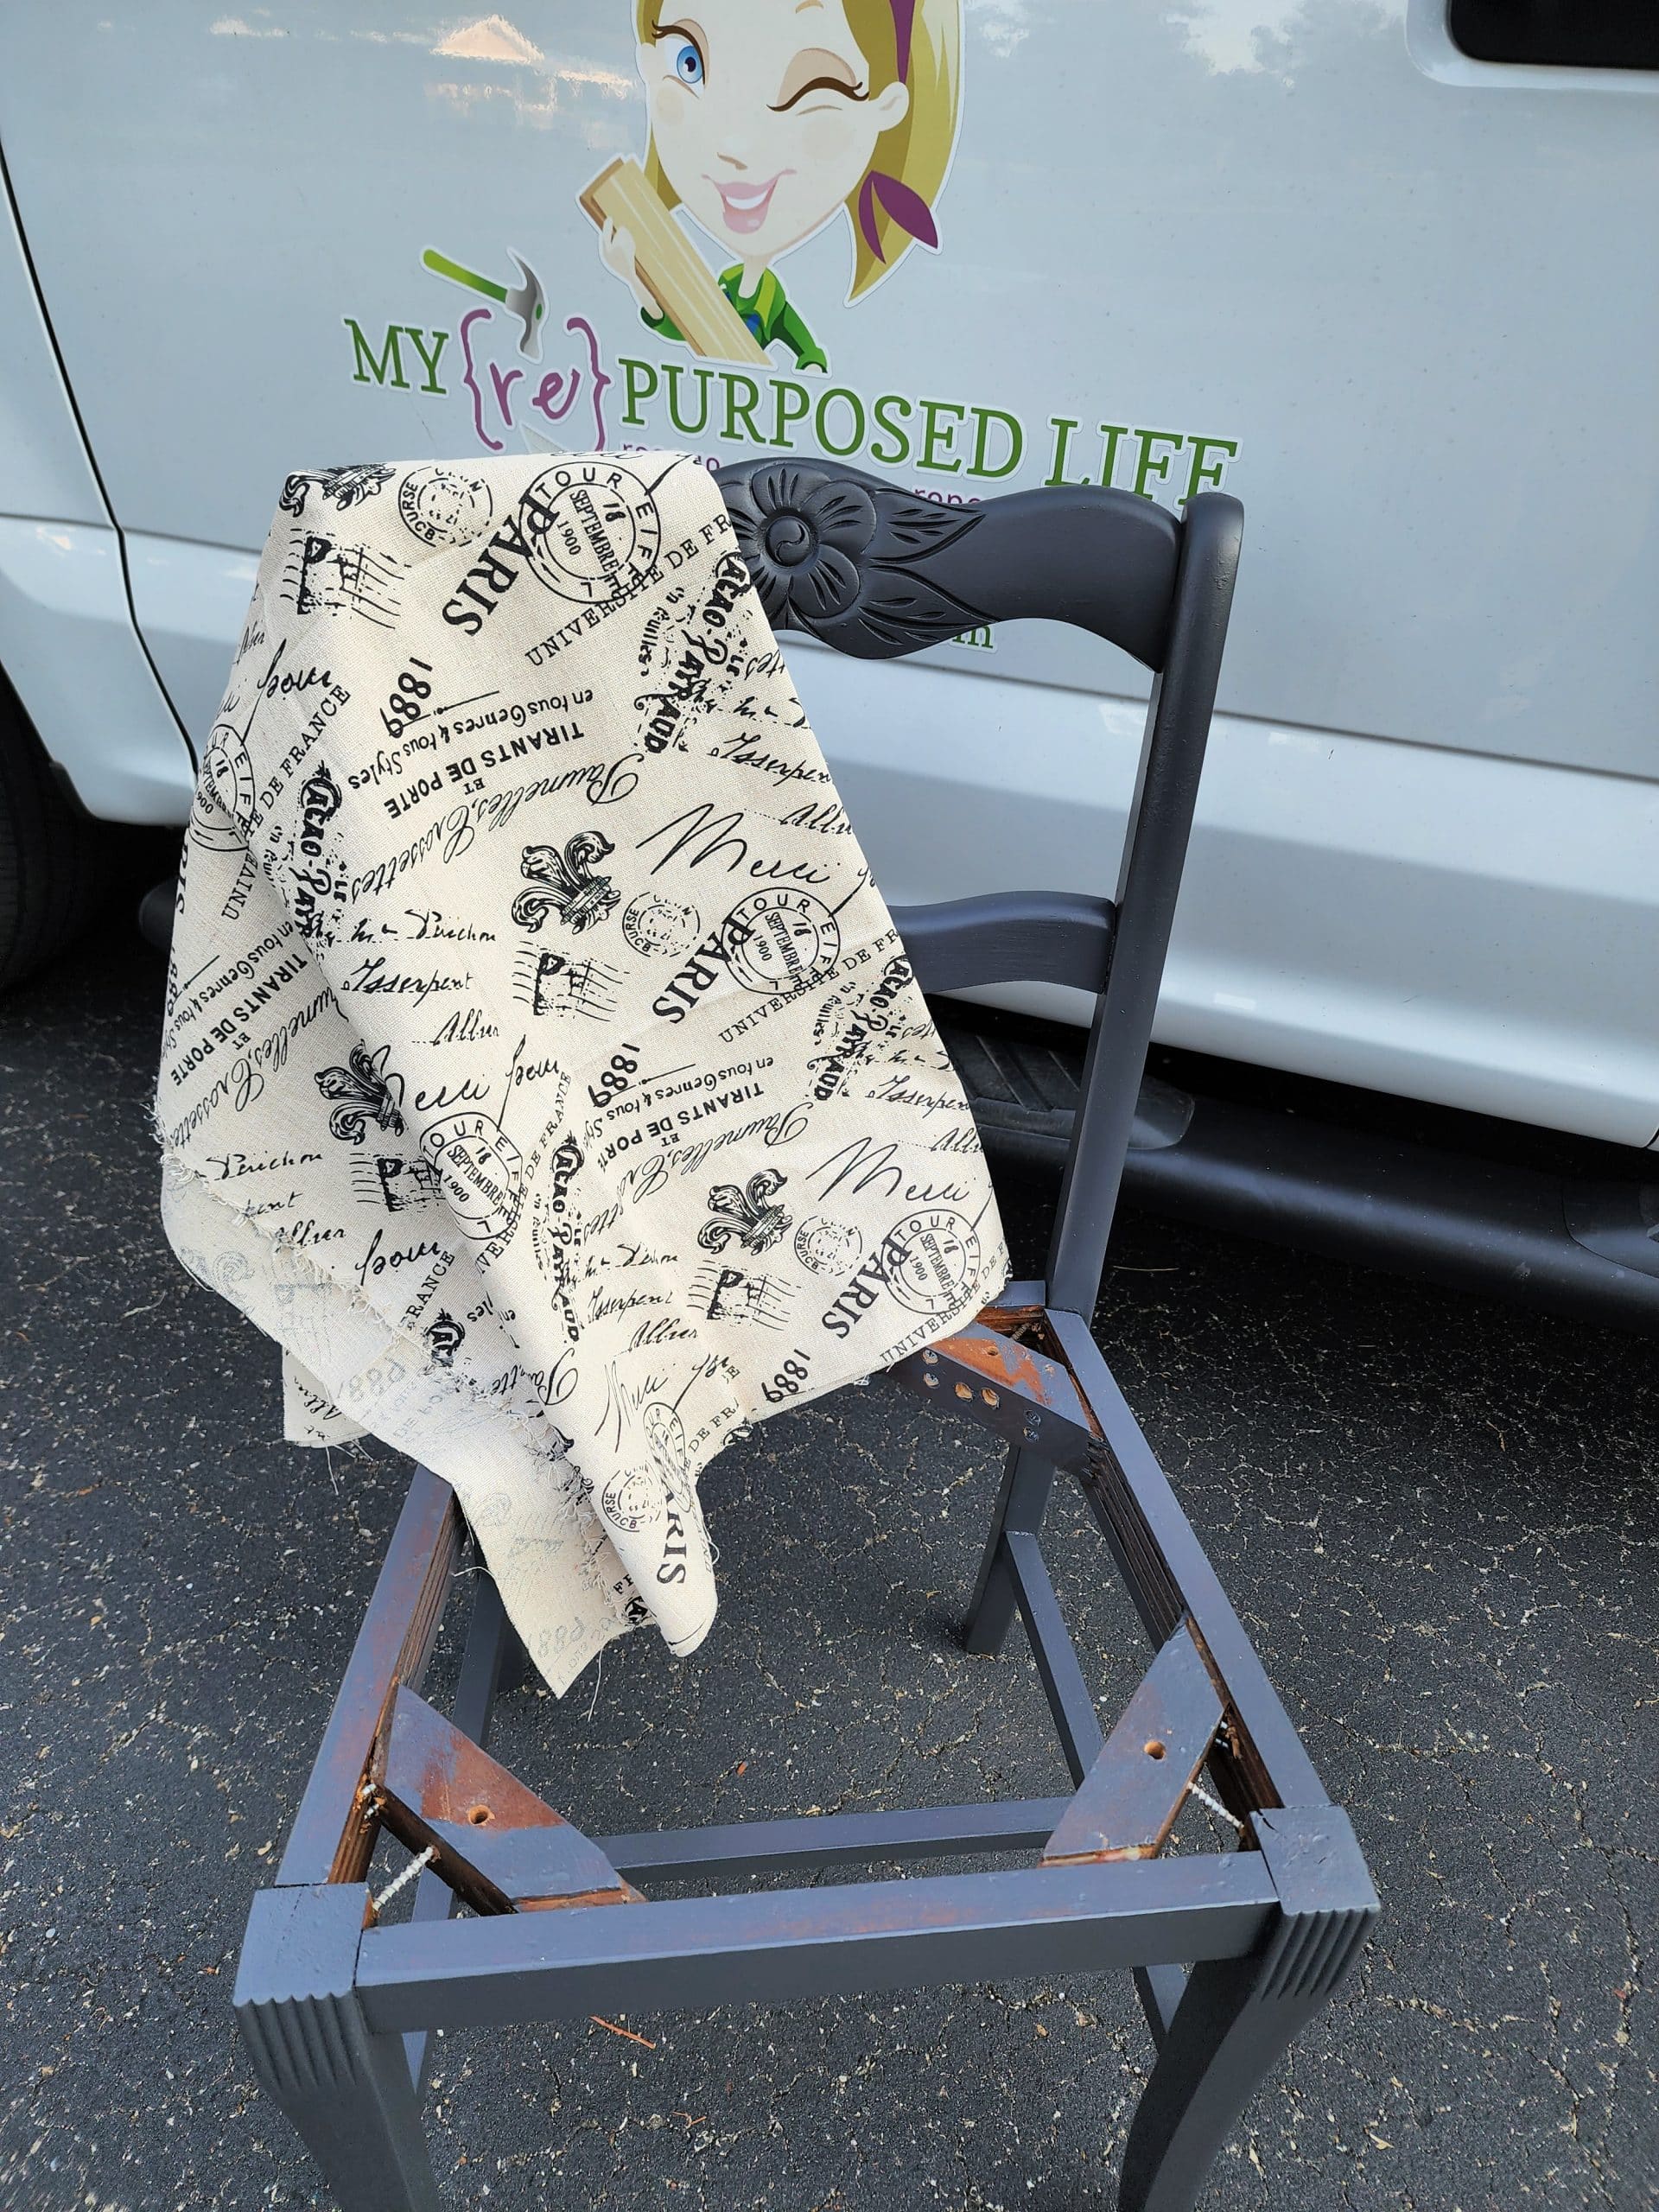
Here’s the Eifel Tower Script fabric I chose, Amazon has a lot of Parisian Fabric for sale by the yard. Notice how I painted all of the base area on the sides, back and front. Most reupholstered dining chairs reveal some of the base color when the seat is reattached.
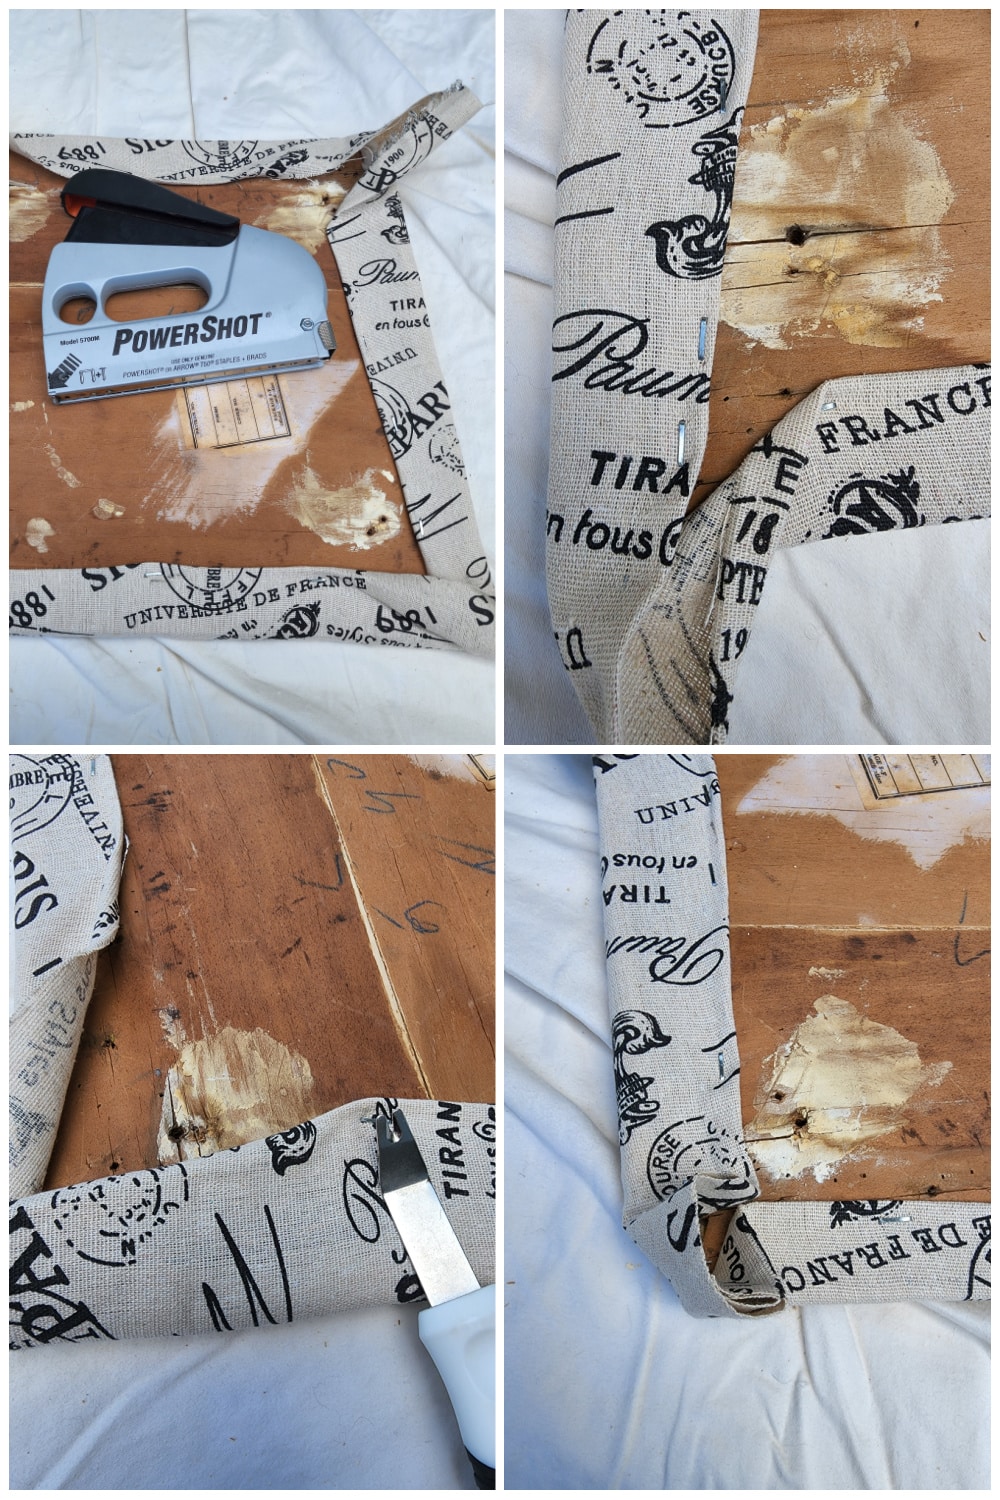
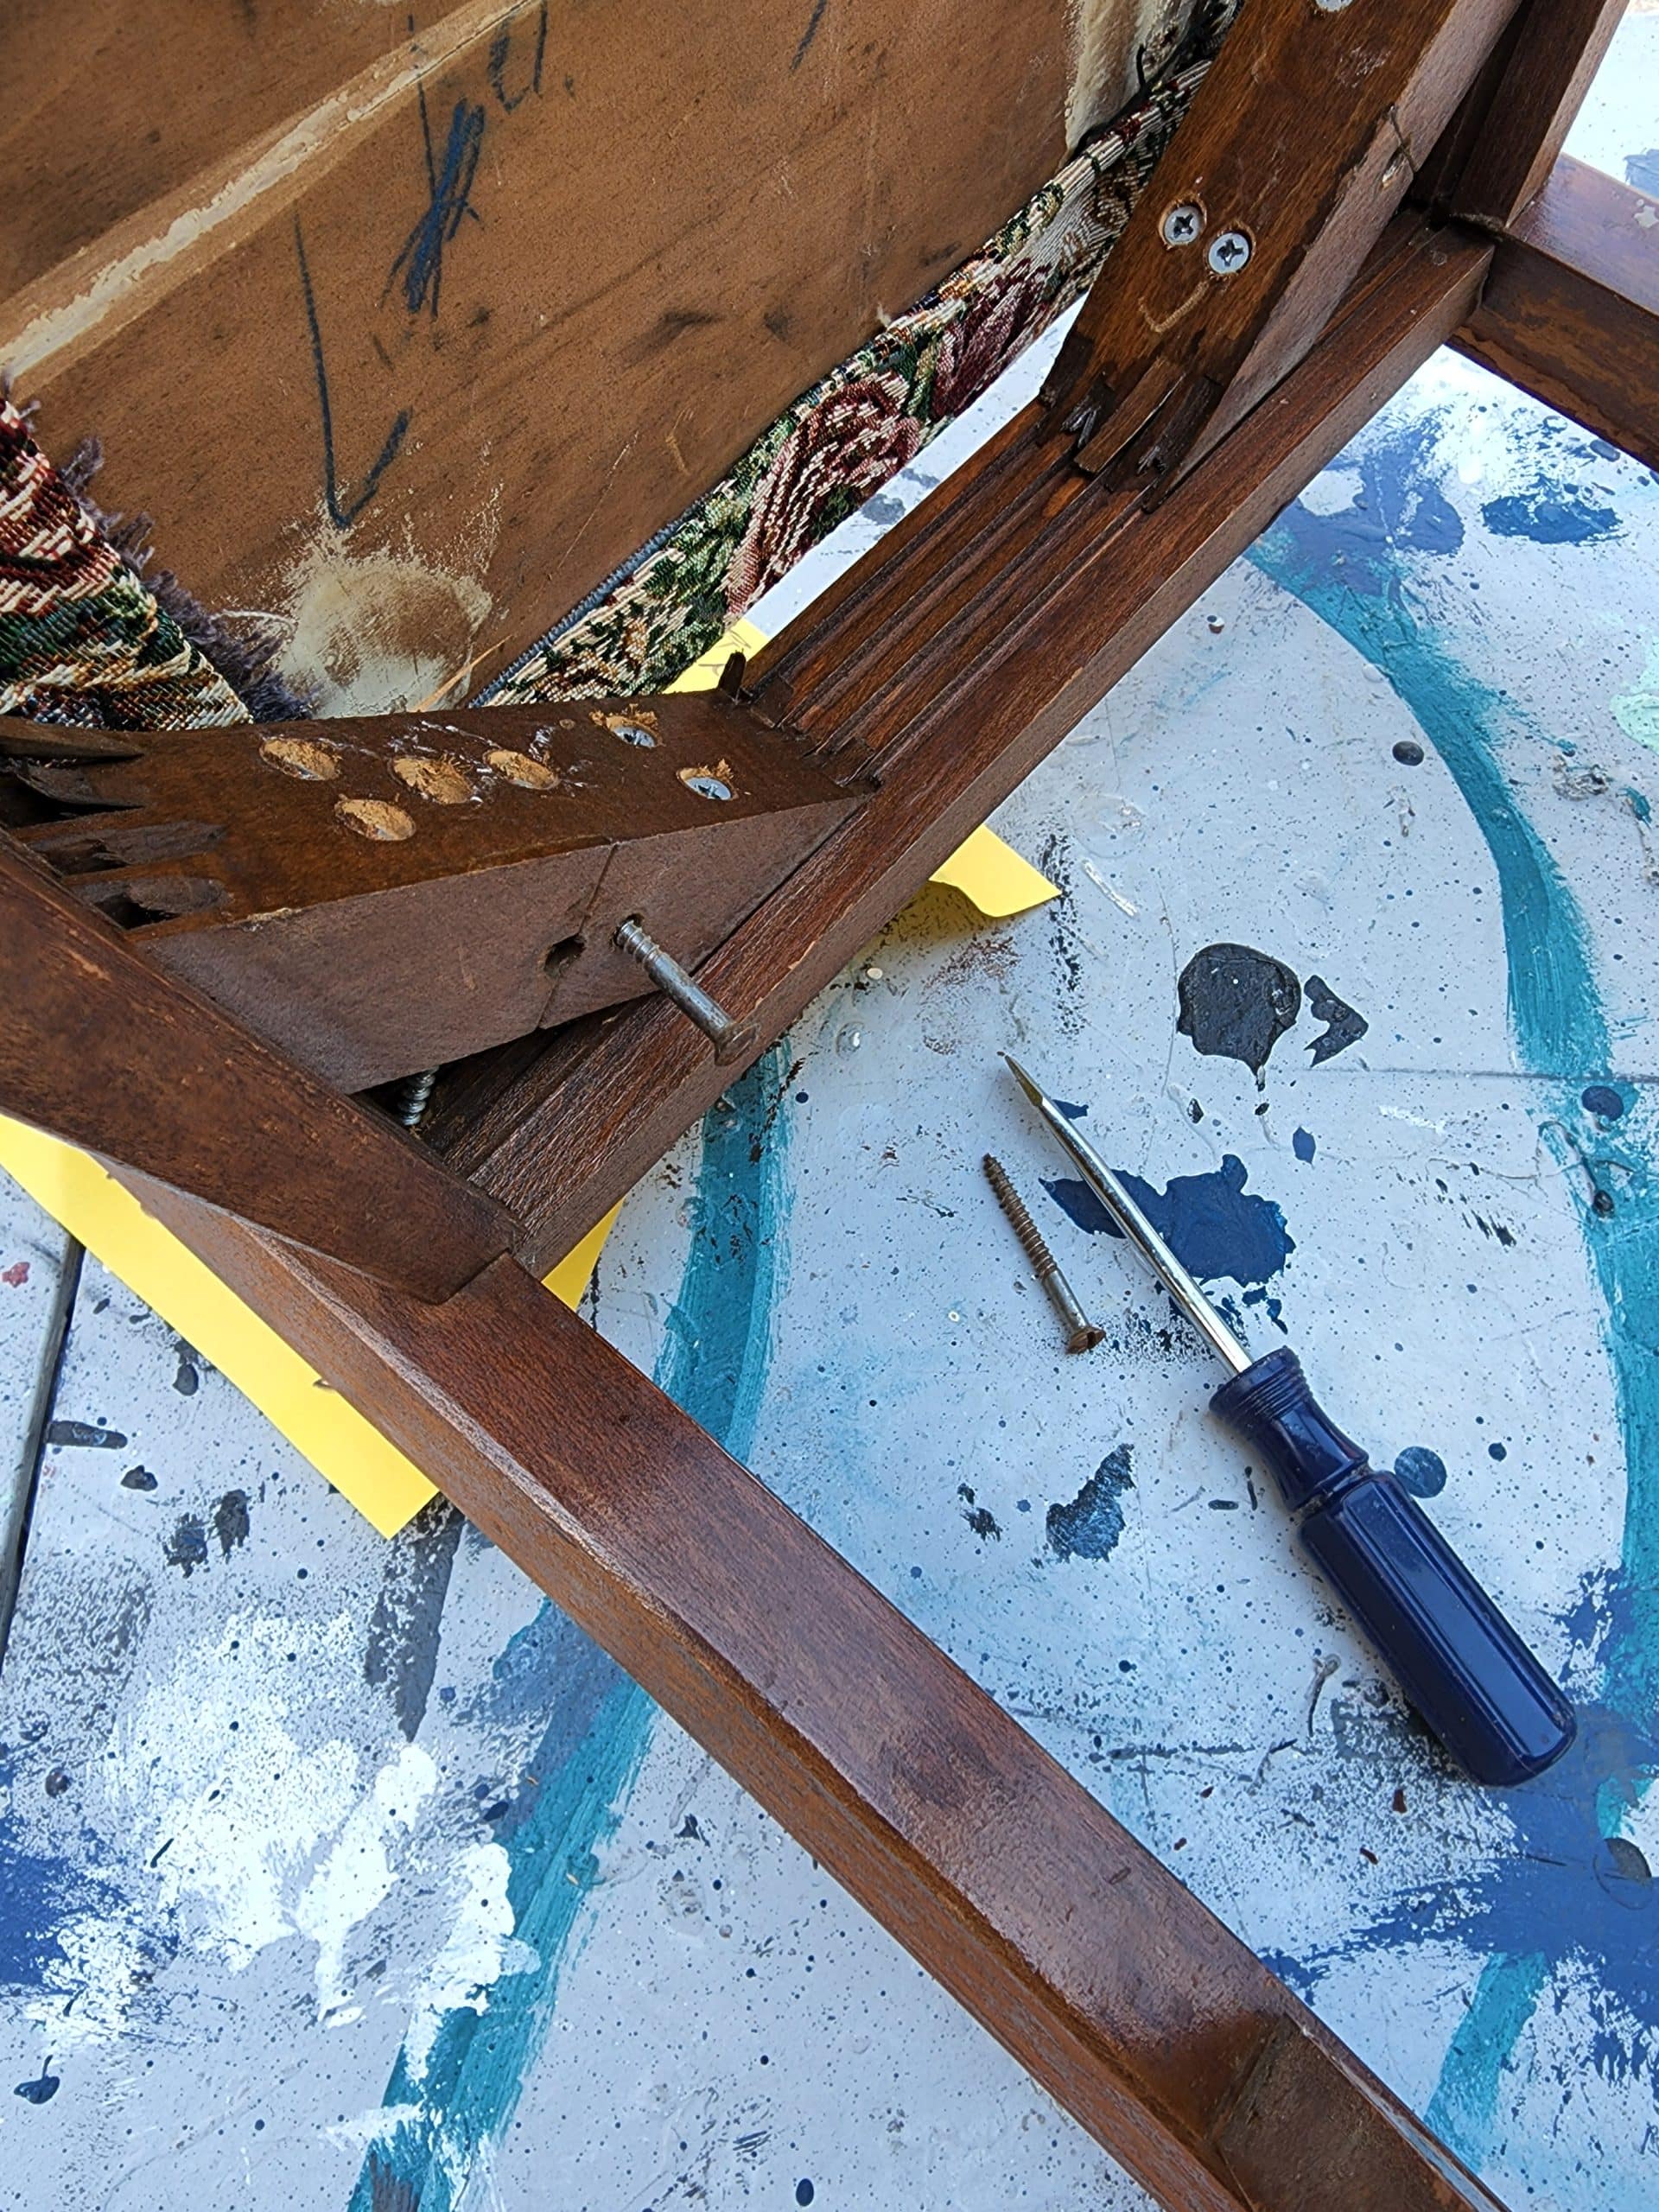
I used two layers of poly batting on the chair seats. I have a love/hate relationship with staple guns, but this Arrow Power Shot Staple Gun rarely fails me. You may notice in the above photo, I’m removing a staple. That is because I mistakenly covered up the area where the screw goes (that holds the seat on). Lower right image shows how I did the corner, leave lots of room to reattach the seat with new screws.
Apparently because there were screws missing, they may have used wood glue to help hold the seat in place. Maybe you would paint the backside of the seat? I like to leave a little history on my furniture makeovers.
Putting the Seat on the Chair
TIP:
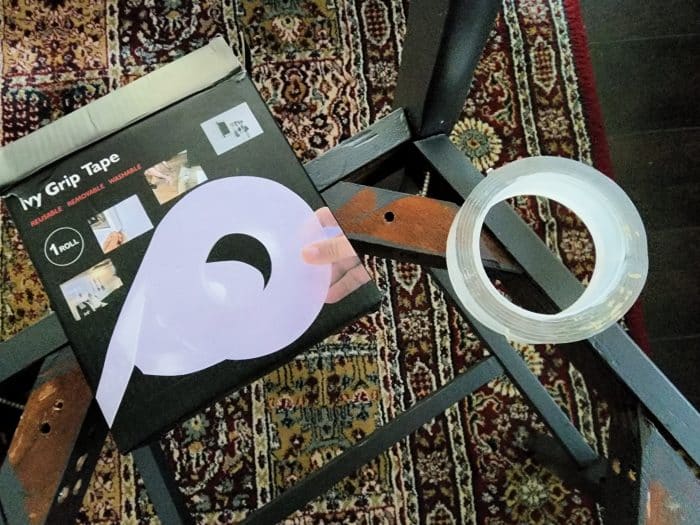
Use heavy duty double sided tape as a temporary hold to attach seat to chair base.
These antique rose back chairs are not perfectly square. As I was testing where the seat would attach, I noticed that the natural flow, wanted to expose more base on one side. To assure that when I turned it over to secure screws, I used a double sided tape I bought on Amazon. This kind of tape as all kinds of uses, I highly recommend that you keep some on hand.
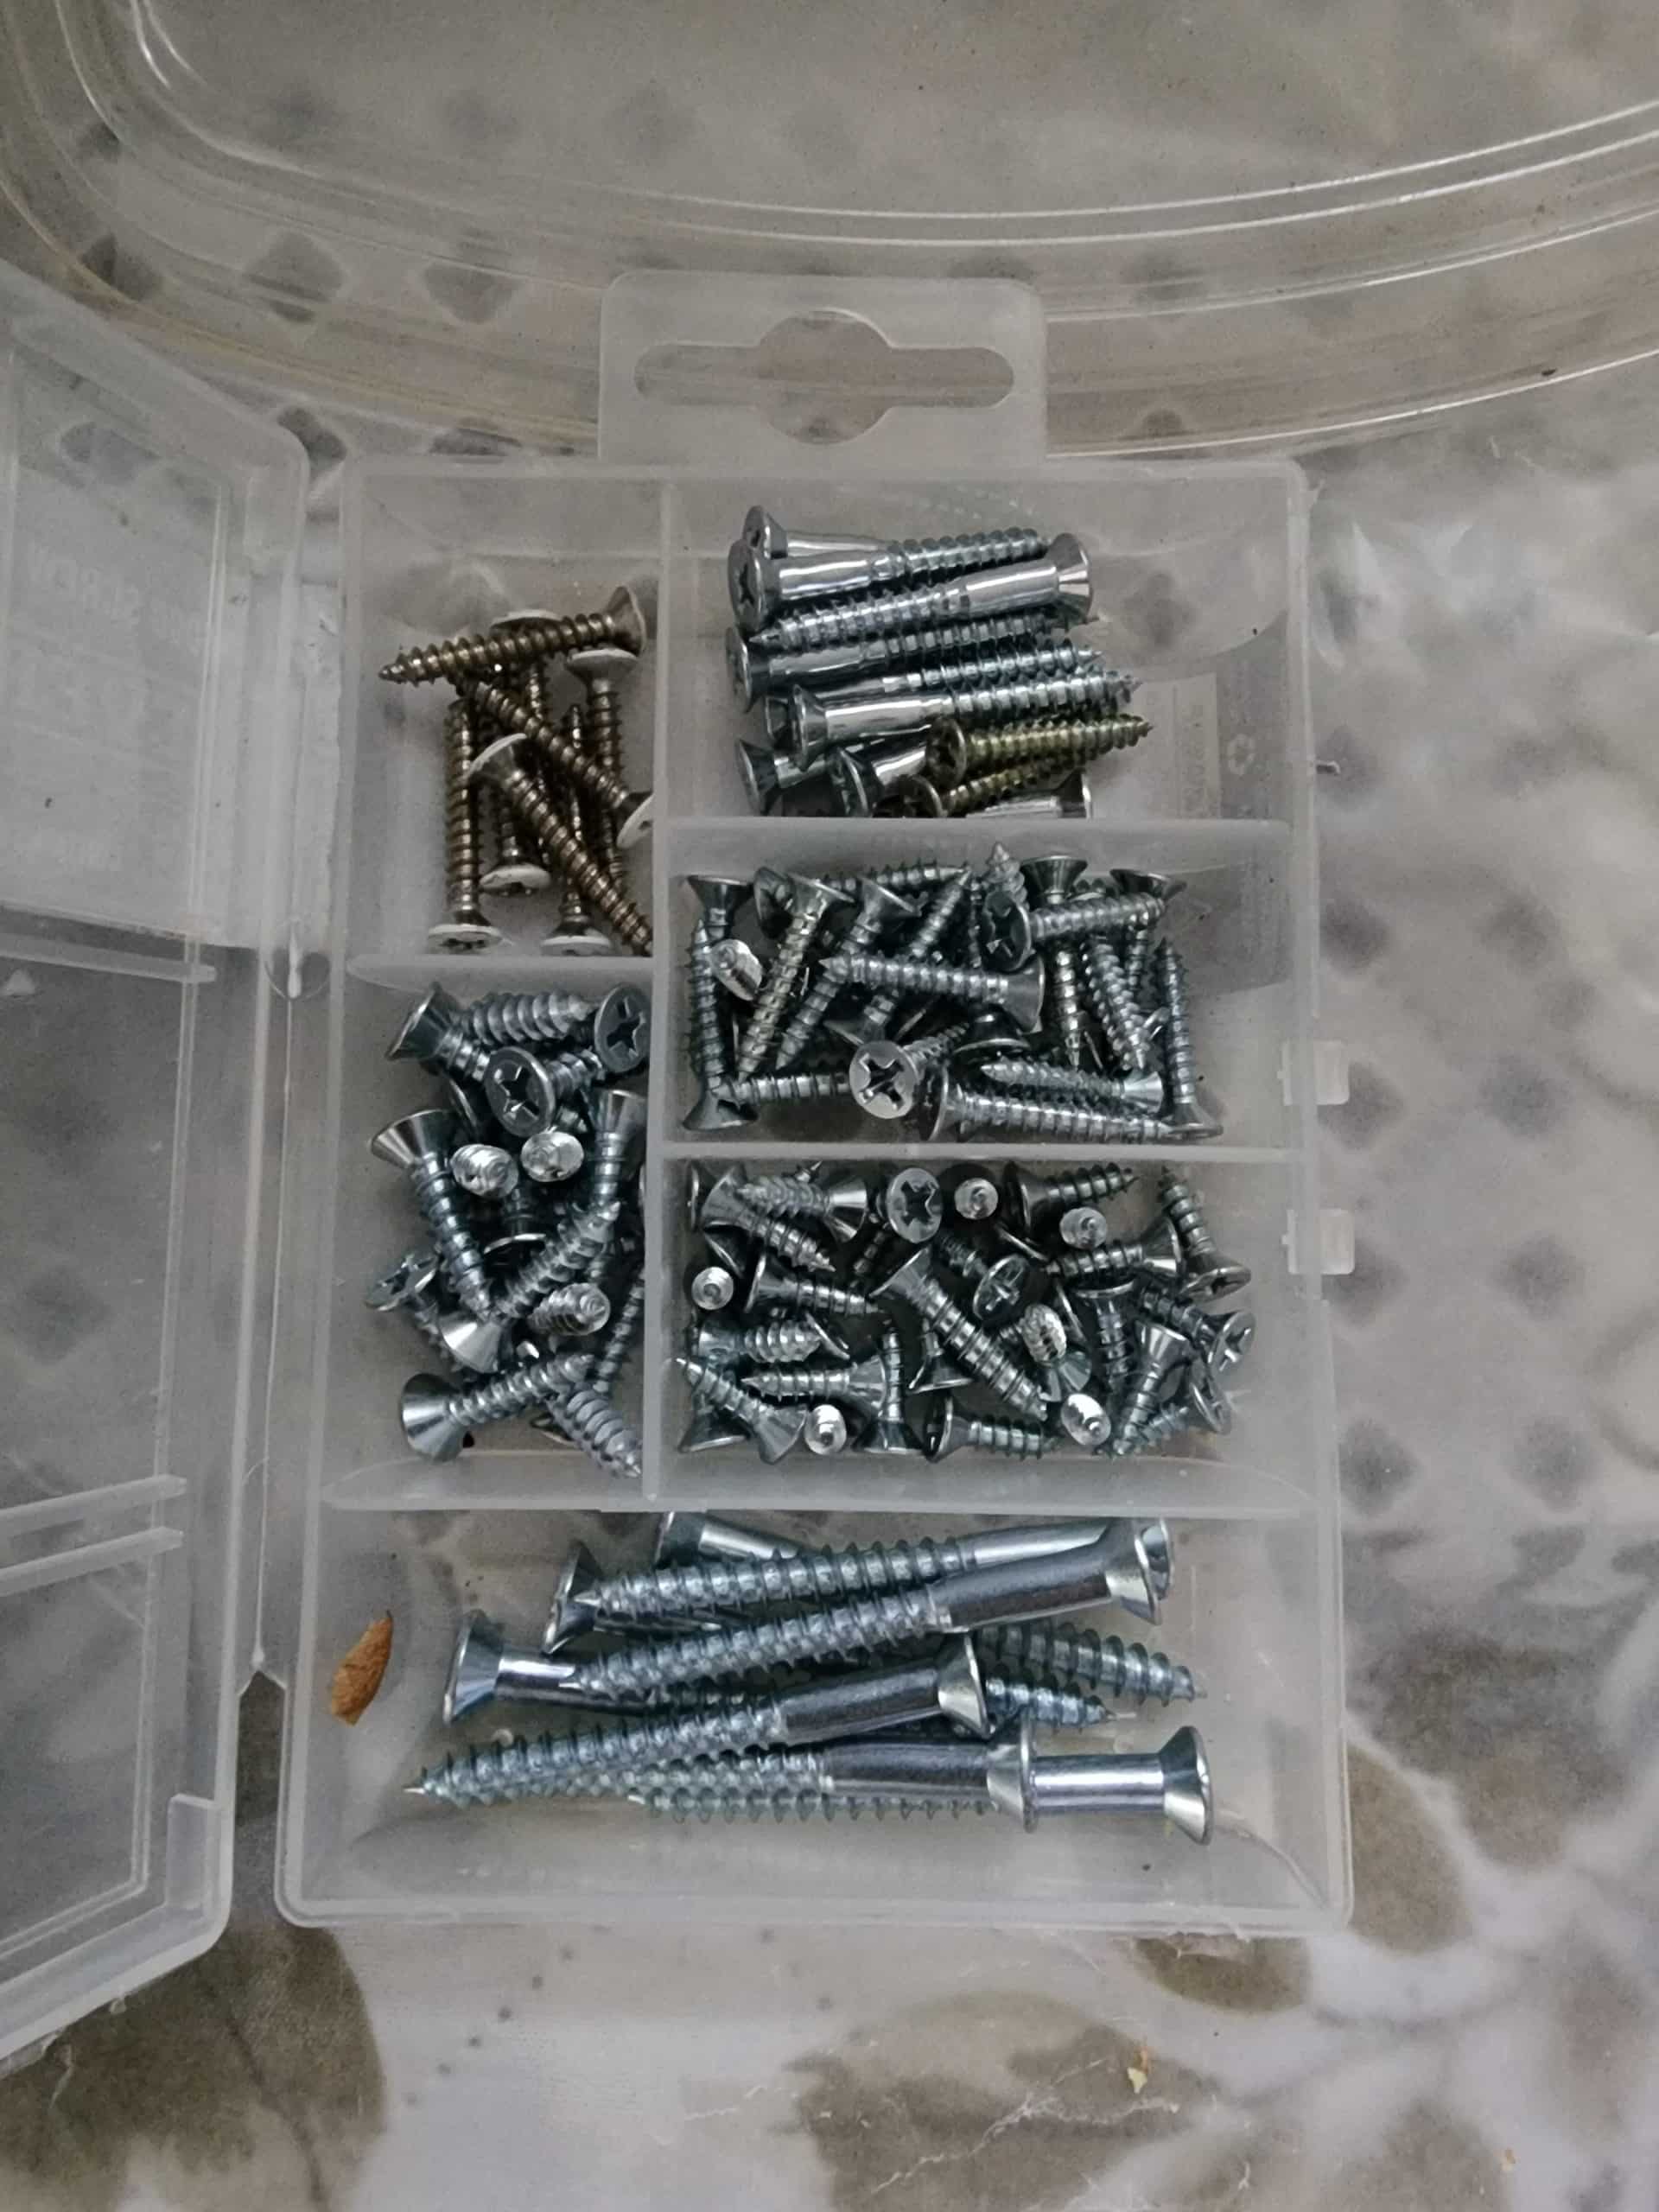
I was very pleased to find this small case of screws in my stash. The large ones were just what I needed!
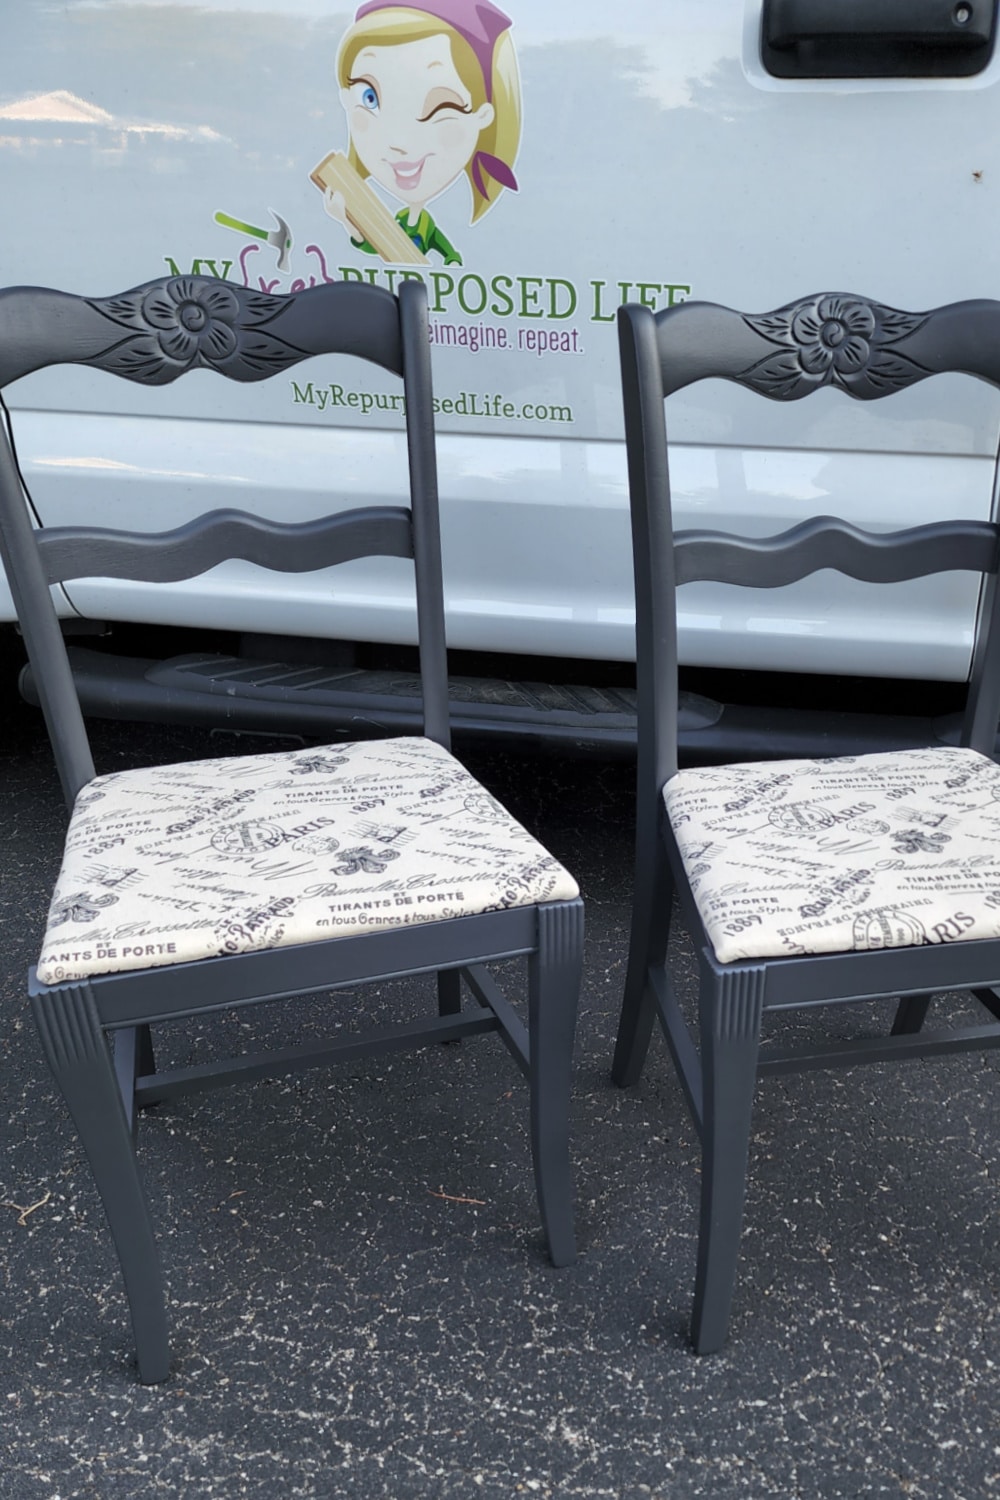
I absolutely LOVE how they turned out. This color has easily become my favorite, and I think it looks fabulous with the new fabric. I’m hoping to find a small table so I can match it all up and sell it as a set.
Edited to add: I did find a Small Drop Leaf Table !!!


Wow! You really took these chairs from drab to fab! I love the carved floral details on them.
Oh my gosh, I have one of those types of chairs in my basement. I loved the flower detail but it was in pretty tough shape and I assumed it was going to be a bear to redo. I’m going to drag it out this weekend and give it a new life!
That’s awesome Pam! I love, love, love orphan chairs. Especially when they’re only $5.
gail
I absolutely love these projects and the fact that your furniture is rescued! I don’t have the time or patience, (not to mention cleverness) to attempt, so I get my happiness looking at all the fabulous and beautiful projects you take on. Thank you!
Linda,
Wow, your comment made my day! I so appreciate your kind words. Thank YOU for being a friend of My Repurposed Life.
gail
Just lovely Gail. Nuts been a long time since I did some chairs. Such a rewarding upcycle! Headed to the garage!
The paint definitely brought out the rose pattern and love the fabric you picked!
Thanks Maryann
I love quick and easy makeovers
I am a random antique chair connoisseur as well. L8ve that dark grey color!!!
This is a great makeover, love the paint color mixed with the fabric! Such a great update!
I appreciate your kind comment Kristen
Oh, WOW- what an improvement!! And you’re right- the paint absolutely brings out those roses! What a color/fabric combo, too- perfection.
Wow Sarah! I love your enthusiasm about the rose back chair makeover. 😉
they look awesome! love the color of paint and the fabric choice is spot on! ❤
You’re so sweet Nova. Thanks for stopping by to check out my latest project.
The chairs turned out so beautiful! Great fabric and paint choices.
Thank you Carlene fire your gracious comment. It is truly appreciated.
thanks for the easy step by step and WHAT an easy transformation!
THey are stunning!
Thanks! Love your handle, lazy Susan. Lol
I really love how the antique rose back chairs turned out! They are just beautiful! You make it all look so easy.
You definitely have a gift!
Thank you so much, I feel so blessed to be doing what I love!