Family Sign Router CNC Shop Bot
As an Amazon Associate, I earn from qualifying purchases.
Have you ever cut out one of those routed signs? A family sign, Gather, or something similar? Maybe you’ve cut out a sign with a scroll saw, like I did with my Hello sign. That sign took a while using a scroll saw and a jigsaw. I recently took a class at Maker 13 in Jeffersonville Indiana, using a CNC Shop Bot!
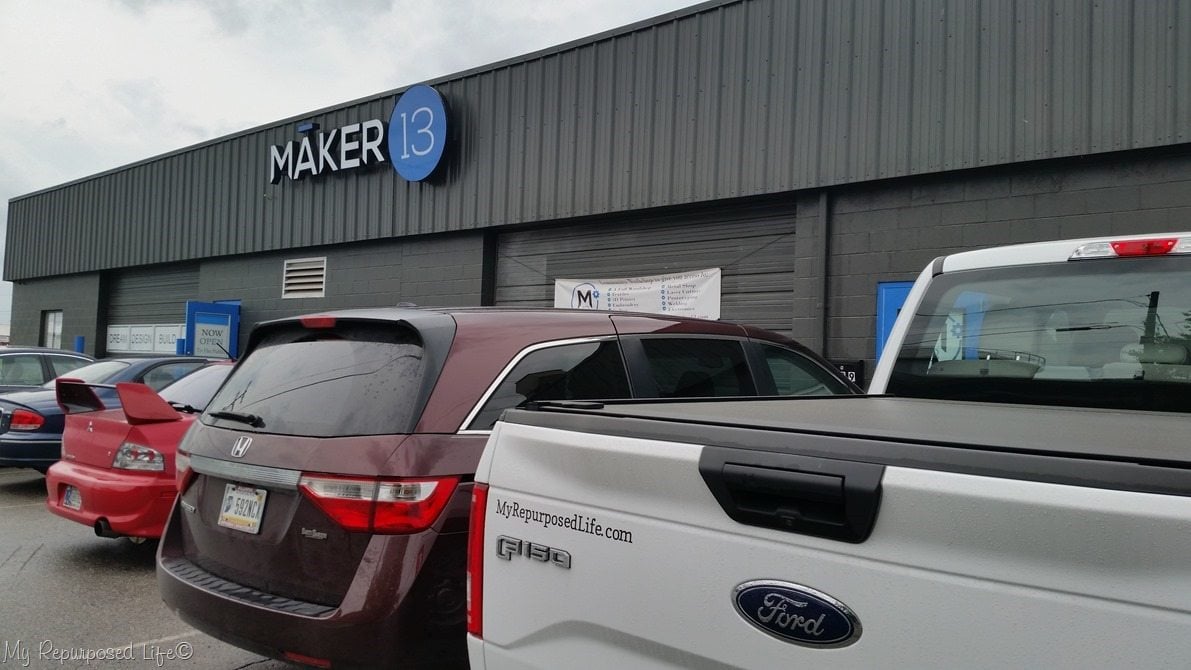
Look! It’s my new truck! I wonder how long I’ll call it “new truck”. After all, I did buy it in November of last year, SEVEN months ago! Anyway, Maker 13 is a maker space that has lots of machines in their wood shop, including the shop bot. You may remember I took a woodworking class where I made the Cherry and Maple Cheese Board.
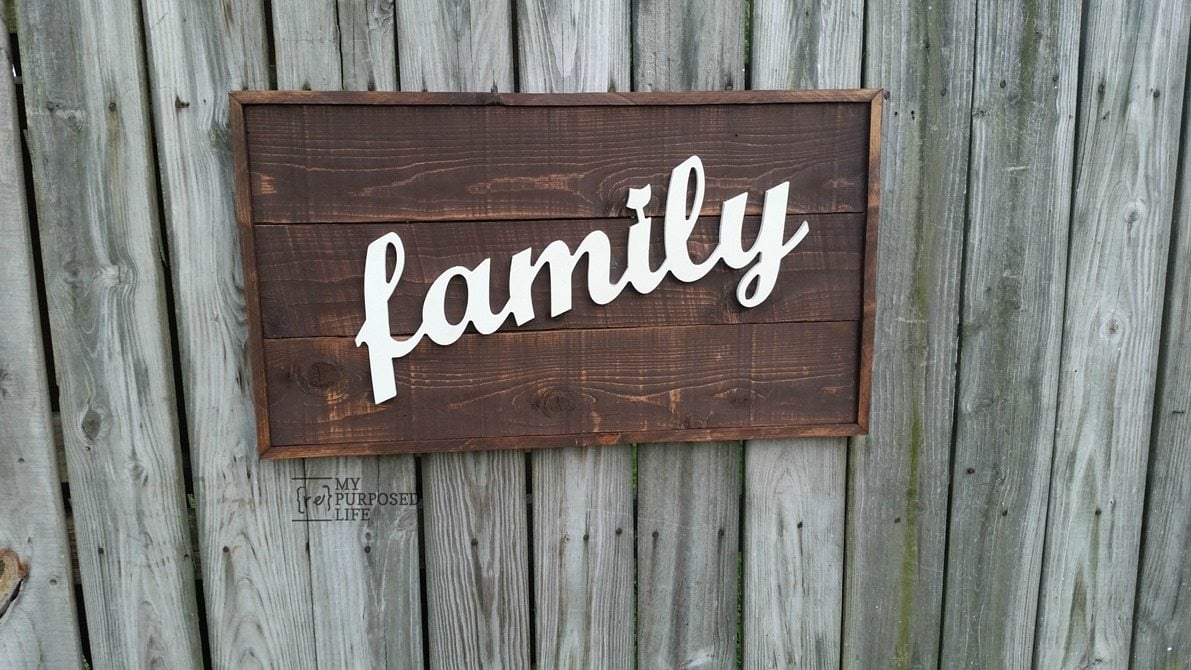
Routed FAMILY sign
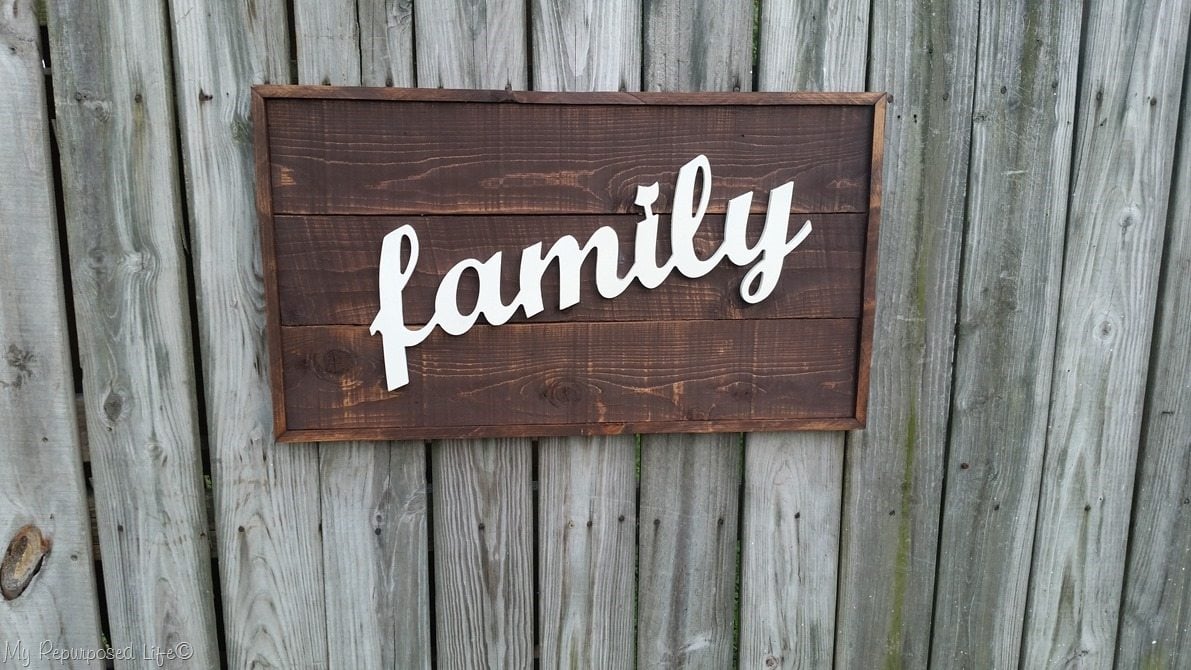
This is one of my more recent projects-cut on the shop bot out of plywood. I did that at the maker space, but then after bringing it home, I made this frame for it. So, let’s see how this all came together. . .
Family Sign cut on a CNC machine
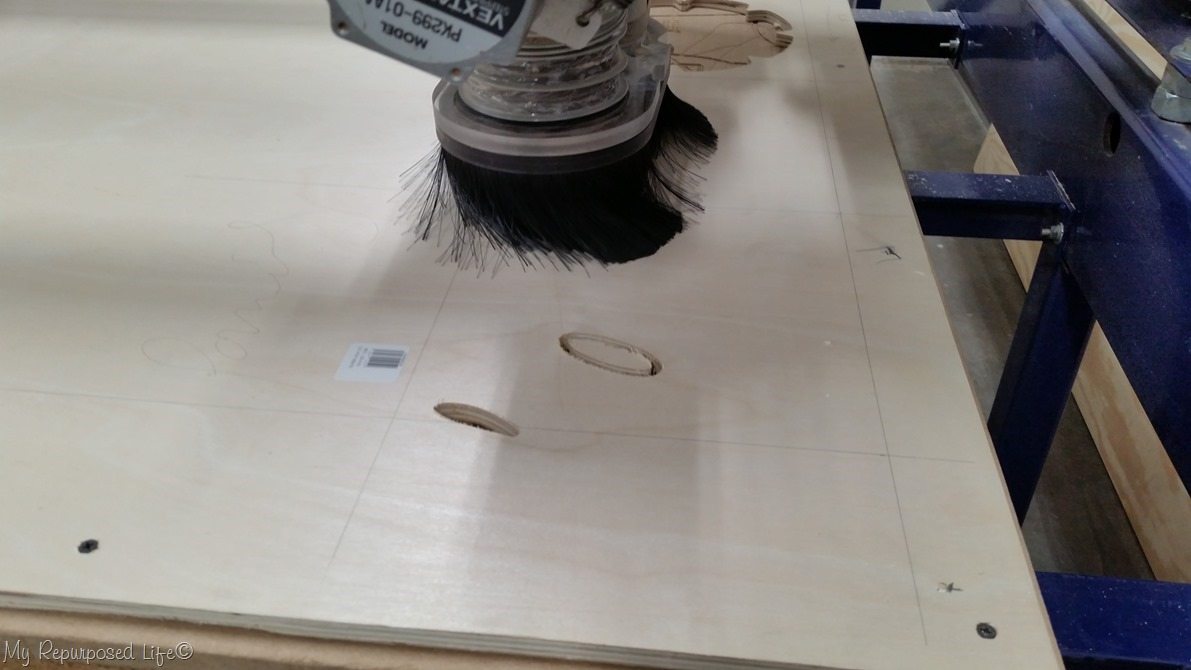
To cut something out of plywood, you create a file on the computer in Corel—then go to the shop to get the project ready. The plywood is screwed down, then after taking some safety precautions and opening up the elaborate venting system I was ready to hit start. The router was set to make 3 passes to cut through the thick plywood. It’s really a lot like watching my Silhouette cut out vinyl.

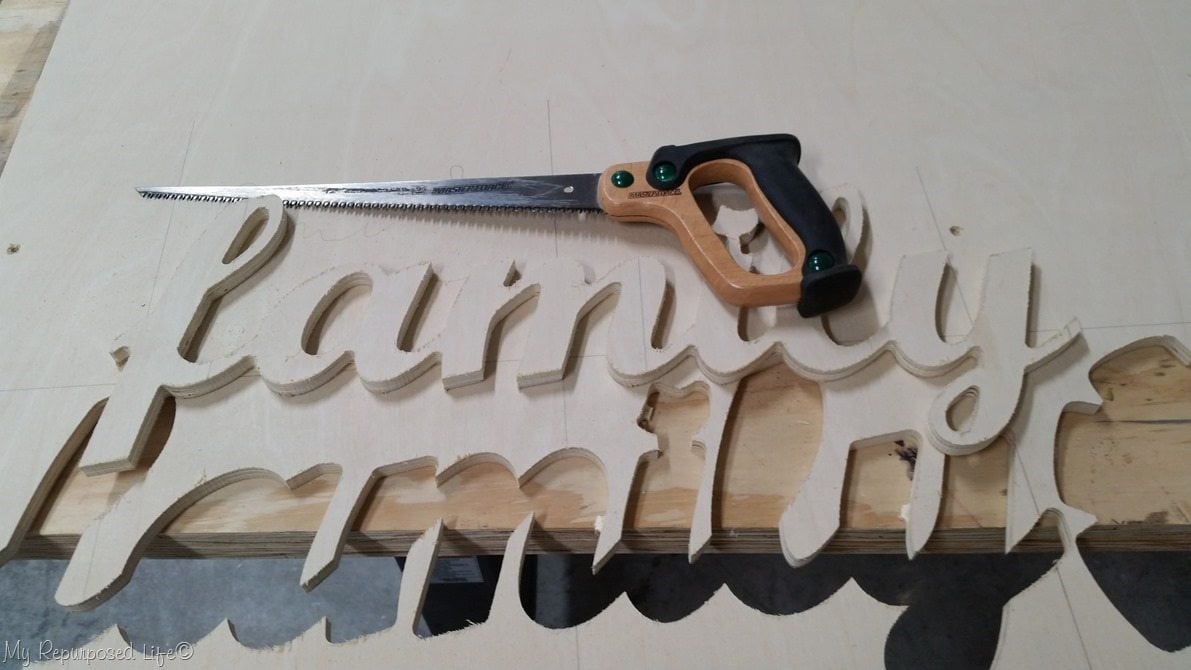
There were a couple of notches that held the word in place. They are more like tabs, because they are very easy to cut, allowing the sign to release from the plywood.
*this post contains affiliate links, read more here*
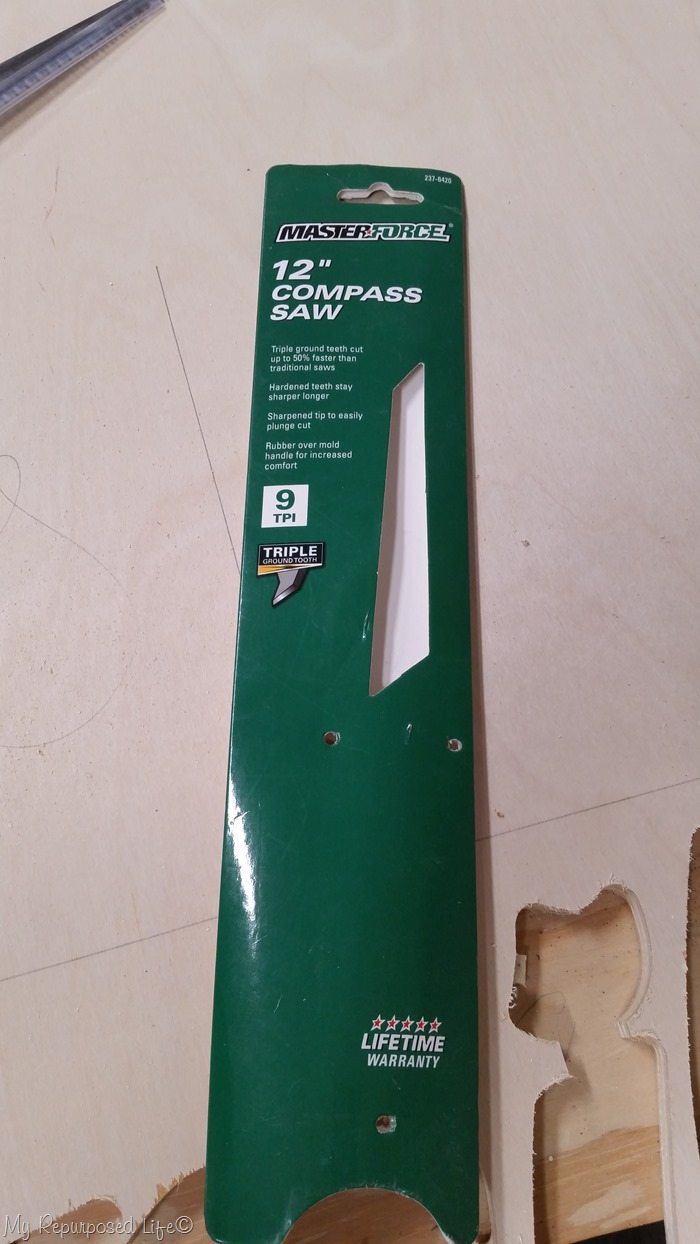
It was really quick and easy with this Compass Saw. This saw was at the shop, I don’t have one, YET!
Sand rough edges of diy family sign
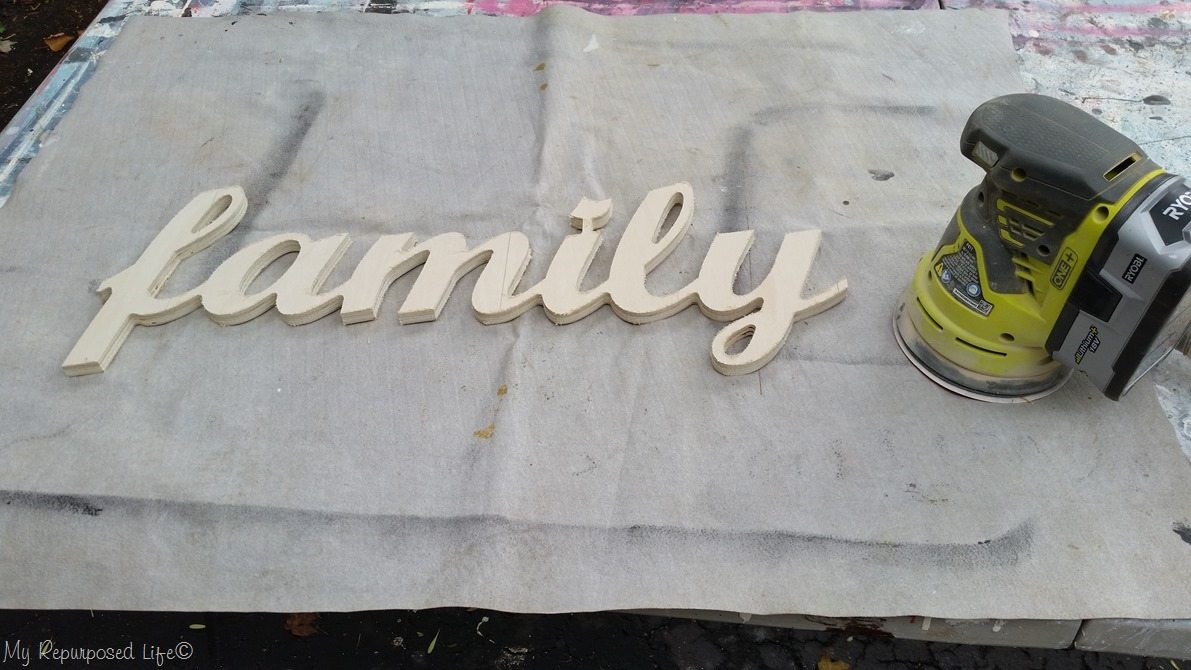
Because of the font, I had to leave the oodle/boodle of the I attached. After brining it home, I got busy sanding it—first with my orbital sander.
An emery board is handy for sanding small places
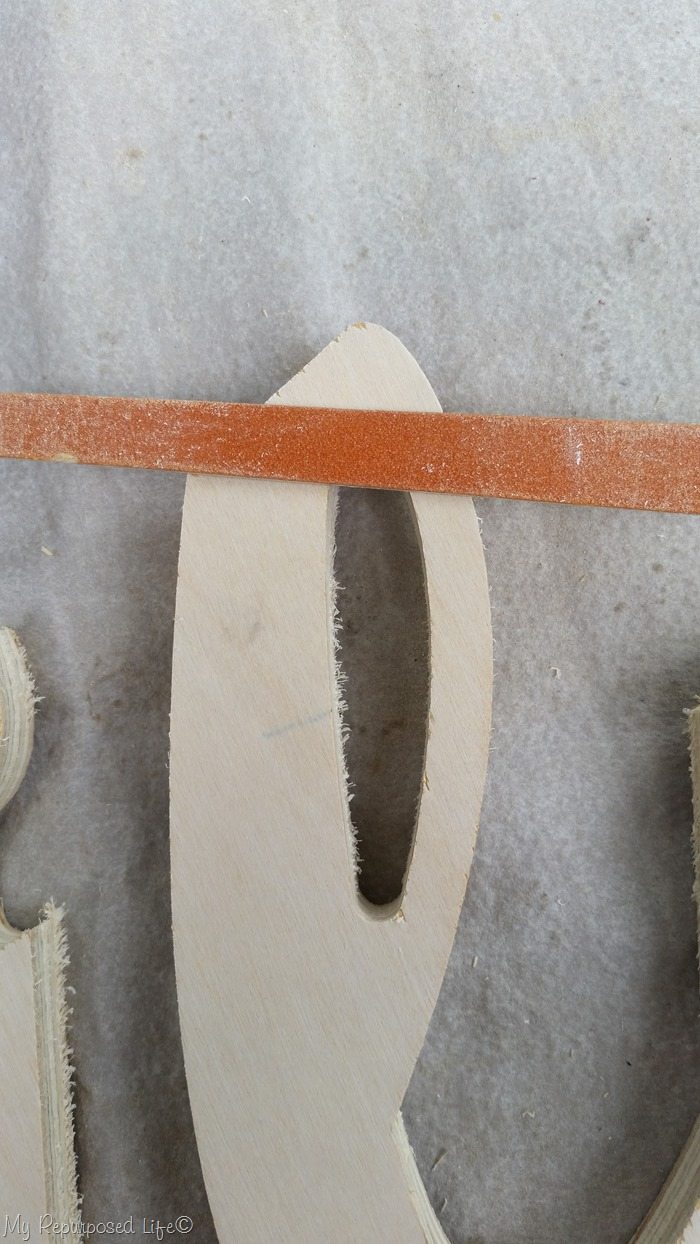
For the small areas, I used emery boards.
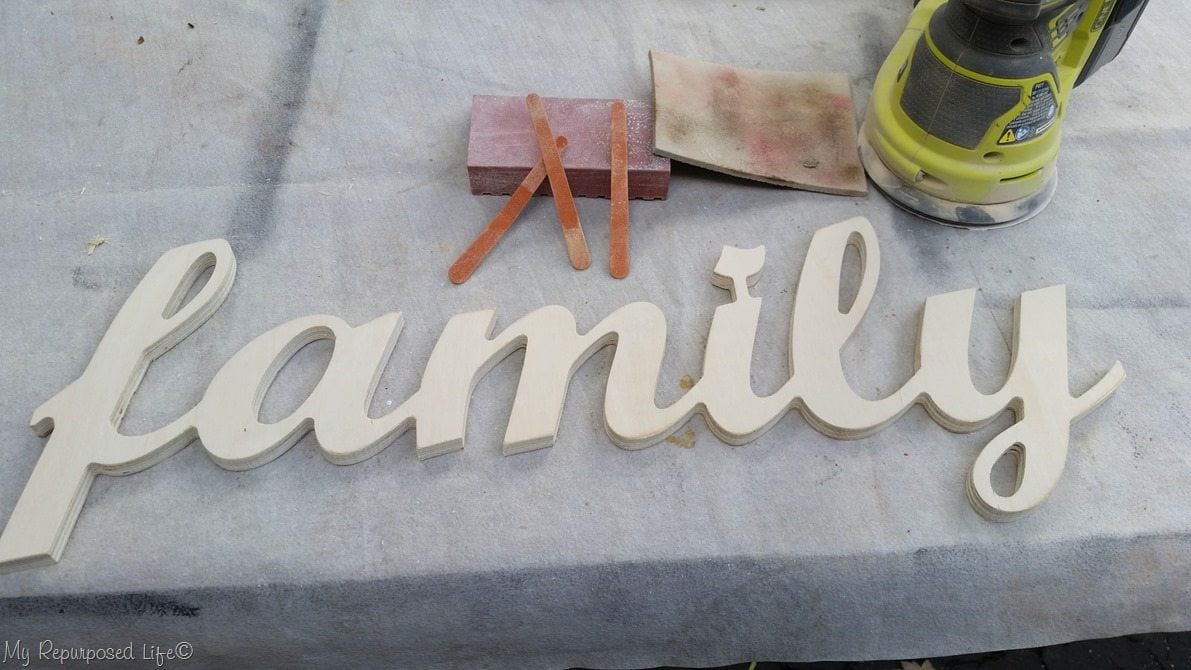
I also used some sanding sponges. After all that sanding, it was really taking shape, looking a lot better.
Small Spray Paint Shelter
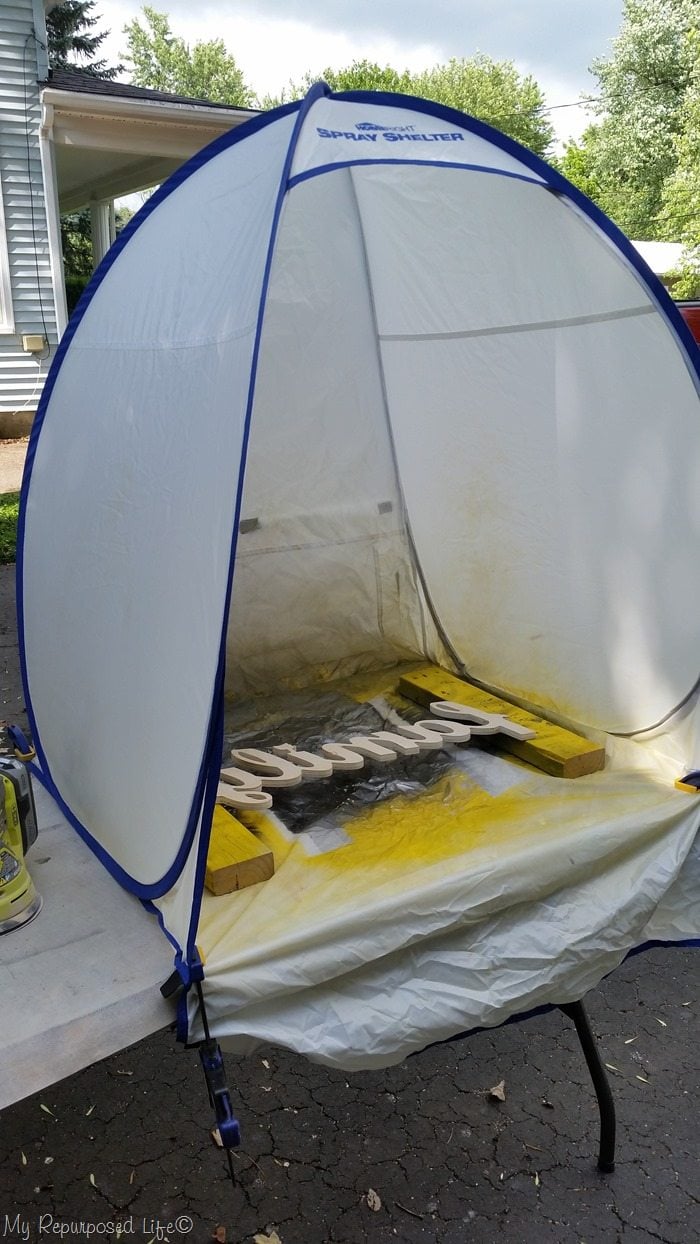
I have so much spray paint on hand that I took the easy way out and sprayed it in my small spray shelter from Homeright. I like to secure it with Irwin quick clamps to a work table. Did you I always paint the back side first, then when I turn it over if there happens to be a scuff or something, it’s on the back—not the front.
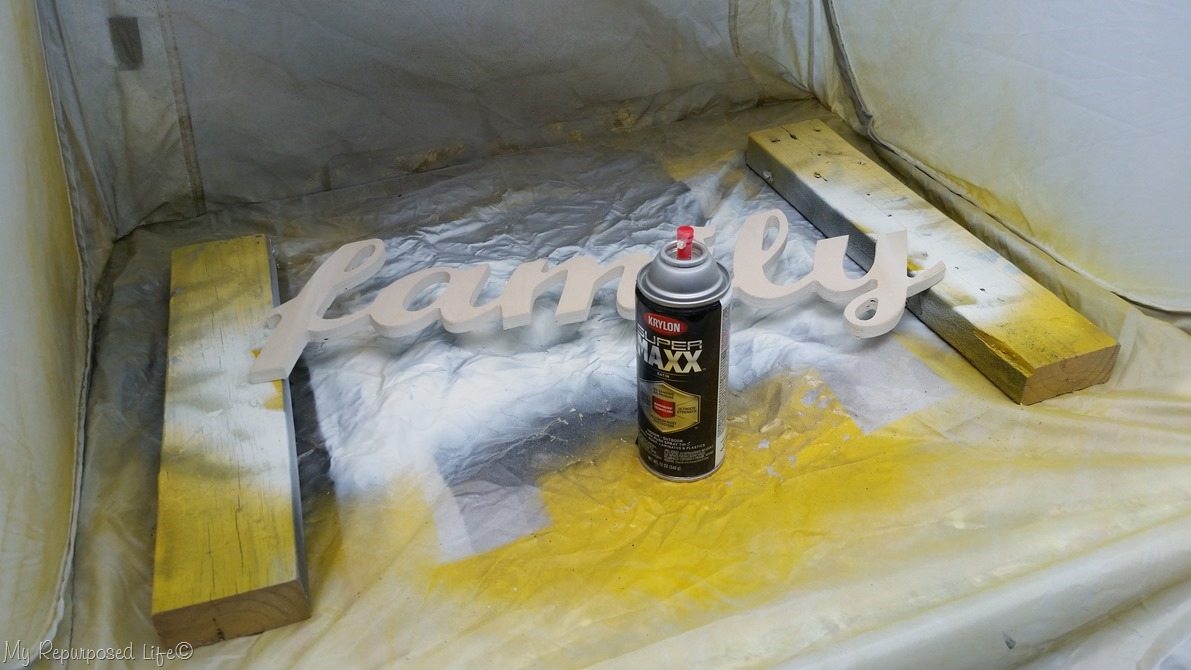
Raising it on scrap 2×4’s makes the job dry faster.
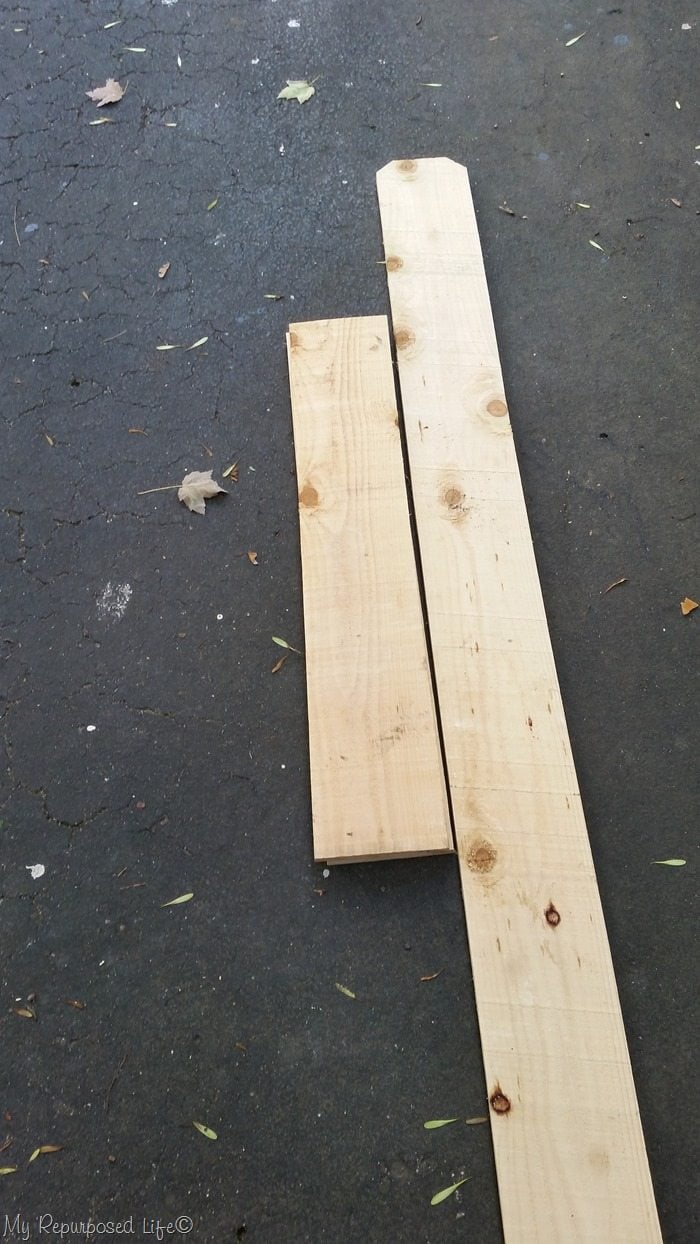
To make the simple rustic frame I used 3 new fence boards. I generally use weathered fencing, but I wanted to stain these boards.
Assemble backer board for Family Sign
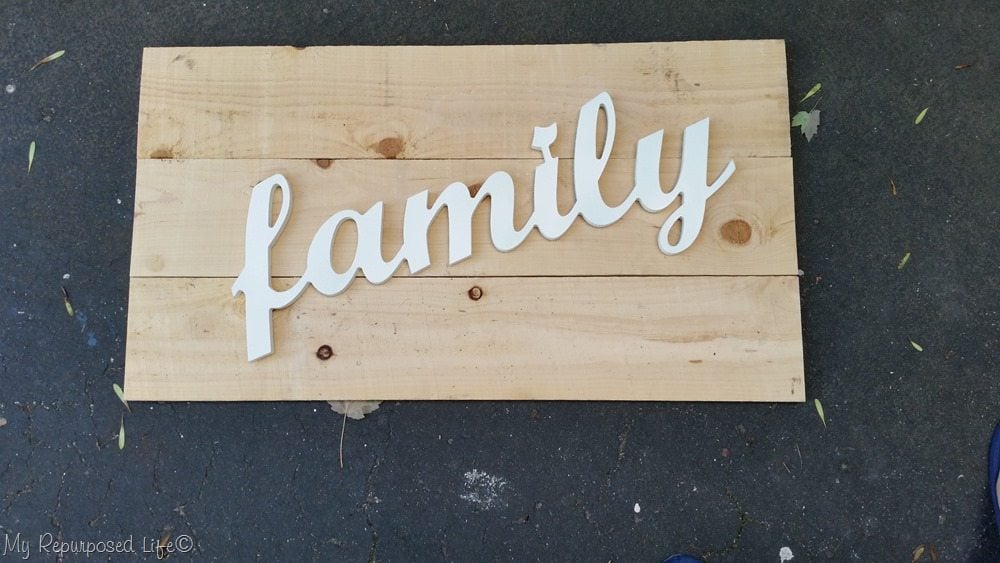
I cut three boards to size, then tested to see how the word FAMILY would look on them.
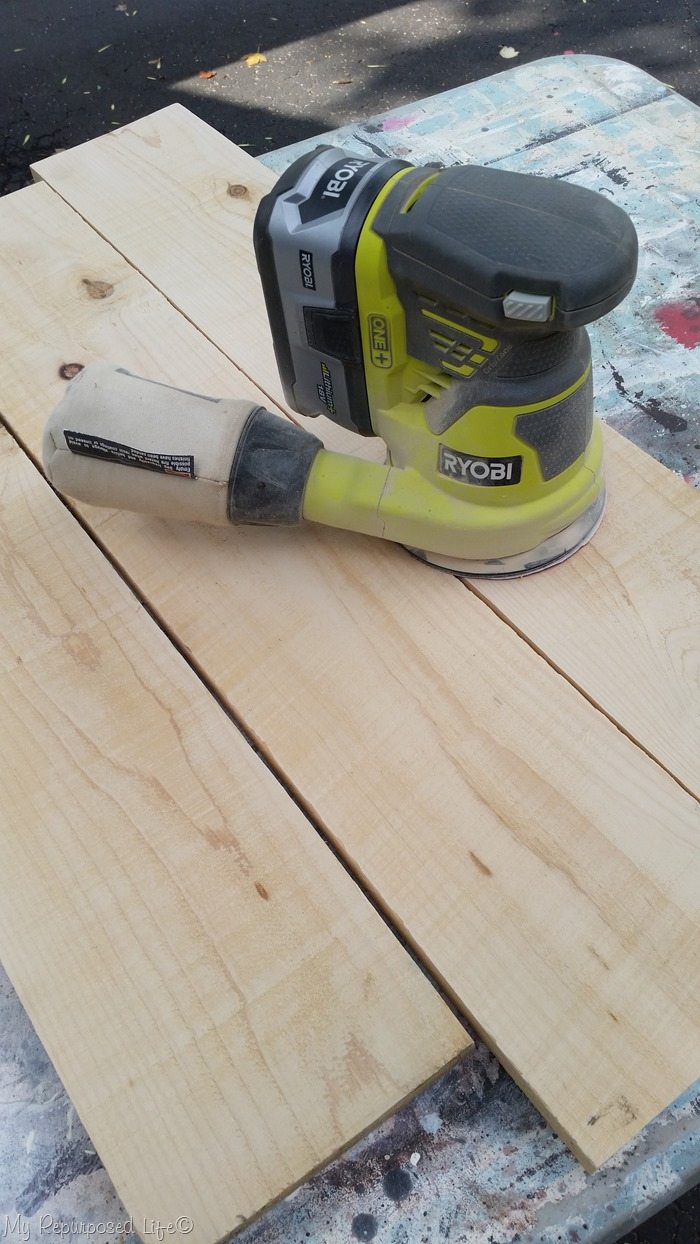
Because the boards were rough, I sanded them.
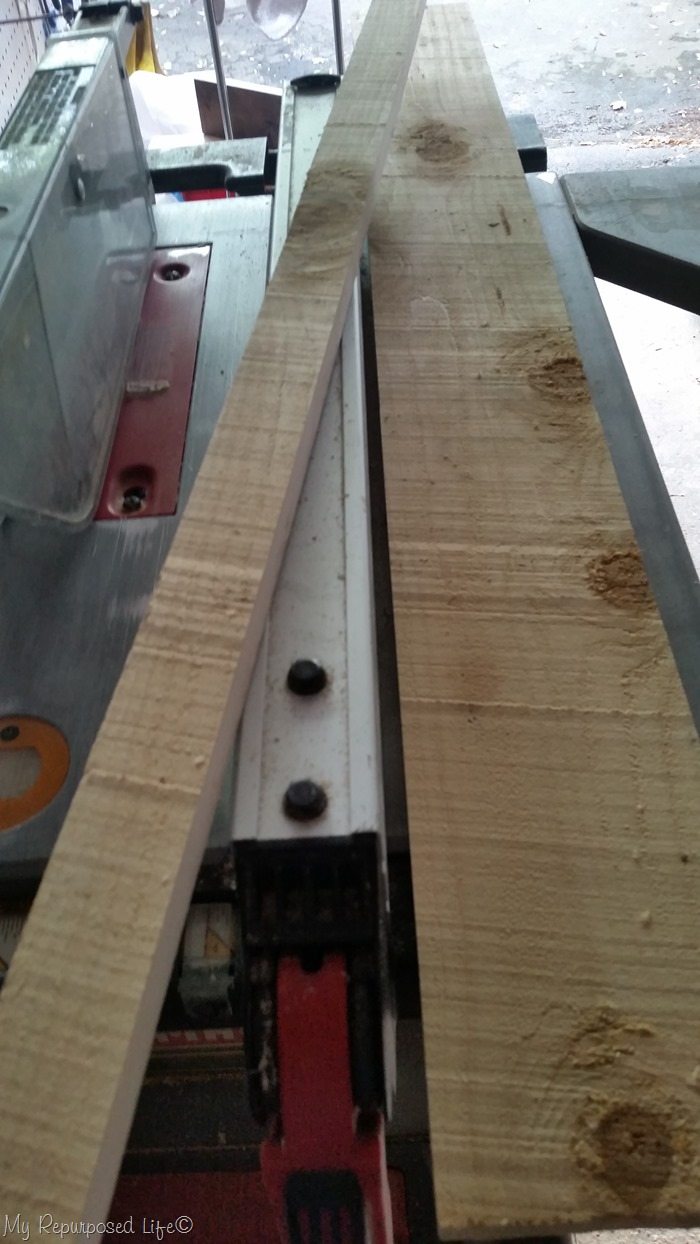
To make the frame for the fence boards, I ripped the leftover pieces of the boards on the table saw.
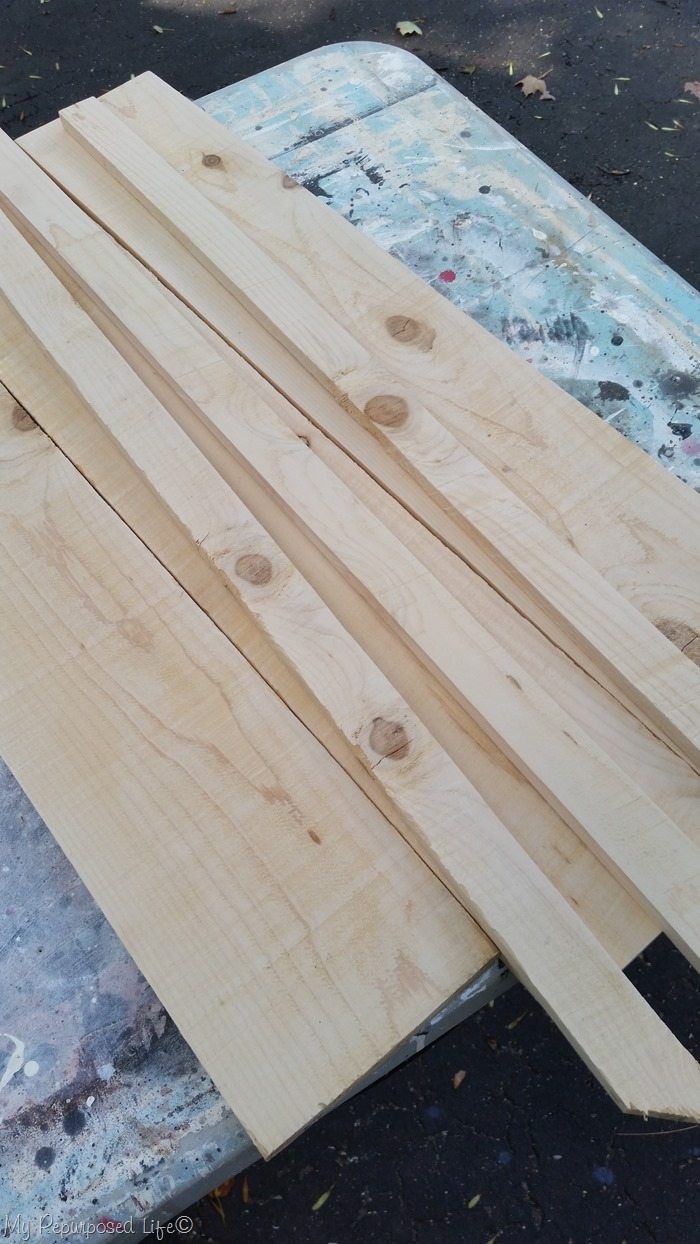
Then I was ready to cut the ripped pieces and form the frame and backer boards.
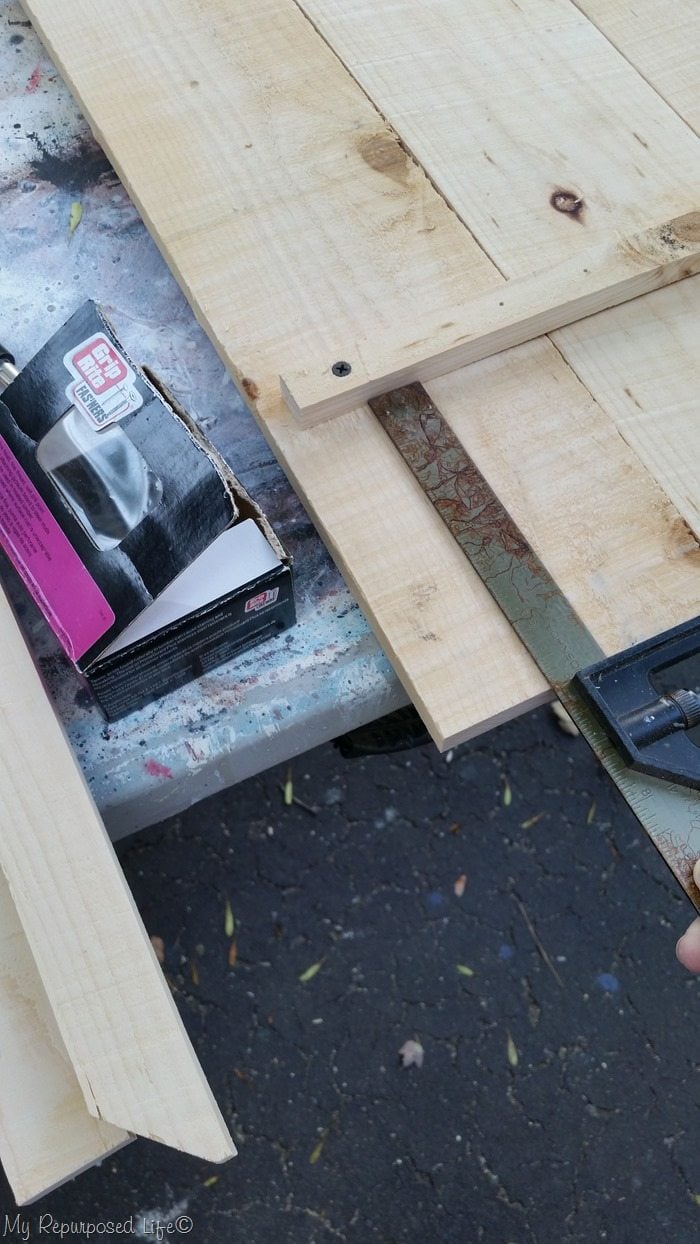
I used a combination square to make sure the backer boards were equally spaced on each side.
Build a Wooden Frame around DIY sign
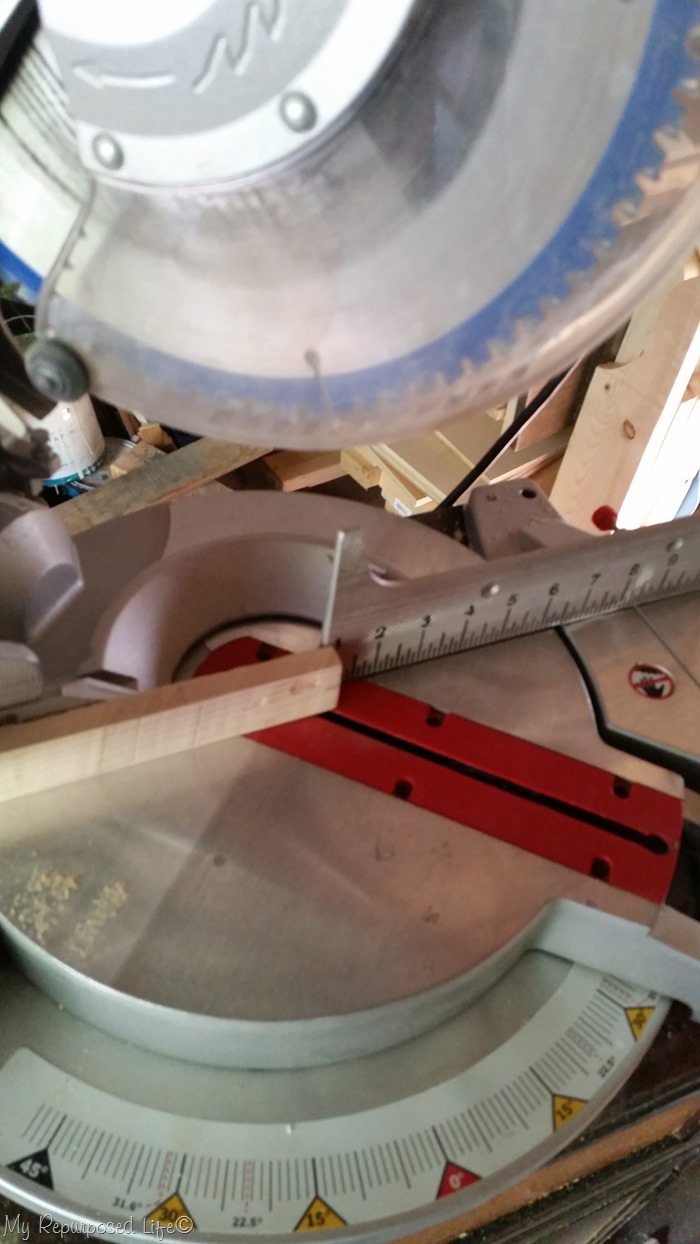
I cut 45° angle on the ends. If you don’t have a compound miter saw you can use butt joints instead of angled cuts using a jigsaw, hand saw or circular saw.
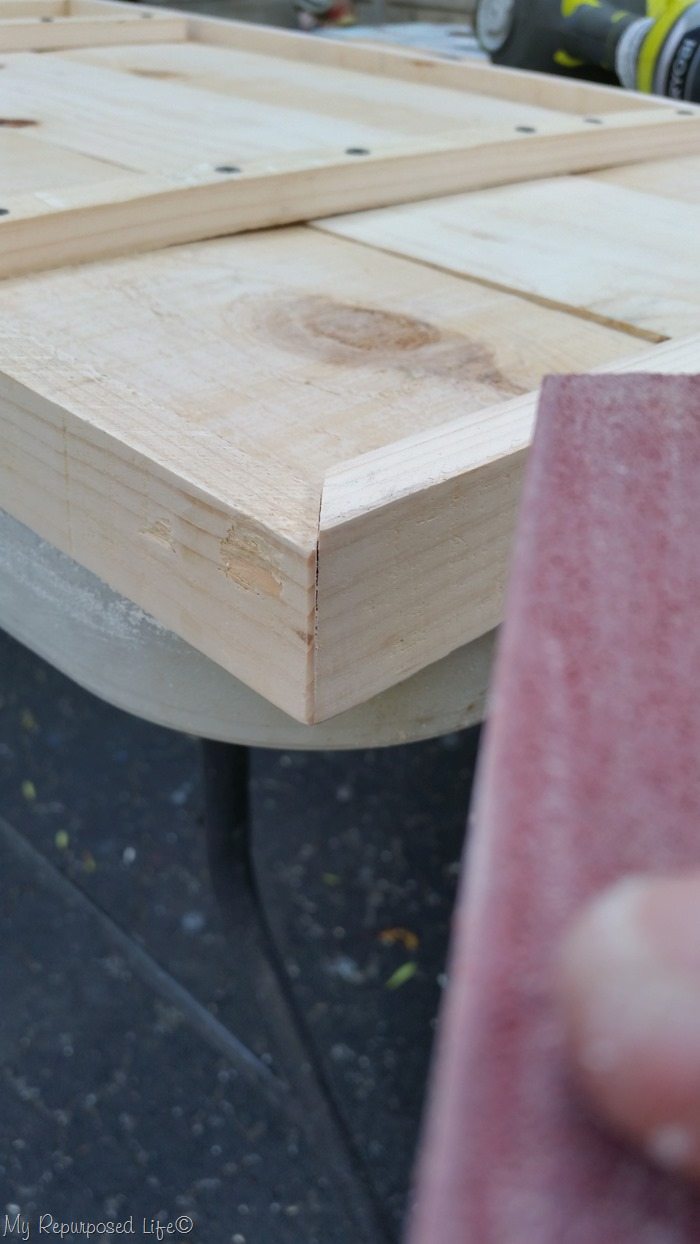
Because these fence boards were not perfectly square, my miter corners were not perfect. No problem, a little sandpaper will smooth things out.
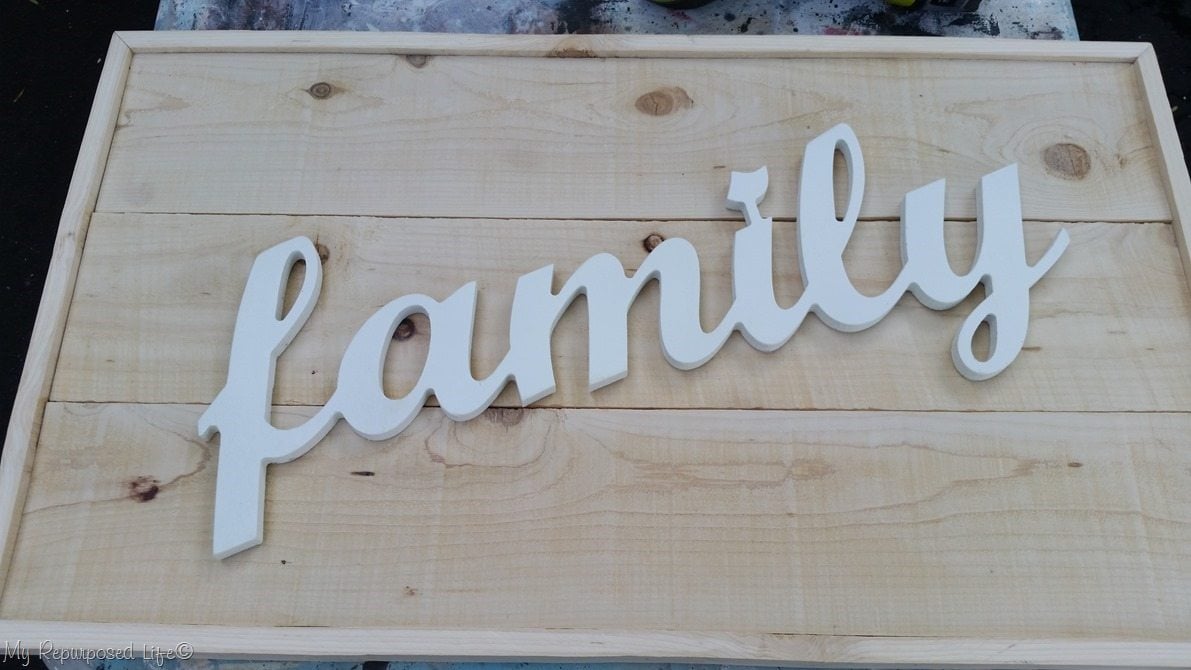
Look closely and you will see a lip on the front of the rustic frame . . . .
Stain the new Family Sign
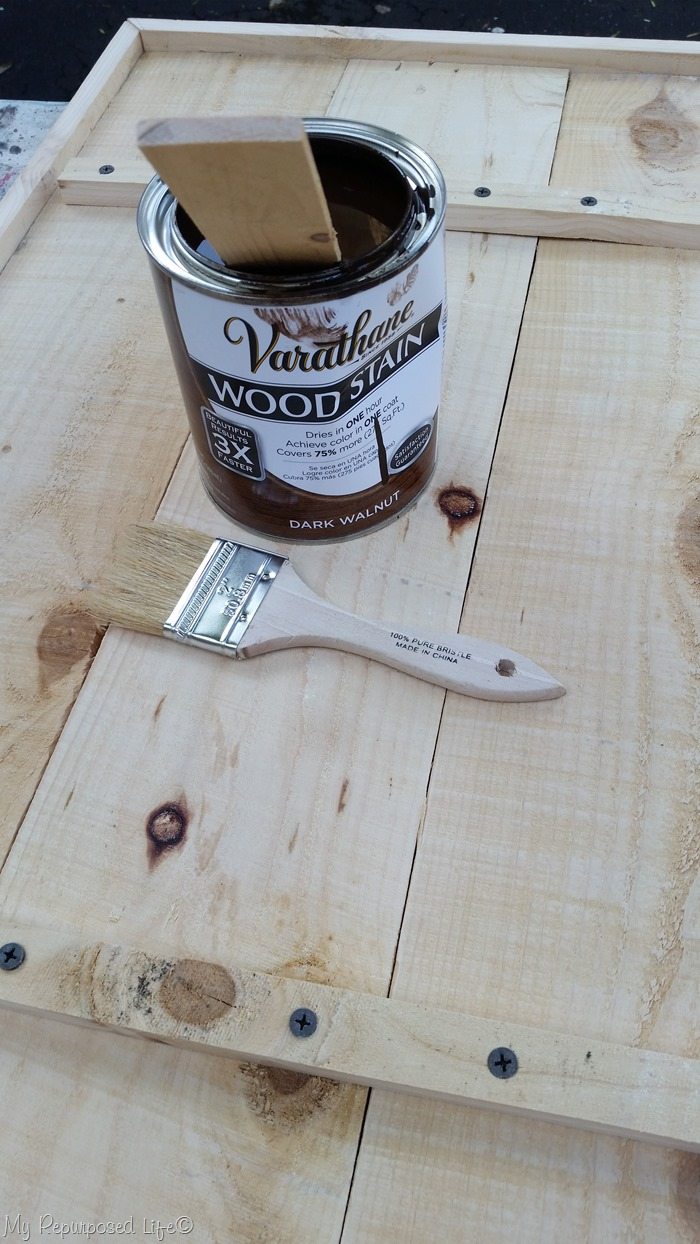
. . . as well as a lip on the back. This structure will give a nice finished look to this sign. I first used it for my rustic mirror frames, you can see more detailed instructions there. I picked up this dark walnut stain at Snap blog conference in April. It was applied with a cheap chip brush.
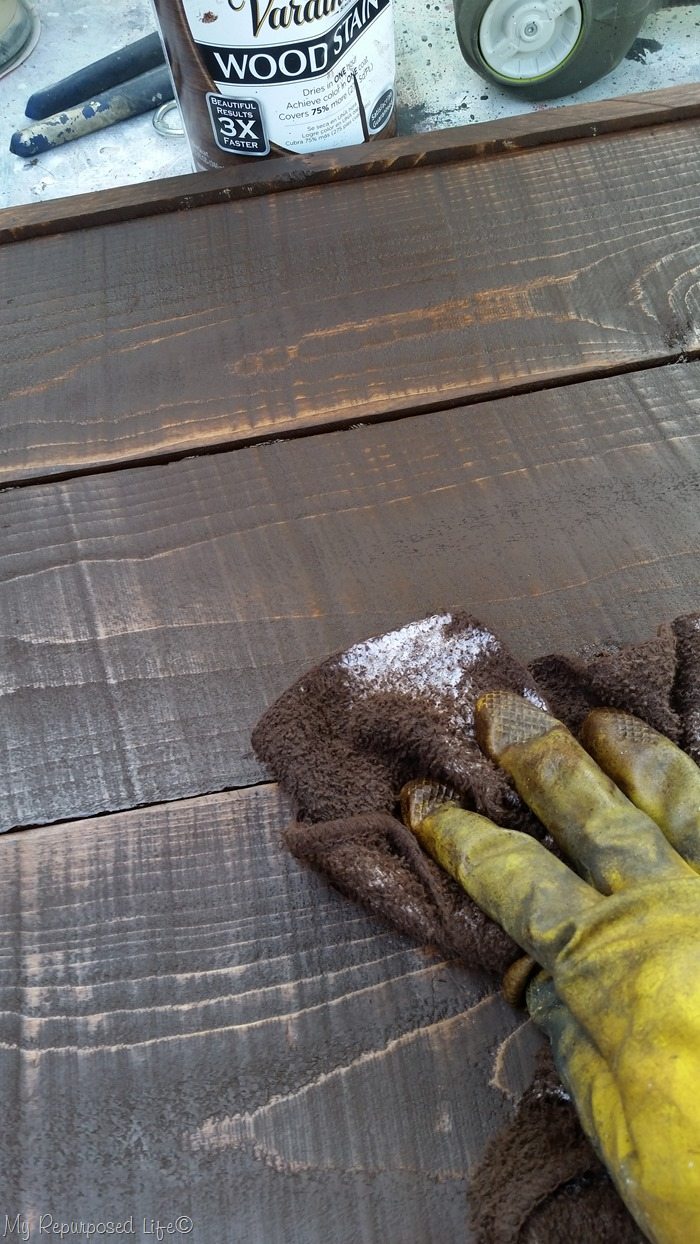
Then wiped it back with a rag.
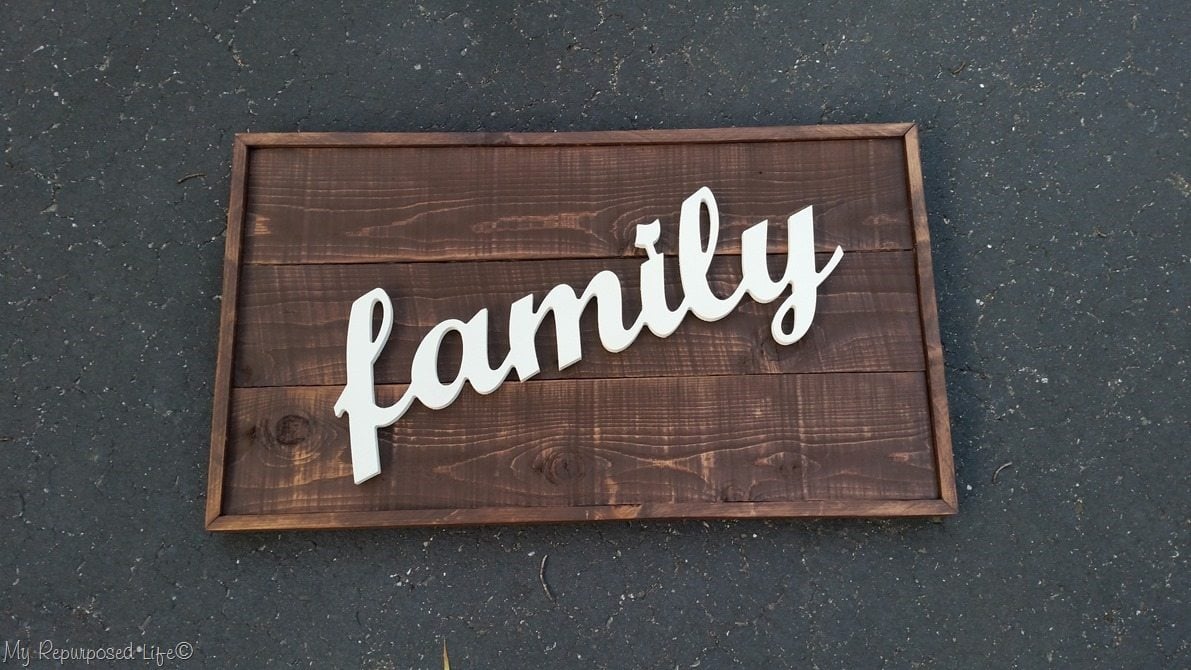
I was testing how much slant I wanted to have on the word family.
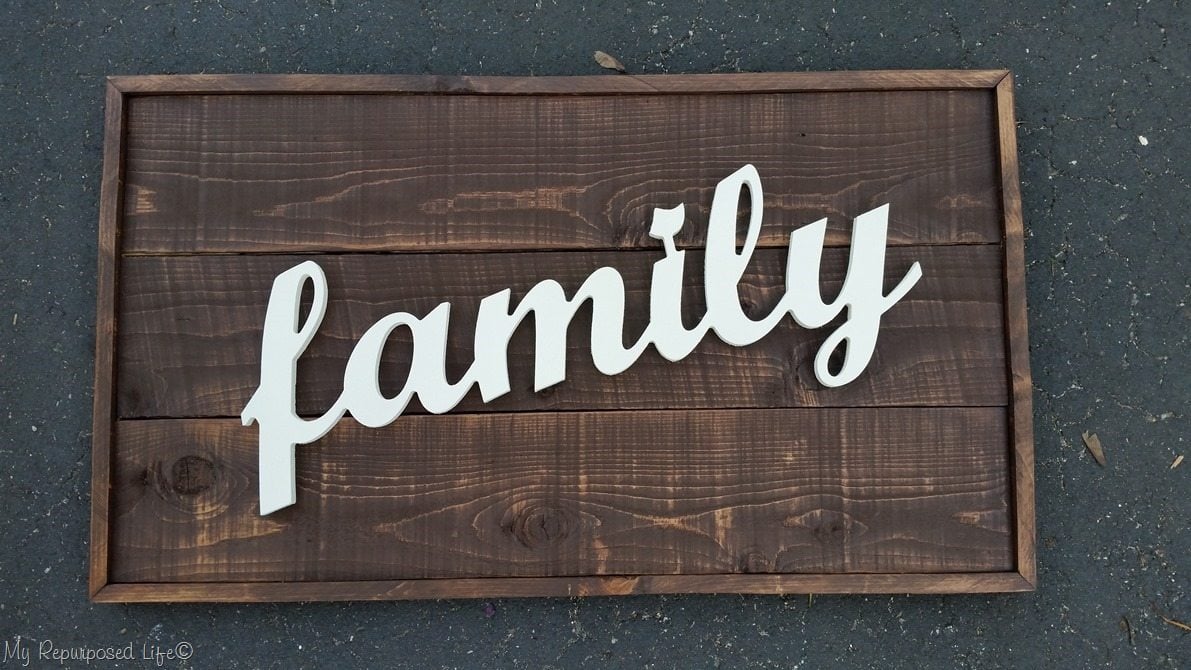
I can’t find pictures , but I attached the word family to the rustic wooden sign with Gorilla Glue construction adhesive in a few strategic places.
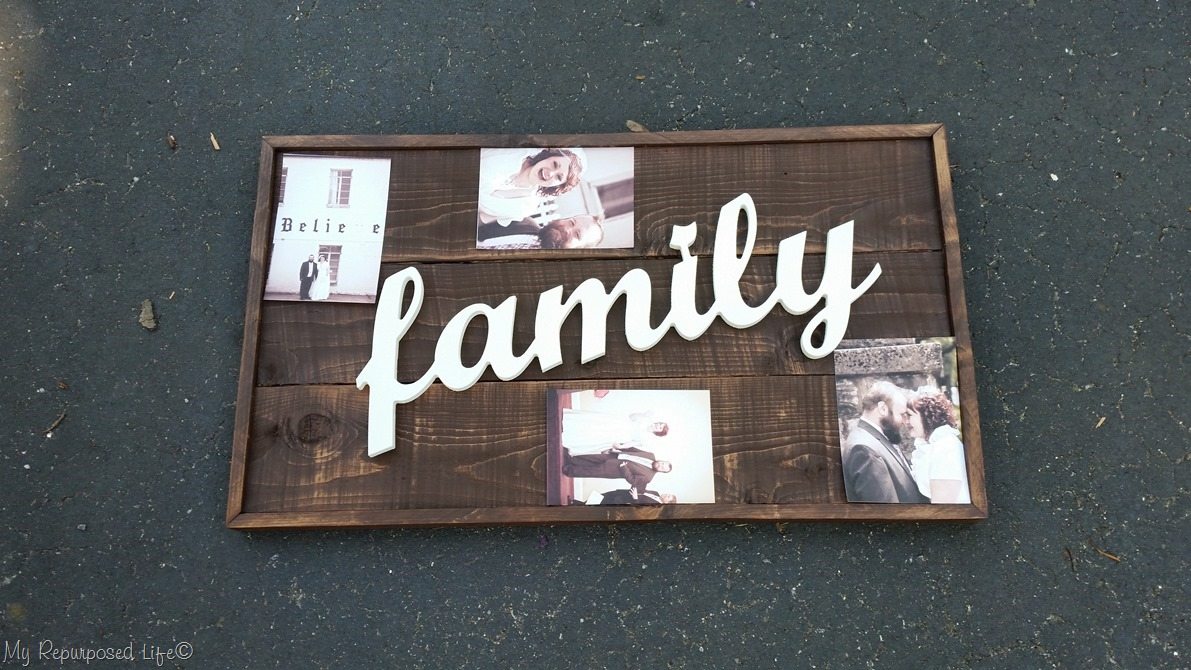
The plan is to allow room for pictures to be added around the frame. My photos weren’t the right orientation, but you get the idea.
I haven’t figured out how to attach the photos yet. I’d love to get your input and ideas.
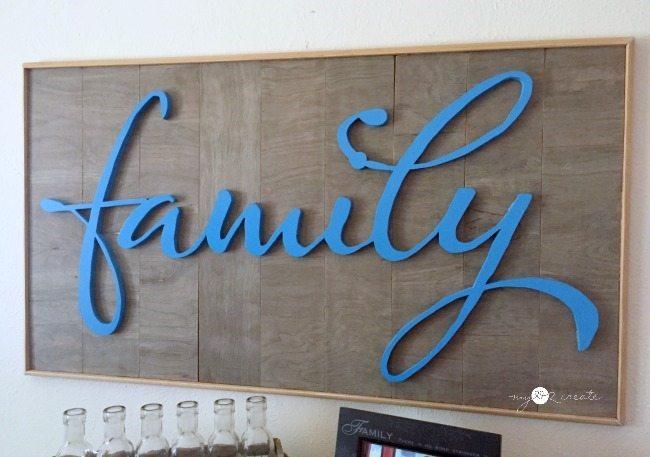
If you don’t have access to a CNC shop bot router, check out this great tutorial from Mindi at MyLove2Create. I wonder if Mindi thought about adding photos to her sign?
Please leave a comment about your ideas for adding photos. Have you checked to see if you have a maker space near you?
gail
Have you seen my Bless The Food Sign I have hanging in my kitchen?

I would try the Command hook sticky backs to hold the pix on. You can buy them in refill packs. I haven’t tried these on paper but I’d try it on a duplicate pic first to see if it works. Otherwise I’d try the Frog tape by making a loop out of it, sticky side out. I don’t know how long this method would stick to the wood. I love the fact that you ask for brainstorming ideas. I haven’t seen any other blogger do this and I appreciate it. I’ve always wanted to take woodworking. When I was in 7th grade boys took woodshop and girls had to take home-ec. I’ll never forget the beautiful laminated bowls in their showcase. Our class didn’t even have a showcase. We made a pitiful hotpad shaped like our hand. The edges didn’t even match up. I knew I could make something as well as any boy!! (This was one of the biggest disappointments of my life.) So I kept sewing and went on to make quilts. But my first love is woodworking. I’ve never had the chance to take classes even though I have a workshop that would rival anybody’s. Thanks for being such an inspiration. I’ve never heard of the Maker shop but I’ll look for one or something similar.
Thank you pam for your input! Command strips are a great idea, and maybe instead of rolling tape, double stick tape would work great! We’re never too old to start doing what we’ve always wanted to do. I am self taught, mostly by trial and error (and a lot of youtube videos). Whenever I’ve been around someone working on something, I’m always annoyingly looking over the shoulder to see how they do things. Hoping you get out in the shop very soon to do something, even if it’s small. Just get started!
gail
only ways i can think to “attach” picture would be mini clothespins, washi tape, mini hinge clip or letter spring clip.
Can you please tell me what type of cnc router they used at the shop? I am in the market for one. Thank you
I’m sorry, I am not sure. The site calls it shop bot. But I don’t know what version of the machine it is.
gail
It’s a ShopBot. The software used is V-Carve. It takes up to a 4’x8′ sheet of plywood. So it is a large CNC.
Thanks for the emery board tip. So easy, yet I would not have thought of using one.