Rustic Shutter Cabinet from Reclaimed Fencing
As an Amazon Associate, I earn from qualifying purchases.

How to make a rustic shutter cabinet out of reclaimed wood
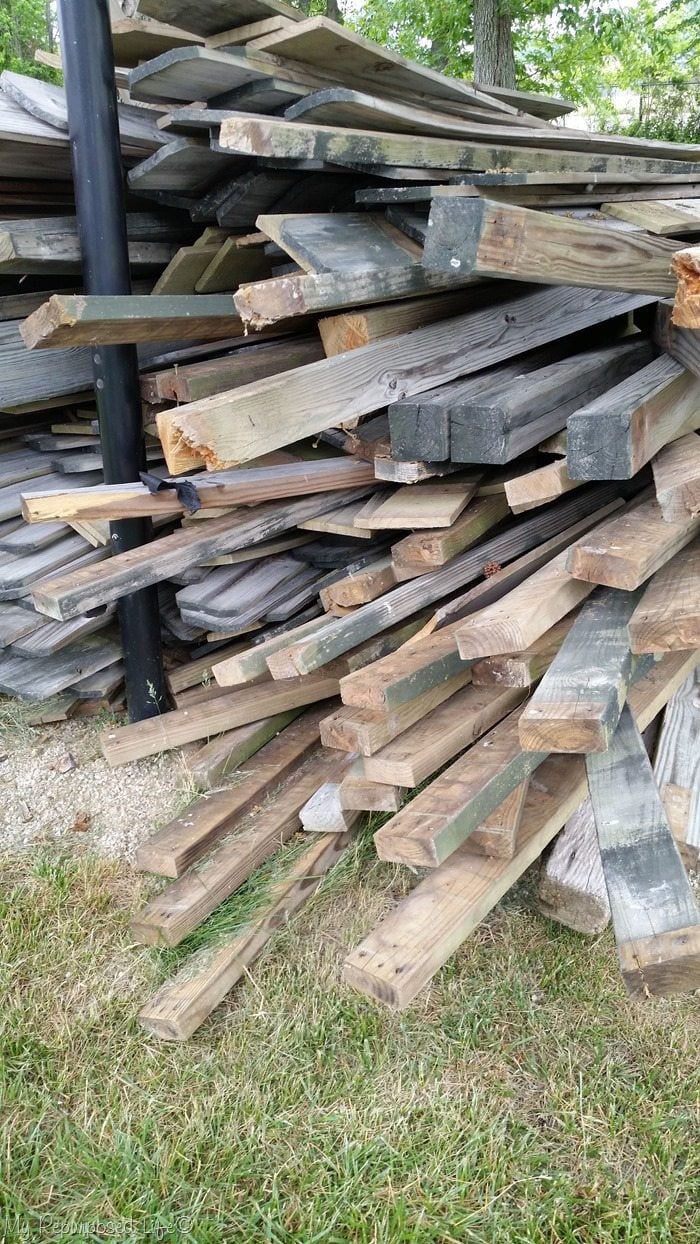
I love making rustic projects—today’s project is a rustic shutter cabinet made from reclaimed fencing. There is still have LOT of this stuff stored in the woodshed.
Reclaimed shutter
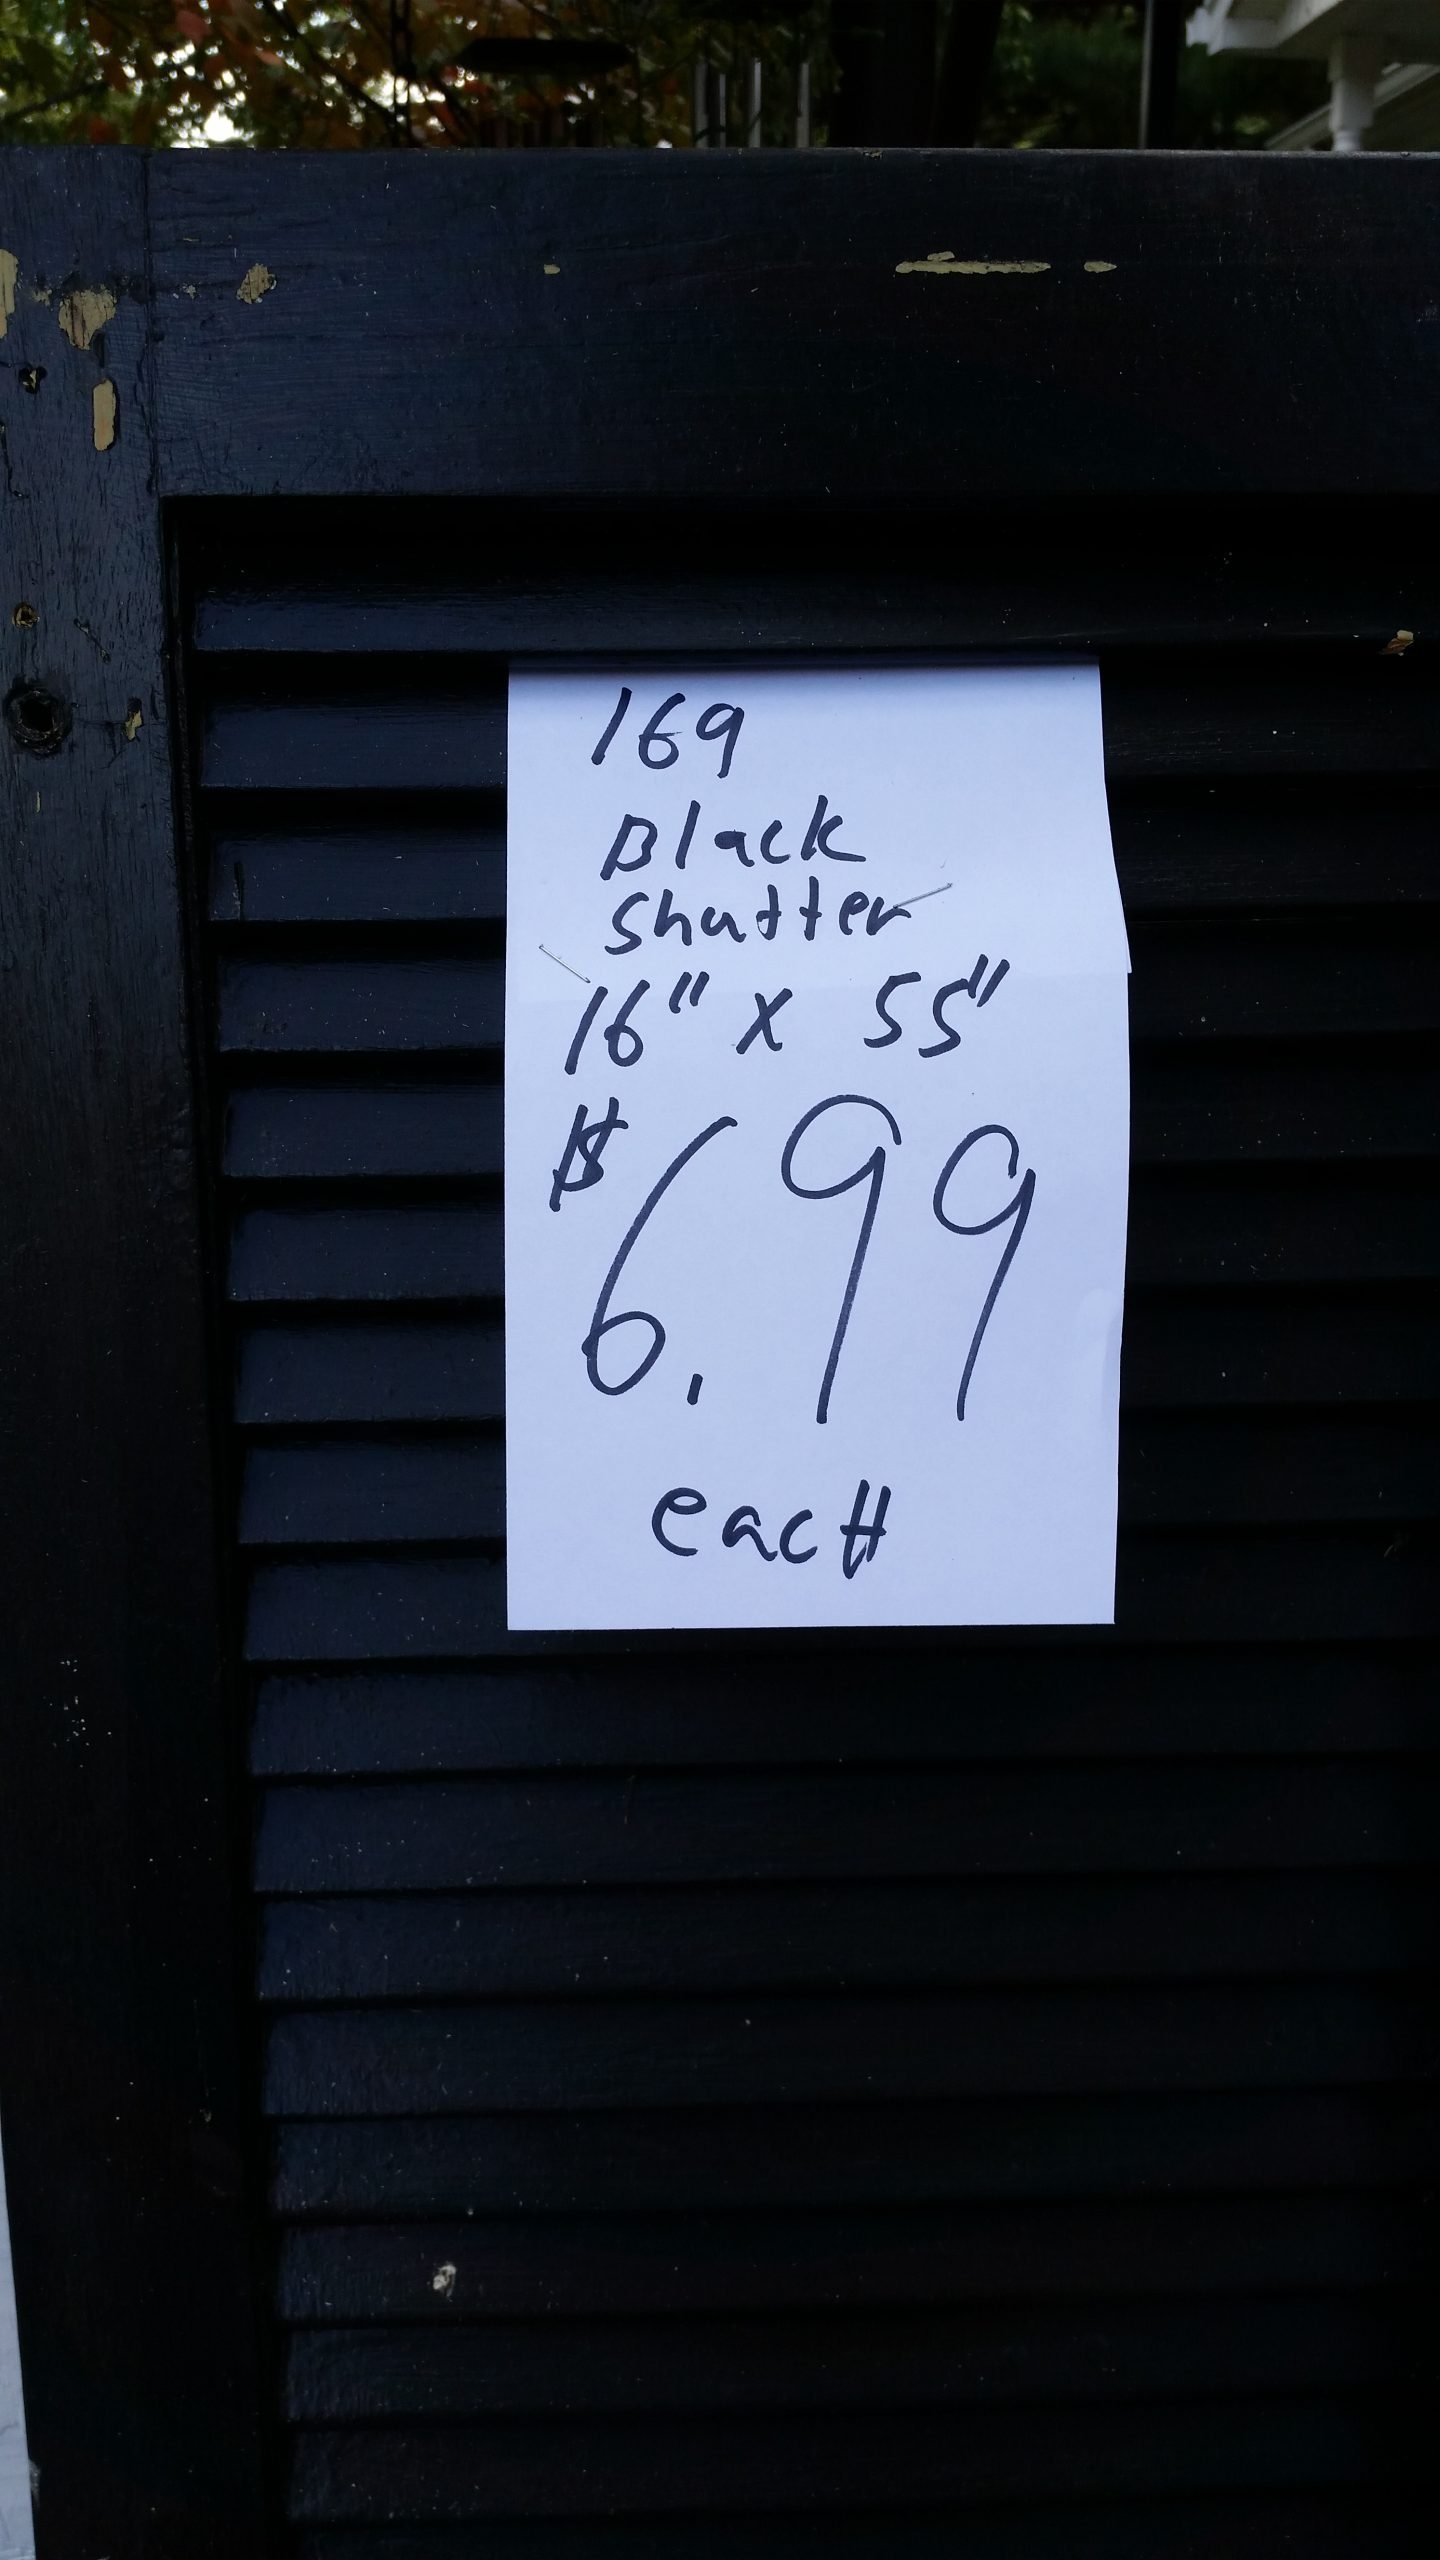
I picked up two shutters last fall—got a really great deal on them.
*This post may contain affiliate links which won’t change your price but will share some commission. Read more here.*
Prepare to paint
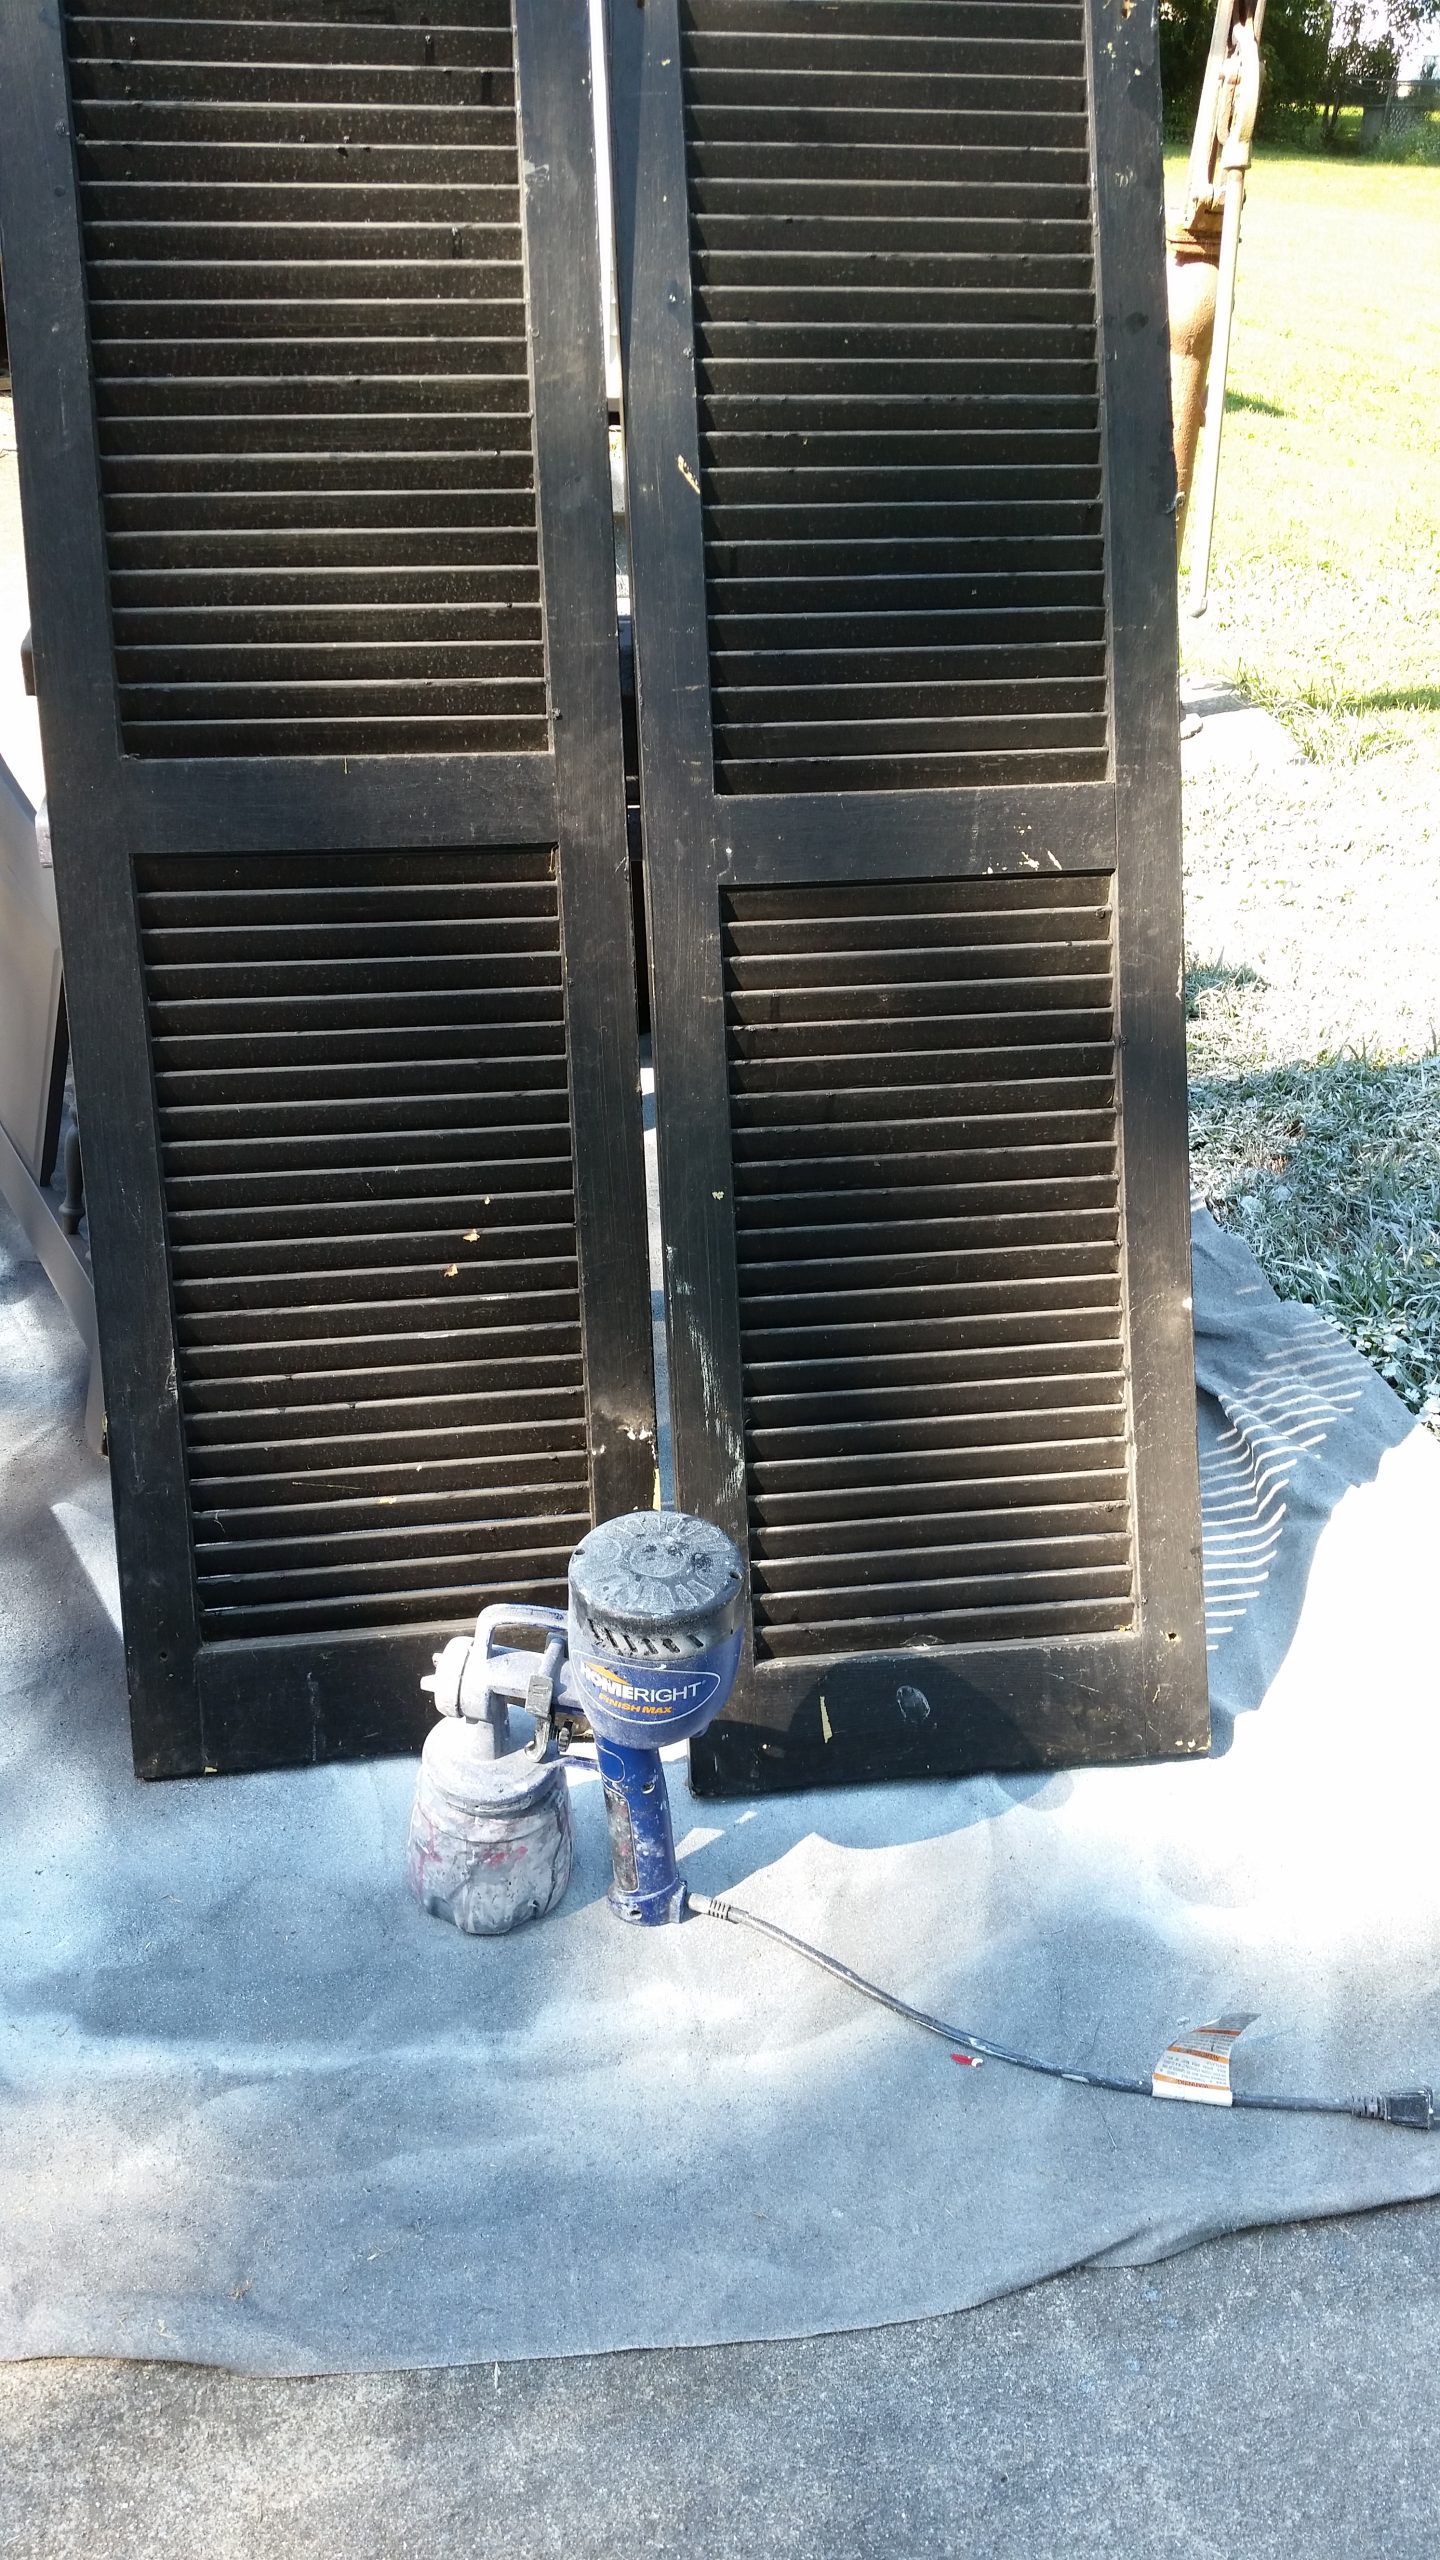
I painted both of them last fall with my Homeright Finish Max. I made one into a Farmer’s Market Vegetable Bin, and set the other aside in the garage.
Design Shutter Cabinet
While looking for a fun, quick project, the painted shutter sort of jumped out at me. ![]() I have made a shutter cabinet years ago, but it was a lot different from this one. I made this cabinet using fence boards, but you could easily make the same cabinet using new lumber such as 1×6’s.
I have made a shutter cabinet years ago, but it was a lot different from this one. I made this cabinet using fence boards, but you could easily make the same cabinet using new lumber such as 1×6’s.
The design stage of any project is my favorite part. I love figuring out how all the pieces will come together. You probably know I never draw plans, I just fly by the seat of my pants.
The first step was to make the front facing of the cabinet. I ripped some of the fence boards on the table saw to achieve this step.
Use pocket holes for constructing face frame of cabinet

My Kreg jig is my go – to tool for joinery. I used the Micro jig (it’s the black portion of the jig—it just pops in and out) for this project because the wood is thin and brittle.
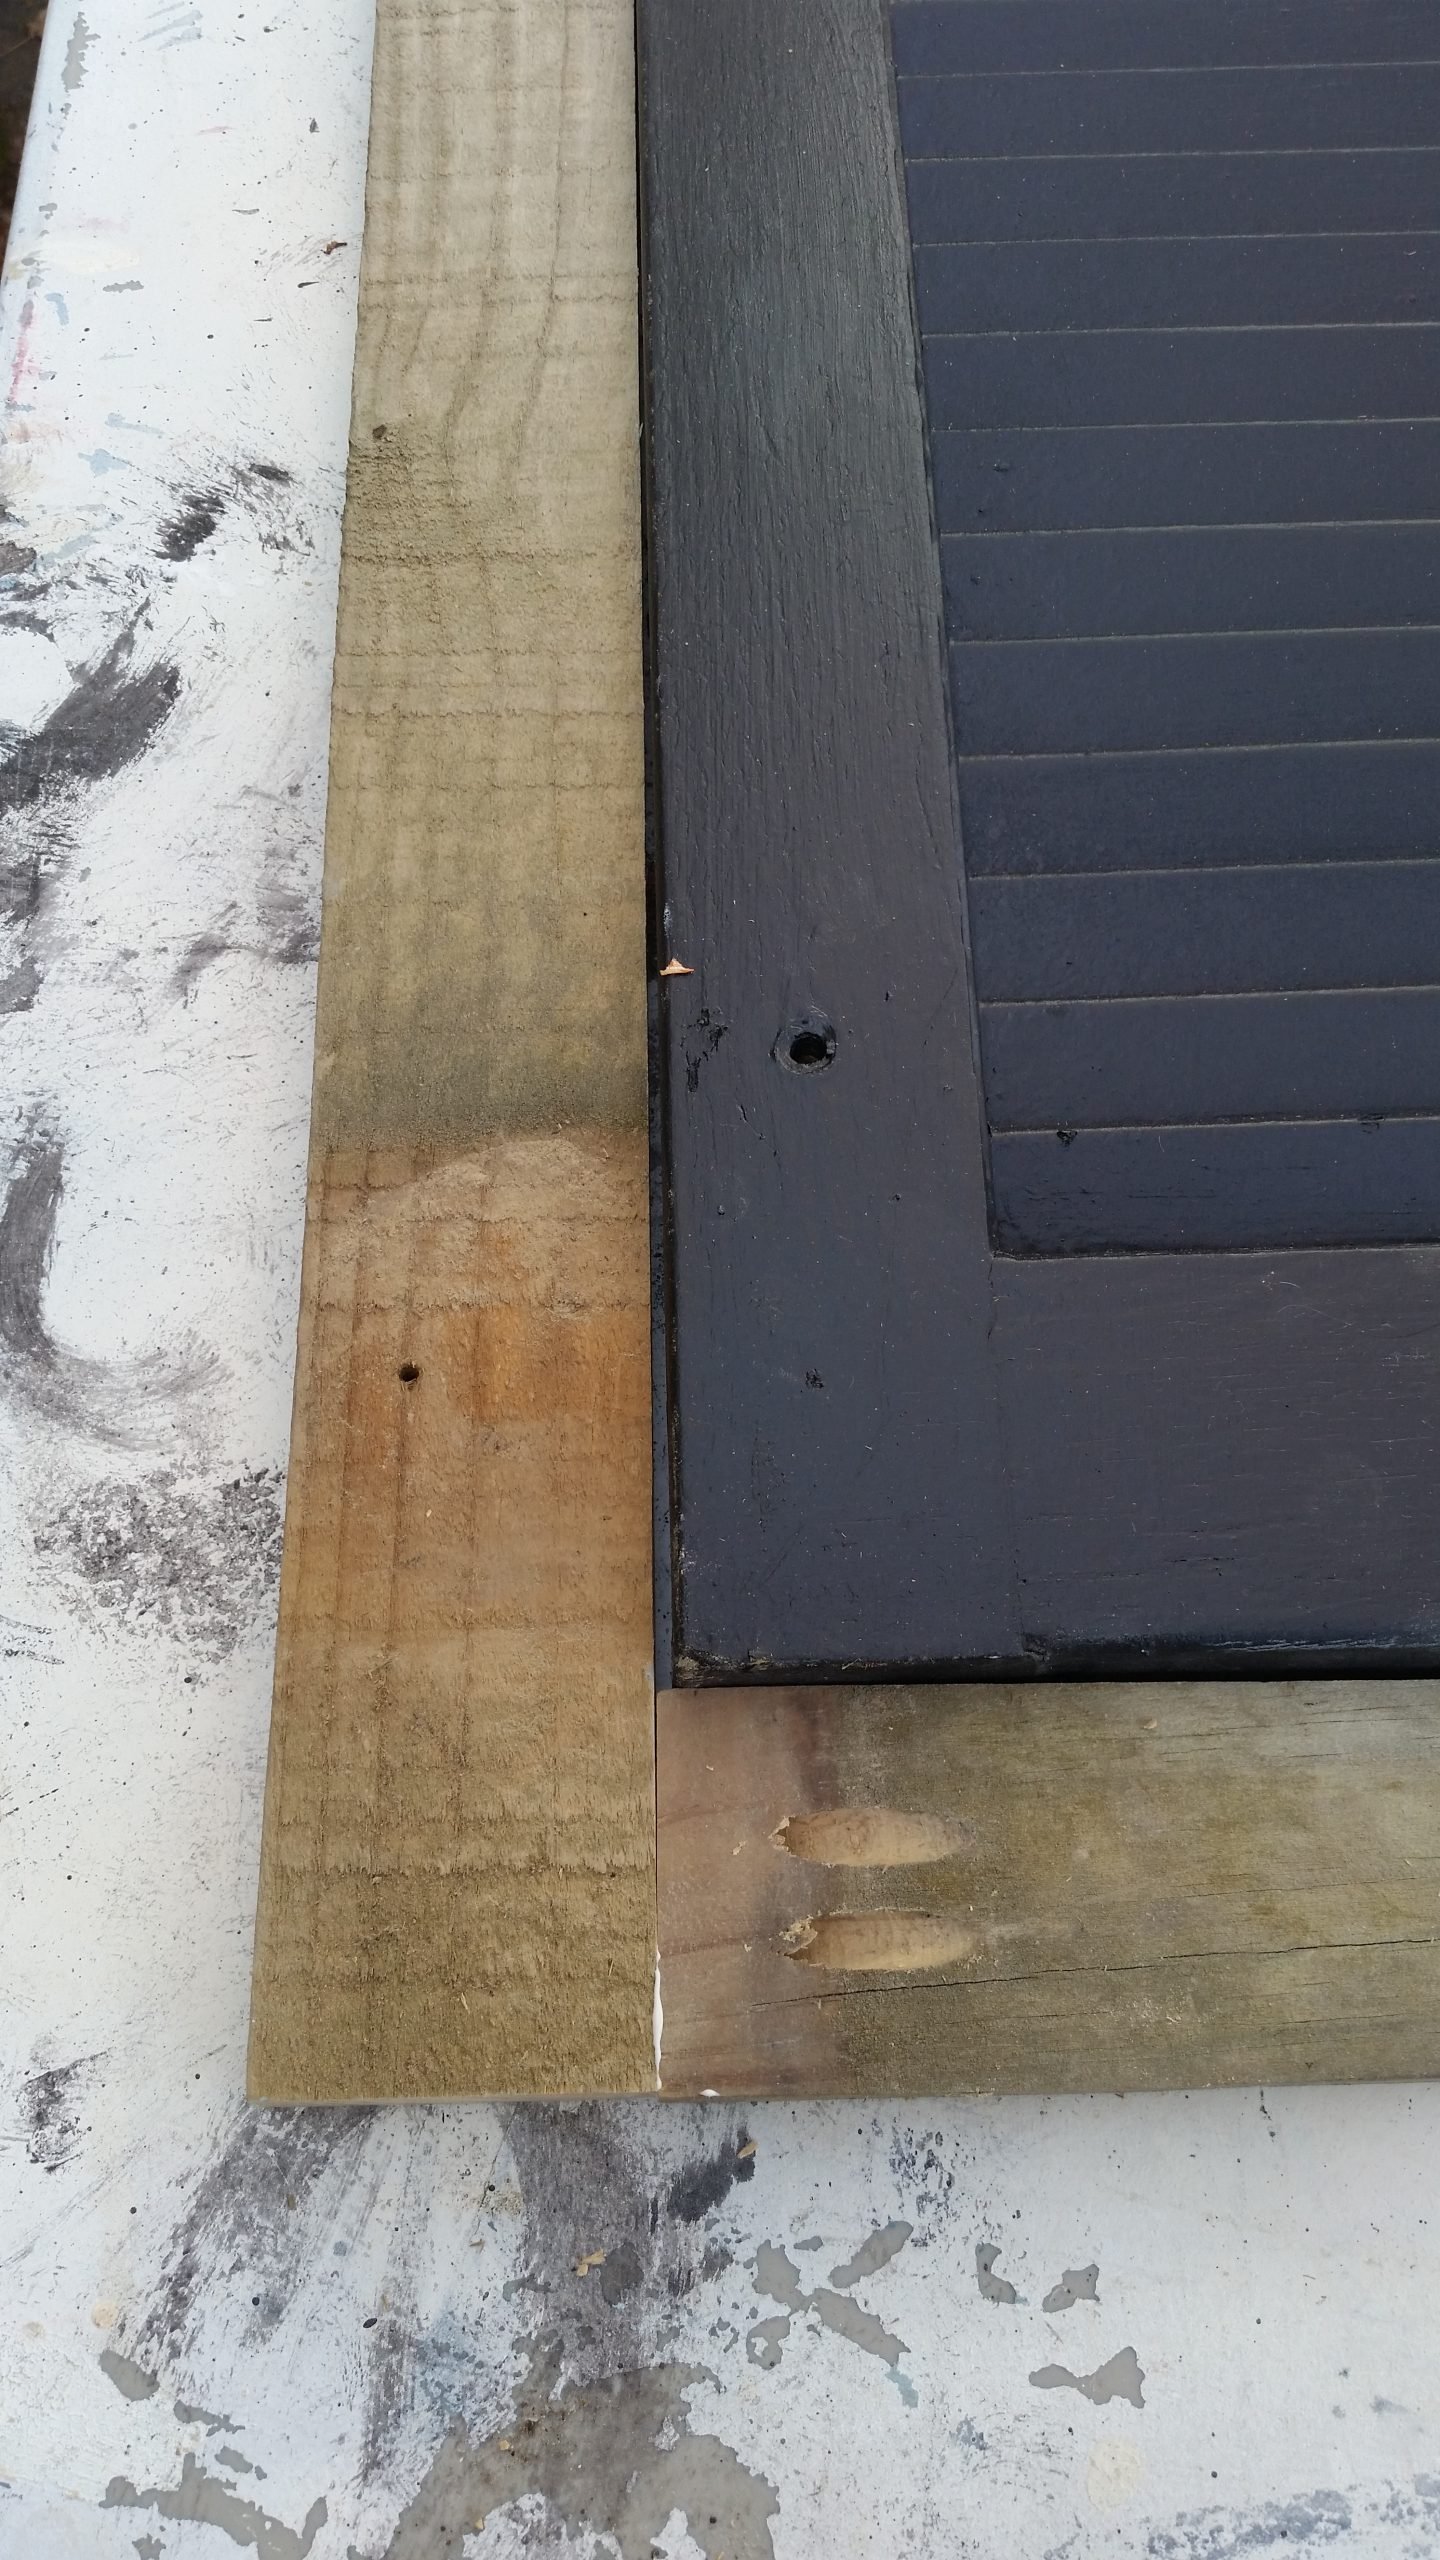
Again, because the wood is thin and brittle, I used Gorilla Wood Glue on all the joints.
Construct a simple box out of reclaimed fence boards
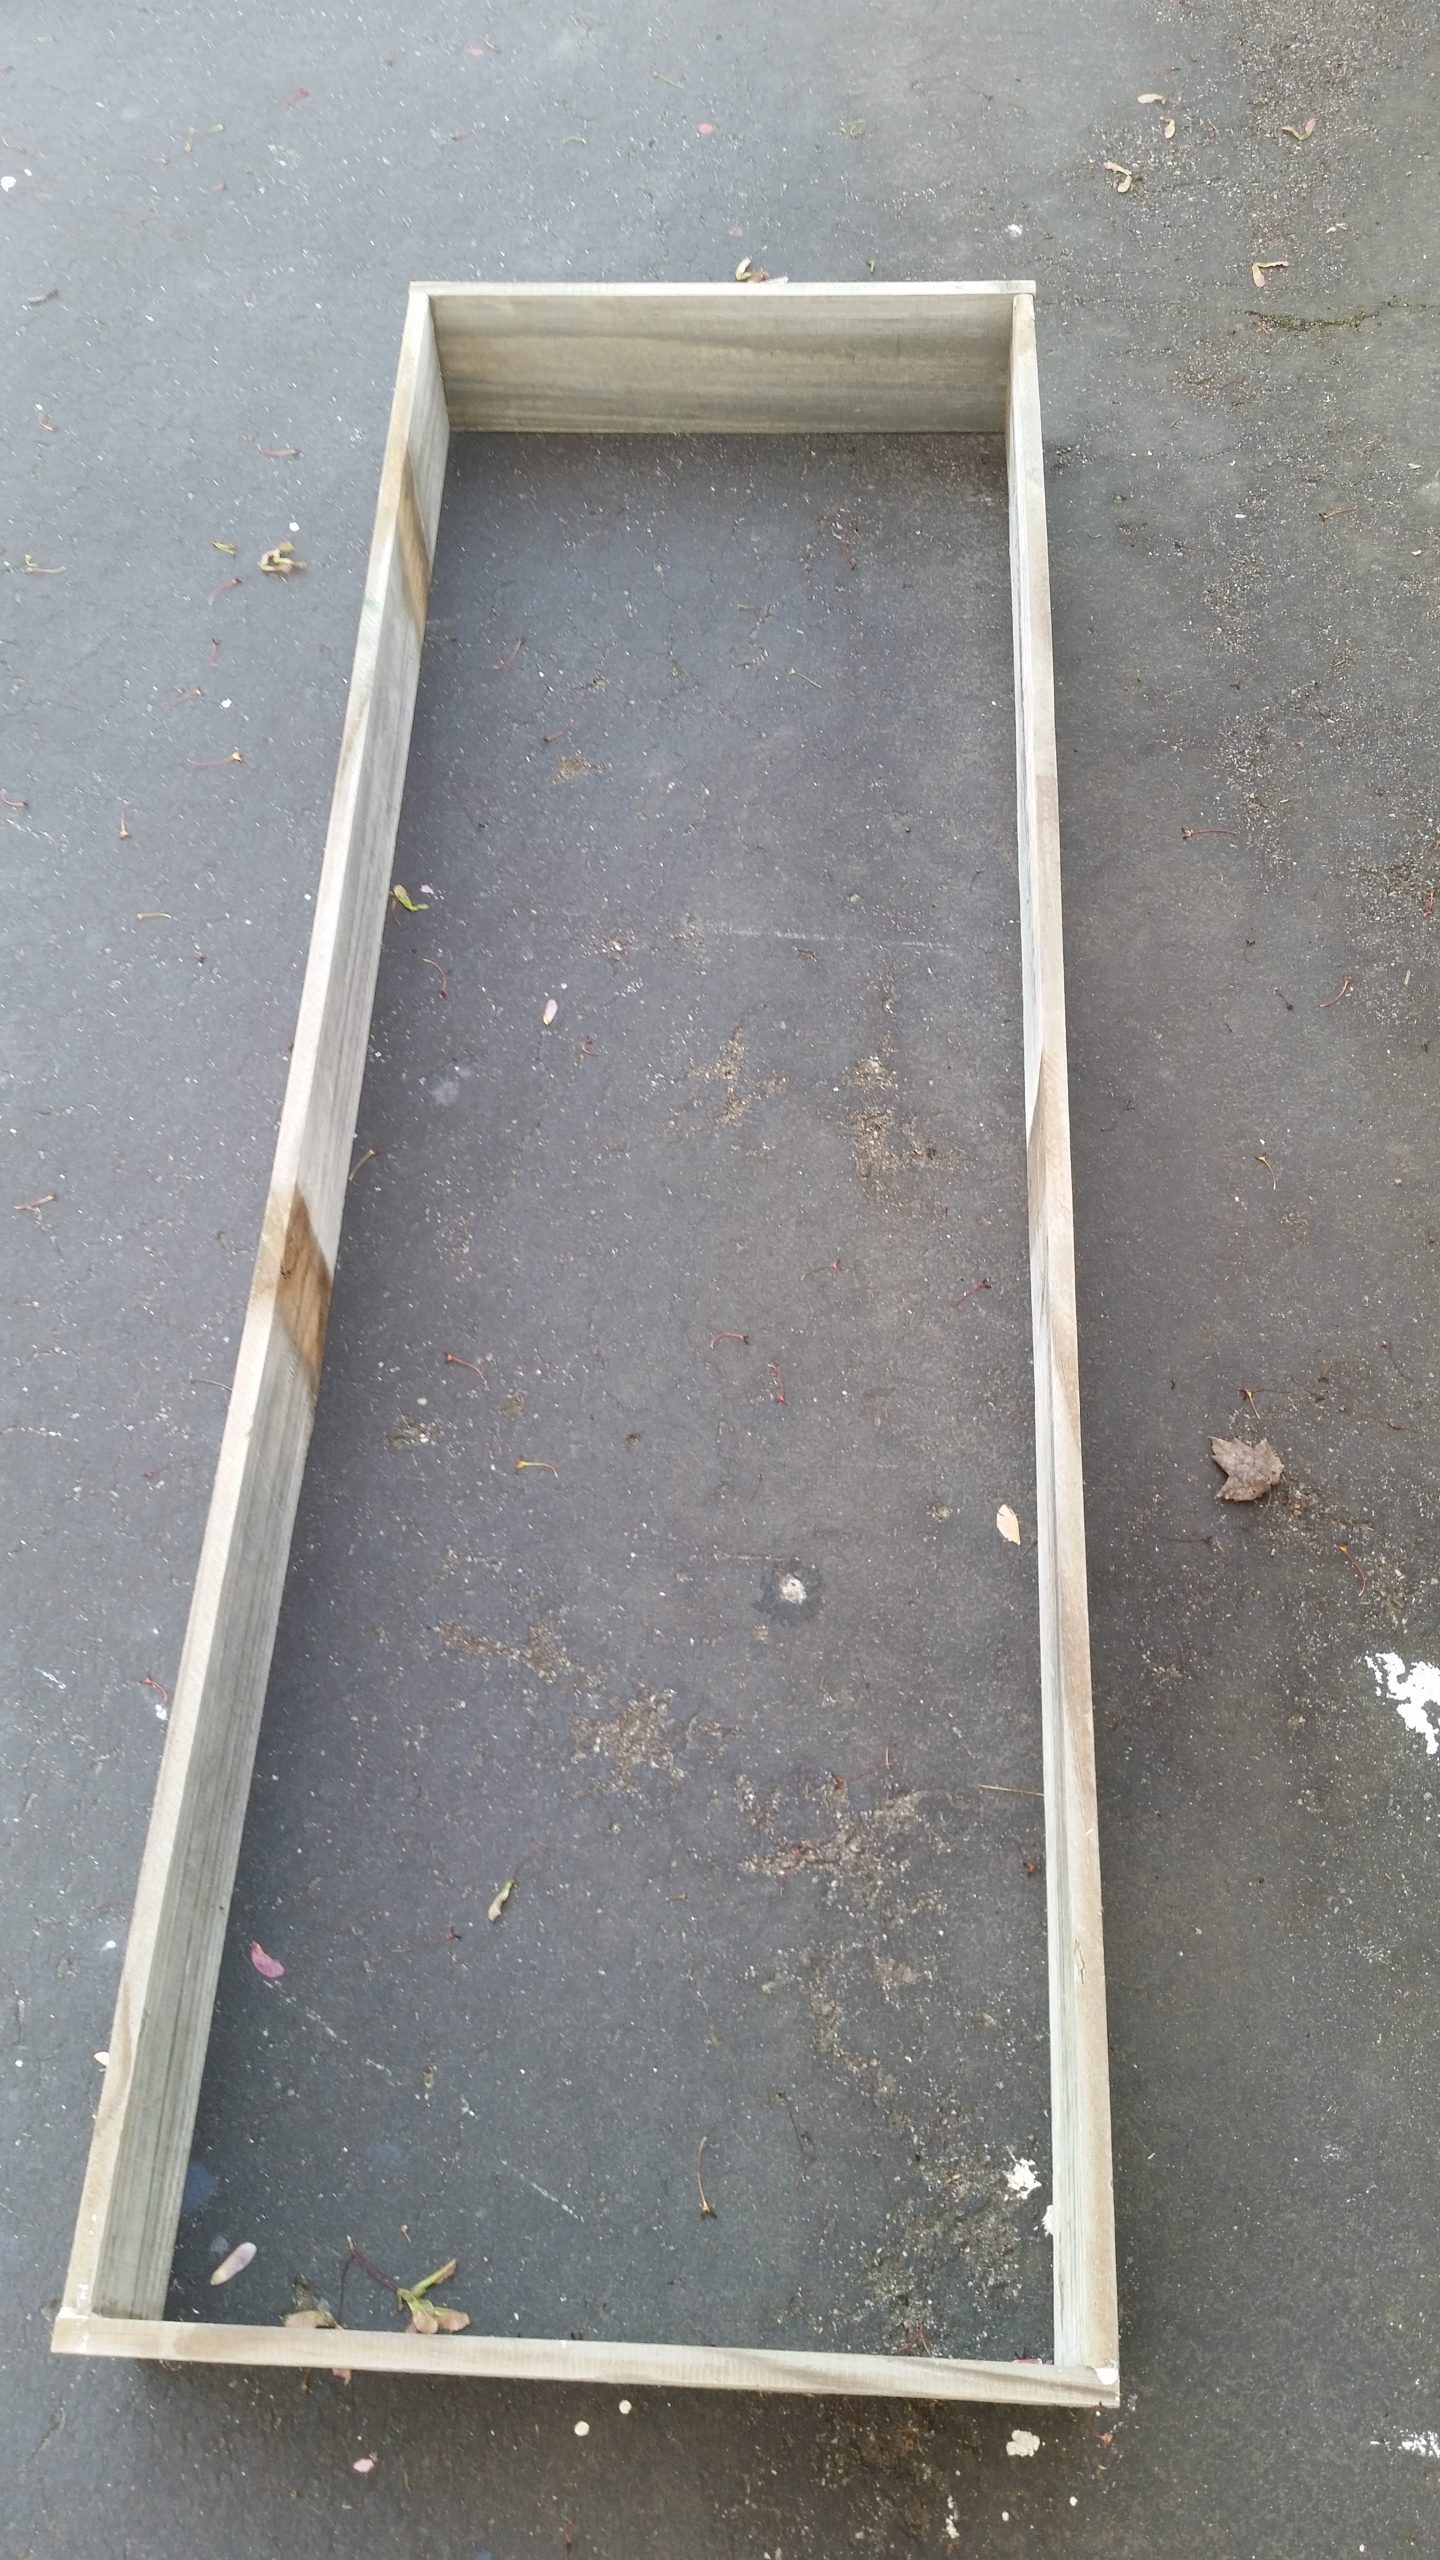
For the “box” of the cabinet, I cut four fence boards to size and used Gorilla wood glue and my nail gun.
Attach front facing to simple wood box
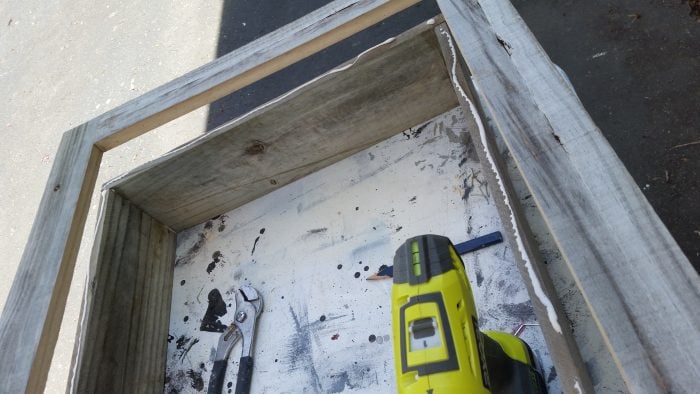
More Gorilla wood glue was used to attach the front facing to the cabinet. I also used my glue gun for this step.
Cut shelves to fit

Because the shutter is thick, the shelves will have to leave room for the shutter/door to close. The shelves were cut to size. Each shelf board had to be ripped in order to fit.
Attach cleats to hold shelves in rustic shutter cabinet
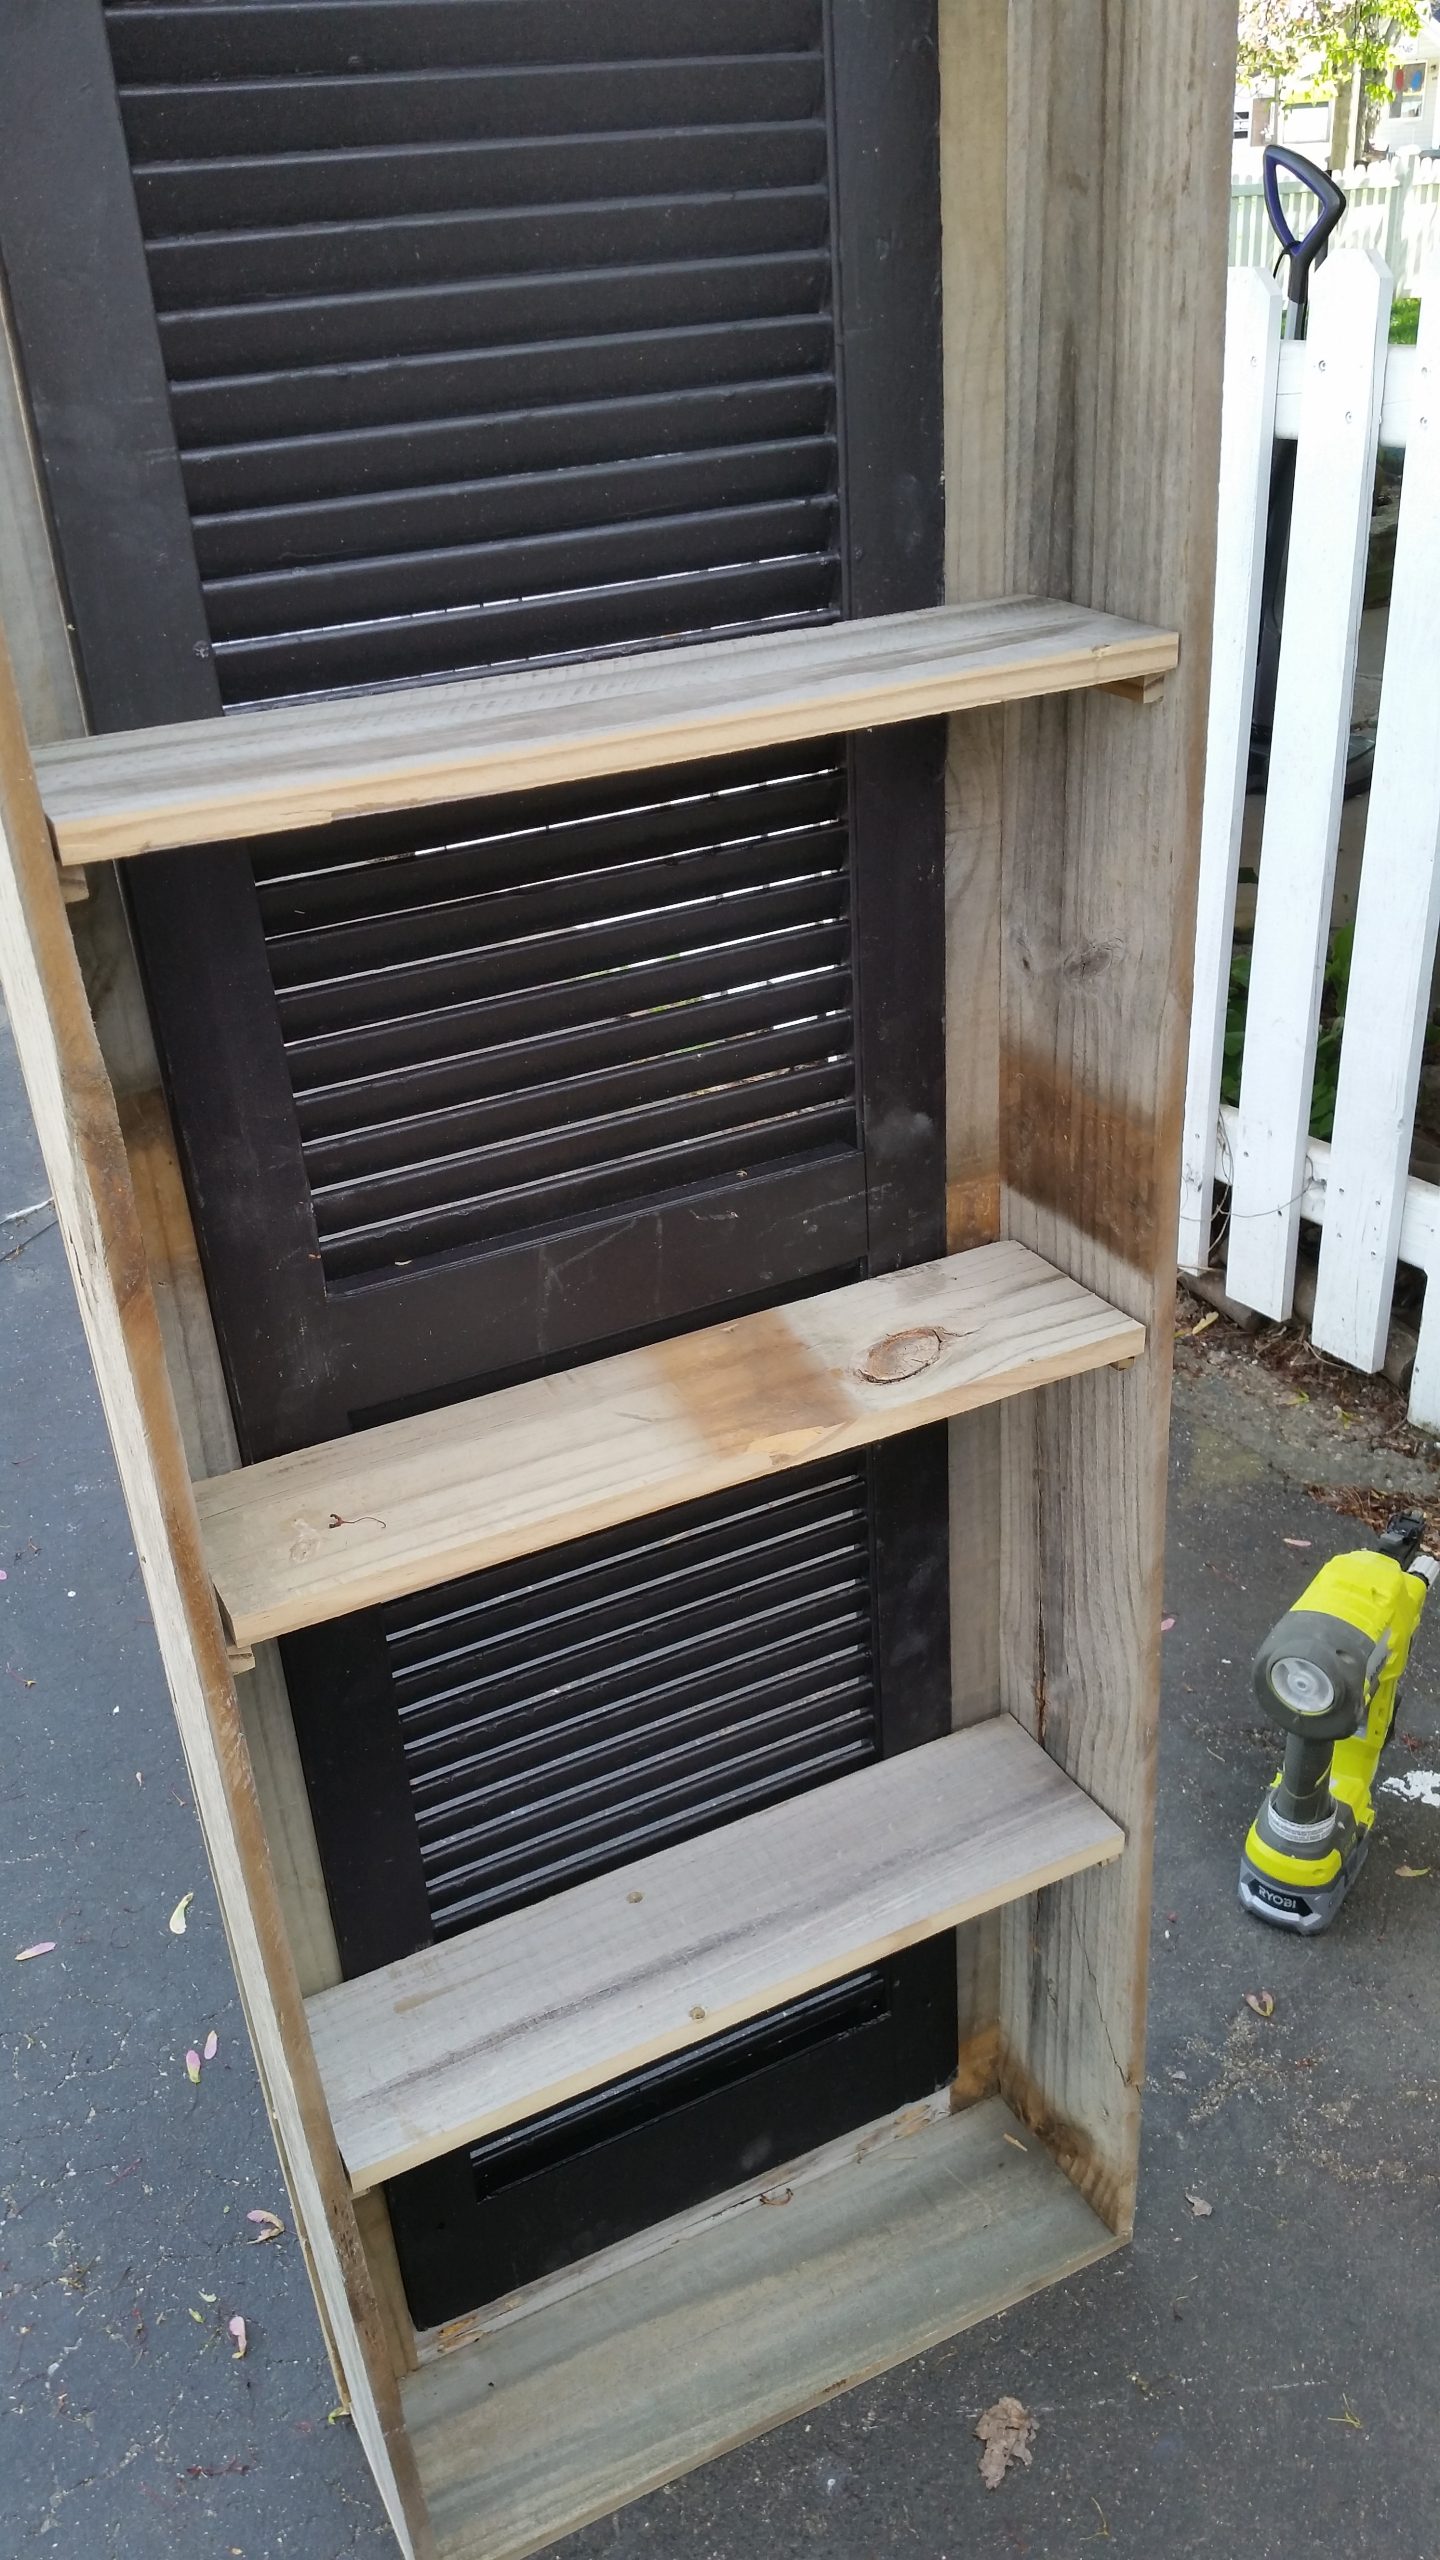
Small drop off cuts were used for cleats. Those cleats are held in place by Gorilla wood glue and brad nails from the nail gun.
Attach fence boards to make up the back of the cabinet
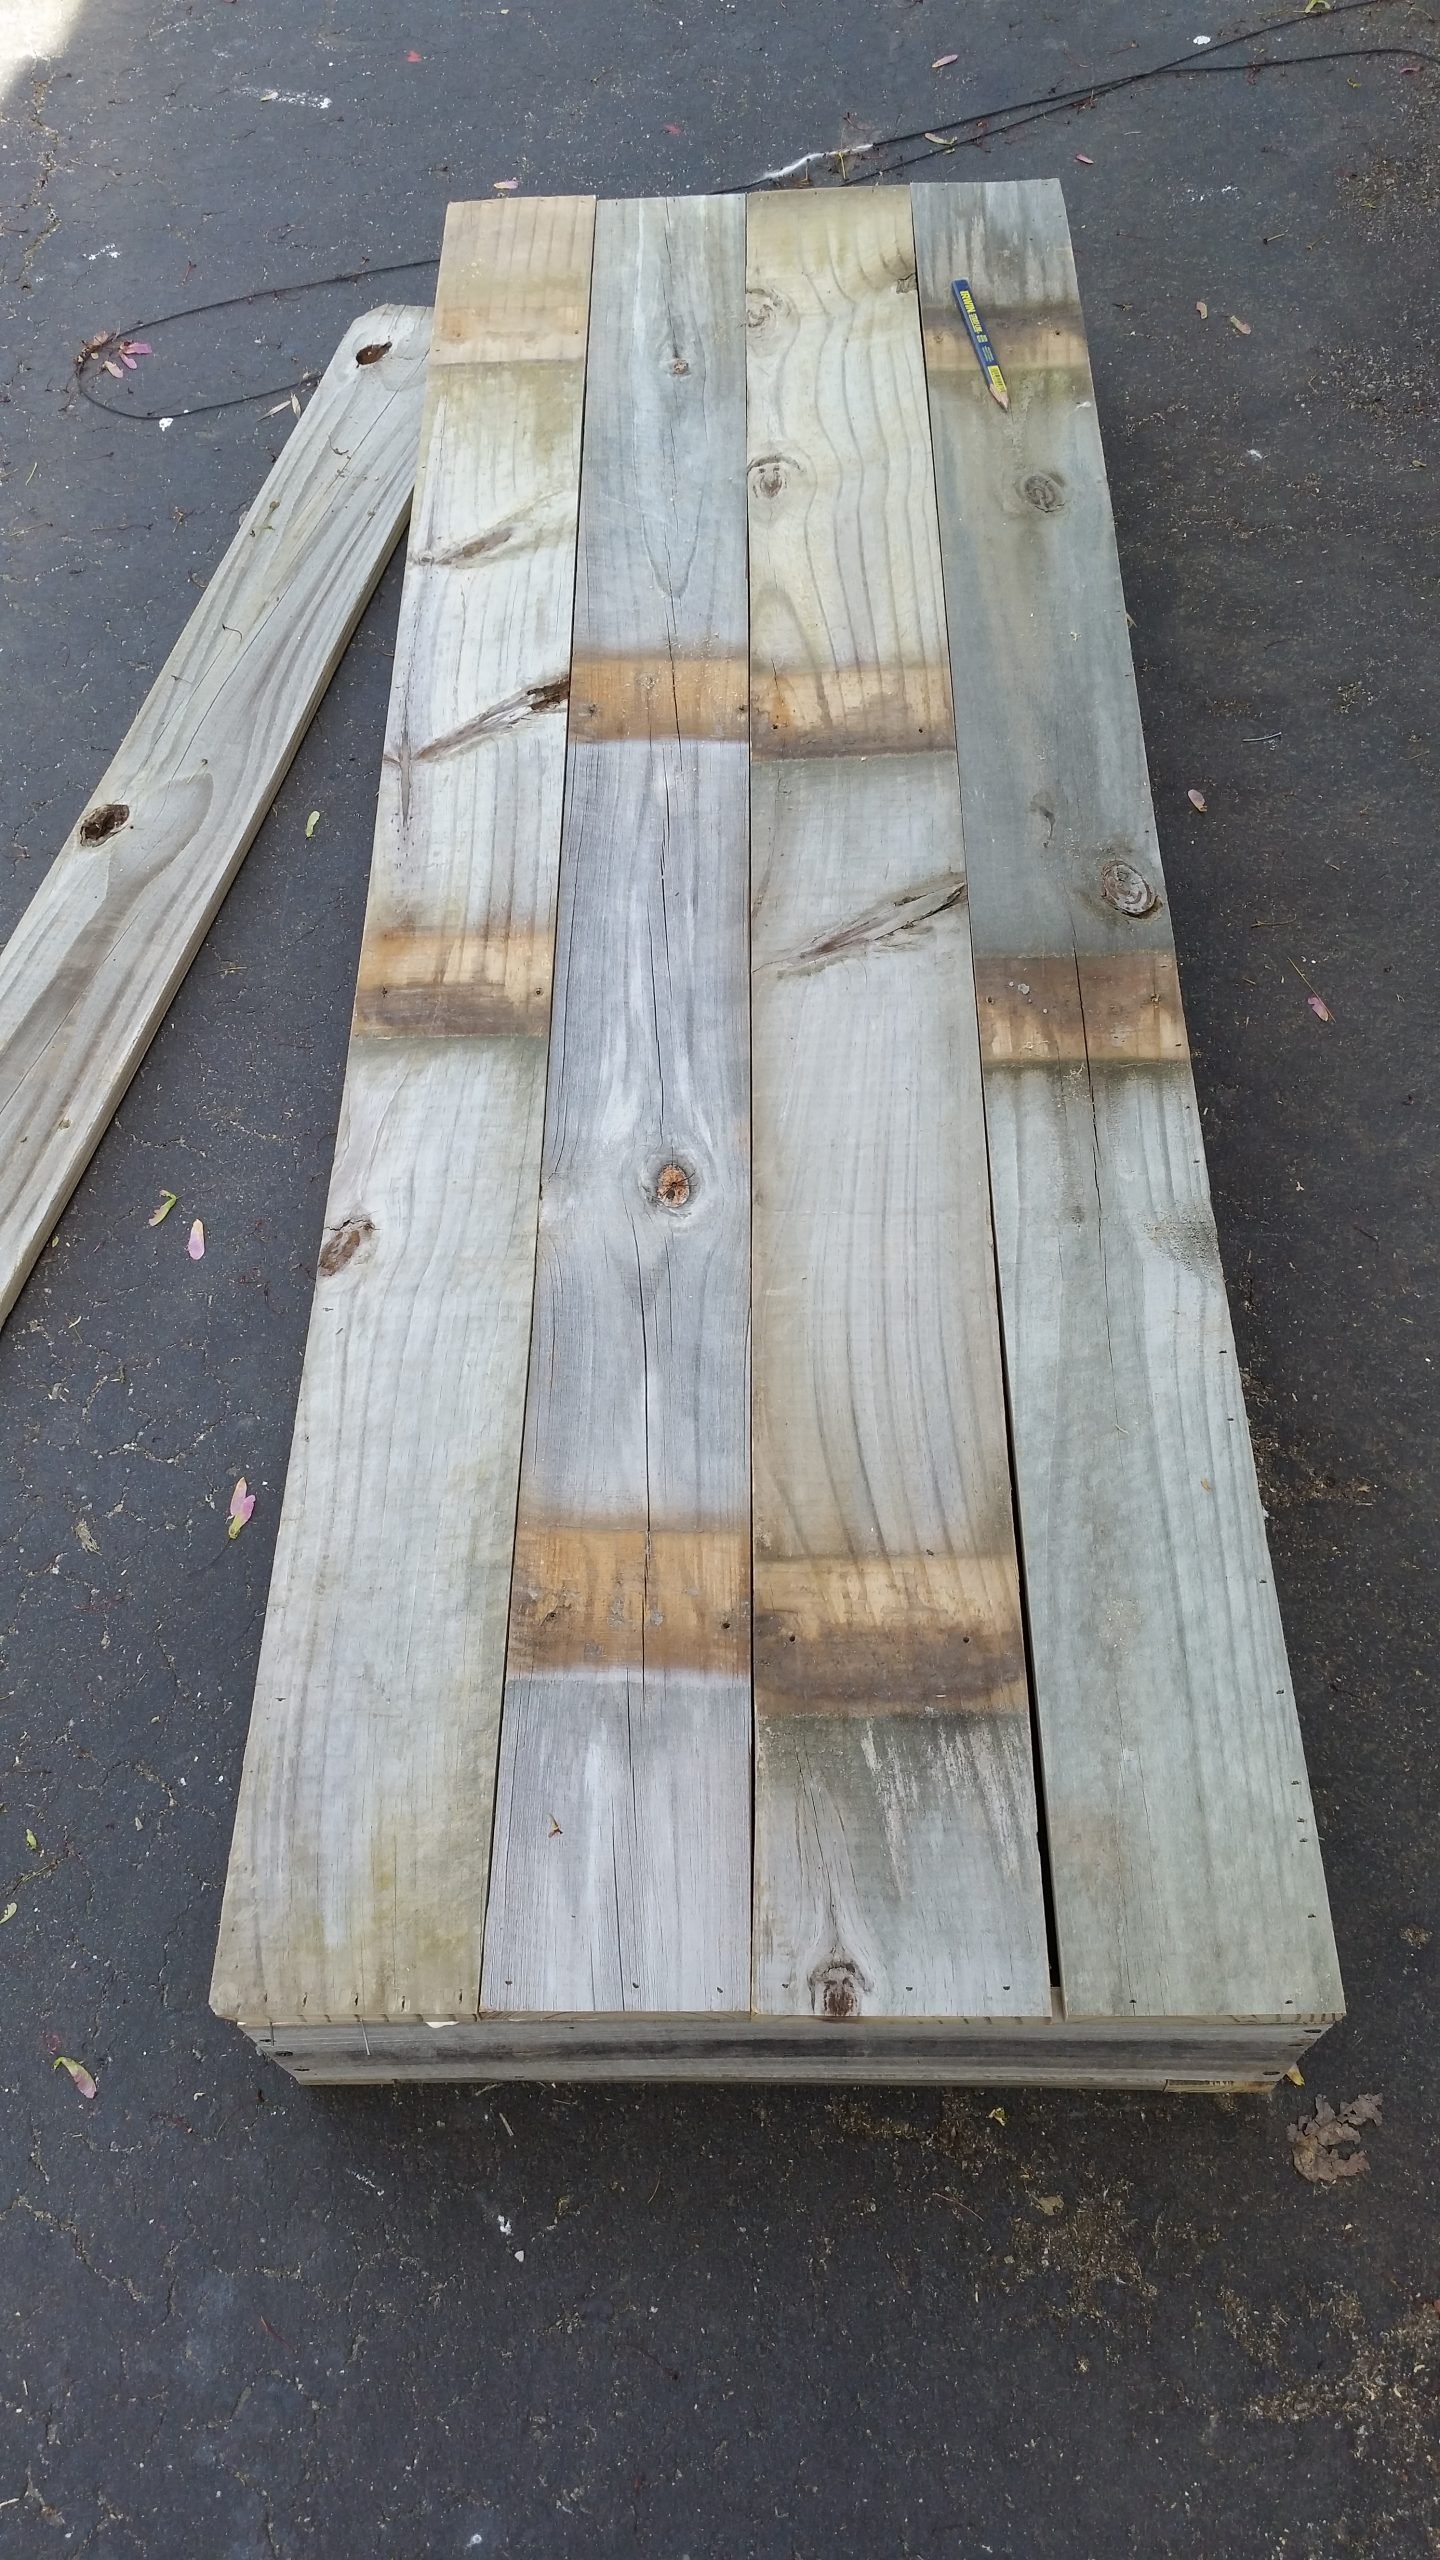
More rustic fence boards were used for the back of the cabinet. I cut them to size, and had to rip all of them slightly to make them fit the width of the cabinet. Notice the ugly side of the boards are to the back, leaving the yummy gray weathered look showing on the inside of the cabinet.
Add hinges to the Shutter-Door of the cabinet
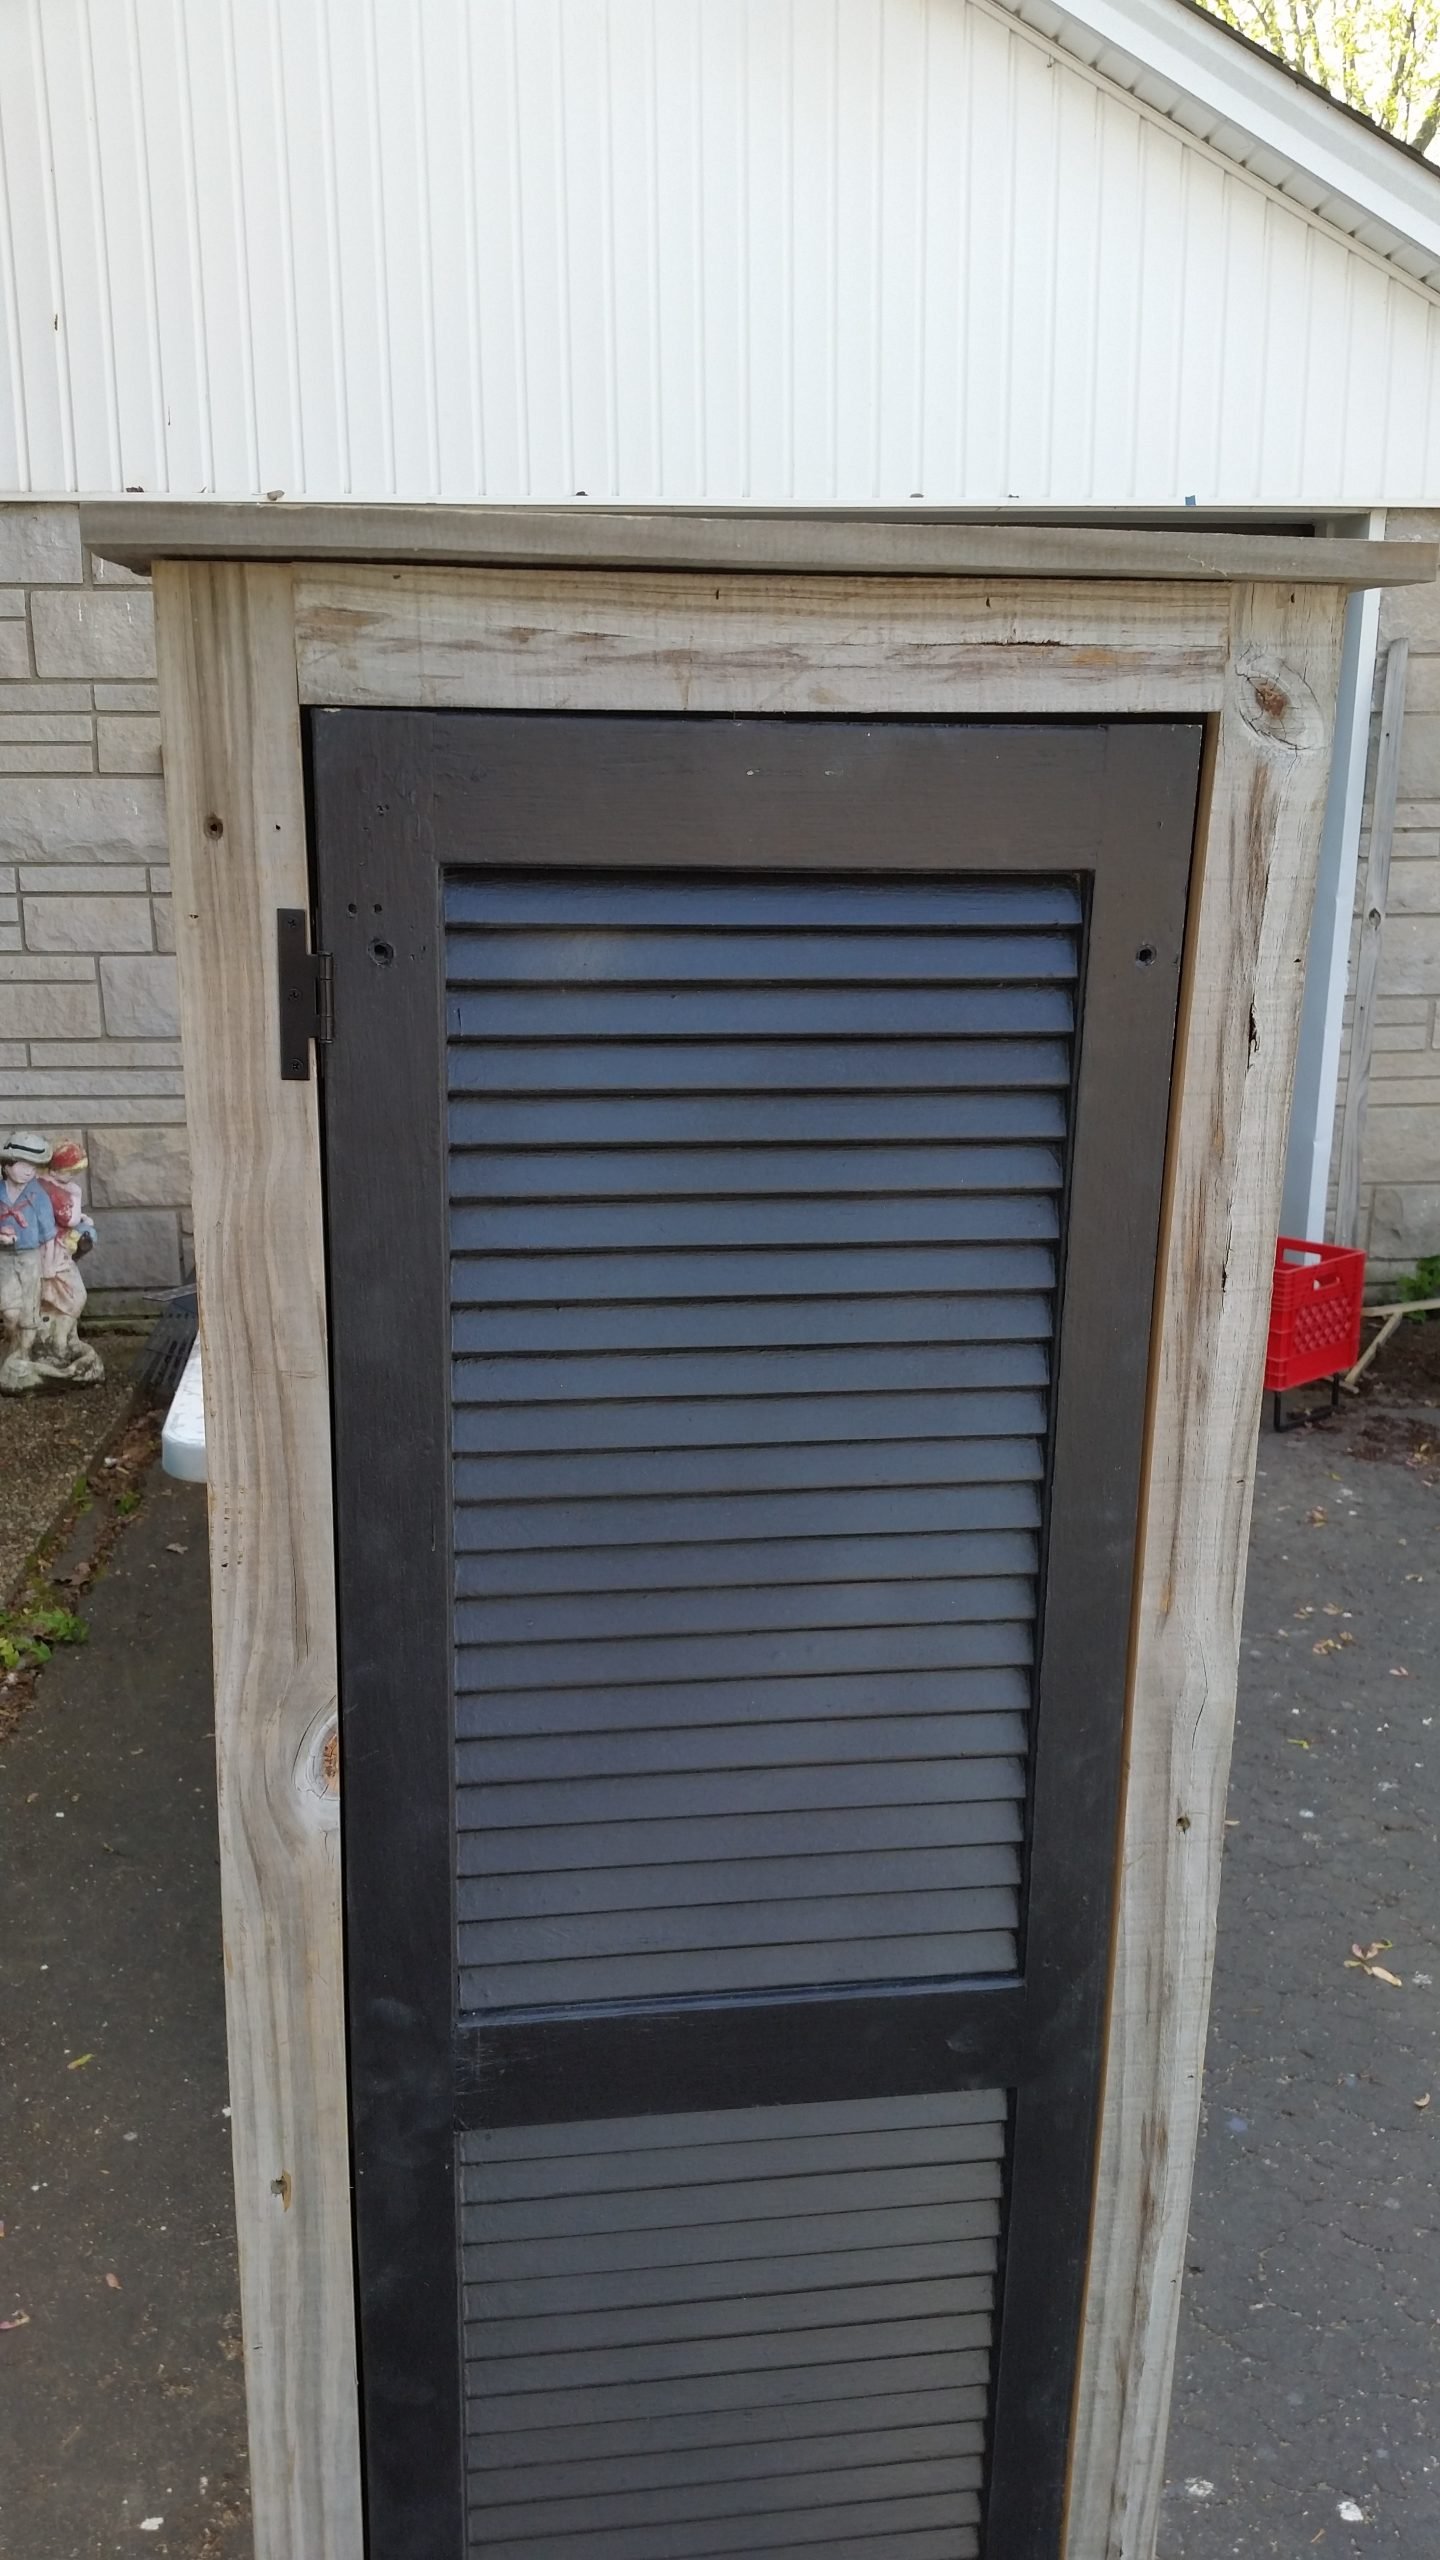
I added hinges from my friends at D. Lawless Hardware, and added a hat and shoes on the cabinet. ![]() I used one full board, and a ripped board to make up the top and bottom.
I used one full board, and a ripped board to make up the top and bottom.
Install a knob

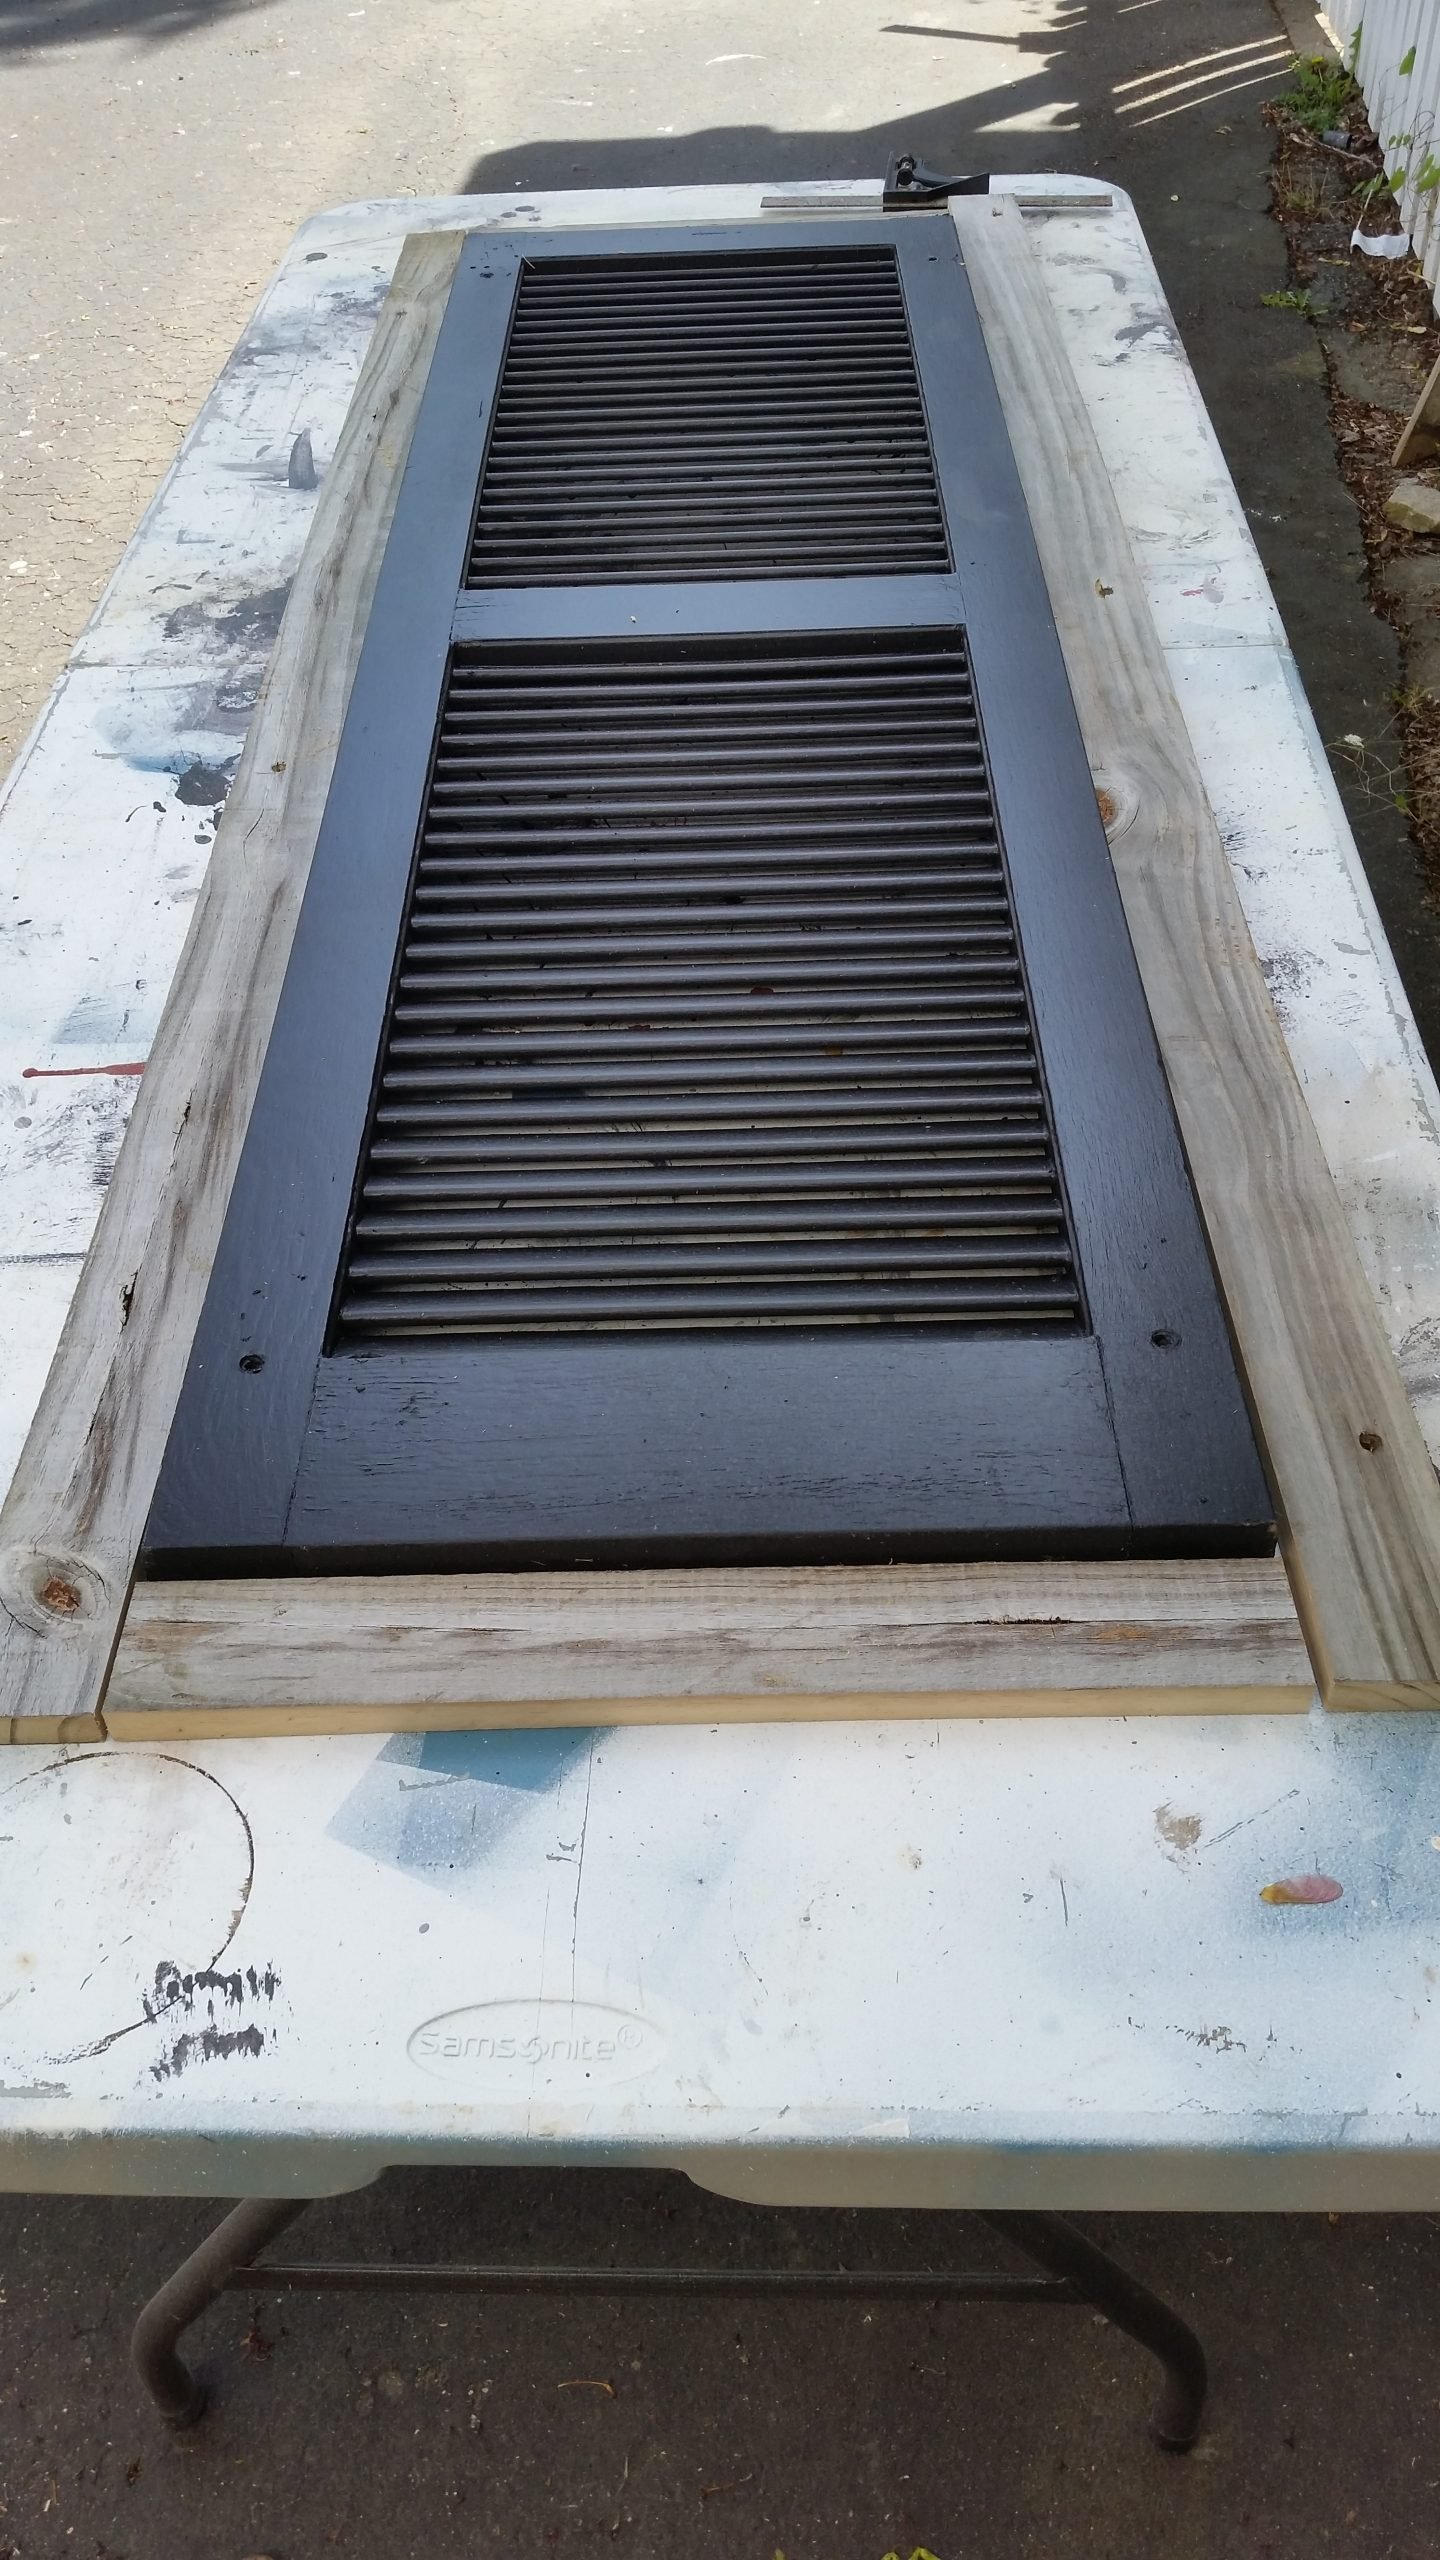
This fabulous black knob is from Hobby Lobby. Did you notice along the way the side of the door changed colors? The front facing was very tight, and after adding the hinges the door was too snug. I shaved a little off one side of the shutter on my table saw.
If you make this rustic shutter cabinet out of new lumber, your project will be more “square”. These boards aren’t square or straight. ![]()
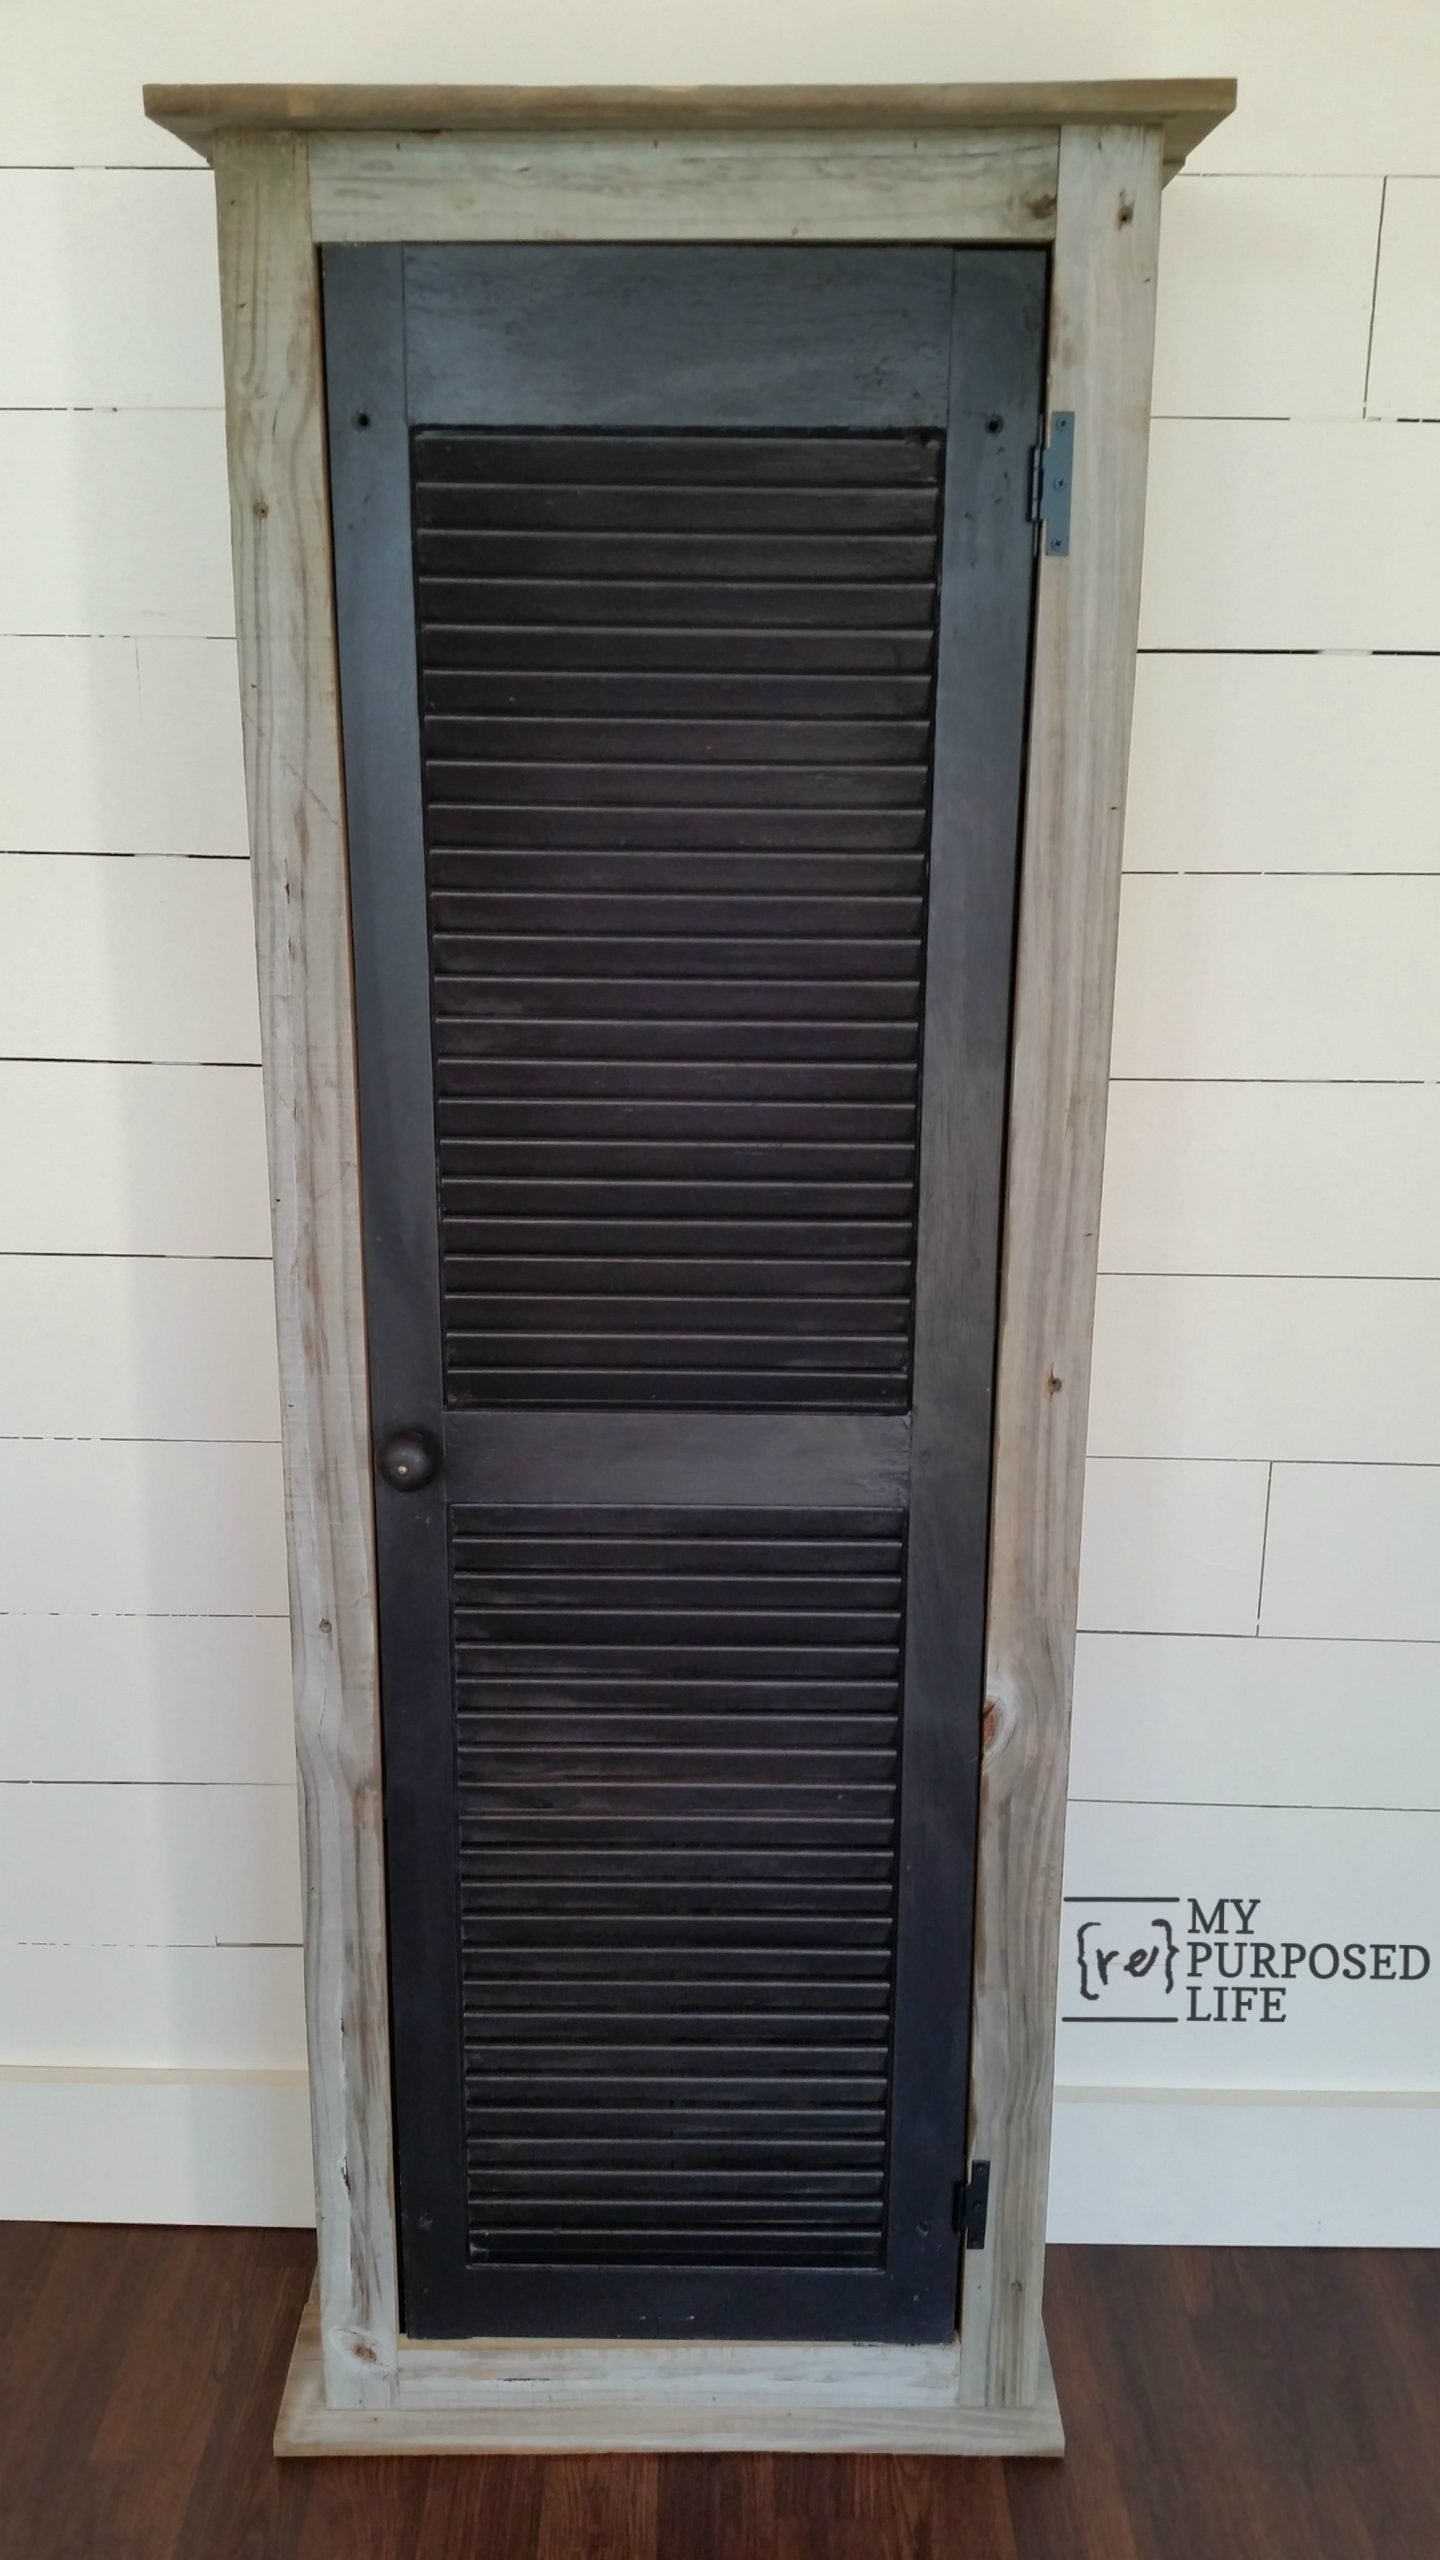
Here’s the good news/bad news. The good news is, the door can either be “left” or “right” by turning the cabinet upside down. The bad news is, the cabinet leans a little forward when the door is the other way. I would recommend that this type of cabinet be secured to the wall by the new owner.
Wanna know something funny? It makes me think of an outhouse every time I look at it. hehehehe
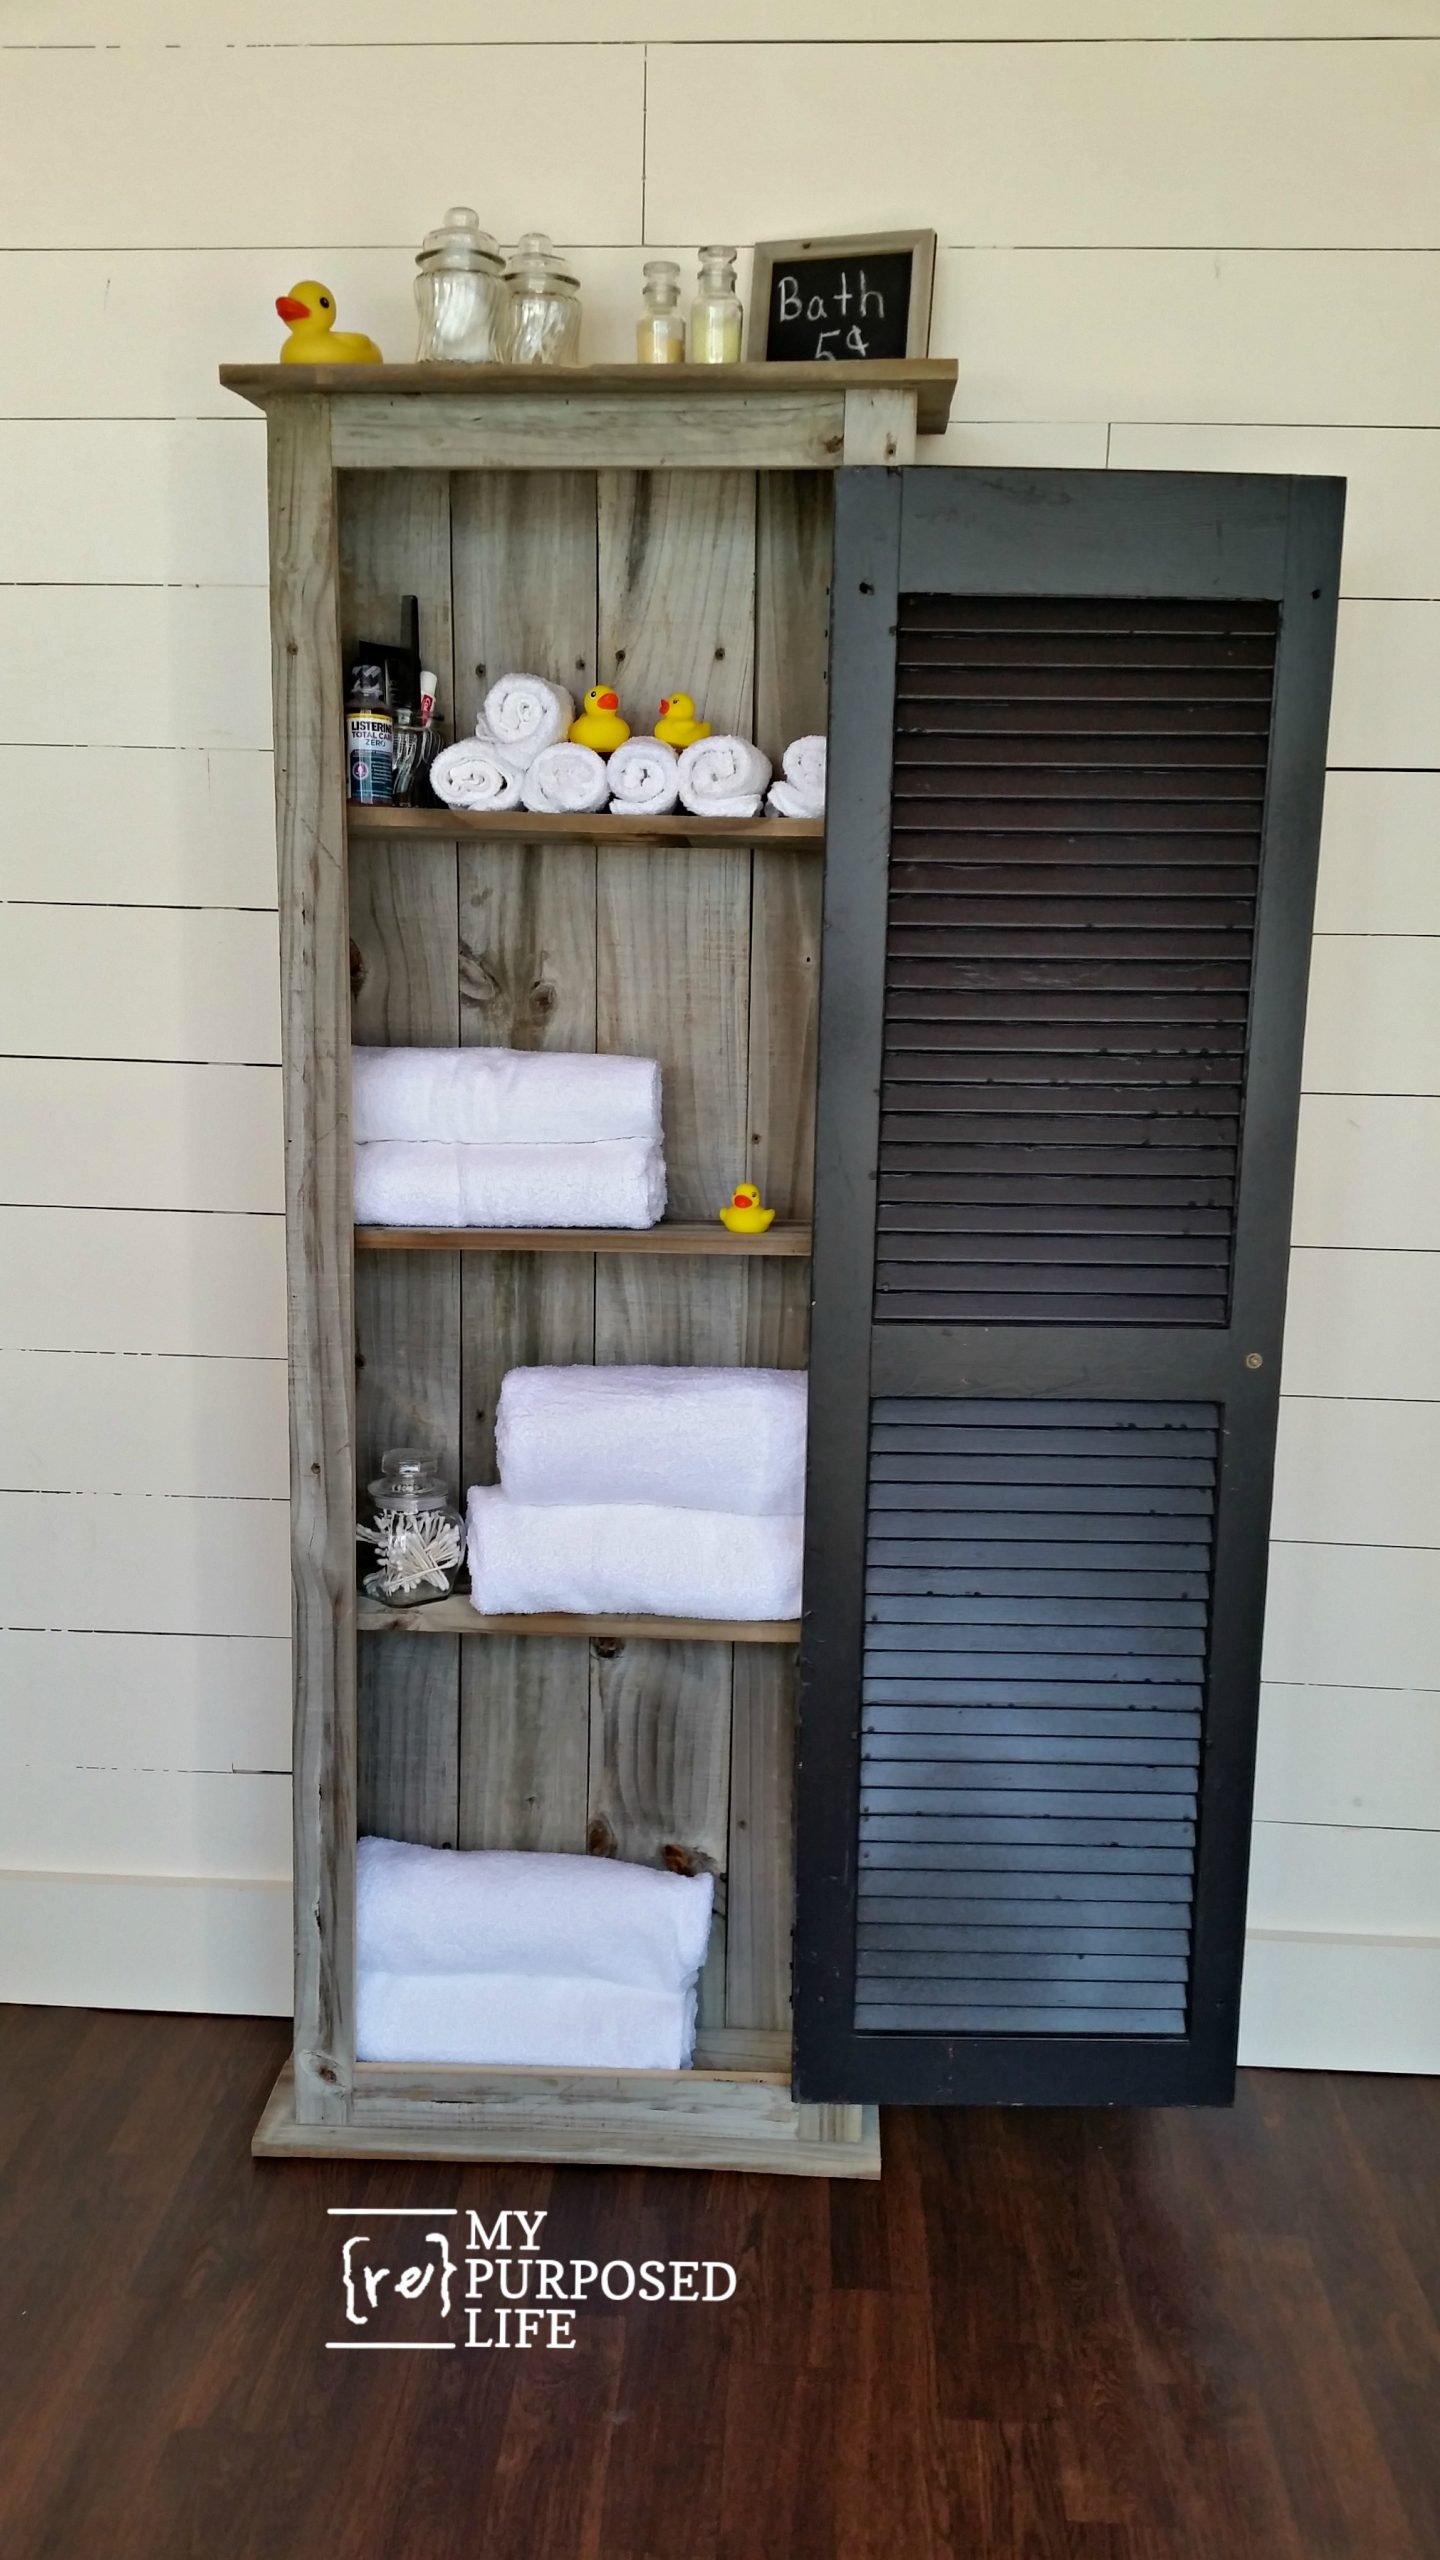
I think it would be great for the kids’ bathroom or guest room. I suppose it would also hold craft, garden or pantry items.
How would you use it?
gail
This is definitely the best and simplest way to make a cupboard from any door that you can find . Thanks Paula from woodchucked.
Paula,
I appreciate your comment!! thanks so much.
gail
Another great DIY project to add to my list! I love this and I’ve been holding on to a pair of louvered doors for just the right inspiration. Thanks!
this would fit awesomely in our half bath or right inside our slider door! perfect re-purpose!
Great, Gail! I like it with the old wood. Can you believe I’ve had two smaller shutters painted for almost a year and waiting for me to turn into a cupboard?
Had you forgotten about the shutters, sort of out of sight out of mind? Or just procrastinating like I do? I look forward to seeing them when you do get the cupboard done Julie.
gail
No, I didn’t forget, they are in my shop very visible, I see them everyday!
I am in awe of your abilities, you’re ” go for it” attitude and how lightheartedly you encourage us to believe we can “get er done!” I’m a DIY’er but since I’ve followed you, I’m more! I just bought the Homeright spray shelter and next is the sprayer. I’m still trying to figure out the jig application because I’m excited to try it. I’m going to repaint my kitchen this summer, thanks to you and I’m beginning to do board and batten up my stairway wall. I’ve never been this brave before and at 69, I thought it was too late to start…but not now! Thanks for taking the lead! Sandy
Sandy,
Your comment made me smile and it’s exactly why I love DIY and blogging about it. It’s never to late do DIY! Good luck with your projects. I’m always here if you need anything.
gail
Beautiful job Gail! Thanks for the tips, I need a new laundry storage cupboard and this is the way I’m going to go.
Have a great week!
Oh, Anne! I’m so happy to inspire you to make your laundry storage cupboard. Will you use reclaimed wood or new lumber?
Thanks for stopping by!
gail