Salvaged Wood Outdoor Bar | Kitchen Island
As an Amazon Associate, I earn from qualifying purchases.
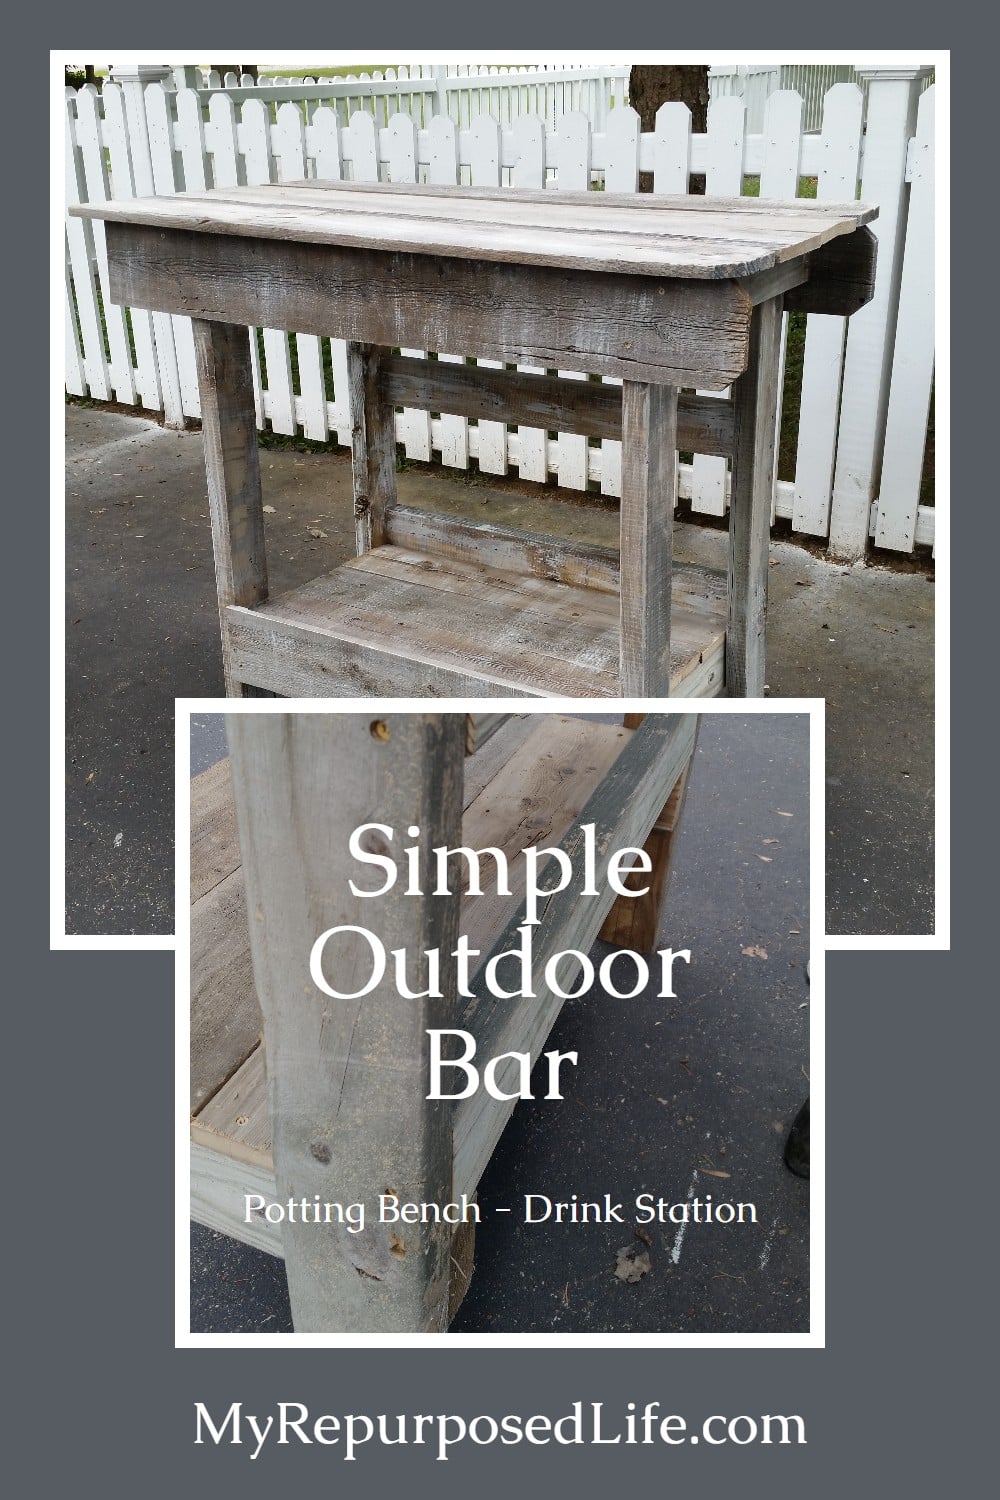
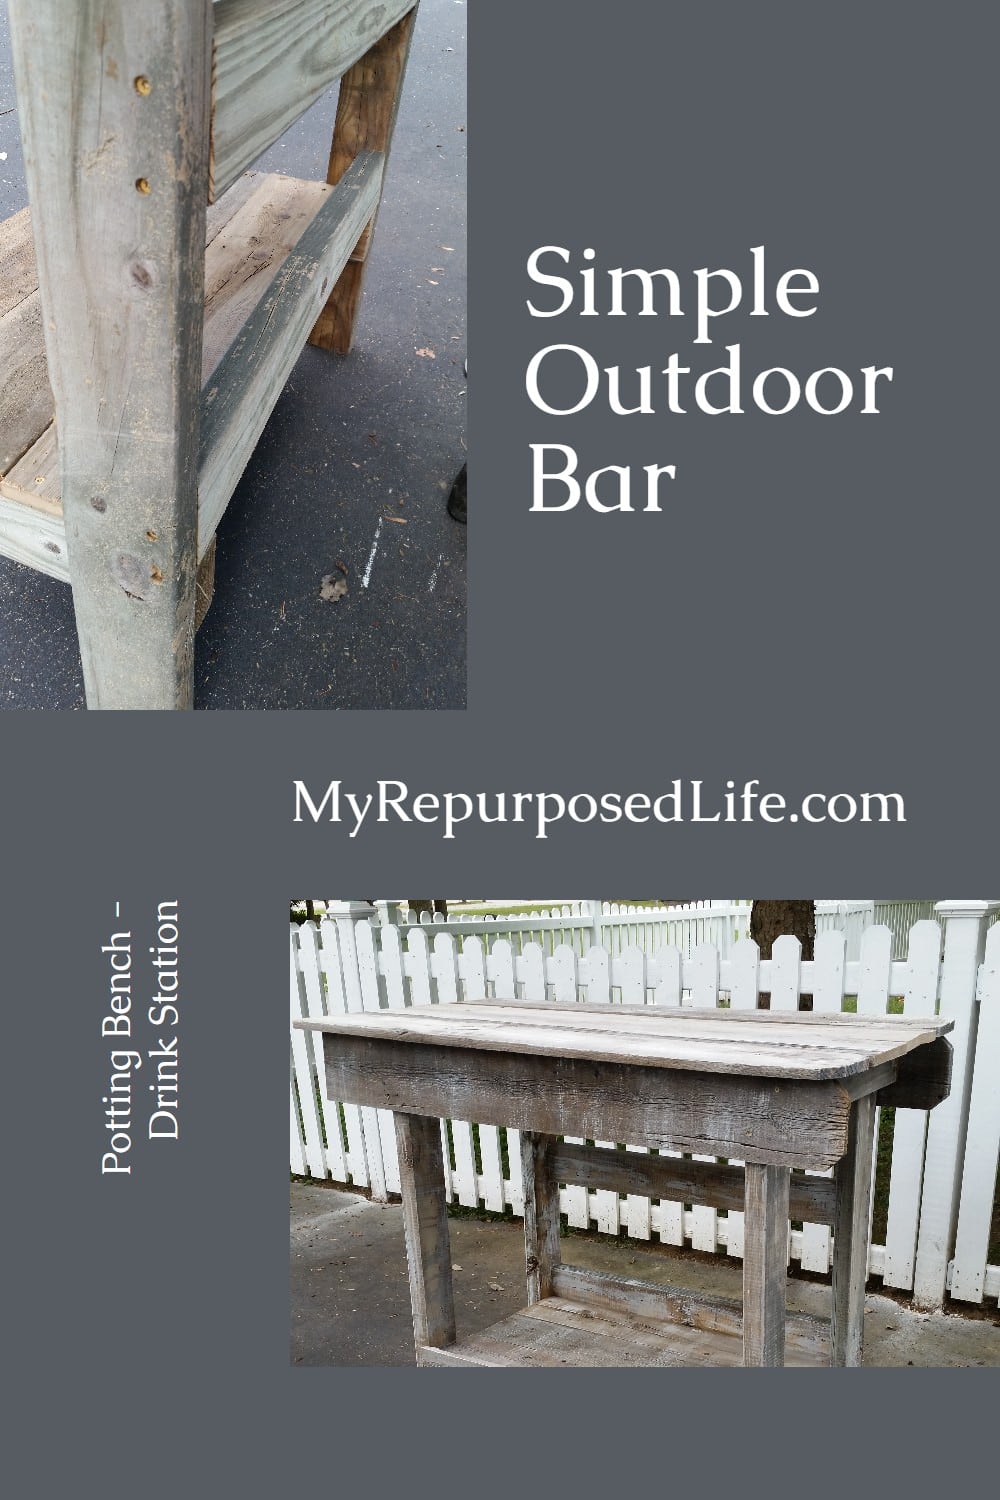
Turn your backyard into the ultimate hosting spot with this salvaged wood outdoor bar and kitchen island! This project is built entirely from reclaimed materials and combines rustic charm with serious functionality. Whether mixing drinks, prepping food, or serving guests, this DIY bar adds a unique and practical focal point to your patio, deck, or garden. It’s a perfect example of how repurposed wood can shine in outdoor entertaining spaces.
I’m excited to show you this outdoor bar I made from reclaimed wood. It would also make a great kitchen island or even a potting bench.
How to Make an Easy Outdoor Bar
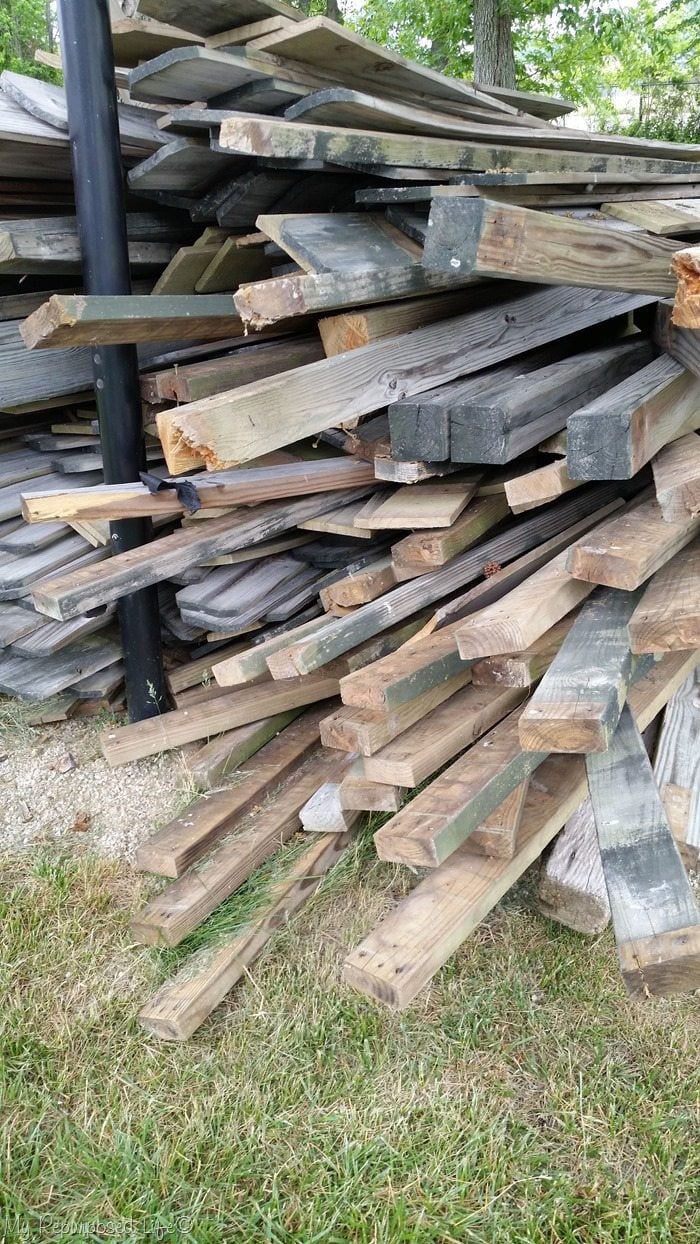
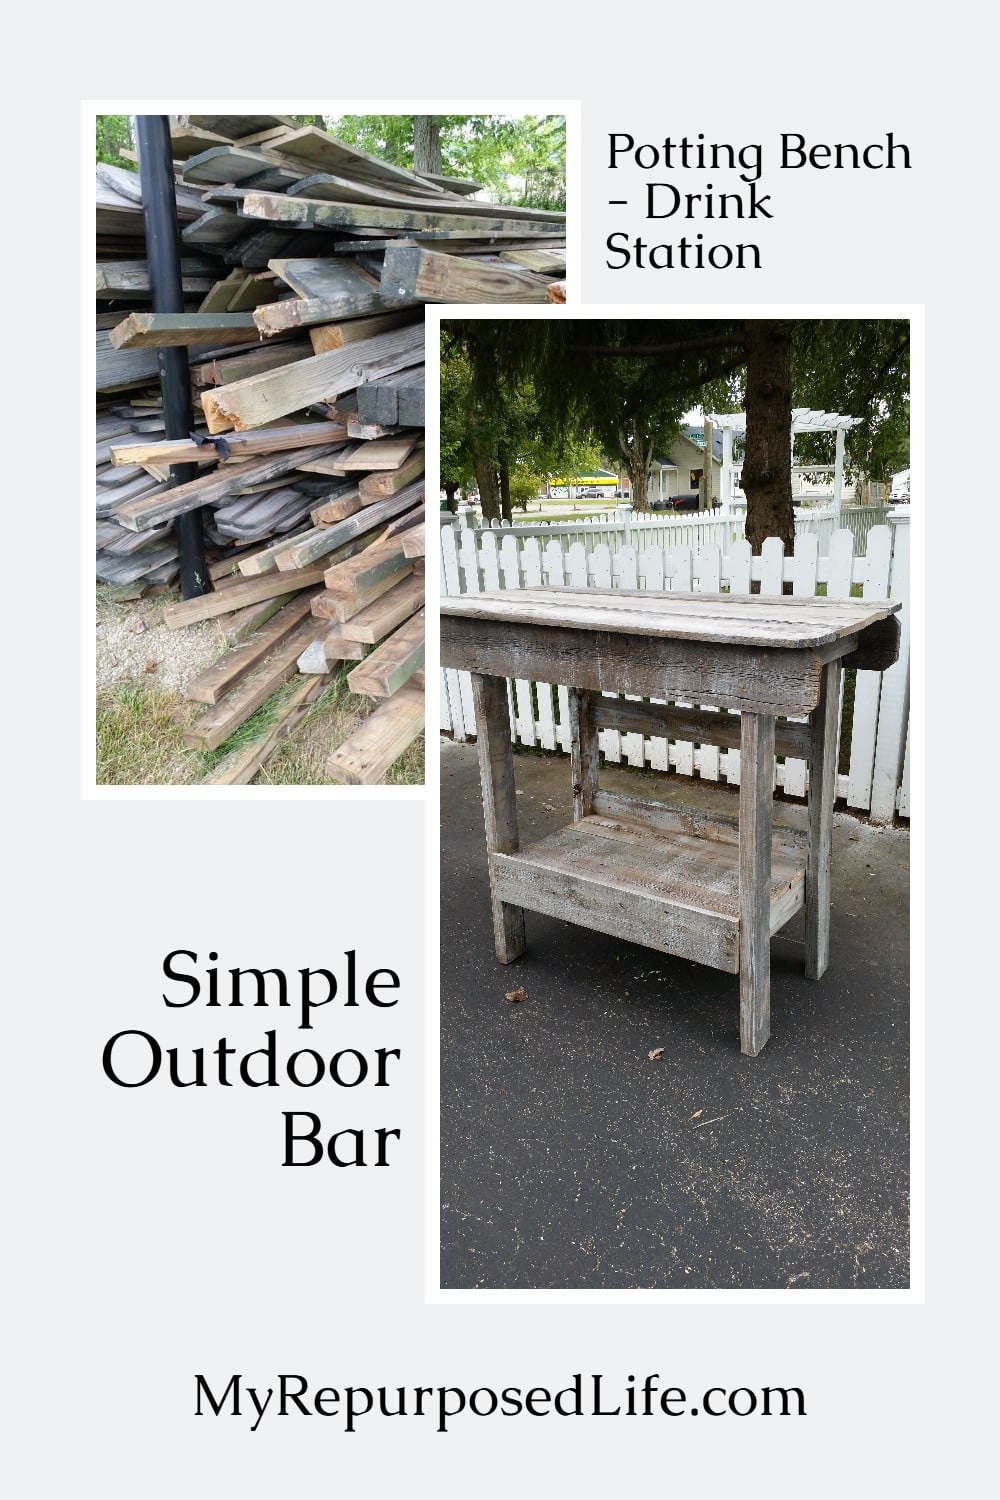
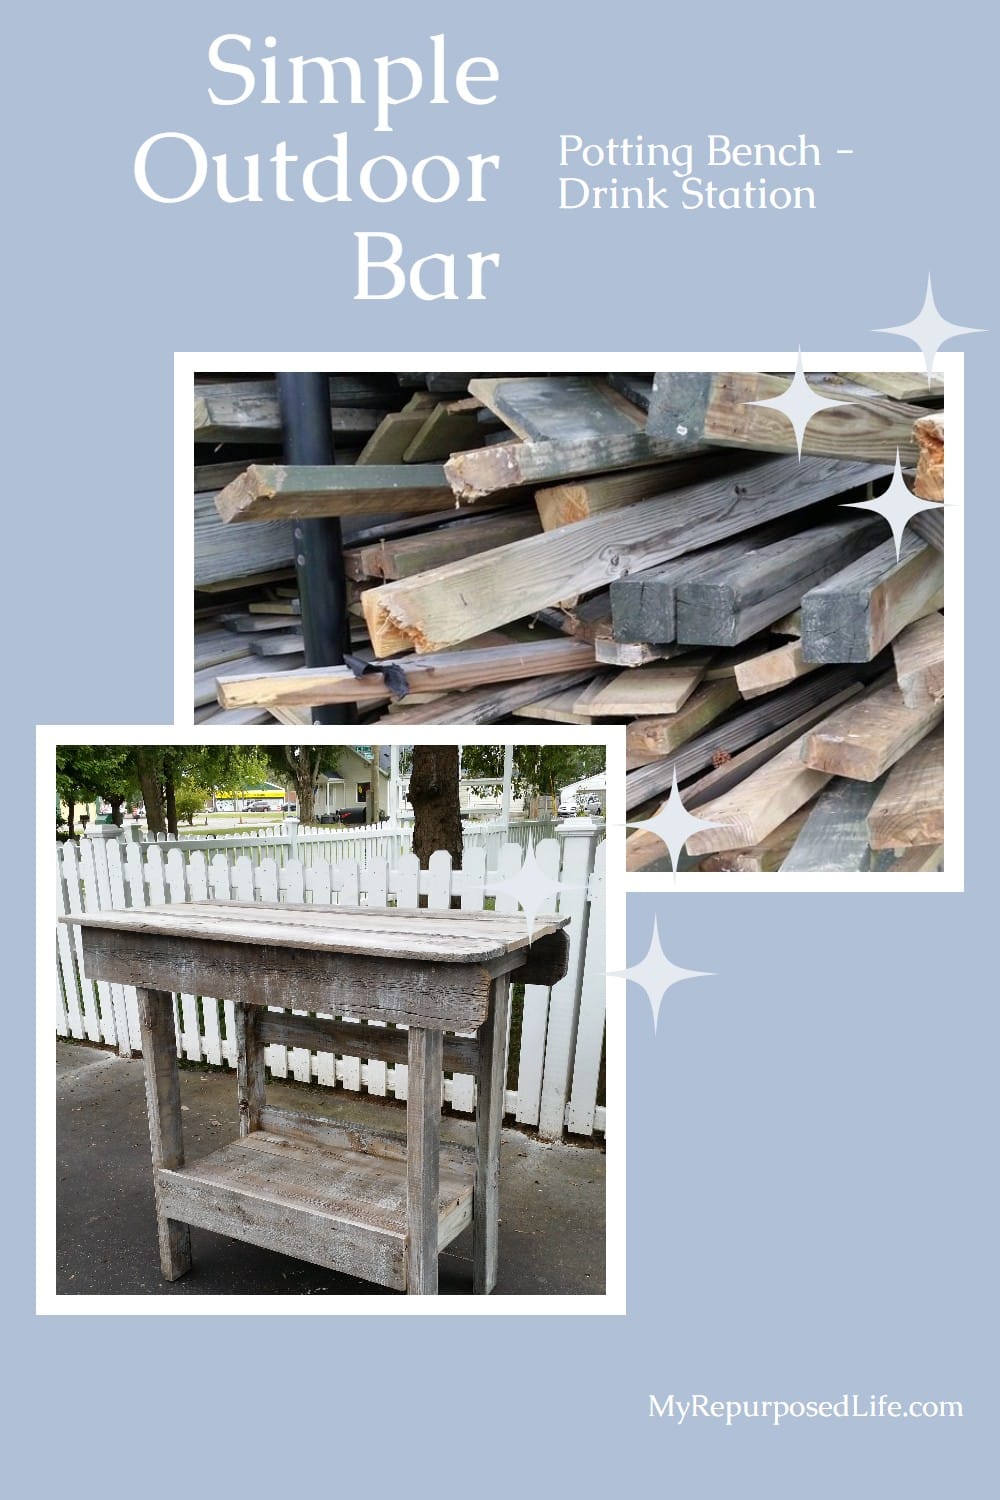
I still have a lot of this salvaged wood stored in a woodshed. (This picture is of the wood I picked up.) I have it separated by fence boards, 2x4s, 4x4s, etc.
Make Matching Leg Sections
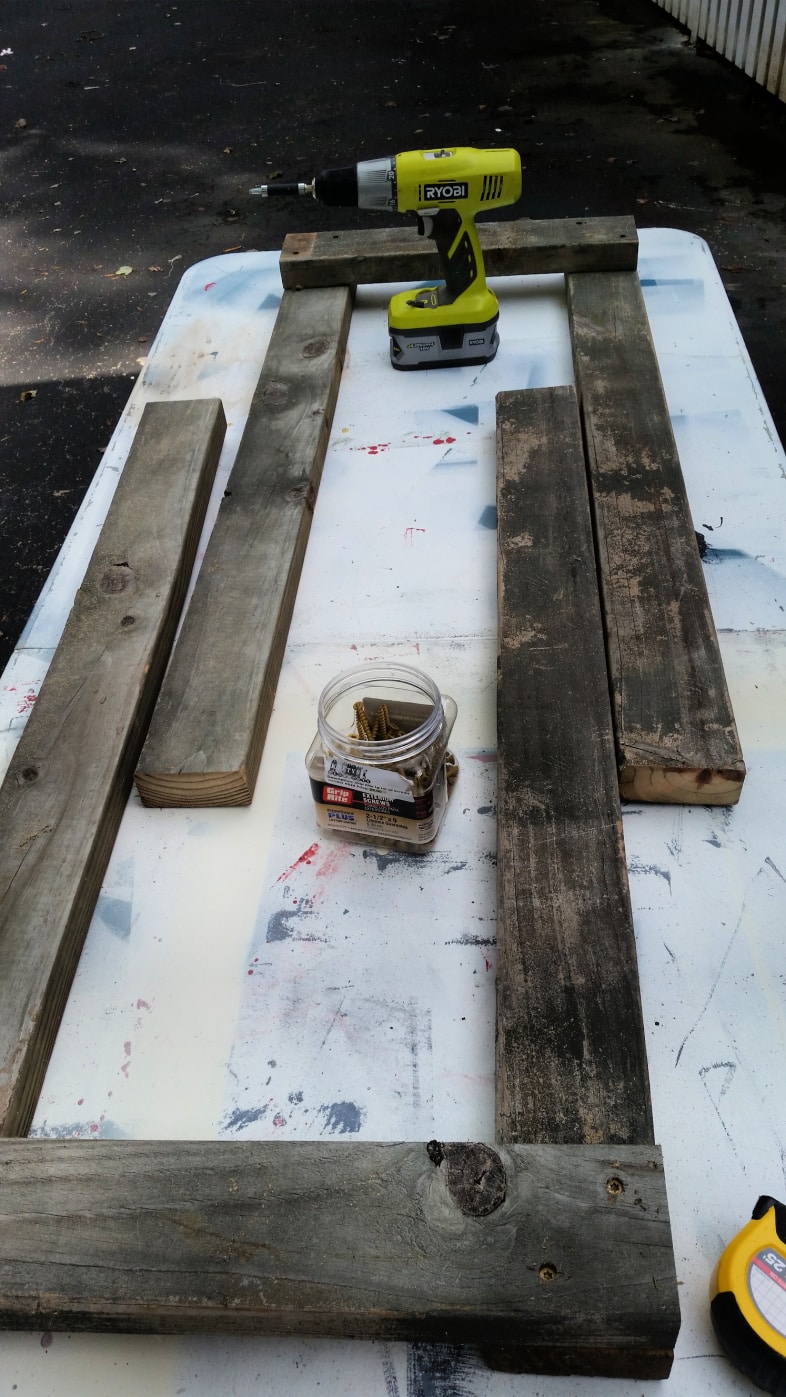
This is how it began. I pulled out some 2x4s and decided how tall and deep I wanted my outdoor bar to be. The height was based on my kitchen island. I wanted it to be a comfortable “standing” height of about 40-42”.
I was so hurried the day I built this that I forgot to take enough “in progress” shots. After I did the side portions of long 2x4s and the top and bottom shorter braces, it was time to connect the two ends together with the front and back wider fence boards.
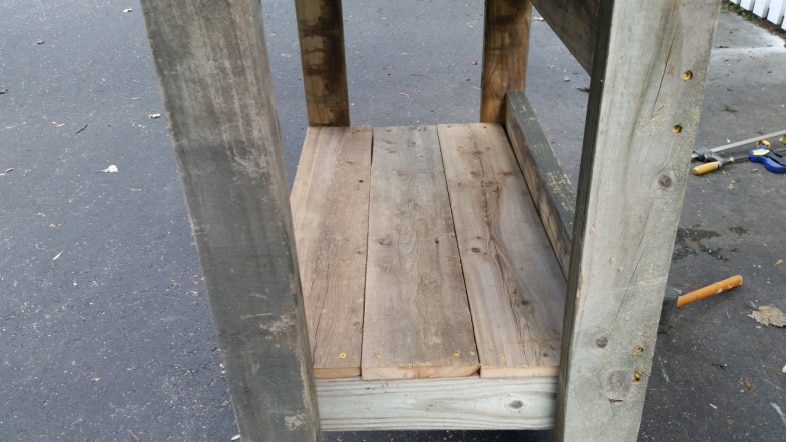
After those were in place, I wedged the two 2x4s in the back while laying the lower shelf boards in place. With all those boards in a dry fit, I continued adding the fence boards for the top.
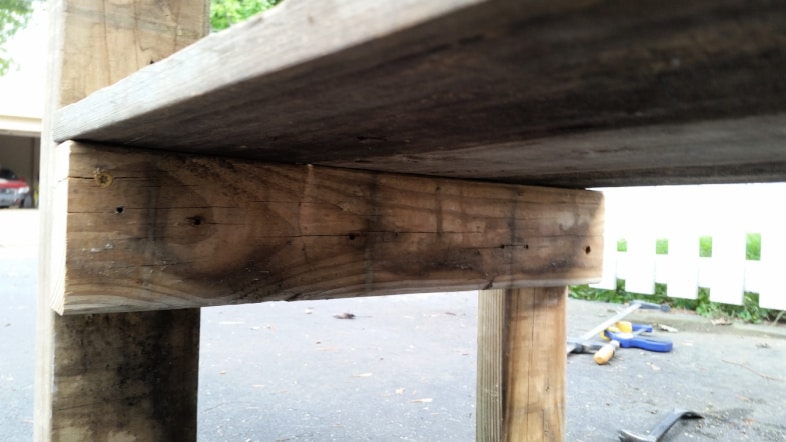
Attach the lower shelf boards and secure the two 2x4s in the back. The lower 2×4 rests slightly on the cross brace that holds the lower shelf, keeping items from falling off.
Use Exterior Wood Screws
Everything is secured with exterior wood screws. I used 1 5/8” whenever I was attaching a thinner fence board and the longer 2 1/2” screws when I was attaching 2x4s.
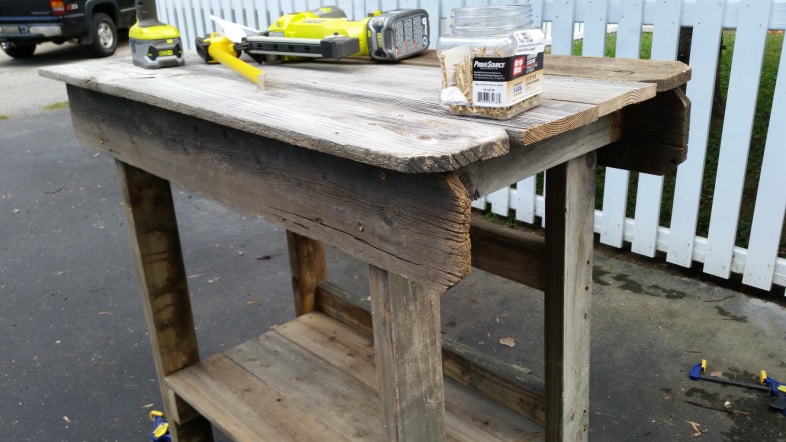
This is another angle so you can see how everything came together.
See that cracked fence board in the front? I used my airstrike nail gun to pop a couple of brad nails in there to keep it safe.
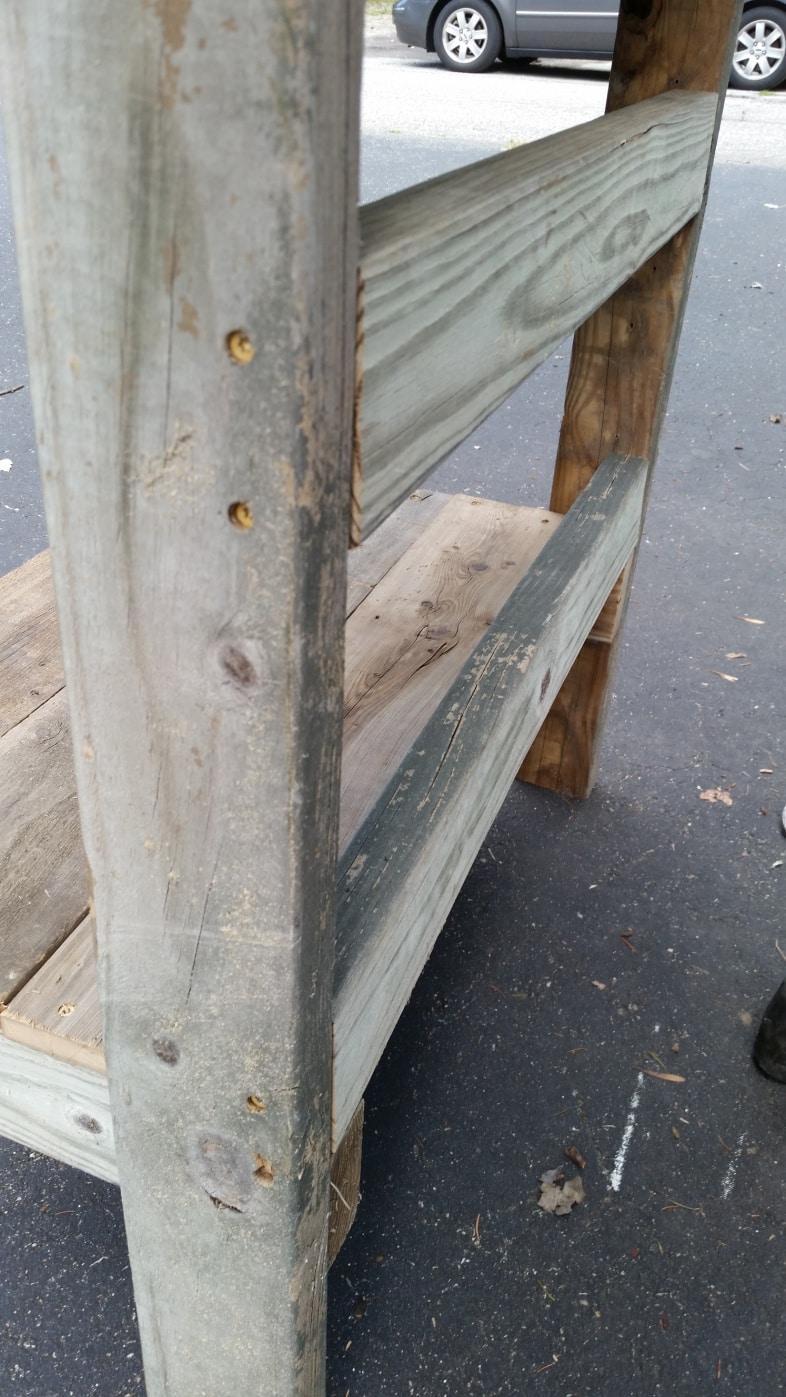
Add a Brace for the Lower Shelf
The most challenging part about this project was getting it squared due to using the salvaged wood. Rarely are these boards straight.
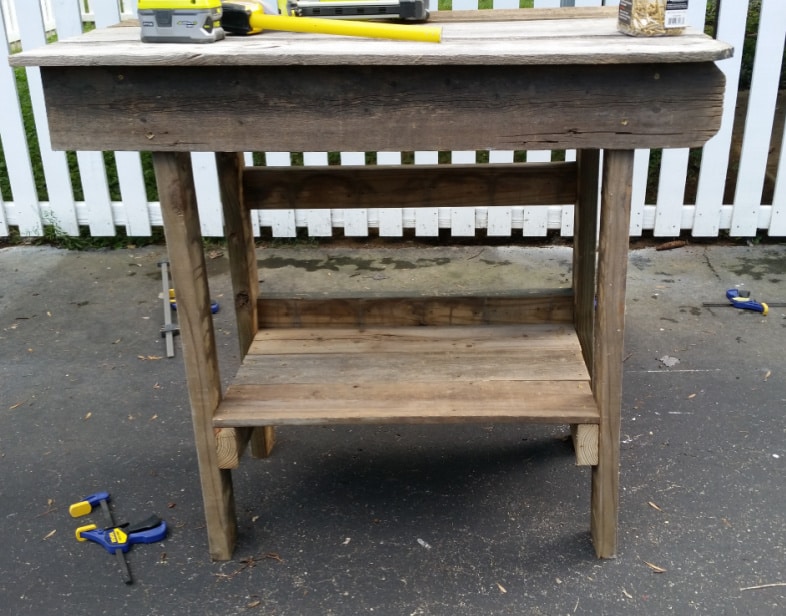
At this point, I thought I was mostly finished, but at the last minute, I decided to put a fence board across the front (bottom) to cover up the ends of the visible ends of the 2x4s.

Of course, I forgot to take a picture after adding the board. After I put it all together, it got a quick bath to clean off any mud and debris.
This project took about two hours from start to finish. I only know that because I started at about 2:30 and knew I had to knock off around 4:30 to make my play date with friends. ![]() I checked the timestamps on the photos. The first was at 2:20, and the “mostly finished” photo was taken at 4:12.
I checked the timestamps on the photos. The first was at 2:20, and the “mostly finished” photo was taken at 4:12.
Add a Whitewash to Finish Off the Outdoor Bar
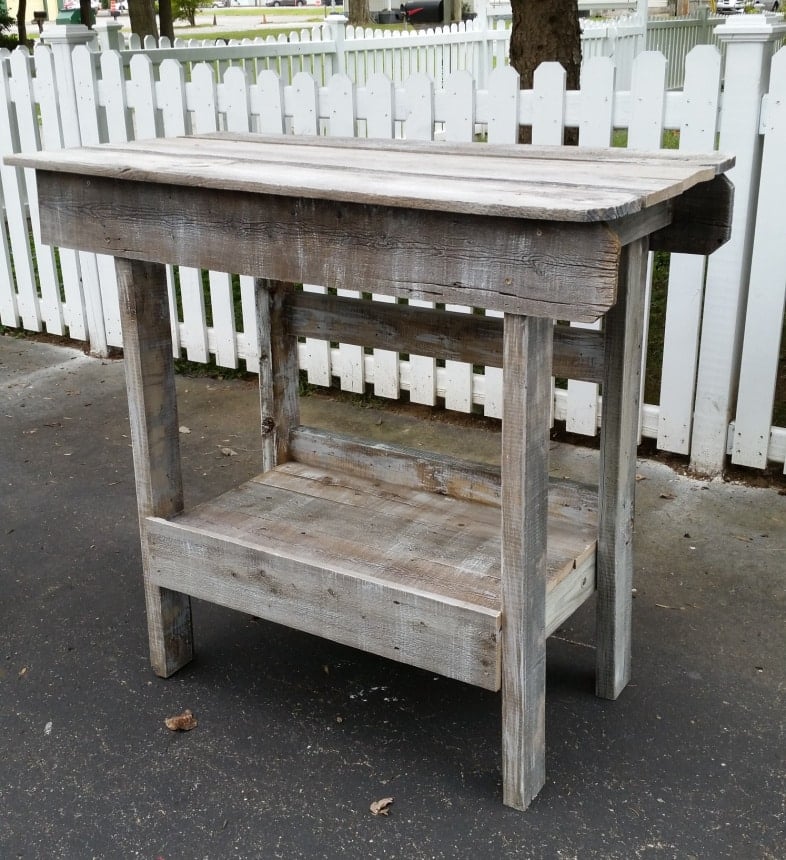
The next day, I gave it a light whitewash similar to my outdoor potting bench. I know it’s primitive, but that is precisely the look I was going for. This is the “host” side, with the other side facing the “guests”.
Please PIN IT?
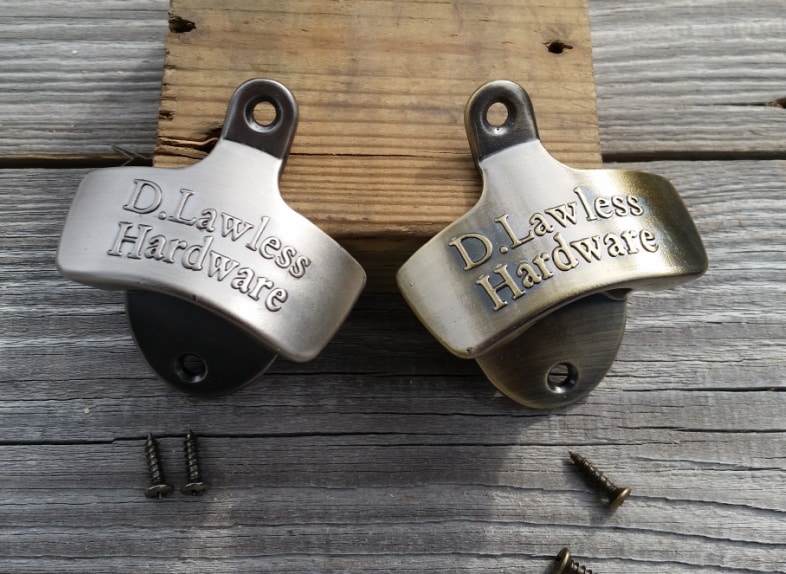
The nice guys at D. Lawless Hardware sent me these two cool bottle openers to use.
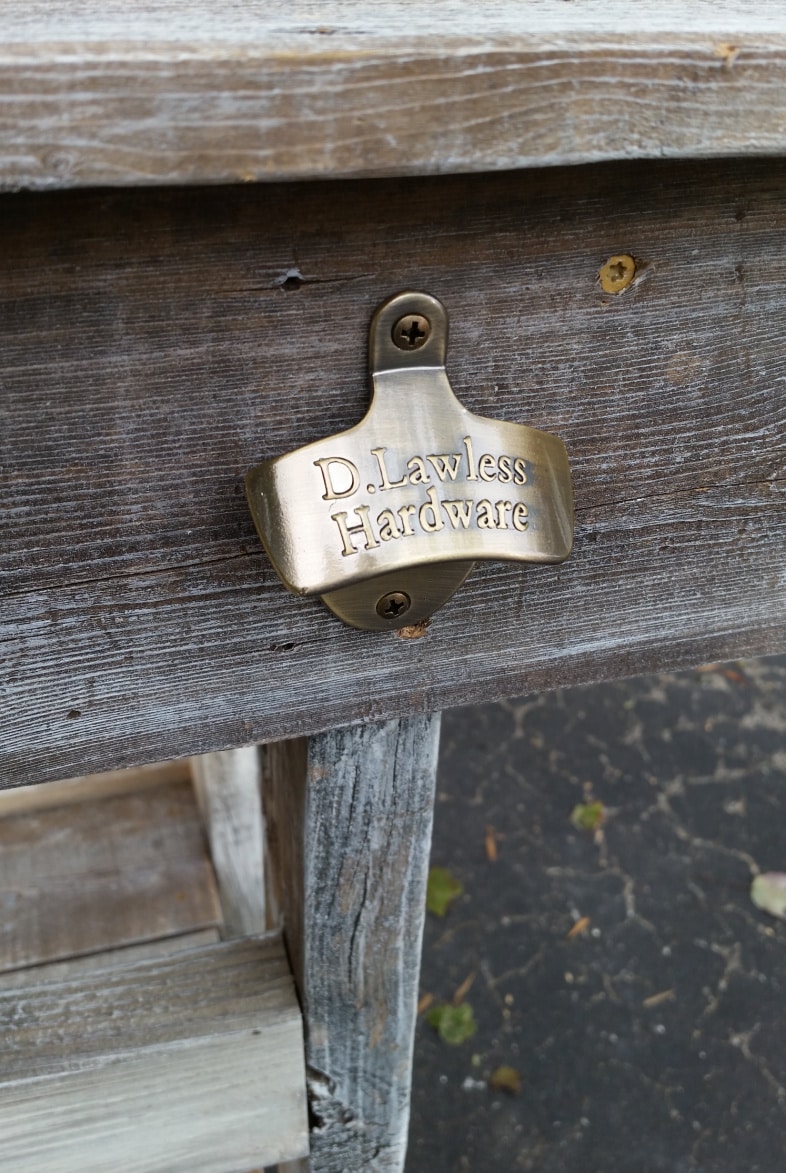
I put the antique bronze bottle opener on the “guest” side of the outdoor bar.
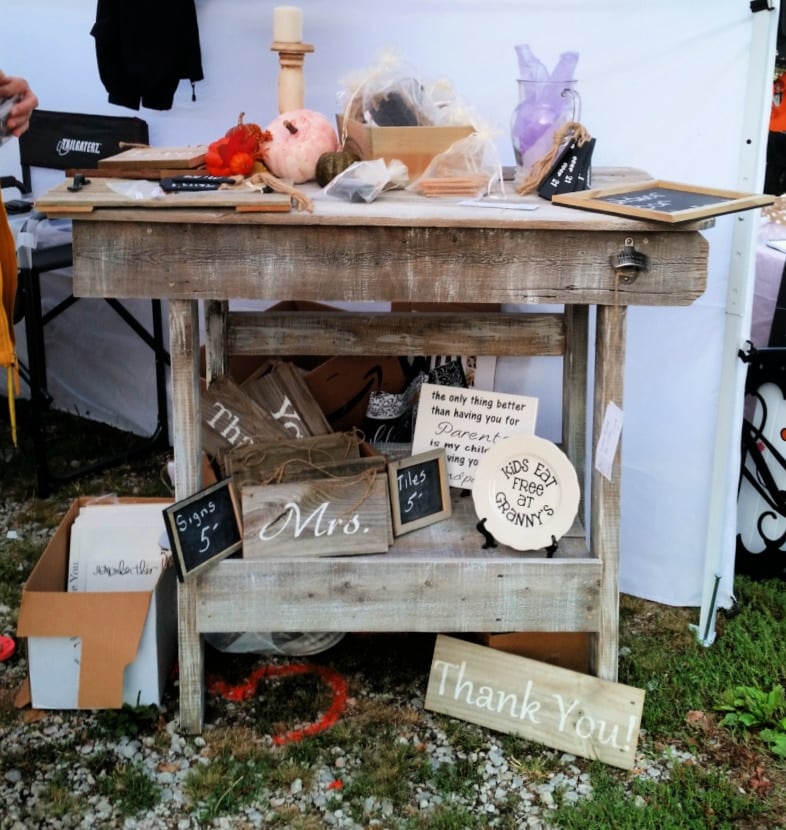
I attached the antique pewter bottle opener to the “host” side of the outdoor bar. You can see it here on display at Glendale.
It sold early, along with the outdoor coffee table/bench.
Hey! Did you notice that I didn’t use my Kreg jig for this project? I think that is a first! What would you use this piece for? In the house as a kitchen island, or outside as a bar? Maybe a potting bench? So many possibilities!
gail
What price did you put on the table
I sold the table for $25 Patti.
gail
I so enjoy Gail’s posts, blog anything of hers in print. Look forward to her.
love this gail and I would definetly use it as a kitchen island by adding casters, happy national eat your self silly day xx