Scrap Wood Christmas Shelf with Hooks
As an Amazon Associate, I earn from qualifying purchases.
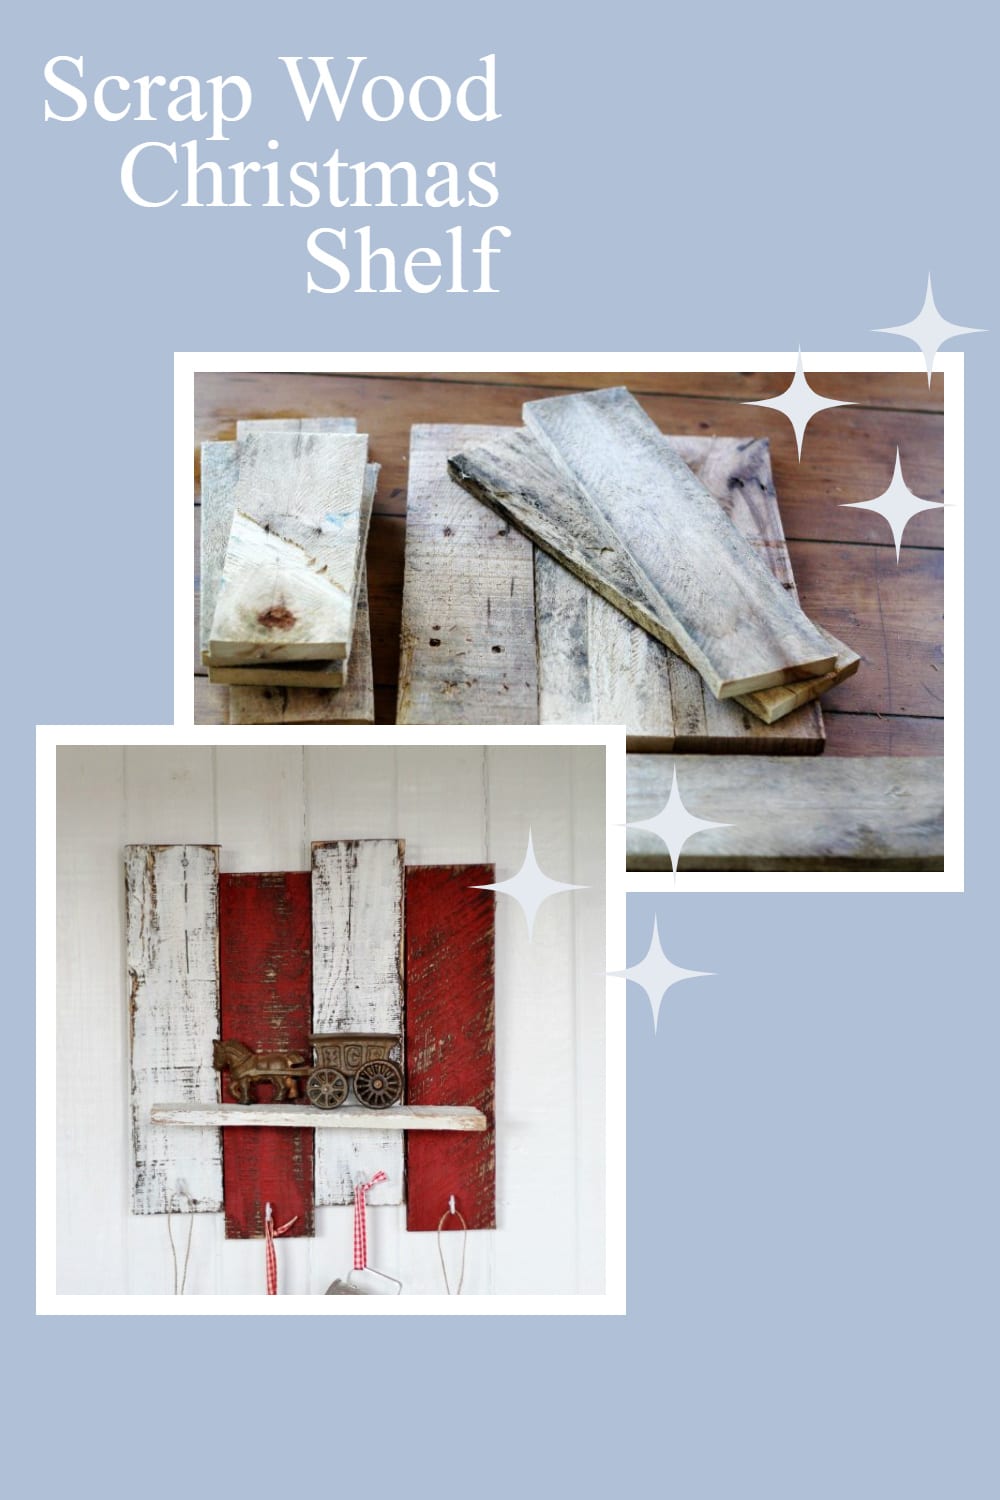
It’s Angie from Knick of Time, dropping in to share an easy tutorial to make a scrap wood Christmas shelf. Adding hooks to hang stockings and ornaments makes this a versatile project.

Since you all are big fans of Gail’s.projects, I know you have a pile of scrap wood, right?
Well, today we’re going to make a little dent in that pile of yours, okay?!
We’re in the long, drawn-out process of remodeling out entryway (you can see our progress here). We’re putting pallet wood boards on the walls.
Because of that project, we’ve accumulated a LOT of scrap pieces. I can’t part with awesome scrap wood, so let’s get started!
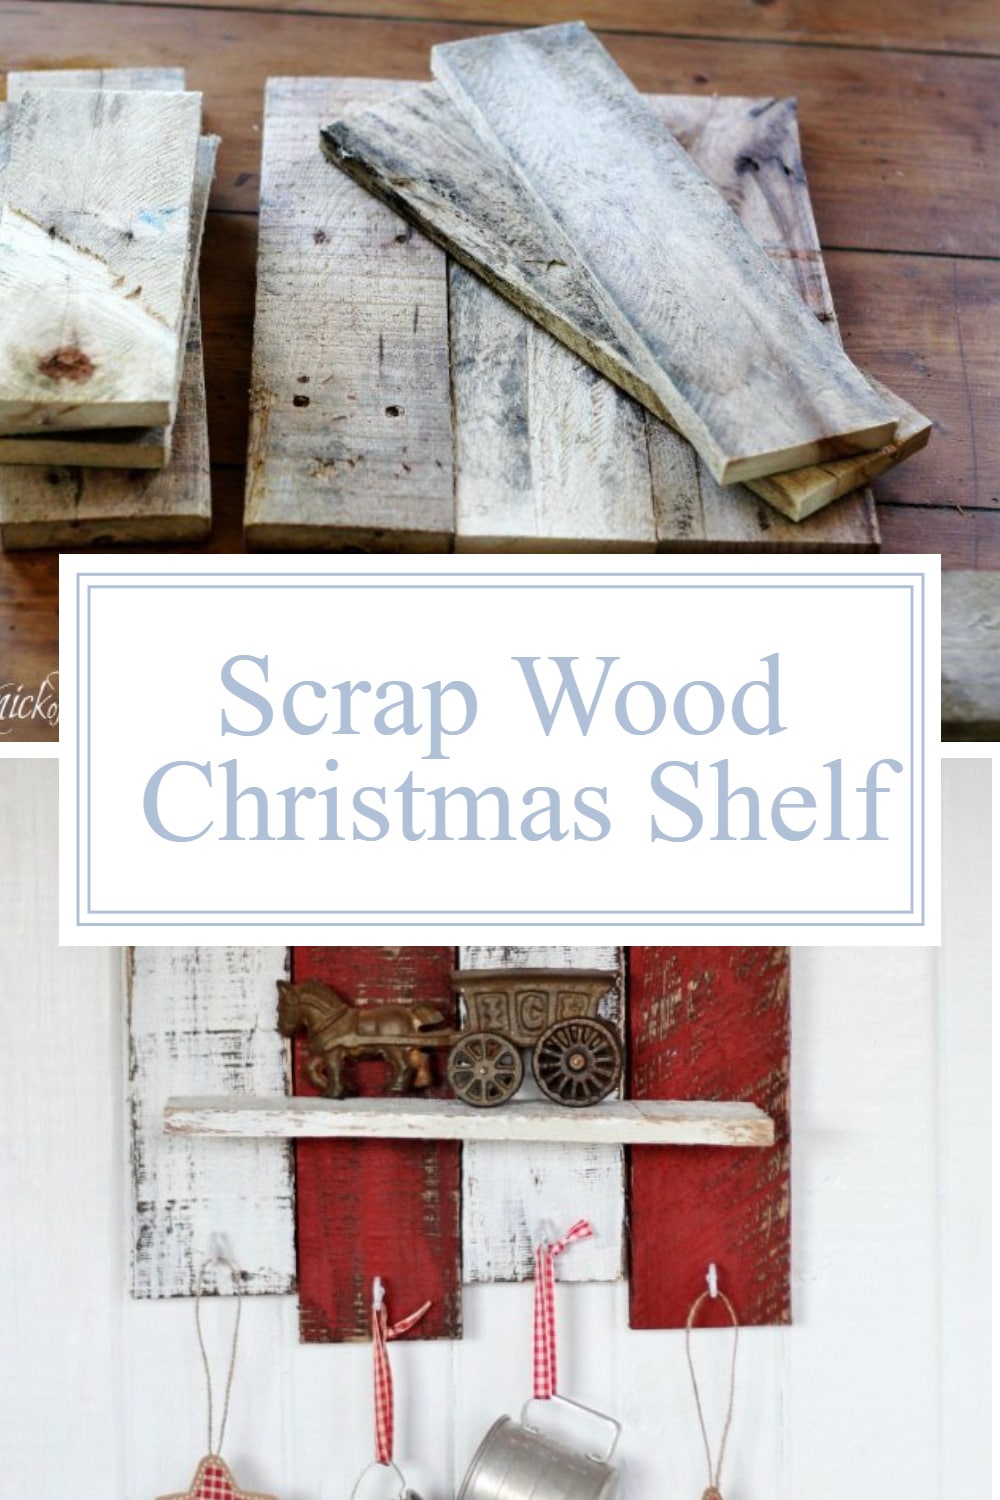
Gather Your Scrap Wood
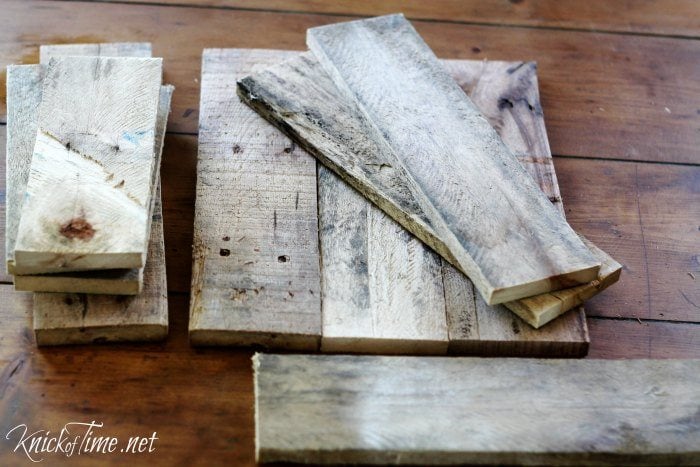
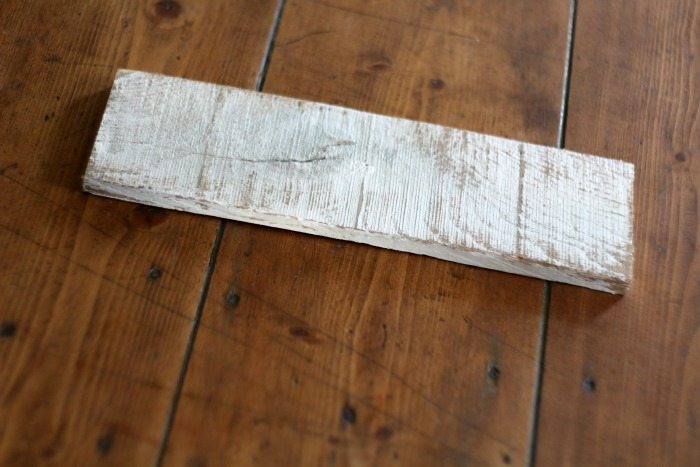
First, select as many scrap wood pieces as you have stockings to hang, and cut them to your desired height for the stocking hanger. I cut my pieces 14″ long.
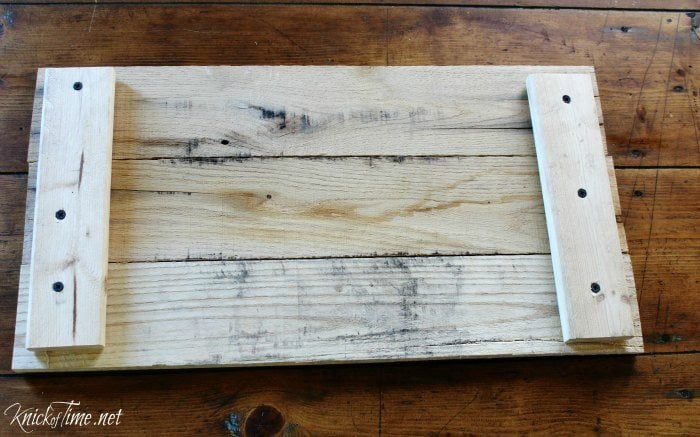
Next, line the pieces up side by side, and measure the width, then cut 3 more pieces of wood to connect them together .
I ended up deciding to stagger the pallet wood pieces, which you’ll see below. So if you want yours staggered, you should do it now.
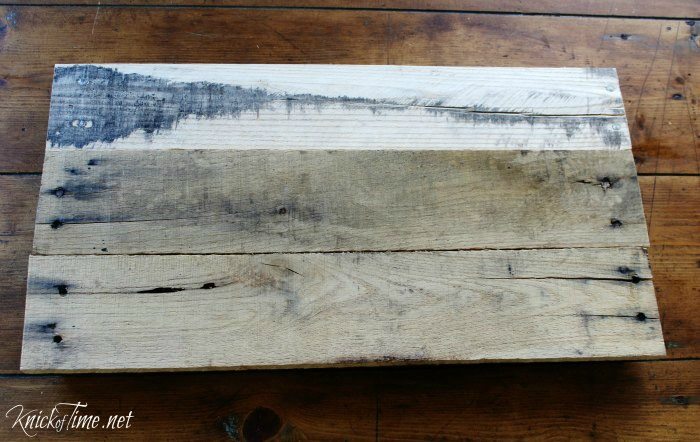
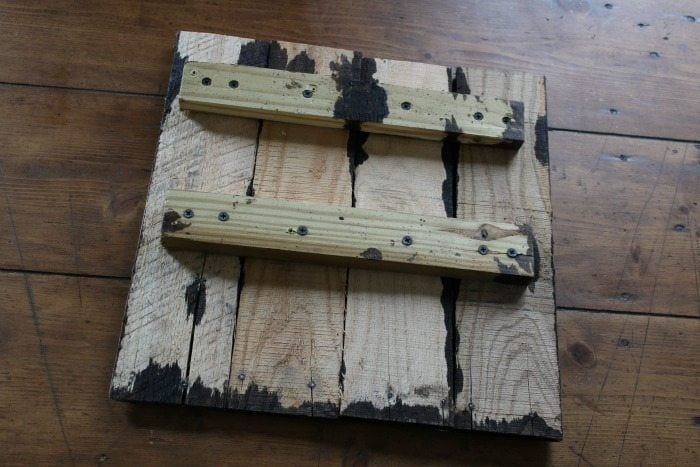
Secure Shelf Boards
Stain the front with dark wood stain (I used walnut colored stain).
Paint and Stain
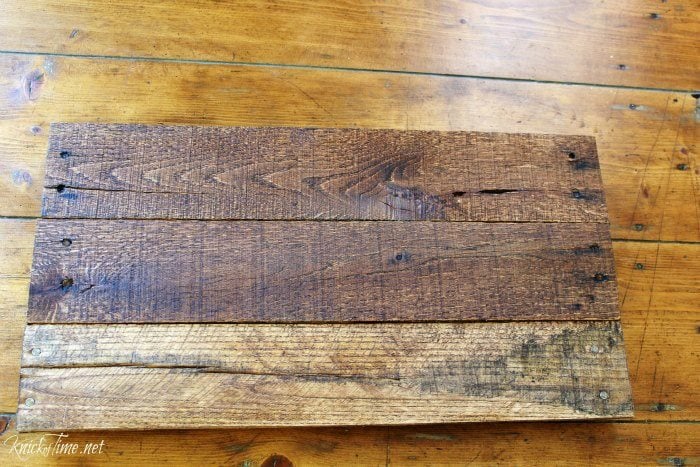
You can stain the back side of your scrap wood Christmas shelf if you want, but since it won’t show, I didn’t bother.
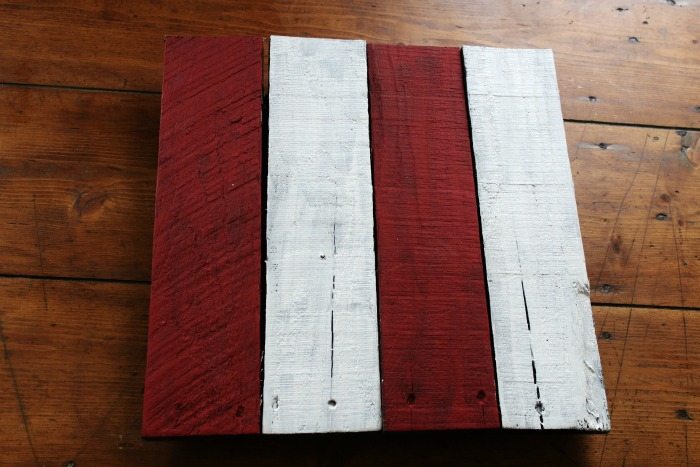
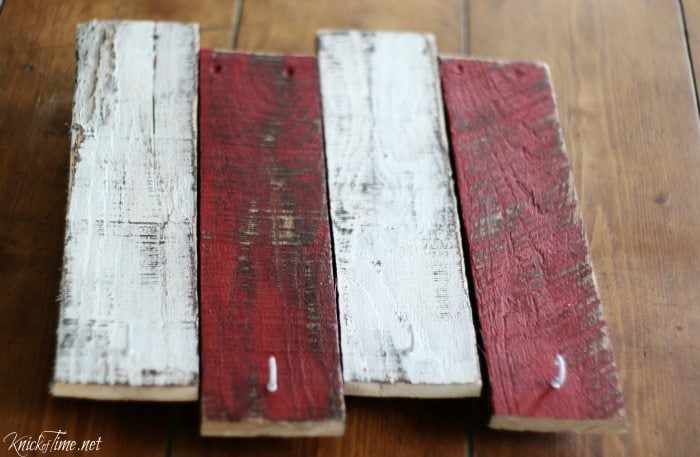
Now, get out some red and white paint, and alternately paint each pallet piece, giving it a candy cane effect. You could do this step before you connect them, but I was winging it as I went along! 🙂
Then, get out your sander, and distress them to your heart’s content, then attach cup hooks at the bottom of each pallet board. You can see I staggered the pieces at this point. I thought it added more visual interest this way.
Sand & Distress
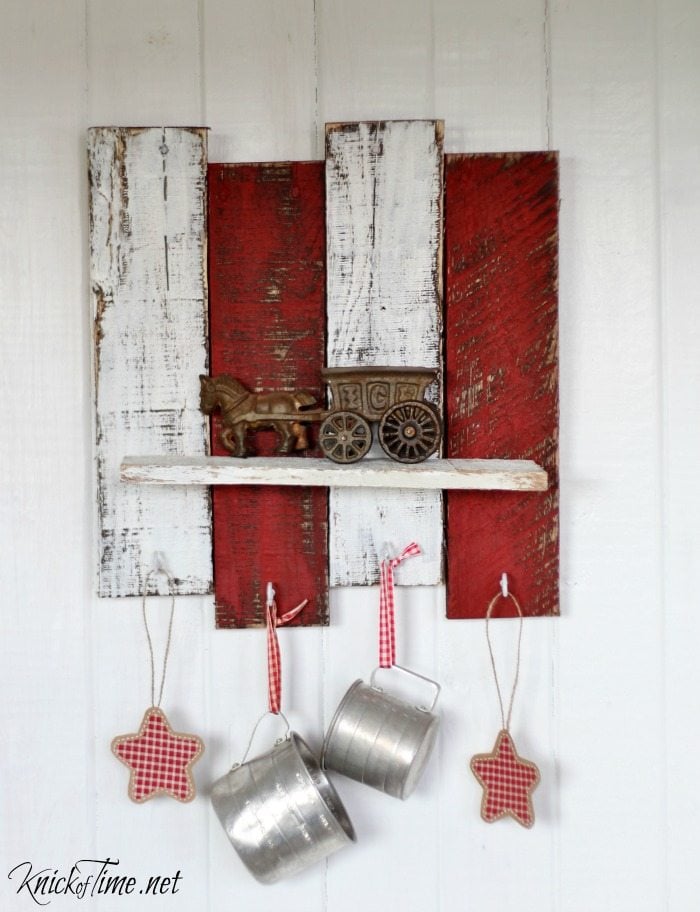
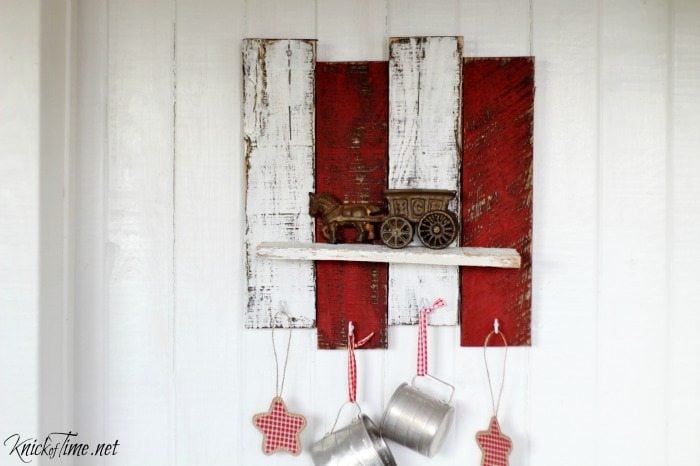
I thought it had a bit too much blank space, so I cut another piece of wood to add as a shelf.
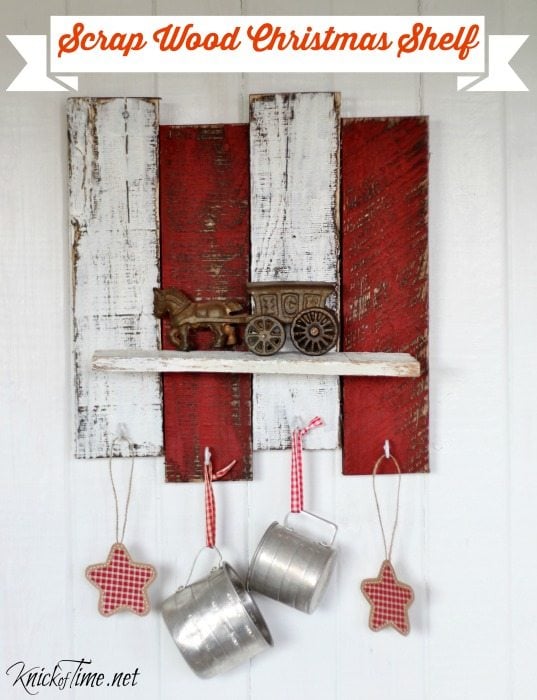
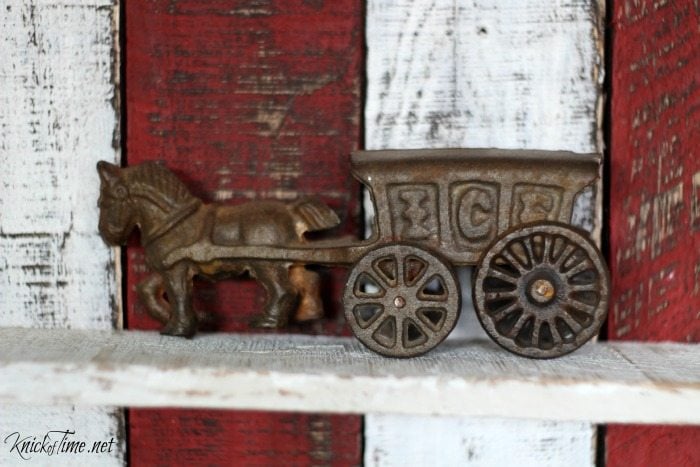
The shelf is screwed on to the back side, and is perfect for displaying small decor, like my antique ice wagon toy.
Pallet Wood Christmas Shelf
You can get double duty from this shelf, because the colors work great for Valentine’s Day as well!
The theme for my Christmas tree this year is “old-fashioned farmhouse”, with lots of red and white gingham.
I hope you’ll drop in and visit me at Knick of Time here, and see all of the Christmas projects I’ve shared this year!
See you next month!

Click Here for more information about dismantling pallets.
see more of Angie’s projects here
I was inspired by your adorable shelf and made a similar one. I’ll try to post a pic, but I’m not sure if it will work. Thanks for your wonderful idea. I loved the stain under the paint method! https://scontent-ord1-1.xx.fbcdn.net/hphotos-xpt1/v/t1.0-9/1513221_1671585193121652_348648444865836749_n.jpg?oh=d301c483416d56b7c6d35deada7c3977&oe=571D389F
Such a sweet shelf. Thank you for the instructions. Just got 2 pallets yesterday. Going to give it a try.n
Such a sweet little shelf…and you’ve distressed it to perfection! I’d be of the mind to keep this up all year round, really, but then, I’m a big fan of red!
really wonderful! may have to try this! thanks for easy to follow instructions.
Angie,
I love how you stained the wood under the paint. It makes the shelf look so old and rustic. Great job!
gail
This is adorable, Angie!