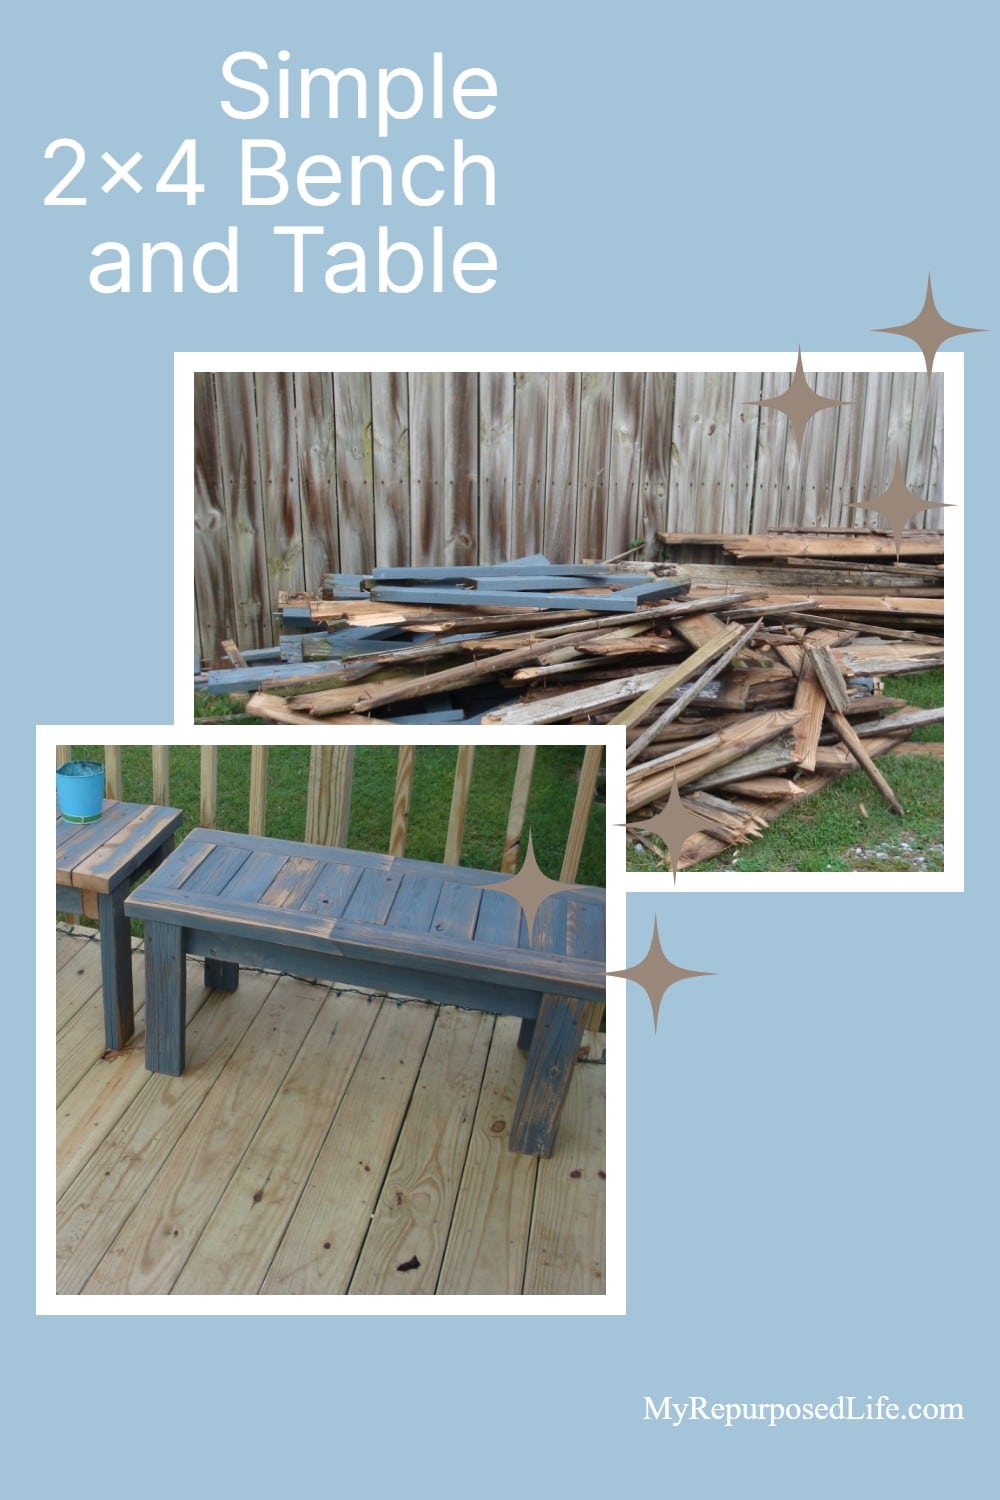
Simple Bench Made From 2×4’s
As an Amazon Associate, I earn from qualifying purchases.
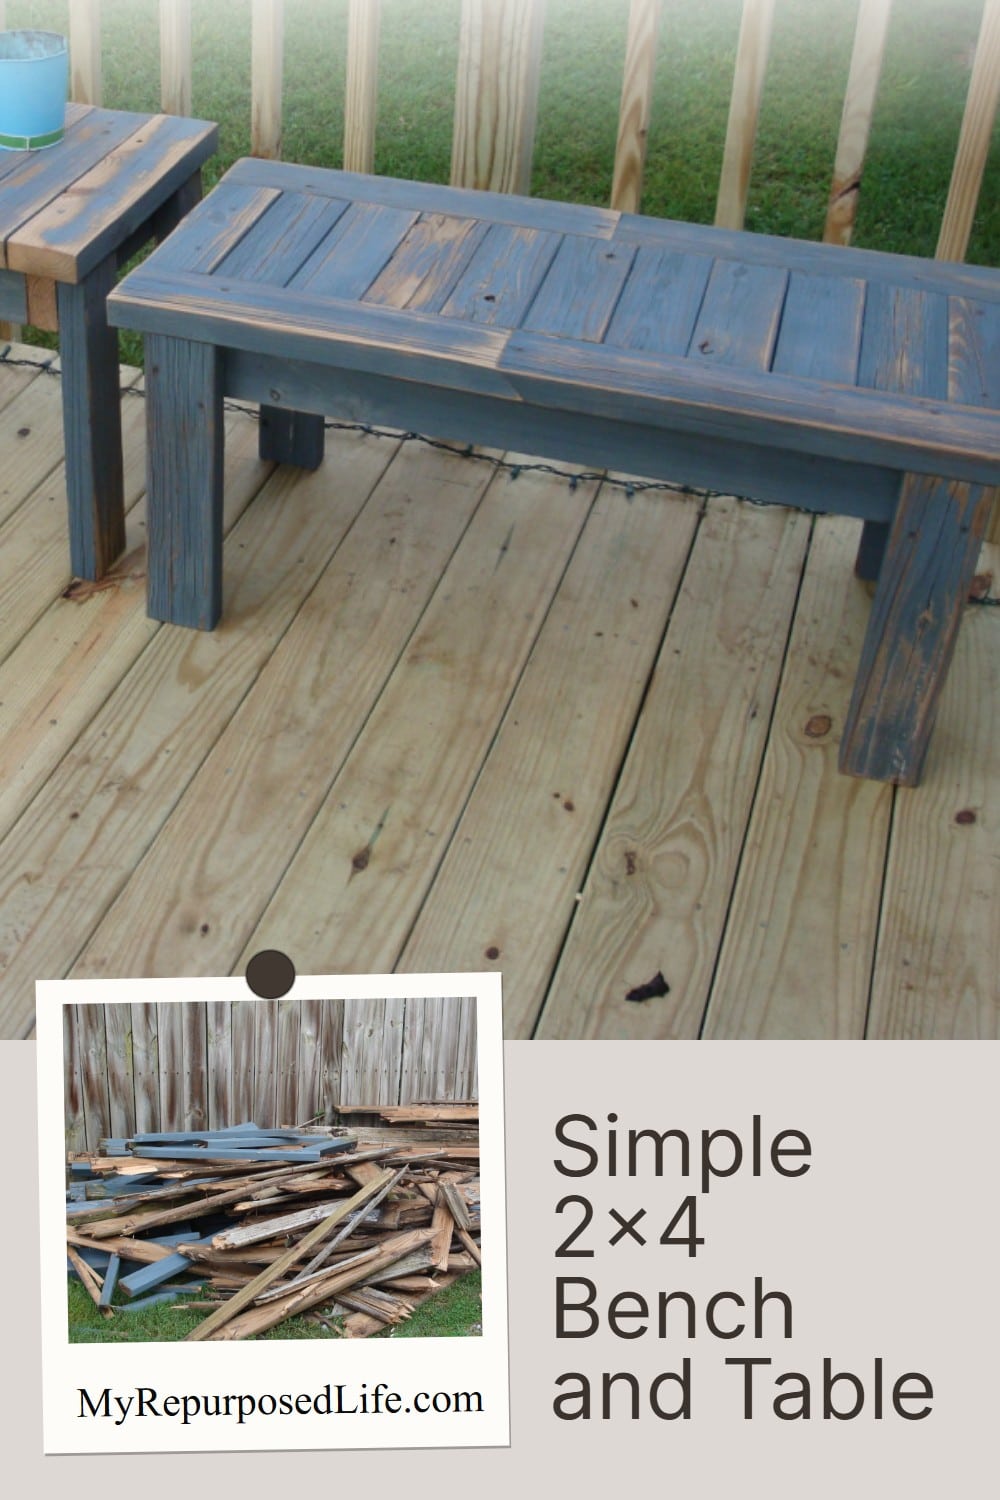
I will show you how to make a simple bench from reclaimed 2x4s. It’s really easier than you think!
You can see more great projects from our monthly Power Tool Challenge at the bottom of this post.
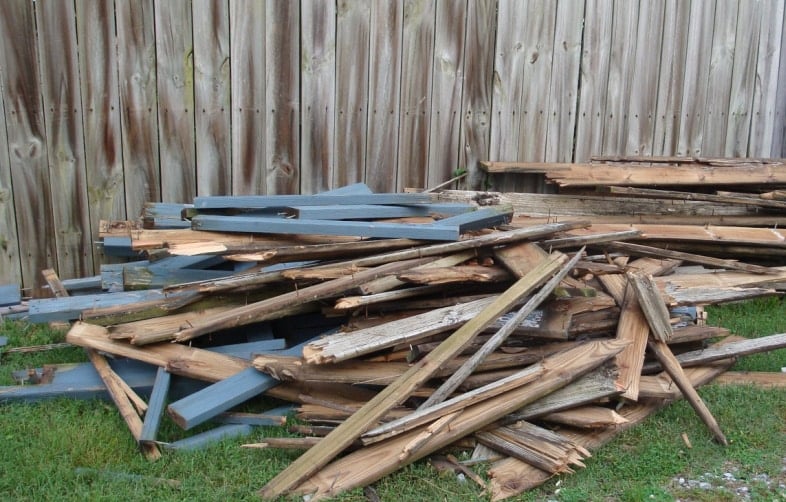
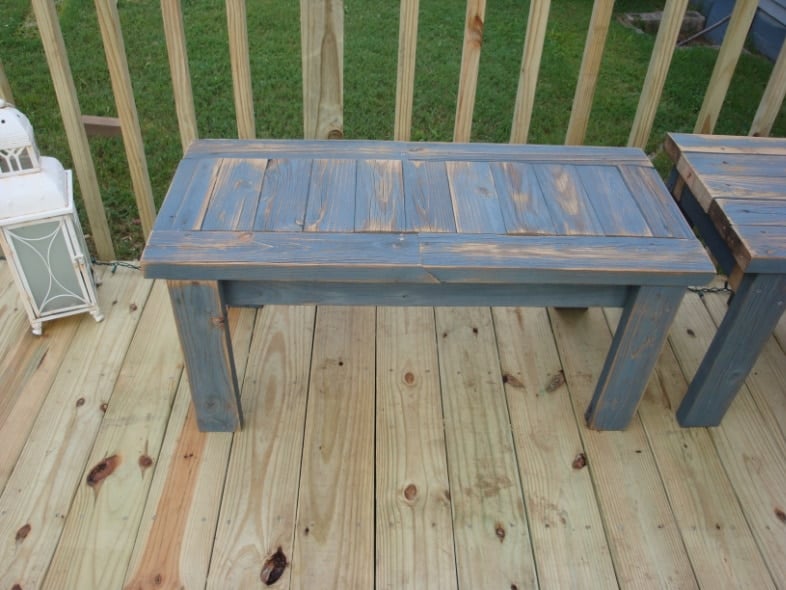
Look at this scrumptious, perfectly weathered BLUE deck wood.
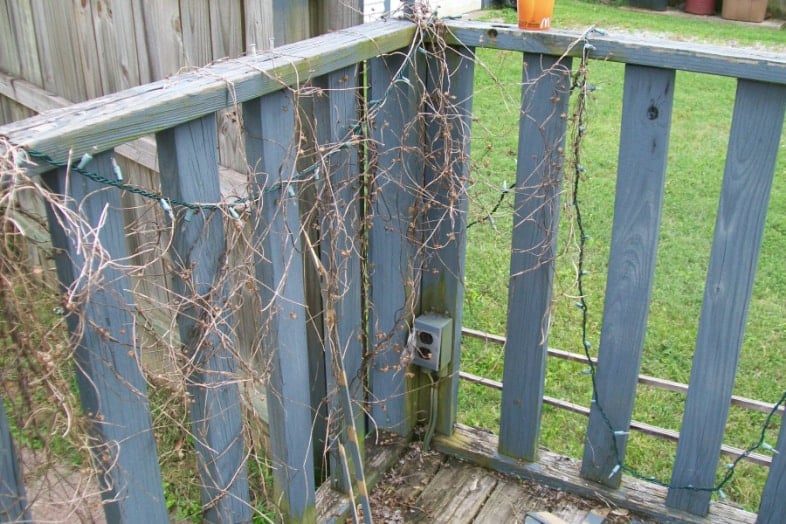
The only salvageable lumber was made of vertical 2x4s, which made up the spindles. See those thin little horizontal pieces? Those were put up by “yours truly” years ago to keep this little fella in . . .

Louie learned very quickly that he couldn’t escape the new deck!
How to Construct a Simple Bench out of Reclaimed Deck Lumber
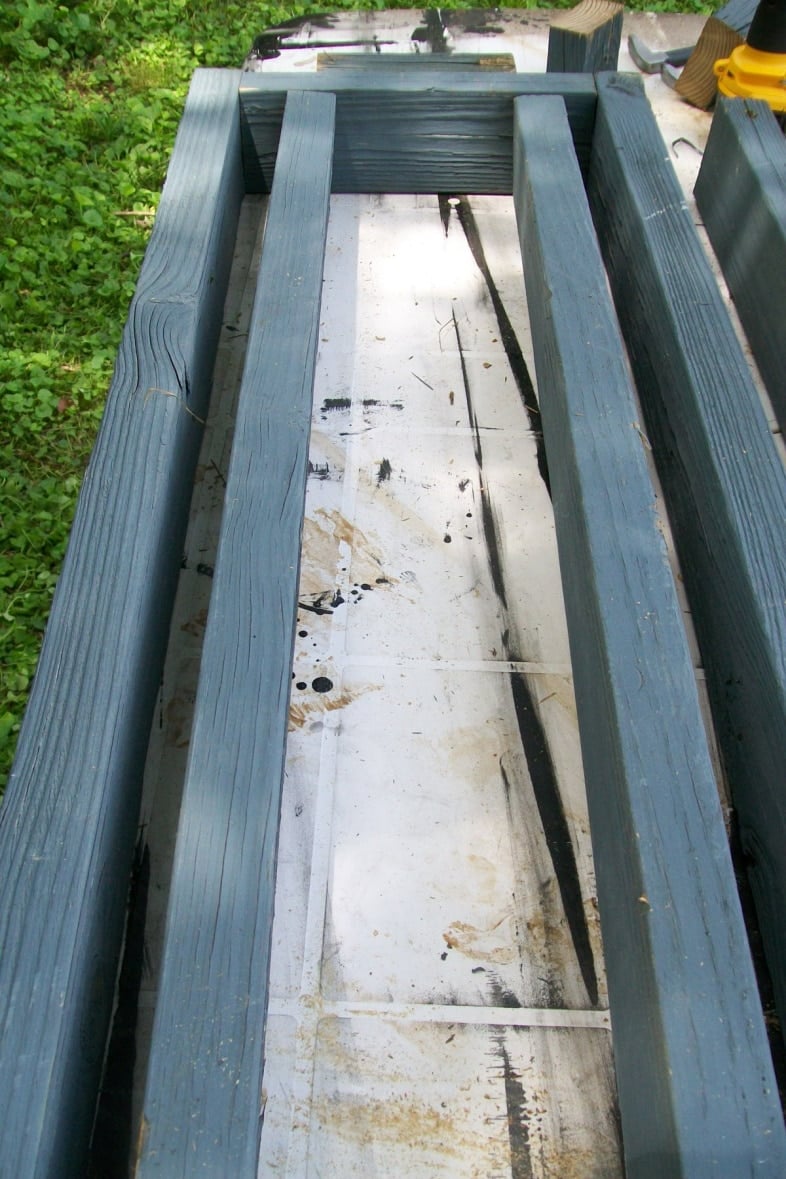
This is the simple construction of these little benches. I made a box that was as long as the longest board. The end pieces were made so the simple bench would be about 14 inches wide.
If you’re looking for really easy 2×4 stools, check out this tutorial for 2×4 benches and stools.
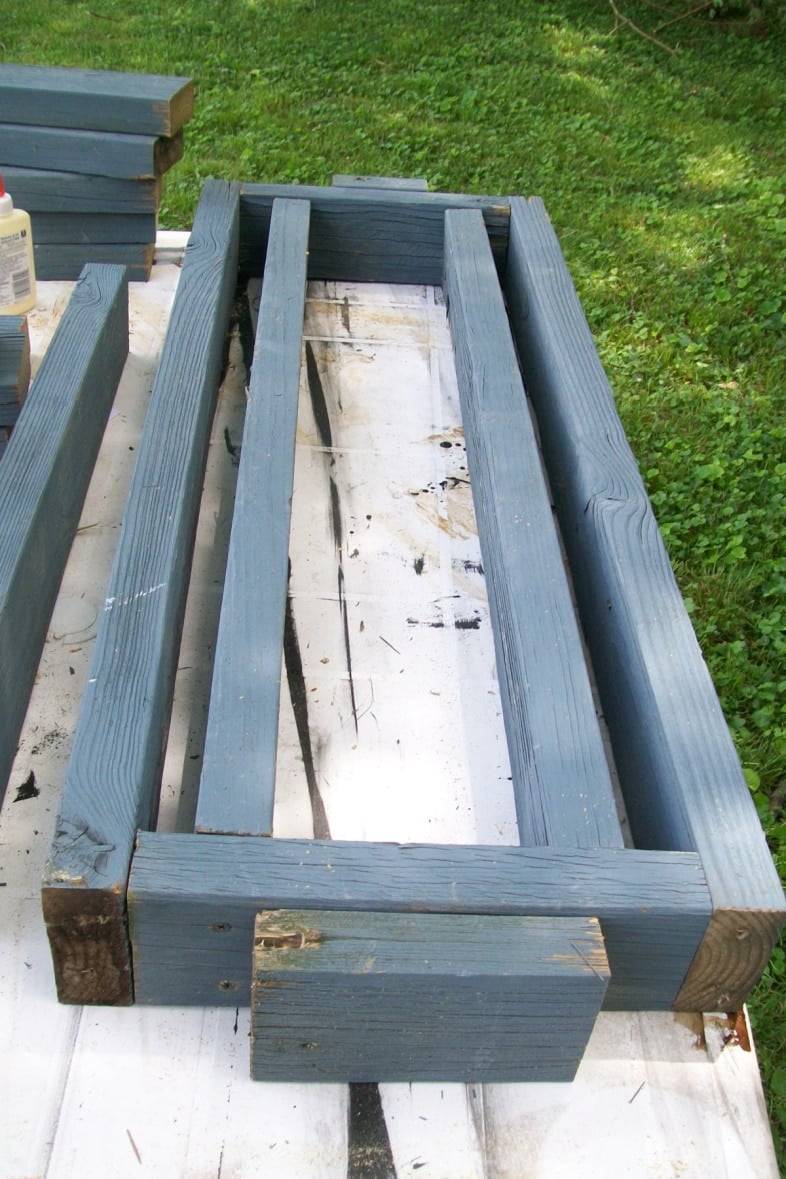
I made the simple bench so that it would have an overhang the width of a 2×4 thickness. While I laid my box out, I put a 2×4 on each of the four sides to measure to see if everything would fit correctly.
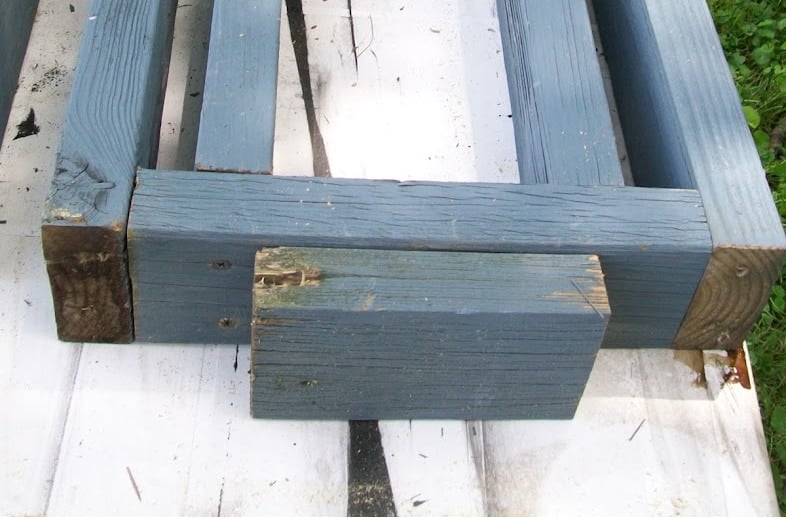
The little scrap piece at the end is a guide.
Dry Fit 2×4 Seat Slats
The seat slats are 11 inches long. You can see here that it is resting on the scrap piece, allowing the overhang I wanted.
Don’t be discouraged if you don’t have lots of workbench space. It’s more challenging to work on the ground, but in a pinch, it works!

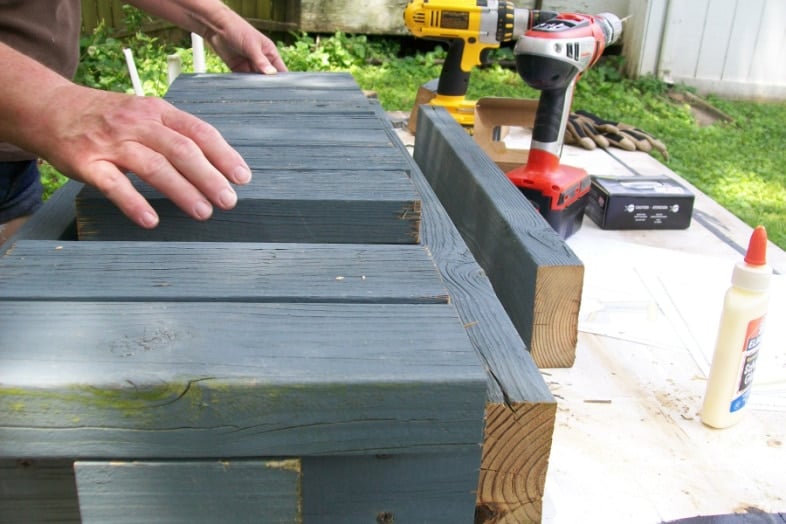
The box was constructed with screws and wood glue. I also used glue and screws on the inside brace pieces. A countersink bit was not needed because, typically, 2x4s are soft enough to sink the screws. However, I did make pilot holes for EVERY screw. The wood was brittle, and I didn’t want to take any chances of splitting it. That is why you see two drills. One was manned with a drill bit, the other with a screw bit. That makes things go so much faster. If you only have one drill, I suggest investing in a second one. Pawn shops are great places to shop for small power tools.
Add 2×4 Slats Using a Nail Gun and Screws

All the slats were attached first. I screwed the end one on, then used glue and my nail gun to attach the rest of the slats. When I got to the last one (the other end), I used screws again. Nail guns are great for a temporary hold until you can secure the wood permanently with screws.
How to Join Two Boards With a 45° Angle
After attaching all the slats, I worked on the side pieces to box in the slats of the simple 2×4 bench. Because I used the longest board to make the box, when it came time to “box” the slats in, I didn’t have a board long enough to have an “overhang”. I made a 45-degree cut on two boards. Then, on one board, I made the straight cut. After I had that laid out, I measured where the other straight cut needed to be made on the other board. These boards are laid directly on top of the outside board (of the box). That means they overhang the thickness of a 2×4 all the way around. I used screws on these boards, also.
Adding the boards to the side of each bench gives the simple bench a more finished look, rather than seeing the raw ends of each short 2×4 seat slat.
Add Legs to Simple 2×4 Bench
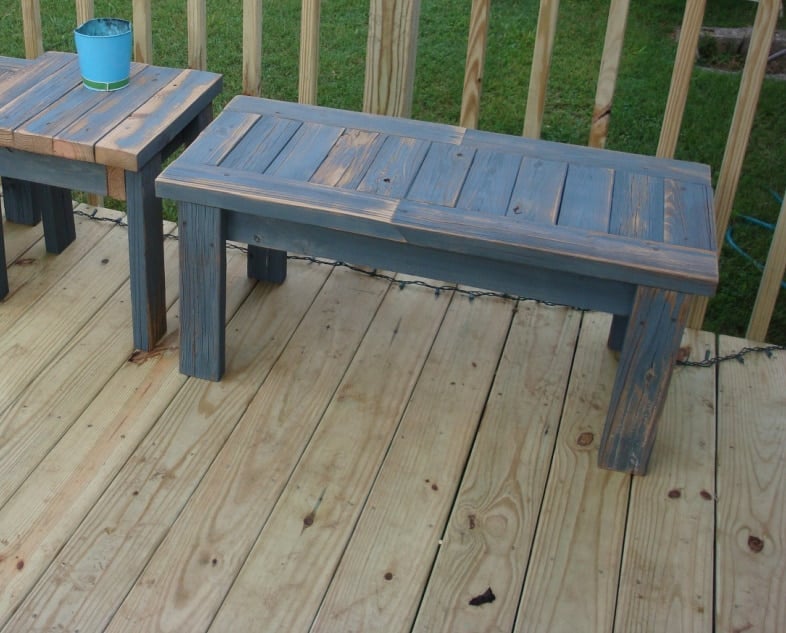
After I added both boards on either side, I attached the legs. Because of an overhang, the legs fit perfectly under the boards along the side. I used screws on the legs. These benches are VERY heavy. I can move one by myself, but carrying one from the back of the yard to the deck was nearly impossible to do by myself!
Make a Matching Table for Your Simple Benches
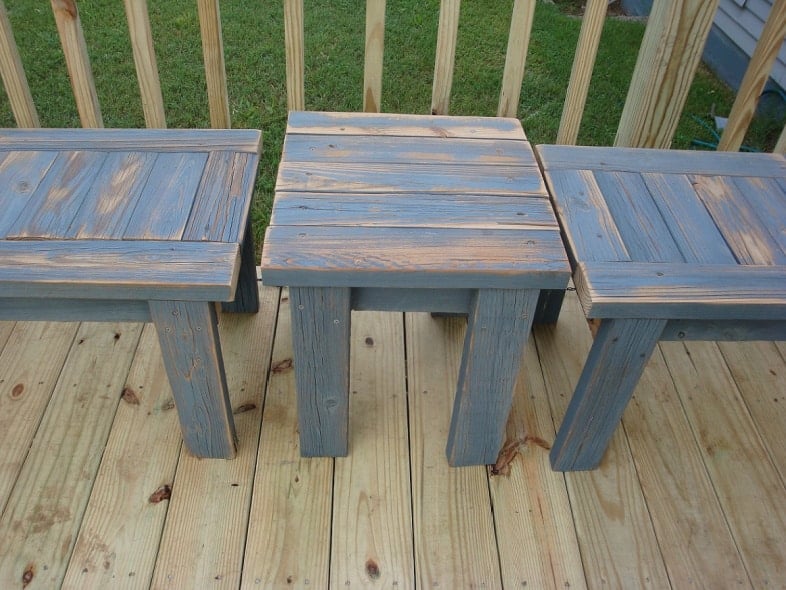
I am not a math whiz! I came up with the simplest way to make this table! Jamie wanted it to be a square, the same size as the bench. I cut enough boards to make it that size. Then imagine laying all of those boards down on a table (upside down), laying those small scraps on each of the four sides. That is what I did; then, I measured the inside dimensions to determine what size box I needed to make. Remember, I needed the overhang to allow the legs to fit perfectly on each side.
Distress Wood With Orbital Sander
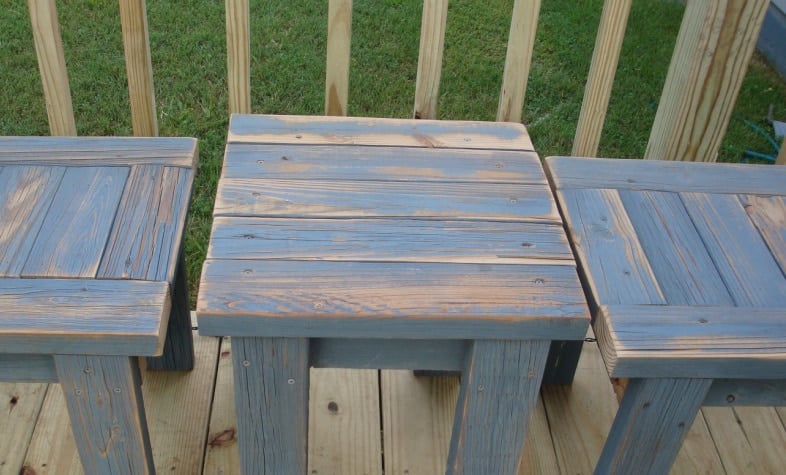
Being reclaimed deck wood, there were some rough places. Jamie used my orbital sander to smooth them out. I love the way these benches and that little table turned out! Blue is my favorite color, and I love how aged they look. I also love the fact that my daughter Jamie now has some of her original deck. Of course, we did not build the original deck; it was there when she bought the house.
Check out these excellent woodworking tutorials from my friends
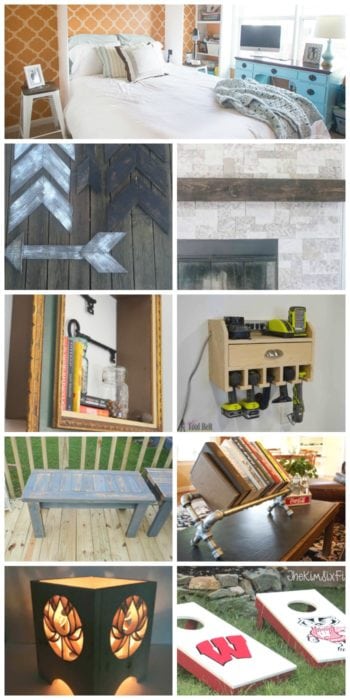
DIY Murphy BedThe DIY Village
Pallet Wood ArrowsDesigned Decor
DIY Rustic Fireplace Mantel Domestically Speaking
Repurposed Picture Frame Wall Shelves H2O Bungalow
Cordless Drill Charge StationHer Tool Belt
Simple 2×4 BenchMy Repurposed Life
Industrial Pipe BookshelfSweet Pea
Scroll Saw LanternJust The Woods
Cornhole Boards from Cabinet DoorsThe Kim Six Fix
Wooden Quilt Block Create And Babble
gail

I totally wanna work alongside you. What a riot that would be! I need to go reread this again VERY SLOW to let it sink in. I found a ton of old palette wood I need a good use for… hmm.. 🙂
Thanks for linking up to SNS!
Donna
Its really great that you can find ways to use old wood…saving so much money and still get to enjoy your hobby makeing useful items….your good. Trish
Great job Gail! Way to recycle! The color really is fantastic and the sanding is perfect!
PS The mouthwash tips are great!
Great reuse of those old boards. The bench looks so good. And the blue is so pretty!
Love it. That looks so cute.
Fabulous green project! And I love the color!
How am I ever supposed to remember all these great ideas you put on the bottom? I just called my daughter and told her that she needs listerine. She wanted to know how I could smell her breath over the phone. LOL
That’s definitely a great use for that old ,otherwise destined to landfill,wood. I love the blue! That’s a great job.
love the bench, and the way the blue paint looks! you’d think that bench had been around for years!
also love the lists of other uses for household items – although being a hair stylist i would recommend against using listerine in your hair! ph is too acidic, would not be good.
Nice job!
I love these! I want some!!!
Stopping back to say thank you for your kind words on my Alzheimer’s post.
Pam