Simple Wooden farmhouse Shutters for a Shed or Outbuilding
As an Amazon Associate, I earn from qualifying purchases.
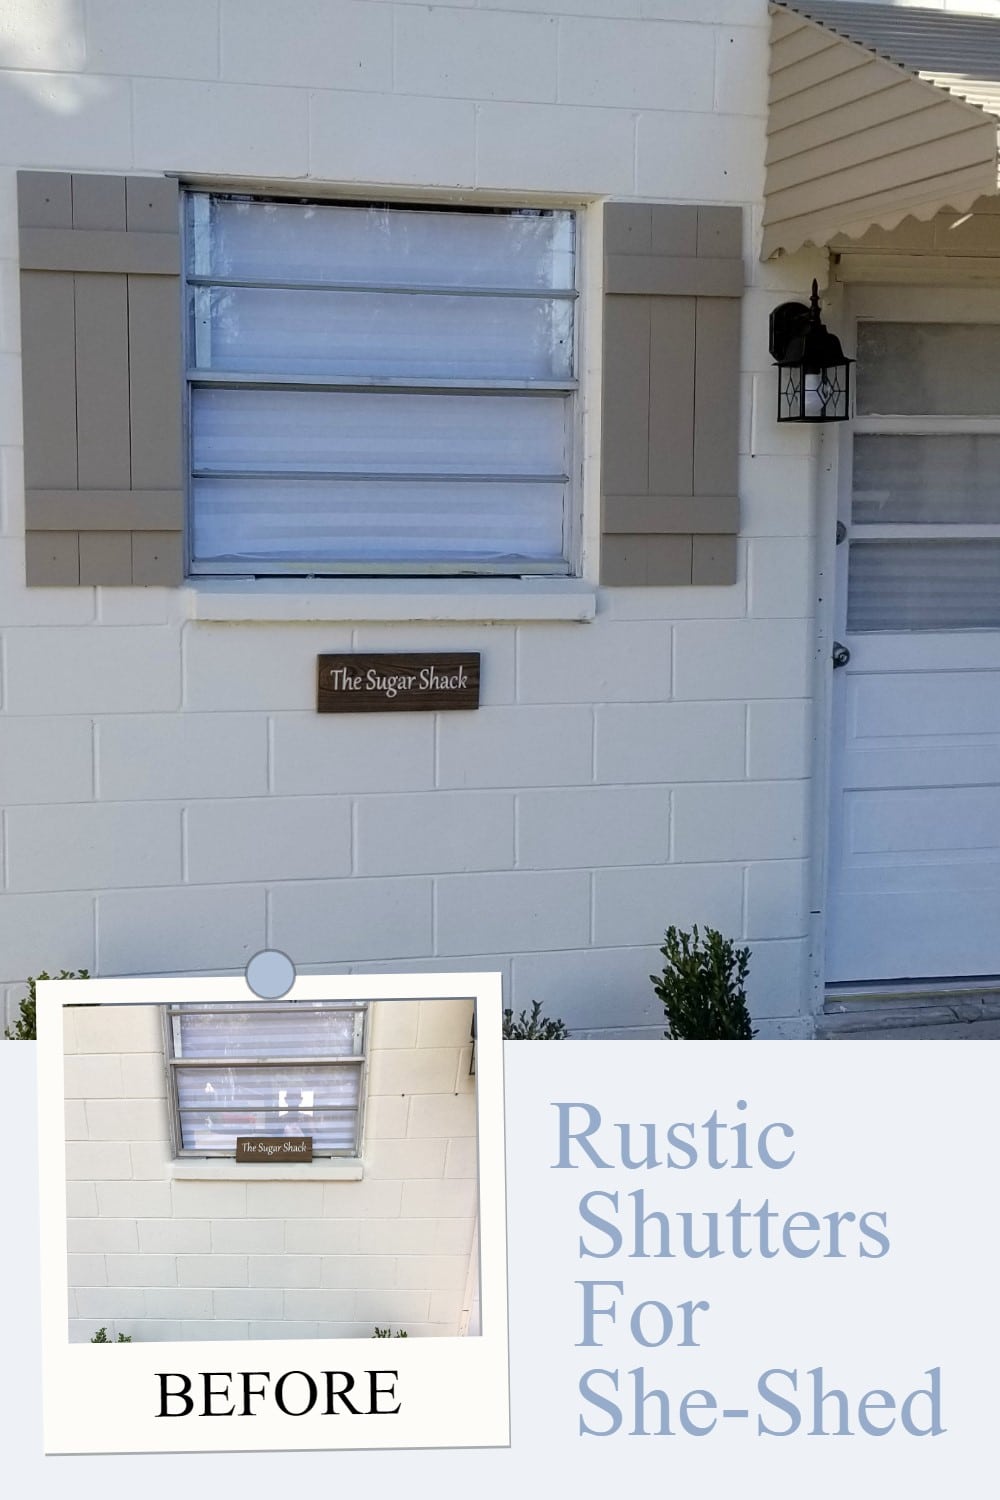
Are you familiar with my outbuilding, The Sugar Shack? While sprucing it up, my neighbor Rodney made some simple farmhouse shutters for the outbuilding. Likewise, you could also use these shutters on a she shed!
Luckily, this inexpensive and simple wooden farmhouse shutters project is a meager cost if you use fence boards. Better yet, use reclaimed lumber such as weathered fence boards or pallet boards for a no-cost option.
Wait! Are you looking for shutters to hang indoors?
Let’s see how easy it is to make these simple wooden shutters for a shed or outbuilding, shall we? Luckily, Rodney took pictures for me along the way.
Save and Share on Pinterest!
Visit the My Repurposed Life Amazon Store to shop my favorite items.
How to Use Fence Boards to Make Farmhouse Shutters

Rodney purchased several cedar fence boards for these simple wooden shutters. How many boards will you need? That depends on the width, length, and number of shutters you will make. Rodney made two small shutters for the outbuilding.
Cut Boards With Miter Saw

The first thing you will want to do is cut off the dog-eared section of each of your fence boards.

The length of your fence (wooden shutters) will depend on the size of your window. For this outbuilding, the wooden shutters needed to be about 36”. Measure, mark, and cut your boards.
Rip Wide Boards on a Table Saw

We felt like the fence boards were too wide to use their entire width on the cross boards and settled on about 3 1/2 inches wide. The cross boards were ripped on the table saw.
For these simple wooden shutters, two cross boards were used. Measuring the three fence boards that will become the shutter gives you the proper length measurement for cross boards that will hold the wooden shutters together.

These boards will make one pair of simple wooden farmhouse shutters.
How to Assemble your Farmhouse Shutters

My friend Rodney is somewhat of a perfectionist, me? Not so much! For instance, I would eyeball the screws, but he made a template so that all the screws would match on each wooden shutter.

Gorilla Wood Glue and Wood Screws were used in the building process.

How much wood glue is too much? I recommend that you add a little extra, especially on the uneven surface of the fence board shutters.

The far end of the cross board was place 5” from the top and bottom of the farmhouse shutter.

After marking the cross board with your template, pre-drill pilot holes for the wood screws.

You can secure the screws through the front of the wooden shutter for a farmhouse look, or through the back if you don’t want the screws exposed.
Simple DIY Farmhouse Shutters

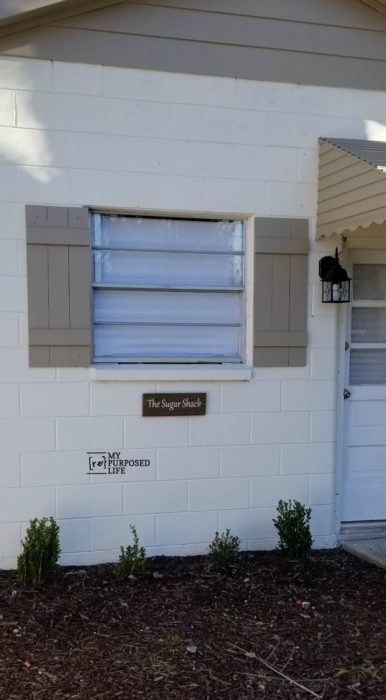
Voila! A perfect farmhouse simple wooden shutter for an outbuilding! Don’t you love it?

Aren’t the wooden farmhouse shutters so cute? This was such a simple project, but the bang for your buck is huge!
Not shown: the wooden shutters were painted to match the trim on the outbuilding. You can sand your boards before or after putting them together. On the other hand, for a rustic look, you may not want to sand them at all.
How to Install Farmhouse Shutters

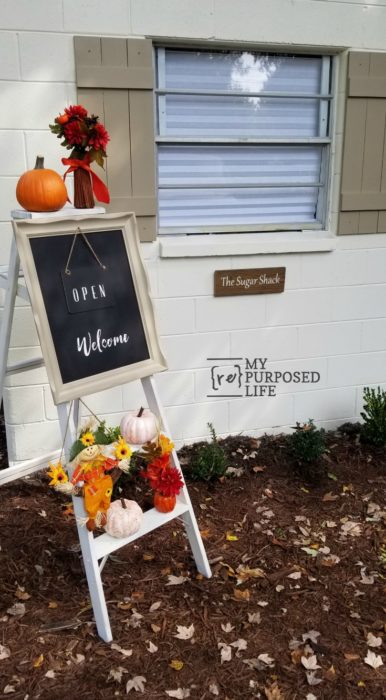
The Sugar Shack holds my finished projects that are ready to go to their new home!
Mark Placement Of Farmhouse Shutters

Are you wondering how to install the new farmhouse wooden shutters on your concrete outbuilding?
- Mark your shutters where you want your screws to rest.
- Drill pilot holes in the wood.
- Use a small masonry bit to drill through the larger pilot hole to mark where your screw hole will be.
Use Wooden Pegs

- Drill a pilot hole with a hammer drill and a masonry bit.
- Use scrap wood to make small pegs.
- Hammer pegs into hole. Yes, you can fit a square peg in a round hole!!!

Be sure to use exterior wood screws for installing your farmhouse shutters outdoors.

It’s always a good idea to start all of your screws on a project like this. By allowing the tip of the screw to protrude through the farmhouse shutters, it will easily find the pre-drilled hole or plug on the wall of your building.
Can you believe how easy this project is? These new wooden shutters totally change the look of this old outbuilding! You can see the framed chalkboard project by clicking that link.
Save & Share on Pinterest!
gail
related content:
Thanks!
I love the look of these type of shutters. Can they be used on a regular house?
Yes! You can use them on a regular house. You would just have to customize the size to the windows. 🙂
gail
Thank you for the tutorial, can you share the paint colors for the siding and shutters? It is a great combination!
The lady who owns the building purchased the paint. The next time I go over, I will see if she left the paint samples/cans in the building. She really stressed over the color selection, she’ll be pleased to hear you commented on it.
gail
Gail it looks so much better than the beginning. Have you sold much out of it, or is it mainly where you can store finished pieces? Granbaby 2 came In November. He’s gorgeous. Hope your holidays were wonderful
Jennie,
I know! Can you believe the difference in that old building? I haven’t listed much because things have been so hectic. I use marketplace and list a little here and there. But last week, someone came to buy a table and ended up buying two glazed ladder back chairs that I hadn’t listed yet. That was my hope. Just get ’em there. 🙂
Bonus! It’s the perfect place to store my finished pieces.
Yes, I remember you telling me #2 brought more joy to your family. My holidays were so wonderful. The only bad thing is I’ve been sick since the day after Christmas. All in my head, sinus stuff. Just can’t kick it. Worst part? I can’t hear a thing! Each day I hope that it will be better than the day before.
take care friend!!
gail