Updated Outbuilding for Furniture Projects
As an Amazon Associate, I earn from qualifying purchases.
I have exciting news. I’m going to show you how I updated an outbuilding for furniture projects! If you’re keeping track, I already have two garages, and a wood shed. But this small outbuilding is across the street from me, sitting neglected and unused. I’ll be able to store my finished furniture projects and more in this small one room building. When things are finished, sitting in my way, it hinders me from being my most productive self! This is a sponsored post from my friends at Homeright DIY .
*this post contains affiliate links, read more here*

This is the building that has fondly been called “The Sugar Shack” for years. My former neighbors used it for various purposes, but the apartments have changed hands and my friends have kindly let me take over the building. I agreed to do a lot of the work, including painting inside and out. I painted the inside of the building by hand. However, I wised up and painted the outside with my Super Finish Max. Please visit Homeright DIY for all my tips about using a paint sprayer to paint a concrete building. You won’t believe the “after”.
Updated Outbuilding For Furniture Projects

This is now! But it wasn’t always like this.
Difficult Painting Project

This is the updated outbuilding BEFORE any work was done on it. The front room use to be the living room/bedroom of an efficiency apartment. Through the doorway is a small kitchen and bathroom that have been gutted by the former owner. The walls are brown, the trim is pink and the doors are stippled paint of pink and blue.
Frustrating Painting Project

At this point, I was wondering what I got myself into.
 I had to roll the paint on, then use a brush to get into the mortar joints. The walls took 3 coats! Oh, did I mention there are no utilities on in the building? So I had no facilities or electricity.
Hard to Paint Cinder Block

The good news is, there are lots of windows for light and breezes!

Do you spy my little Lulu Mae? She always has to be near me. This is after the third coat and a lot of blood, sweat and tears.
How to paint a concrete floor to update an outbuilding

In order to paint the floor, I did a lot of prep work. I mopped the floors (and the walls) to remove years of nicotine. Then I swept, and used my leaf blower to get rid of all the dust and debris prior to painting.
I prefer to use small rollers for jobs like this because they waste less paint and are easier to manage.

Yay! It’s not perfect, but it’s better! The small former shutter fireplace screen is covering up a gas stove used for heat.
TIP: use waxed paper under items until paint has a chance to fully cure. I cut two small pieces of baseboard for the back wall which is some kind of thin paneling or plywood.
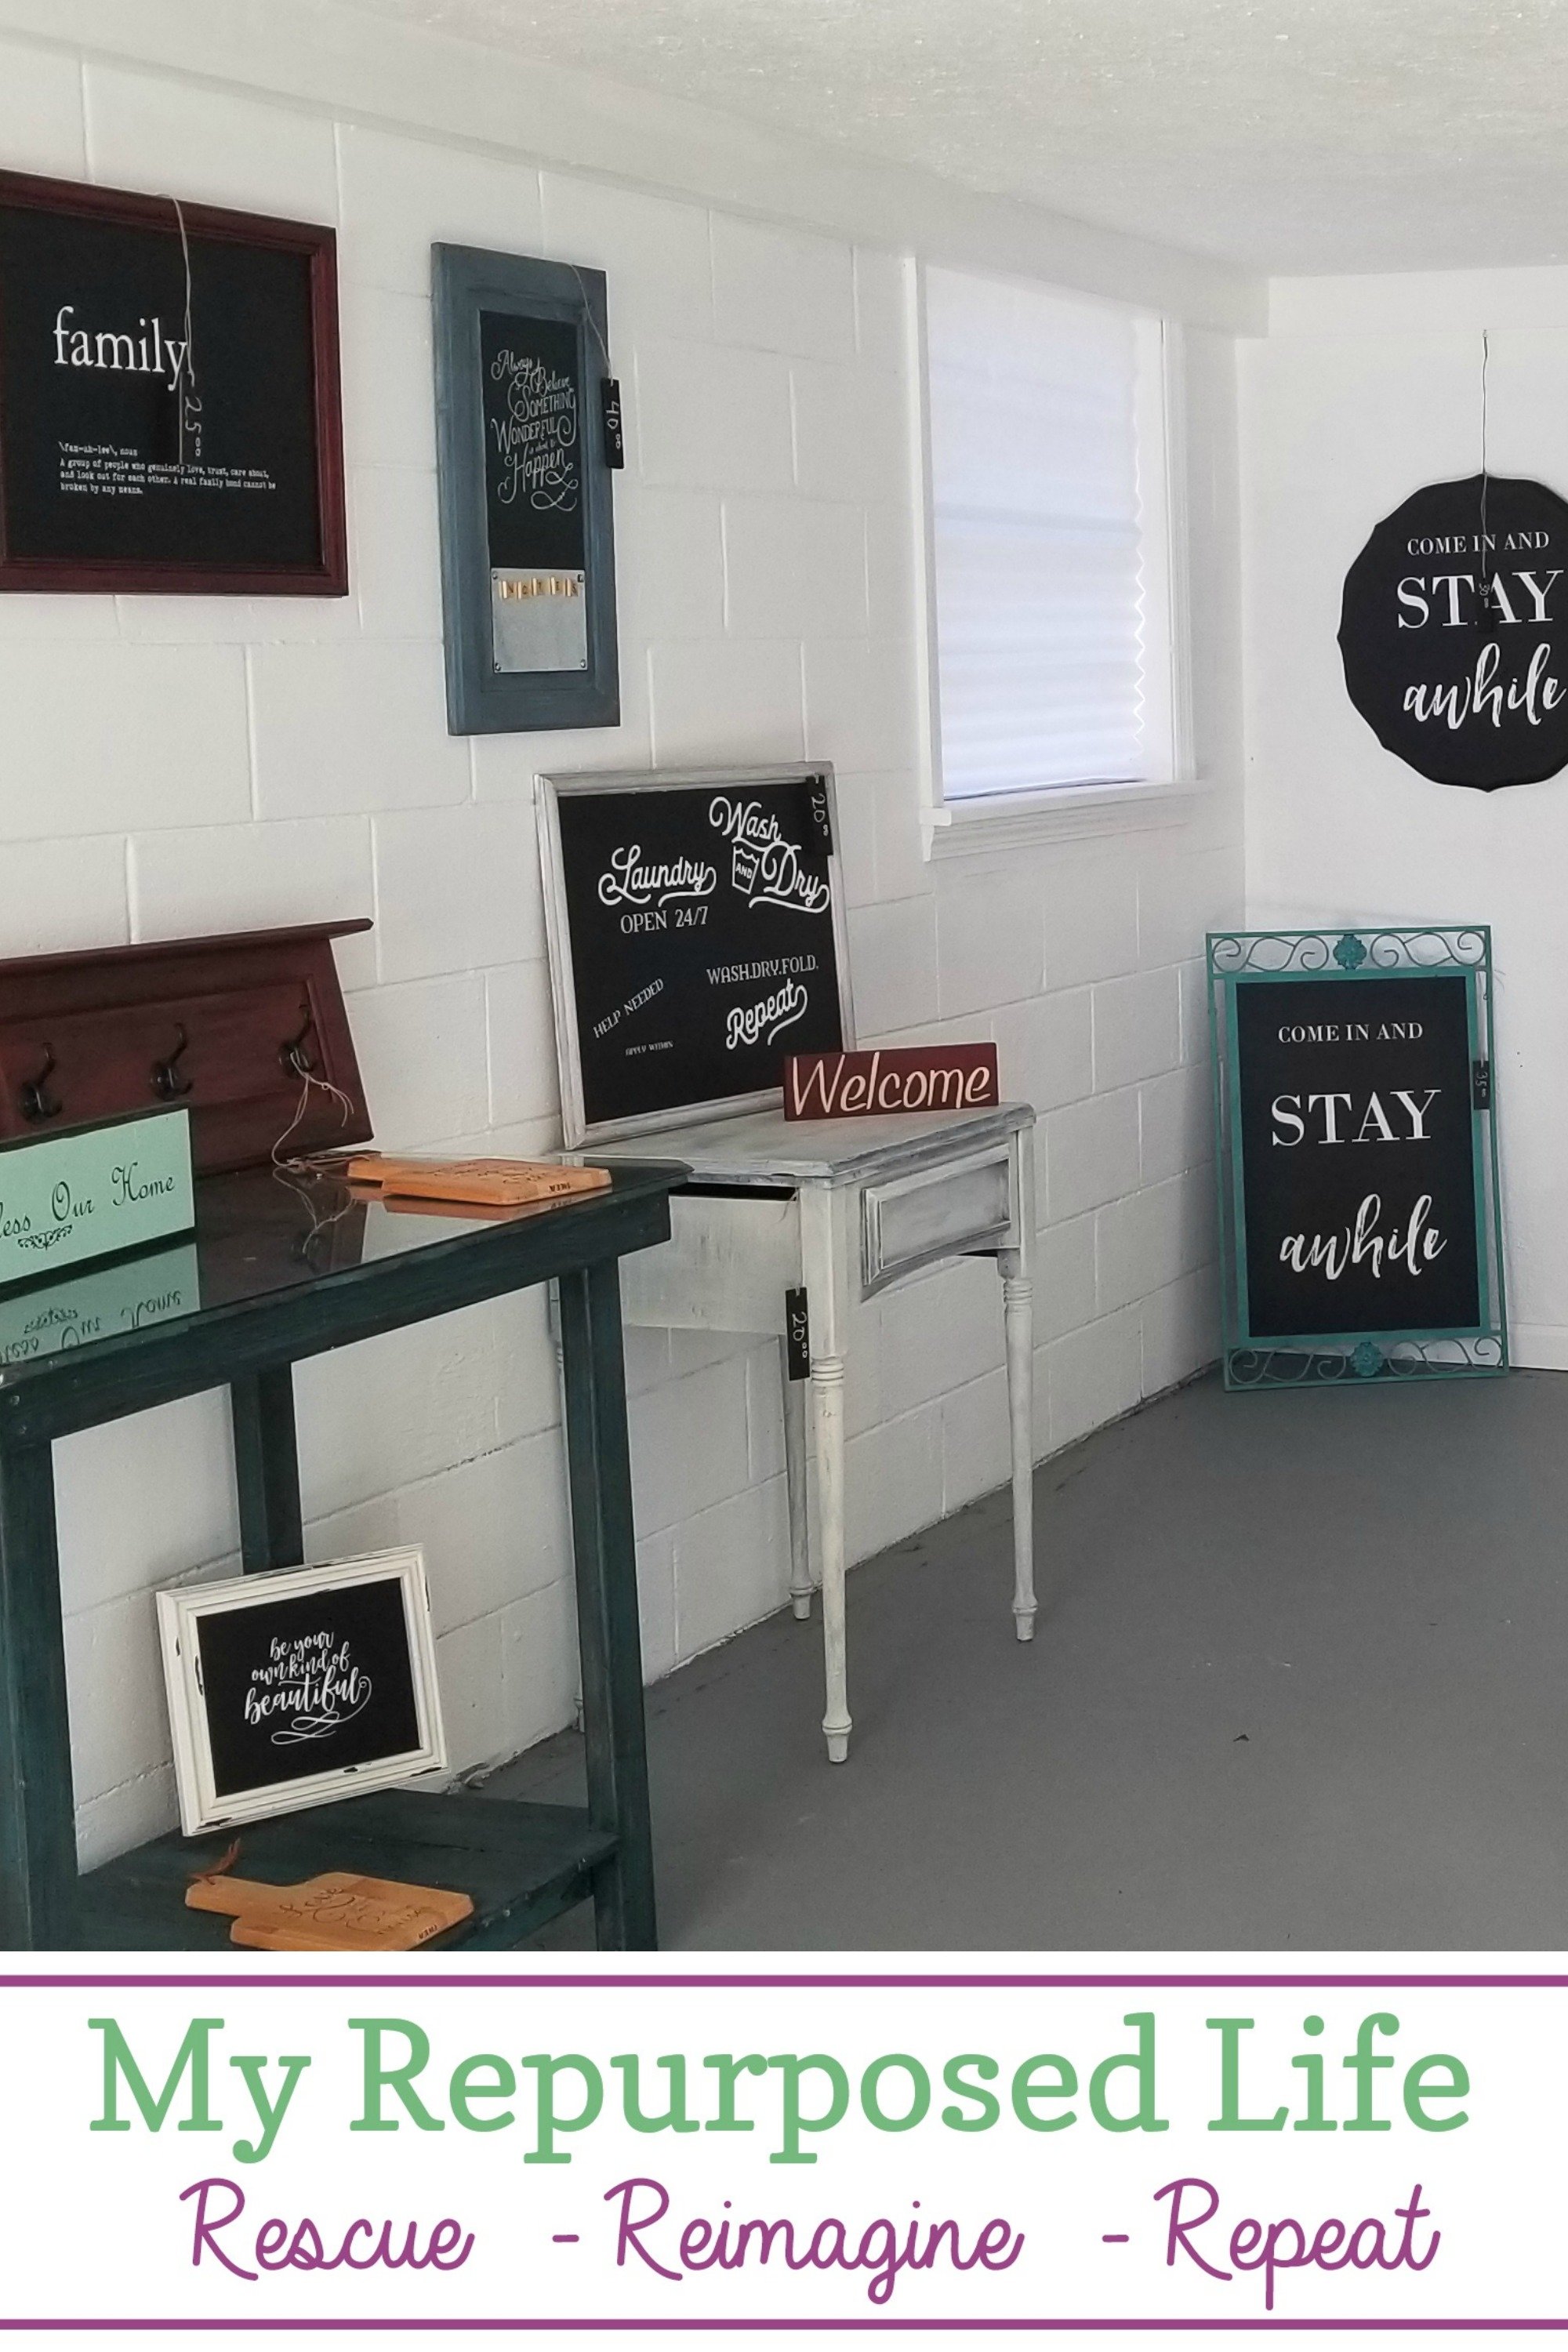
Using an Outbuilding to Display and Sell Furniture Projects
 I used paper blinds for the many windows and doors. The new owners had new light fixtures put up to replace the old ceiling fan. Just a reminder, there currently isn’t any electricity, so I really appreciate them updating the fixtures.
If you think the after of the inside is amazing—you have to see the after of the outside! You will be amazed at the difference and how easy it was to paint the cinder block building using my Super Finish Max. Believe me, you don’t want to miss this!

Did you notice the stove is gone? I’m so happy they have stored it in another building. It use to be where the side table/pet bed is on the right. Eventually, I’ll be listing my items on Facebook Marketplace and craigslist. Finally, these items are out of my way allowing me to start being more productive.
Putting the items in The Sugar Shack was a quick task yesterday after I got home from my latest camping trip. I’ll be adding more items and decor later this week.
I’d love to hear your comments, ideas and suggestions on how to improve my new “space”.
gail
How lucky you are, and what a great use for the space! It looks great—your hard work is paying off! My husband had a similar idea for one section of a farm-type shelter we enclosed. (It has 3 sections: a workshop, a storage area, and a “showroom.”) (ahem) But…of course, we managed to fill it right up and it is still filled up after a few years. Your “Sugar Shack” has inspired me to work on our space and actually use it like you are! Thanks for the inspiration!
Wow! Gail, I am always so inspired by you! Truly you are my DIY hero and inspiration. The “sugar shack” looks amazing and I can’t wait to see the outside. What a wonderful space you have created!
Love the tips on painting the concrete floors, thank you!
Thank you so much Karen! Coming from you, that means a lot!!!
I’m so happy The Sugar Shack is so close to home, it makes it so much easier to stock.
I’m always happy to share my tips and what works for me to make it easier on my friends.
gail
Well I want to see the outside so… I’ll be back. And Ahhhnold expects to see a sign hanging somewhere that says Sugar Shack, although maybe not outside in case past people who used the place for “various purposes” come back.
hahah You always make me smile Bliss. I did make a sign, and it’s hanging outside. The building has no address, so there needs to be a way of identifying the building if someone needs to stop by. 🙂
I hope you checked out the outside of the building. It looks soooo awesome. I’m so proud of how well it turned out. I have officially filled up the building with lots of finished projects.
gail
That was A LOT of work! Which white paint did you use? It looks so clean and bright. Great job!
I used Behr white base untinted. Just out of the can the way the base comes. My goal was to make it look cleaner and brighter, so I really appreciate your comment. It seems I did both! 🙂
Yes, it was a lot of work. Luckily I have a battery operated fan, that was very helpful!
Thanks Lizzy!
gail
It’s wonderful, looks so much better. People will be able to see the item in a room to buy it. Sort of a cute little shop. Did you prime the walls first so the blocks wouldn’t absorb the paint. You might try listing item on offer up. I’ve had very good luck on there
I think I like it so much better than a booth. Being so close to home it will be easy to load new items as they become finished. I didn’t prime the walls. I took a full gallon of brick/stucco paint, then the third coat was done with regular wall paint.
I’ve never used offer up as a buyer or seller… I’ll look into it.
gail
It’s so lovely. ❤️
Thank you Tiffany!!!
What a deal! There is so much space for your furniture. Can’t wait to see the redone outside! Such a score!!
yes! I’ve been wanting to do this for so long…but no building has worked out until now.
I feel really blessed! Hoping it works out really well.
gail
looks great!
Thank you Nova! I’m so happy this all came together. It’s a win/win for everyone.
gail
What an awesome idea Gail! The inside is so beautiful I can’t wait to see the outside!
Well, in all honesty, the inside could use a floor and baseboard. But I’m hoping the furniture will be pretty enough so people won’t notice. 😉
gail