DIY Shadow Box Frame
As an Amazon Associate, I earn from qualifying purchases.
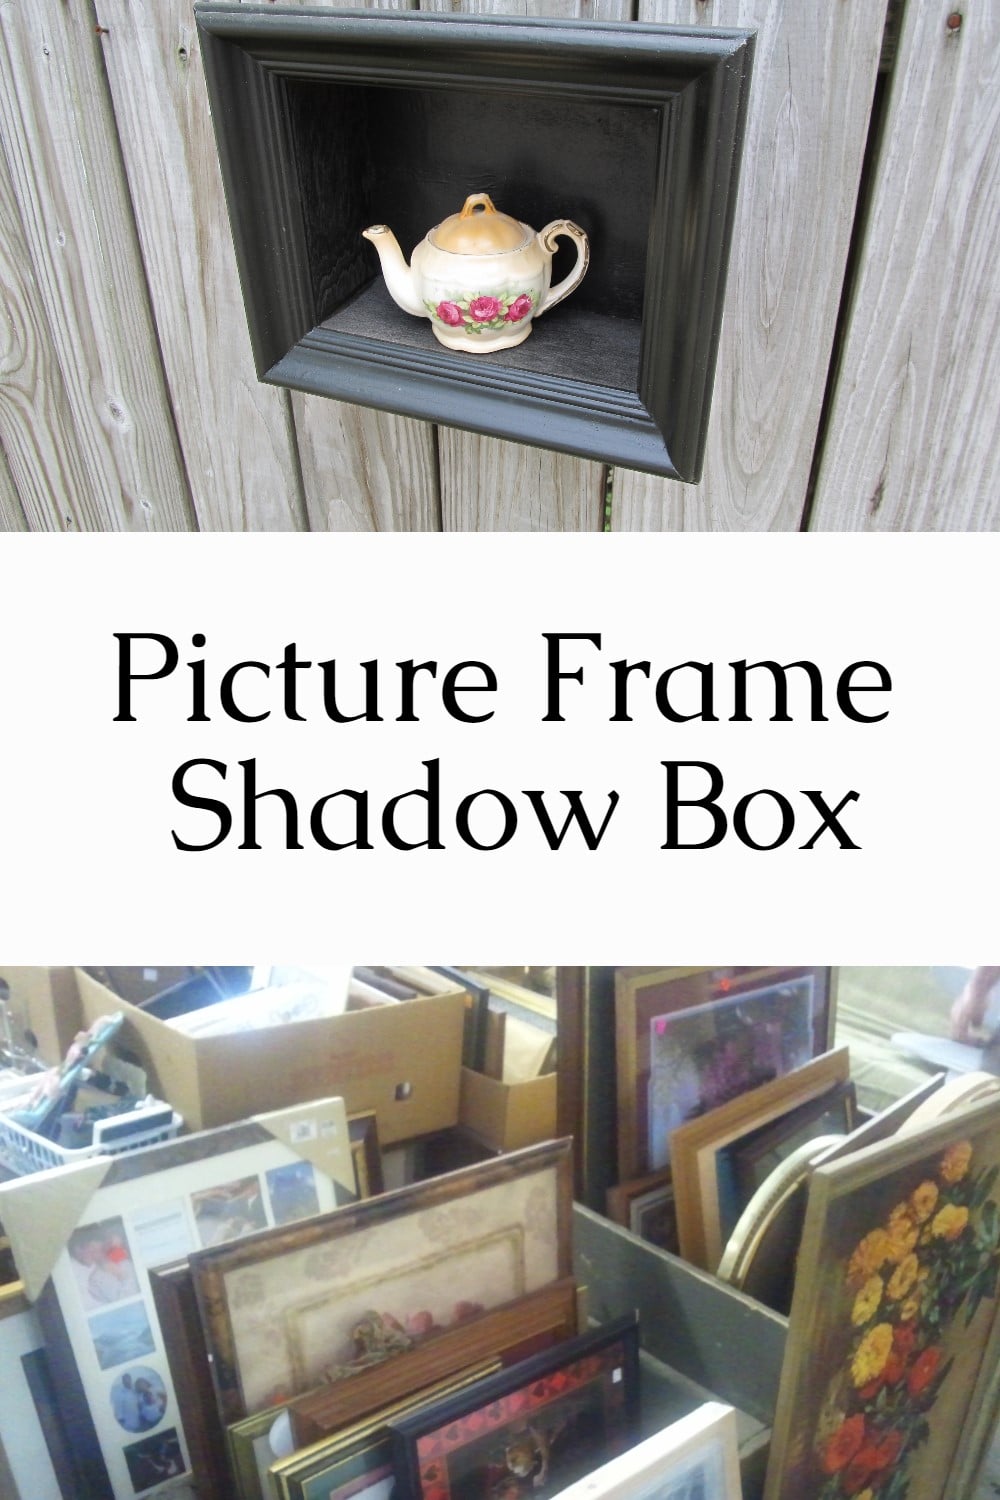
Hi, I’m Gail from My Repurposed Life, and I love giving new life to old treasures! This small black shadow box started as a simple thrift store find, but with creativity and paint, it became the perfect display piece for keepsakes and collectibles. You’ll love this transformation if you enjoy easy, budget-friendly DIY projects that add charm to your home. Let me show you how I did it!
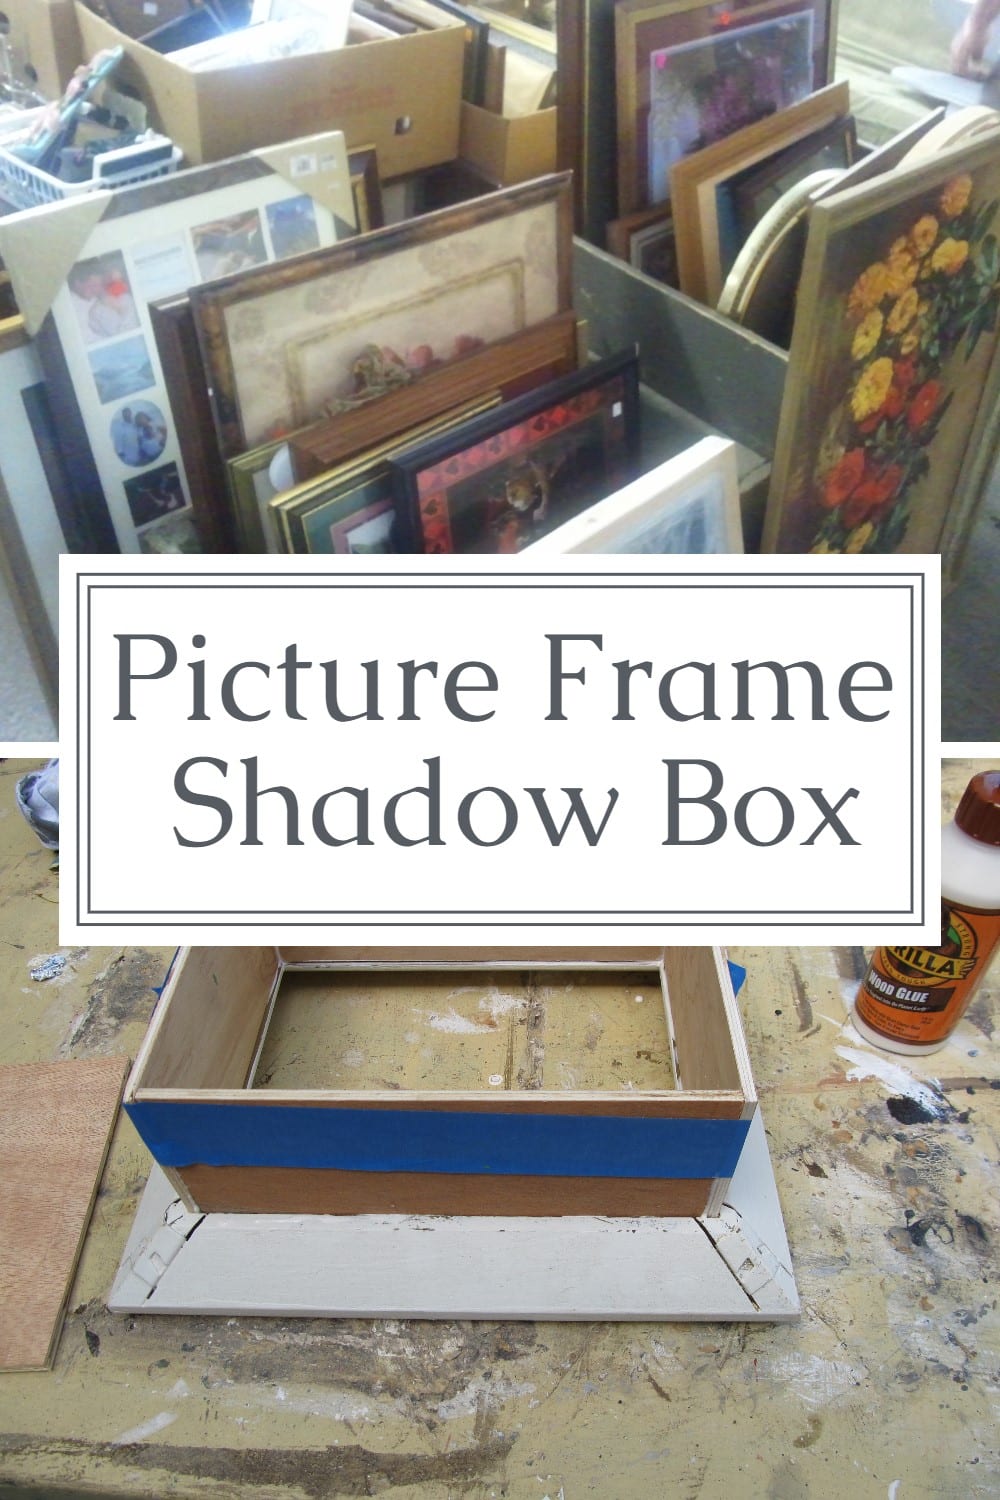
Thrift Store Picture Frames
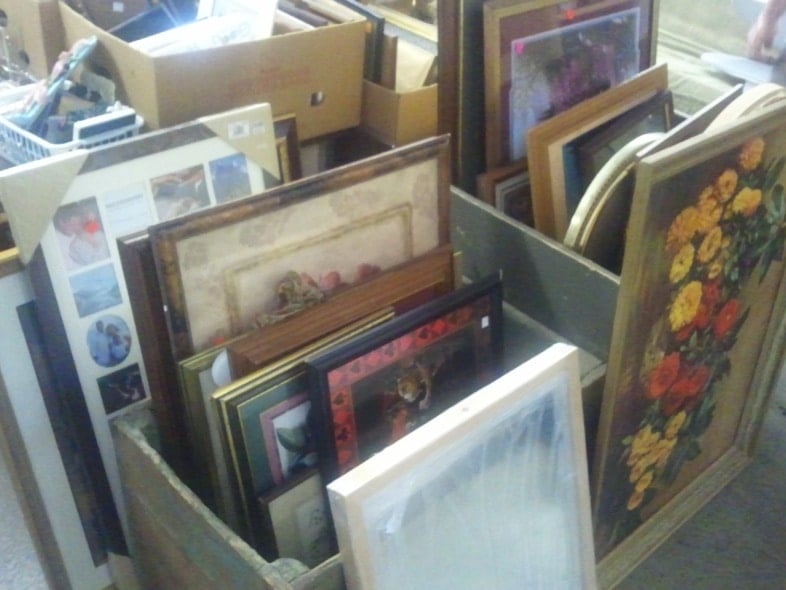
Picture frames are readily available at yard sales and thrift stores cheaply!
Over the 15 years I’ve been repurposing, I’ve made several large shadow boxes. While looking for a quickie project, I rummaged through my stash of picture frames. Luckily, I found one I thought would work for a diy shadow box frame.

Isn’t the small black shadow box frame adorable? Let’s see how easy it is to make.
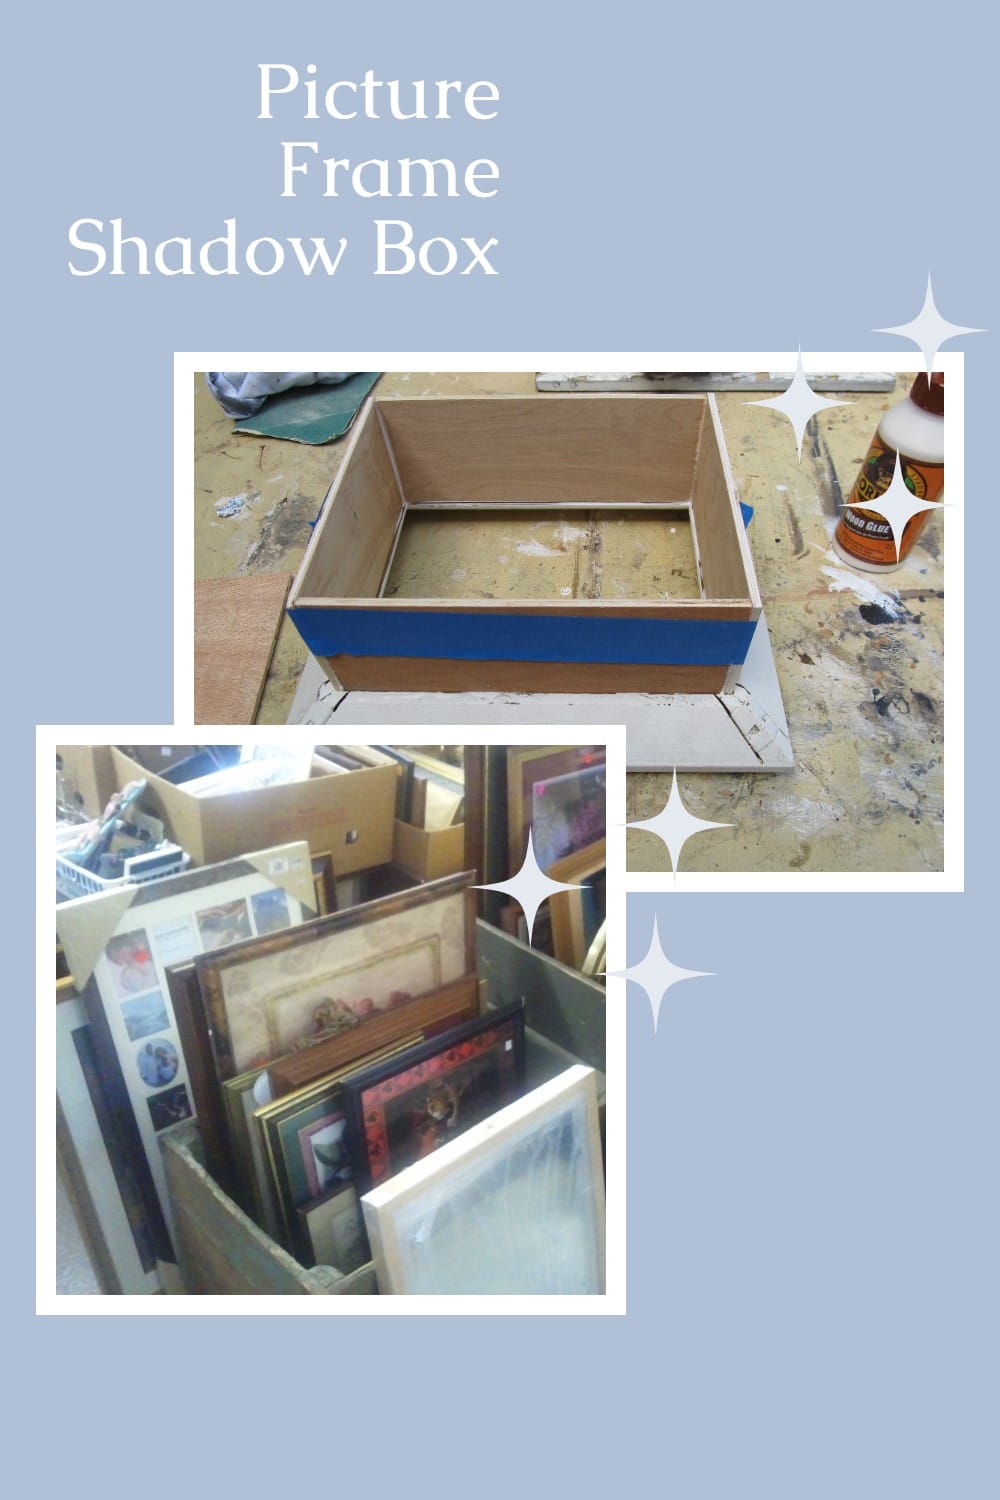
Use Small Hobby Boards
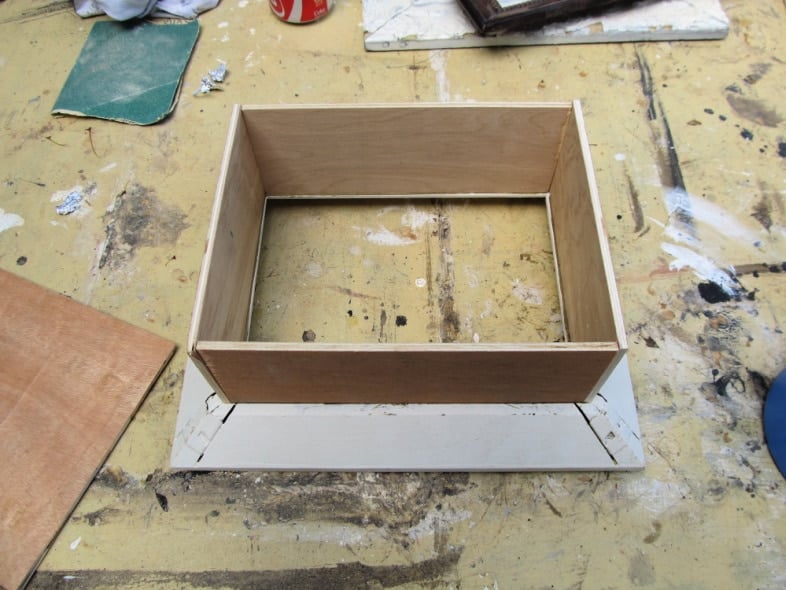
I cut some shallow pieces of scrap luan to make the sides and the back. You can use those hobby pieces they sell at the craft store to fit your picture frame.
Wood Glue | No Nails Needed
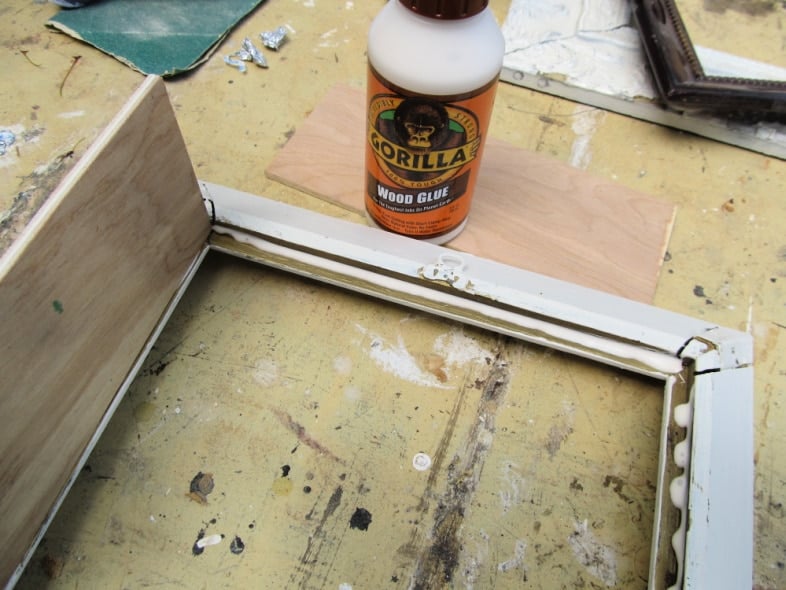
Because this will be a small shadow box, I knew Gorilla Glue was tough enough for the job. No nails needed! I applied the wood glue around the picture frame’s edges.
Painter’s Tape Replaces Clamps
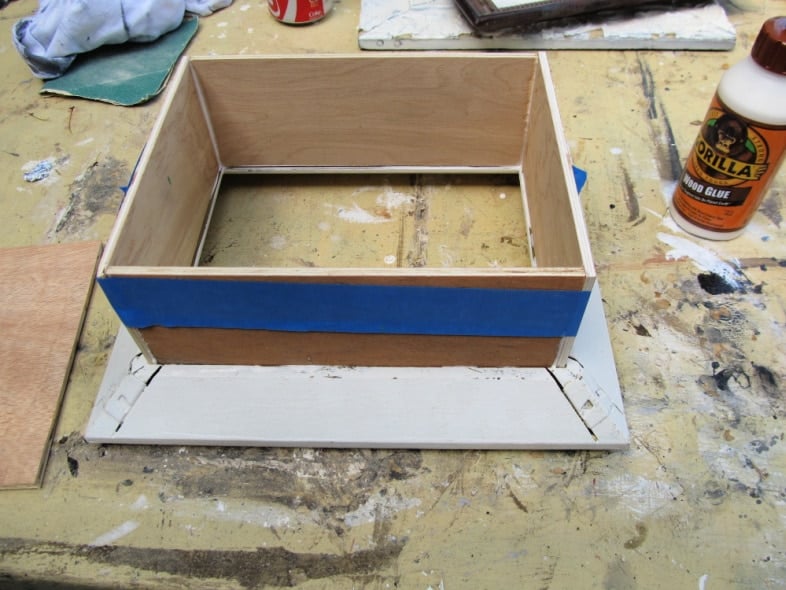
I used Scotch Blue painter’s tape to hold everything together while the glue was setting up. This worked well in place of clamps.
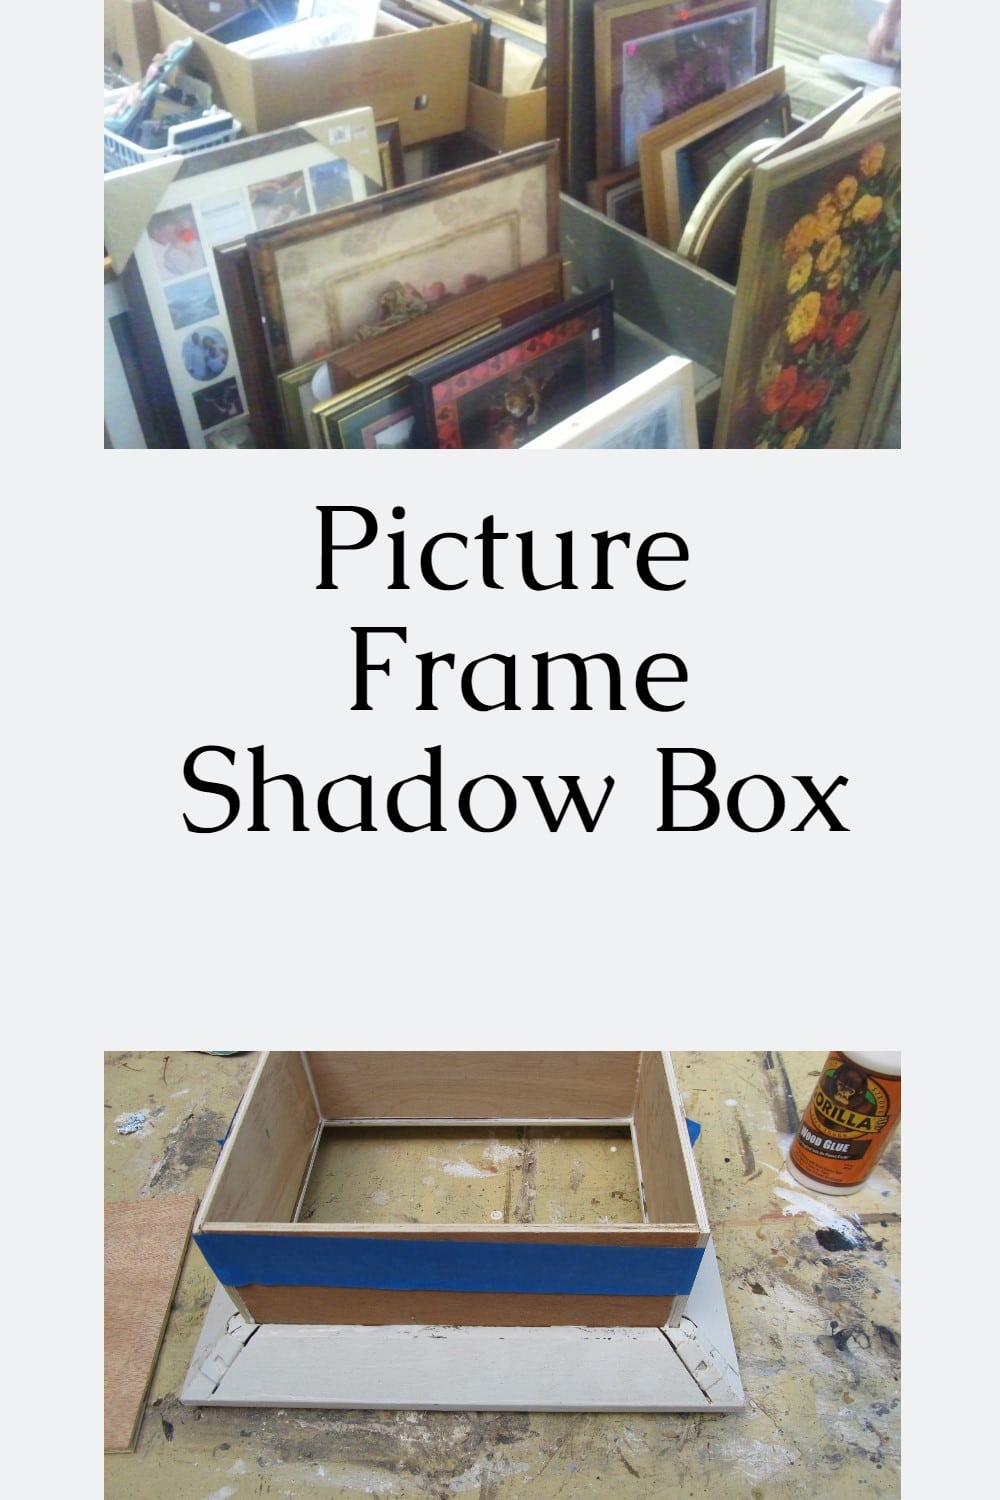
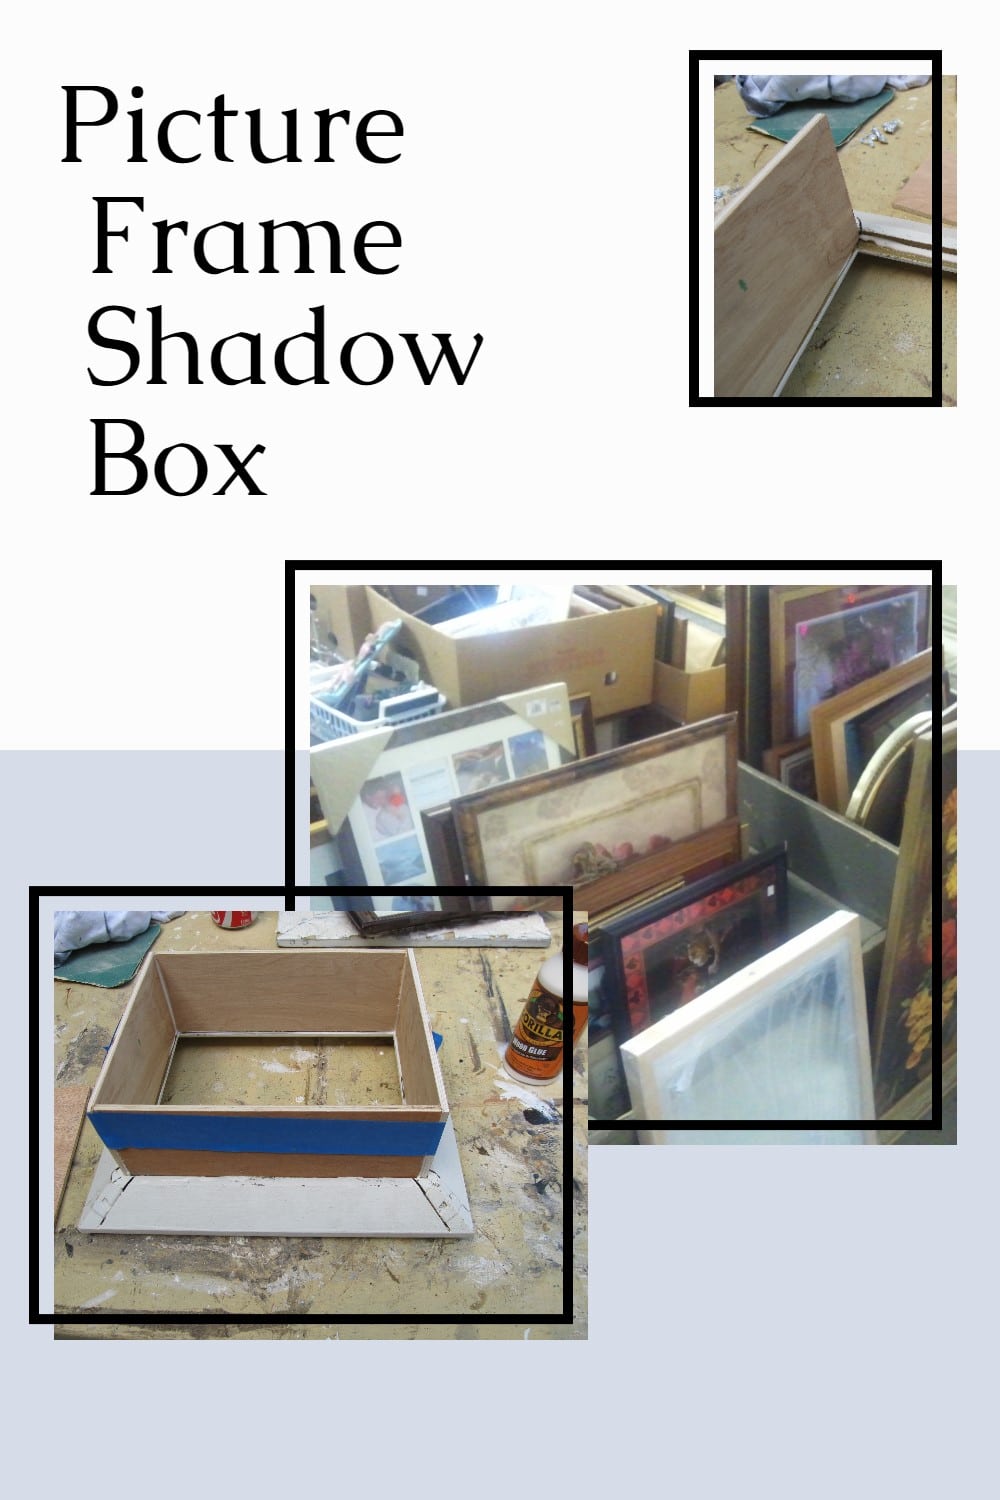
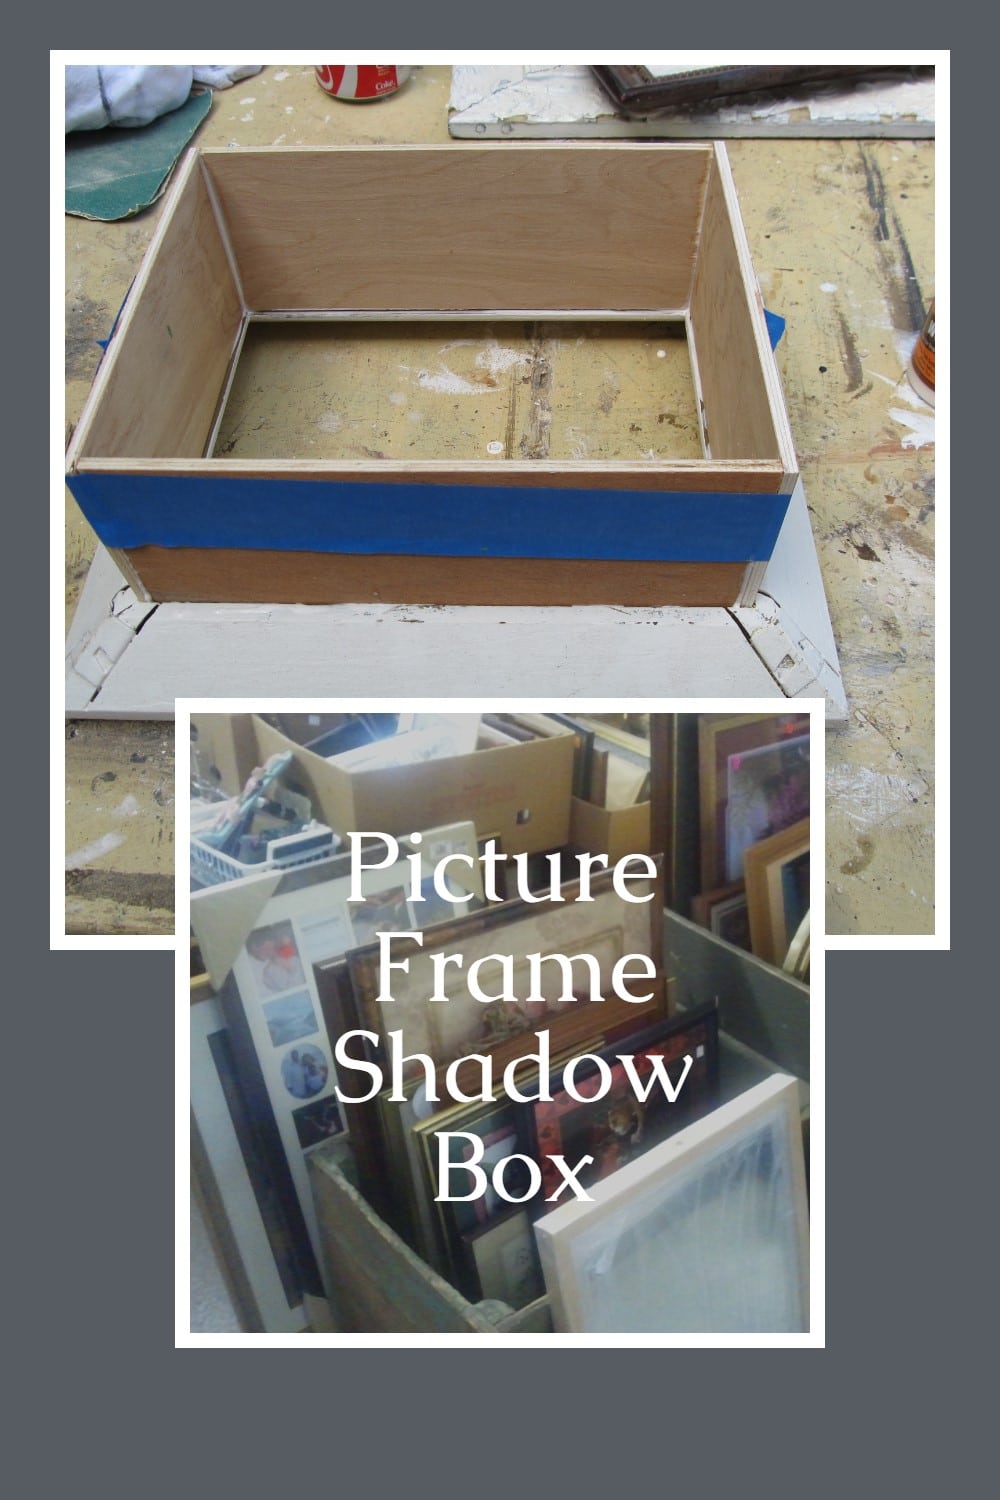
Add a Back to The Shadow Box
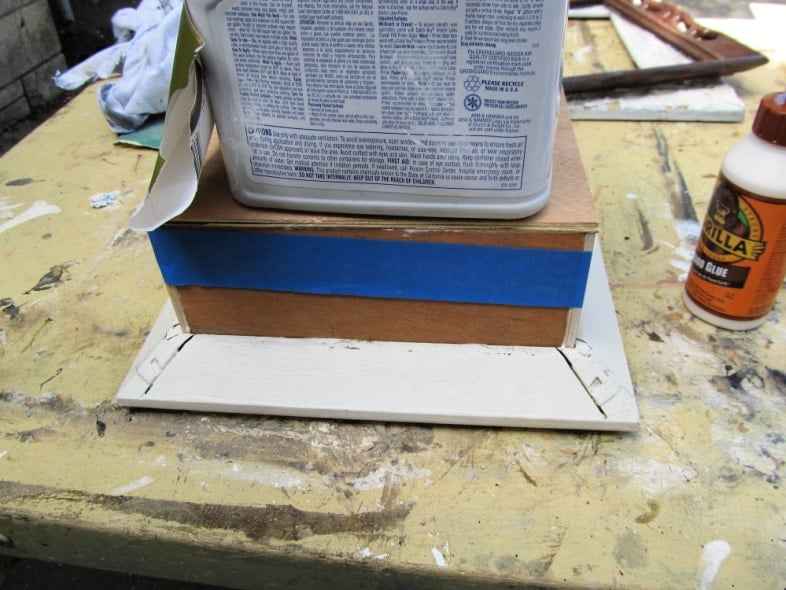
I used a bucket of paint to weigh down the back while the glue was setting up.
Paint Several Projects at Once

You can see the small shadow box in the back left corner. I like to spray several pieces while I have the Finish Max out.
Saw Tooth Hangers
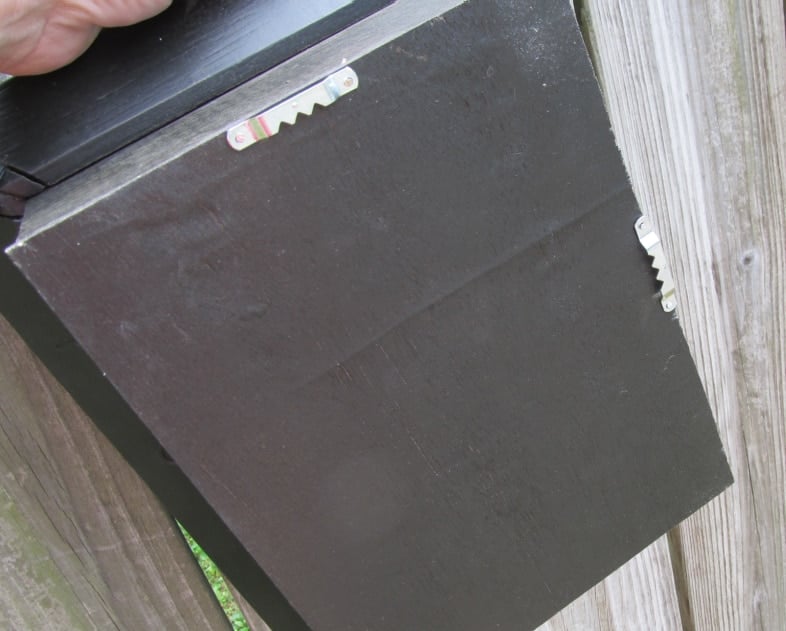
For these kinds of lightweight projects, I use sawtooth hangers. I used two on this project, which allows this shadow box frame to hang vertically or horizontally. On heavier pieces, I use d rings.
Hang the Shadow Box Horizontally or Vertically

I quickly staged it with a couple of items.
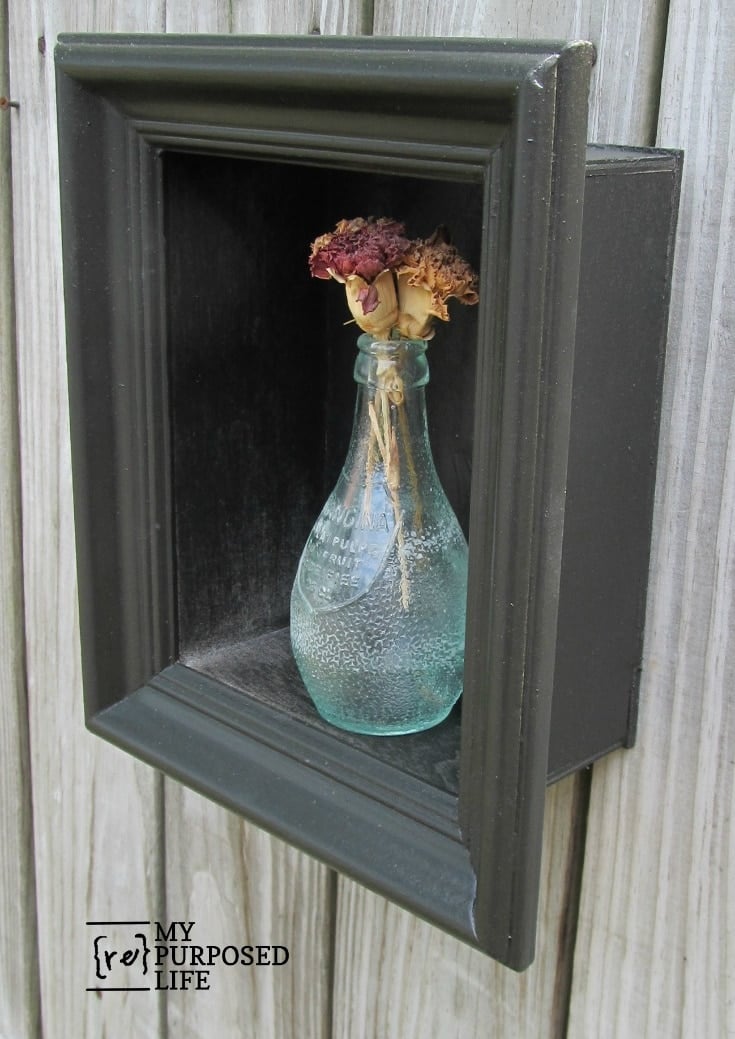
You can see that it is just deep enough.
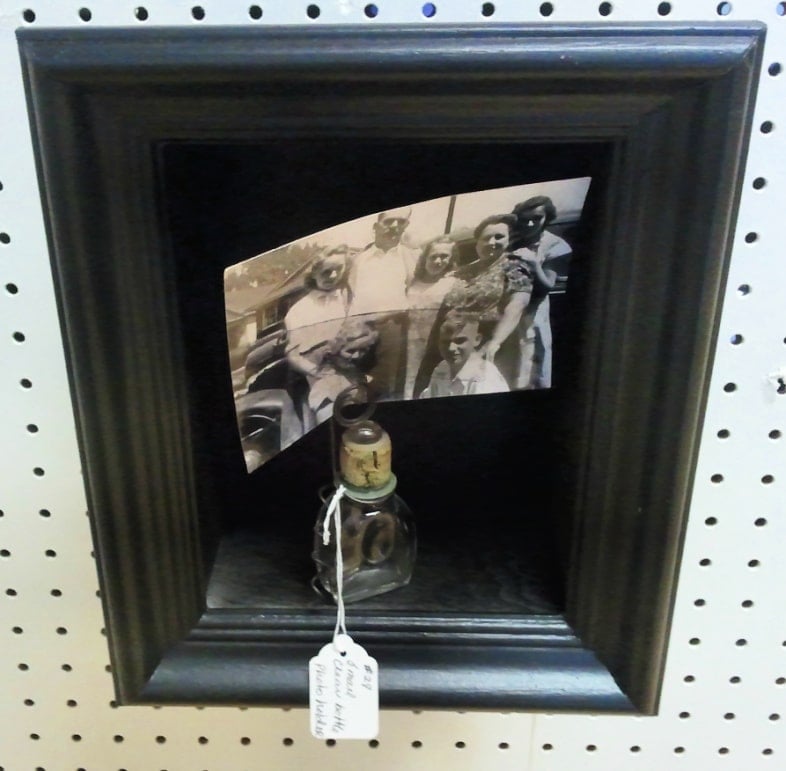
It is displayed here in my booth at Unique Creations. I love that photo holder. It’s been there for a long time. I should bring it home. It’s fun to make curly wire photo holders out of random objects.
Maybe it’s time to make another shadow box from an old picture frame! It’s fun and easy!
If you don’t want to MAKE a shadow box frame, you could use a drawer for the box like I did here, in this Repurposed Drawer Display
gail
Related Content: Picture Frame Ideas For Home Decor and More
Read more about Gail Wilson | My Repurposed Life
awesome! the thrift store has frames as low as 50 cents!
This is a great tutorial! Thanks so very much for sharing it over on Show & Tell at SNAP!
xoxo, Tauni
Featured this at the party this morning! Thanks Gail!
What a great shadow box! And I appreciate the tutorial. You make it sound so do-able! And that photo holder is really sweet too!
What a fabulous project! And no nails! It’s time to go through my stash of frames to find one perfect for this. Thanks for the great idea!
Love that you didn’t even have to use nails! Never would have thought to get away with just glue. Perfect!
Brilliant!!! ……and beautiful too!