Small DIY Drawers
As an Amazon Associate, I earn from qualifying purchases.
I recently bought a couple of windows at Tickled Pink. I have always wanted to make a tall window cupboard. The last time I set out to make one, I changed the plan and ended up doing a side by side window cupboard. I purposely chose these two windows to make another cupboard, but a TALL one.
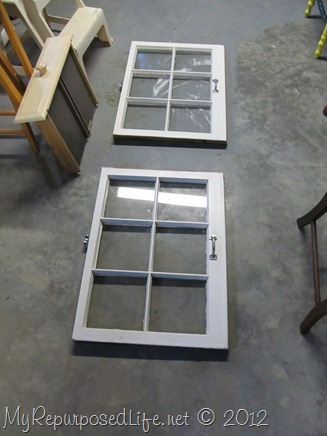 Do you see the drawer on the left? It is from the desk that I repurposed into my kitchen island.
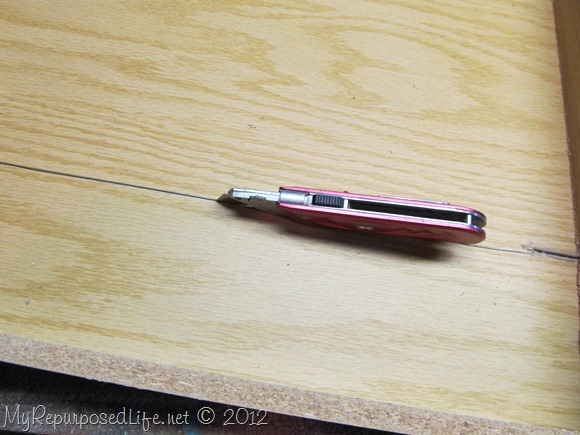 It was too deep for the cupboard I’m making so I cut it down.
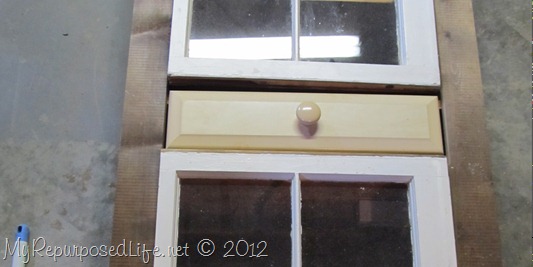 But, when I put it in the “mock up” I didn’t like how it looked. It was just a hair shy of being wide enough to suit the windows.
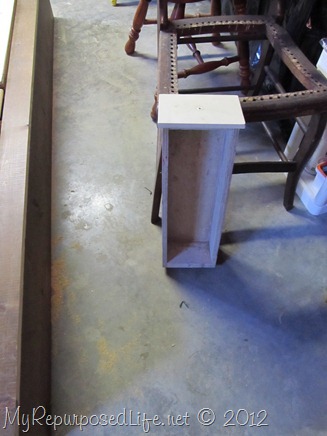 I went looking for other options. I found a LOT of options actually but nothing was working as I wanted it to.
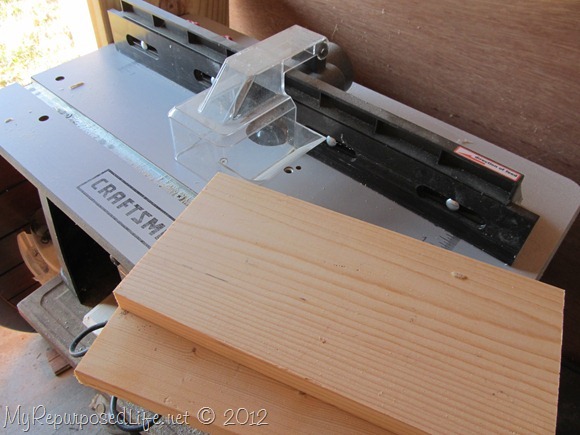 I opted to make two small diy drawers myself. I used some scrap 1×10’s, cutting them to length.
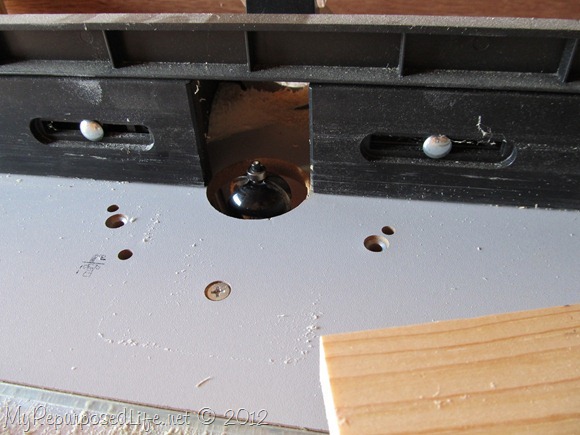 I then used my router to give them some detail.
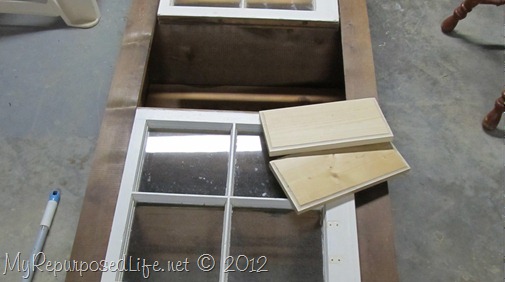 Here you can see them on my “mock up”.
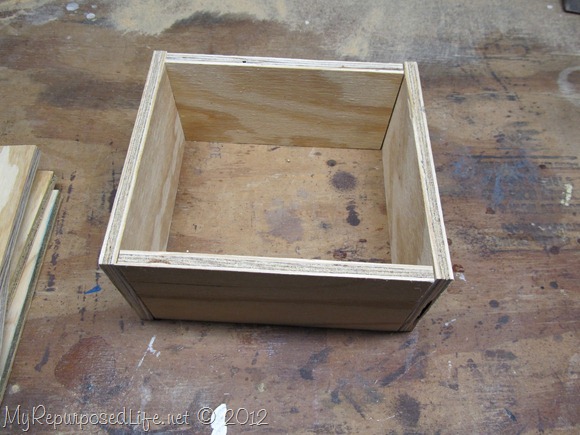 I used some 1/2 inch plywood scraps to make the box of my drawer.
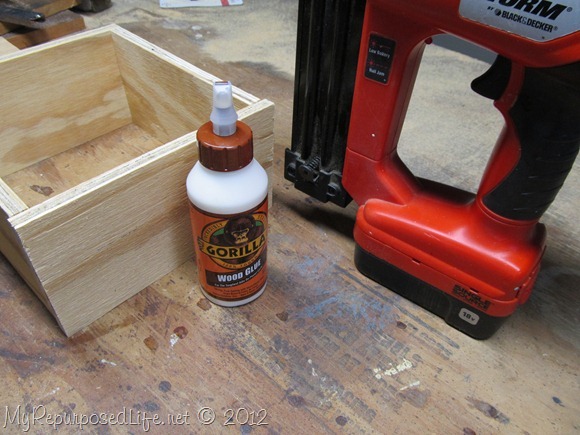 To secure the drawer I used favorite–Gorilla Wood Glue and my nail gun.
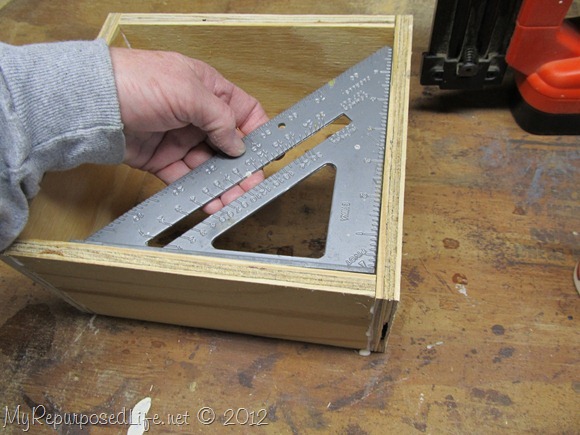 Using the speed square to make sure it’s “square”.
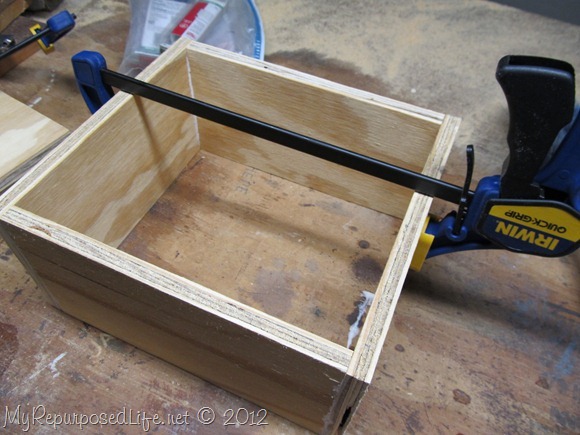 Clamped it so that I could shoot the nails. I then attached the bottom piece of Luan. (not shown)
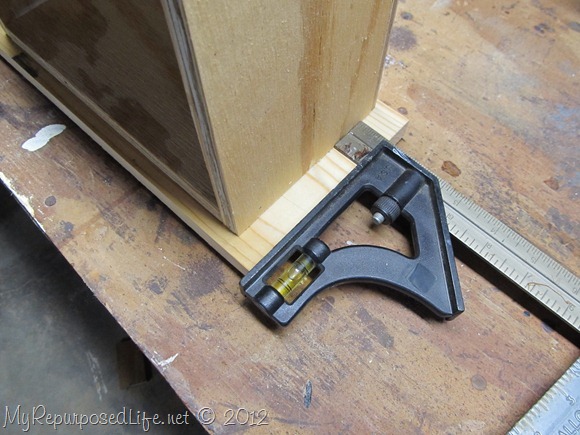 Measuring to make sure the same distance is on both sides and top and bottom.
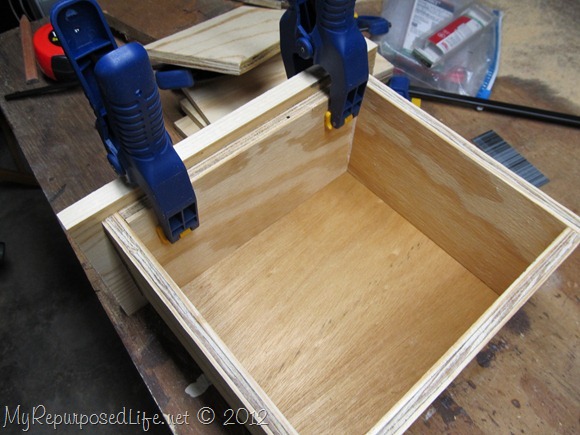 I glued/clamped and shot a couple of nails to hold the drawer front onto the drawer.
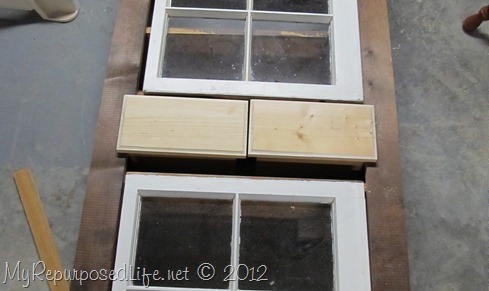 Doing a dry fit to make sure they are going to work.
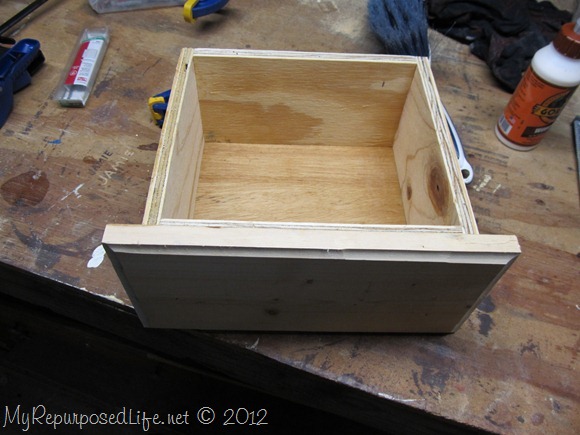 There you have it, a homemade drawer.
 ![]() Do you see Jamie’s name carved into the workbench? Years and years ago, her dad made some wooden plaques, and he practiced her name right on the bench. I’m sure you’ll be seeing that a lot in future pics.
Do you see Jamie’s name carved into the workbench? Years and years ago, her dad made some wooden plaques, and he practiced her name right on the bench. I’m sure you’ll be seeing that a lot in future pics.
I also worked on mounting my new saw to a rolling cabinet.
It will be a long drawn out process of building this cupboard. I’m having some difficulty deciding the placement of the shelves, facing, drawers, etc.
gail
ps drop by later today to find out who won the Empire Patio Cover Giveaway of $100!


What a great idea for the windows! I have two that I was gifted – different sizes so I’m thrilled to see actual projects to get ideas. I wish mine were the same size.
Your fearlessness in building is an inspiration to me! Can’t wait to see what you do.
You’re amazing! And that cabinet is going to look amazing, too.
Cant wait to see the finish.. I know itll be great.
Wow! I wish I lived closer to you. I could sure learn alot. You are one talented girl!
Can’t wait to see the cabinet all finished!
Thanks for stopping by my blog! I’m glad it was able to help you remember the words to a song. I am impressed by the focus and execution of your repurposing blog. It takes more time and energy to create a tutorial than one might think. –Farida
you never cease to amaze!
Gail, like I have said, you are ONE talented lady! Can’t wait to see what you turn out this yr.
Can’t wait to see the outcome…great job on the drawers so far!
Hmmmmm, my miter saw just sits on the end of a 6-foot table…never thought of mounting it to anything! Great idea of putting it on wheels!
I’m really liking this! Can’t wait to see the process unfold. I too am making a rolling cart for my router table! Good luck!
Holly
Great job so far!
~Mrs. Delightful
ourdelightfulhome.blogspot.com
Great thinking to make your own drawer to fit the space! I probably would have just made a bigger front to the existing drawer so it looks like it’s the right size. But then again, I’m terribly lazy! 😉
This cabinet is going to be so great!
Great Post! Love all the pictures. I have that same pink box cutter.
I attached my Miter saw to a old sewing table but it don’t have wheels.
Sharon