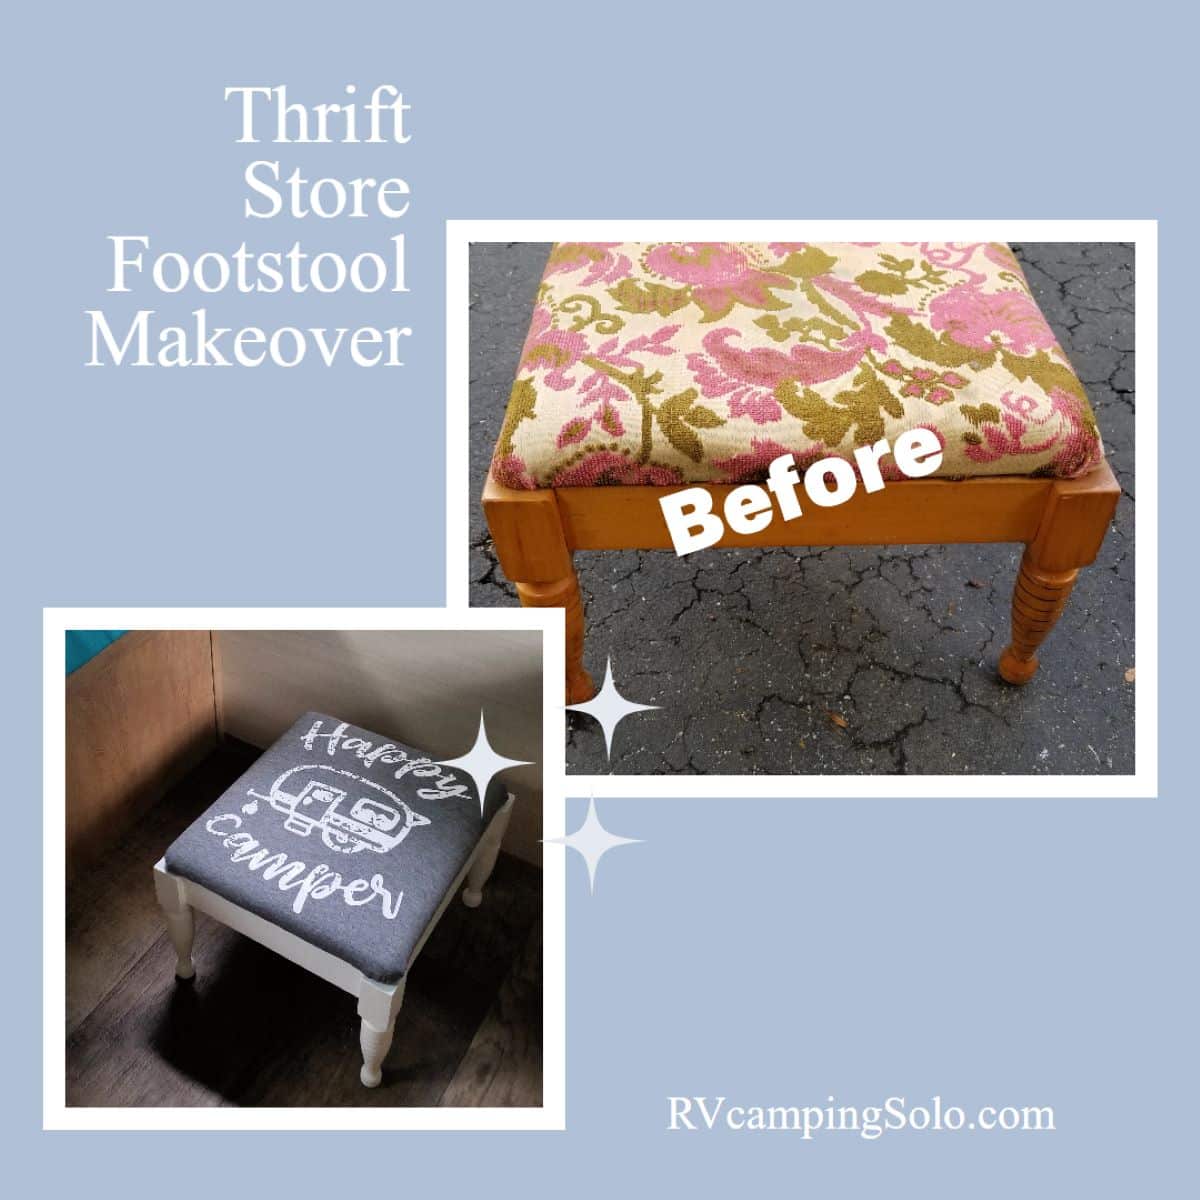
Small Footstool Makeover For Camper
As an Amazon Associate, I earn from qualifying purchases.
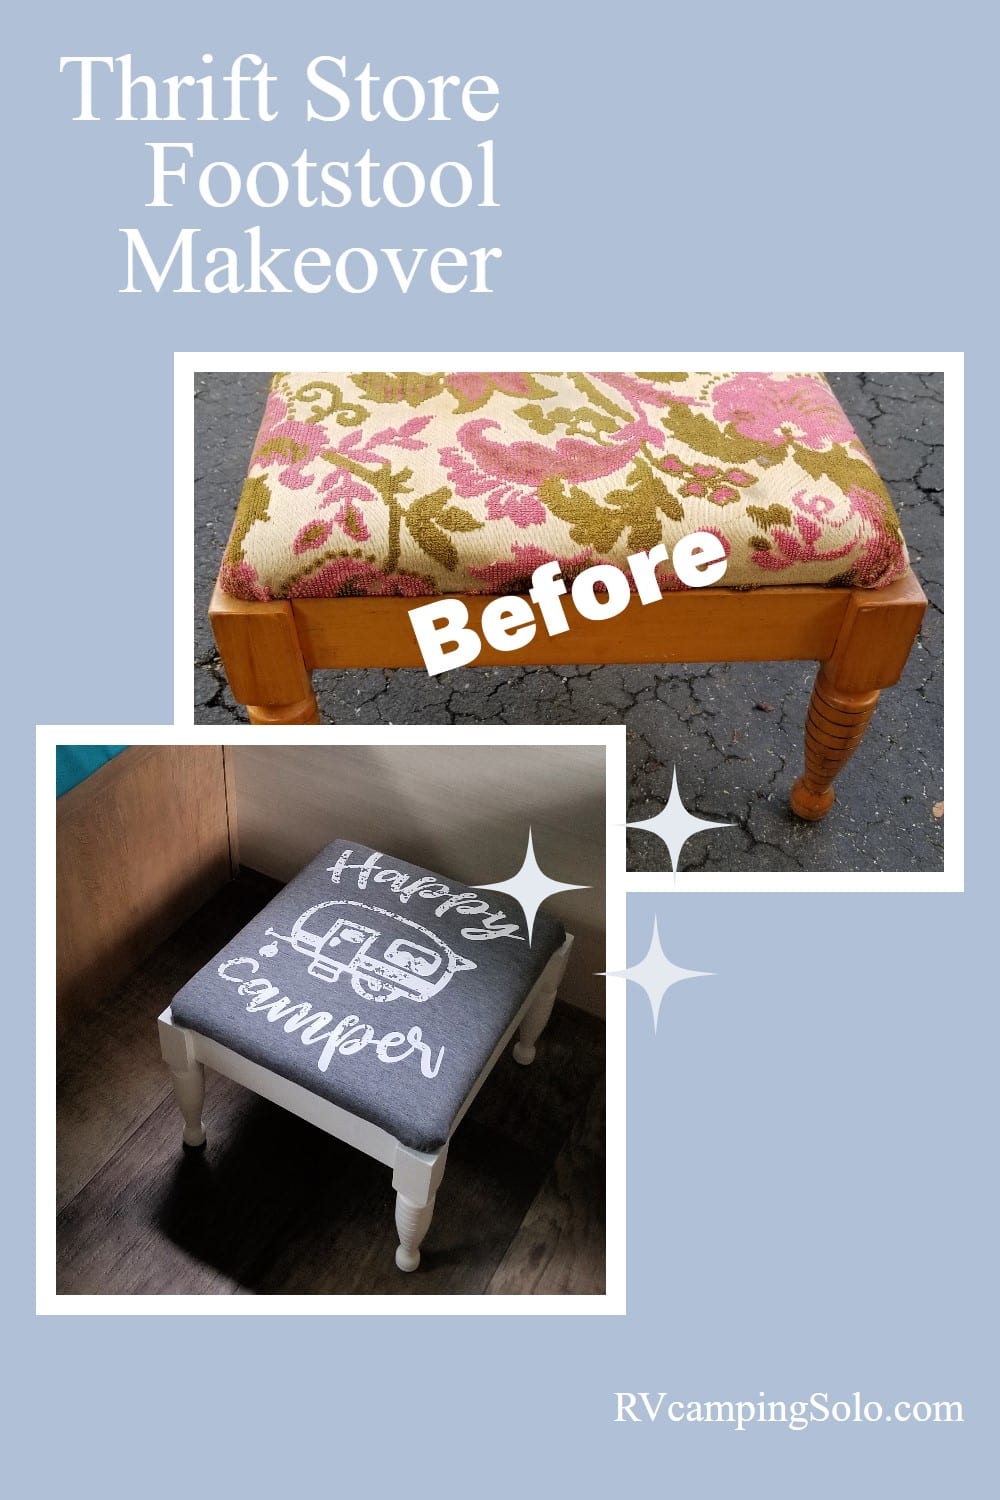
I needed a small footstool for my camper! I like putting my feet up, especially when the seating is too high for my feet to touch the floor. In addition, because I camp solo, it will allow me to reach awkward cabinet areas!
This small footstool makeover perfectly fits the bill for me and for this month’s Thrift Store Décor Makeover!
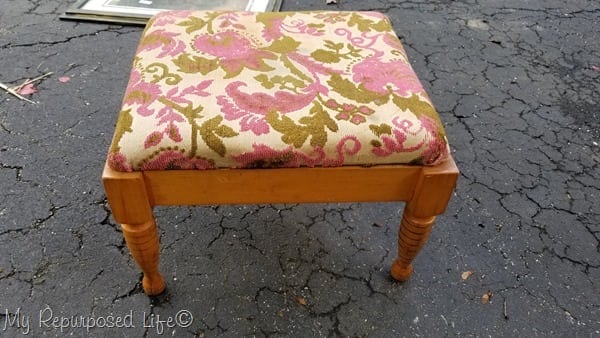
I can’t even remember where I picked up this small footstool. The upholstered top was very dated, and I knew I would probably paint it. But it wasn’t until last week that I knew I would keep this little gem for the camper. I got it out of the woodshed and tested it in the trailer, knowing it would work perfectly. While on a recent trip to Nashville, I realized that I needed something to put my feet on while working on the laptop. Many stools and ottomans are too tall for feet—but great for lounging with your legs up. But that isn’t what I needed. I needed a small footstool like this just for my feet to bring my knees up a little. Does that make sense?
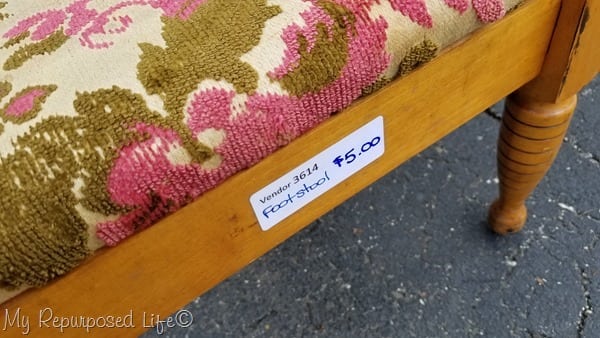
It was cheap enough!
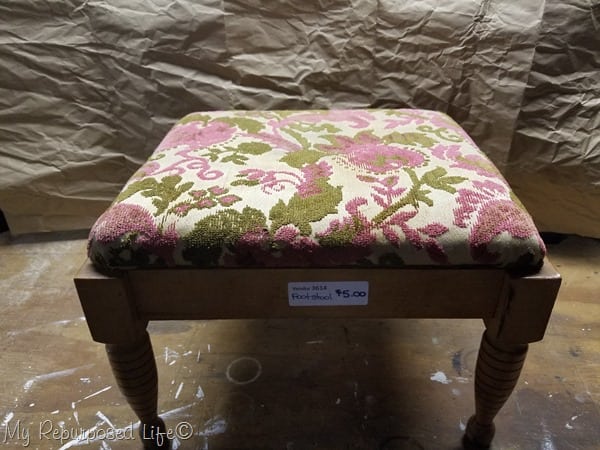
Because it’s been so hot here, I’ve resorted to working in the basement shop. I apologize for the poor lighting and less-than-pretty background. ![]()
Visit the My Repurposed Life Amazon Store to shop my favorite items.
Remove The Top From The Footstool
I used a screwdriver to remove the screws that hold the upholstered top onto the small stool.
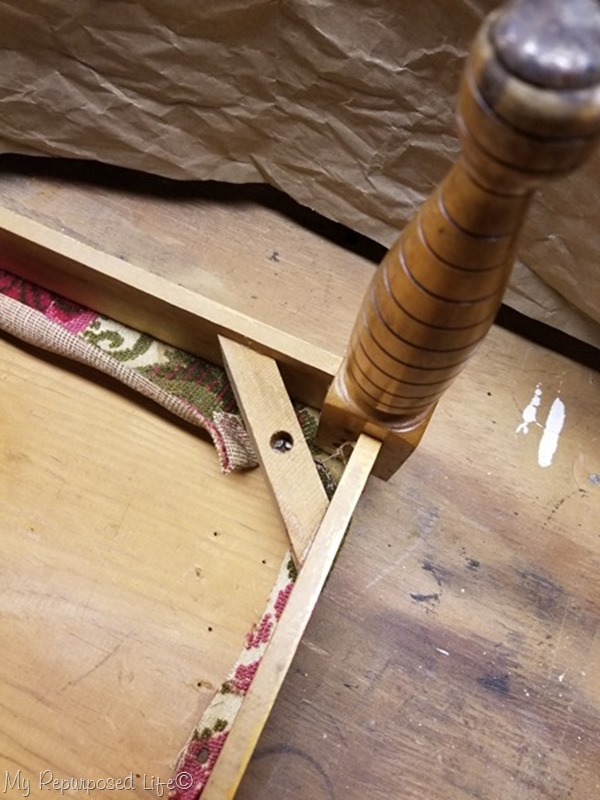
Detach The Old Upholstery
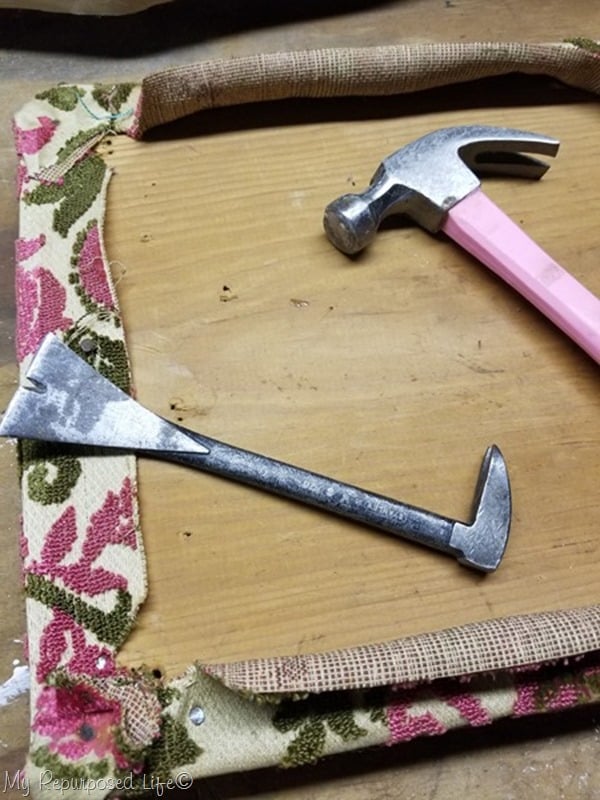
The upholstery on this stool was attached with short upholstery tacks. I used my small pry bar and a hammer to pry the tacks out of the wood, working my way all around the stool.
Inspect The Old Batting
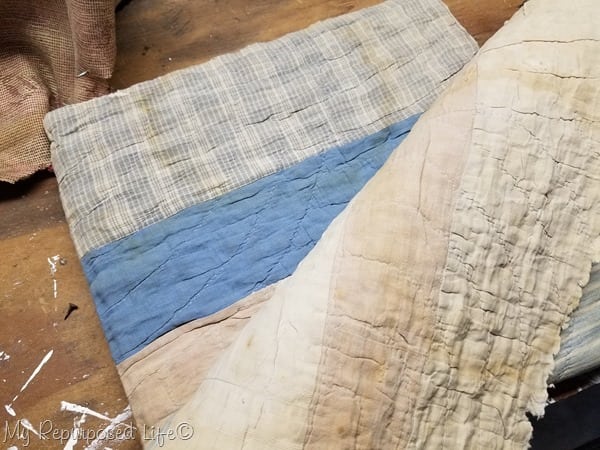
The “batting” in this project was a ratty, worn, old (and stained) quilt. I often try to reuse materials, but there was no way I would repurpose this nasty old batting on the new footstool.
Determine If The Original Top Can Be Reused
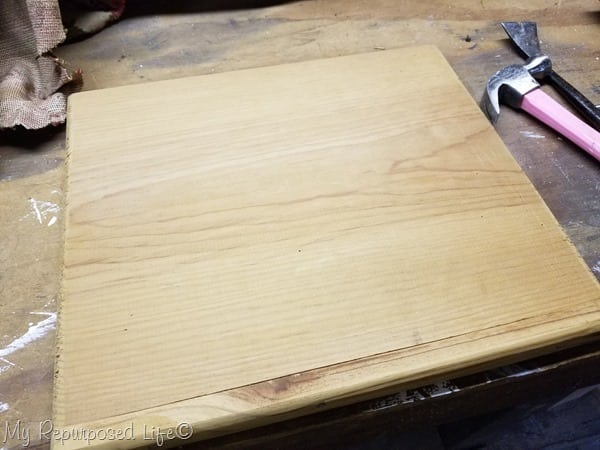
Although the old top had been repaired, I found it suitable to reuse for the newly improved step stool.
Sand Shiny Varnish On The Footstool
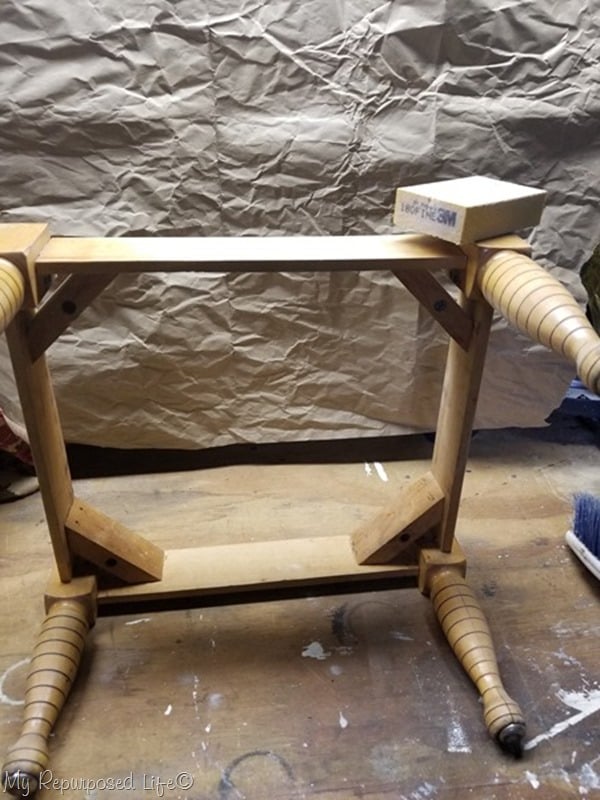
This small footstool had a very shiny finish. I used a 180-grit sanding sponge to remove the shine to help the paint adhere better. I also used the sanding sponge to help remove the sticky residue from the price label and scotch tape.
Pry Off Metal Glides

My preferred leg glide is a felt round. To protect my camper flooring, I chose to pry off the original metal leg glides. This is a personal preference. If you’re okay with the metal glides on your footstool, you can skip this step.
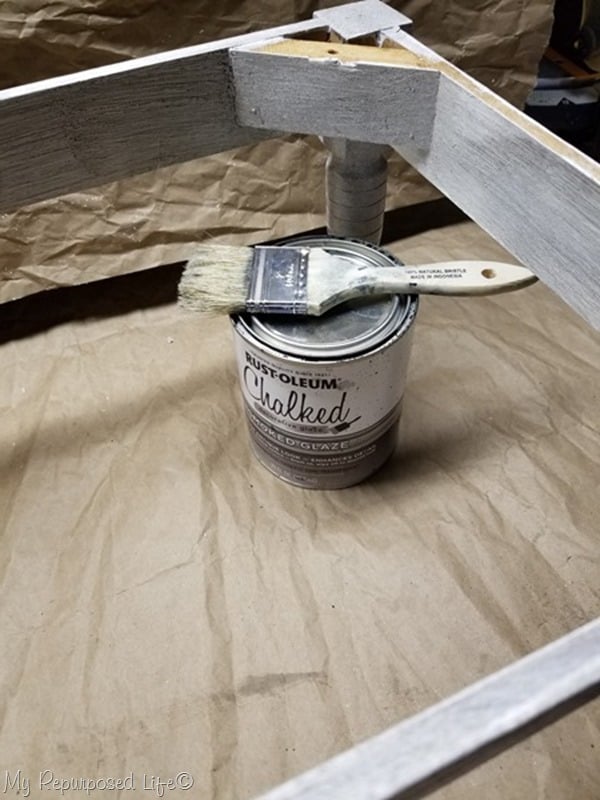
Paint The Small Footstool
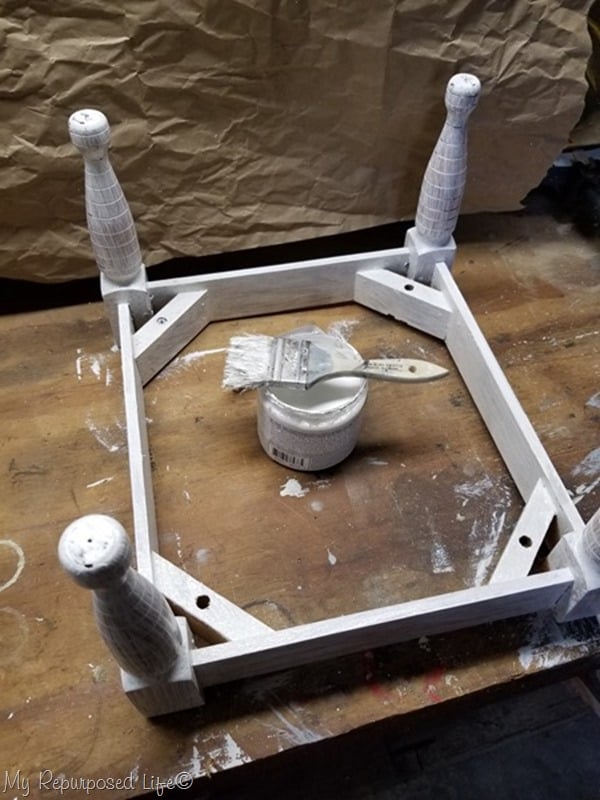
Remember when I said it was too hot to work outside? This painting job was a huge chore. I probably did four coats of paint on most of this stool. Generally, I love using cheap chip brushes, but I chose a lousy brush that was not covering well. After the first two coats, I switched it out for a better paintbrush. If the weather had been nicer, I would have preferred using my Homeright Super Finish Max Extra for this small footstool project.
Prepare Upholstery Drop Cloth Fabric
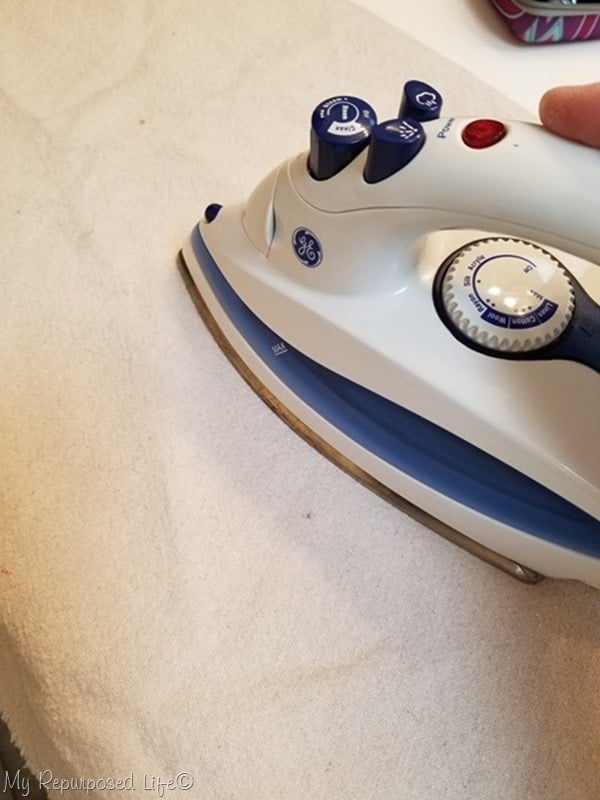
Drop cloth fabric is very durable and perfect for upholstering footstools. It does come out of the dryer very wrinkled. You might be tempted to skip this step, but drag out that iron and ironing board and press the drop cloth fabric to smooth it out.
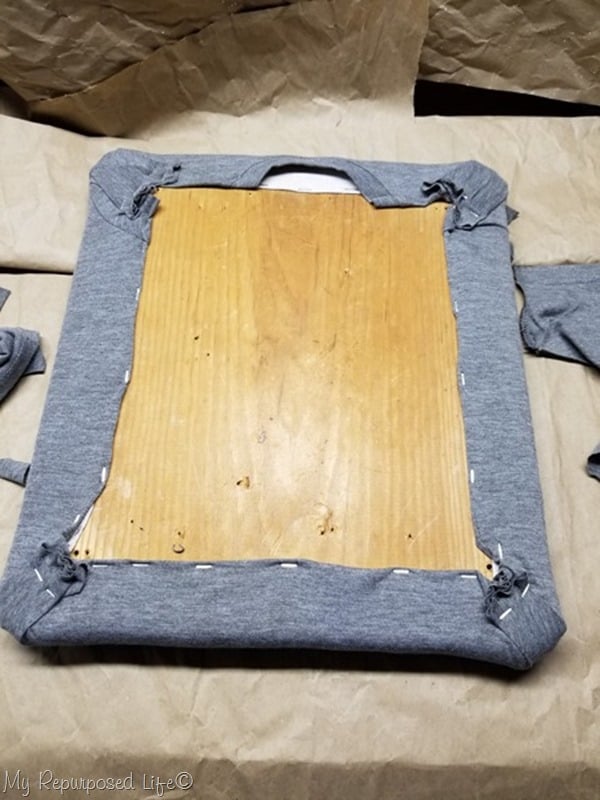
Add Batting For The New Upholstery
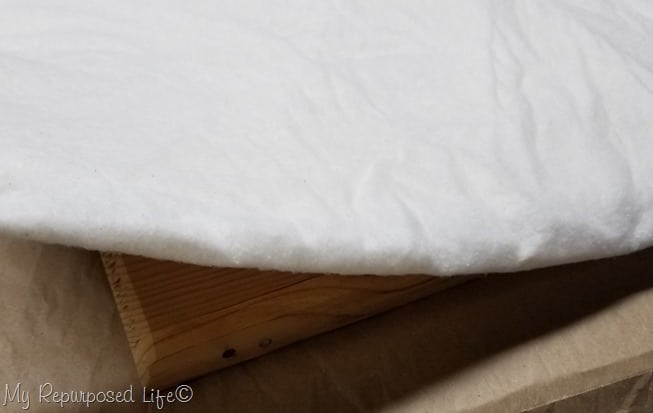
The cotton batting was trimmed to fit the top of the stool. It was folded to the perfect size already, using many layers barely hanging over the board’s edge.
Trim Drop Cloth Fabric to Fit
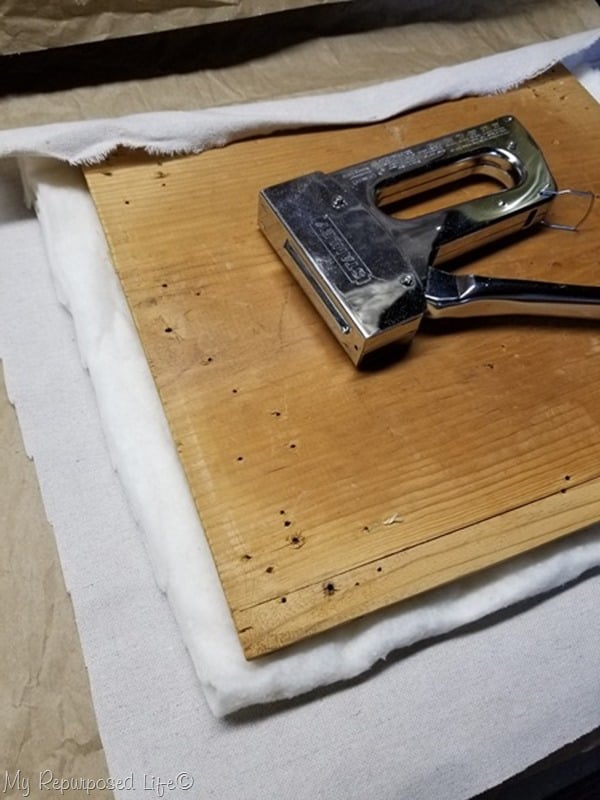
The drop cloth fabric was trimmed to fit, leaving a couple of inches all around. The staple gun makes upholstery go faster than using tacks.
Staple Drop Cloth in Place
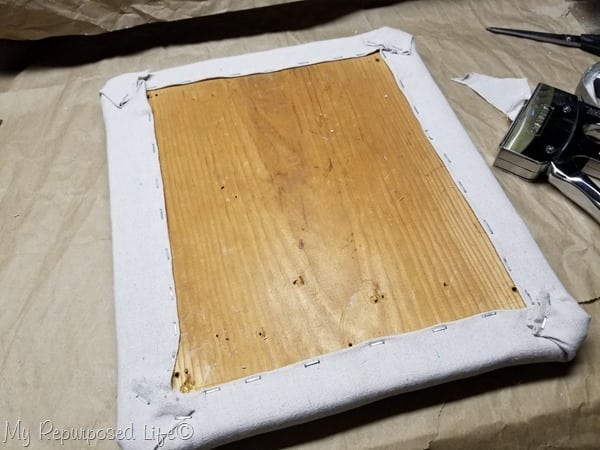
I like to get a few staples in place on all sides, then work my way around filling in with more staples. The corners are done last—stapling the fabric in place—then trimming away the extra fabric on the other side of the staples.
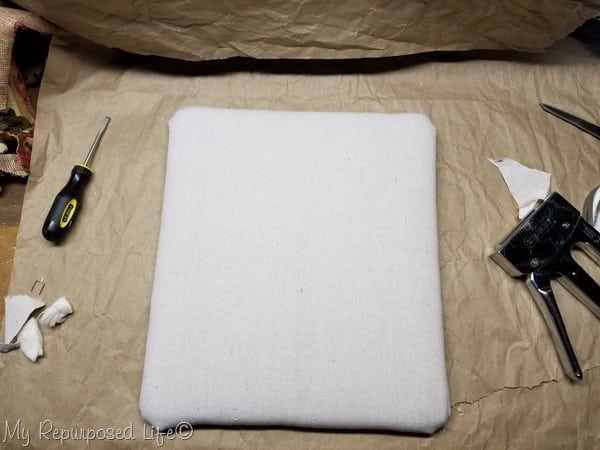
The end result of all the tugging and stapling.
Dry Fit The Top Of The Footstool On The Base
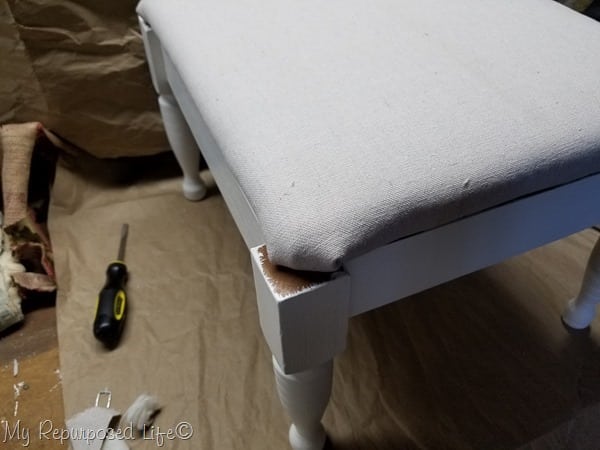
Oops! How did I not notice that the original top didn’t fit to the edges? I actually had to look at my before pictures to confirm this! Luckily, this was just a dry fit, and I could get the paint back out and fix this problem.
Try Out The Ottoman In Your Space
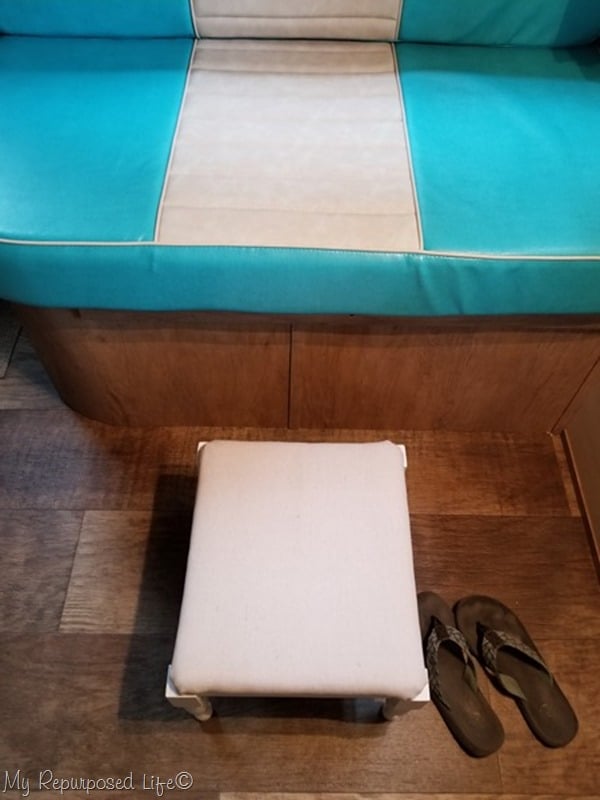
So…. I took it out to the camper to see what I thought. It really is the perfect size. BUT! I think it needs a little something!
In all honesty, I intended on using this t-shirt all along. But I wasn’t sure it was going to work. My friend Leann and her husband Frankie gave this to me, but oh my-it’s way too small! Because the t-shirt fabric is thin and very soft, I knew I would have to put a piece of cloth on first. So, worst case scenario, I would end up with the drop cloth fabric.
Test Fit T-shirt Cover
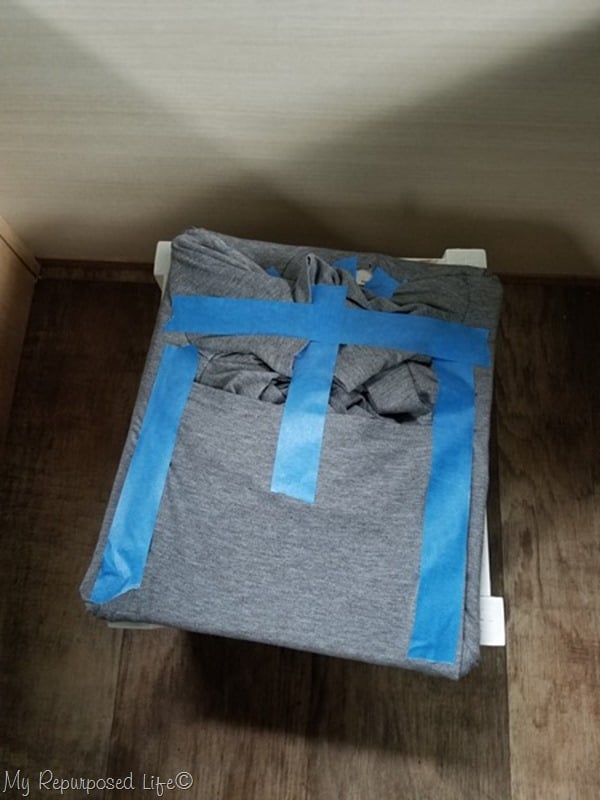
To test fit the t-shirt on the ottoman top, I used painter’s tape to secure it while I did the test fit. After placing the t-shirt onto the top of the ottoman/stool, I decided it would look better if it were glazed. I tried to NOT glaze this project because of the off-white paint in the camper’s interior.
Add Smoked Glaze to White Painted Stool
It’s just such a great compliment to the white-ish paint! I love this smoked glaze so much. It’s different with every paint I use. This paint was somewhat glossy, so the glaze tried to lay on top of it. That gave the glaze a lighter touch/look on the ottoman.
See more great glazing ideas in my post How To Glaze Repurposed Furniture
While the glaze was still a little wet, I used the chip brush to stipple the glaze to remove brush strokes. That’s helpful where wood joints meet.
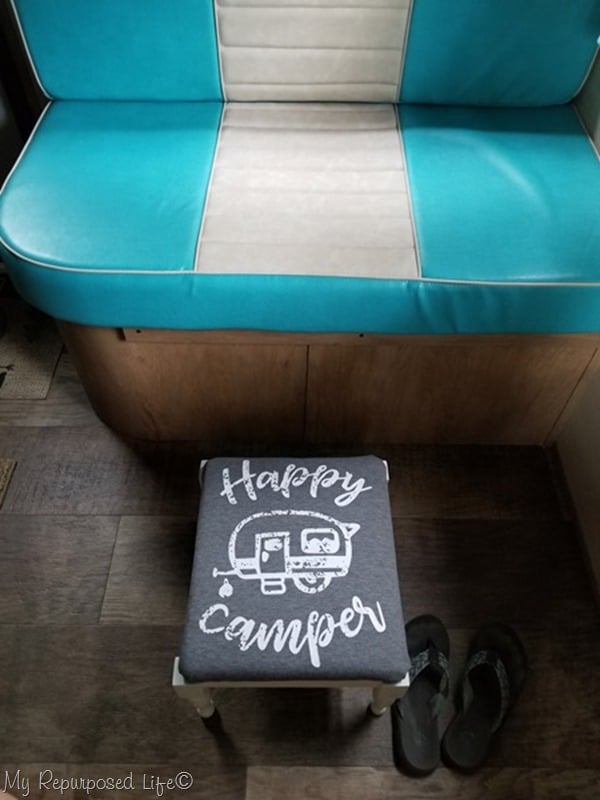
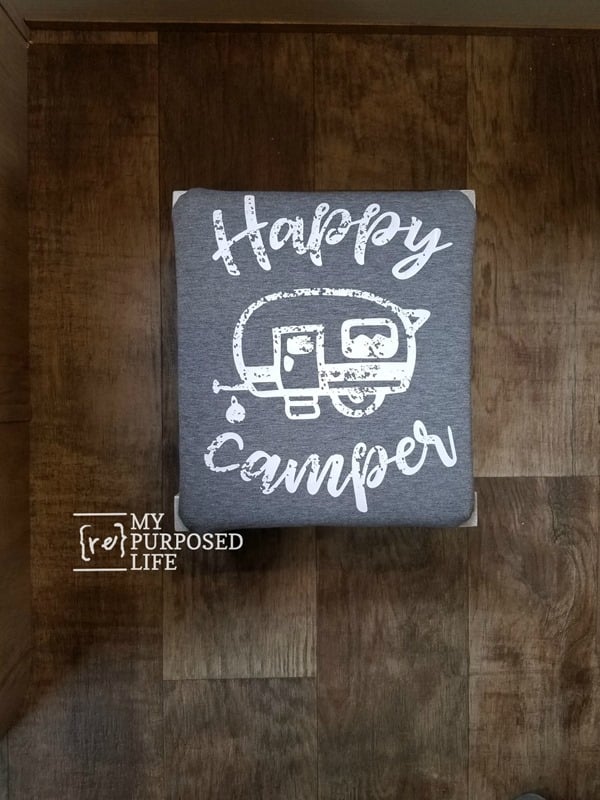
Attach Happy Camper T-shirt Ottoman Upholstery
Apparently, I was so busy putting the Happy Camper t-shirt onto the upholstered footstool that I forgot to take pictures. I started at the collar and did a few staples, then worked at cutting the extra fabric away. Saving the corners for last, especially where the sleeves were—I stapled and cut away the excess fabric.
Attach The Ottoman Base to the Upholstered Top
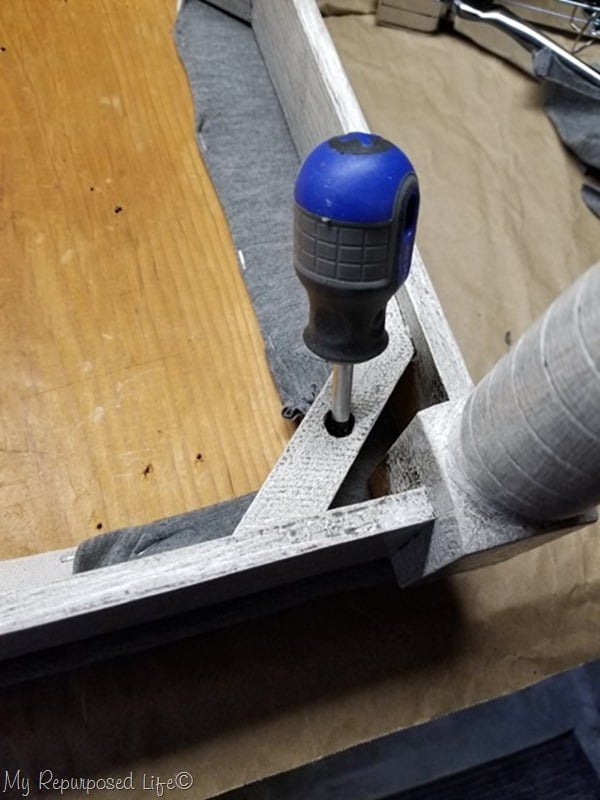
I reattached the small footstool base to the top with the original screws, lining them up with the original holes.
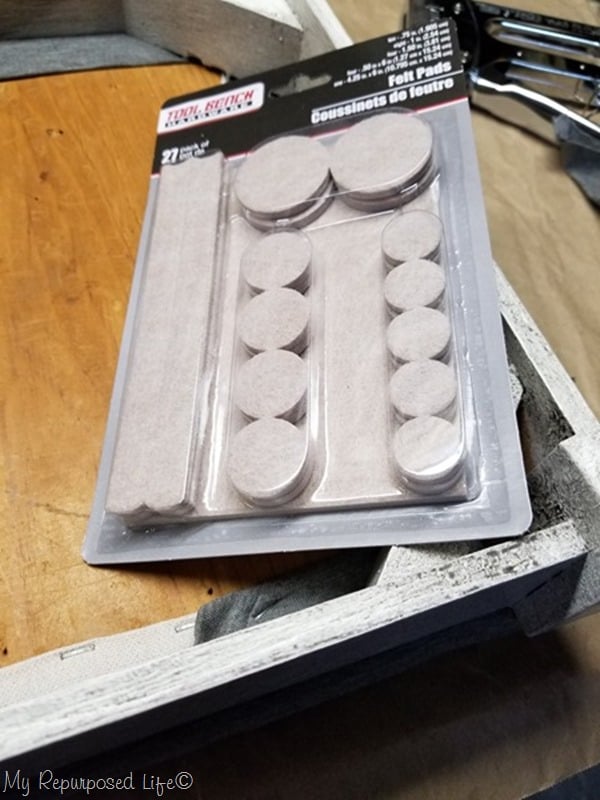
The felt furniture pads come in many sizes; I chose the smallest circle pads for the legs on this small stool.
How do you feel about the top not fitting to the corners of the stool? Is this normal? Would you have noticed it if I hadn’t pointed it out?

Camping alone can be challenging because I don’t have a tall significant other to reach high cabinets. So, not only does Lulu use this stool, but I also use it daily.
You can see other footstool makeovers here.
I would love for you to pin this project. Sharing is caring!
Before you run off, please check out the great Thrift Store Projects from my very talented friends! Click the links below.
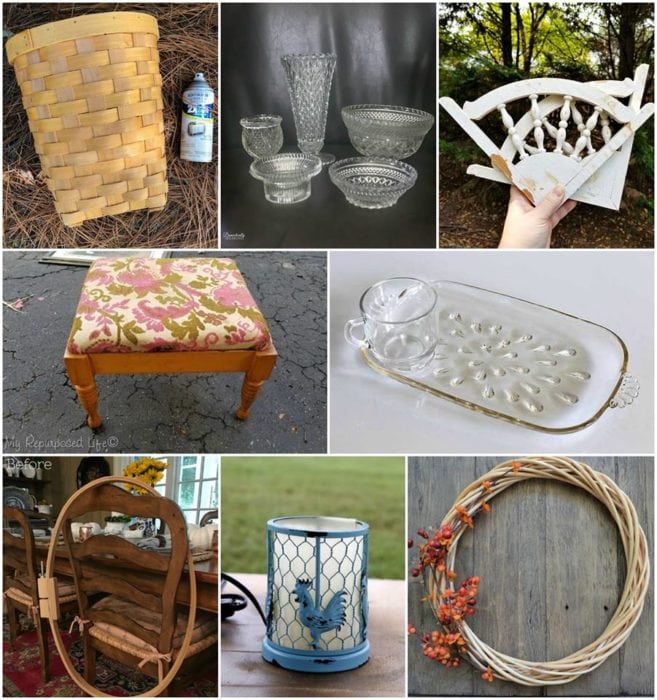
Thrift Store Basket Refresh – Refresh Restyle
Copper and Burgundy Mercury Glass – Domestically Speaking
DIY Wall Art from Repurposed Architectural Salvage – Sadie Seasongoods
Small Footstool Makeover for Camper – My Repurposed Life
Repurposed Vintage Snack Set – House of Hawthornes
Embroidery Hoop Wreath – Our Southern Home
Rooster Lamp Makeover – Petticoat Junktion
DIY Magnolia Wreath – My Uncommon Slice of Suburbia
Which easy thrift store project is your favorite?
gail
Hi, Gail…..I enjoy your content so much. Do you ever makeover furniture for individuals? I live in the Louisville area and have an old corner cabinet that was taken apart…I would like it put back together and painted..it is an inexpensive piece. Thank you for your time. Jackie
Jackie,
I have worked with readers in the past on furniture projects. I’ve been really busy lately, but I could find time this fall/winter if you would like. I’ll shoot you an email.
gail
This is so stinking cute! I just love the font!
Thanks so much Christy! We have been giving it quite the workout in the camper.
gail
Ah, here’s a makeover I actually did. My footstool was close to identical to yours. The little legs had a slightly different curve pattern and my ugly fabric top was southwestern looking and completely shot. Also my top came hinged with a little internal storage area. Because the brown color of the wood matched my decor and it was in great shape, I simply wiped it down to clean it and left it at that. The top I removed and discarded the fabric. The foam I kept but also added a second piece on top for more cush. I too had the exposed tips at the corners but I wanted to hide them, so I also covered the foam pieces with batting that I folded around all the edges and stapled on. My cover piece was my awesome find at a fabric store. I bought a high end (read expensive) black ostrich skin vinyl that I got half off as a remnant piece. This too was wrapped around the entire top and stapled down just beyond the first stapling line. I screwed the hinges back on and voila, fait accompli, the extra bulk of all the layers puffed out the entire top to cover the corner tips. I had anticipated adding a large single vinyl covered button to the top to give it a tufted look. I bought a self cover button kit and used my ostrich vinyl which turned out great. All I had to do was drill a hole in the wood top from underneath and then thread through that with an upholstery needle to attach and cinch down the button on top. However my husband said to leave it off because he thought it would be more comfy that way for my heels as I intended to use it as a foot rest. So for now that is how it is, although one day I just might add that button.
I thought your makeover was awesome too. I love the T-shirt and the paint job, so cute! Lulu Mae is adorable by the way, glad to see she uses it as a step. My dog will hop up on mine and take a nap there but only rarely will use it as a step up.
It’s just PERFECT!! I can’t believe they used that old quilt as batting…poor quilt! You give me hope that I can recover something small one day. 🙂
Thank you Sarah. lulu mae really loves being able to get up on the seat with me now. 🙂
Maybe you can shoot for recovering something within the next couple of months.
gail
The step stool turned out really nice.And Lulu Mae is sooooo cute!!!
Thanks Terri! I’m still working really hard to get Lulu Mae acclimated to the camper so she can travel with me. 🙂
she’s cute, but a little spoiled. lol
gail
Ok, that t-shirt is the cutest & perfect for your footstool! I hope your weather starts cooling soon… it’s definitely hard to keep motivated in the heat.
I can’t take the heat Maryann. I’m sitting in front of a fan right now, trying to muster up the energy to go out and finish a couple of small projects. 🙂
thanks for stopping by!
gail
so cute! love it!
This turned out so great, I love it!
Thanks so much Kristin. I love easy makeovers…. it’s a nice break in between the frankentfurniture makeovers. 🙂
gail
I LOVE Lulu’s video! She’s quite the star! Oh, and I also love the footstool makeover. Very creative, as always!
Pam
thanks so much for your sweet comment. Lulu Mae was nervous until I brought out the treats. Once she has something to focus on, she forgets about being nervous.
gail
Hello from Australia! I’ve popped over from Sadie Seasongoods blog 😁
Love the colours, the stool came along nicely.
To answer your question, I would have probably made another top.
Welcome Camille! I have a lot of readers in Australia.
Isn’t it funny that I see things in photos that I don’t see in real life. I had no idea that top was too small. Anyway, it works perfectly for my small camper.
Don’t be a stranger, I hope you find some inspiration projects here on My Repurposed Life!
gail