Spray Paint Shelter by Homeright
As an Amazon Associate, I earn from qualifying purchases.
Today I’m telling you about the fabulous Homeright Spray Painting Shelter . I’m so excited about this new and unique product!

Many of us struggle with places to do our painting. I was doing my spraying in a carport, but it’s so dark in there, that I find I have a difficult time seeing if I’ve missed a spot.
Then I started spraying my projects on a drop cloth on the driveway. Now, I have a new way to get my projects done.
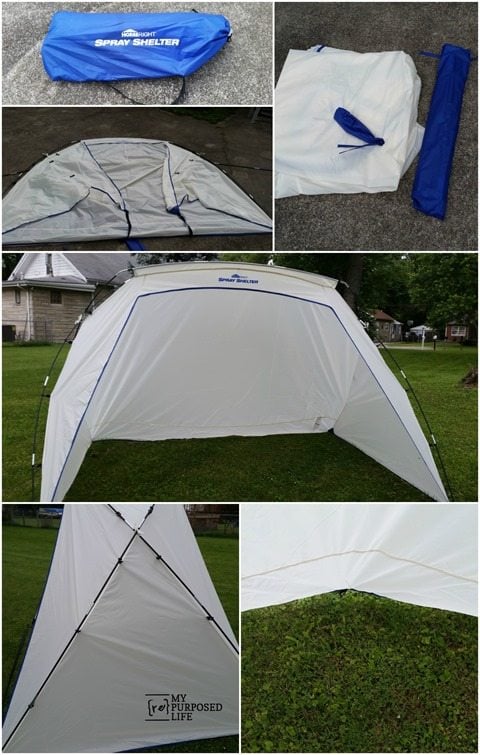 This is the wonderful new Homeright Spray Shelter. It is such a compact size to store away, but opens up to make a roomy spray booth.

 I’ll be honest, the first time I put the paint shelter up, I struggled with the assembly. I’m not a camper, and I don’t have a very good understanding of how tents go up.
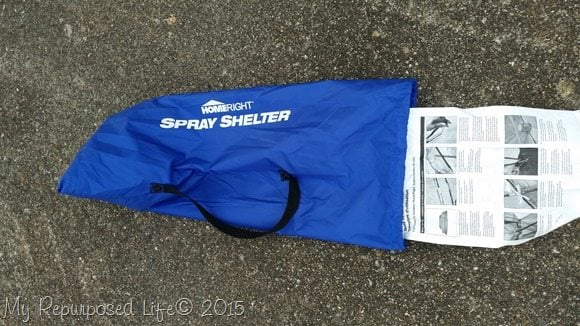
 ![]() Since that first time, I’ve put it up several more times, and it’s gotten so easy I can put it up in about five minutes. The directions are attached right to the bag so you will never lose them! Here are a few key points to remember:
Since that first time, I’ve put it up several more times, and it’s gotten so easy I can put it up in about five minutes. The directions are attached right to the bag so you will never lose them! Here are a few key points to remember:
- Laying it out on the ground or your driveway first is a must
- The front of the tent has pins that insert into the back poles.The front poles crisscross and end up using the pins on the back of the tent.
- I find that it’s easiest to insert the front poles and pins, then the back poles and pins.
- After you’ve done that, attach all of the clips to the poles.
- There is a ring in the back center that can be secured with an included stake, or weighted down with something heavy if you’re on a hard surface instead of the grass.
- When taking the Spray Shelter down, go in the reverse order.
- Lay your tent out neatly, folding it up that way, will allow you to put it up quickly the next time you use it.
Specs for the Spray Shelter
- Depth: 72″ at bottom – 30″ at top
- Width: 102″ at bottom – 92″ at top
- Height: 66.5″
When stored away:
- Depth: 29.1″
- Packaged width: 4.3″
- Packaged height: 4.3″
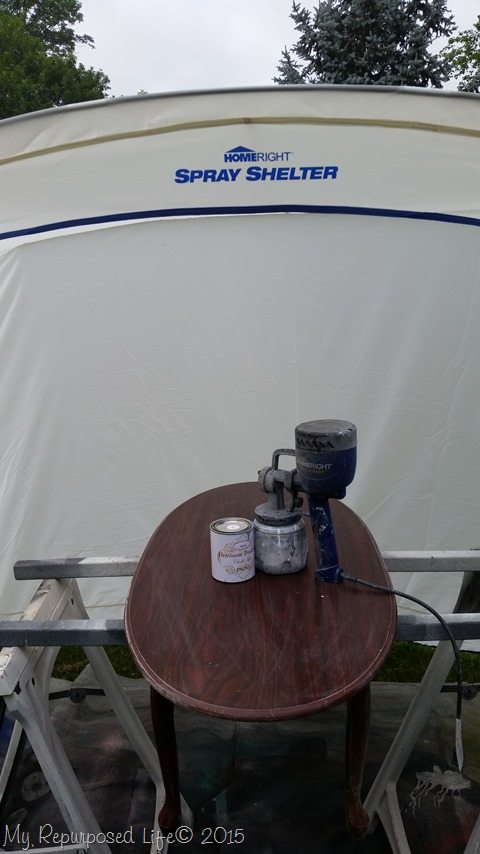 After setting up the paint shelter and some sawhorses, I readied my project. It’s a free coffee table I got from my friend Cathy.
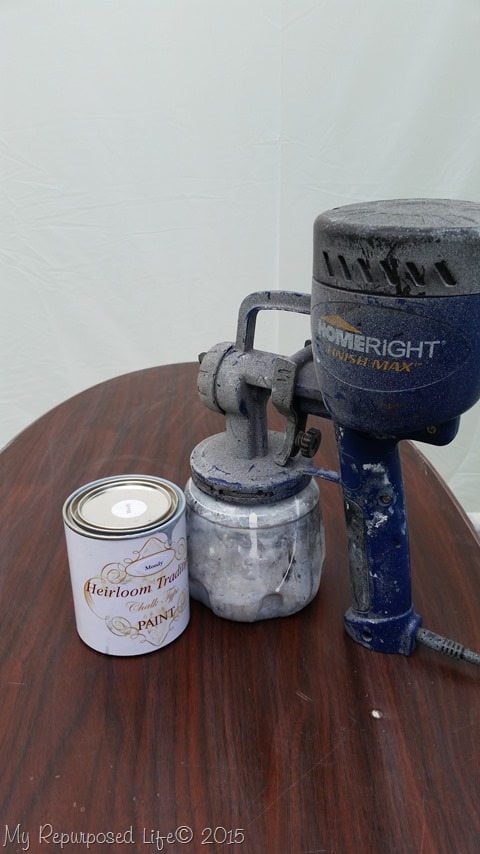 Of course I used my Finish Max with Heirloom Traditions Paint. (Moody)
I thought was going to be a gray, but then it looked blue…. then gray again. So, I guess you could say it’s an awesome blue-gray!
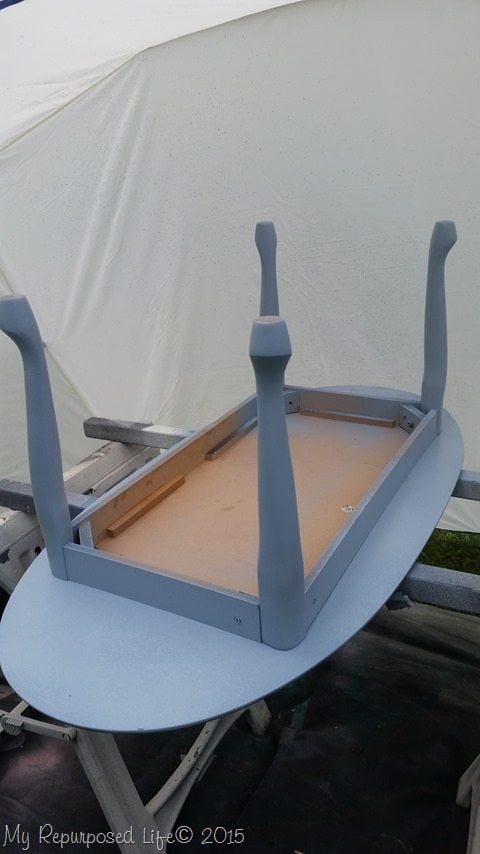 I started by painting the underneath side of the table.
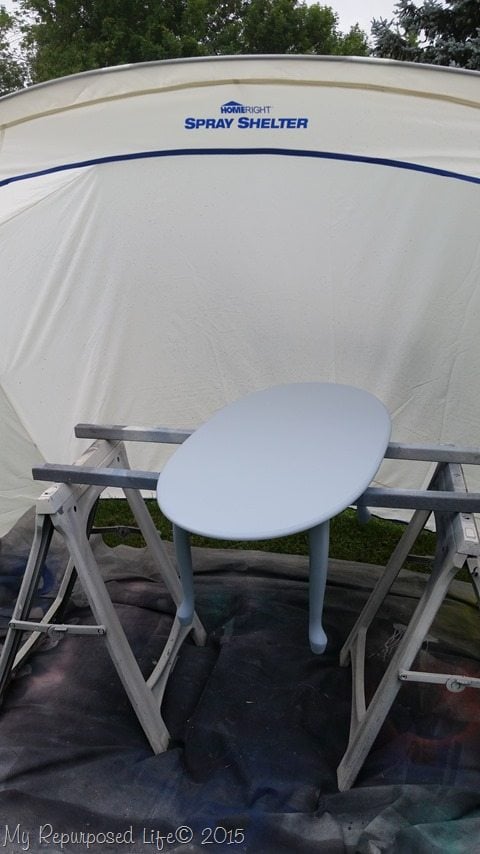 Raising your project off the ground really helps your aching back, and allows you to get to hard-to-reach places.
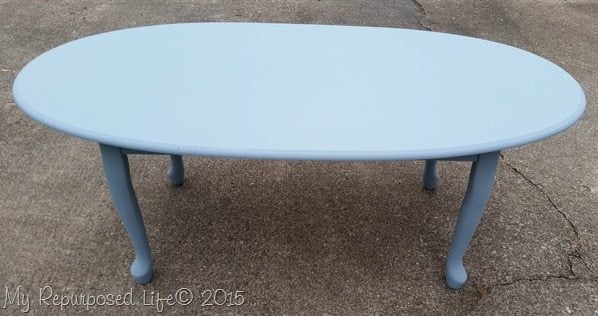 The Finish Max and the Heirloom Traditions paint made this cheapo coffee table look good.
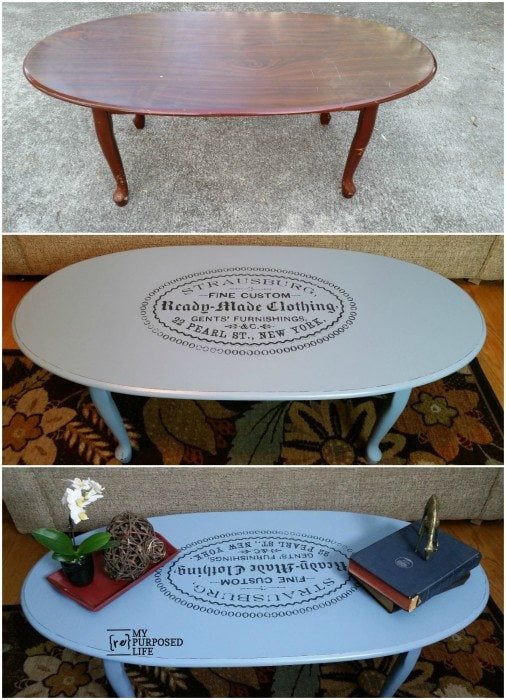 See how I did an easy image transfer on this cheap coffee table.
gail
disclaimer: I am happy to be a Homeright Brand Ambassador. I receive products to review, but you can be assured all thoughts, projects, and opinions are my own.

Love this product!
I have a side table I’m ready to paint! That paint shelter is a great idea!
I’ve recently retired and have TONS of projects I’ve been waiting to do! These painting items/tools will come in very handy. Thanks for the chance to win them!
With all the unpredictable weather (and now mutant mosquitoes!) we’ve been having, I have SERIOUSLY considered re-purposing one of my kids’ tents just so I can catch up on my painting! Having a shelter would definitely save me the trouble… AND allow the kids to camp out in the back yard one more season! Great give-away!
I’d love to have the set so that I can start on all the “projects” I’ve been picking up on the curb over the last few months!
Thank you! Your work is so inspiring!
I have so many projects I can’t finish because I have no where to paint ! I would love a shelter like this!
I would love to win this spray shelter so I would have a better place to spray paint!
Thanks for the chance!
I have a beautiful lane hope chest that I got back in high school … a looonnnngggg time ago! I refinished it in a whitewash finish back in the 80’s … I want to try painting it in light gray! This would be perfect as I realllllyyyyy don’t like brush strokes!
This would work absolutely perfect when I spray my projects. The 100+ heat in the summer and frigid cold in the winter can make it very difficult to do painting in the garage while doing it out in the open and being hit with random gusts of wind that carry dust and debris can be quite a challenge as well. What a fantastic idea and valuable investment!
Thanks for the opportunity.