Toy Box Bench
As an Amazon Associate, I earn from qualifying purchases.
This toy box bench project has been a long time in coming. I’ve had the beds for several years, you can see them in my post Recent Finds October 2016. I decided last year that I was going to work really hard on clearing out my stash instead of dragging more stuff home.
Please Save & Share on Pinterest!
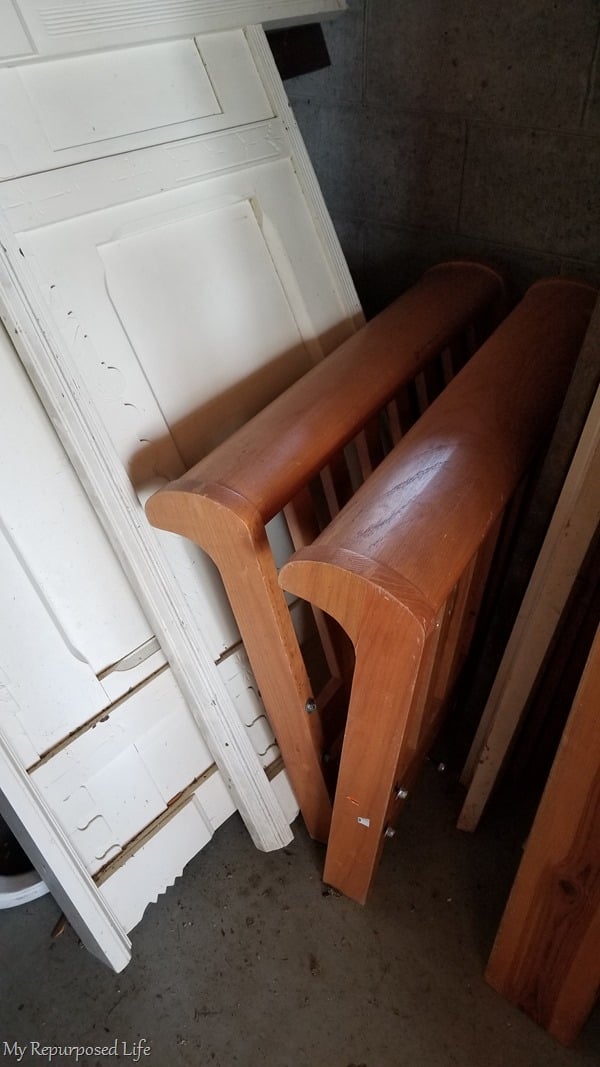
Several years ago, I organized the storage garage into departments. This is the bed dept. The small bed ends were the easiest to get to, so they were the project of the week.
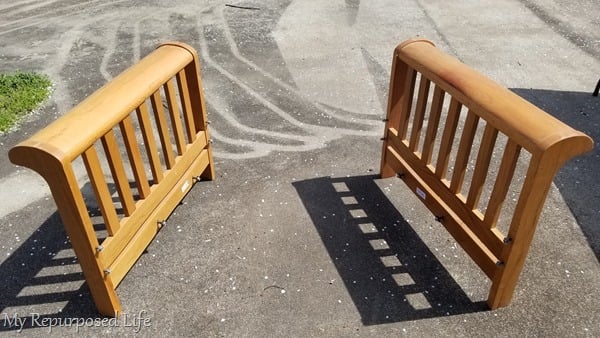
I posted this picture on Facebook asking for suggestions. Were you surprised that this post is about a bench? I know, I love making them! But this couldn’t be a regular bench because these bed ends set so low to the ground.
Let’s see how the toy box bench came together.
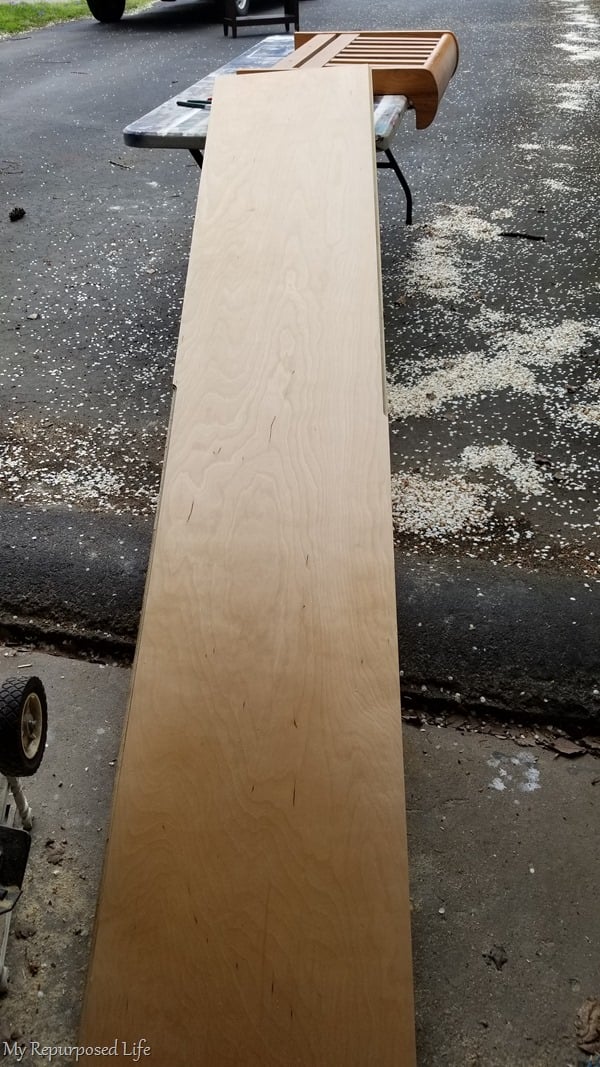
There are a couple of options when building a bench with storage. You can use wide boards, or you can use plywood. I had this 8’ piece that I had picked up at a peddler’s mall for about $8.
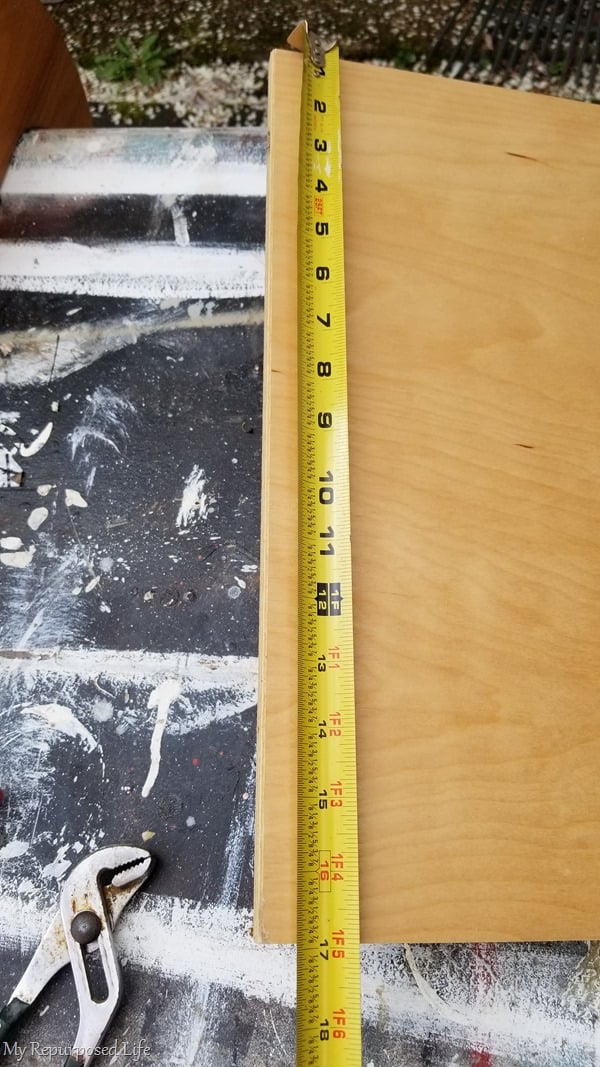
The width of the plywood determined the size of the toy box bench “box”.
*this post contains affiliate links, read more here*
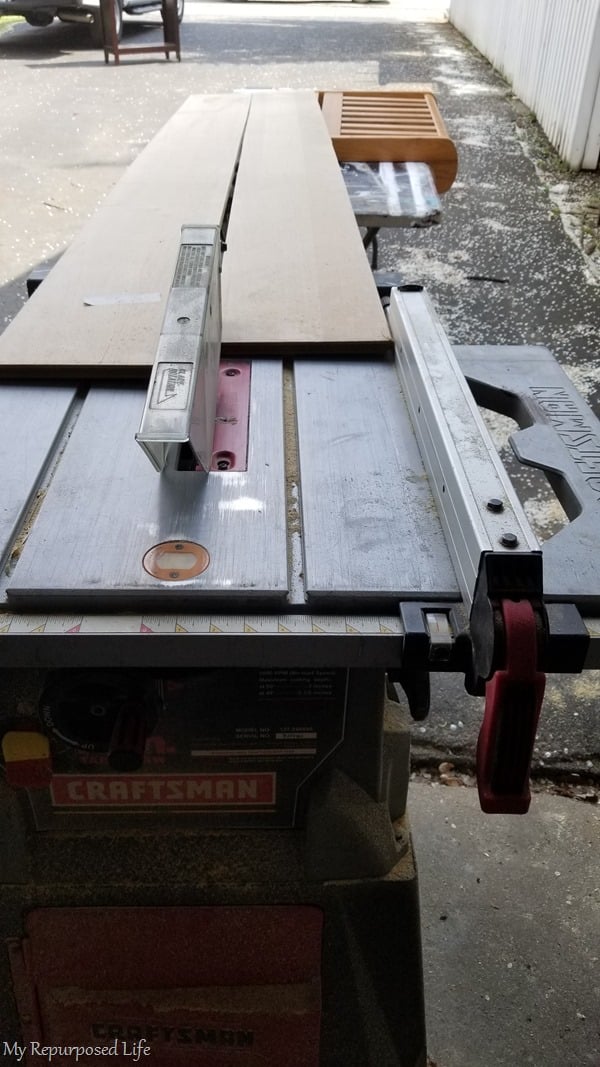
I began by ripping the 8’ board in half. You can’t see it in this picture, but I used my jaw stand to receive the wood. This job would have been impossible to do without it.
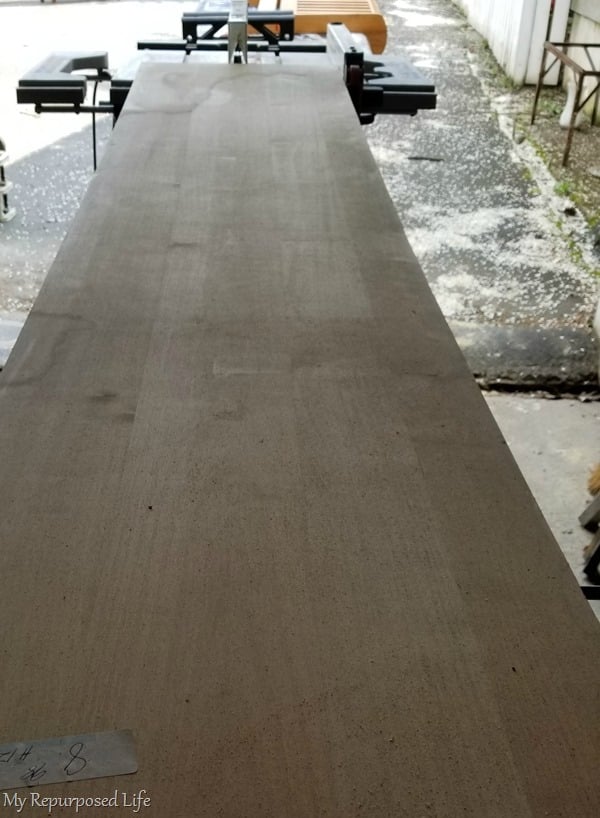 The jaw stand is adjustable (height) where my sawhorses are not.
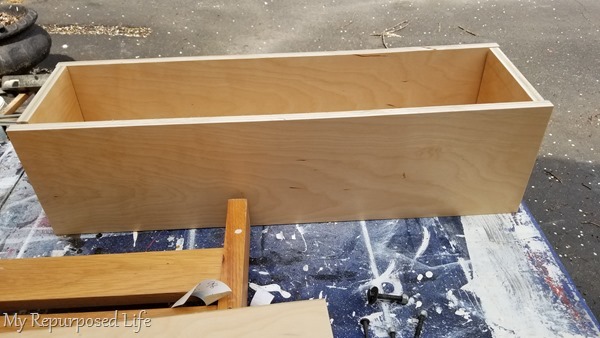
This is a dry fit to see how the box is going to come together. When I make projects that need a simple box construction, I like to put the sides in between the front and back as well as the bottom. That way a lot of raw edges are not visible in the end project.
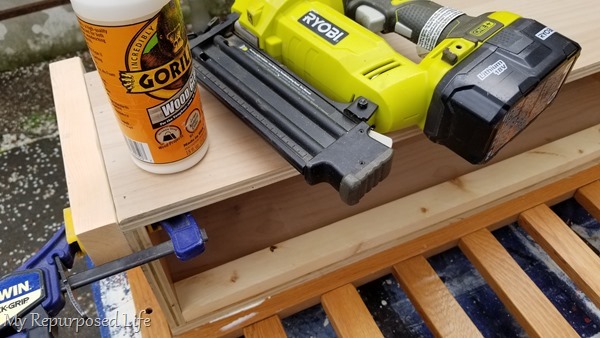
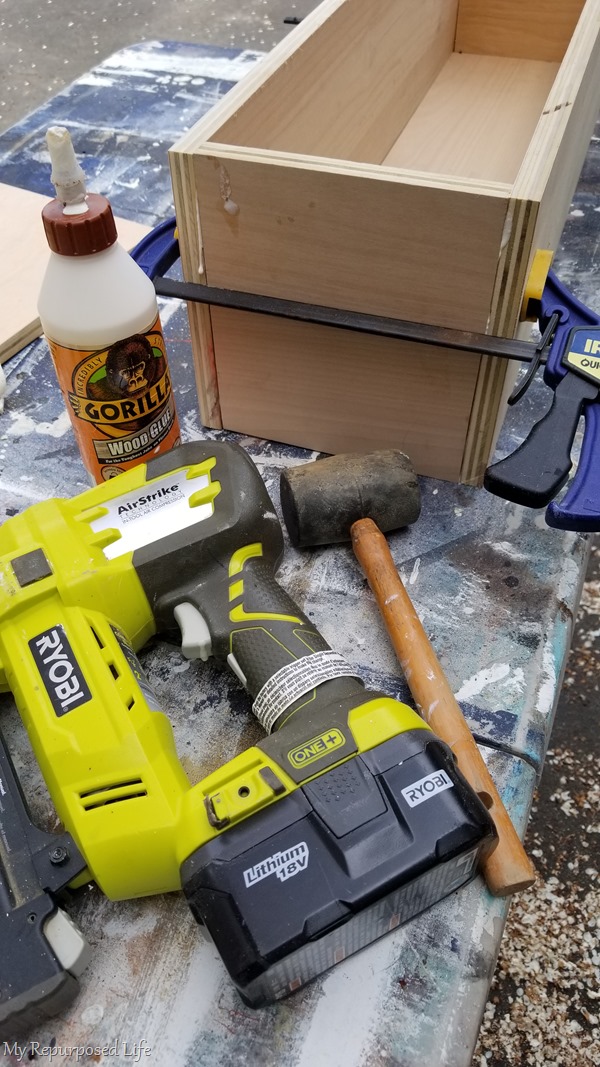 If you have the proper materials, a job like this is fairly easy. Of course, it might be better if you had an extra pair of hands. But the quick clamps help me a lot. I worked on each end independently, using gorilla wood glue and my nail gun. The bottom was in place to keep the box squared up.
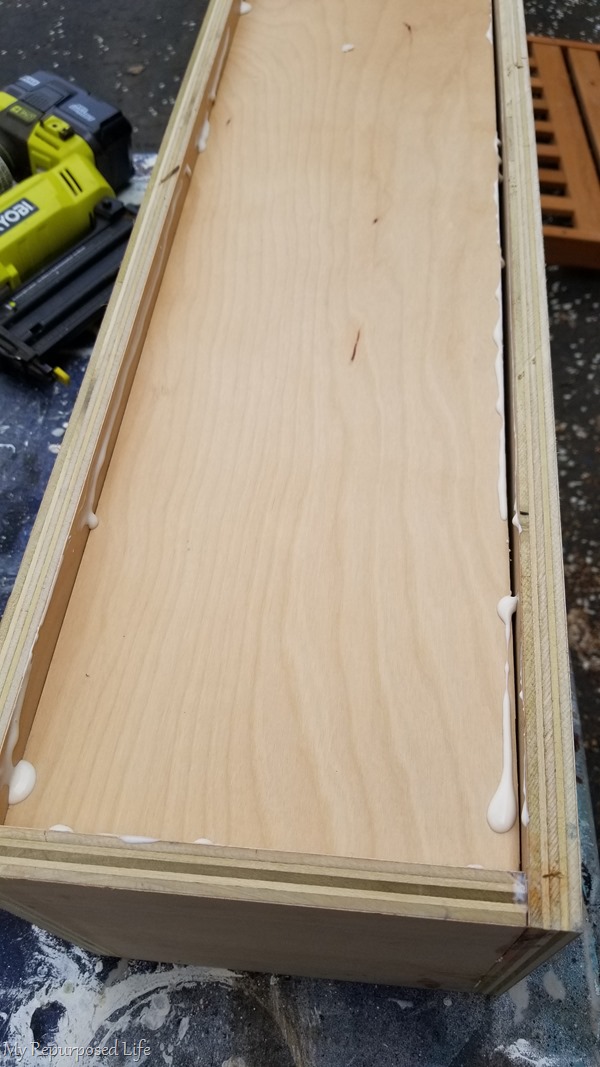
I tapped the bottom down a little, added wood glue and then tapped the bottom of the box back in place. Finally, I clamped and nailed it in place.
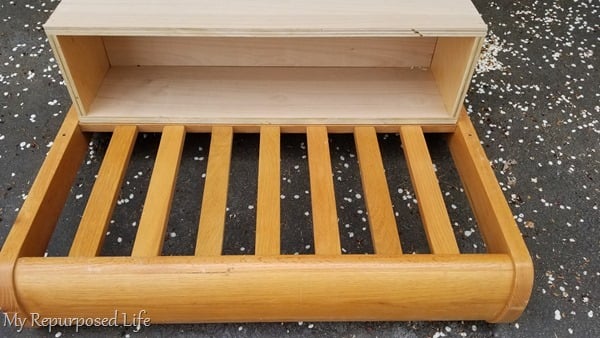
The size of the box will also be dependent on the width of your headboard.
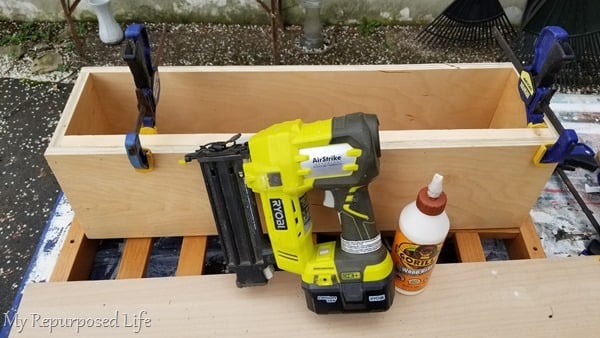
This step may not have been necessary. I was worried about adding hinges in the plywood. So, I added scrap wood to the back of the box. Again, I used the quick clamps, wood glue and the nail gun.
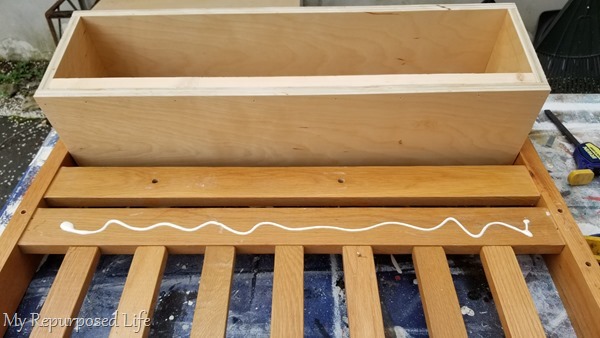
To attach the toy box to the headboard, I used wood glue, clamps and wood screws.
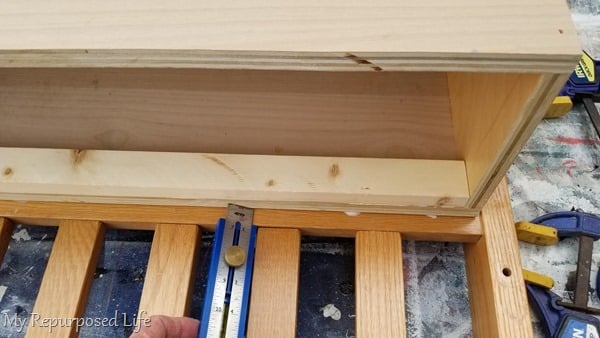
The Kreg Multi-Tool helped with placement of the box to insure it was straight.
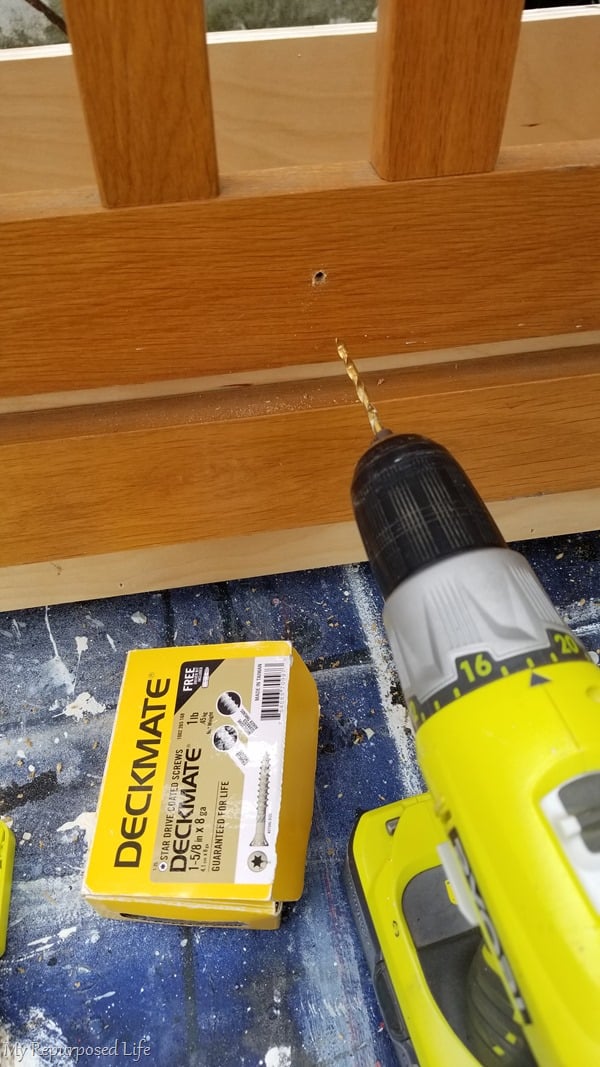
While the clamps were holding the box in place, I drilled pilot holes and added the wood screws across the back.
Not shown: I ripped and cut 2×4’s to match the profile of the boards of the bed for the front legs. Wood glue, clamps and the nail gun were needed again.
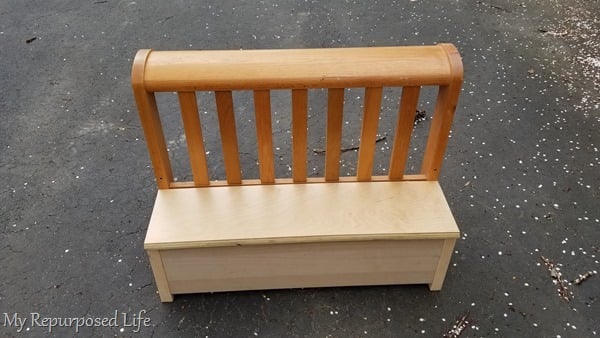
The plywood I used for this project comes from a cabinet company—at least that’s what I think. On each side of the long 8’ piece there was a routed edge. I decided to use that to my advantage for the front of the seat. I cut it off of the boards I used for the box construction.
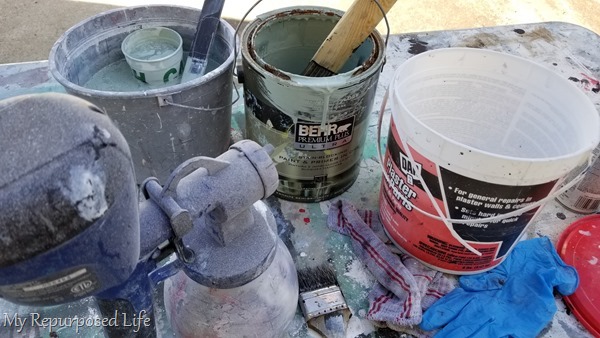
The paint I used to mix up my chalky paint primer is very old. I haven’t opened the can in several years. It’s very important to strain it before you use it in your Super Finish Max paint sprayer. I used this paint on another project, I’ll share that at the end of this post.
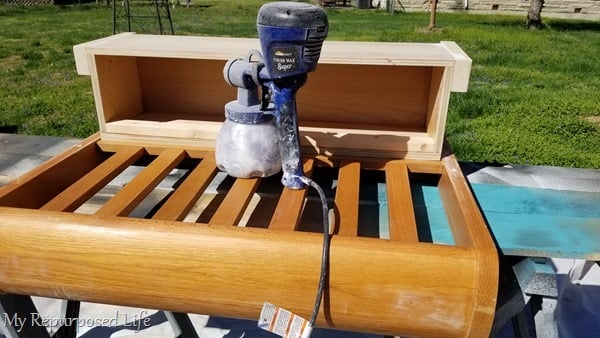
Of course, I begin with the project laying down so I can paint the bottom and nooks and crannies. I chose to raise this small project up on sawhorses to make it easier on myself.
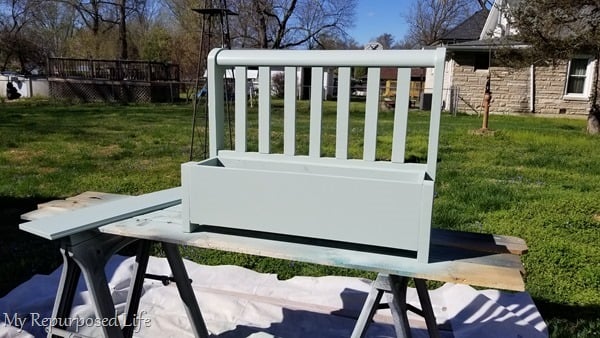
My regular routine is 2 coats of chalky paint primer with Plaster of Paris and two coats of the paint out of the can as a top coat. That is what I did for this project.
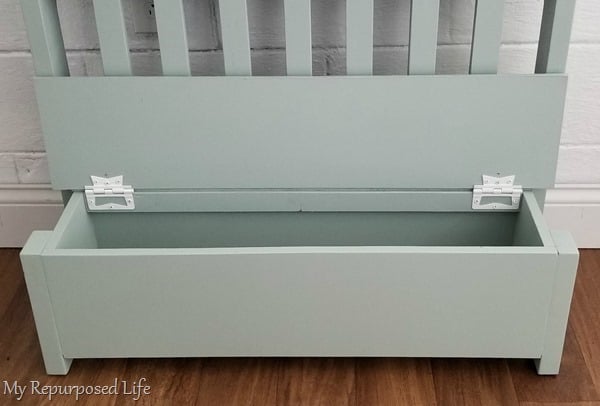
Not shown: I attached the hinges. I’m so hinge challenged, that I get all involved in getting it right that I forget to take pictures. I will need to order a soft close hinge so small fingers don’t get smashed.
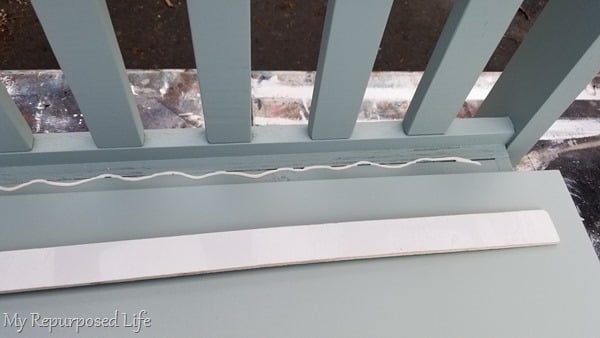
When you have a hinged project, you have to have a “void” that allows the hinge to open. If you have a better way, please let me know! Here is where I’m not sure I needed that extra scrap wood thickness for the hinges. When I secured the screws into the lid, they didn’t protrude, so I’m guessing I didn’t need such a wide piece. So, I needed a piece, just not that wide.
Because of the raw edge of the plywood, I cut a scrap piece of luan to place on top of the back. More wood glue and nail gun protocol. I did paint the little shim before placing it on the glue. Then I gave it another coat the next day.
I carried it over to The Sugar Shack to take pictures and let the paint cure really well.
Not shown: I added something similar to these furniture table leg protectors. Using 2×4’s as legs tend to splinter when scooted on floors. These little protectors keep that from happening.
Please Save & Share on Pinterest!
Isn’t the toy box bench adorable? I think it would be best for a toddler. What about the front? Do you think it needs a saying of some sort? Maybe a personalization when it finds it’s new home?
I mentioned the color. Maybe you remember another toy box made from a crib? Maybe it was in the back of my mind while I was grabbing a can of paint for this project?
gail
See more kid’s furniture project ideas and kid’s organization ideas using repurposed furniture.


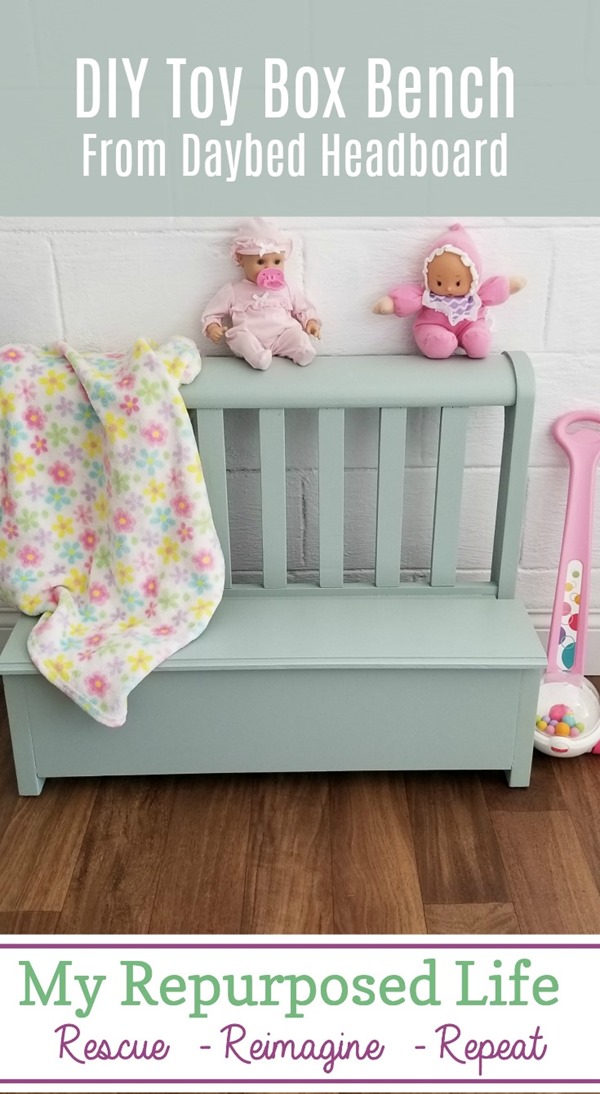
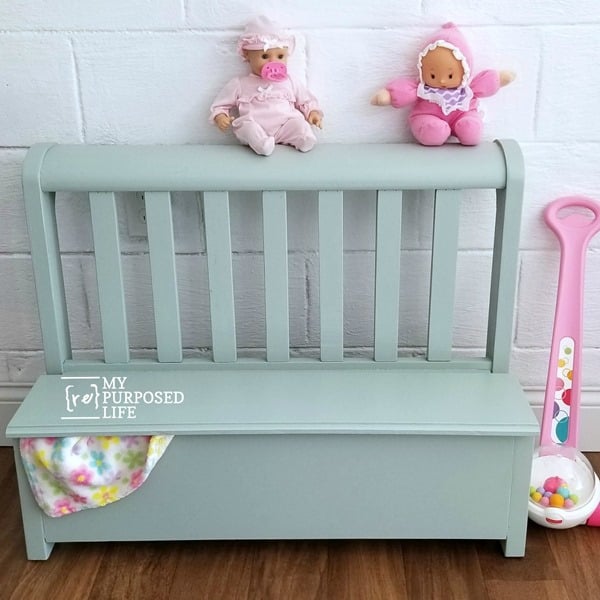
Well you’re totally right. I hadn’t thought about little kids. My Oldest grandson has always been so tall and built like a tank. And I love that green color too. Thinking of redoing the main bathroom that green is in my top 5. If I can ever go to a store again. I’m on day 36 of isolation because of my health issues.
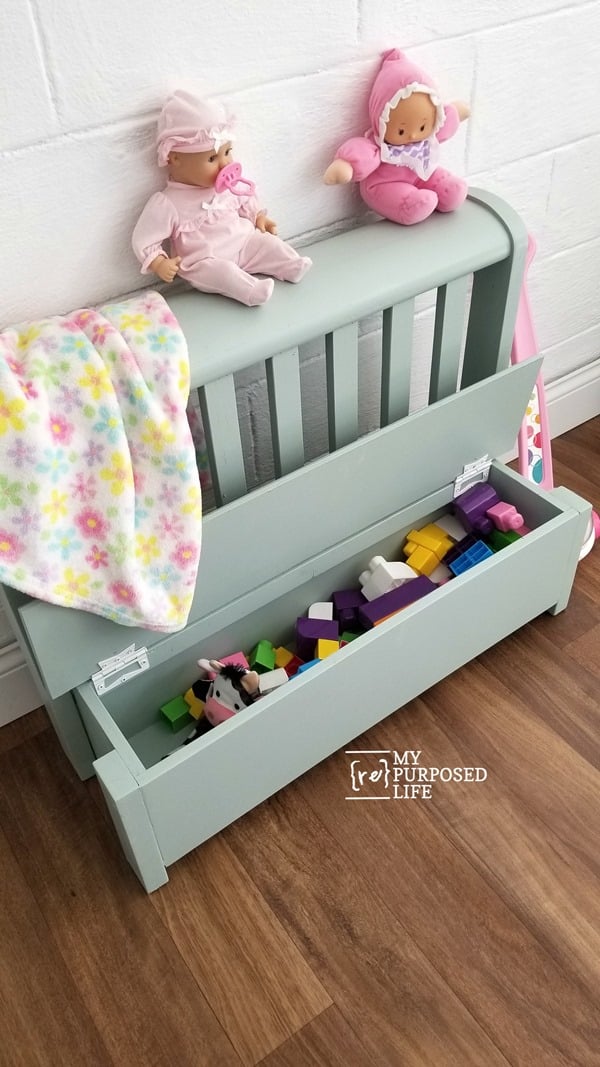
It is adorable. Love the color, and idea.I know you were limited by the piece of wood you had. It reminds me of the kneelers in a church. It’s really too small to be useful as a toy box. The blocks that are in it are my first mega blocks. It would be great in a mud room for shoes if it were taller, but then you’d have to line it so it could be cleaned out. Without the lid it’d be cute with potted plants in it under a patio so the sun and rain wouldn’t hurt it.all of your ideas are so fun.
Jennie,
I actually disagree about this piece being to small to be useful as a toy box. It’s small, meant for young toddlers and their special toys. If the toy box is too large, the child/toddler can’t reach items at the bottom of the toy box. 🙂 That is why it is staged with the first mega blocks, perfect for the very young kiddos.
When the headboard you’re using is short, you have to put on that thinking cap to find just the right purpose.
I agree, it does look like the kneelers at church–until I painted it that sweet green color. (one of my favorite neutral colors for kids)
gail