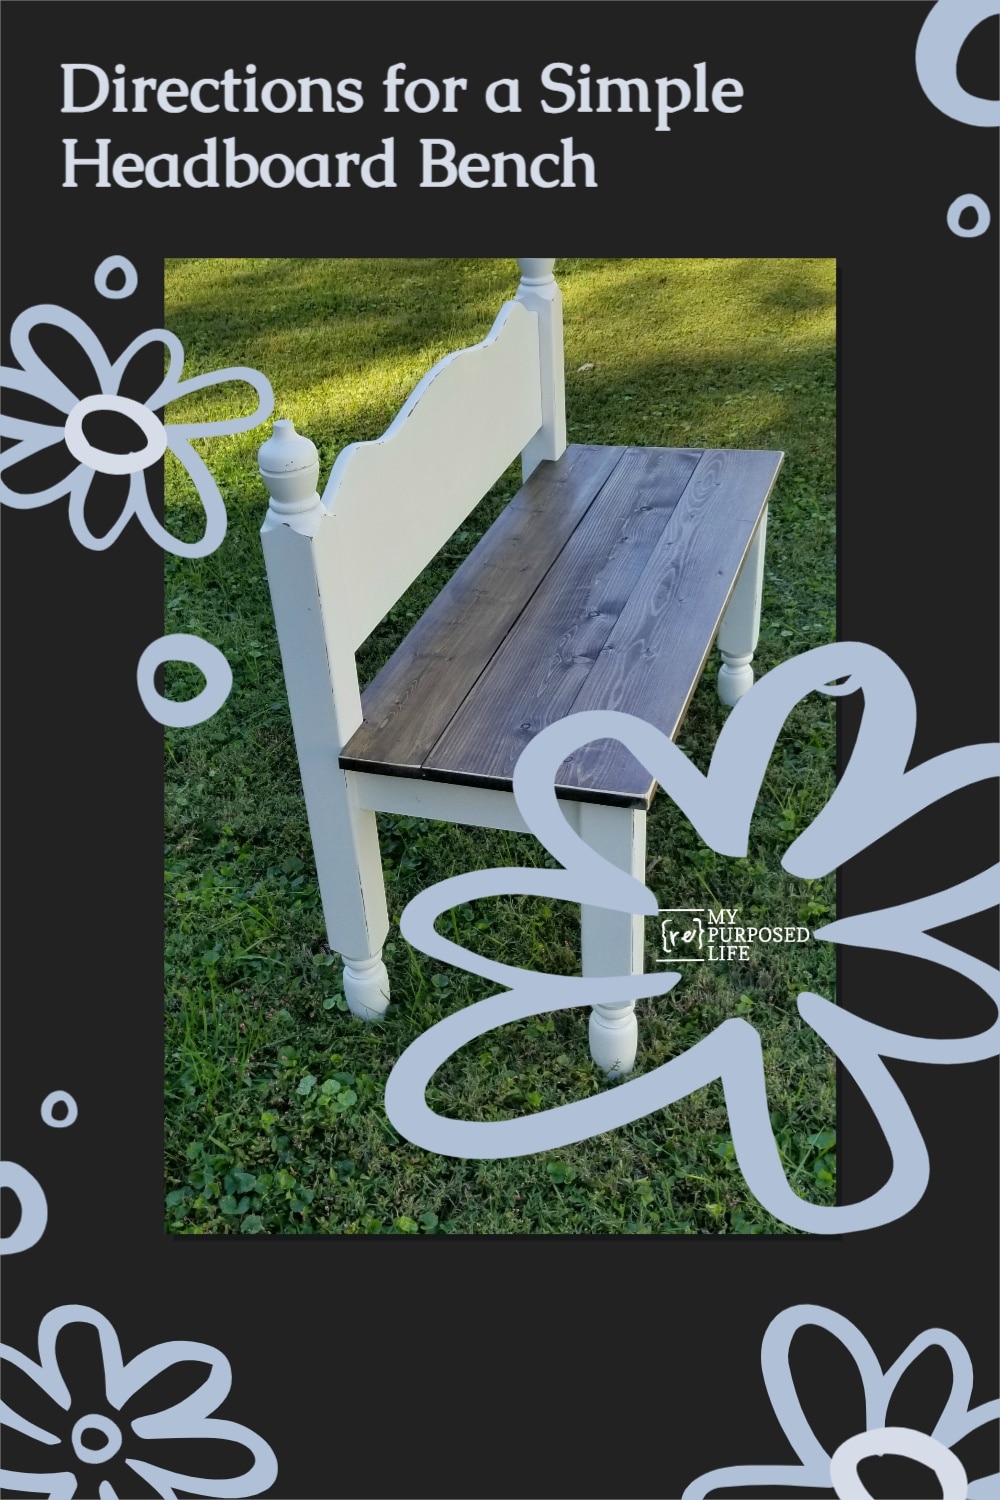
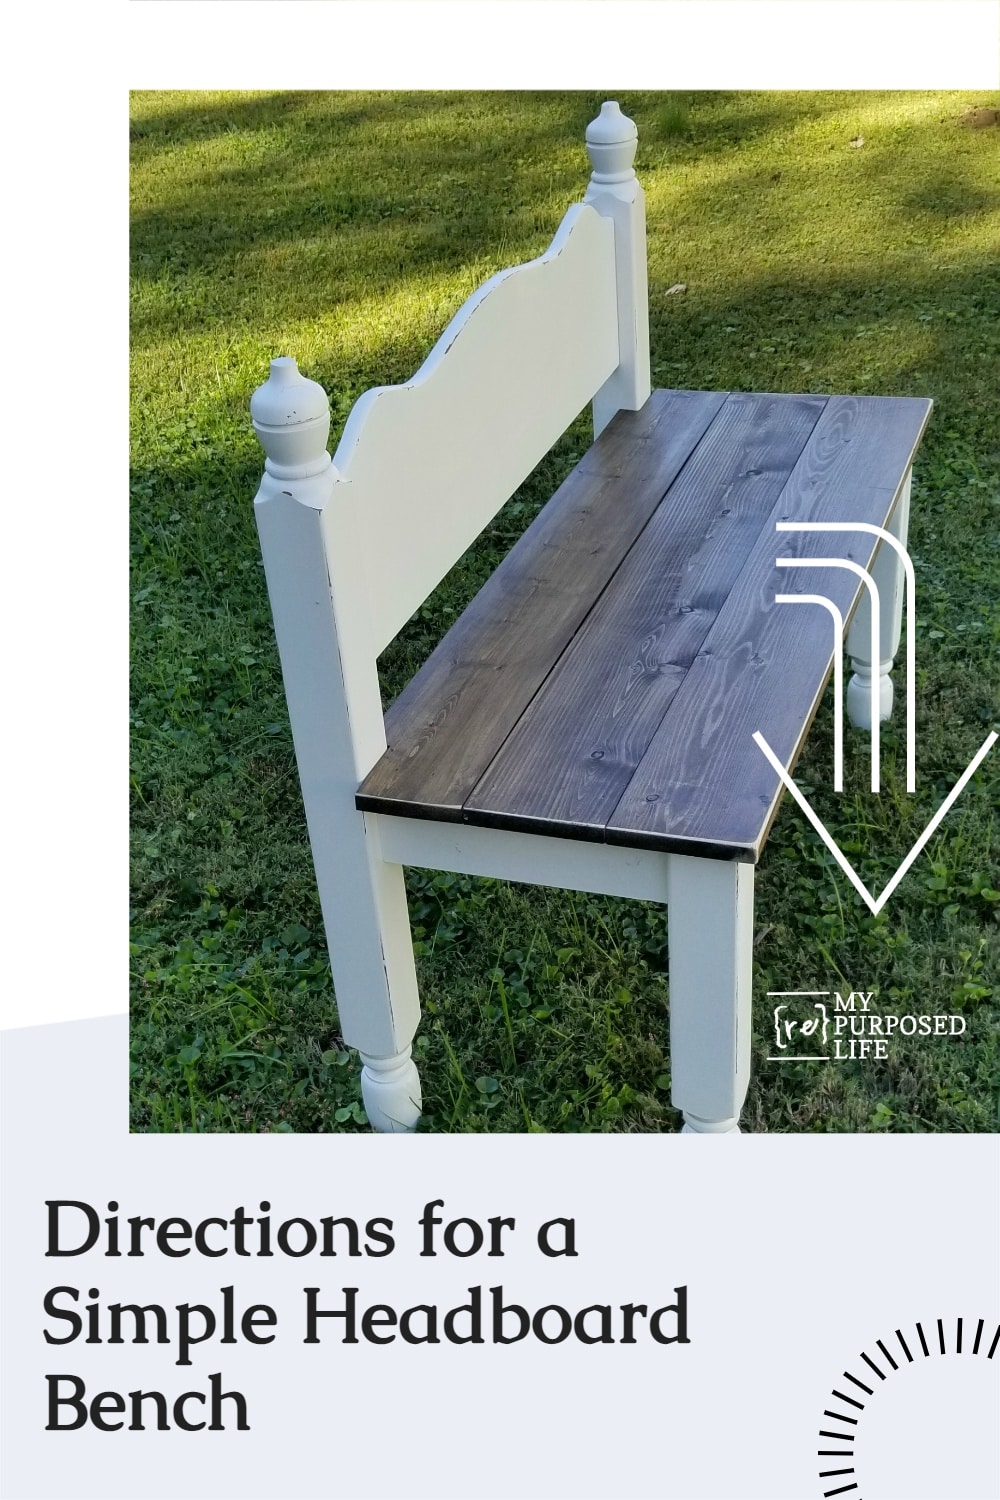
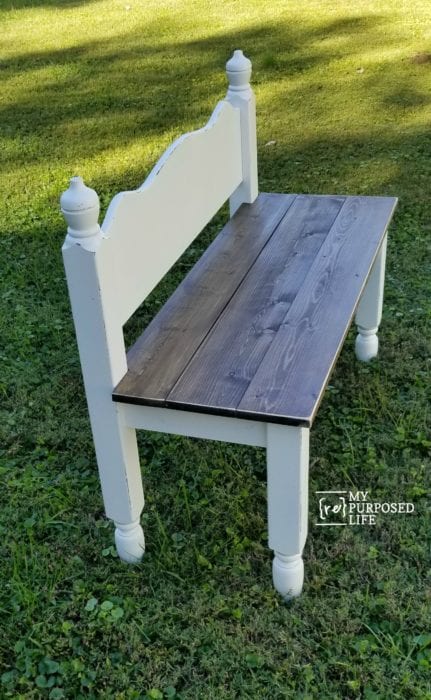
Twin Bed Bench Easy Headboard Bench Tutorial
As an Amazon Associate, I earn from qualifying purchases.
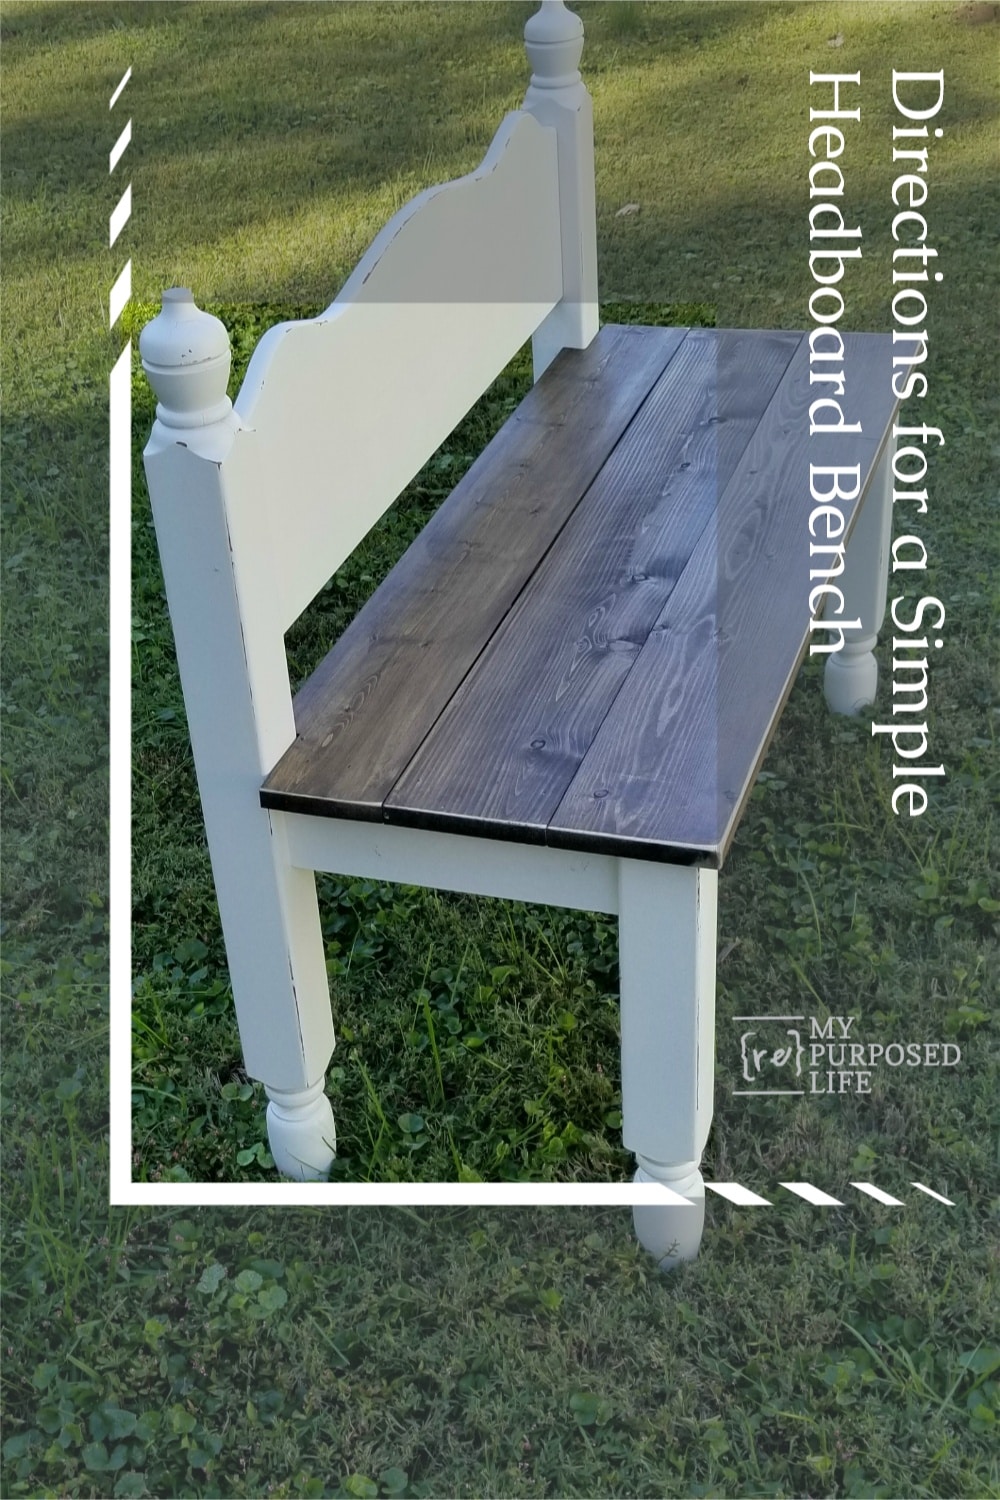
How do you make a twin bed bench? I’m sort of known for making a bed into a bench. Many people tell me that’s how they found My Repurposed Life. I decided that since the theme of this month’s Power Tool Challenge is Repurposed I would do what I love doing! By the way, this month’s challenge is a reader challenge. That means you can share your own repurposed project to be eligible to win a fantastic prize pack!
How to make a twin bed bench

For this twin bed bench project I used a twin sized bunk bed. At this point, I had already cut the foot board off to use it for the front section of the bench. You can already see that the headboard bench is going to come together pretty easily. Of course I saved the piece I cut off to use in a future project.
*this post contains affiliate links, read more here*
Cut side pieces

Each bed bench project will be different, but the steps are generally the same. After choosing what you will use for the front legs, the next step is to determine the depth and cut the sides of the bench.

For this small bench made from a bed the sides were cut at 12 inches. Adding the depth of the font post and a little overhang will make this petite bench have the perfect seat.
Drill pocket holes

To attach the sides to the front and rear of the bed bench I like to use my Kreg Jig and my Dewalt Drill to make pocket holes on each end of the side. Because I’m using 3/4” stock, I drill the holes at a 3/4” depth.
Attach side pieces to front section

First, I attach the side to the front section of the bed bench. To make sure each side matches I use the Kreg multi-mark tool. To get an even stronger hold, I don’t use the regular 1 1/4’ pocket hole screws, but opt for the longer 1 1/2” screws because they are being secured into the thicker bed post.
Secure front section to back of bed bench

While securing the side to the rear of the bench, I start the screws in an upright position. After the screws are started, I lay the bench down to get a more solid push on the drill.
You will have the base of your small headboard bench

This is the basic build for any headboard bench I make these days. If you don’t have a Kreg Jig, you can make your bed bench by attaching the sides on the outer post as I did in this easy twin headboard bench—perfect for beginners.
Not shown: A small piece of scrap 1×4 was cut to add a center brace. It was secured using pocket holes and pocket hole screws.
Time to paint

As always, I mixed up my favorite diy chalky paint primer using plaster of paris and regular latex wall paint.

You can see the middle brace here on the headboard bench. When I use my Super Finish Max Extra to paint my projects, I always start with the project upside down.

Making headboard benches is so fun and easy! I’ve lost track of how many I’ve made. The taller one on the left didn’t have a foot board, so I made the front legs.
Cut wood planks for seat

The board nearest the headboard may need to be notched. I marked the lines with a square and used a jigsaw to cut out the notch.
Stain bench seat boards

I love dark stain with white benches! It’s always been a favorite color combination at my craft shows. Jacobean by Minwax is my favorite stain! I like to apply it with a soft cloth while wearing latex gloves.
Tip: when cutting your boards, be sure to remove the rough end from the lumber yard. Stain does not like to absorb into it.

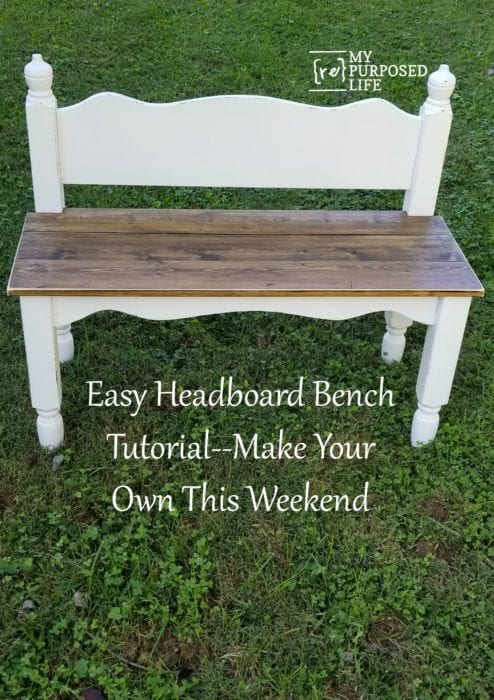
I like to do a light distressing using emery boards on the edges of the bed bench.
Related Content: 50 Headboard Bench Ideas
Now, it’s time to take a look at projects from my friends

Anika’s DIY Life DIY Bar Cart
Virginia Sweet Pea Tennis Racket Basket
H2OBungalow DIY Rolling Bench From A Work Table
My Repurposed Life Twin Bed Bench
Just The Woods DIY Rustic Wood Coffee Table Refinish
Designed Decor Repurposed Bed Frame Shelf
Domestically Speaking Repurposed Chalkboard Sign For Fall
Let me know if you don’t know how to link up. If you don’t have a blog, you can link up using the permalink from your facebook page. You can also upload a picture to the linkup. (link up option starts at 11:00 am Eastern) I apologize for making you wait. I post much earlier than the other ladies. 😉
gail
See my favorite Mission Style Headboard Bench with Storage-The Complete Tutorial
I love these benches I still have them posted to Pinterest some day the bunk beds in the boy’s room are going to be benches. I thought about making a toy box out of one but I needed another place for toys to be stuffed like a hole in my head.
I’m SO excited! Thank you! Your second photo, of the two pieces leaning on the fence, I’ve been staring at those exact same pieces for a while now, silly me. YES to fresh inspiration! I love your benches (and everything else you do!) I can’t wait to see mine in the garden 🙂
Awesome Del!!! So happy you found that picture! 🙂 I love, love, love making benches out of beds. I have countless beds in my stash, just waiting! Reach out to me via email or facebook with pics! I can’t wait to see your bench.
gail
You are the headboard bench queen! Can’t go wrong with white and stain combo – so pretty!!! Great tip on the emery boards!!
You are the queen of headboards my friend! The best part is they all look a little different even when your steps are similar. It looks super, as always! Pinned!
Thanks Wendi, I do love making them. I hope they find a new home tomorrow. 🙂
gail
Good luck at your show this weekend! I’ll bet that the benches that you made will sell very quickly. This is such a great way to repurpose a headboard and footboard.
Thank you Paula. Set up was slow going today, filling up two craft show tents. We’re cramming it in there one way or another!!!
gail
wonderful. hope you don’t sell out before i make it to your booth! lol!
I can’t wait to see you! 🙂
The booth will be overflowing this year. As usual, I’ll be holding items for those who ask, so it may be tight for awhile.
gail
Gail, You are the queen of repurposed headboard benches! Another great one!
Thanks so much DeDe! I do love making headboard benches. Each one is so unique. 😉
gail
This Lady really is good at what she does.Being a friend and neighbor I often get to watch her in action.I Being a retired carpenter have visions of what my projects will look like before I start.Gail has visions also and she is great at what she puts her mind to.Thanks Gail for letting me get firsthand and finish look at some of your projects.😁