twin bed toy box
As an Amazon Associate, I earn from qualifying purchases.
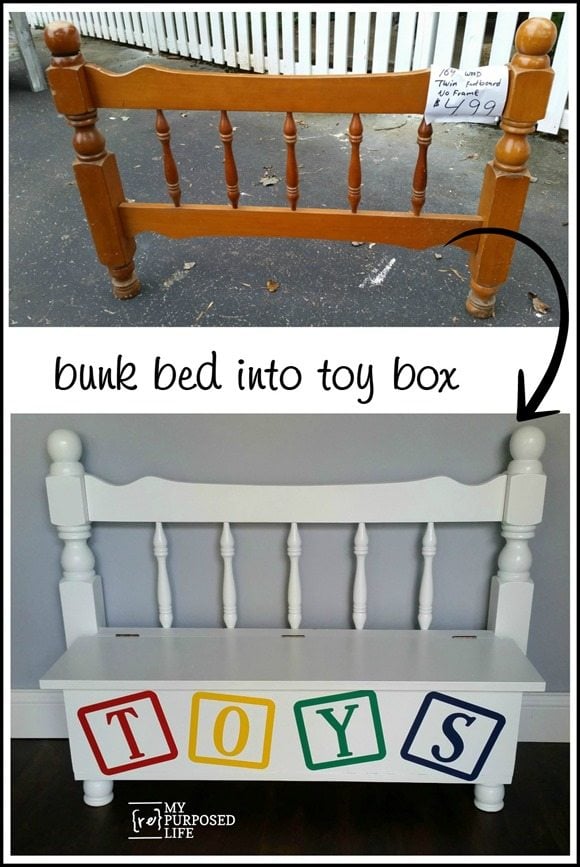
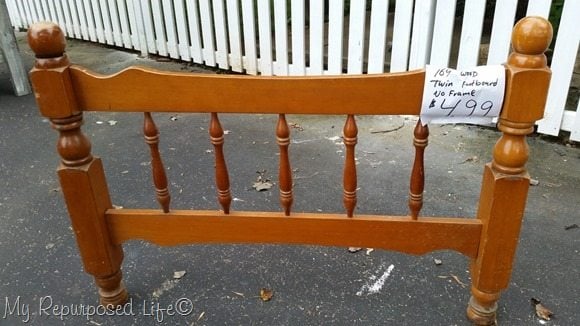 I recently picked up this twin headboard, and actually got a deal on it for $4 from John at Vendors’ Village. I decided to make it into a bench, but within minutes I knew it needed to be a bench with storage. One thing lead to another, and suddenly it was going to be a toy box bench.
How to make a twin bed toy box
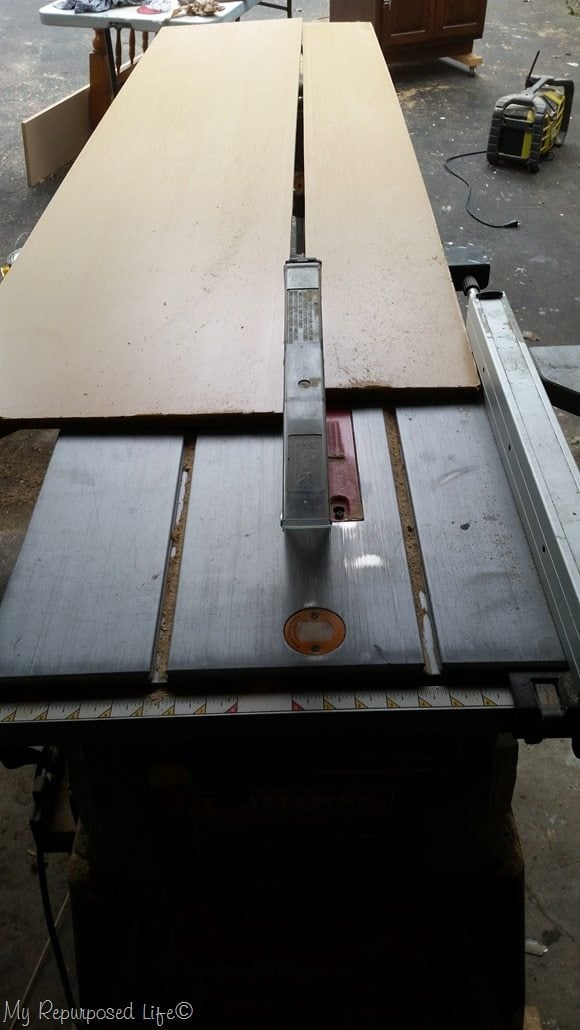 I drug out this 2×8 piece of plywood and got busy ripping it on the table saw to make the “box” for the toy box bench.
*this post contains affiliate links*
Construct the box with pocket hole screws
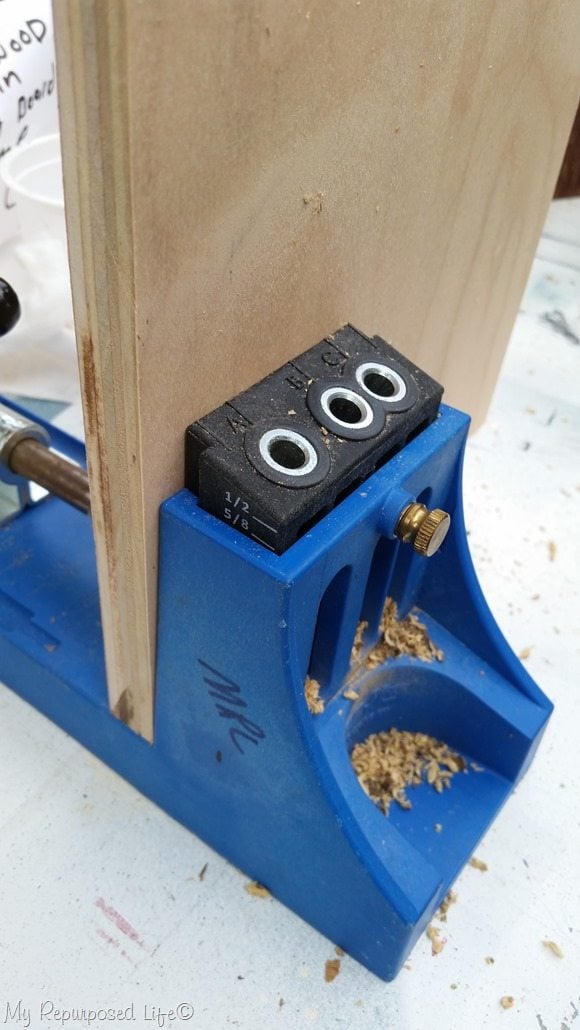 After ripping two matching front and back pieces and two end pieces I set out drilling pocket holes with my Kreg Jig. NOTE: I used the Micro Jig because of the thinner stock.
If you don’t have a pocket hole jig, you can use “L” brackets. However, if you do a lot of projects, I highly recommend you investing in one of these jigs. For more details see my post How To Use A Kreg Jig
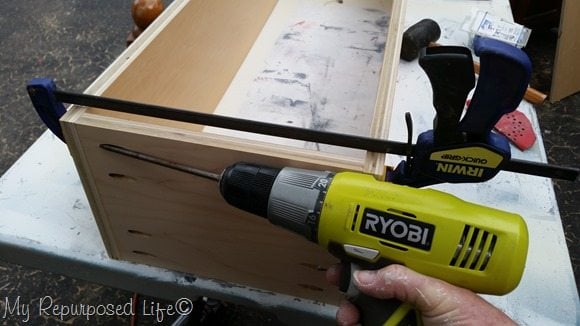 You can see from this photo that had I put the pocket holes on the inside of the box, my drill would not fit in there to secure the pocket hole screws.
Use a nail gun to clamp bottom board
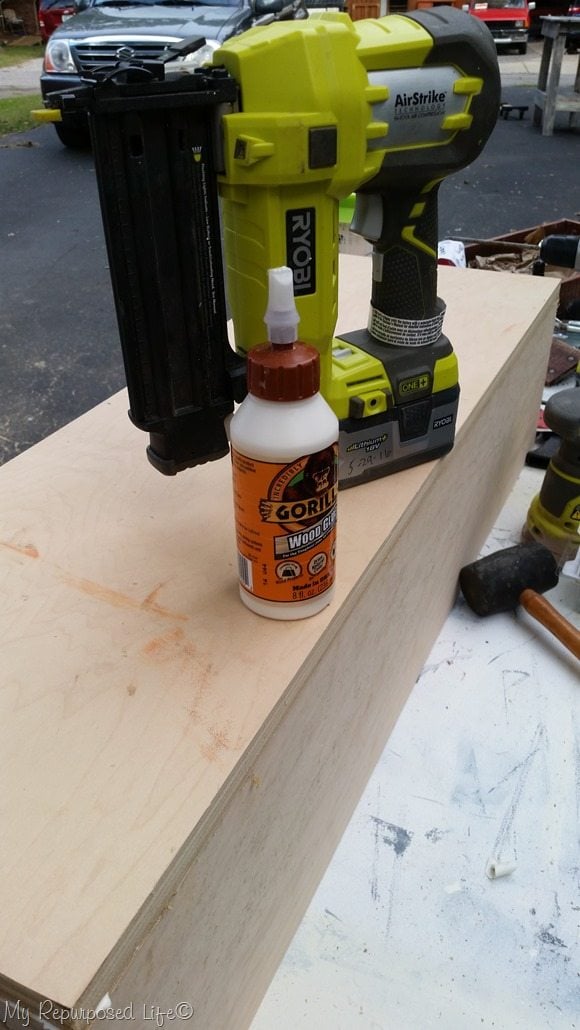 I didn’t have anymore of the 5/8” plywood for the bottom, so I used a 3/4” piece. I buy these plywood pieces from a booth at a peddler’s mall. This project used up all my stock, so it’s time to go shopping again.
I used Gorilla Wood Glue and my Airstrike nail gun to “tack” the board into place.
Pre-drill pilot holes
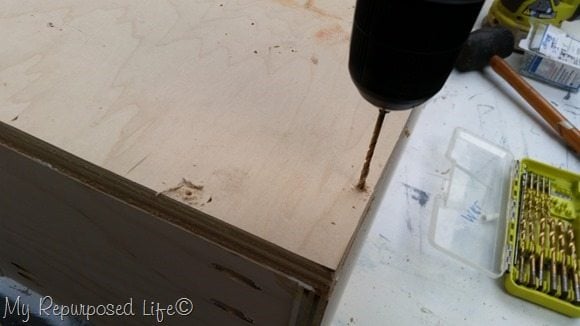 Pilot holes were next in line.
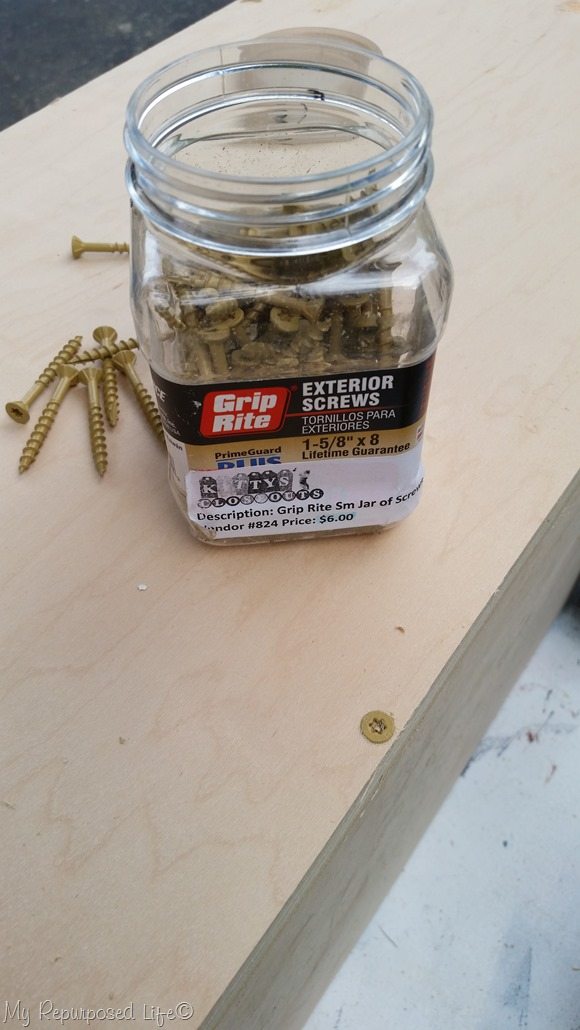 1 5/8” wood screws hold the bottom of the toy box in place securely.
Test the twin bed toy box design
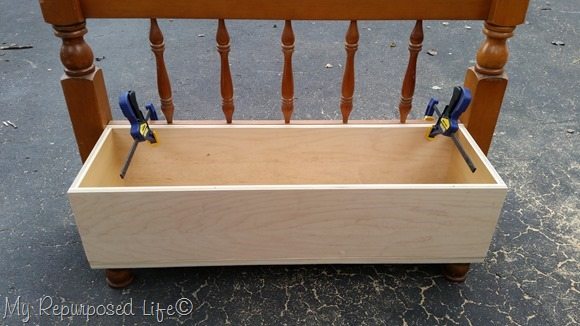 It’s time for a dry fit to see where I should place the box and what kind of feet will work.
How to attach feet
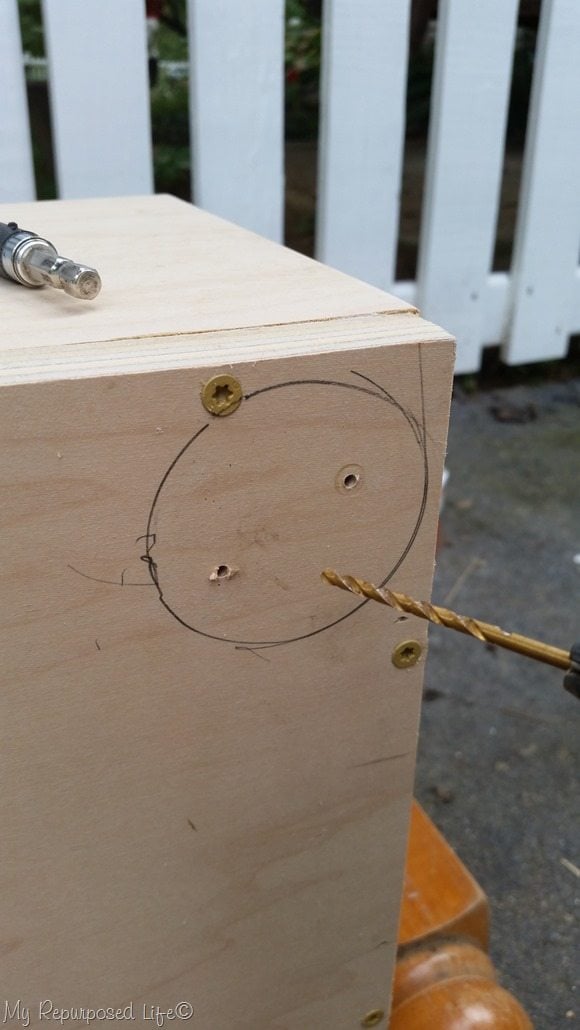 To attach the legs, I traced a circle on the bottom of the box, then drilled pilot holes so I will know where to insert the screws on the inside of the box.
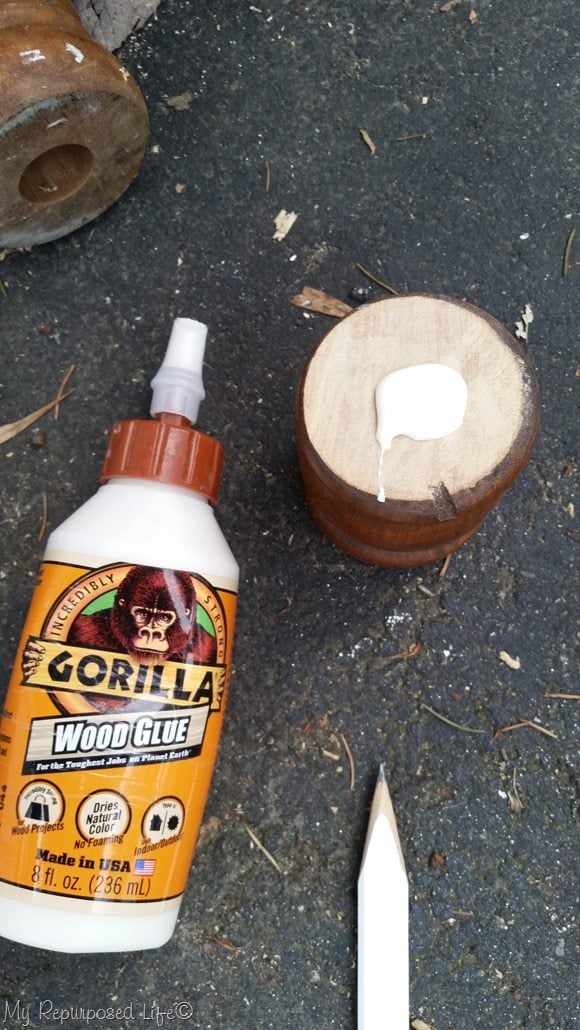 I used wood glue on the top of the feet before I secured the feet.
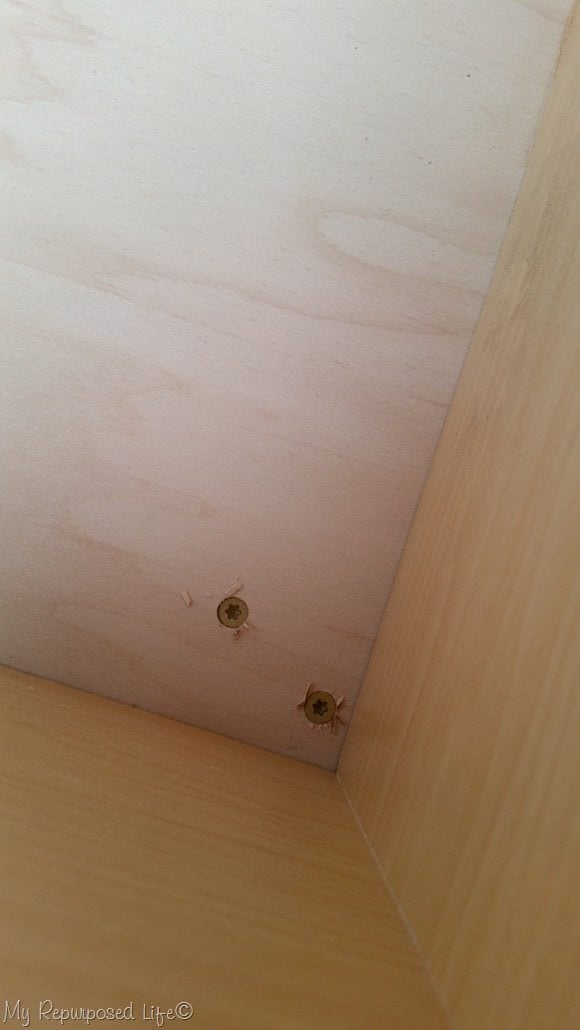 See how easy? The screws went into the feet perfectly.
A toy box made out of a bed!!
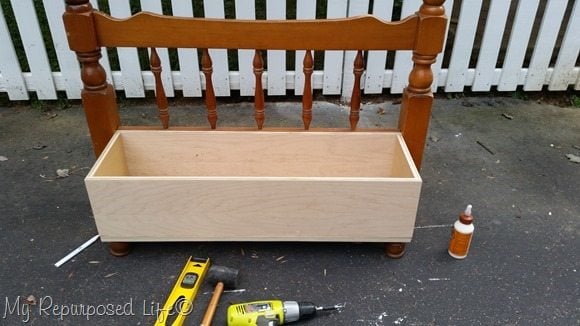 The bench is mostly done in record time. It just needs a “lid”.
Ready for paint
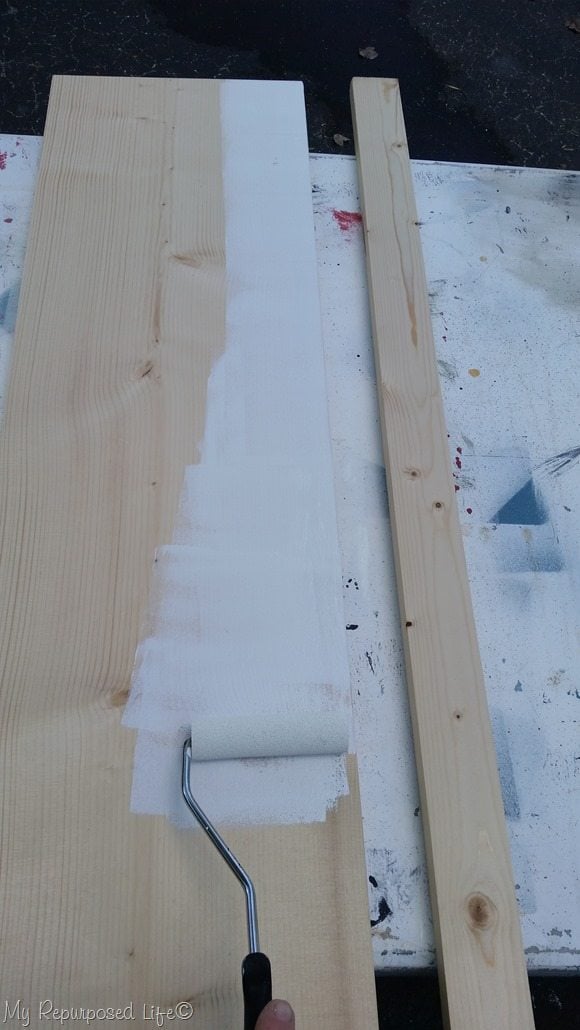 I had this large board that I got for free over the winter while we were putting up the diy picket fence and it worked perfectly! I needed a really wide board or to put several smaller boards together. Smaller boards, or this FREE board? that’s easy!
This was a very happy find for me. (while Rodney and I were buying some supplies at a local lumber yard, there were a couple of boards they were throwing out, and Rodney asked for them)
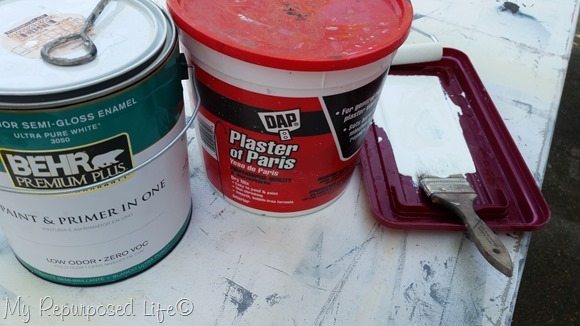 I mixed up some DIY chalky paint primer using plaster of paris and behr semi-gloss paint and rolled it on.
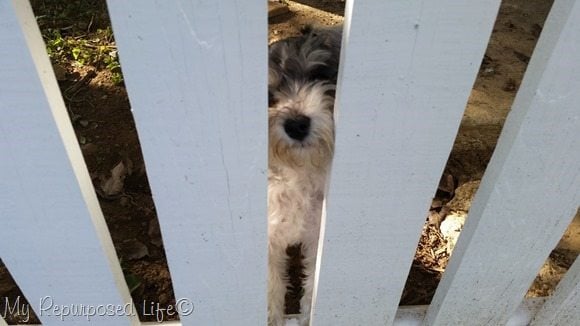 Why did I roll it instead of using my Homeright Finish Max? Because of Miss Lulu Mae. I rolled it right outside the gate where she could see me. She doesn’t do too well when I’m out of sight in the area where I spray.
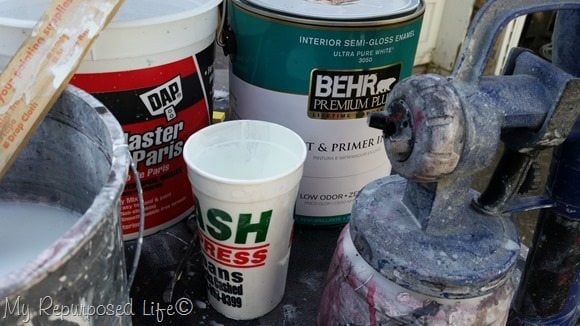 However I did use the Finish Max and chalky paint primer to paint the toy box bench.
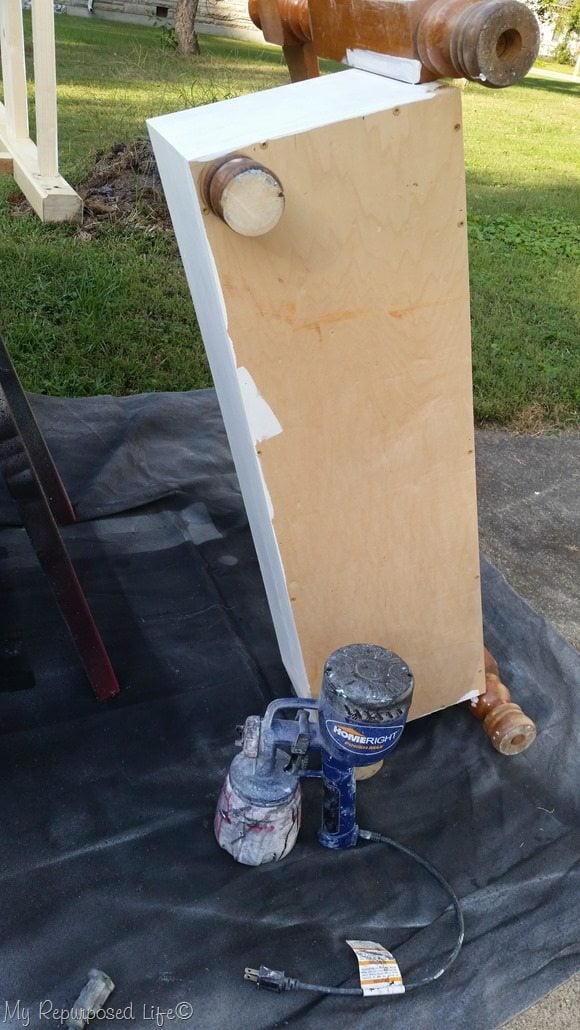 Not shown: I patched the pocket holes then sanded them smooth before the toy box bench was ready for it’s paint job. As a rule, I always like to paint the underneath side first.
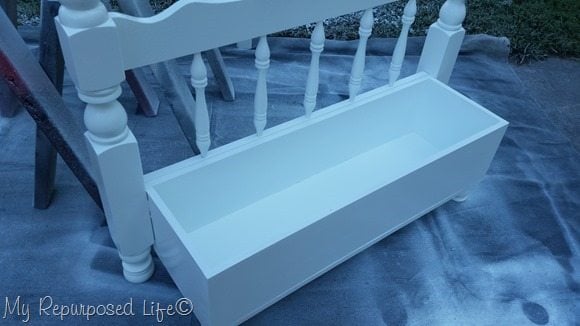 I did two light coats of the chalky paint primer, then two light coats of the white semi-gloss.
Add hinges
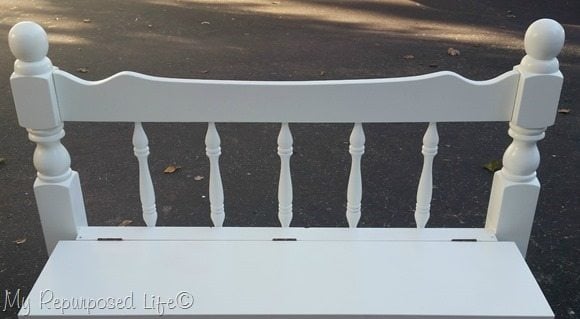 I added three hinges from my friends at D. Lawless Hardware.
Embellish with Silhouette Vinyl Letters
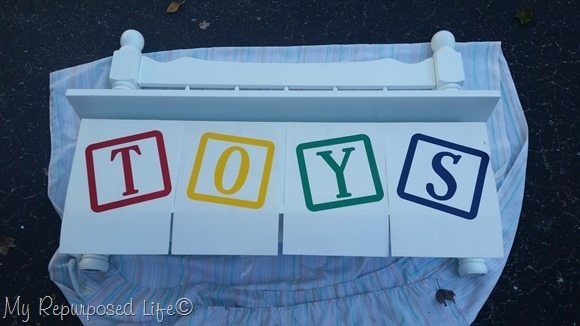 I did a dry fit of my vinyl letters to see how they needed to be spaced.
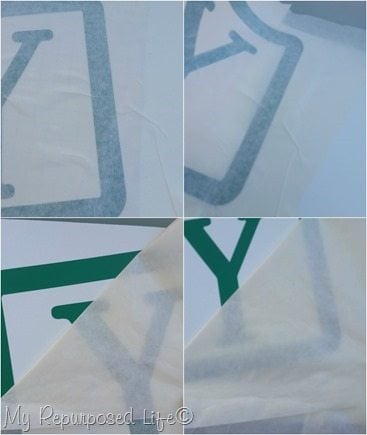
This is the way I apply vinyl—I cut my transfer paper a little larger than my vinyl, allowing some to hang off the side as a “hinge”. That will keep your vinyl letter from shifting while applying it. I lift the transfer paper up, remove the paper backing, lay the vinyl down and begin the transfer process. All the while, the transfer paper hanging over the side will hold the vinyl in place.
To remove the transfer paper I lay it over flat and gently pull it away allowing the vinyl to cling to the furniture.
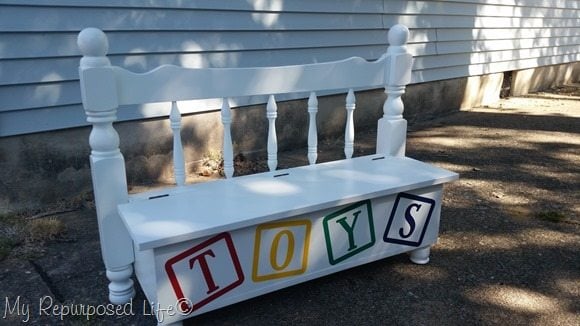 Here it is after I’m finished. Looking at it in real life, it looks great, but in the photos, the lid looks “oversized”.
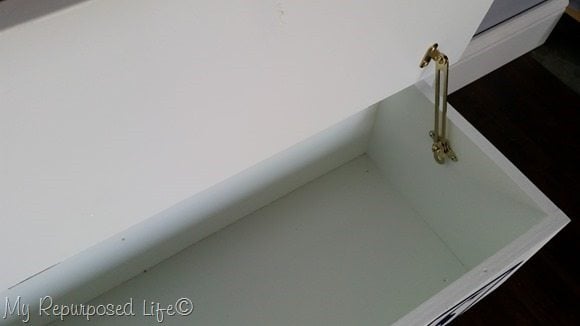 The toy box hinges (slow closing) run about $27 But this folding lid support works well by tightening a screw, making it close slowly and it is much more affordable.
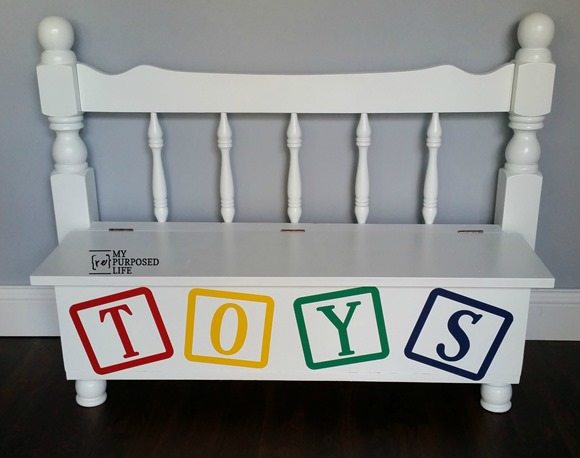 I love the addition of the vinyl lettering TOYS, I think it really makes this little toy box shine.
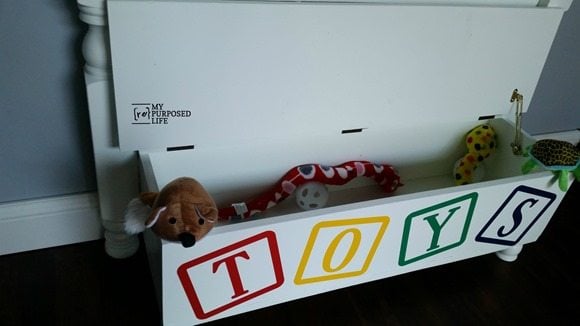 Because I don’t have little kids’ toys I staged the toy box with Lulu Mae’s (my puppy) toys.
 ![]()
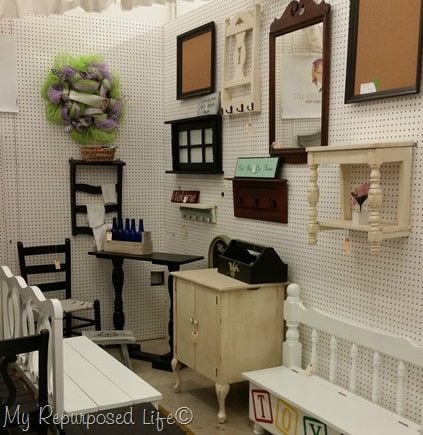 Here is the toy box at my booth in Vendors’ Village.
I would love for you to pin this project!
Who would you make a project like this for?
gail
Related Content: Corral The Toys In Their Former Crib
See my favorite Mission Style Headboard Bench with Storage-The Complete Tutorial


I love that you turned it into a toy box Gail! It is perfect and the vinyl letters are so much fun! Great tips as usual with those feet! Awesome!
What a cute project, and I so appreciate you using the safety hardware and not depending on a tightened screw. So many children have been injured or killed. I was a health assistant in a school with a population of severely handicapped children. One child had his larynx crushed by a wooden toy box that caught his head. He was without oxygen for some time. He was 18 months old at the time of his accident.
I need something like that for my kids’ dress up clothes, but a lot bigger! I like how you were able to do this without having to modify the headboard. Easy is good.
I just love your work. What do you print your vinyl letters on?
Thank you Su
In this case I actually used bright colored vinyl from my collection, and cut them on my Silhouette machine. When I make stencils I use contact paper from Walmart.
gail
This is so darn cute! Love the way it came together with the headboard and bun feet. You are right on the cute vinyl letters too, they make the project! Some lucky little kid will be thrilled to have this:) Pinned my friend!
Thank you for your sweet comment Wendi, This was a fun project.
I appreciate you pinning!
gail